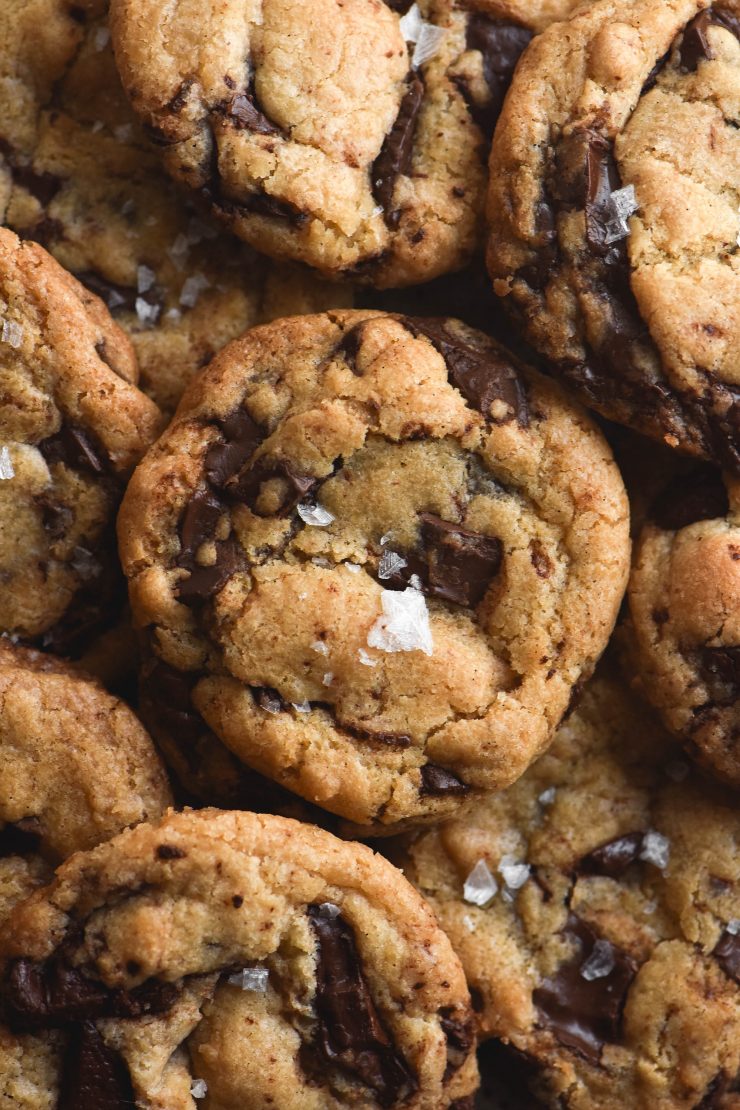
Recently, during a week where I had way too much on, I decided to drop it all and work on gluten-free vegan choc-chip cookies. I have made them before, using the creaming method for the vegan butter. They’re delicious but finicky, and I wondered if I could work out a way to make them a little more efficient. On a whim, I melted the vegan butter instead of creaming it. Low and behold: a delicious choc-chipper emerged from the oven.
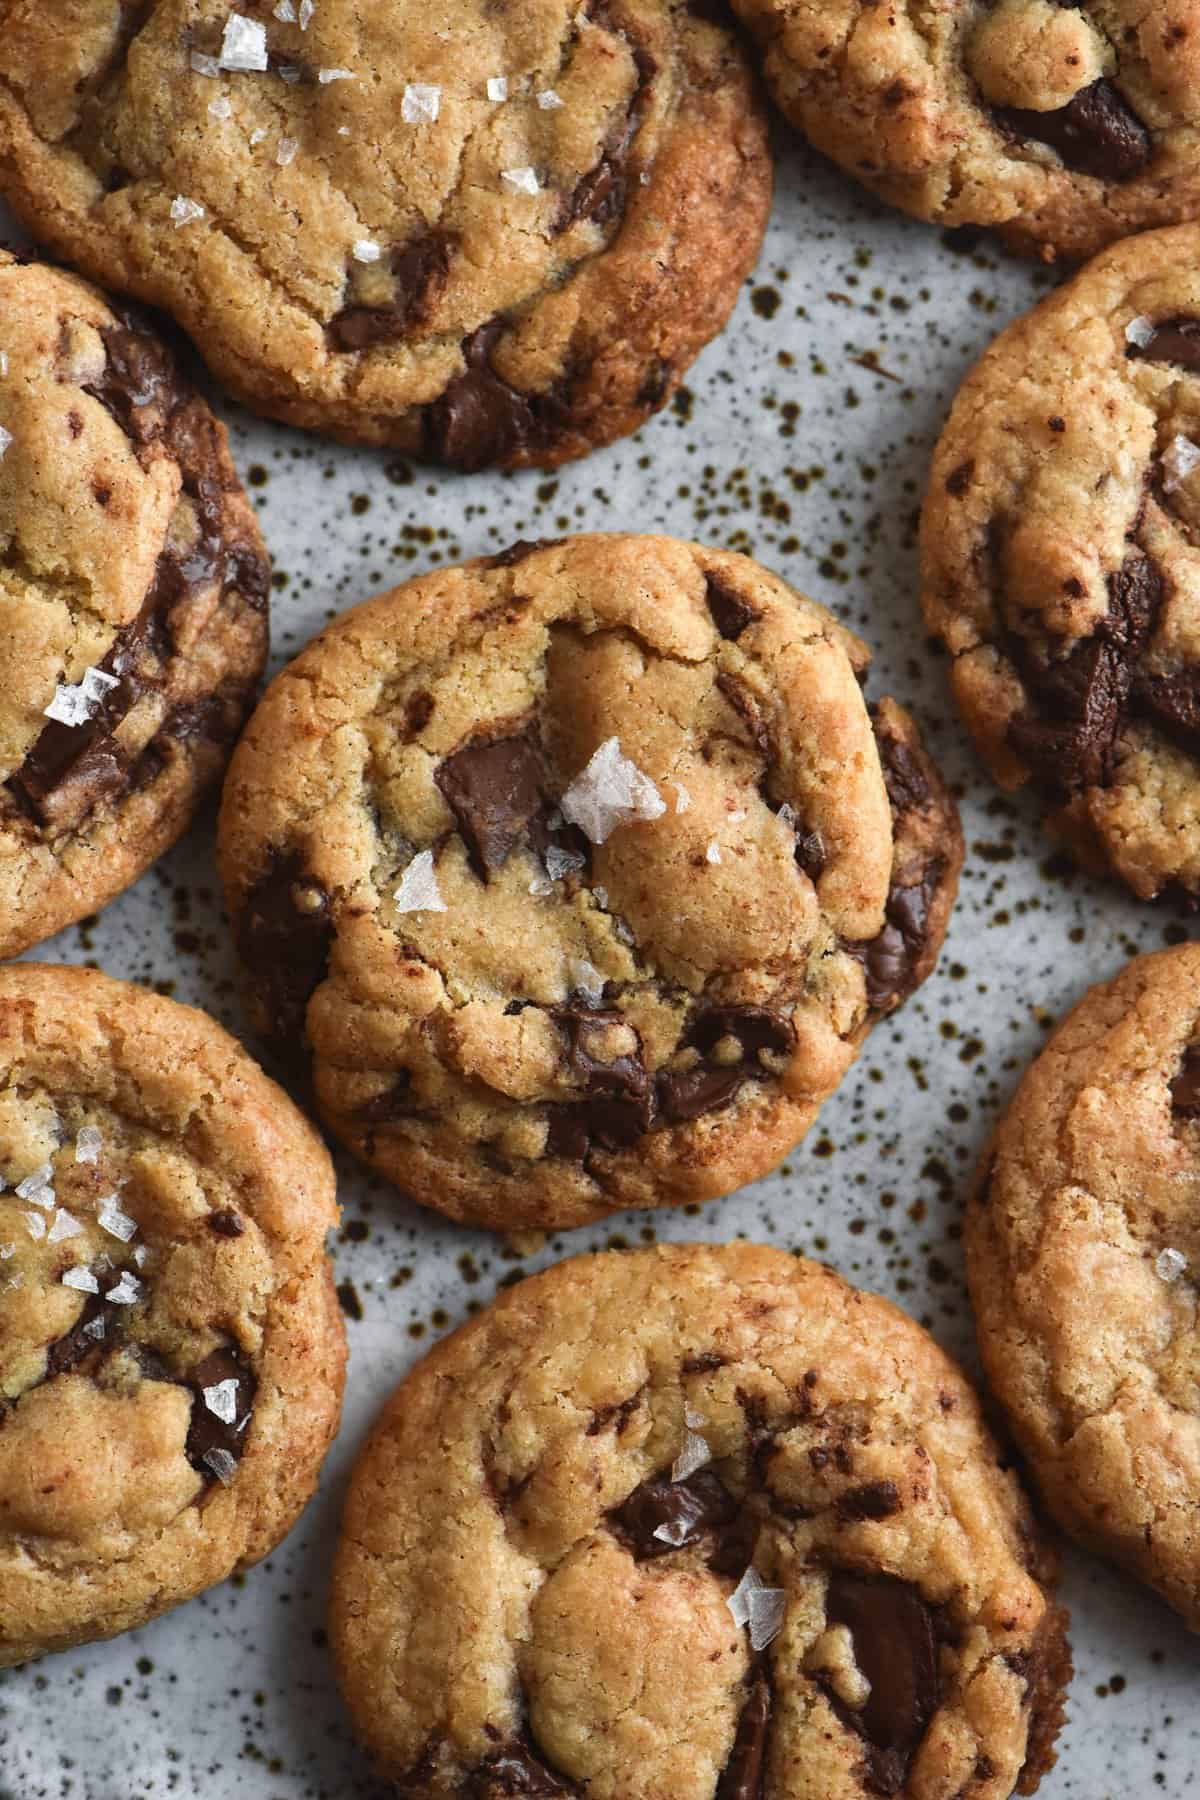
Gluten free vegan choc chip cookies
These cookies are vegan, gluten free, FODMAP friendly, xanthan gum free and contain no added nuts (although you will need to check your vegan butter). Because these cookies are vegan, they are naturally dairy free and egg free. I don’t use oat flour as Australia doesn’t consider oats to be gluten free, so these are oat free cookies.
They’re made with two simple flours – white rice flour and tapioca flour. This simple blend creates a chewy, crunchy and delicious gluten free vegan cookie.
The cookies are the easy to make and require no special equipment. In fact, these vegan choc chip cookies only use one bowl.
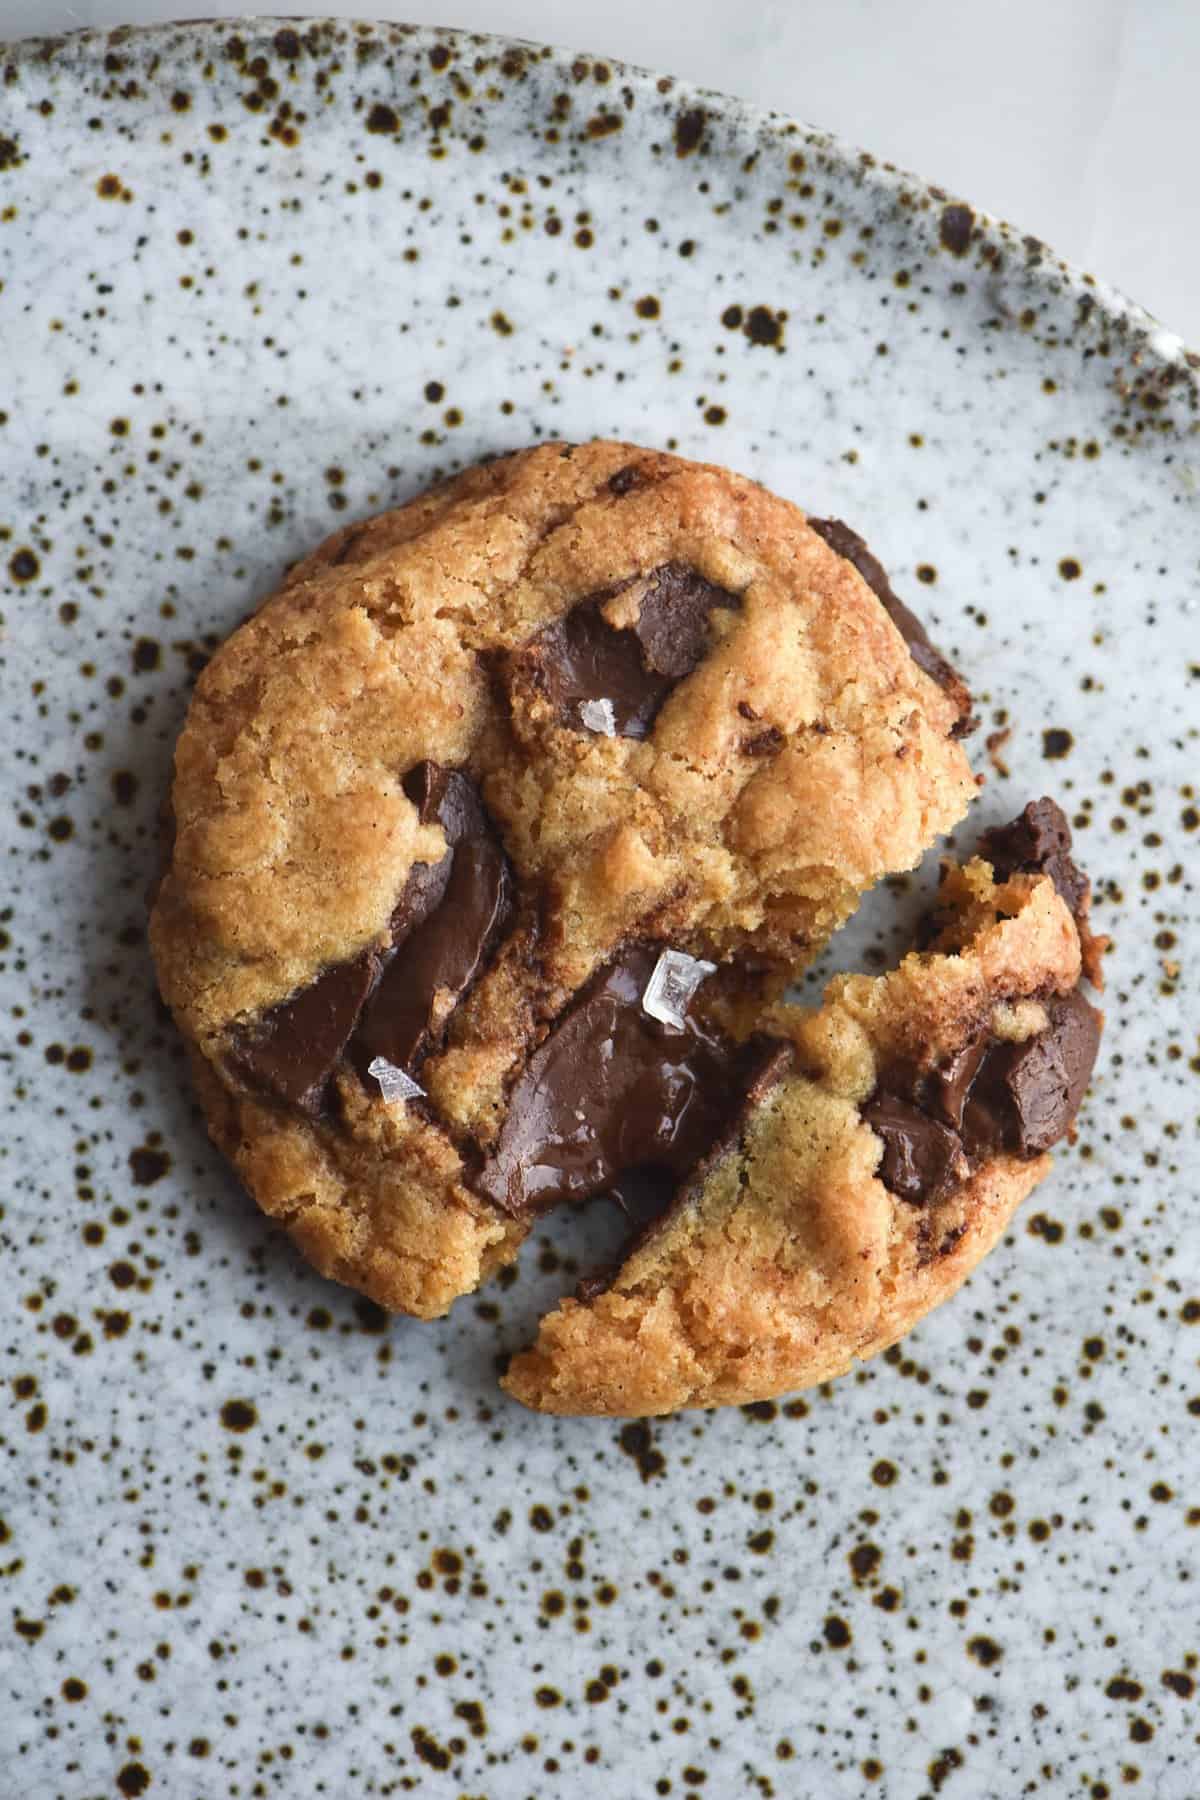
A photography related caveat: I have unashamedly used regular dark chocolate in the cookies I shot for this post.
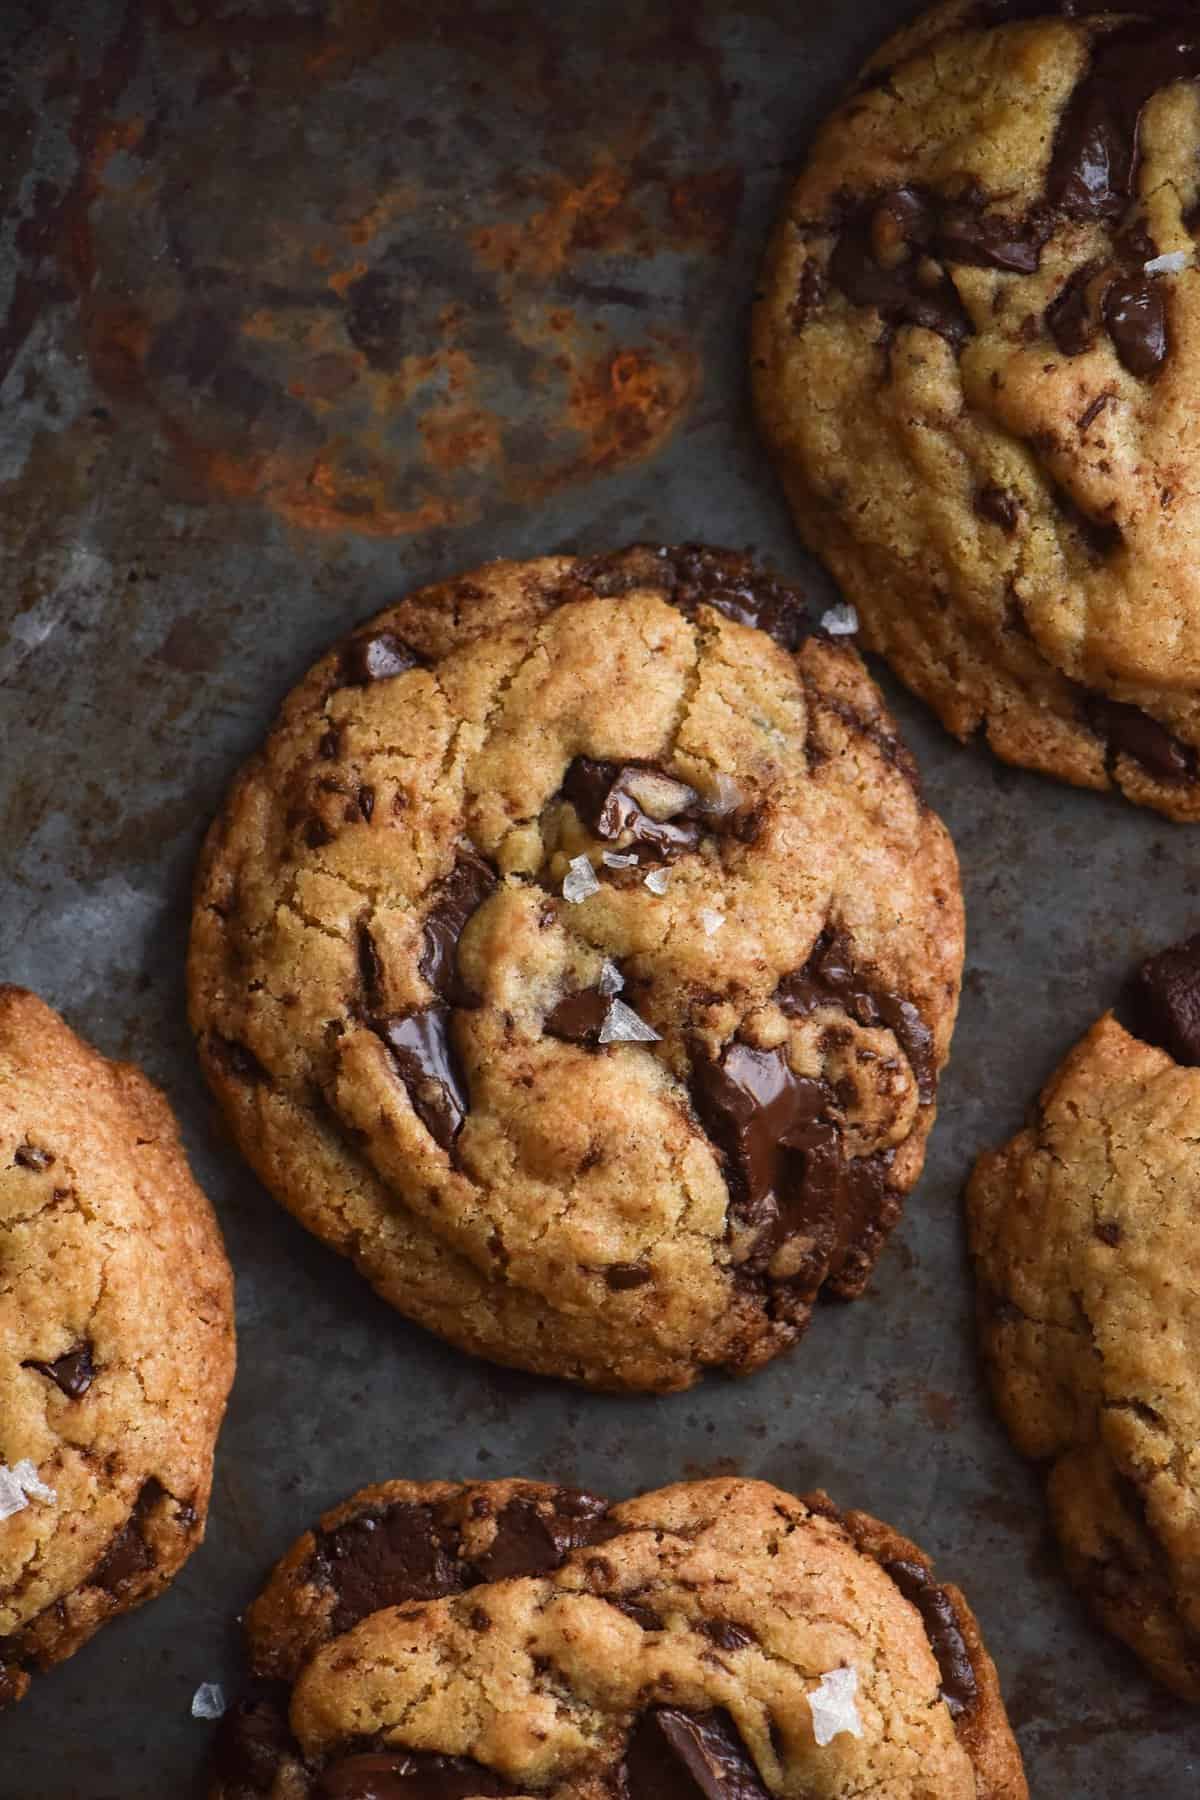
Ingredient notes for your gluten-free vegan choc-chip cookies
The vegan butter
Ah, vegan butter. Much like the umbrella term ‘gluten free flour blend’, vegan butter can mean any number of things. Some are margarine like, some are nut based. They have differing ingredients, fat percentages and melting points. This, of course, has a big impact on our cookies, where butter is an integral ingredient.
Generally speaking, regular butter contains around 80% fat per 100g. European butters and unsalted butters contain a little more fat – European around 86% and unsalted (sometimes, not always) around 83%. In order to replicate a regular cookie, we need to use a vegan butter with a fat to water ratio similar to that of butter. It also needs to taste nice (or just OK!) and adhere to FODMAP, GF needs in our case.
The vegan butter I most often use is Nuttelex Buttery. It’s not a stick butter, but it’s easily accessible for readers and it is reliable. They have released a new version for cooking and baking and it contains 80% fat per 100g, which is perfect here. The taste is subtle in my opinion, although I actually love the taste of vegan butter and Kraft style vegan cheese.
I have heard a lot about Earth Balance and Miyokos, but haven’t been able to get my hands on them. If I try these cookies with either I will update the post. Whatever you choose, know that the butter is arguably the most critical ingredient in these cookies, so choose wisely.
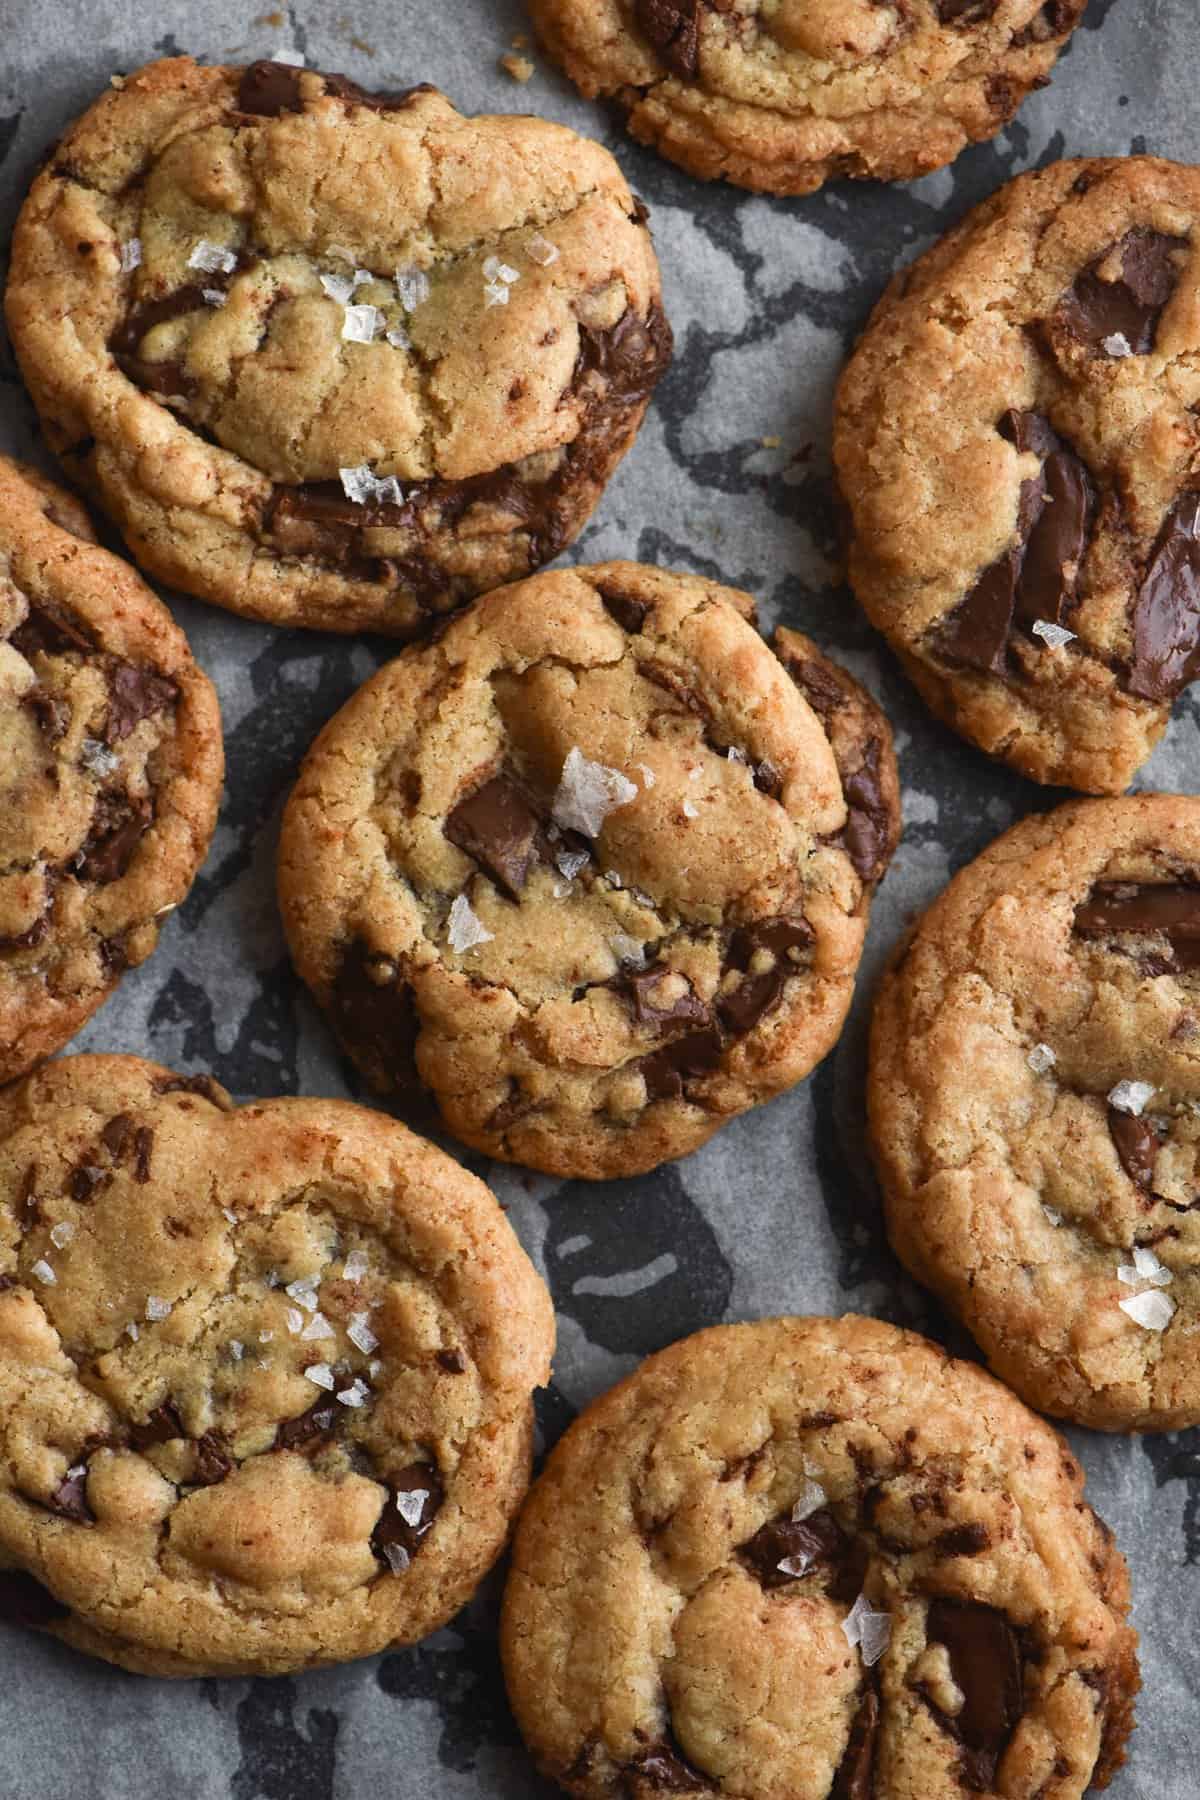
The sugars
These gluten-free vegan choc chip cookies use both light brown sugar and caster (or superfine) sugar. I have no substitutes here – if you’re looking for a refined sugar free cookie, try the snickers ones or the tahini ones.
Each sugar serves it’s own purpose in these cookies. Light brown sugar adds flavour and colour, while caster sugar promotes spread and adds a hefty dose of sweetness. If you’re into cookie and sugar science, have a read of this incredibly in depth article by Stella Parks on Serious Eats, or this Buzzfeed one (complete with pictures). Alternatively, check out this cookie science post by Kenji Lopez-Alt, which piqued my interest in cookie science.
So, why does this recipe use more light brown sugar than white? Tapioca flour, which gives these cookies chew and lightness, has a tendency to spread. As does vegan butter. To counteract that spread, we use light brown sugar. In the case of choc chip cookies, light brown sugar doesn’t spread. This means a higher ratio of light brown sugar will help stem the tide of spread from the other ingredients.
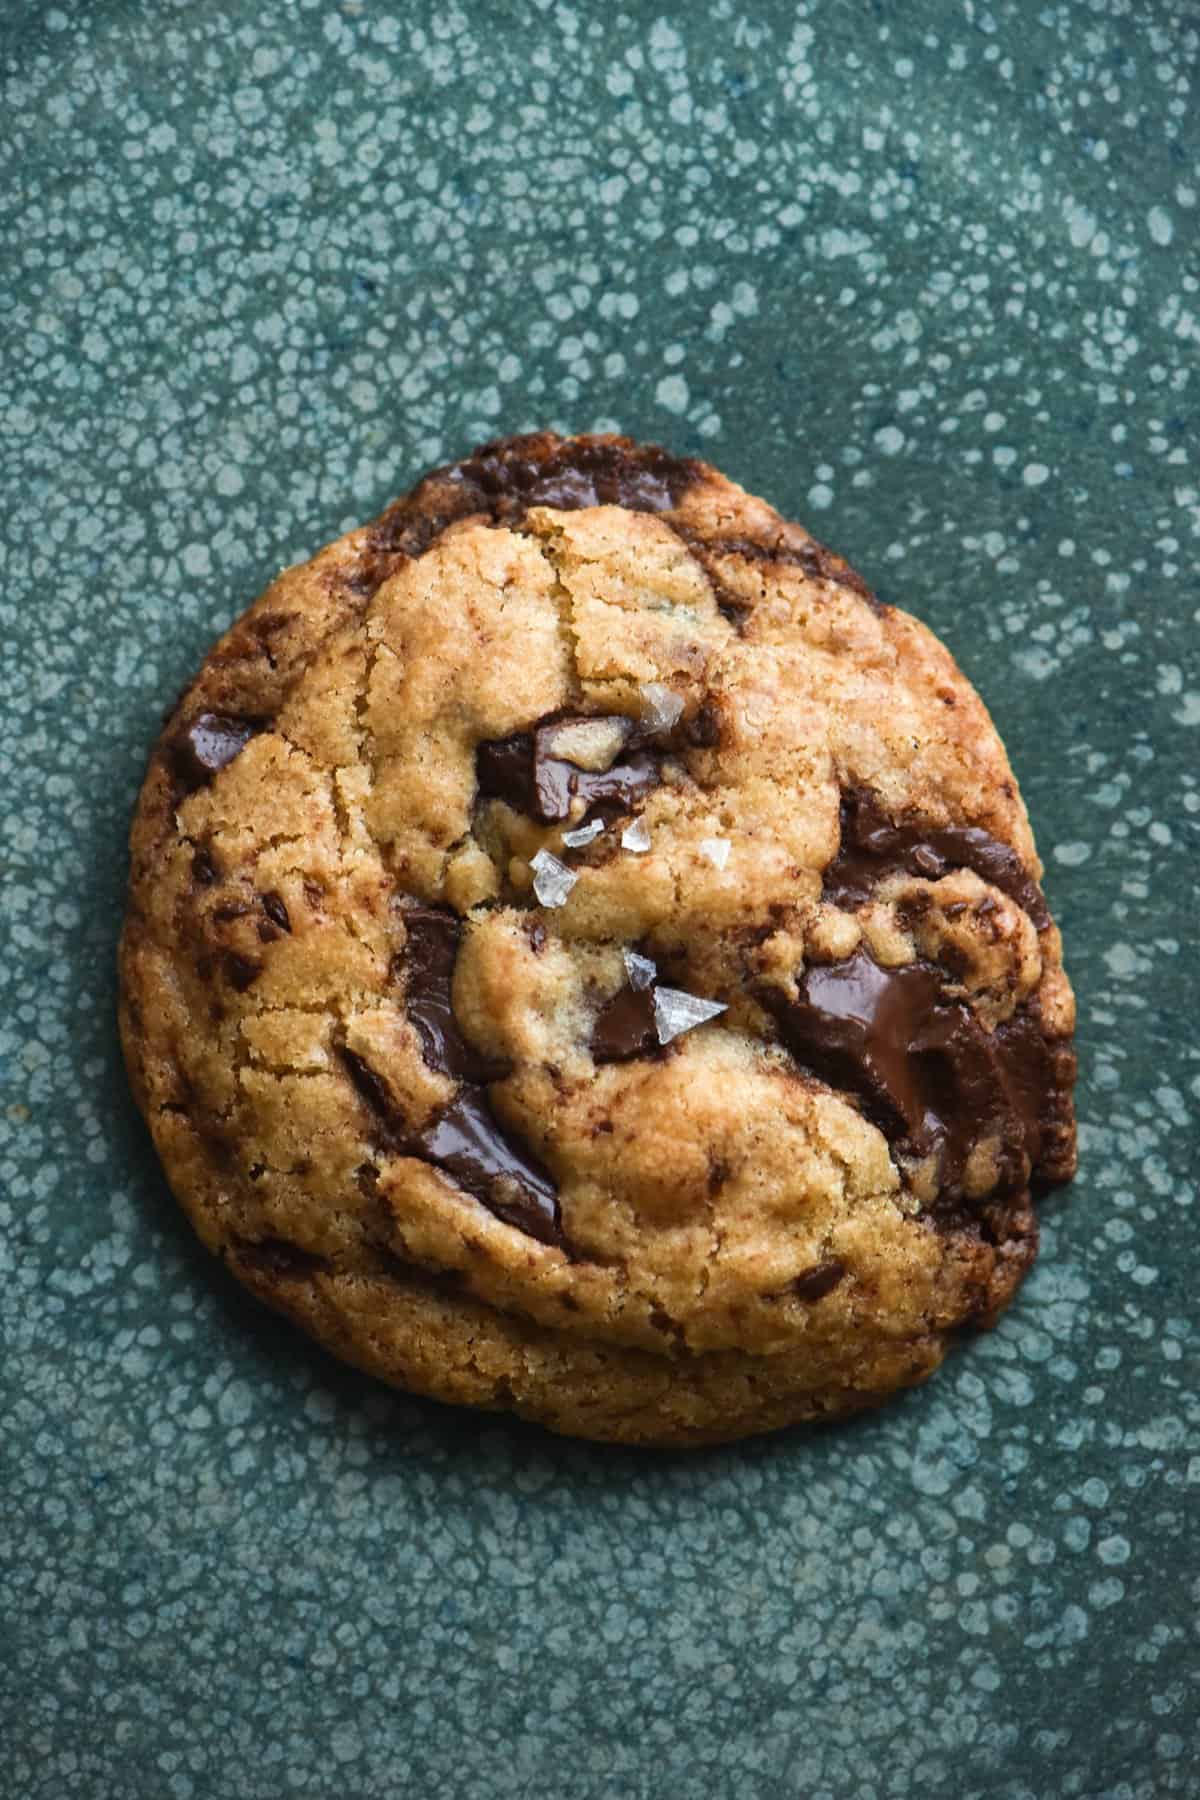
The flours
As we have briefly discussed, I use white rice flour and tapioca flour in these cookies. White rice flour forms the backbone of the cookies. It is neutral in flavour, creates structure and gets nice and crunchy crispy in the oven. Tapioca flour provides some chew and light binding in the absence of eggs, as well as lightness and a bit of spread.
As always, a caveat on rice flour: make sure you buy fine, freshly milled stuff. Rice flour goes rancid really easily and it has a musty, floral smell. This inevitably shines through in your baked goods. Gritty, cheap rice flour will also result in gritty cookies. I recommend buying from a bulk food store where possible.
A note on white rice flour
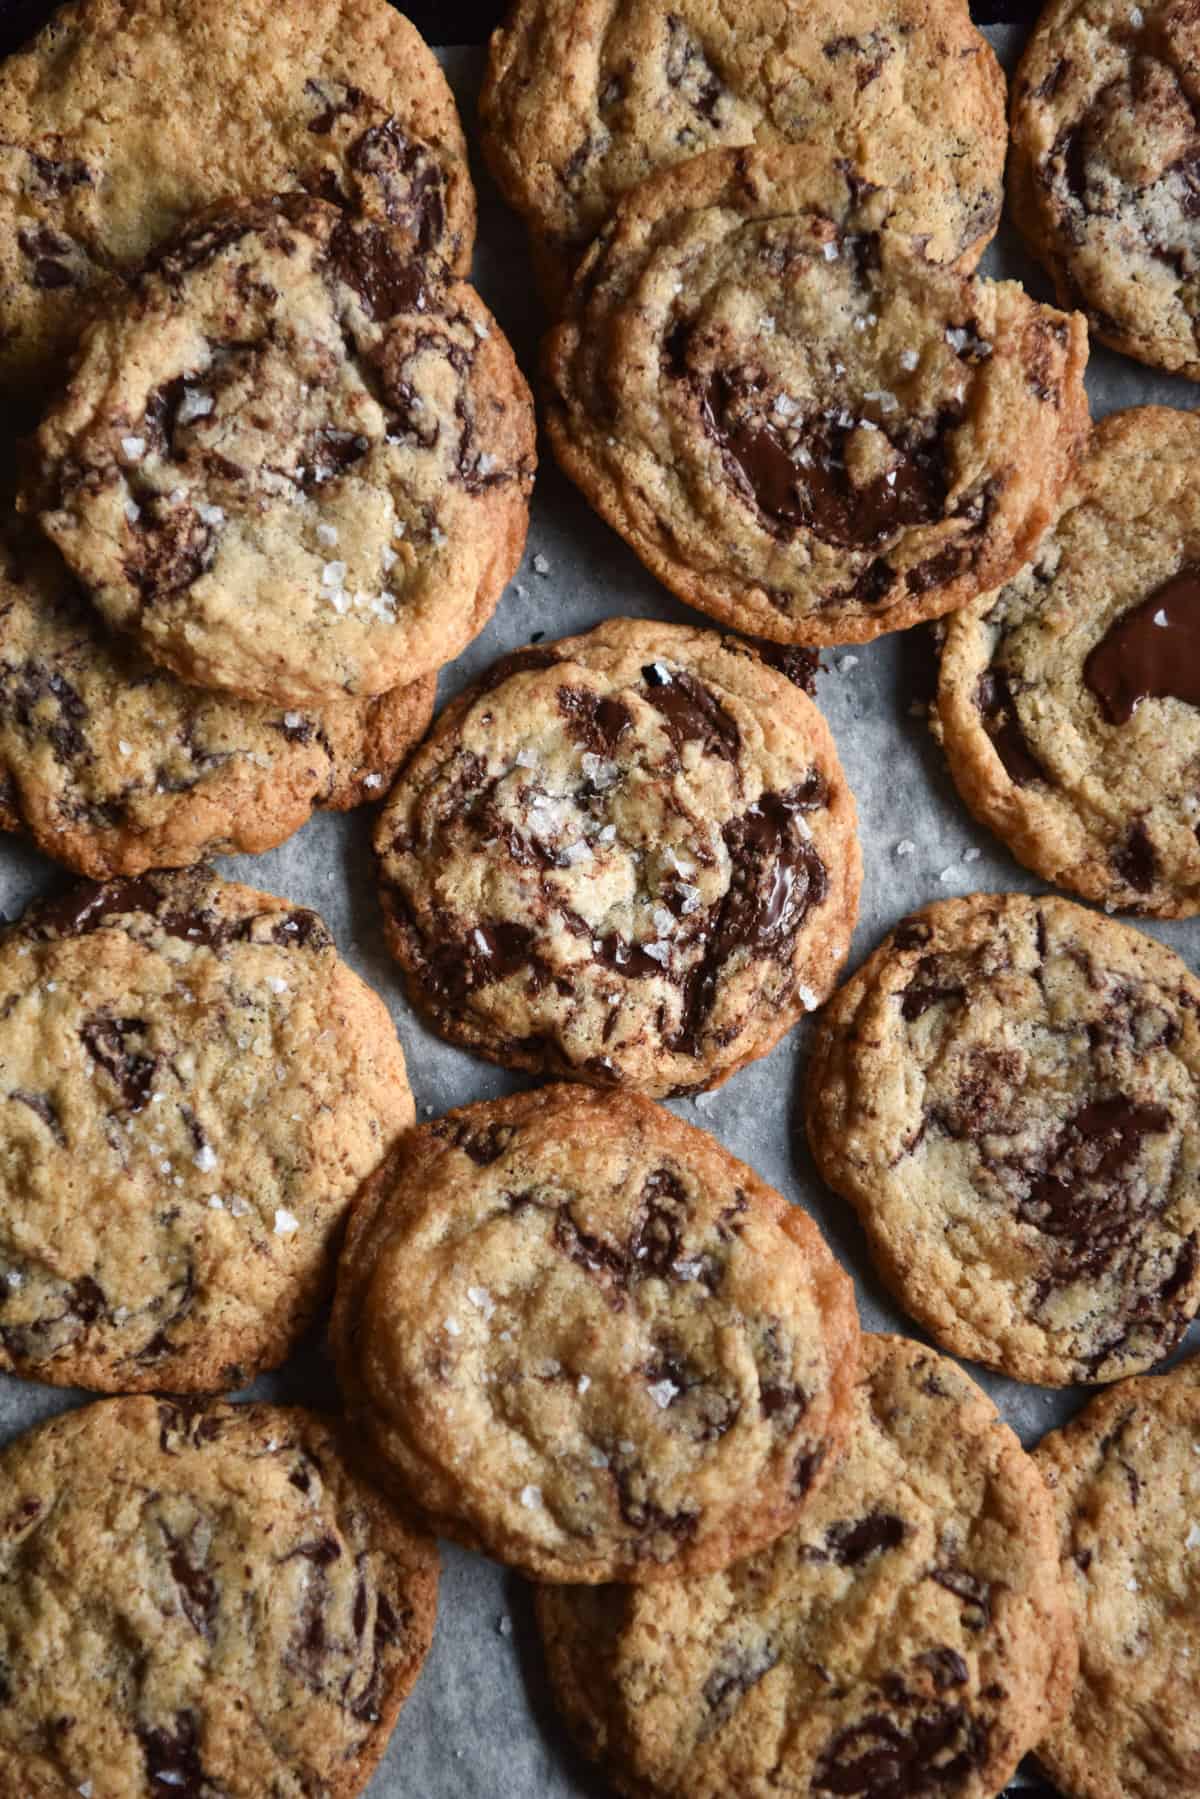
Let’s take a quick second here to discuss rice flour. The picture below is of the exact same recipe (this one) and all the ingredients except for rice flour are exactly the same. As in, I used the same bag of tapioca flour, the same batch of baking powder and the same tub of vegan butter. The difference between the two cookies is HUGE.
As far as I’m aware, there’s no industry standard as to what constitutes white rice flour. Sure, it’s white rice, but is it Jasmine? Long grain? Arborio? Who knows. There’s also not a standard as to how finely it needs to be milled. As a result, there can be huge differences between different brands and bags of flour. My advice is simple: make sure the dough is the right consistency before you put it in the fridge. It should be just soft enough to stick slightly to the bowl edges as you stir, without ‘melting’ into the shape of the bowl. It shouldn’t be thick enough to roll before refrigerating, but it shouldn’t be too soft to hold it’s form, either.
The leavening
This recipe uses a little bit of both baking powder and baking powder. Generally speaking, baking powder gives cookies lift and spread, while baking soda gives spread, chewiness and browning. Baking powder assists with the rising power missing in the absence of eggs. Baking soda is important in these cookies because there are no milk solids or eggs to assist with browning. Baking soda replaces the browning traditionally provided by eggs and dairy.
These are not able to be omitted, nor are they interchangeable. They perform separate, important roles. It is also worth noting that too much baking soda will give your cookies a soapy tang.
Tips for making the best gluten free vegan choc-chip cookies possible
- Weigh the ingredients. This is so important that I haven’t even included cup measurements. Cookie making is an art at the best of times, but VEGAN AND GLUTEN FREE COOKIES? Sorry, these cannot be made without scales. They are inexpensive and pretty vital for gluten free (and vegan!) baking.
- Don’t skip the salt! The salt is absolutely integral in balancing the sweetness of these cookies. Without the salt, the flavour profile is just ‘sweet.’ With the salt, they have a nuanced, rounded flavour profile. Don’t skip it.
- Never put cookie dough on a hot tray. This will start the spreading process and does nothing to avoid your cookies melting into one cookie. Use alternating baking paper lined pans, and allow them to cool between each use.
- Don’t overcrowd the cookies on a tray, and don’t spoon huge cookies. Huge cookies spread more and brown less. You can guess what happens if you overcrowd the pan.
- I suggest cooking the first cookie alone, to make sure you’ve got the texture right. If it doesn’t spread at all, add a teaspoon of extra soy milk, if it spreads far too much, add 5g extra of tapioca flour. More on this in the troubleshooting section.

Troubleshooting your cookies
Without gluten, eggs or a standard iteration of butter, gluten-free vegan choc-chip cookies can be a bit of a minefield. Interestingly I have found the margin of error to be much lower with these than with creamed butter ones, but still. Let’s jump into the most common issues and the easy fixes.
This dough is very amenable to a last minute change, unlike some other cookie doughs.
When you’ve mixed up the dough, it should look like a cookie dough. If you stir it, it should JUST stick to the sides of the bowl. It shouldn’t be so dry as to hold it’s form completely, without sticking to the edges as your stir, but it also shouldn’t pool to the bottom of the bowl. If, after 1 hour, the dough has formed a flat, smooth surface in the bowl, it is too wet. Add 10-15g white rice flour, squish it in to completely combine it using your hands, and then pop back in the fridge.
I strongly recommend baking the first cookie alone to determine that the texture is right.
If your first cookie doesn’t spread at all, add an extra teaspoon of milk and pop the dough back in the fridge for 30 minutes. And if your cookies spread too much? Add 5-10g of white rice flour and do the same thing.
Sometimes, though, it might not be that simple. If you have chosen a vegan butter with a really high liquid percentage when compared to butter, you might be in for a single, giant cookie. Make sure you choose a butter that is 80% fat per 100g or more. Again, I used Nuttelex cooking and baking. I can’t say how these will work with different vegan butters, but let me know what happens if you try!
A note on xanthan gum
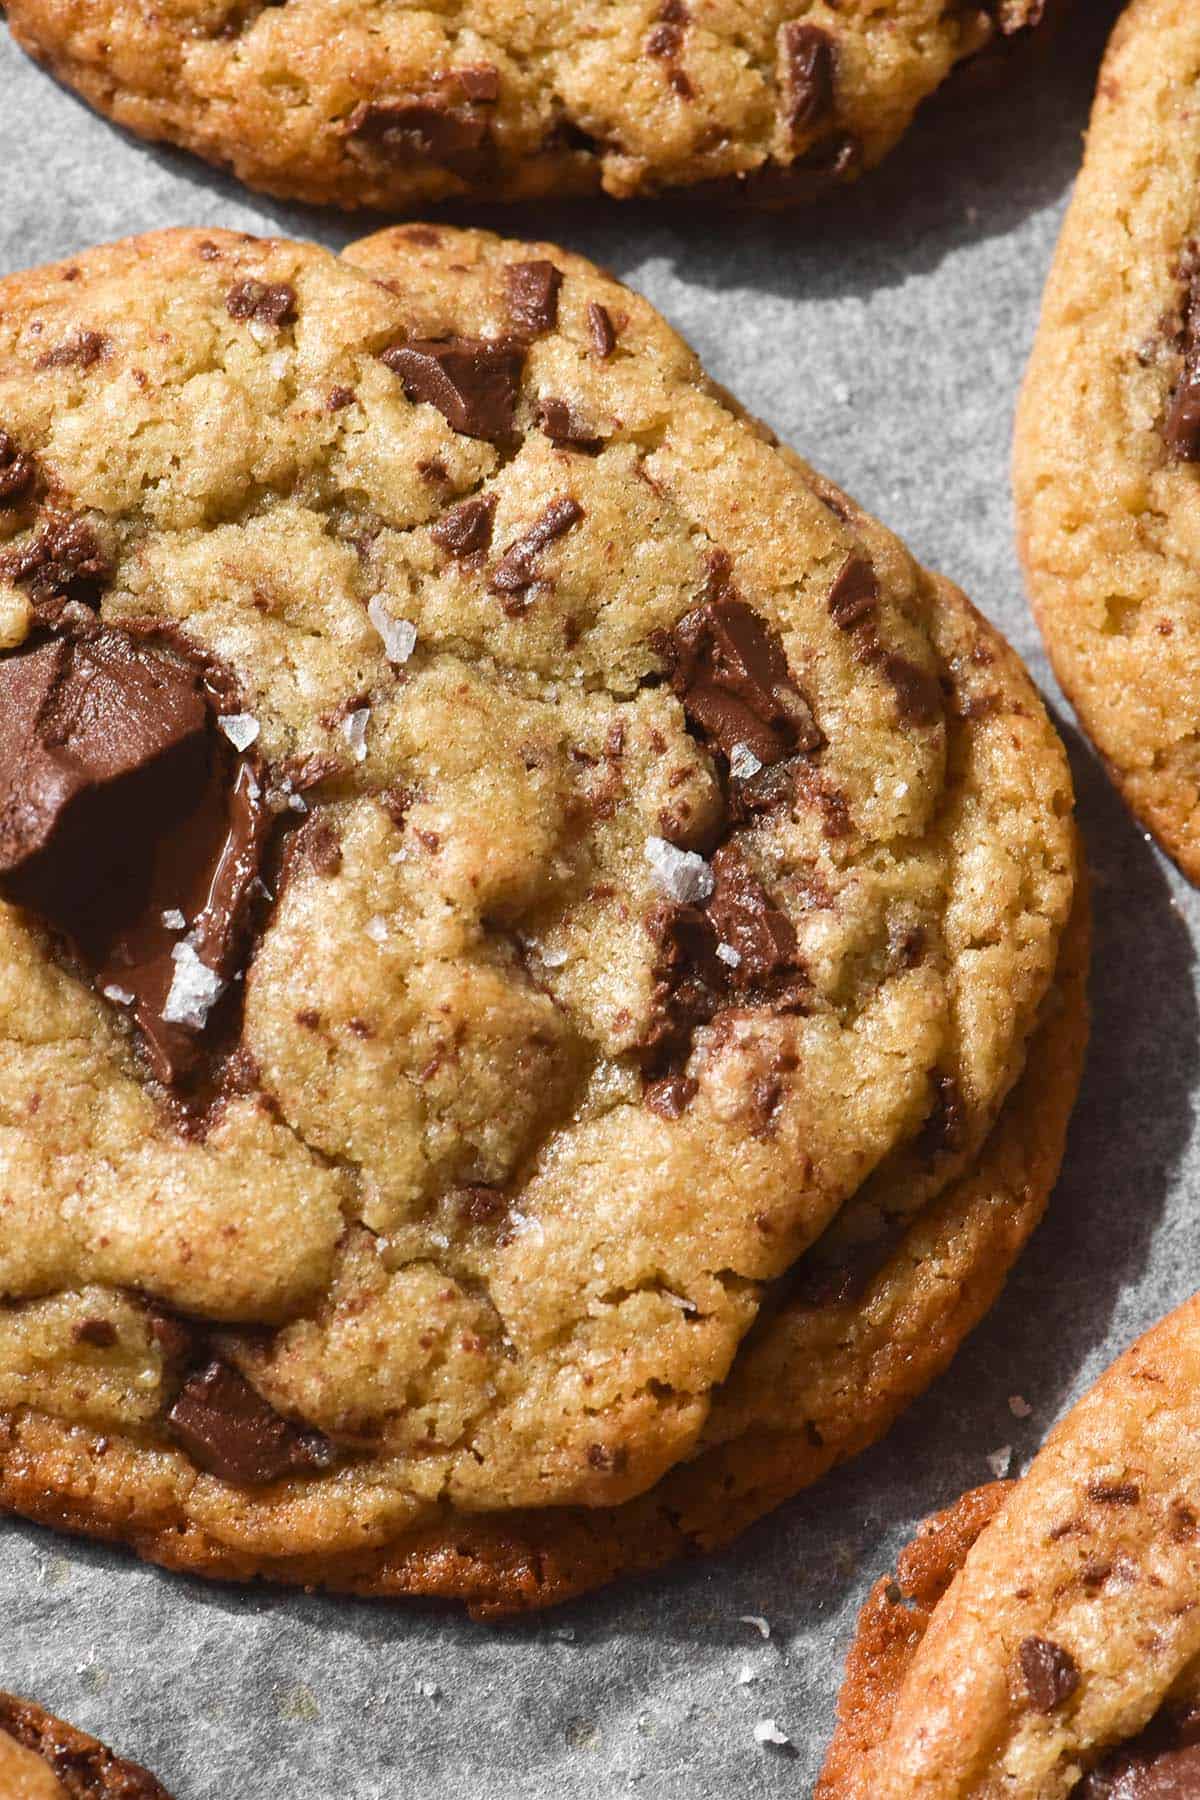
I don’t often use gums when I don’t need to. They don’t agree with me and given that they are not known for their gut friendly properties, I try not to include them in recipes when I don’t need to. Xanthan gum isn’t necessary in these cookies – they’re delicious without it. However, it can help give the cookies a little extra chew, and prevent excess spreading. I used 1/4 teaspoon, which I felt was a good amount. Personally, I think xanthan gum leaves a slimy sensation in your mouth when used to excess, hence the conservative amount. You could try adding 1/2 teaspoon if you’re in the mood to experiment.
Quick tips
- Make sure your cookie dough has been refrigerated for the full 1 hour
- Check that your baking soda and powder are in date
- Ensure your rice flour is fresh and finely milled
- Check that the vegan butter you are using is 80% fat per 100g. If you’re having no luck, try a new brand to see if that makes a difference
- Sometimes oven trays or inaccurate oven temperatures can be a culprit. Try swapping trays and/or purchasing an oven thermometer (they’re cheap and invaluable!) to check your oven
- Don’t use a coconut oil based chocolate. I haven’t tried it, but I daresay the oil would leech into your cookies and make them oilier than necessary. Just a hunch.
Love gluten free cookies? Try:
- My egg free, brown butter choc chip cookies
- The full monte, egg and butter filled gluten free choc chips
- Brownie cookies, flourless brownie cookies, vegan brownie cookies or sourdough brownie cookies (what can I say, I like brownie cookies)
- My vegan peanut butter, almond or tahini cookies (that are refined sugar free and grain free, too)
- Graham crackers or their vegan counterparts
- Linzer cookies or grain free gingerbread people
- Chocolate brownie crinkle cookies
- Shortbreads
- Anzac style cookies
- 100% buckwheat flour choc chip cookies without eggs from my buckwheat e-book
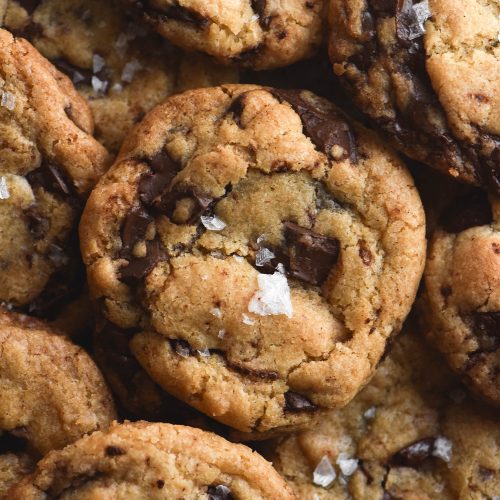
Gluten-free vegan choc chip cookies
Ingredients
- 100g vegan butter, melted (I used Nuttelex cook and bake, see notes)
- 100g light brown sugar
- 50g caster (superfine) sugar
- 2-3 tablespoons plant based milk of choice (I used soy milk)
- 2 teaspoons vanilla bean paste (optional but highly recommended as it masks the faux butter flavour)
- 120g (1 cup) tapioca flour
- 80g (1/2 cup) finely milled white rice flour
- 1/4 teaspoon baking powder
- Heaped 1/8 teaspoon baking soda
- 1/4 teaspoon fine salt
- 100-150g chopped vegan dark chocolate (I use Lindt 70%, see notes)
Instructions
- In a medium bowl, stir together the melted butter, light brown sugar, caster sugar, milk and vanilla bean paste. Continue stirring until the mixture is combined and forms a syrupy brown liquid.
- In a medium sized mixing bowl, whisk together the remaining ingredients – flours, baking powder, baking soda and salt.
- Use a spatula to decant all of the butter mixture into the flour mixture. Use a spoon to start combining the mixture, starting in the centre and moving outwards. Continue until a dough forms. The dough should be just too sticky to hold together in a ball – it should adhere to the side of the bowl as you stir it. If it's more solid than that, add a teaspoon or two more milk. If it 'melts' into the bowl and forms a flat surface, it's too wet. Add 10-15g white rice flour, mix thoroughly, and pop it back in the fridge.
- Cover the dough and place it into the fridge for one hour. While you're waiting, chop the chocolate and line two baking trays.
- After 1 hour, mix the chopped chocolate into the dough. Use your hands to divide the dough into 12 balls of dough, about a tablespoon worth each. Divide the cookies evenly between the two trays, then place the trays back into the fridge while the oven preheats. If you don't have room, putting them all on a plate is fine.
- Preheat the oven to 180C/350F. Bake one tray of cookies at a time for 12-25 minutes or until cooked through and lightly browned. Allow them to nearly completely cool before eating (they are fragile before cooling).
Notes
- Check that the vegan butter you are using is 80% fat per 100g. If you’re having no luck, try a new brand to see if that makes a difference
- Don’t use a coconut oil based chocolate. I haven’t tried it, but I daresay the oil would leech into your cookies and make them oilier than necessary. Just a hunch
- If you have no issues with xanthan gum, you can use 1/4 teaspoon to make a slightly chewier cookie/give yourself an insurance policy for spreading cookies. You might be able to add a little more, but I find it gives me a slippery sensation in my mouth that I don’t enjoy

Have you made these using sourdough starter/discard (like you have with your GF Sourdough Brownie Cookies (which are fabulous!) , or have suggestions for how best to approach this?
I haven’t sorry Kimi! My sourdough starter died and I haven’t started a new one yet. I don’t have any suggestions for this without attempting it but when I do I will definitely post a recipe 🙂
I’m thinking of making these delicious sounding cookies for a party in a few weeks time. Would the cookies turn out fine if I used Well & Good Gluten Free Flour in the recipe instead of Tapioca Flour & White Rice Flour?
Hi Perri! This recipe has been specifically developed around the flours listed and their absorbencies/qualities unfortunately.
I have never used Well and Good flour and can’t offer any advice on how cookies made with it would turn out. If you want to use their flour specifically I would suggest checking their website for recipes because they might have developed something around their flour mix 🙂
Hi – I assume the recipe’s teaspoons are Australian. Is that right? I’m having trouble finding conversions. Any suggestions?