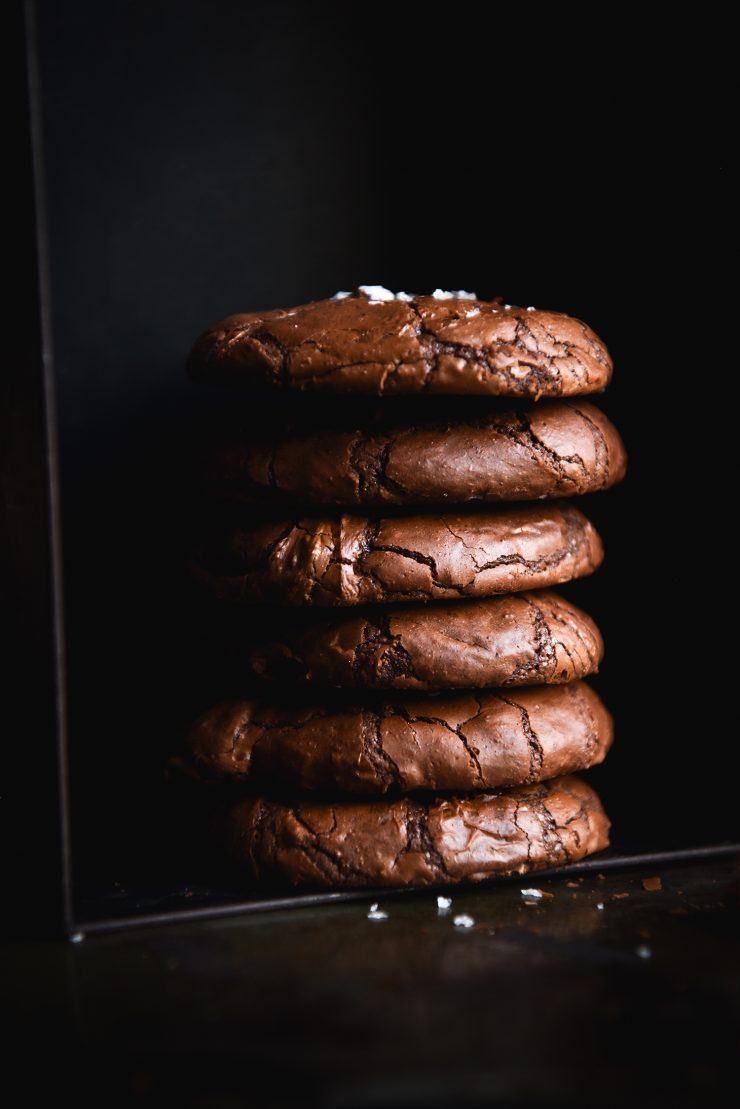
Gluten free brownie cookies without xanthan gum
A little bit of a fuss was made over my recent recipe for grain-free brownie cookies. While that recipe is the OG (and can be found in the bushfire relief e-book) I decided to create the next best thing. That is; gluten-free brownie cookies without xanthan gum.
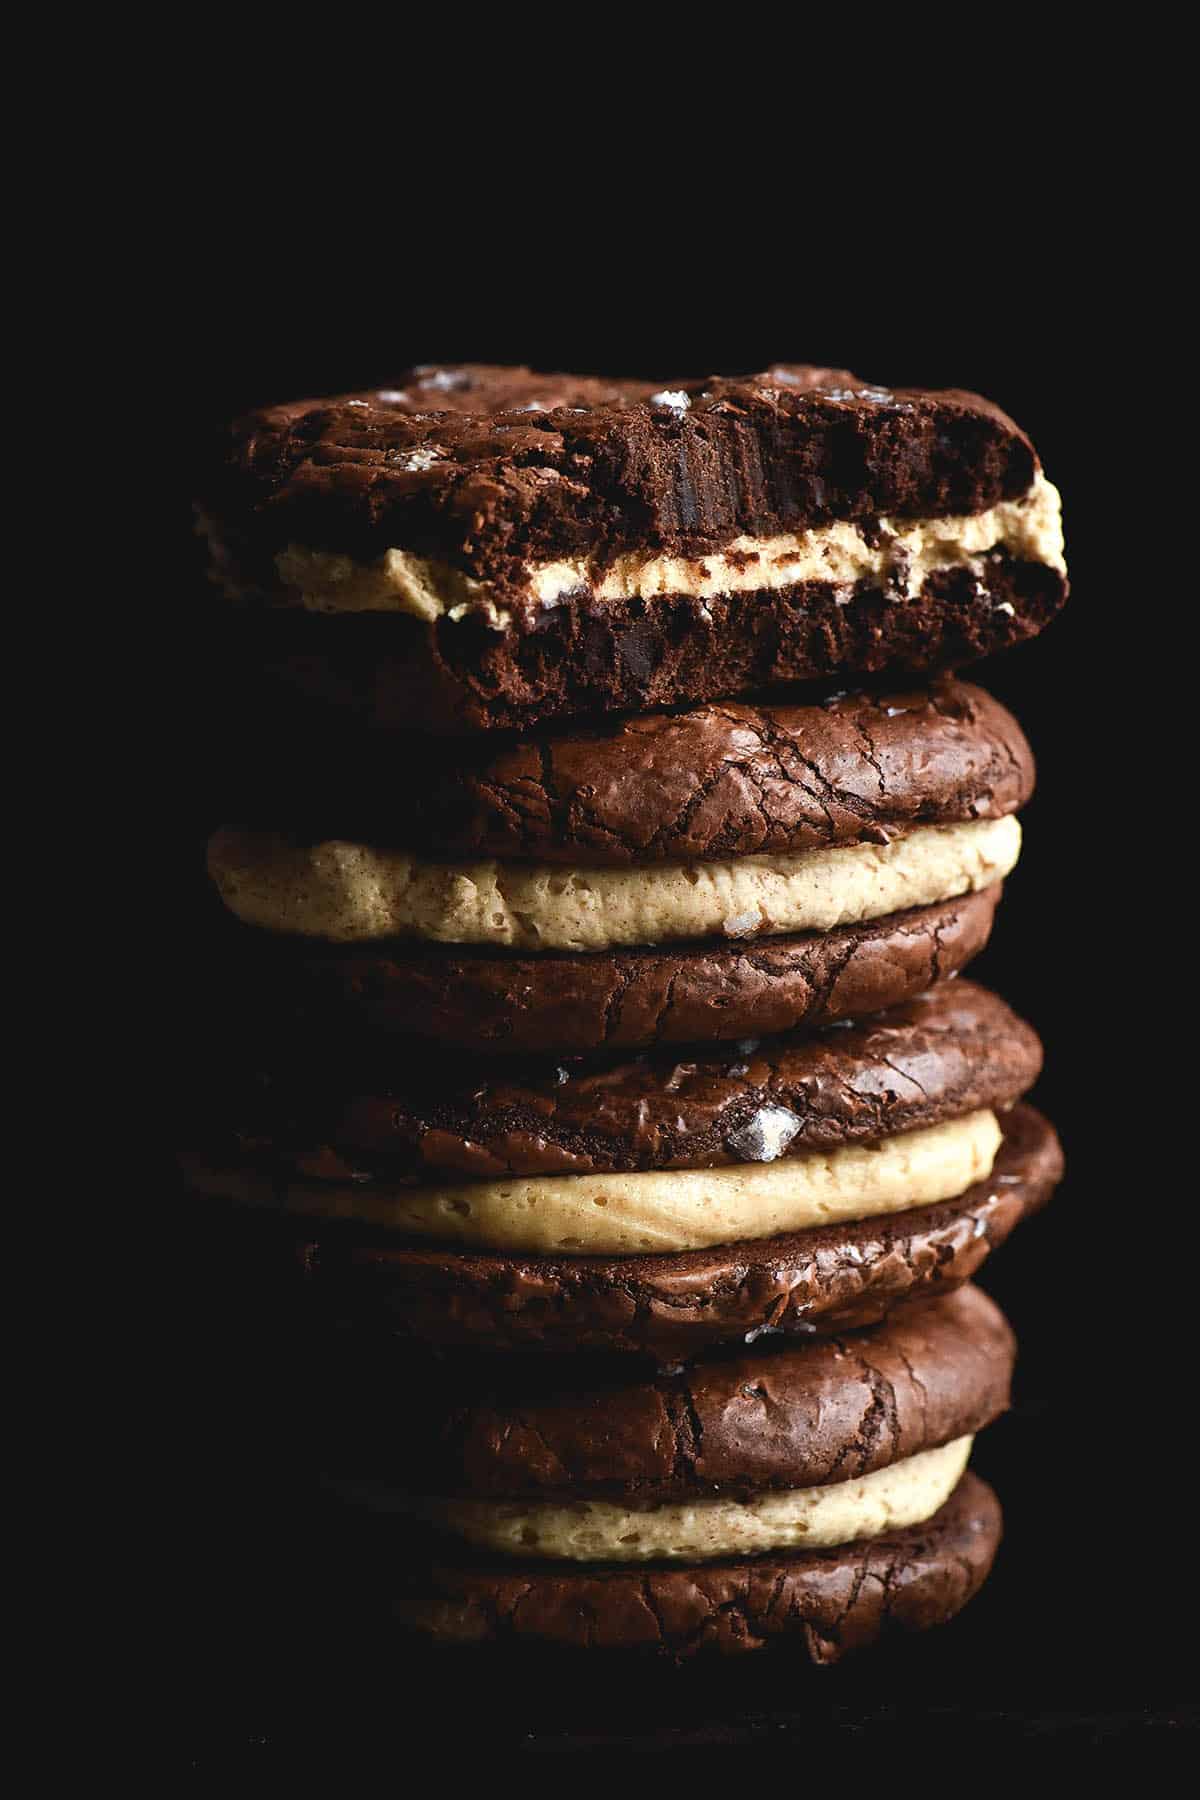
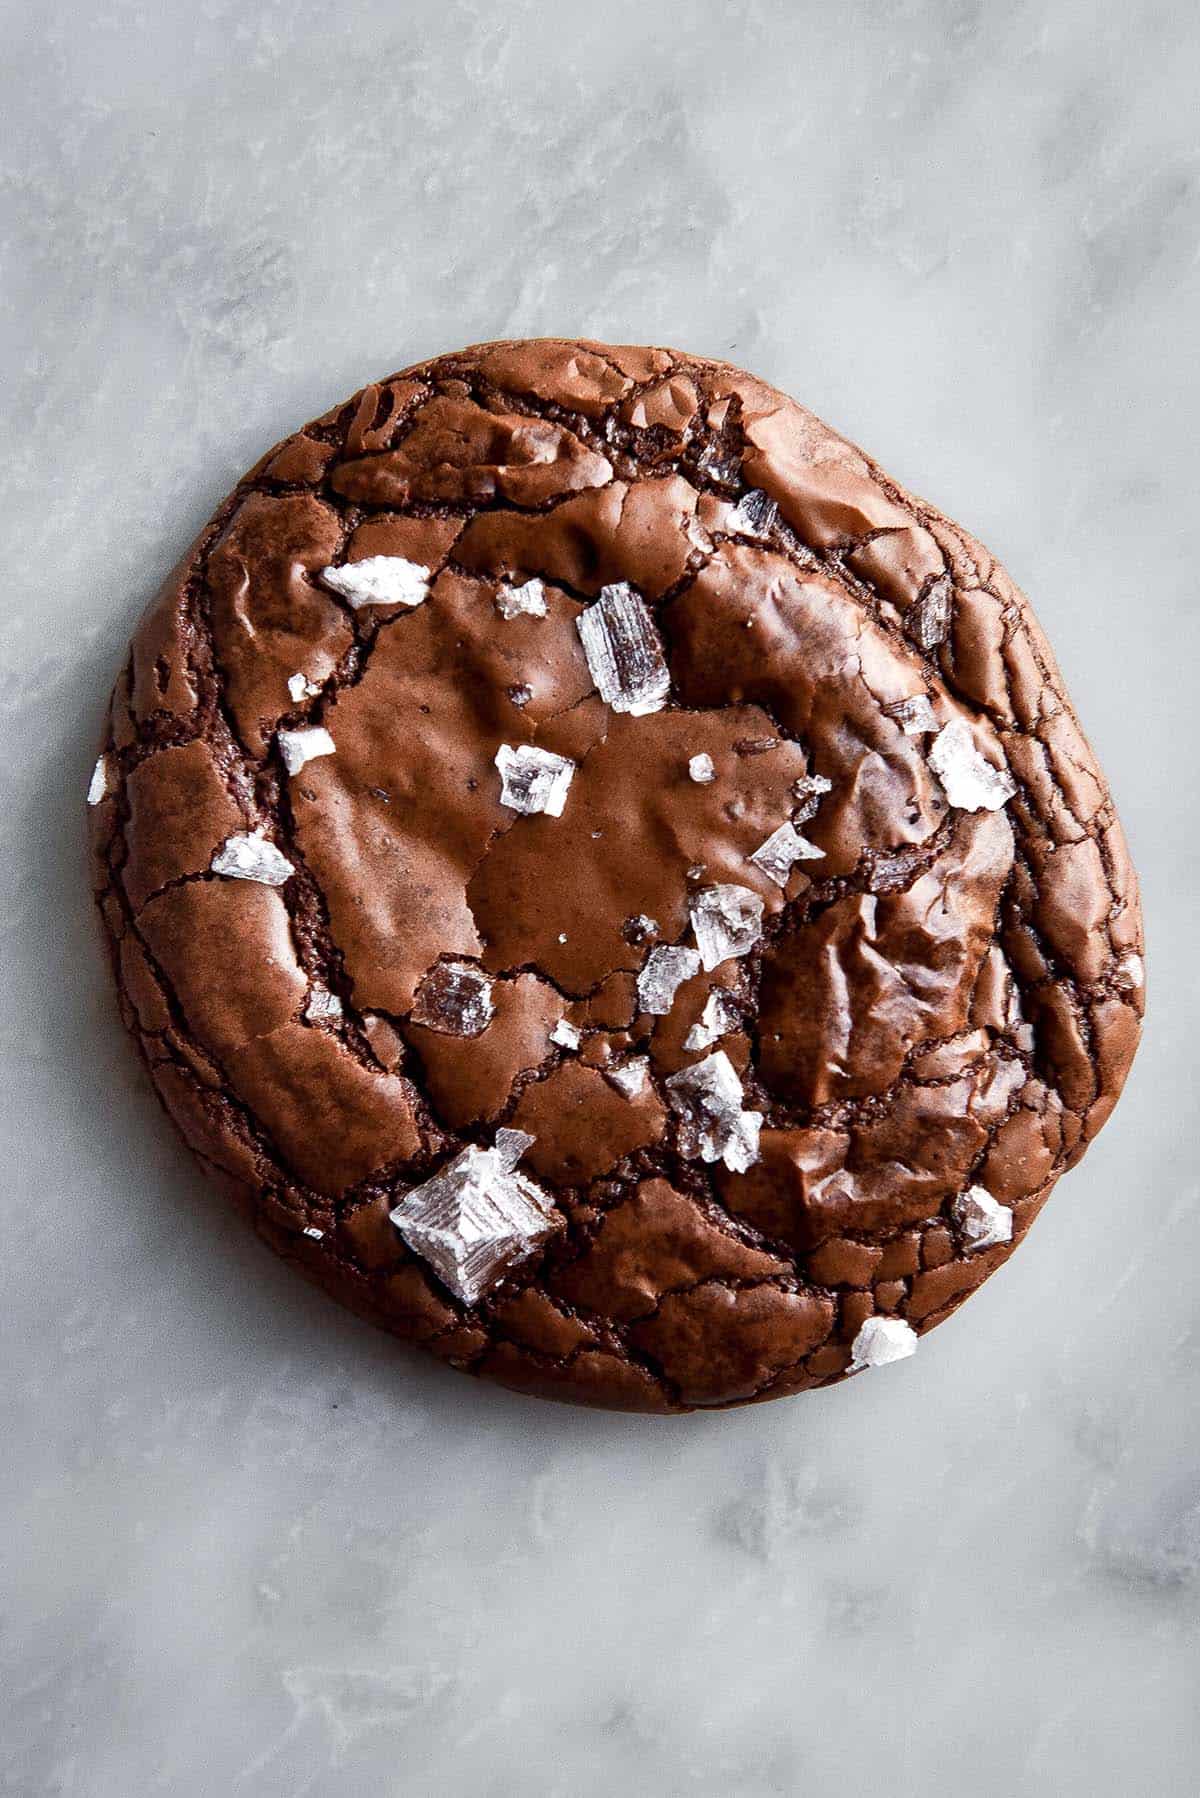
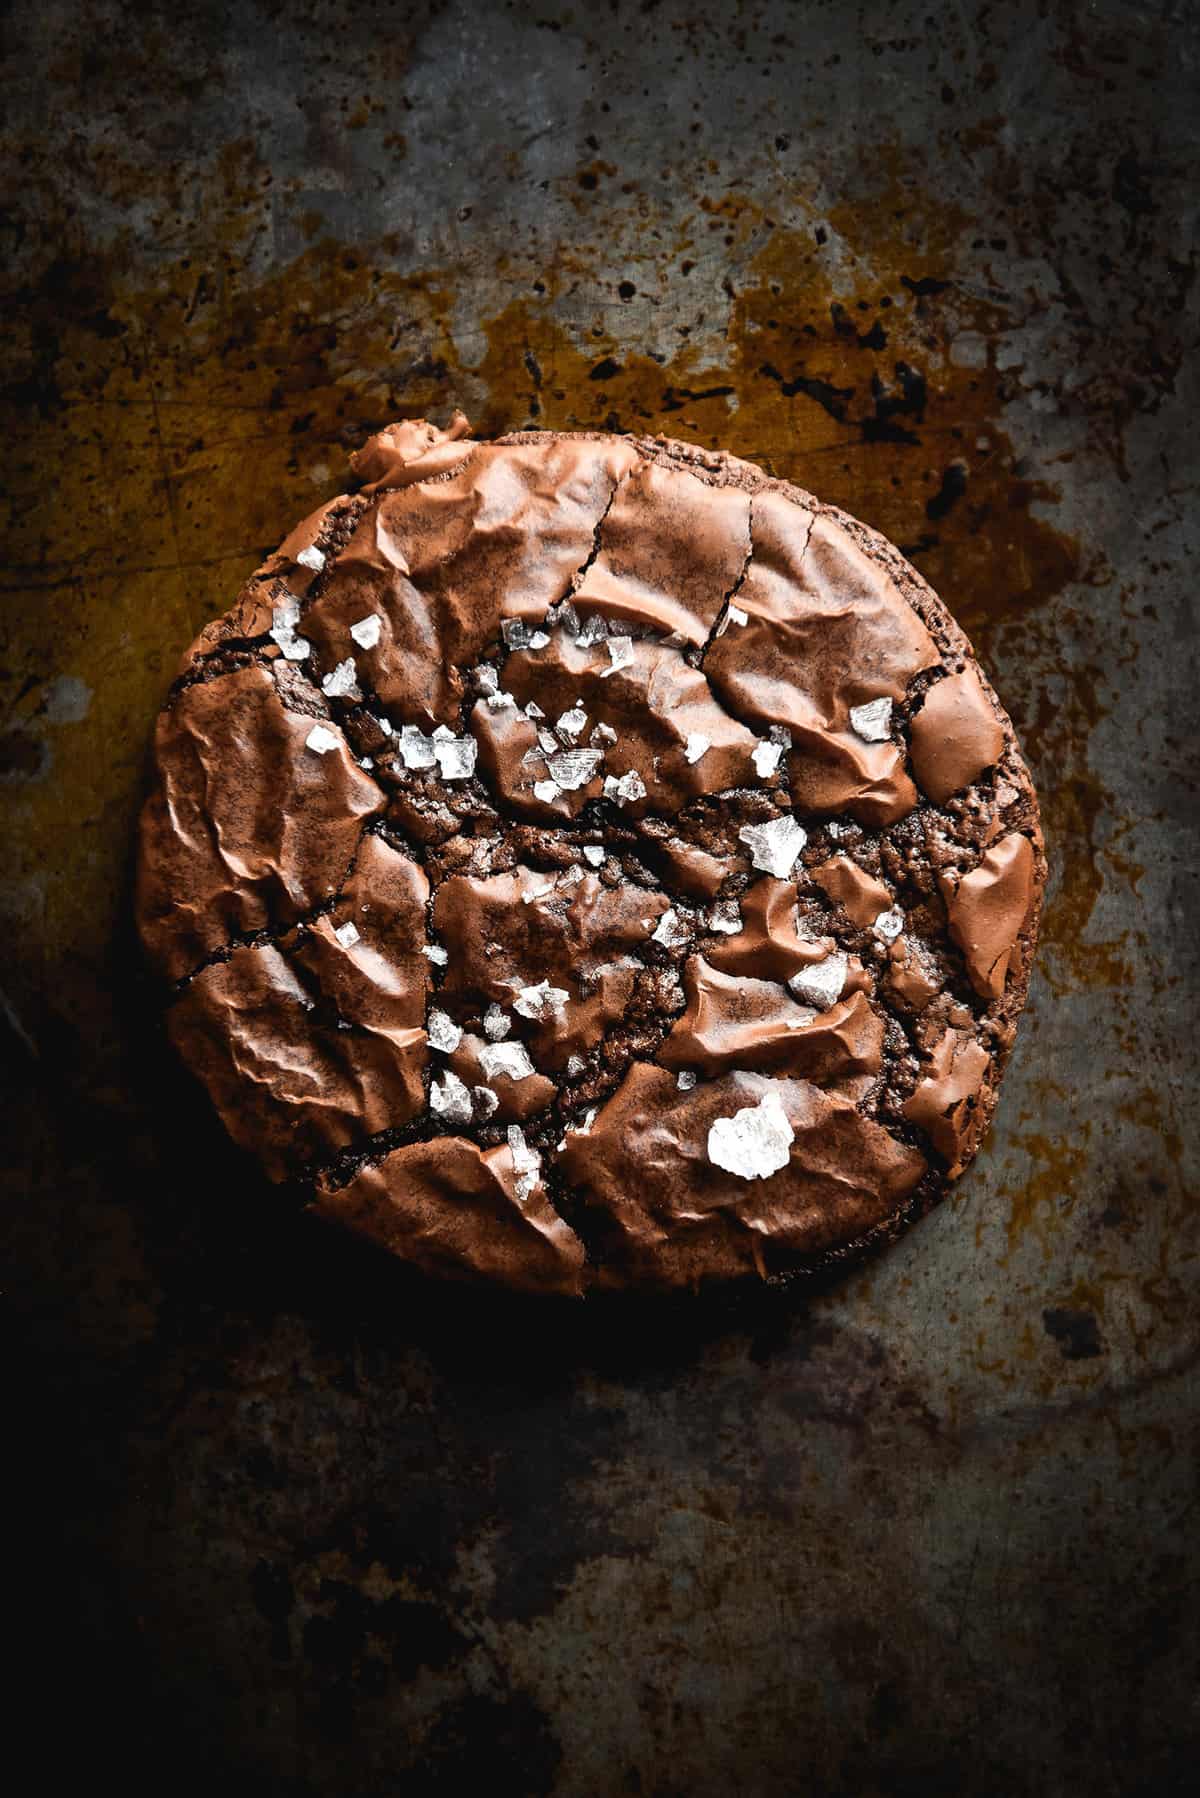
These brownie cookies are made with brown brown butter for a rich and complex flavour. Dark chocolate (45-70%) creates a rich chocolate flavour and the bulk of the cookie. Eggs and sugar are whipped together to form a meringue like base that will create beautifully crinkly cookies. Finally, cocoa, a gluten free wholegrain flour and some baking powder complete the equation.
These gluten free brownie cookies are full of flavour and easy to make. They are fudgy yet crisp, just as a good brownie cookie should be. Not to mention, they are nut free, low lactose and xanthan gum free.

More gluten free brownie cookie recipes
Before we go any further, it would be prudent to mention my suite of other gluten free brownie cookie recipes. If there’s something in this recipe that doesn’t work for you, chances are I have a recipe for brownie cookies that omits that ingredient. What can I say, it’s a hobby and a passion.
- Vegan, gluten free brownie cookies
- Sourdough gluten free brownie cookies
- A small batch version for smaller households
- Flourless brownie cookies
Why quinoa flour?
So, why quinoa flour, and why toasted? Firstly, I’m a quinoa flour fiend. Not only is it high protein and nutritionally dense, it tastes delicious. Quinoa flour has a nutty, deep flavour that is amplified AGAIN by it’s toasting. So much so that I’ve recently taken to making it in bulk and using it in things like sourdough loaves. (NB my gluten free sourdough recipe is here my guide to gluten free sourdough starters can be found here.) On the note of guides (and of toasted quinoa flour) I have written up a method to milling and toasting your own toasted quinoa flour here, so we can get on with the recipe.
Notes for your gluten free brownie cookies
First and foremost, let’s talk substitutions. I have one for the quinoa flour and for the brown butter. They’re both in the bushfire e-book found here.
I highly recommend toasting your quinoa flour. As I mention in the guide, you can mill your own using a high speed food processor. I have a little cheapie Nutribullet that does a fine, fine job. Literally and figuratively.
I use extra large eggs, basically always. The extra moisture is always a welcome addition to gluten free baked goods.
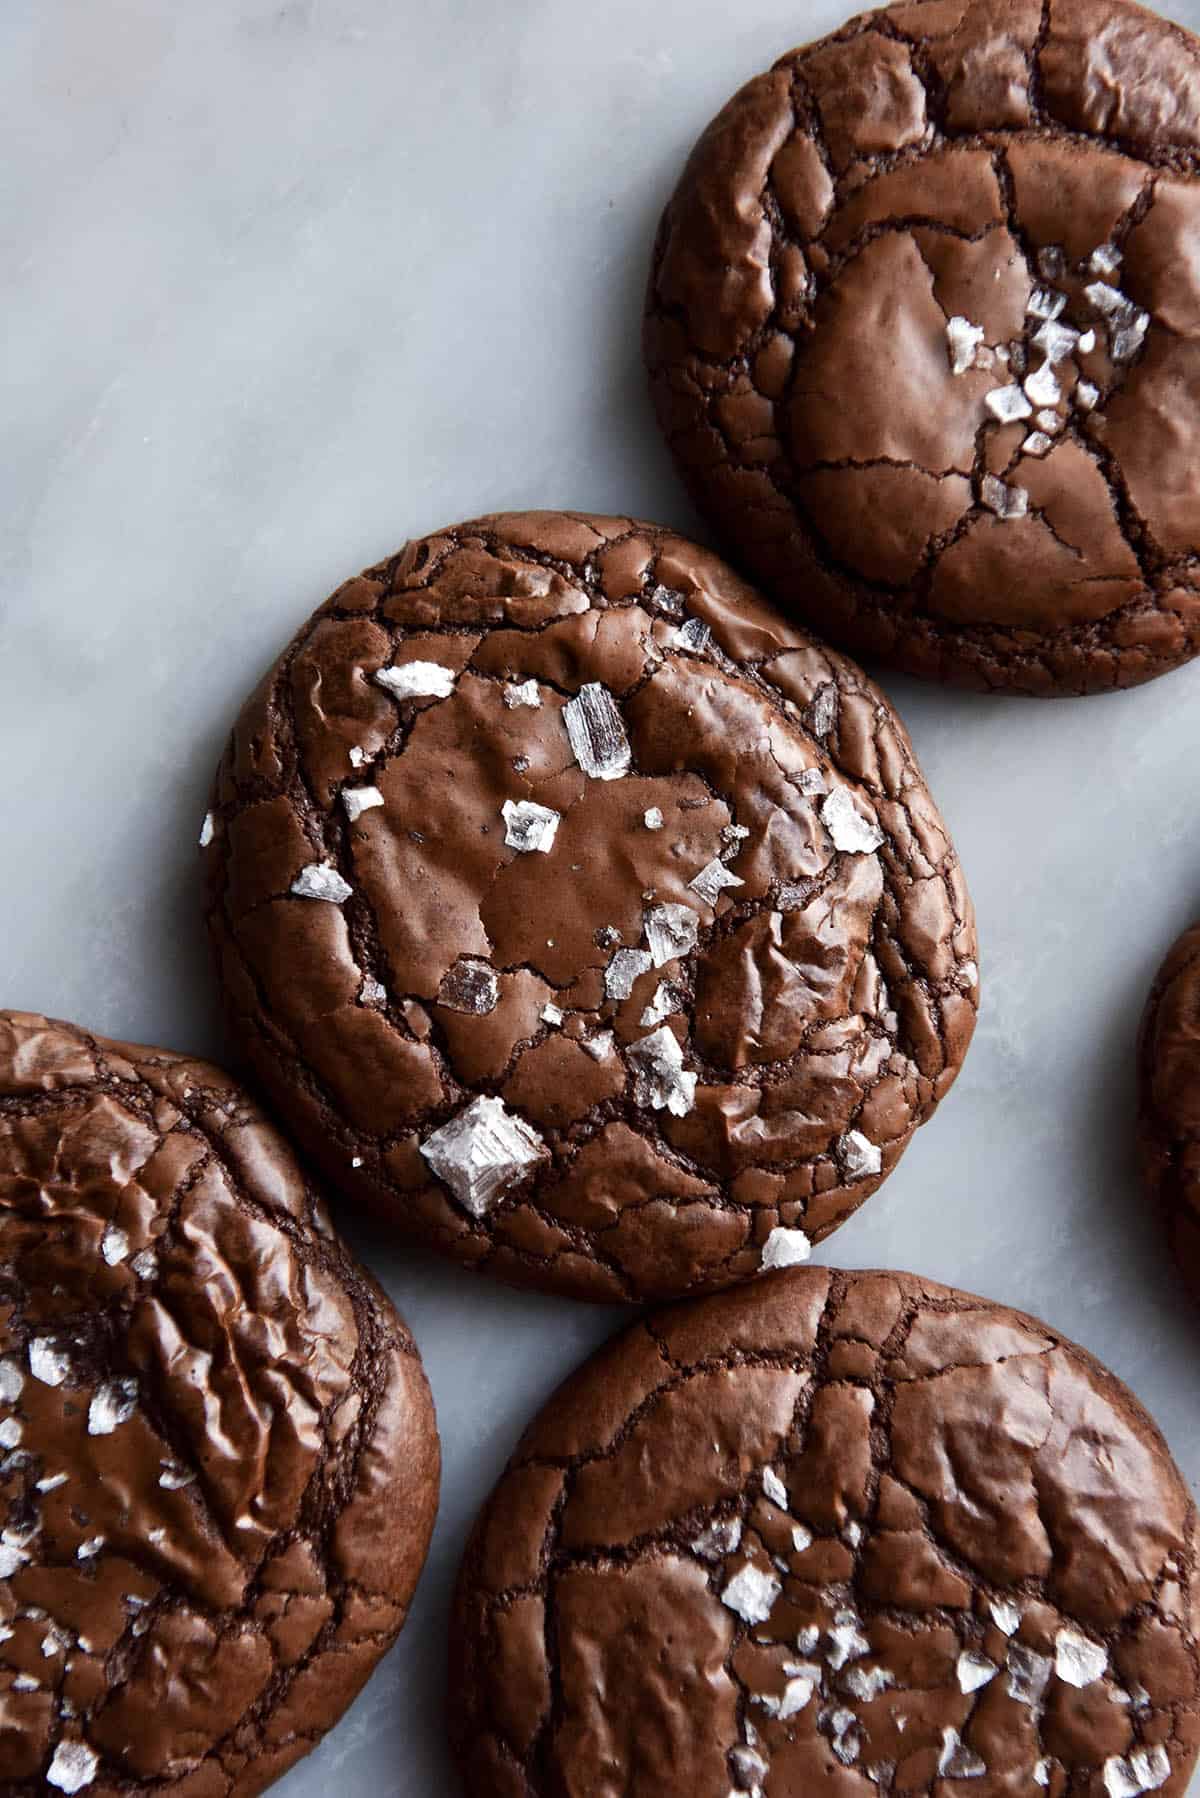
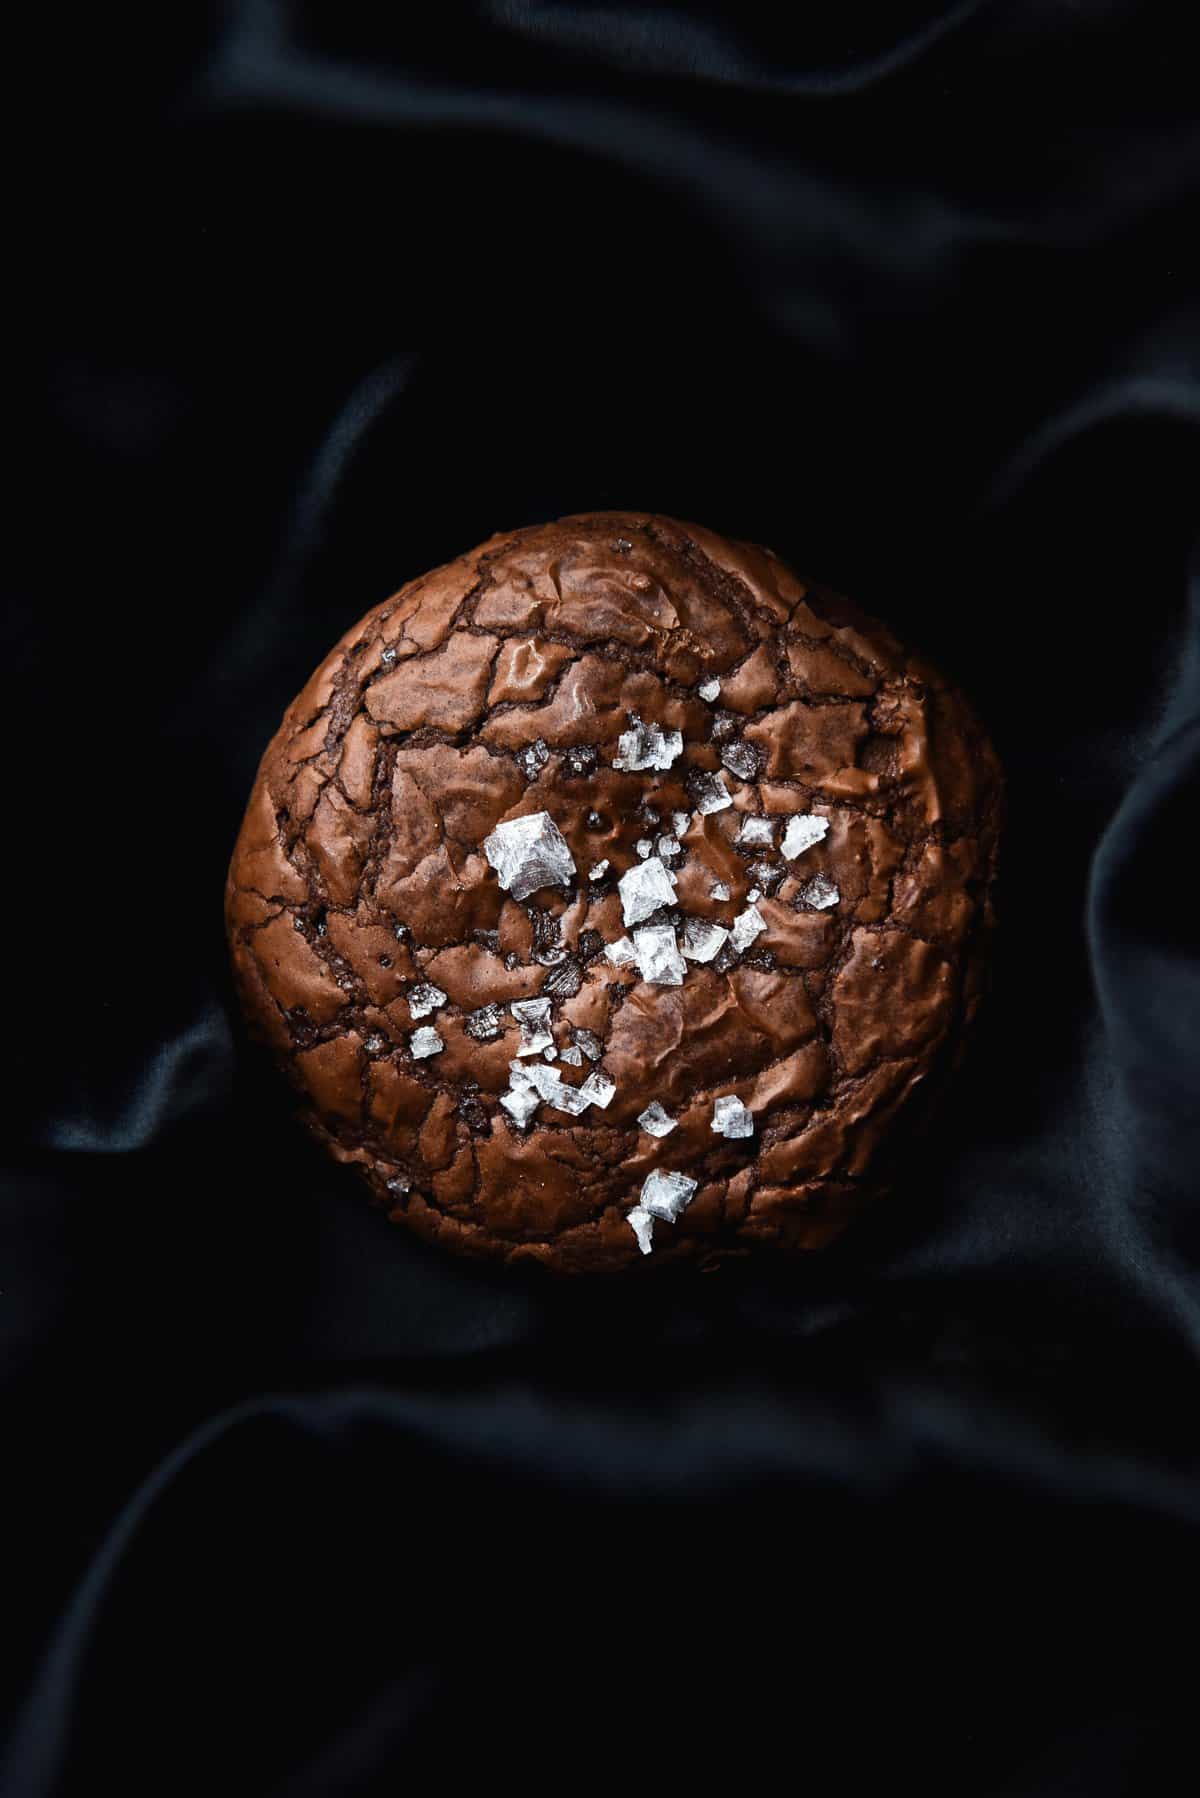
The sea salt, or at very least the salt within the cookie, is NOT WORTH SKIPPING. Courtesy of Samin we’ve all established that salt belongs in sweet things to balance out the sweetness.
I used to recommend a 45% dark chocolate for these cookies. Now I recommend a 70% sweetened dark chocolate. It makes for a great depth of flavour. I always buy Plaistow cooking chocolate because I know that it’s easily accessible to my Australian readership.
Another thing I’ve tested is omitting the vanilla bean paste, because I know some people don’t have access to it. They worked very well (although I missed the extra depth).
To make these into miso brownie cookies, add 25g (1 tablespoon) of light miso to the butter after browning. Whisk it in as best you can, off the heat. It will bubble up a little, and some small chunks are fine (they will be mixed out later). Instead of adding the full amount of salt, add just a pinch or two.
Gluten free flours that work in these gluten free brownie cookies
If you’ve read the recipe card, you’ll know that quinoa flour is the flour that I’ve used for the original gluten free brownie cookies. As time has gone on and I’ve made more brownie cookies, I have been testing some options for you.
Sorghum flour works – I would recommend using 45-50g as opposed to the lower 40g. I tested some with 40g and they were delicious, but thinner and more fudgy on the inside than I probably would have liked. That said, I did make that batch with 45% dark chocolate, which may have impacted the result.
Buckwheat flours also works well in these cookies – I used 50g and the result was some very puffy bois. I’ve captioned images of the buckwheat flour cookies so you can see what I mean. Because buckwheat is quite a sticky flour, I think you could safely use 40g for a regular level of puff.
I have used brown rice flour as a quinoa flour substitute, and I daresay white rice flour would be a success too.
There’s a totally flourless version which you can find here. If you’re looking for a vegan version, you’re in luck! I have a recipe for gluten free and vegan brownie cookies right here.
How to make these gluten free brownie cookies according to your preferences
Like my previous cookies recipes, there are a few triggers here to make these dazzlingly handsome numbers your own.
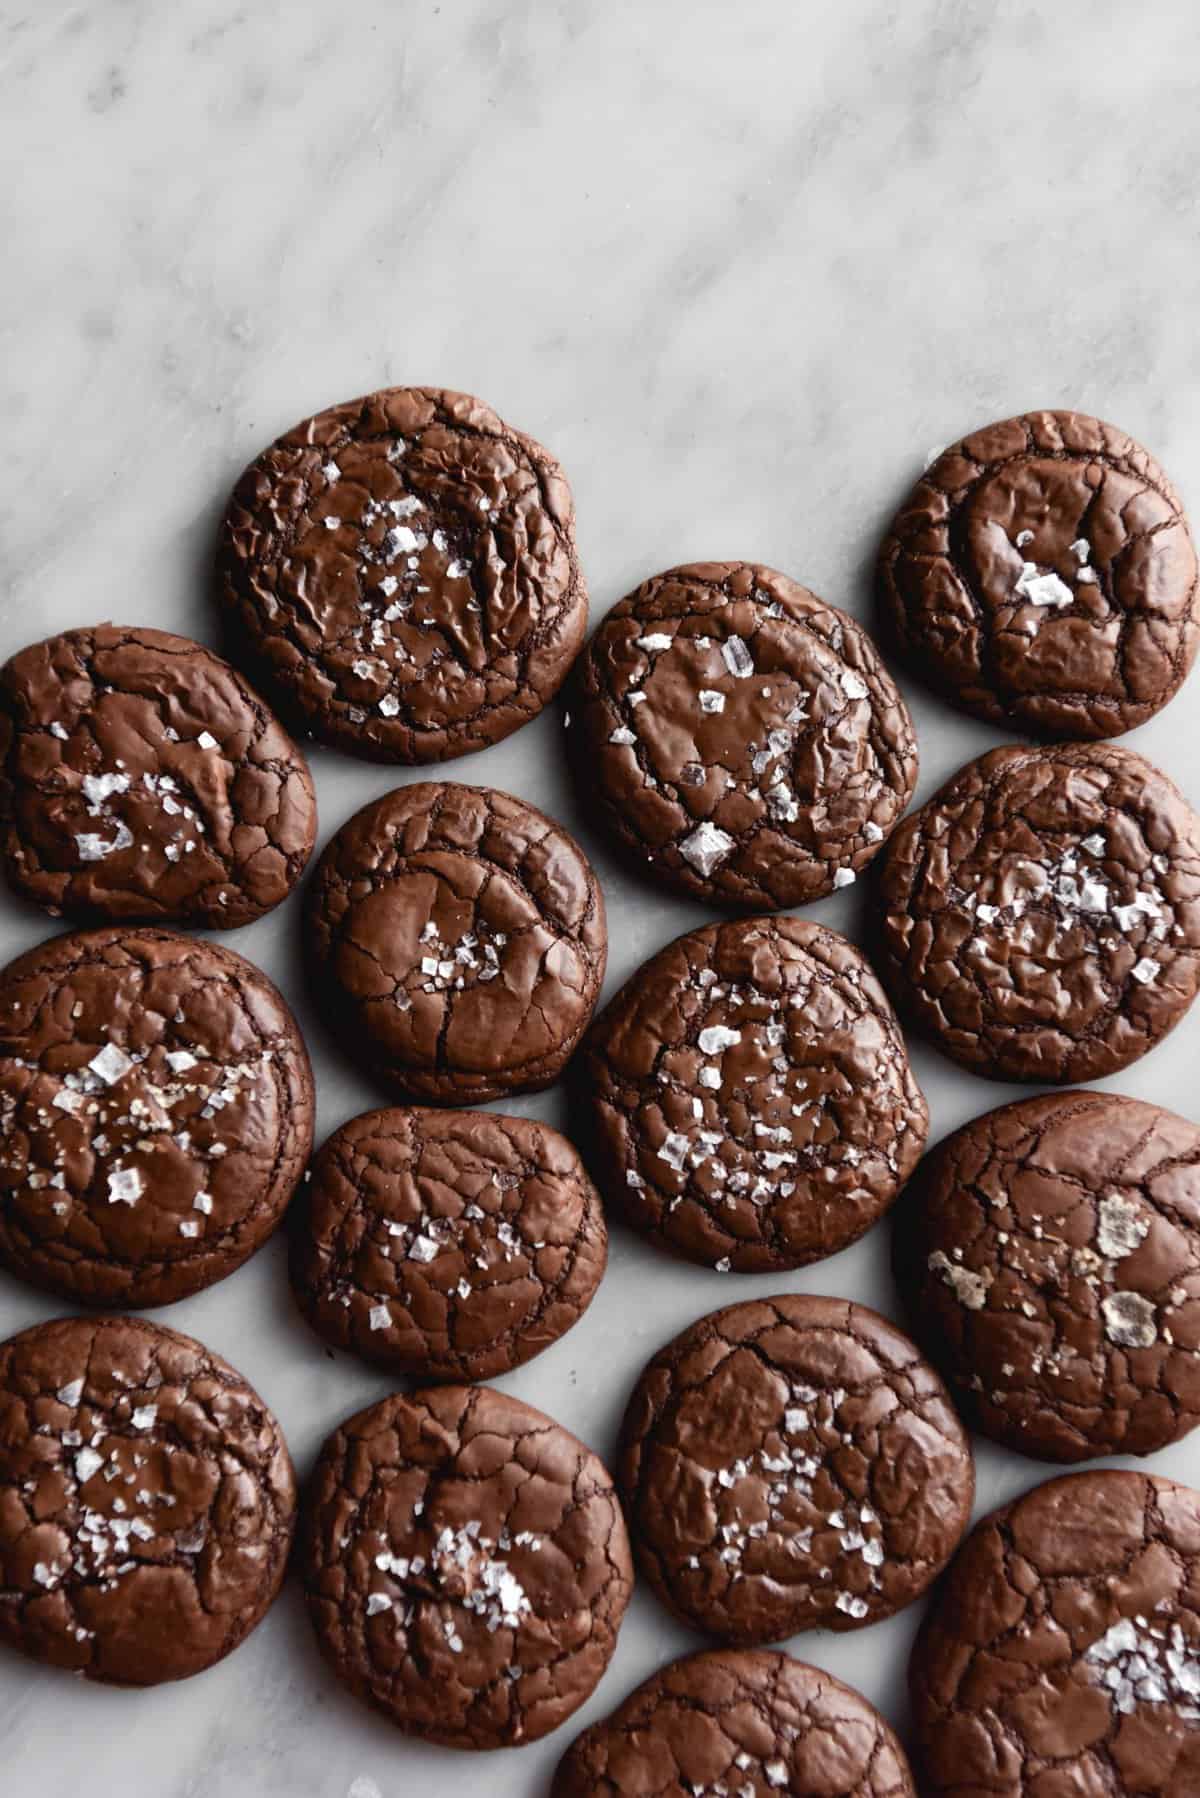
If you prefer flatter cookies (like the middle cookie in the photo below) use 3 tablespoons of quinoa flour as opposed to 4. You could also add 5g extra butter or an extra teaspoon of vanilla bean paste.
If you prefer a puffier cookie (like the top left and and right in the photo below) use 4 tablespoons of quinoa flour. My personal ideal would be somewhere in the middle; 3 1/2 tablespoons.
If you like a bit of depth of flavour, I had success in substituting 1/4 cup of caster sugar for 2 tablespoons of light brown sugar.
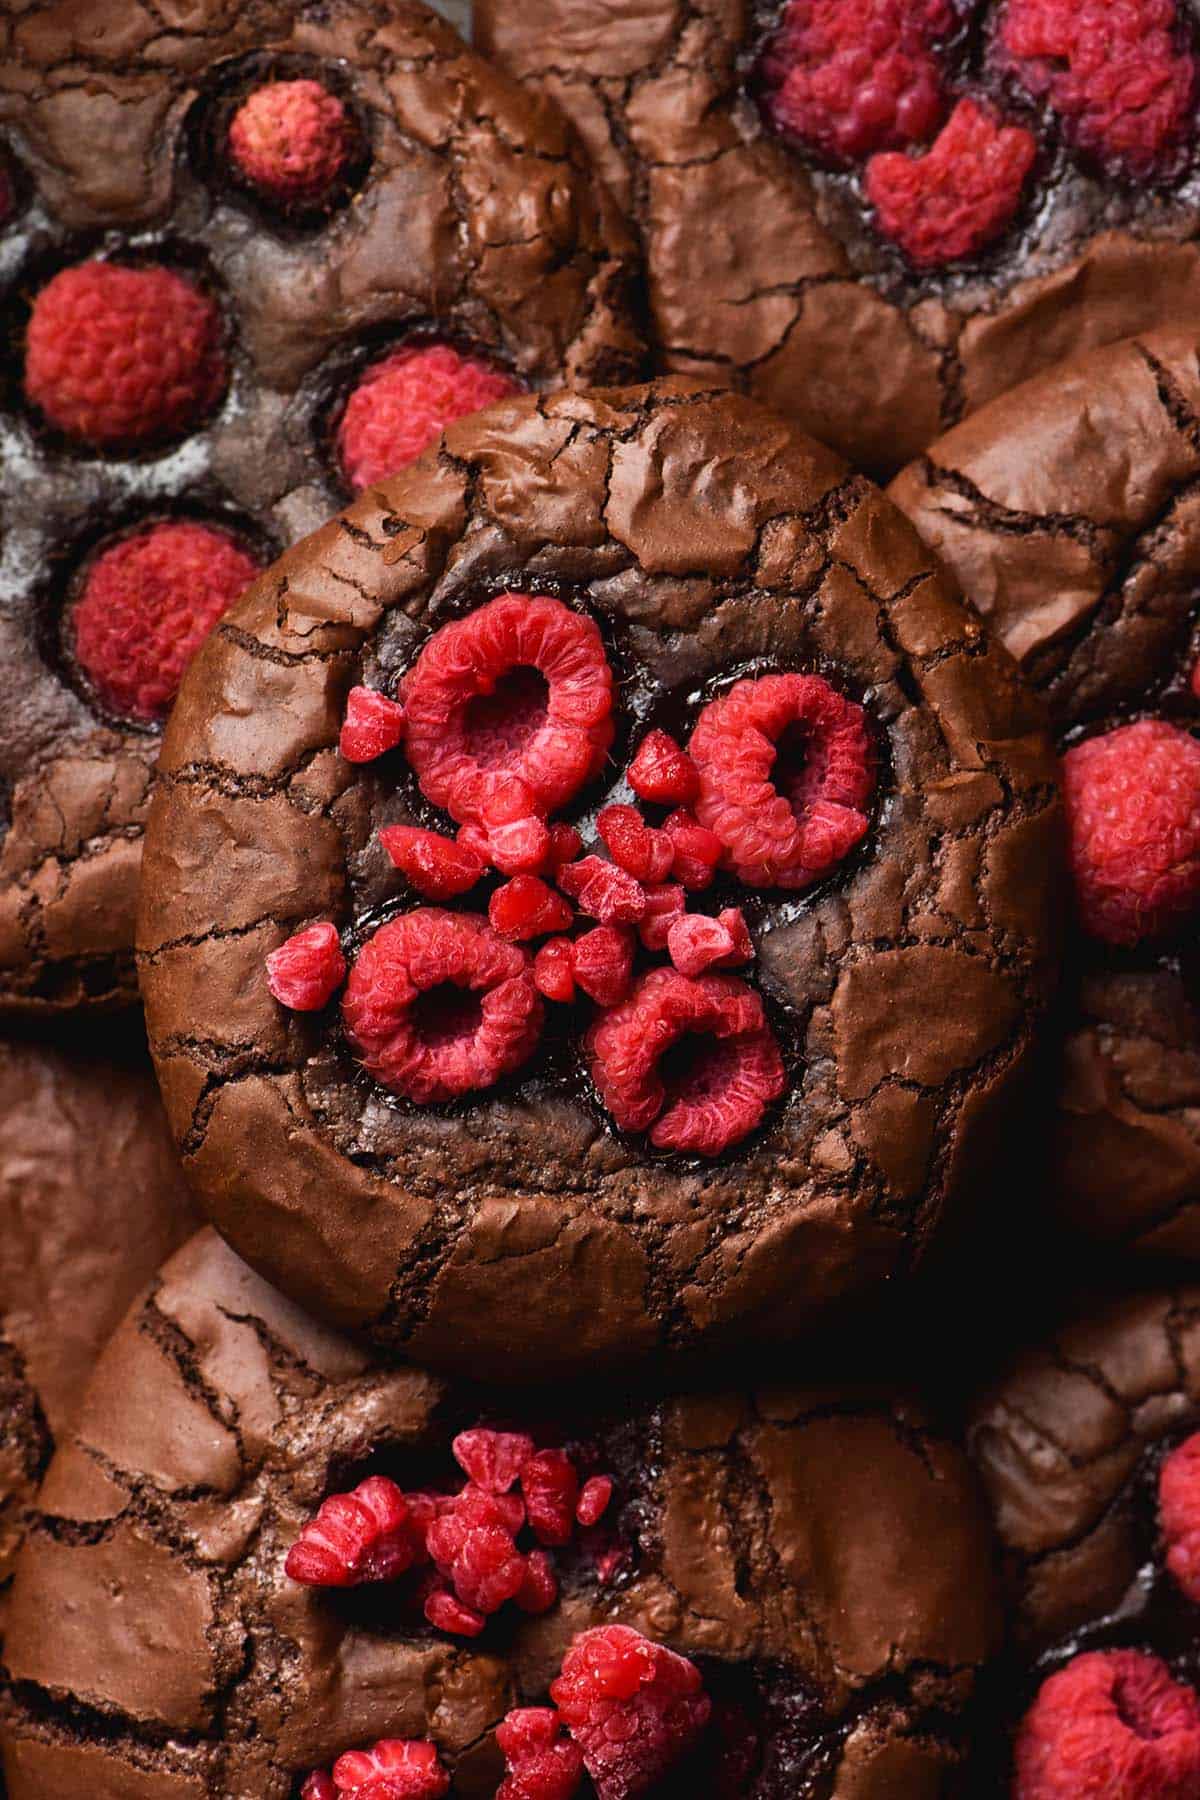
How to make raspberry brownie cookies
Adding raspberries to these gluten free brownie cookies is an incredibly delicious way to add contrasting freshness. I have to say, it’s probably my new favourite way to make these brownie cookies.
Do keep in mind, though, that it adds moisture to the top of the brownie cookie. This means that they will be visibly fudgy and under-baked around the raspberries. If you have concerns about under-baked dough, this might not be the option for you.
- Purchase 1 punnet (125g) raspberries. You can also use frozen, although this adds more liquid to the equation.
- Prepare the recipe as per the recipe card and assemble the dough on the two trays.
- Stud the raspberries evenly onto the cookies. Press them into the dough to secure them.
- Bake the cookies as per the recipe card. If the cookies look very under-baked, turn the heat down to 160C/320F and continue to bake, swapping the trays over as before. I found the cookies easily become brittle and over-baked if you leave the oven at 180C/356F, so it’s important to lower the oven temperature. Cook them for an additional 10 or so minutes.
- Allow the cookies to cool completely on the tray. Leftovers are best stored in the fridge and eaten within a couple of days.
To make a choc mint brownie cookie
I recently experimented with a choc mint version of this recipe and I was very pleased with the result. I simply added 1 teaspoon of peppermint extract (the inexpensive stuff bought at the shops for $3) to the batter as it mixed. Y
You could get away with 1/2 teaspoon for a more subtle mint flavour. The peppermint extract I used contains vegetable oil as the primary ingredient. As such, it differs from peppermint oil (the pure and expensive stuff). Pure peppermint oil is a lot stronger than the supermarket version. I haven’t tried anything strong or high quality, but I daresay you would use a lot less of it.
More gluten free chocolate recipes
- My best ever gluten free brownies
- And, of course, my vegan brownies
- My super easy chocolate cake without xanthan gum
- A chocolate olive oil cake with ganache
- Quick and easy vegan chocolate mug cake

Gluten free brownie cookies without xanthan gum
Ingredients
- 75 g butter browned (becomes 60g after browning)
- 200 g dark chocolate I use 45-70% sweetened cooking chocolate
- 150g caster sugar
- 2 extra large eggs
- 20g cocoa powder (both Dutch processed and regular are fine)
- 40-50g quinoa flour (toasted is delicious) See notes for alternatives
- 1/4 (1g) teaspoon baking powder
- pinch of fine salt
- Sea salt flakes to finish
Instructions
- Preheat the oven to 180C/356F. Line two baking trays.
To brown the butter:
- Place the butter in a small saucepan over a low-medium heat. Stir intermittently for a few minutes – the butter should start to bubble and then flecks of brown appear on the surface. Keep going until the flecks are dark brown before removing from the heat.
- Weigh the melted browned butter to ensure you’ve cooked off enough liquid – it should weigh 60g or thereabouts. A number a little over is fine, but if it’s significantly under, add a little fresh butter to make up the number.
- Place the brown butter in a heat proof bowl.
To make the brownie cookies:
- Half fill the small saucepan you used for the brown butter with water and place it on a medium heat. Place the heat proof bowl with the added brown butter on top of the saucepan, ensuring the water doesn’t touch the bottom of the bowl.
- Add the chocolate to the bowl and stir intermittently until it is completely melted. Remove from the heat and set aside.
- While the chocolate is melting, add the caster sugar and eggs to the bowl of the kitchen mixer. Using the whisk attachment, beat for 7 minutes on a medium-high speed until light and kind of fluffy. This helps create lift and a shiny meringue-like top.
- While this is happening, whisk together the cocoa, quinoa flour, baking powder and salt in a small bowl.
- Once the egg mixture is sufficiently lightened in colour, lower the speed of the mixer and pour in the melted chocolate while the motor is still running. Use a spatula to get every last bit.
- Once the chocolate has fully incorporated, lower the speed of the mixer and add in the flour cocoa mix. Stop and scrape down the sides of the bowl with a spatula as necessary.
- The batter should fall off the whisk attachment in thick ribbons. It is thick, but still thinner than a traditional cookie dough – you’ll need to use spoons to assemble.
To bake:
- Using two spoons, scoop roughly 1 1/2 tablespoons of batter per cookie onto a lined baking tray, leaving a little space for spread. I like to spoon six medium – large cookies per sheet.
- Sprinkle each cookie with a little sea salt and place both trays into the oven. Cook for 7-10 minutes or until the tops are crackly but the cookies are still soft. Swap the trays, and continue to cook for an additional 7-12 minutes. All up, the cookies should be in the oven around 15-20 minutes, depending on how done you like them. You can judge this by how done you like traditional brownies.
- Once cooked to your liking, remove from the oven and allow to cool and firm up on the baking tray. You won’t be able to pick them up instantly – they solidify as they cool.
- For best, chewiest results, allow the cookies to cool completely before eating.
- Sugar draws moisture from the air, so for best results store uneaten cookies in an airtight container in the fridge.
Delicious! I followed the recipe to the T and these came out perfectly! Very shiny top but like a perfect brownie on the inside. They were very rich so I wouldn’t skip the sea salt for balance.
Hi there! My 8 yr old son was diagnosed with Celiac Disease just 6 months ago. I have been experimenting with EVERY kind of flour known to man. However, I’ve been substituting flours on AP flour recipes….8 yo tastebuds to please. Anyway, I’m really excited to try some many of your recipes and I’m going to try this cookie one first. Thank you for all these great options.
Wondering….Can I make quinoa flour by just milling quinoa? These look AMAZING!
Hi Francesca, yes you can! There’s a link to a little guide in the introduction, but as long as you have a high speed processor (I use my Nutribullet) then you’re good to go 🙂
Hi! This recipe sounds amazing, but I do not have quinoua flour. Can I replace with almond, coconut or buckwheat flour?
Hi Simona, I haven’t tried them with any of those flours so I can’t guarantee the results but I’d say your best bet is buckwheat flour. Let me know how you go!