We love brownies and small batch brownies. We also love brownie cookies, so it stands to reason that small-batch gluten-free brownie cookies are another must. So, here we are. Today I’m making the original version in a small, half batch. There are other versions, too:
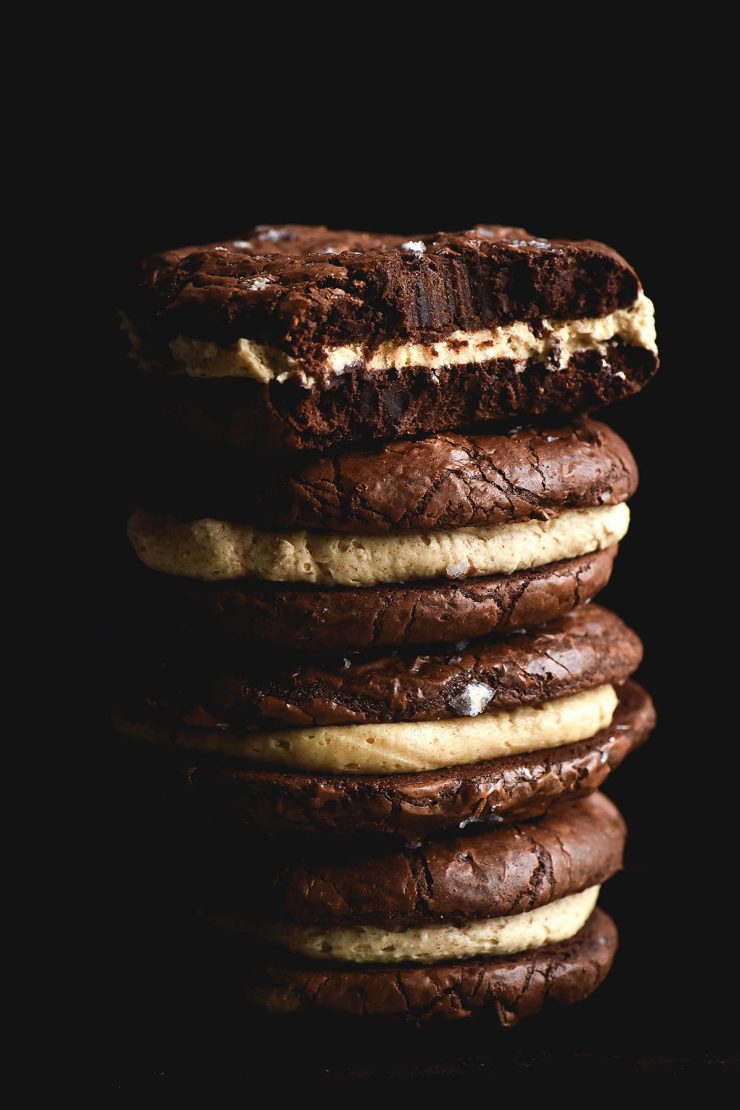
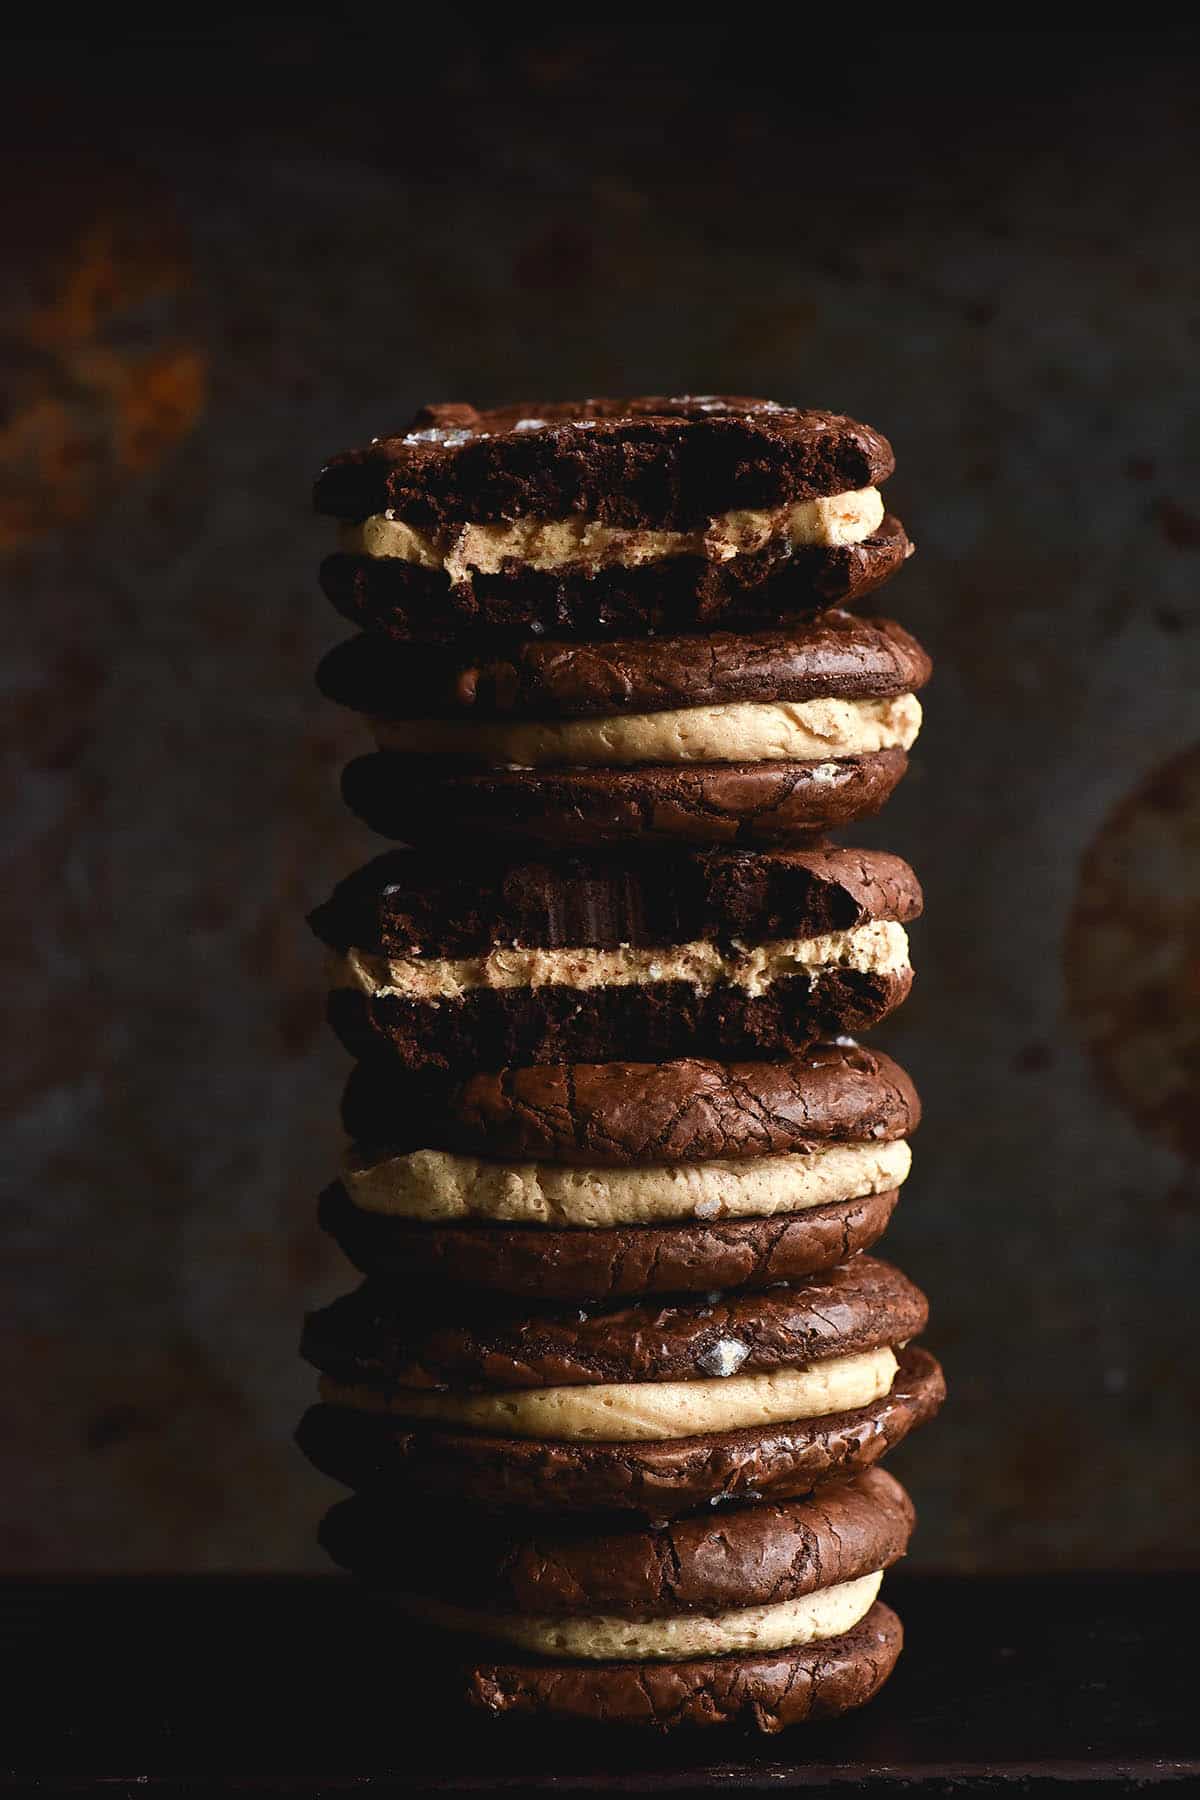
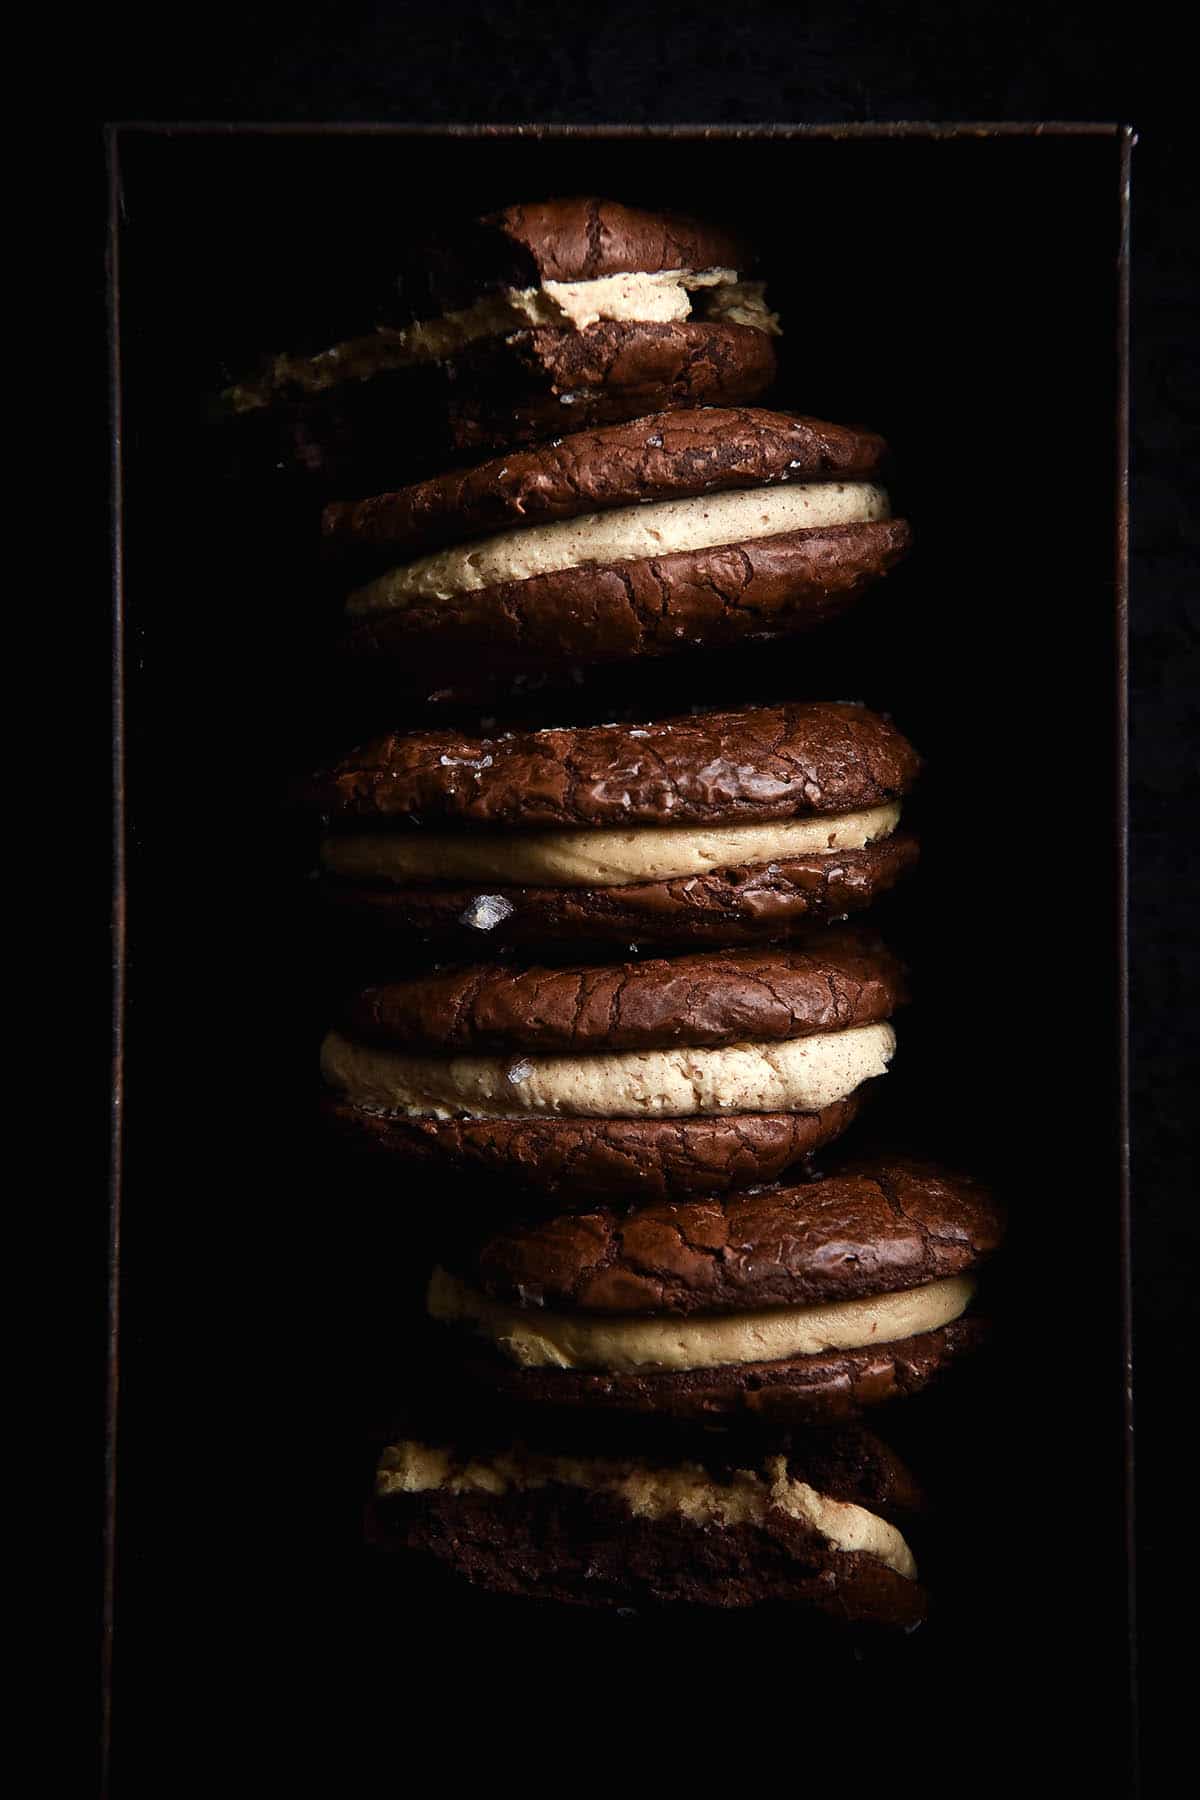
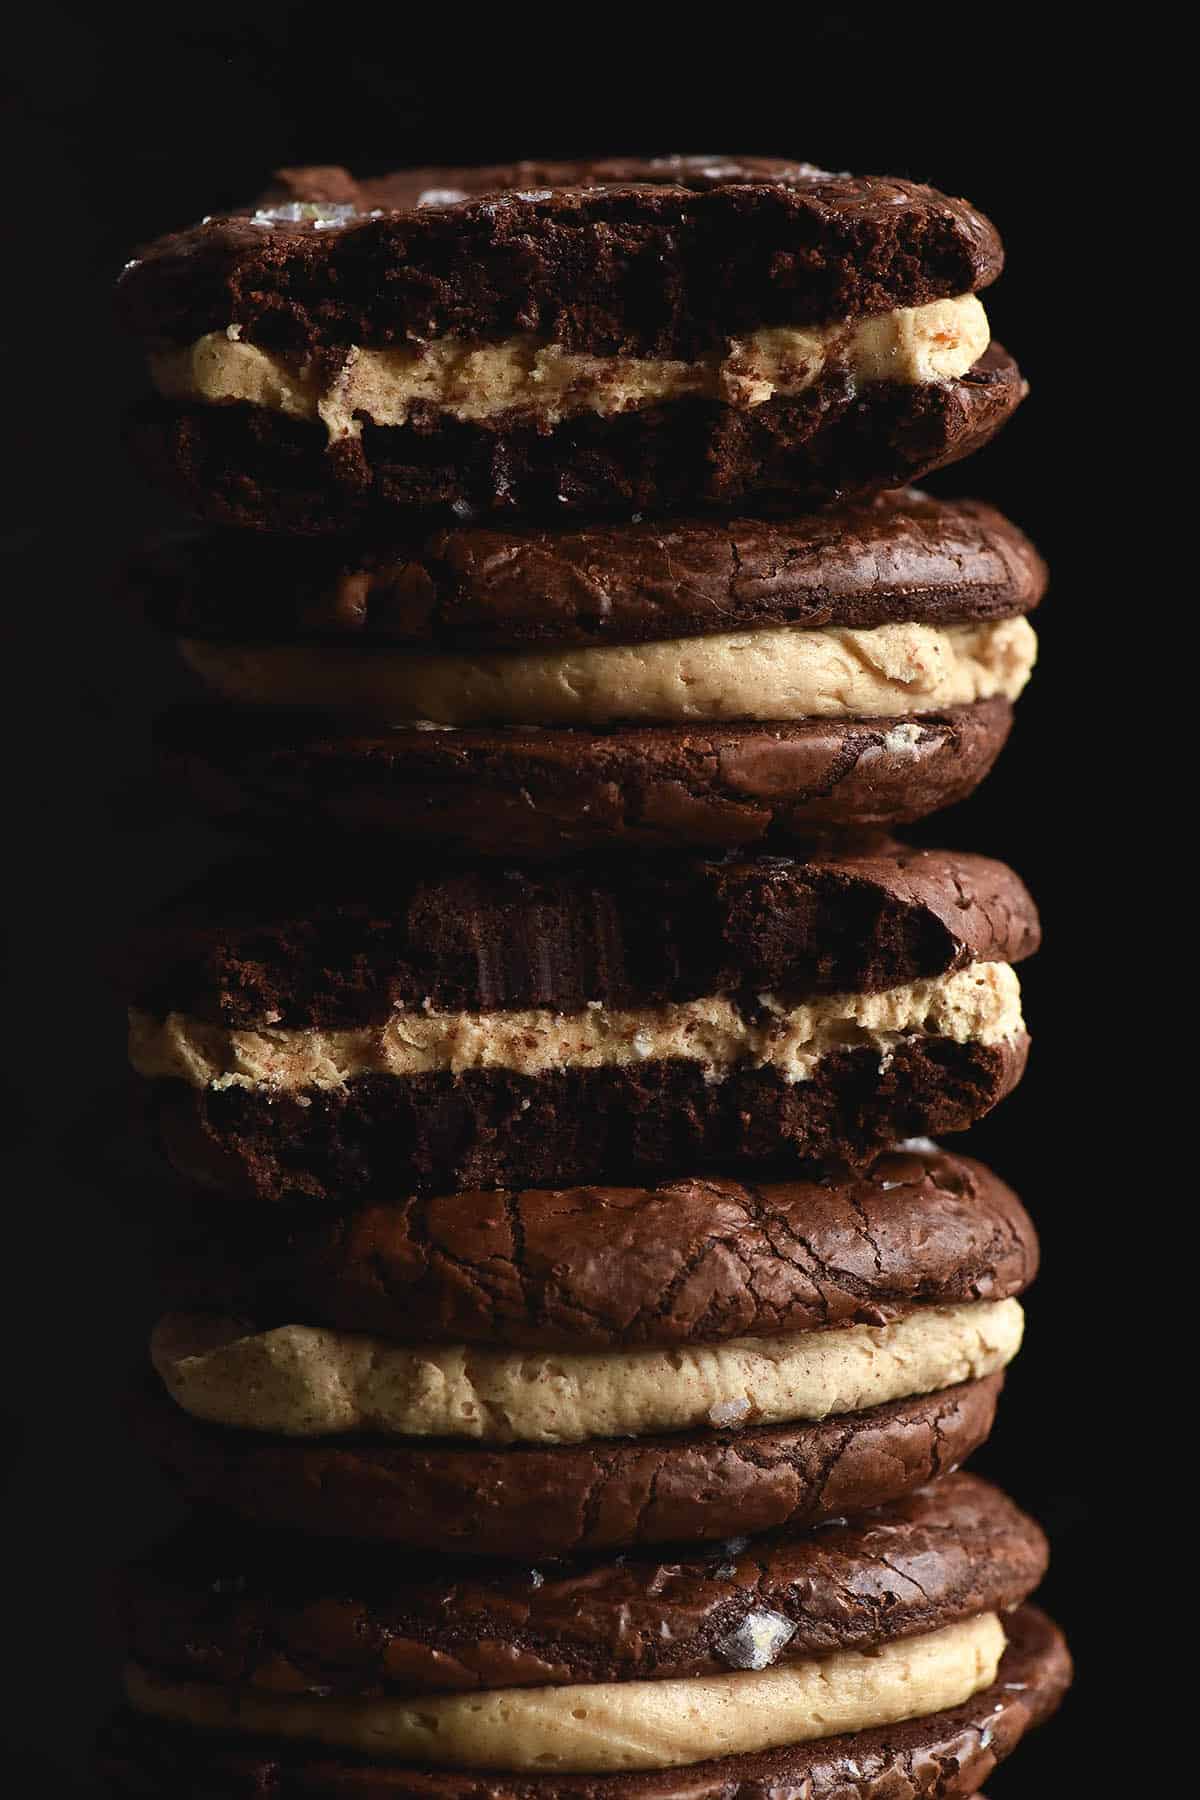
This version, however, makes six delicious nut free cookies. The perfect size for smaller households, a little treat, or a delicious cookie sandwich.
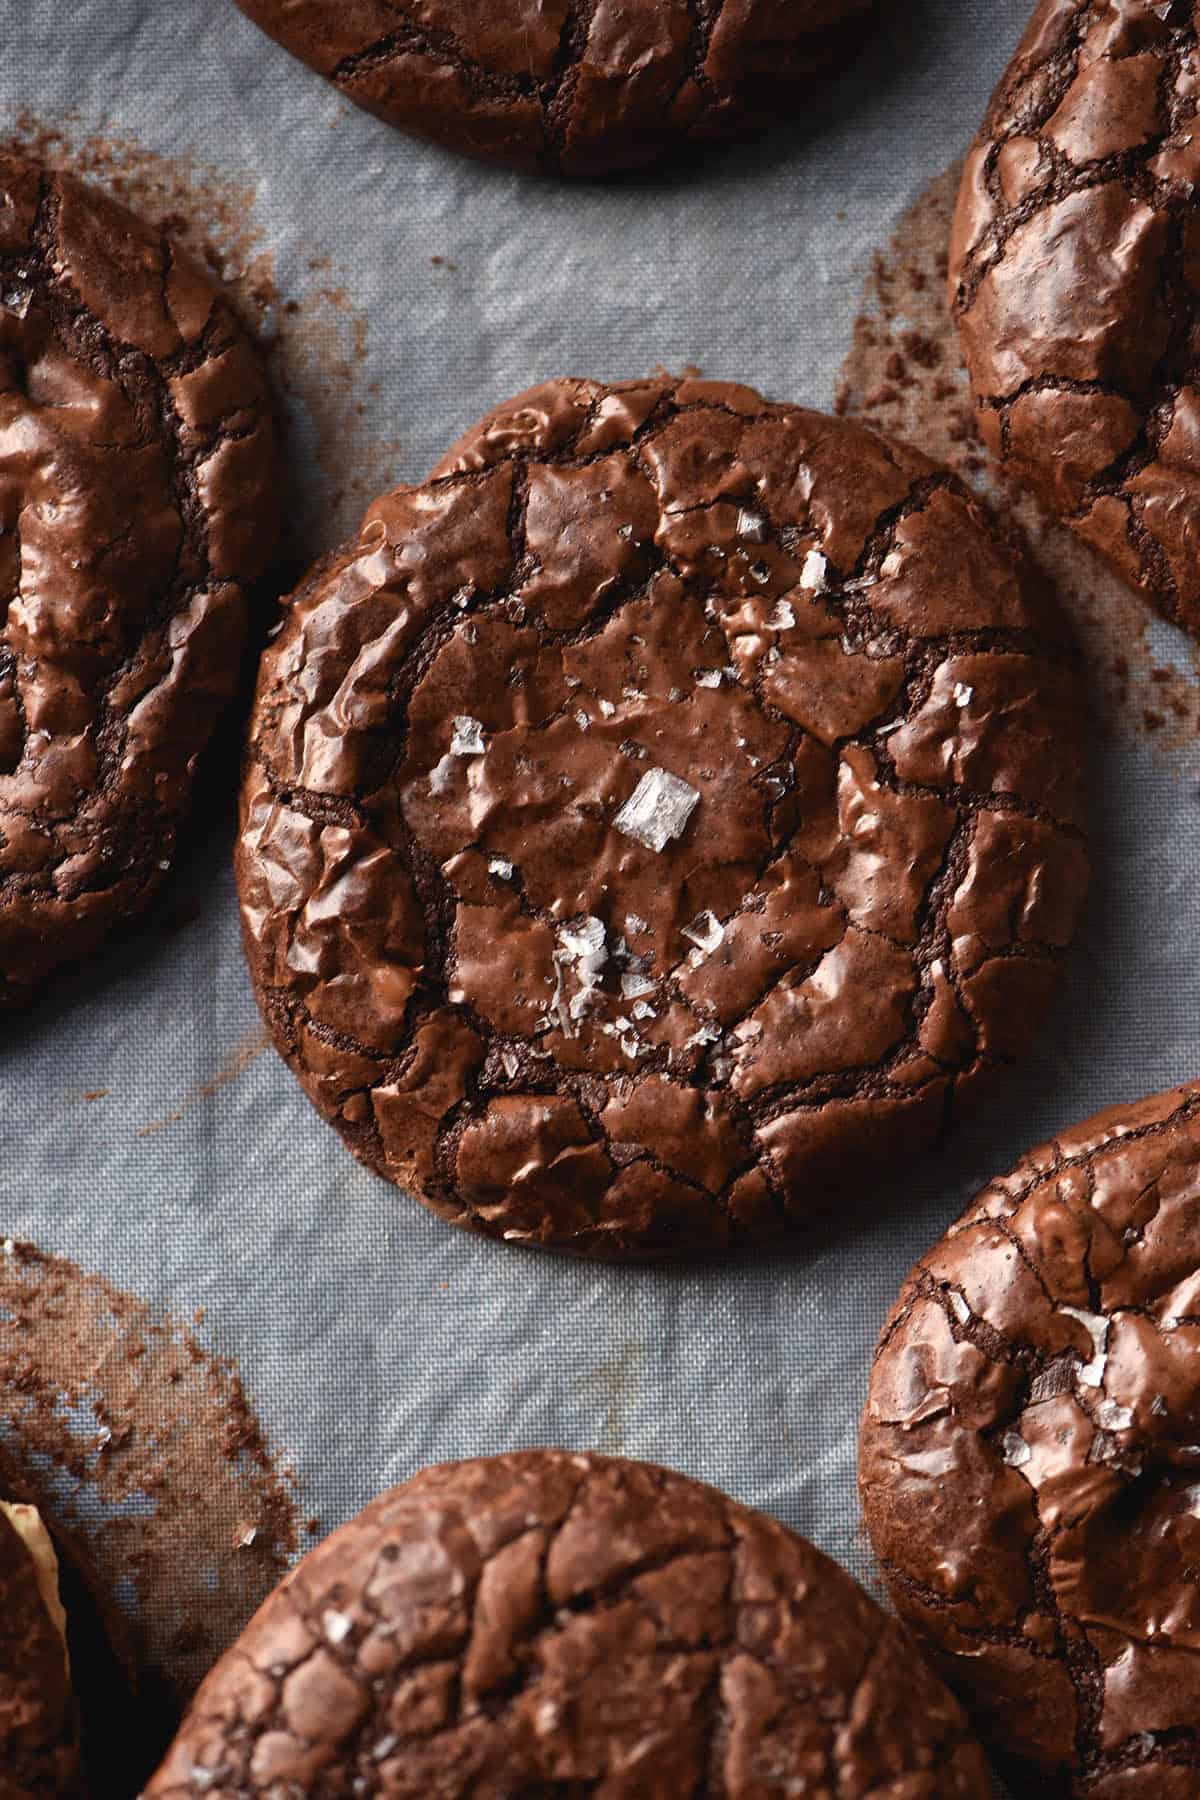
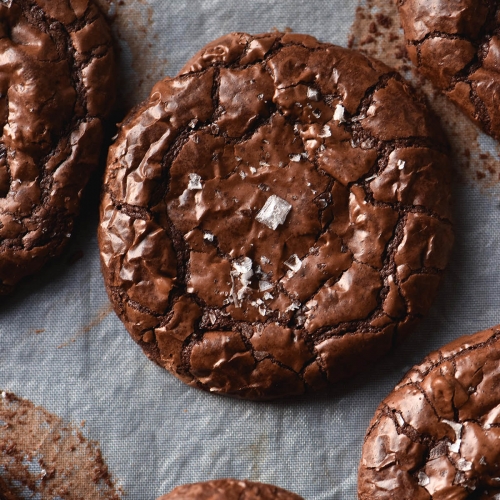
Small batch gluten free brownie cookies
These cookies are gluten free, low lactose and made without xanthan gum. They use a single gluten free flour, quinoa flour, for a delicious fudgy crumb. The cookies are very quick and easy to make and use only a handful of ingredients.
I love small batch baking because it means I can enjoy a treat without waste. That, and without me convincing myself that brownie cookies are a protein filled breakfast.
Notes for your small batch gluten free brownie cookies
First and foremost, let’s talk substitutions. I have one for the quinoa flour and for the brown butter. They’re both in the bushfire e-book found here.
Other than that, my guess is as good as yours. There’s only so many times I can test a cookie before I become a cookie.
I highly recommend toasting your quinoa flour. As I mention in the guide, you can mill your own using a high speed food processor. I have a little cheapie Nutribullet that does a fine, fine job. Literally and figuratively.
I use extra large eggs, basically always. The extra moisture is always a welcome addition to gluten free baked goods.
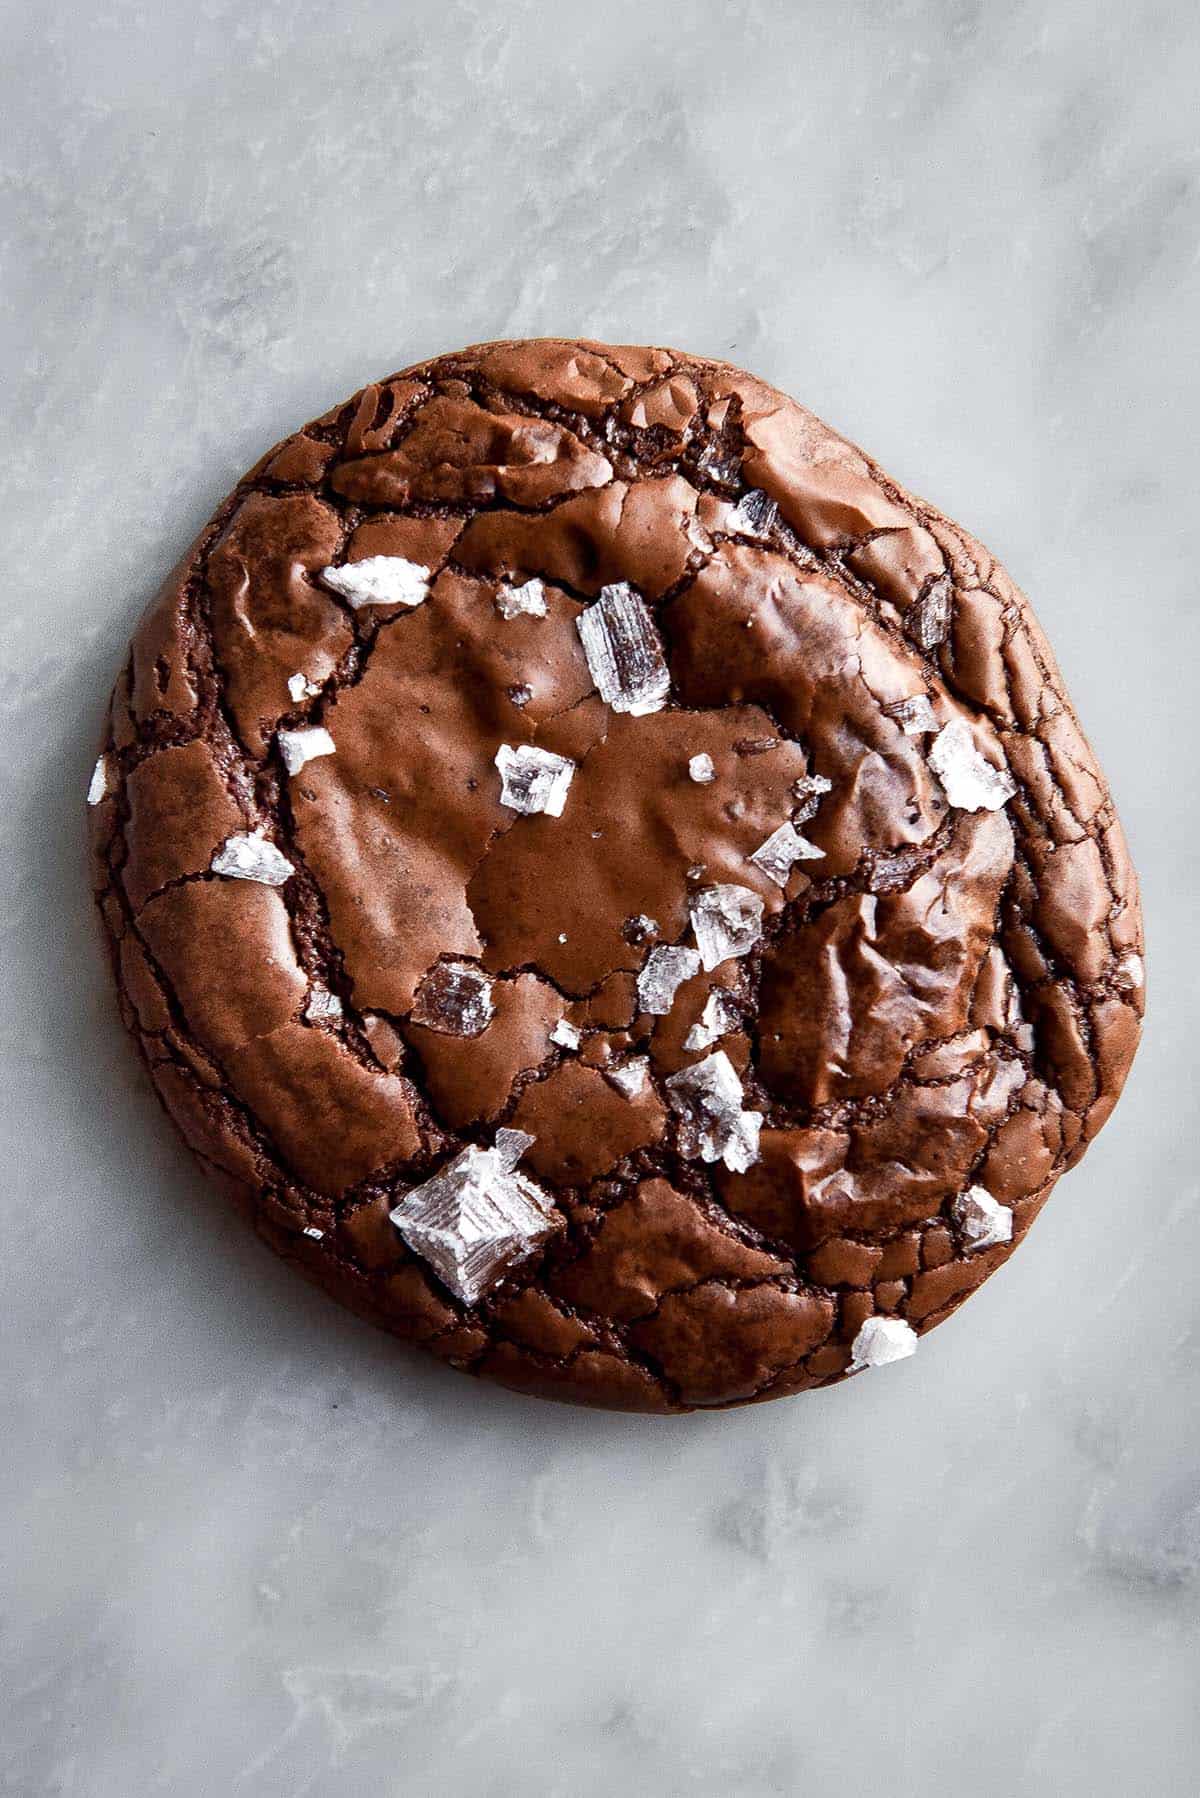
The sea salt, or at very least the salt within the cookie, is NOT WORTH SKIPPING. Courtesy of Samin we’ve all established that salt belongs in sweet things to balance out the sweetness.
I used to recommend a 45% dark chocolate for these cookies. Now I recommend a 70% sweetened dark chocolate. It makes for a great depth of flavour. I always buy Plaistow cooking chocolate because I know that it’s easily accessible to my Australian readership.
Another thing I’ve tested is omitting the vanilla bean paste, because I know some people don’t have access to it. They worked very well (although I missed the extra depth).
To make these into miso brownie cookies, add 25g (1 tablespoon) of light miso to the butter after browning. Whisk it in as best you can, off the heat. It will bubble up a little, and some small chunks are fine (they will be mixed out later). Instead of adding the full amount of salt, add just a pinch or two.
Ingredient notes
I successfully used Lindt 70% dark chocolate for a batch of cookies. I also tried using a mixture of milk and dark cooking chocolates (can you tell I’m trying to avoid going to the shops?). Although I changed a few other things around, I found the version with the milk chocolate flattened out, as you’ll see in pictures. I recommend a 70% chocolate for these cookies – cooking chocolate or otherwise.
Another chocolate I had success with was Nestle 70% cooking chocolate. It is sweeter than Lindt, so if you have a sweet tooth I would recommend this. I preferred the Lindt version as I found they had a deeper, more serious chocolate flavour.
Unlike the original recipe, these cookies contain no leavening agent. I suspect that baking powder contributed to the spreading of the first batch, so I took it to no ill-effect.
Over the years of obsessing over brown butter, I have noticed that different brands brown very differently. Some, might I say, do not brown well. They’re unpredictable, very quick to burn, and often overflow with bubbles. I recommend using a larger saucepan than you deem necessary whenever you brown butter. Saves heartache, waste and unnecessary cleaning, should the overflow occur. I find Western Star to be a very predictable butter for browning. This isn’t sponsored, just a tip for those who might have been burnt (pun intended) by an unruly batch of brown butter in the past.
Because these small-batch gluten-free brownie cookies are, well, small batch, I recommend using an extra large egg. I always use these, but when there is only one egg, it is particularly important.

Troubleshooting your brownie cookies
These cookies aren’t difficult to make, but they can bake up in various ways. Let’s dig into some of the results and what they mean for your next batch..
If your cookies spread too much, it means that your flour has a different level of absorbency than mine. This is common in gluten free baking and to be expected. Gluten free flours are milled to different consistencies, and the product itself varies. There’s no rules on how it is produced, which leaves it open to variance. There’s also the fact that different temperatures and humidities affect baking but also the grains themselves. So, if yours baked up too flat, add 1/2 tablespoon extra flour next time.
This works both ways, of course! If your cookies are too puffy and maybe a little dry to eat, your flour is more absorbent. Next time, add a little less (and consider under-baking them a little). The batter should be thick but still fall off the beater in thick ribbons once the flour has been added.
More troubleshooting
- Not browning your butter sufficiently, or over browning it. The butter should be golden brown (not black or acrid) and weigh roughly 40-43g. If it weighs considerably more or less, it might have an impact on the finished product.
- Not sufficiently beating your egg mixture. The egg is whipped with sugar and brown butter until light and fluffy. This is to create a meringue like, crackled top. Whipped egg is also the only leavening in the cookies. I find whipping the egg here only takes a minute or so with a hand beater. I find hand beaters easier here for small quantity baking.
- Over or under baking. These cookies only take 7-10 minutes in the oven. If they are totally under baked, they won’t hold form. If they are over baked, they might be slightly dry.
More gluten free small batch recipes
- This vegan single serve cinnamon scroll cake
- And a vegan spiced pumpkin mug cake
- A chocolate vegan mug cake
- This mini Burnt Basque cheesecake
Small-batch gluten-free brownie cookies
Ingredients
For the brownie cookies:
- 50 g butter becomes 40-43g after browning
- 1 1/2 – 2 tablespoons 40-50g quinoa flour (toasted is delicious)
- 1 tablespoon cocoa powder both Dutch processed and regular are fine
- 1/4 teaspoon fine salt
- 100 g dark chocolate I used 70% sweetened cooking chocolate
- 75 g caster sugar
- 1 extra large egg
- 1/2 teaspoon vanilla bean paste optional
- Sea salt flakes to finish optional
For the brown butter buttercream (optional)
- 100 g butter browned
- 50 g icing sugar sieved
- Pinch of salt
- 2-3 teaspoons milk to make your preferred consistency (optional)
- 1 teaspoon smooth natural peanut butter (optional)
Instructions
- Preheat the oven to 180 degrees Celsius or 356 Fahrenheit.
- If you are making the brown butter buttercream, brown the 100g of butter as per the instructions below. Once browned, pour it into a silicon loaf tin and place in the fridge or freezer until firm.
To brown the butter:
- Place the butter in a medium saucepan over a low-medium heat. Stir intermittently for a few minutes – the butter should start to bubble and then flecks of brown appear on the surface. Keep going until the flecks are dark brown before removing from the heat.
- Weigh the melted browned butter to ensure you’ve cooked off enough liquid – it should weigh 40-43g or thereabouts. A number a little over is fine, but if it’s significantly under, add a little fresh butter to make up the number.
- Place the brown butter in the bowl of your kitchen mixer or a mixing bowl. I prefer to use my hand beaters for small batch, but both will work.
To make the cookie batter:
- Whisk together the cocoa, quinoa flour and salt in a small bowl. Set aside.
- Half fill the small saucepan you used for the brown butter with water and place it on a medium heat. Put a metal or heatproof bowl on top of the saucepan, ensuring the water doesn’t touch the bottom of the bowl.
- Add the chocolate to the saucepan and stir intermittently until it is completely melted. Remove from the heat and set aside.
- While the chocolate is melting, add the caster sugar and eggs to the bowl with the butter. Using the whisk attachment or hand beaters, beat for 1-2 minutes on a medium-high speed until light in colour and kind of fluffy. This helps create lift and a shiny meringue-like top.
- Once the egg mixture is sufficiently lightened in colour, pour in the melted chocolate. Use a spatula to get every last bit. It shouldn’t be hot, but it shouldn’t be completely cool either. Lukewarm but molten is the aim of the game.
- Once the chocolate has fully incorporated, spoon in the flour mixture and mix on low until combined. Stop and scrape down the sides of the bowl with a spatula as necessary.
- Once the flour has been incorporated, turn the mixer off briefly to add the vanilla bean paste. If you don’t turn it off, the vanilla paste tends to get tangled in the whisk attachment. Continue mixing until combined.
- The batter should fall off the whisk attachment in thick ribbons. It is thick, but still slightly thinner than a traditional cookie dough – you’ll need to use spoons to assemble.
To bake:
- Very lightly grease two large baking trays and line them with baking paper. The grease will stop the paper slipping around while you’re scooping the cookie batter onto the tray.
- Using two spoons, scoop roughly 1 tablespoons of batter per cookie onto a lined baking tray for a total of 6 cookies. Leave space between them for spread.
- Sprinkle each cookie with the (optional) sea salt and place into the oven. Cook for 7-10 minutes or until the tops are crackly but the cookies are still soft.
- Once cooked to your liking, remove from the oven and allow to cool and firm up on the baking tray.
- For best, chewiest results, allow the cookies to cool completely before eating.
- Sugar draws moisture from the air, so for best results store uneaten cookies in an airtight container in the fridge.
To make the (optional) brown butter buttercream sandwiches:
- Break the solid brown butter into small pieces and use your hand beaters to beat on high until the butter is light in colour and airy in texture. You might need to let your butter warm up for a while if it’s particularly cold. I promise – it will whip up, even if it seems to be staunchly remaining in small chunks.
- Once the butter has whipped, add the sifted icing sugar and beat until light, fluffy and mostly smooth. It will look a little grainy because of the brown butter flecks. Add milk to reach your desired consistency.
- Pair the cookies up based on similar sizing. Pipe or spoon the buttercream (about a tablespoon) onto one cookies, then sandwich the other on top. I like to twist one of them to evenly distribute the buttercream. Repeat with the remaining cookies. Leftovers keep well in the fridge in an airtight container.
No Comments