
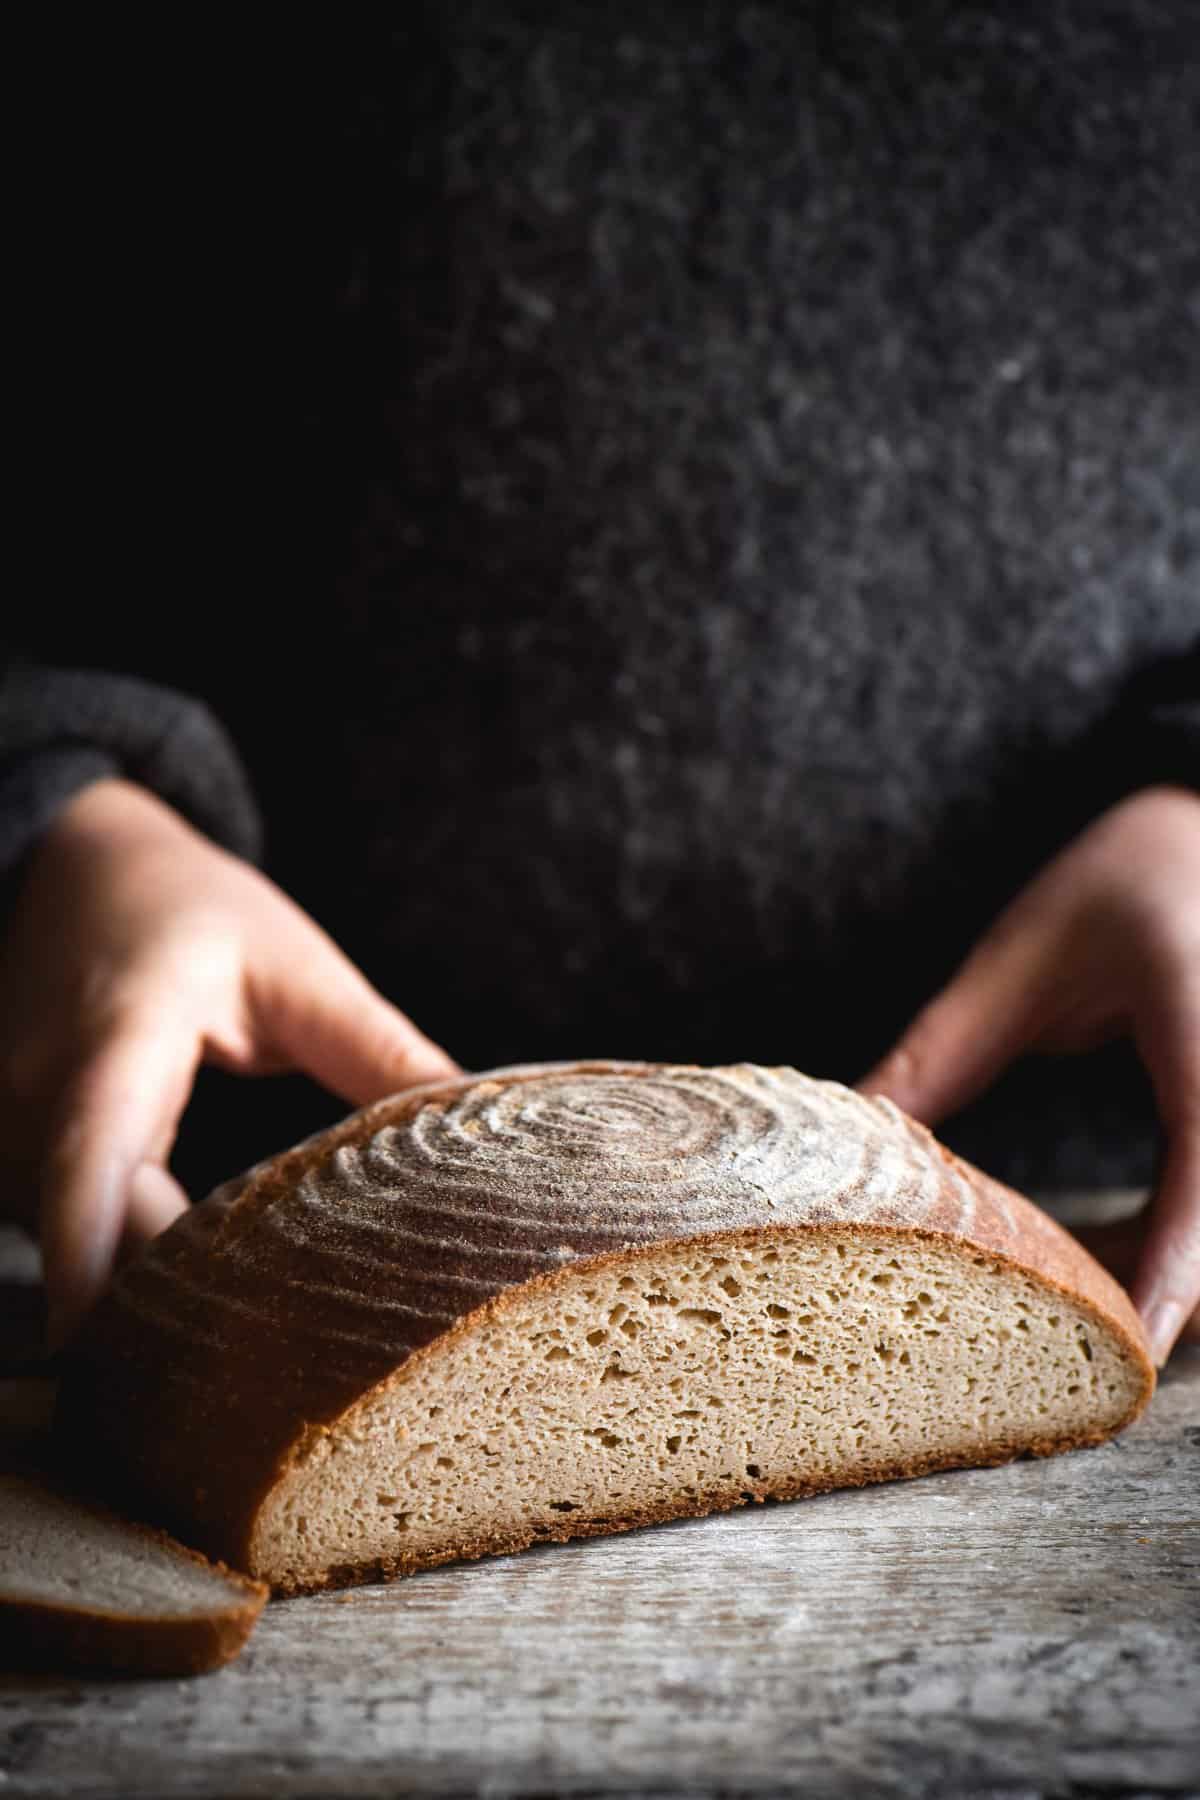
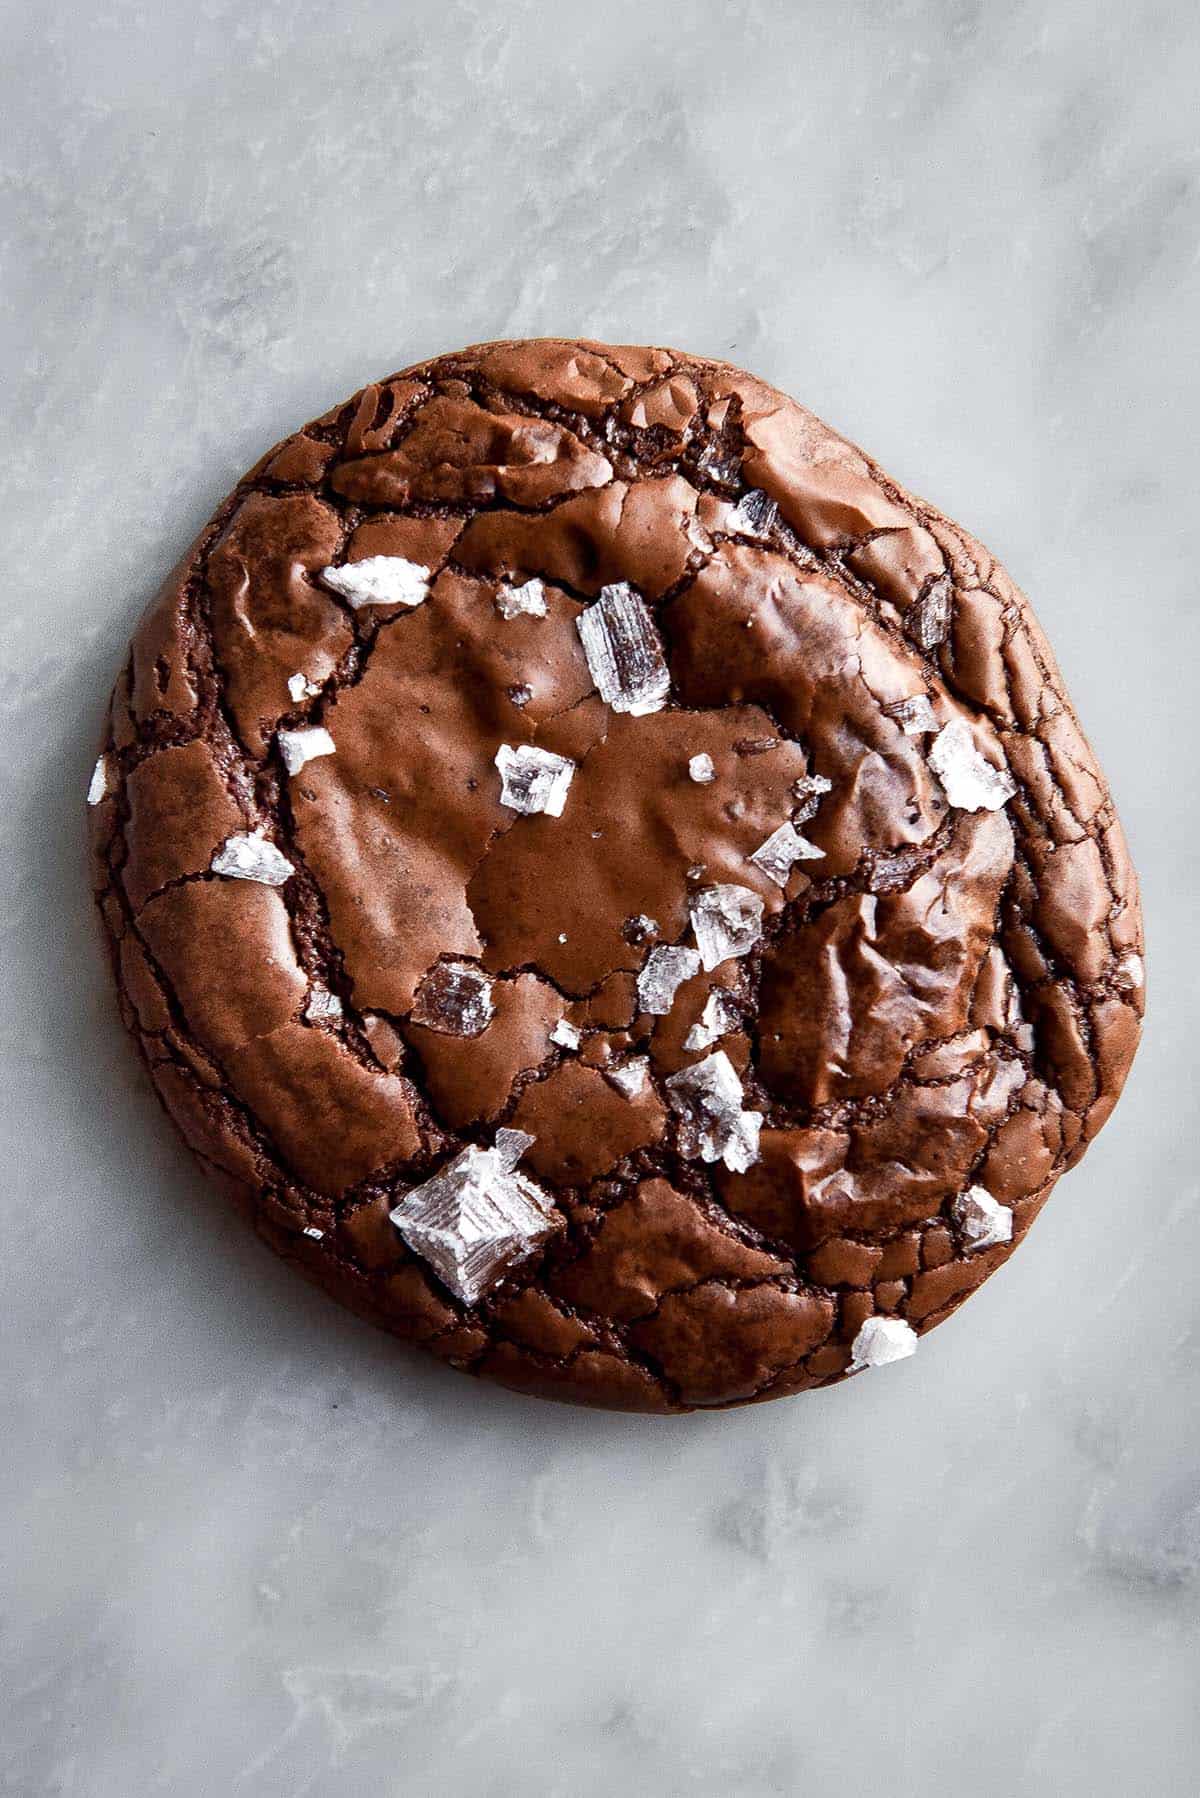
Recently, while experimenting with my sourdough loaves and brownie cookies, I’ve discovered toasted quinoa flour. What. A. Revelation! I have always enjoyed quinoa flour as a subtle addition to my baked goods. Toasted quinoa flour, though? A total game changer.
I’m loathe/unqualified to discuss the nutritional benefits of foods, but quinoa flour is a protein and nutrient dense gluten free varietal. While a lot of gluten free flours (I’m looking at you, tapioca and white rice) are somewhat devoid of nutritional benefit, quinoa flour has it all going. Not only is it nutritious, it also has a deep, nutty flavour that makes for a great nut substitute in baking.
However, some people aren’t huge fans of quinoa, nor of quinoa flour. Apparently some people think it tastes obnoxiously grassy. I know this because they intermittently inform me via Instagram messages. Good news for the haters, though: toasting quinoa flour mellows out it’s flavour, as this site suggests. So, without further ado:
A guide to making your own quinoa flour
I have previously written a guide to gluten free flours which you can find here. For ease, though, here’s the excerpt on quinoa flour and how I use it:
This is one of my favourite gluten free flours to work with, and one that I make myself (see intro for further details.) It is light, fluffy, and deliciously nutty. I generally use it in combination with a rice flour and tapioca flour. In terms of ratios, I would always use the most rice flour, followed by quinoa flour, finished with a lesser amount of tapioca flour. This balance gives a sturdy base to a light, fluffy cake. I personally haven’t tried to use solely quinoa flour for anything, except the crepes in my cookbook. I do, however, highly recommend using this flour as a sourdough starter, the link to which is above.
Quinoa flour is, in consistency, more akin to a rice flour than a tapioca. The way I see it, rice flour is the backbone of gluten free baking and tapioca flour is there to lighten up it’s density. When substituting flours in to this ratio, I recommend detracting rice flour as opposed to tapioca flour. Tapioca flour is important for lightness, whereas a small amount of rice flour can be substituted out for an alternate flour.
How to make your own quinoa flour
Making quinoa flour is incredibly simple if you have the right tools. I use a Nutribullet (which cost me $200 Australian, so not expensive) to grind all my flours. That, aside from the quinoa itself, is the only tool necessary for making your own.
Simply place the raw white quinoa in the food processor and blend until completely smooth. I find that the Nutribullet heats up quite easily, so I always stop processing after a minute and crack the top to let it cool before continuing. I don’t want my Nutribullet to explode on me and I don’t want to ruin the quinoa flour.
Alternate in resting and blending the quinoa flour until you have your desired consistency. Chunkier flour has an effect on the final look and feel of a baked good, so don’t rush it.
After you’ve reached your desired consistency, boom! You’re done. Allow the quinoa flour to cool before transferring to a glass jar. Sometimes if the flour has heated up a little it might form small chunks. If this has happened, simply sieve it into the jar. Better to do this while it’s warm and malleable as opposed to when it has cooled.
How to make toasted quinoa flour
Another easy process! Line 1-2 (depending on how much you’re toasting) baking trays with baking paper and evenly divide the flour. Preheat the oven to 160 Celsius or 320 Fahrenheit. Once the oven is ready, add the trays of quinoa flour.
Cook the flour for 30 minutes to an hour, swinging by to swoosh it around on the tray every 10-20 minutes. This encourages even browning and prevents burning. I do it in the oven quickly with a spatula. If you’re cooking two trays, switch them from top shelf to bottom shelf at the halfway point so the flour is evenly toasted.
Once the flour is cooked to your liking (it should be light brown and smell deliciously nutty) remove it from the oven. Allow it to cool on the tray completely, before decanting into a glass jar. As with before – sieve it into the jar if any little clumps have formed in baking.
What can I use my quinoa flour for?
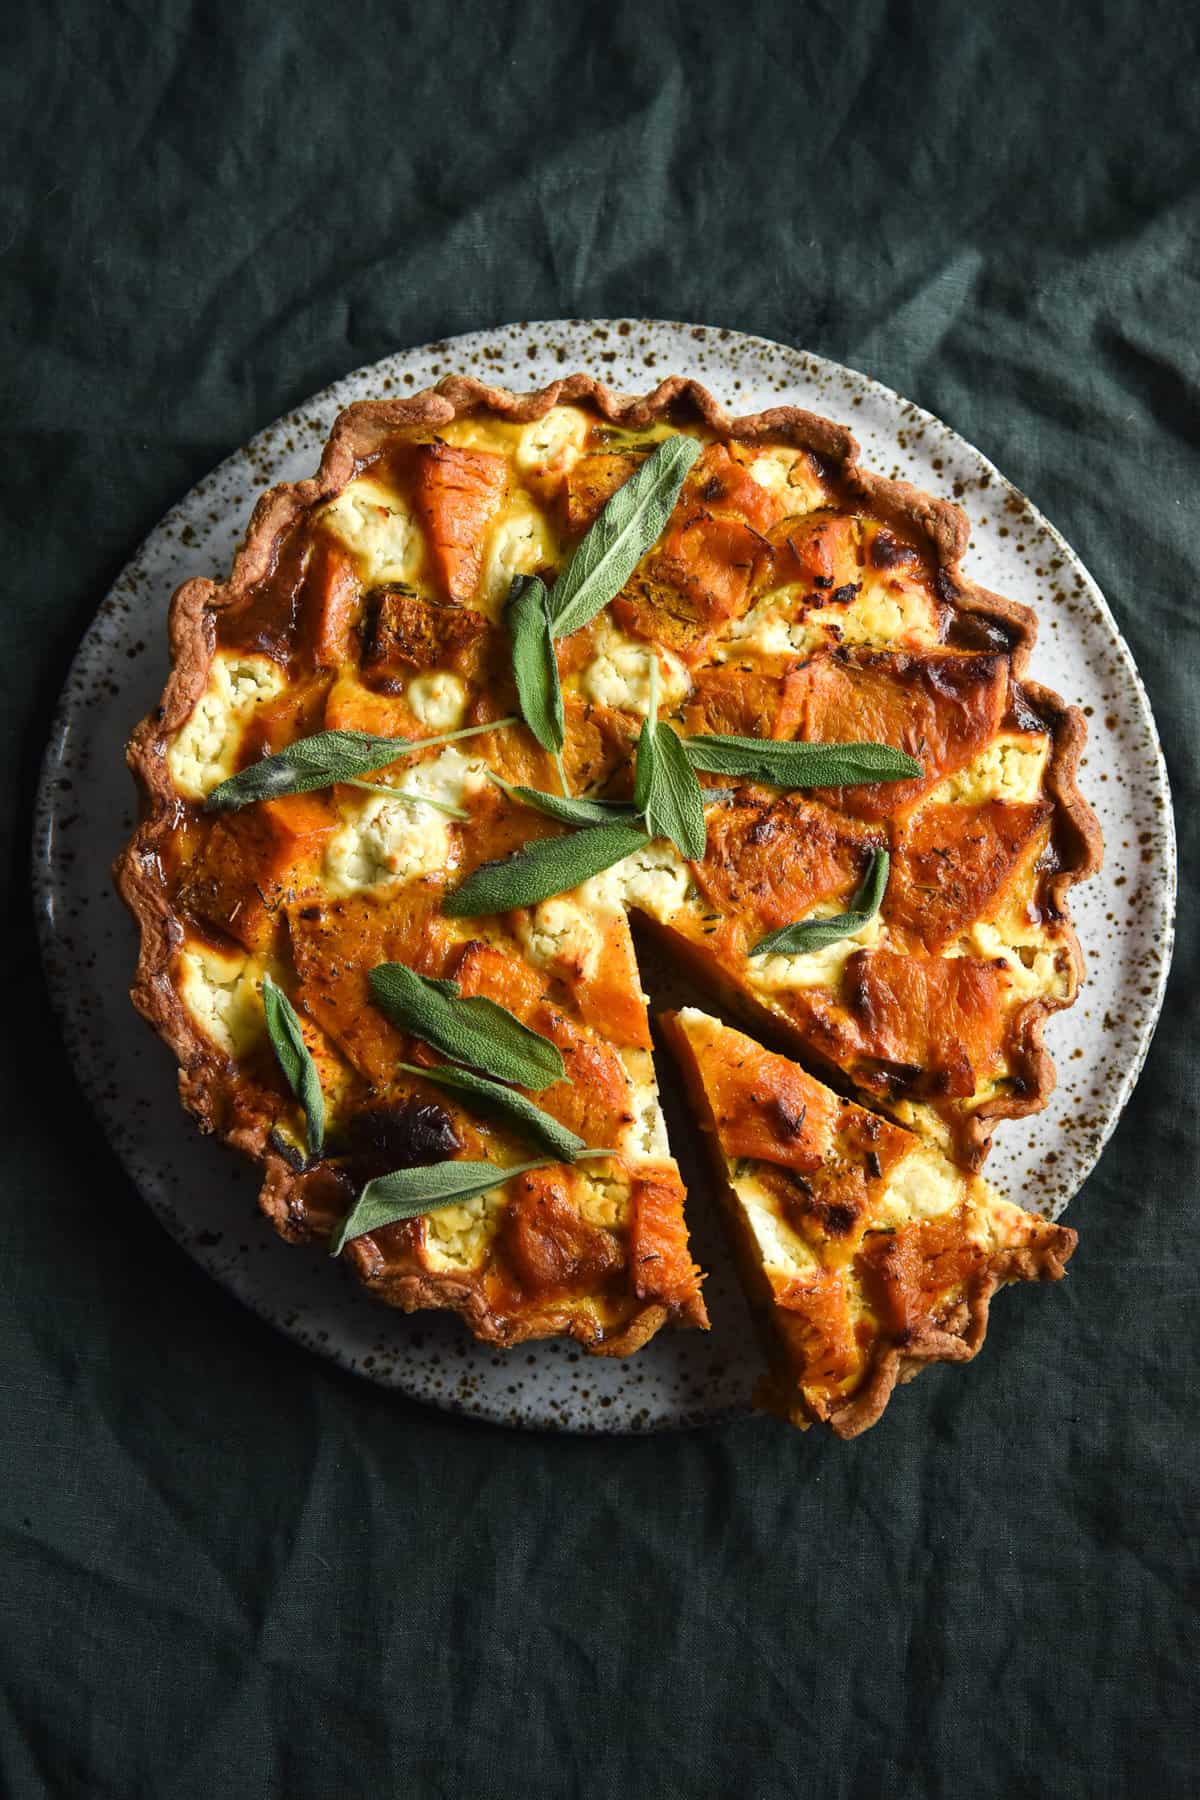
It would appear that toasted quinoa flour can be used in any recipe that calls for quinoa flour. There is little structural change after toasting. If you don’t have any quinoa flour recipes on your roster, consider adding a bit to banana bread, a savoury loaf or pancakes. I’ve been using it in my gluten free sourdough tests, as well as (needless to say) these brownie cookies.
Here’s a little list of other quinoa flour recipes on my site for you to try out your new trick:
- This gluten free sourdough without rice flour
- This gluten free, FODMAP friendly chocolate cake (that my mum told me tasted like Coles mudcake – the ultimate compliment.)
- My gluten free version of Nigella’s courgette cake (a birthday favourite at my house.)
- These gluten free brownie cookies
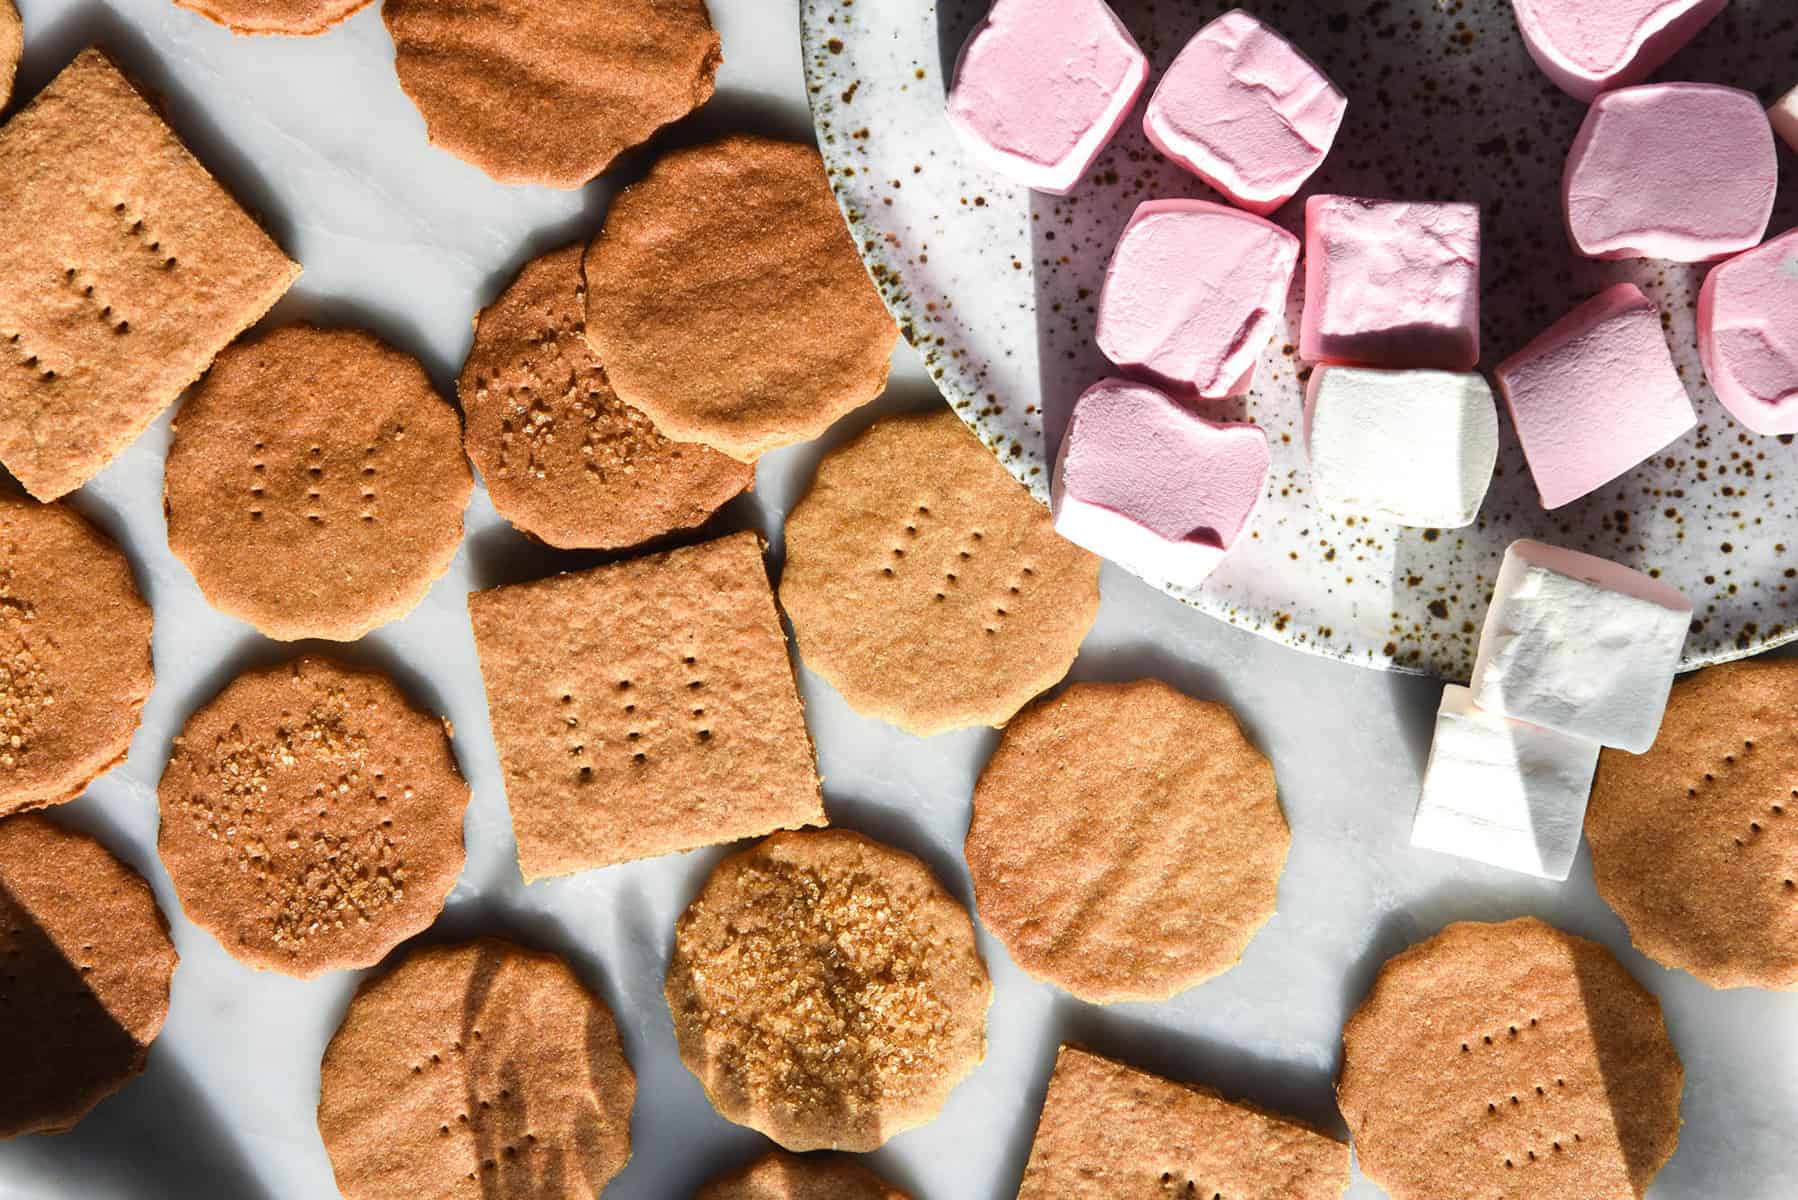
- Vegan, gluten free Graham crackers
Thank you so much for sharing this guide! Is it possible to make flour out of quinoa flakes?
Hi Sarah! I’m testing the quinoa flake flour today so I’ll let you know how it goes in baked goods. So far I’ve noticed that it takes a lot longer to process into flour and it toasts a lot faster than flour made with whole quinoa. Watch this space!
Hi I was wondering for a sourdough starter. Can you still use the toasted quinoa or just non toasted
Thanks
Hi Francis, I’d probably recommend non-toasted for a starter and toasted for the sourdough loaf itself, just to be on the safe side!
thank you for the quick reply
I was really interested to read this post, and possibly try this, with a view to making your gluten free brownie cookies, but I’m a bit worried as I see that there is no step for rinsing the quinoa. I always rinse my quinoa very welly before cooking, to remove the saponin, as I heard that the saponin can cause horrible digestive pain. I also once experienced huge pain after eating quinoa, and assumed it was because I must not have rinsed it well enough, so that kind of confirms my belief in the importance of rinsing.
I’m thinking perhaps there’s a way around this:
Rinse the quinoa well. Lay it out on a lined baking sheet, bake 30 – 60 minutes at 160 to ensure it’s fully dry (this will also complete the toasting process) then proceed with the high speed blender to grind it into a flour.
What do you think?
Hi Emma,
I don’t wash my quinoa for flour (and I use it extensively) so I’m not sure if that’s a generalisable reaction. You can absolutely give it a go but I’ve never tried it so I can’t say whether it will work out. All I will say it that you’ll need to make absolutely certain the quinoa is 110% dry before processing it. Good luck!
Thank you for all these great resources! You specify white quinoa. Is that for aesthetics or will other colored quinoa not work as well for baking? I use a lot of tricolored quinoa…
Hi Brad! I specify white quinoa partly for aesthetics, but also because I have never tried this with tricoloured quinoa. I can’t imagine why it wouldn’t work, but I haven’t personally tested it to make sure it does 🙂