I’m learning that brownies, much like cookies, are an unexpected art form. On the surface, it would seem that brownies are fairly straightforward. Mix it up, bake it, slice it, eat it. On closer inspection, however, one realises that there is a world of possibility and a world of proper brownie technique. Today, we’re delving into the the art of the best-ever gluten free brownies.
So why have I become a brownie nerd, you ask? My quest for a good brownie stems entirely from a recent experience with a deceiving, bad brownie.
There is a store near my house that stocks brownies in the window. They smell like heaven on earth; the buttery chocolate scent wafting out the door and enchanting unsuspecting civilians. They’re not cheap brownies, so I held off as long as I could. Recently, however I caved, and the world was a little worse for doing so. Why? Because while the brownies smelt like everything I have ever needed, they were not. They were somewhat cakey, somewhat dry, and not even that chocolatey. I was very disgruntled, to say the least.
So! I have spent weeks testing my best-ever gluten free brownies. Friends and family have had to endure an endless stream of brownie tests. My neighbours would too, if I didn’t live in a building where people avert their eyes in the lift. Your loss, neighbours, your loss.
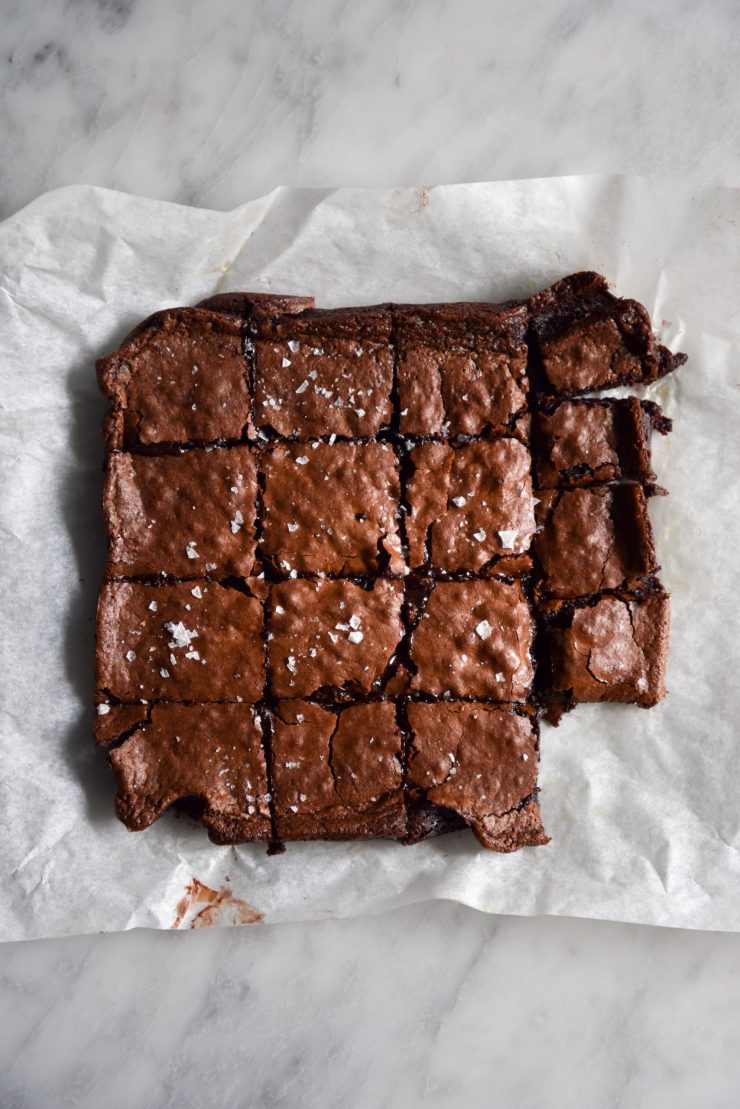
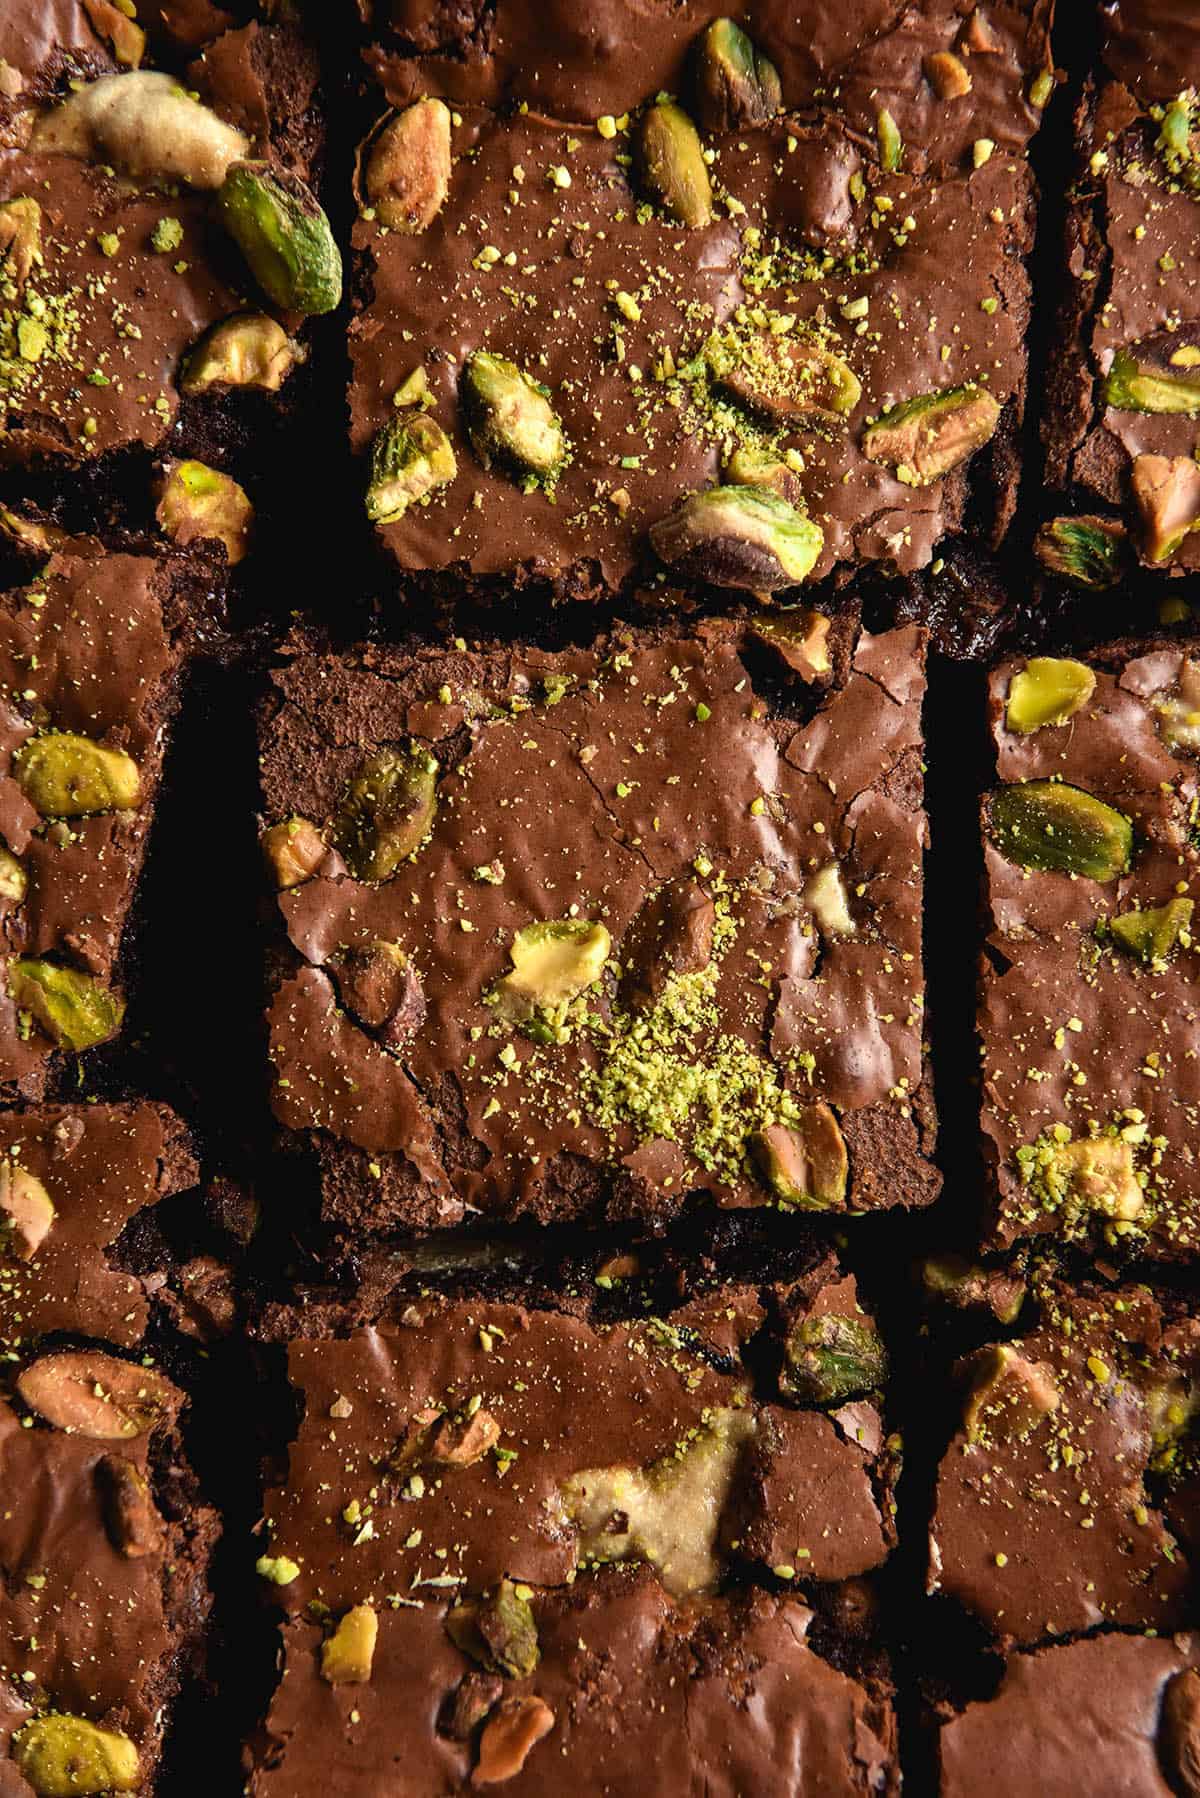
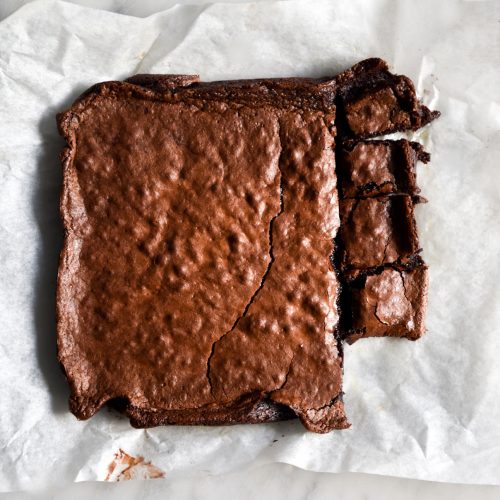
The brownies are extremely rich and fudgy, with a beautiful crackly top, as god intended. They are grain free, using almond meal as a flour substitute. I have a gluten free, nut free recipe here, but these are my BEST-EVER GLUTEN FREE BROWNIES.
Gluten free brownies – notes
Know what sort of brownie you enjoy and want to bake. I am firmly in the fudgy brownie category, as are these brownies. If you like cakey brownies, you’ll be disappointed.
Start with good quality chocolate, cocoa and butter. These are the primary ingredients, so the quality is extremely important to the end result.
Dutch processed cocoa is always advisable. It makes such a difference.
The recipe blooms the cocoa in coffee and water. Blooming cocoa brings out a deep and dark chocolate flavour, and is important to making these brownies super chocolatey.
Personally, I recommend using a dark cooking chocolate that is a little less than 70%. 70% definitely works here, but I prefer my brownies to err on the sweeter rather than darker side. I use chocolate that is roughly 50%.
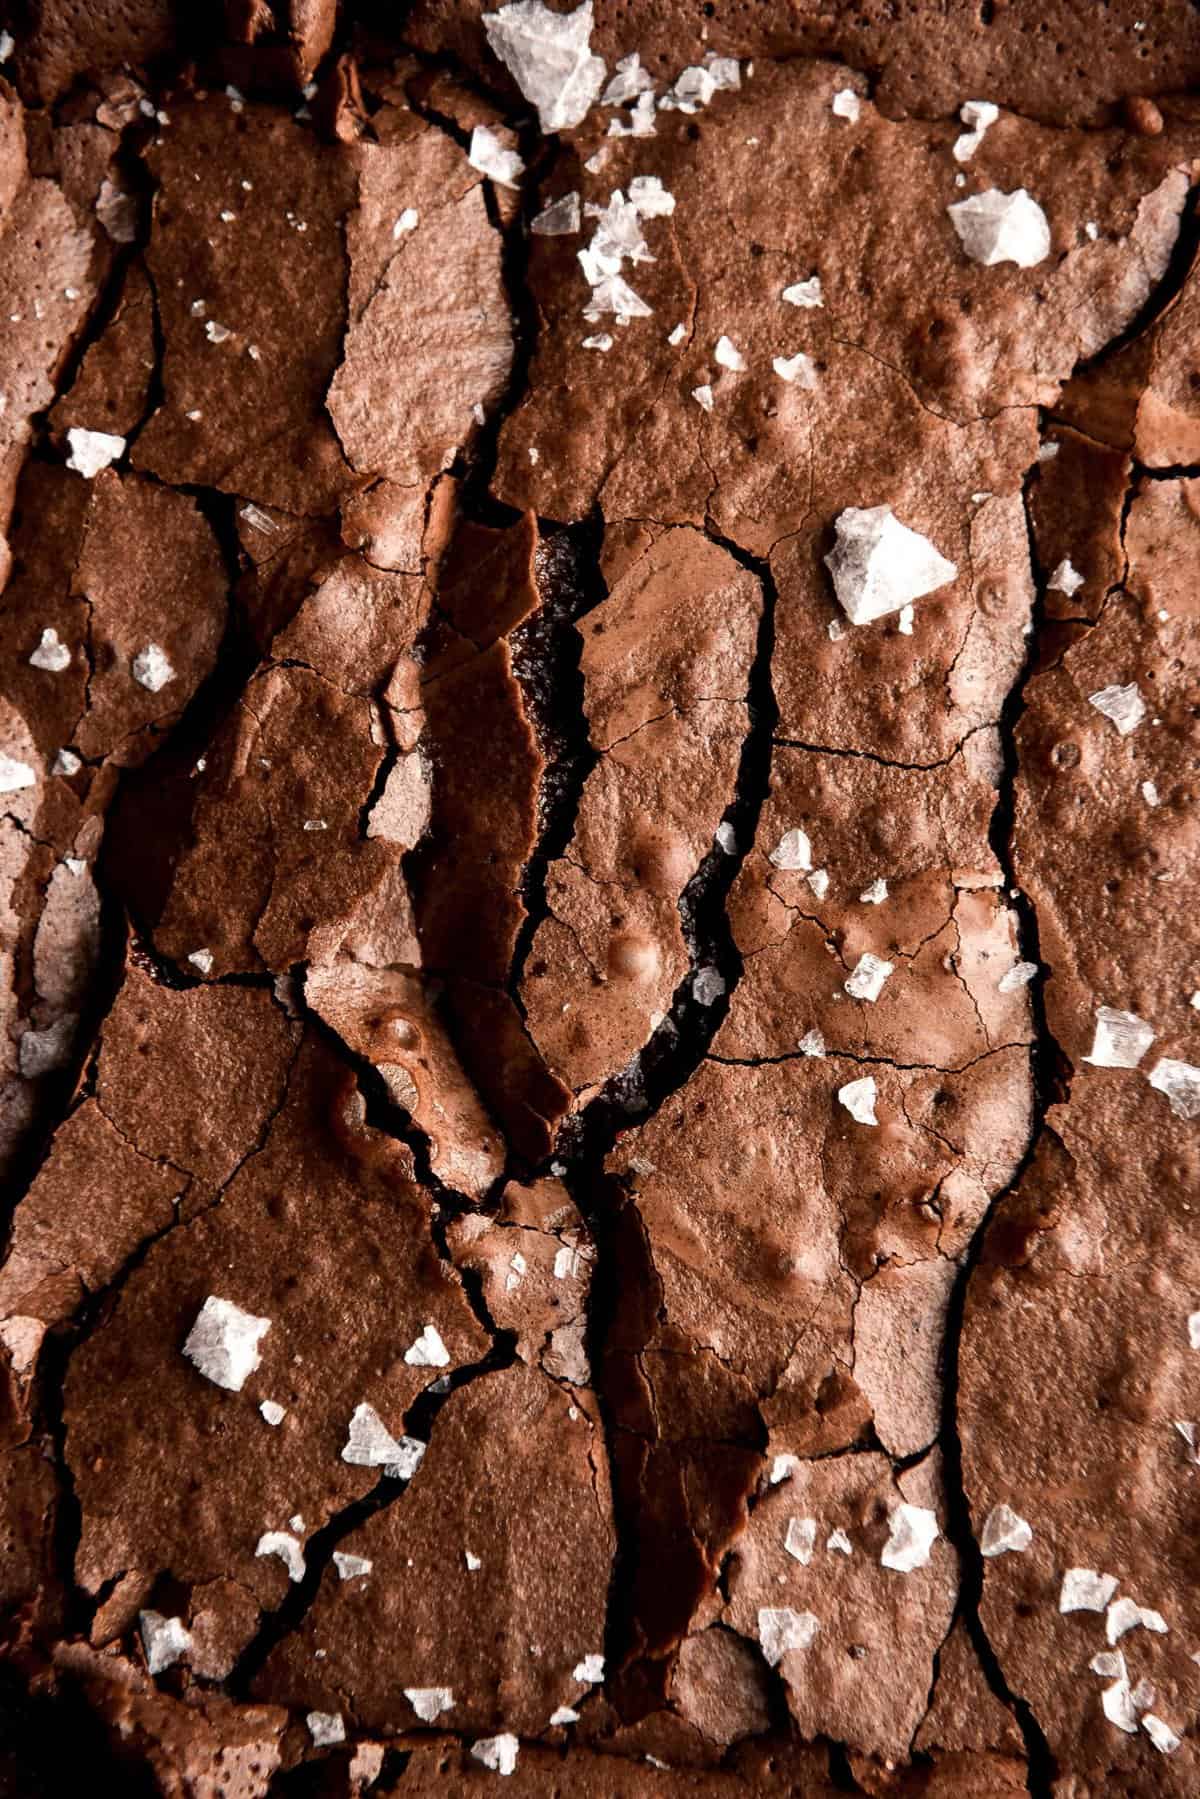
You must beat the eggs into the melted butter and sugar for 5-10 minutes on a medium-high speed. This creates a meringue-like crust on the brownies, which is responsible for that smooth, crackly surface we know and love. You can overbeat – it will result on a bubbly (but still crackly) top. The mixture is ready when it’s lighter, thicker and fluffy looking.
Wait until the brownies are cool before eating. Everything melds together, and you minimise the risk of eating an oily brownie. They are also much easier to slice when cool. This FOOD 52 feed suggests making them the night before, which I’m inclined to agree with. I also recommend keeping them in the fridge.
If you’re in the mood to delve into more brownie research: this article contains an interesting tip about using some milk chocolate to create a shiny a top.
Make sure your eggs are room temperature!
More recipe notes for your gluten free brownies
You could use hazelnut meal as a substitute for almond meal, if you like.
On the note of substitutions, you can use a whole cup of caster sugar, as opposed to half light brown and half caster. Light brown sugar brings a depth of caramel flavour that caster doesn’t, but it works in a pinch.
I use extra large eggs, meaning I buy the 700g packet here in Australia. The size of your eggs is quite important in gluten free baking, because gluten free has a tendency to be dry. As previously mentioned, make sure they are room temperature. Cold eggs will ‘shock’ the brownie mixture and may cause the chocolate or butter (or both) to seize up in the batter, effectively ruining it.
The espresso, salt and vanilla bean paste work actual wonders in producing a super rich, flavourful brownie. I don’t recommend omitting any of them.
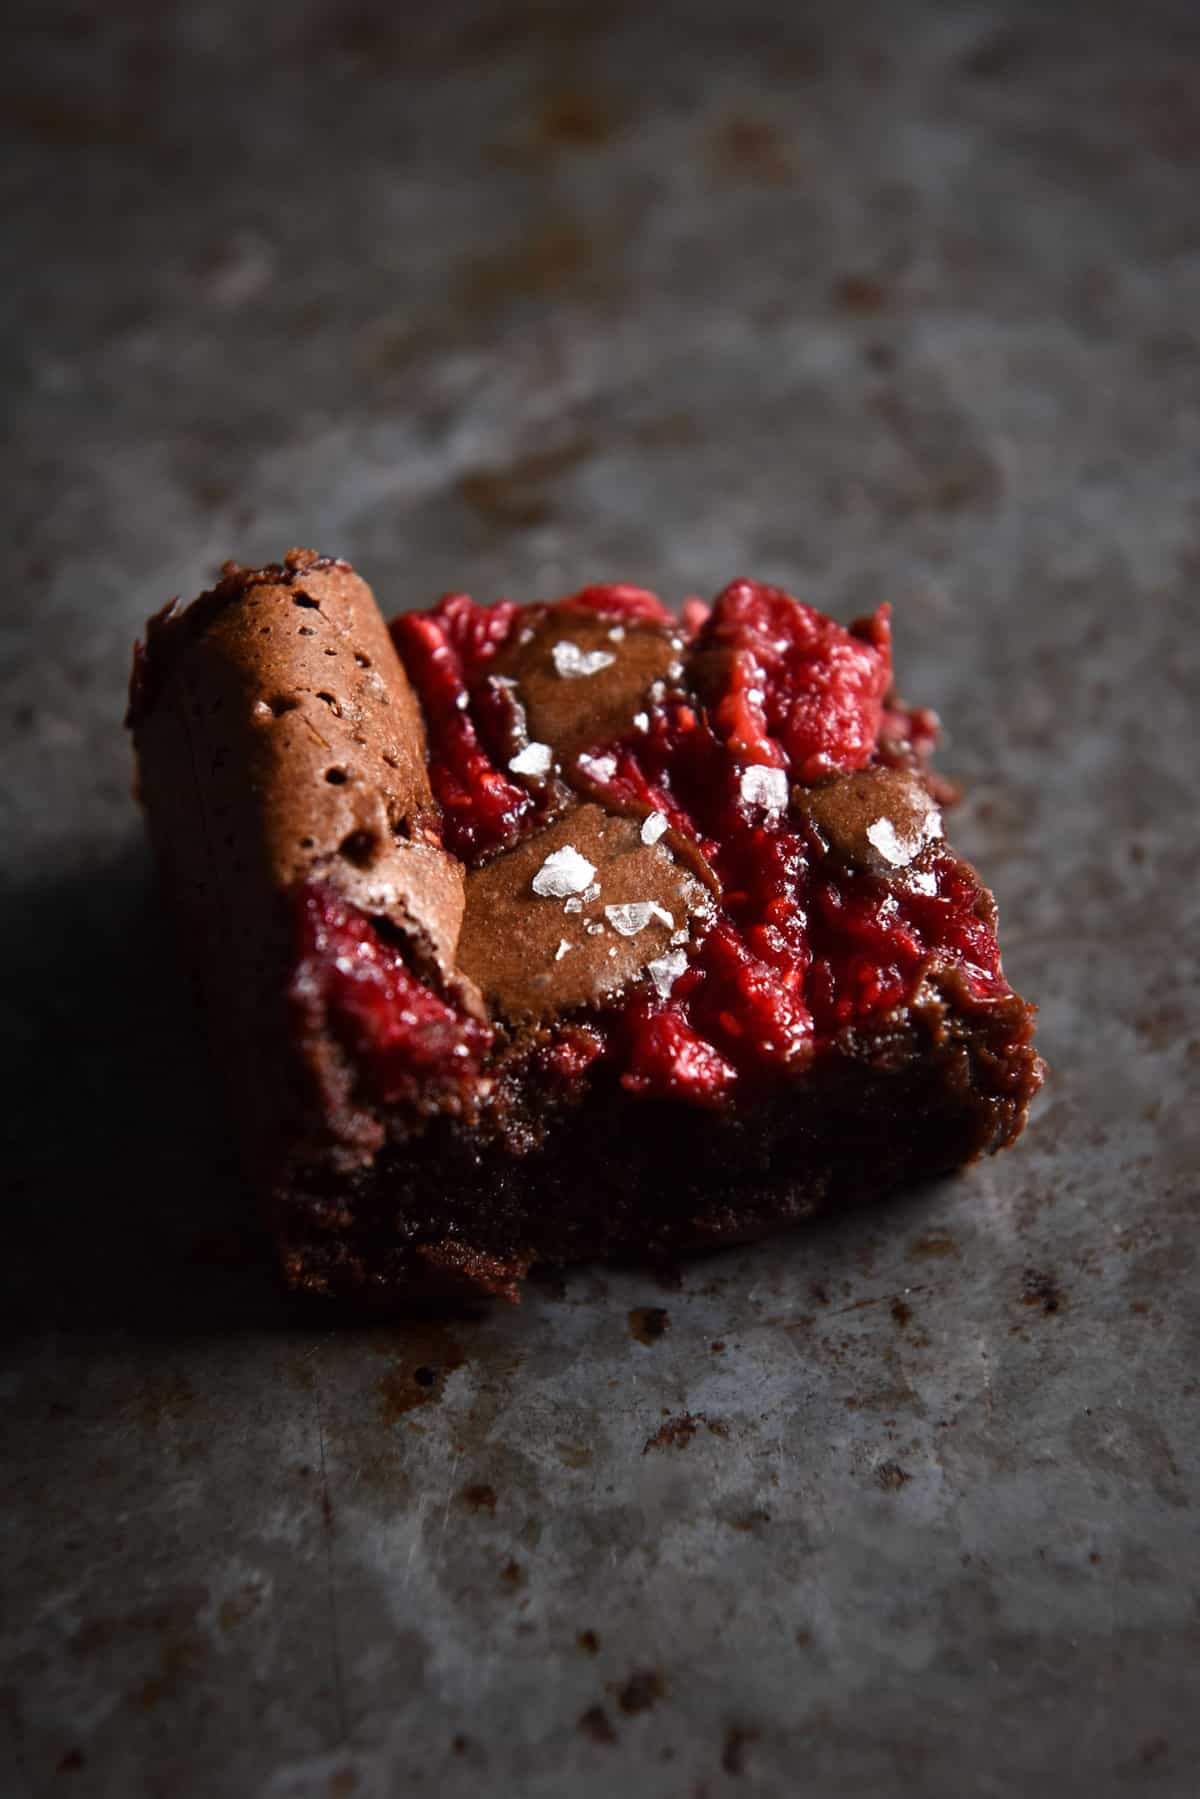
To make these into fruity brownies, simply add 1/2 – 3/4 cup of berries to the mixture after you’ve poured it into the pan. You’ll need to adjust the cooking time to compensate for the extra liquid from the berries. Don’t use too many or your brownies will never cook. If you want to use frozen berries, cook off the extra liquid before using them.
Notes on the chocolate percentage
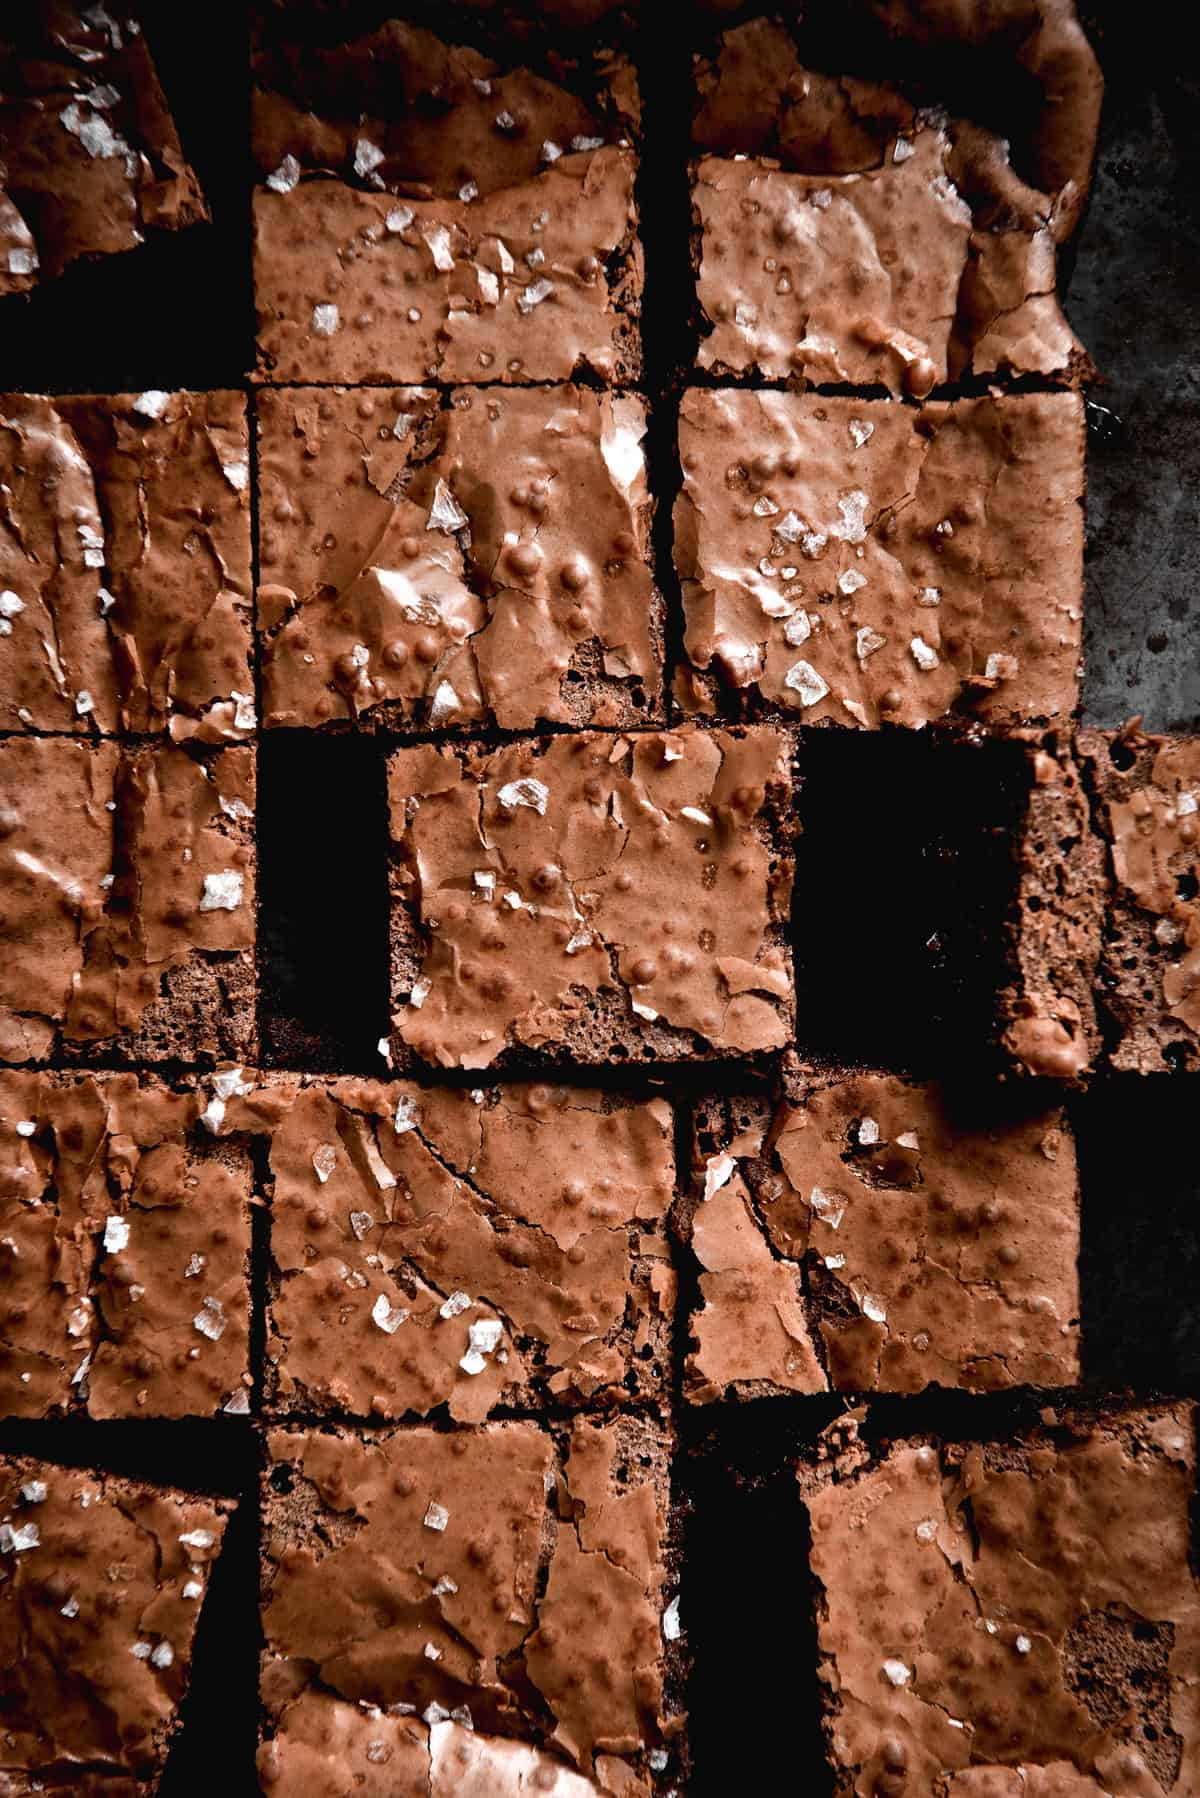
If you watch my Instagram stories, you’ll know that I’ve been testing different chocolate percentages in brownies. Specifically, I want to know how differing percentages effect the shiny top of a brownie. This is because I’ve had a number of experiences in which the brownies came out of the oven inexplicably dull.
What have I learnt so far? The shiniest brownies are made with a 45% dark chocolate, or thereabouts. Of course, the shiny top depends on many things – eggs, sugar, quantities of each. However, using the same test recipe, I’ve found that 45% is the perfect middle ground between great taste and a shiny top.
If you’re more interested in taste than aesthetics, I recommend using a 70%, ideally containing milk fat. This will still give you a bit of sheen, but it makes for a more complex tasting brownie.
Under no circumstances do I recommend using milk chocolate in a brownie. It doesn’t have a bold enough taste to carry through in the final brownie.
More gluten free and grain free brownie and chocolate recipes
- If you’d like a gluten and nut free version of this recipe, please see my recipe here.
- For a vegan version, see my vegan brownie recipe. They use almond meal – I haven’t tested the whole trifecta – gluten free, vegan AND nut free yet, but I will get there!
- Gluten free sourdough brownies are deliciously complex and a great way to use up sourdough discard. You can find my recipe here.
- My gluten free brownie cookies, gluten free flourless brownie cookies and gluten free vegan brownie cookies
Best ever gluten free brownies with almond meal
Ingredients
INGREDIENTS
- 150 g butter
- 220 g (1 cup) caster sugar (or 1/2 light brown and 1/2 caster)
- 3 extra large eggs
- 200 g dark cooking chocolate (I use 45-70%)
- 2 tablespoons Dutch processed cocoa
- 1 tablespoon freshly brewed espresso
- 1 tablespoon hot water
- 2 teaspoons vanilla bean paste
- 1 teaspoon sea salt flakes
- 1 cup (100g) almond meal
Instructions
- Preheat the oven to 180C or 356F, and line a 24cm x 24cm square baking pan. I like to put a bit of butter or oil in the bottom so the paper doesn’t slide around.
- In double boiler over a small saucepan, melt the butter and chocolate over a low heat. Alternatively, melt the butter in a small saucepan, and add the chocolate once melted. Stir intermittently until the chocolate has melted too. Set aside to cool slightly.
- Add the eggs and sugar to your kitchen mixer and use the whisk attachment. Beat on a medium speed for 7-10+ minutes until the mixture is light (almost white) and fluffy. This will help create the crackly meringue surface.
- Add the salt, vanilla bean paste and cocoa to the chocolate mixture. Pour the hot water and coffee over the cocoa to 'bloom' it – bring out the depth of the chocolate flavour. Stir until the additions are mixed in with the chocolate and butter.
- With the motor on a low speed, pour the chocolate butter mixture into the mixer in a steady stream. Allow to whisk for a minute or two until the batter is uniformly medium – dark brown in colour.
- Add the almond meal to the brownie batter and whisk on low until just combined. The mixture contains beaten egg whites, so stirring more than necessary will knock them out and create less of a shiny, meringue top. Once combined, pour the mixture into the pre-prepared pan, and place the brownies into the oven for 20-35 minutes, depending on how 'done' you like your brownies.
- Allow to cool before slicing, and for best, most delicious results, allow to cool completely before eating. Brownies are best made the night before – see the introduction for links and tips. I also highly recommend keeping these in the fridge – when they're fresh from the oven they can be hard to eat for their fudginess.
- I like to sprinkle my brownies with a little extra sea salt, but you do you.

these are divine!
So glad you enjoyed them Katrina! 🙂
Fabulous recipe, have made several times by request from friends.
Love this recipe! Do you cool in the tin or on a rack?
Hi Lucy! I personally cool them in the pan – they’re quite fudgy after baking so it helps having the tin to hold their shape as they cool 🙂
Hi! Can I make this recipe in individual cupcake moulds instead? Would it still work well and have a shiny crust as well? Thanks! 🙂
Yum! How do you know how much almond meal to use…. is it 75g or 100g?
Hi Dee! If you like a super fudgy brownie, use 75g. If you like a slightly more structured brownie, use 100g 🙂
Hi, can i double the recipe to make a bigger batch? Thanks
Hi Natalia, I don’t see why a double batch wouldn’t work – go for it 🙂
I would recommend dividing it into two brownie trays to cook, though. It’s very fudgy so a super thick brownie might not ever reach the right consistency
Can you use gluten free flour as opposed to almond meal?
Hi Tracy, I have a similar recipe for these brownies that uses gluten free flour here: https://georgeats.com/recipes/gluten-free-nut-free-brownies-with-dark-brown-butter-double-chocolate-and-sea-salt-flakes/ 🙂
Yum! Thankyou for sharing the recipe. I’ve found they are best stored in the fridge soo good!
I’m so glad you enjoyed them! 🙂
This recipe looks great! How do you know when they are done for that perfect fudgy-ness and not let it over cook? What do you look for when taking it out?
Hi Caitlyn! I generally cook mine for 17-20 minutes, but I guess this depends heavily on your oven. I look for a shiny top and if I pull up the overhanging pieces of baking paper, I want to see the batter look liquid/molten underneath the shininess. From there I let them cool overnight for the perfect fudgy brownie 🙂