Gluten free flours and how to use them
A title akin to a recent Harry Potter spin off, and with good reason. Gluten free flours and gluten free baking are magical, elusive beasts at the best of times. Throw in a FODMAP friendly prerequisite? There’s a recipe for fun/disaster.
Before we get into the nitty gritty, let’s chat gluten free flour and how to buy it, make it, store it and measure it.
Buying gluten free flours (or making them yourself!)
I’m assuming none of you have recently emerged from a cave, and are thus clued into the fact that one can easily purchase gluten free flour at the supermarket. However, I’m here to chat bulk food stores, because if you find the right one, they’re cheaper for flour. They’re also far better for the environment, sans all the unneccessary plastic you’ll find at the supermarket.
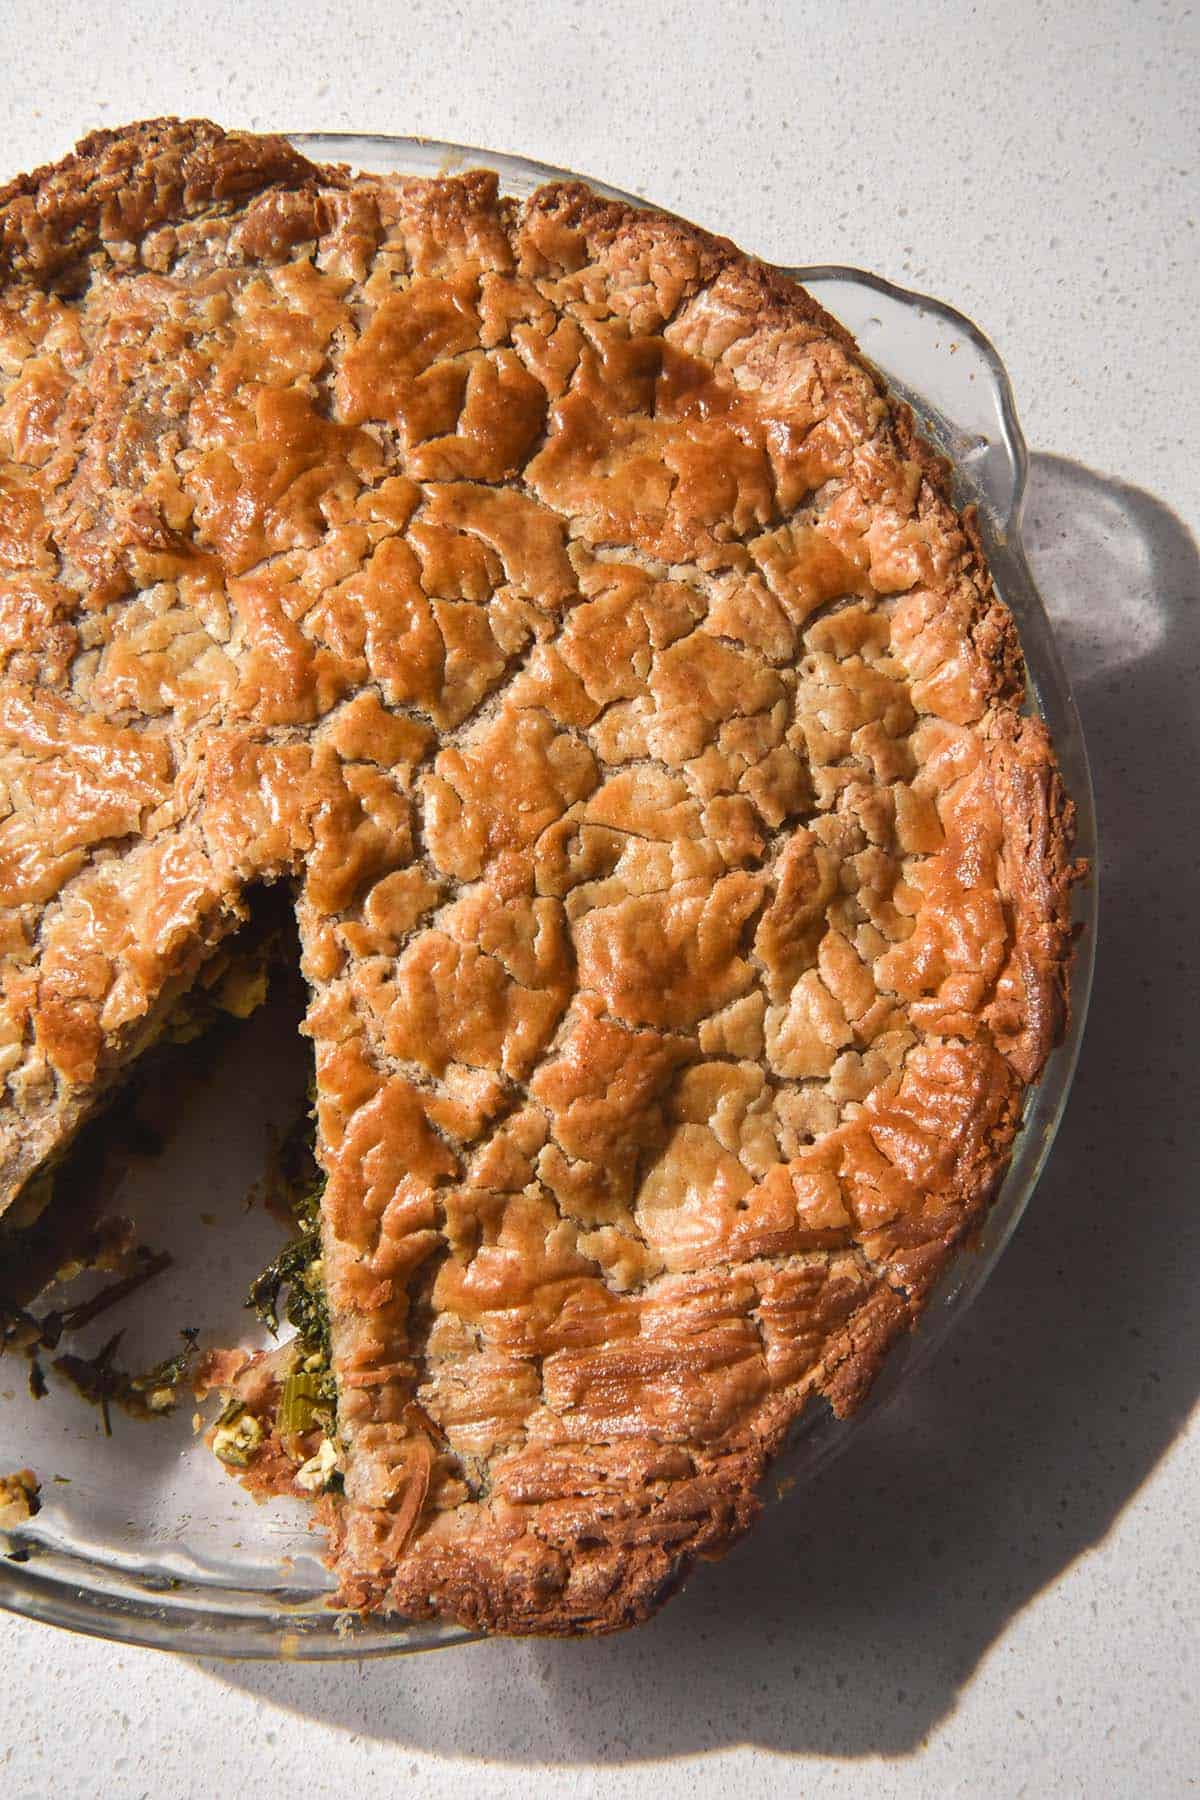
There are some flours that are far cheaper made at home. Likely the wide majority of them, but I’ll only get into flours I’ve made myself. Without any fancy equipment (I own a Nutribullet, which as the ‘best’ model only cost me $200 Australian dollars) you can make your own flour. I have tried quinoa (I make it all the time, and did so for this pumpkin, blue cheese and honey galette) and almond.
Personally I have found flours a bit of a chore to make in a Thermomix (and even more so in an older food processor) so do with that information what you will.
Storing gluten free flours
Personally I’ve always been on the liberal end of the whole ‘rancid flours’ debate. If I can’t smell an issue, there isn’t an issue, as far as I’m concerned. So, the following recommendations are from a place of liberality, but also some unfortunate flour storage situations.
As a gluten free recipe developer by trade, I have my fair share of gluten free flour in the pantry. At one frantic stage during my cookbook writing, I had more than a few random paper bags of flour from my local bulk food store, un-labelled and thus un-used. I’m sorry guys, I don’t deal well under stress.
To cut a long, quease-inducing story short, I found myself all of a sudden living amongst a small colony of weevils. If you’re not familiar, weevils are little pantry moths that you’ve imported into your home in packets of grain or flour. They’re harmless, and you’ve definitely eaten an exoskeleton of one of them before without knowing. However, having your house taken over by them is thoroughly unpleasant, and an experience you won’t forget.
Freezing your gluten free flour
So! A few storage tips. I know I said that I’m rather casual about rancidity, but do store your flours in a cool, dark place. Make sure they are in glass or thick plastic containers (glass is my personal favourite) and that the lids are firmly on whenever you’re not using them. Weevils can bore through plastic packaging, so it’s important to decant the flours when you bring them home. Consider yourself warned.
If you’re worried about weevil invasion, or you have already been invaded, fear not. I have a few practical tips. Firstly, gauge the severity of the invasion before proceeding. If there’s only a few in the odd bag of flour, promptly place all bags of flour in the freezer for at least a week. This will kill any small weevils, which can be picked out as and when you see them. Gross, yes, but personally I find Western food waste even grosser. A quick reminder, they are harmless to ingest.
If the invasion is overwhelming, I’m afraid you will need to throw EVERYTHING out, and start afresh. This means thoroughly cleaning out your pantry, bug bombs, and removing the offending products from your home as soon as possible. Don’t put them in the bin and wait until the morning to take it out. I learnt that mistake for you.
Weevils love nuts, so I’d recommend keeping your nuts and nut meals in the fridge. I can concede that these do go rancid, and do require refrigeration, if you have the room for it.
Measuring gluten free flours
As someone who has an odd dislike for precision, I hate to admit it: gluten free flour needs to be weighed. Precisely. No rough estimates, no blindly scooping in half cup measures. Gluten free baking is necessarily precise – there are so many things that can go wrong, and erratic flour volumes is a huge contributor to that.
Don’t get me wrong, cups are a helpful guide and I use them all the time. I can’t stand it when a recipe says to me ‘400g of flour’ without giving me a visual indicator of whether or not I need to go to the shops. However, cups should be just that – a visual. Not a sole tool.
People measure flour very differently. After looking at prescribed weights from different bloggers, I have settled on the ‘fluffy scoop’ method. I use a spoon to ‘fluff up’ the flour in it’s container, before spooning the fluffy flour into the cup, which is sitting on a zeroed scale. Generally speaking, the cup is a little less than full when it reaches it’s correct weight. If in doubt, always go with the weight of the flour as opposed to the cup measure. It is much more precise, and leaves you open to far less error.
Using gluten free flours
Keeping them safe from evil weevils and measuring them properly are important starts, but how does one use gluten free flour? Firstly, I don’t believe in gluten free flour blends. I think they’re an easy way to get rid of cheap flours. I think they are unpredictable, because they are all so different in their makeup. I much prefer using different flours for different applications, to avoid disappointment and waste, and maximise enjoyment.
Firstly, keep in mind with gluten free flour that it is generally necessary to combine a variety of flours to achieve the consistency of wheat flour. As a general rule, I like to combine rice flour and tapioca flour, maybe with a third flour thrown in. You can experiment with this, or you can stick to these two if you’re on a budget.
Secondly, be aware that gluten free flours absorb moisture very differently to wheat flour, and to each other. They are generally drier than wheat, and thus need more moisture added. They also lack to elasticity and structure of gluten, so a binder is often necessary. Speaking of:
Adding elasticity to gluten free flours
Because gluten free flours have little to no elasticity, it is often necessary, particularly when making bread or pastry, to add a binding factor. When I say binder, I’m not talking about eggs, in this instance. I’m talking about additives that provide, above all else, an ‘artificial’ elasticity to your dough.
There are a variety of binder choices. These include chia seed flour, ground flaxseeds, zantham gum, guar gum, and psyllium husk. I’m no expert on the majority of these binders, but I do know that excessive amounts of gums can cause problems for digestively challenged people. While they are naturally based, I have chosen to stay clear. I also found that for me personally, too many chia seeds equals a bad time. Monash says they’re high FODMAP in 4 tablespoon + servings, which might be why. In any event, psyllium husk is my magic bullet of a binder.
Psyllium husk can be found in health food stores and online. In Australia, it has even started popping up in the supermarket. Metamucil is psyllium husk with added flavour, just as a fun tidbit. Anything from 1 teaspoon to 1/4 cup can be used to give elasticity to dough. It sucks up liquid, oil or butter, so you can add a lot more liquid to your baked goods than you normally would.
Keep in mind that different binders likely absorb liquid differently, so consider that if you’re intending to substitute one binder with another.
What about liquid binders?
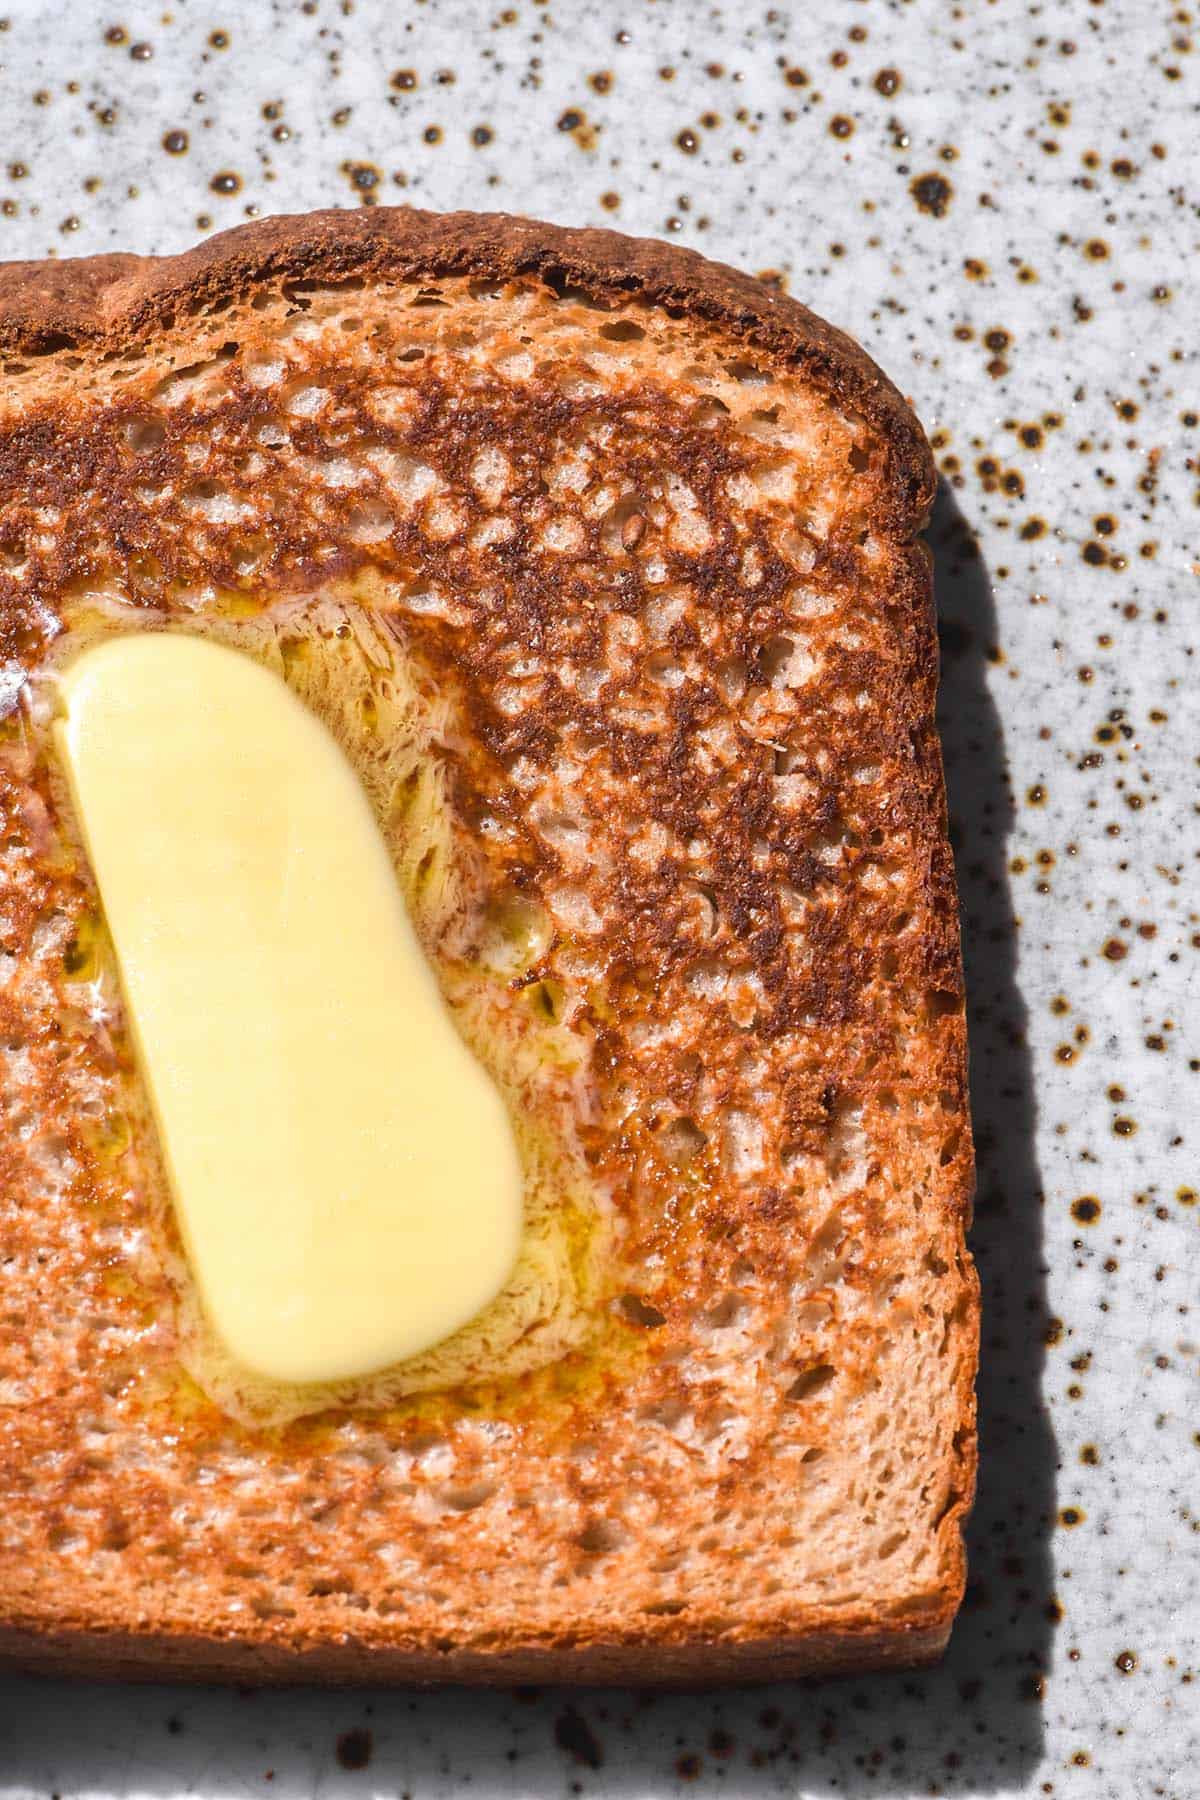
A quick note on some FODMAP friendly liquid binder ideas. All types of oil, butter (which is virtually lactose free) most plant and lactose free milks, coconut yoghurt, lactose free yoghurt, pumpkin puree (make it from scratch and use Kent or Japanese) a bit of mashed banana and grated zucchini are all great binders for gluten free baking.
Buttermilk is great for giving baked goods fluffy heat, and can be made using vinegar or lemon juice and basically any milk, dairy based or not.
Gluten free flours
We’ve chatted storage, we’ve chatted DIY. Let’s chat flour varieties, and what I use them for. Note that FODMAP allows for a little bit of wheat flour, and a little bit of spelt flour. I have been gluten free for 6 years now, since before I went FODMAP. I only use, and will only be discussing, gluten free flours/meals. I have listed them in the order I most regularly use them, to give you an idea of what my perceived essentials would be.
Fine white rice flour
This is considered one of the workhorses of gluten free baking. Rice flour is light, but thicker and grainier than wheat flour. Make sure you get a finely ground rice flour (not the one in a box, if you live in Australia) to ensure your baked goods aren’t gritty. As with most gluten free flours, white rice flour is generally not used alone (but can be in some circumstances). I use tapioca flour to lighten and lift white rice flour baked goods. A small amount of almond meal also helps to give them a delicious crumbly crumb. Monash doesn’t state an upper limit in terms of FODMAPs.
Fine brown rice flour
From my personal use of brown rice flour, I have found it to be slightly more absorbent than white rice flour. Whether this has been replicated by other people remains to be seen, but it is my observation. In a pinch, you can substitute one for the other.
Quinoa flour
This is one of my favourite gluten free flours to work with, and one that I make myself (see intro for further details.) It is light, fluffy, and deliciously nutty. I generally use it in combination with a rice flour and tapioca flour. In terms of ratios, I would always use the most rice flour, followed by quinoa flour, finished with a lesser amount of tapioca flour. This balance gives a sturdy base to a light, fluffy cake. I personally haven’t tried to use solely quinoa flour for anything, except the crepes in my cookbook. I do, however, highly recommend using this flour as a sourdough starter, a post on which is coming soon.
Tapioca flour
There is often confusion about whether tapioca flour, tapioca starch and arrowroot powder are the same. For my purposes, they are similar enough that I would use any and all. I’m sure there are subtle nuances and I’m sure somebody who is more precise than I will be up in arms about these statements, but I use them all interchangeably, and I’ve never noticed a catastrophic difference.
That may be because tapioca/arrowroot/whatever becomes extremely gummy if you use too much of it. I would highly recommend using it as a lightener to otherwise dense flours, but not on it’s own. It creates thick, stodgy and gluggy baked goods when used in excess.
Sorghum flour
This is newer to me than my other workhouse flours, although I can see it coming very much in handy. It is slightly gritty in texture, and pretty flavourless. I would use it in the same way I use quinoa flour – as a lightening up sort of flour, a go between when using rice flour and tapioca flour. It sounds very niche but is easily purchased at a bulk food store, or online. Here is a link to one, if you’re struggling.
Almond meal
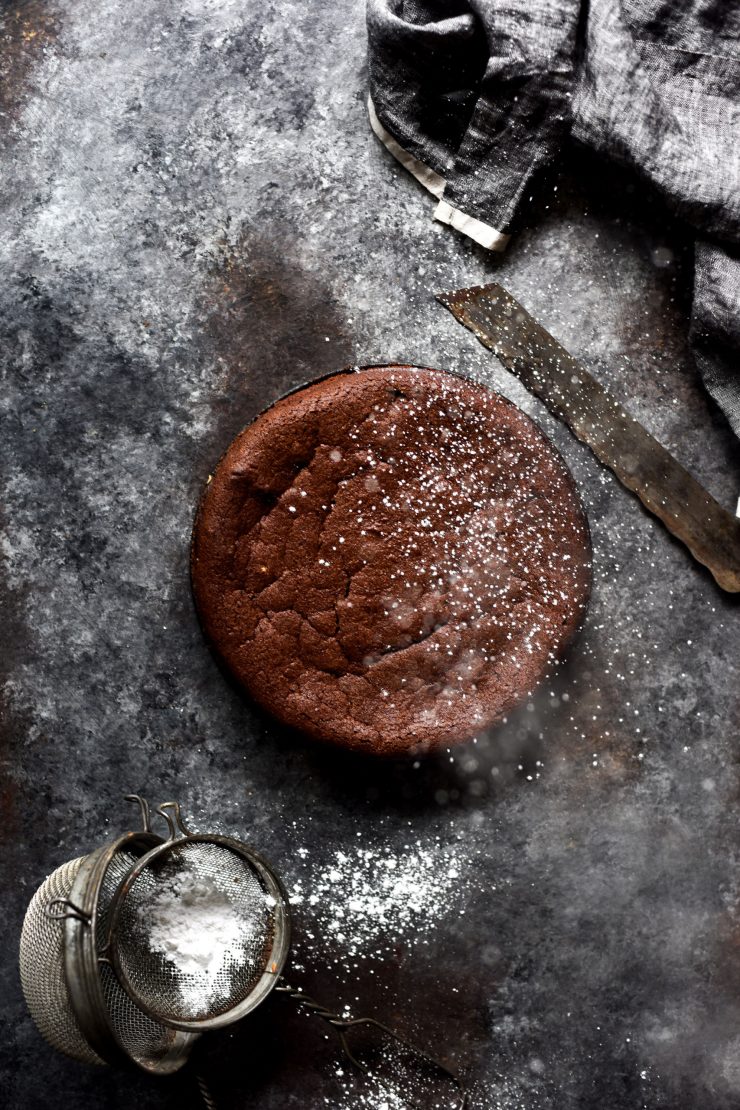
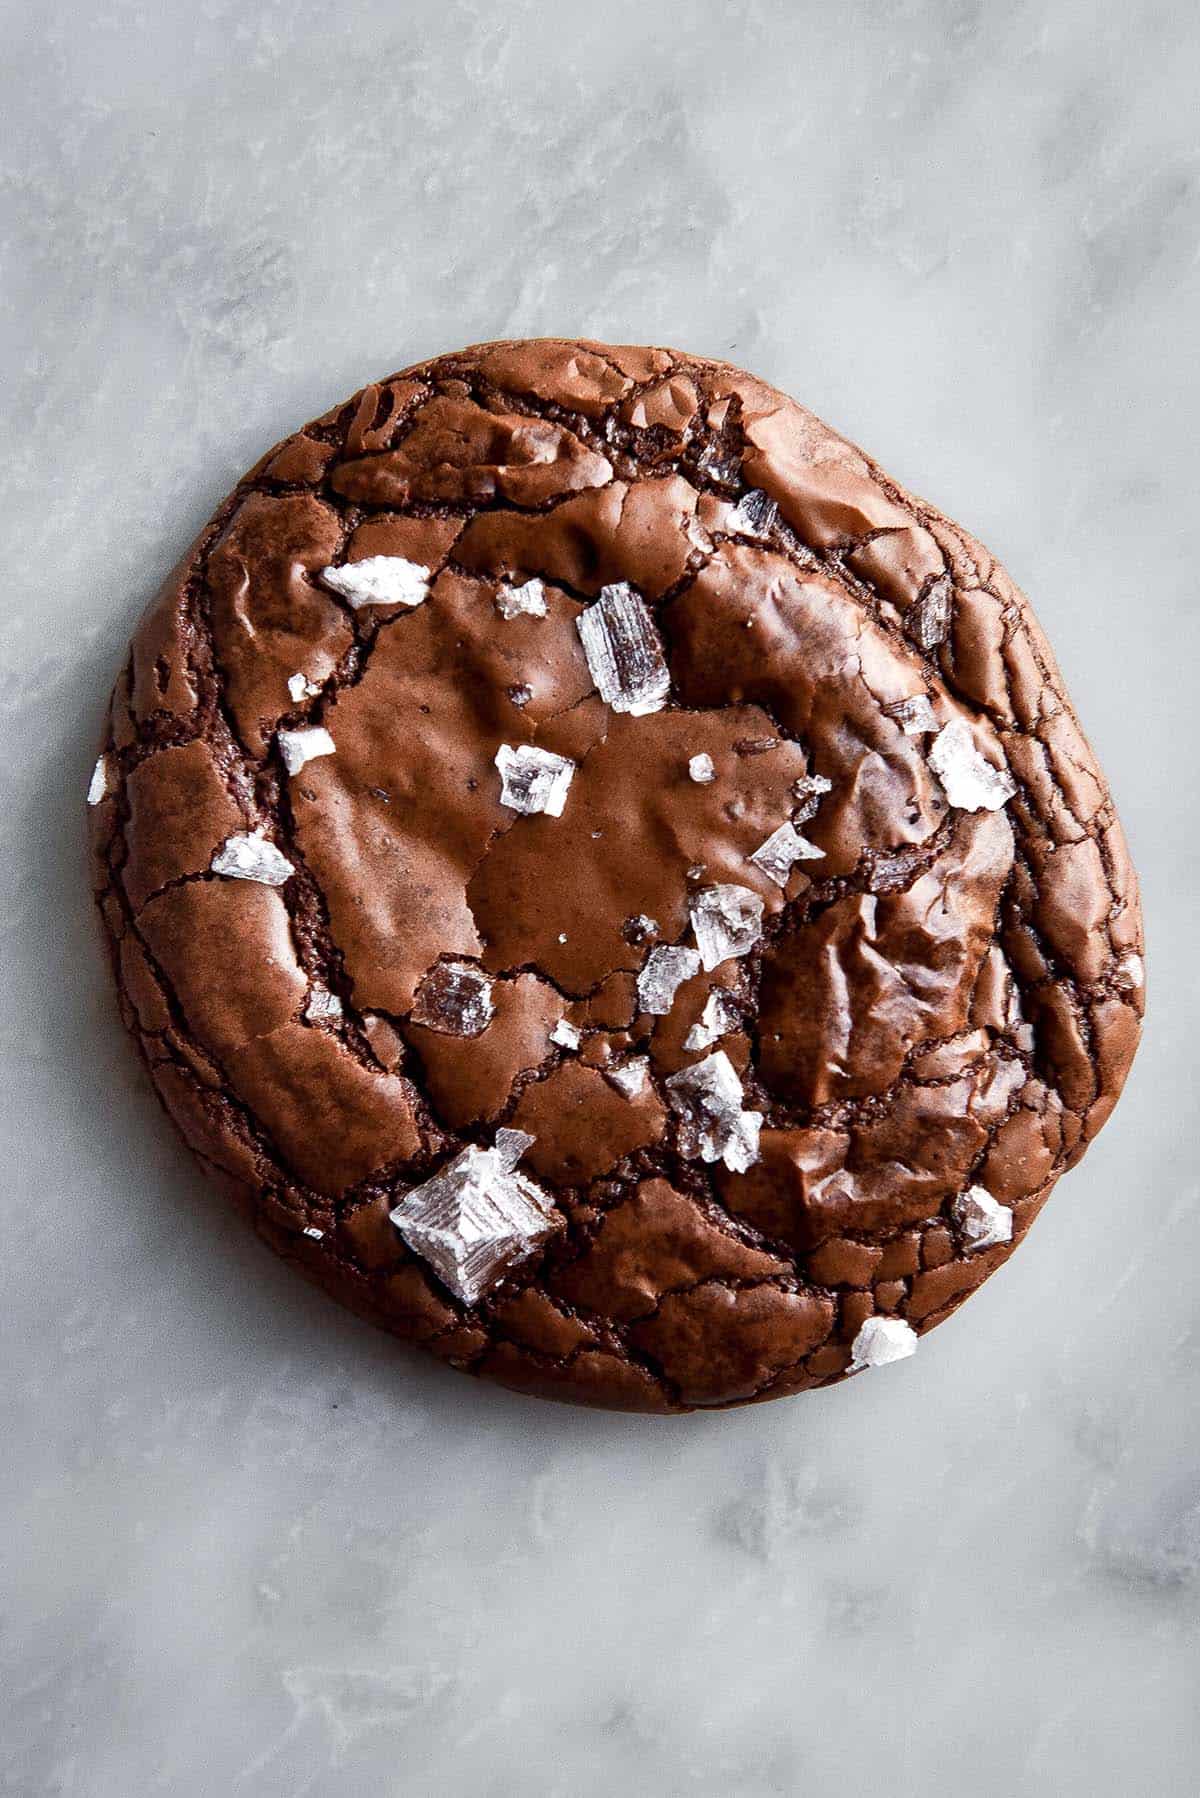
Not a flour, and not always FODMAP friendly, but an absolute staple for me. Almond flour lends an excellent crumb to gluten free baked goods, and gives a light but delicious nutty flavour. It is great for grain free baking, and flourless chocolate cakes. Monash suggests that a FODMAP friendly serve is 1/4 cup (or 28g) which means you can comfortably use 2 cups in a cake, as long as you don’t intend to eat 1/4 of it in a single sitting.
Buckwheat flour
Buckwheat flour can be quite divisive for those who don’t need to experiment with flour. It has a nutty, bitter sort of taste, and is quite different to other gluten free flours. One of it’s main qualities is that is sucks up moisture like nothin’ else, so bare that in mind if you begin experimenting. It also has a habit of turning into a stodgy mess when you’ve given it too much liquid.
I would recommend starting out by combining buckwheat with other flours. It’s not a big workhorse of mine because the taste is quite distinguishable, but it is a handy addition to a gluten free pantry. It is apparently a source of all the essential amino acids, which is helpful for a vego like myself. You can grind your own buckwheat flour by buying buckwheat groats from your bulk food store, or from here.
Corn starch/corn flour
Corn flour (as we know it in Australia) has similar properties to tapioca flour – it is squeaky dry, bright white and very fine. I most often use it in thickening sauces (although you can substitute tapioca for this, corn flour has the edge) because I am aware that people can have corn allergies. On the note of corn, cornflour is not always made of corn, so make sure your packet says gluten free.
I also use cornflour to make crispy fried things, like salt and pepper tofu nuggets.
Potato starch
This is a star ingredient for me when I’m making pizza bases and gnocchi. It is similar in texture and lightness to cornflour and tapioca, although I find that it has a more chalky and thick consistency than other starches. You can use it to thicken a sauce as you would cornflour. I would, as always, recommend combining it with other flours. It plays very nicely with rice flour, in my experience.
Millet flour
I have to say that I haven’t warmed to millet flour in a huge way, even though I know I should. It has a yellow hue and is a slightly grittier flour that you can make at home. I’d like to do some more experimenting with millet flour, so I’ll keep you posted. As I currently stand, I use it as like quinoa and sorghum flour – an intermediary between rice and tapioca flour. As I become more experienced, I’d like to use it in more nuanced ways.
Glutinous rice flour
All names for the same thing, this flour is still gluten free, but given the name ‘glutinous’ because of the sticky quality of it when mixed with liquid. Mostly found in Asian grocers, some people use it as a staple in baking – I haven’t quite gotten there yet, but I can see why it’s helpful. Given the glutinous stretch of it (it is used to make mochi, if that gives you any idea) it would be very helpful in adding some structure to gluten free baking.
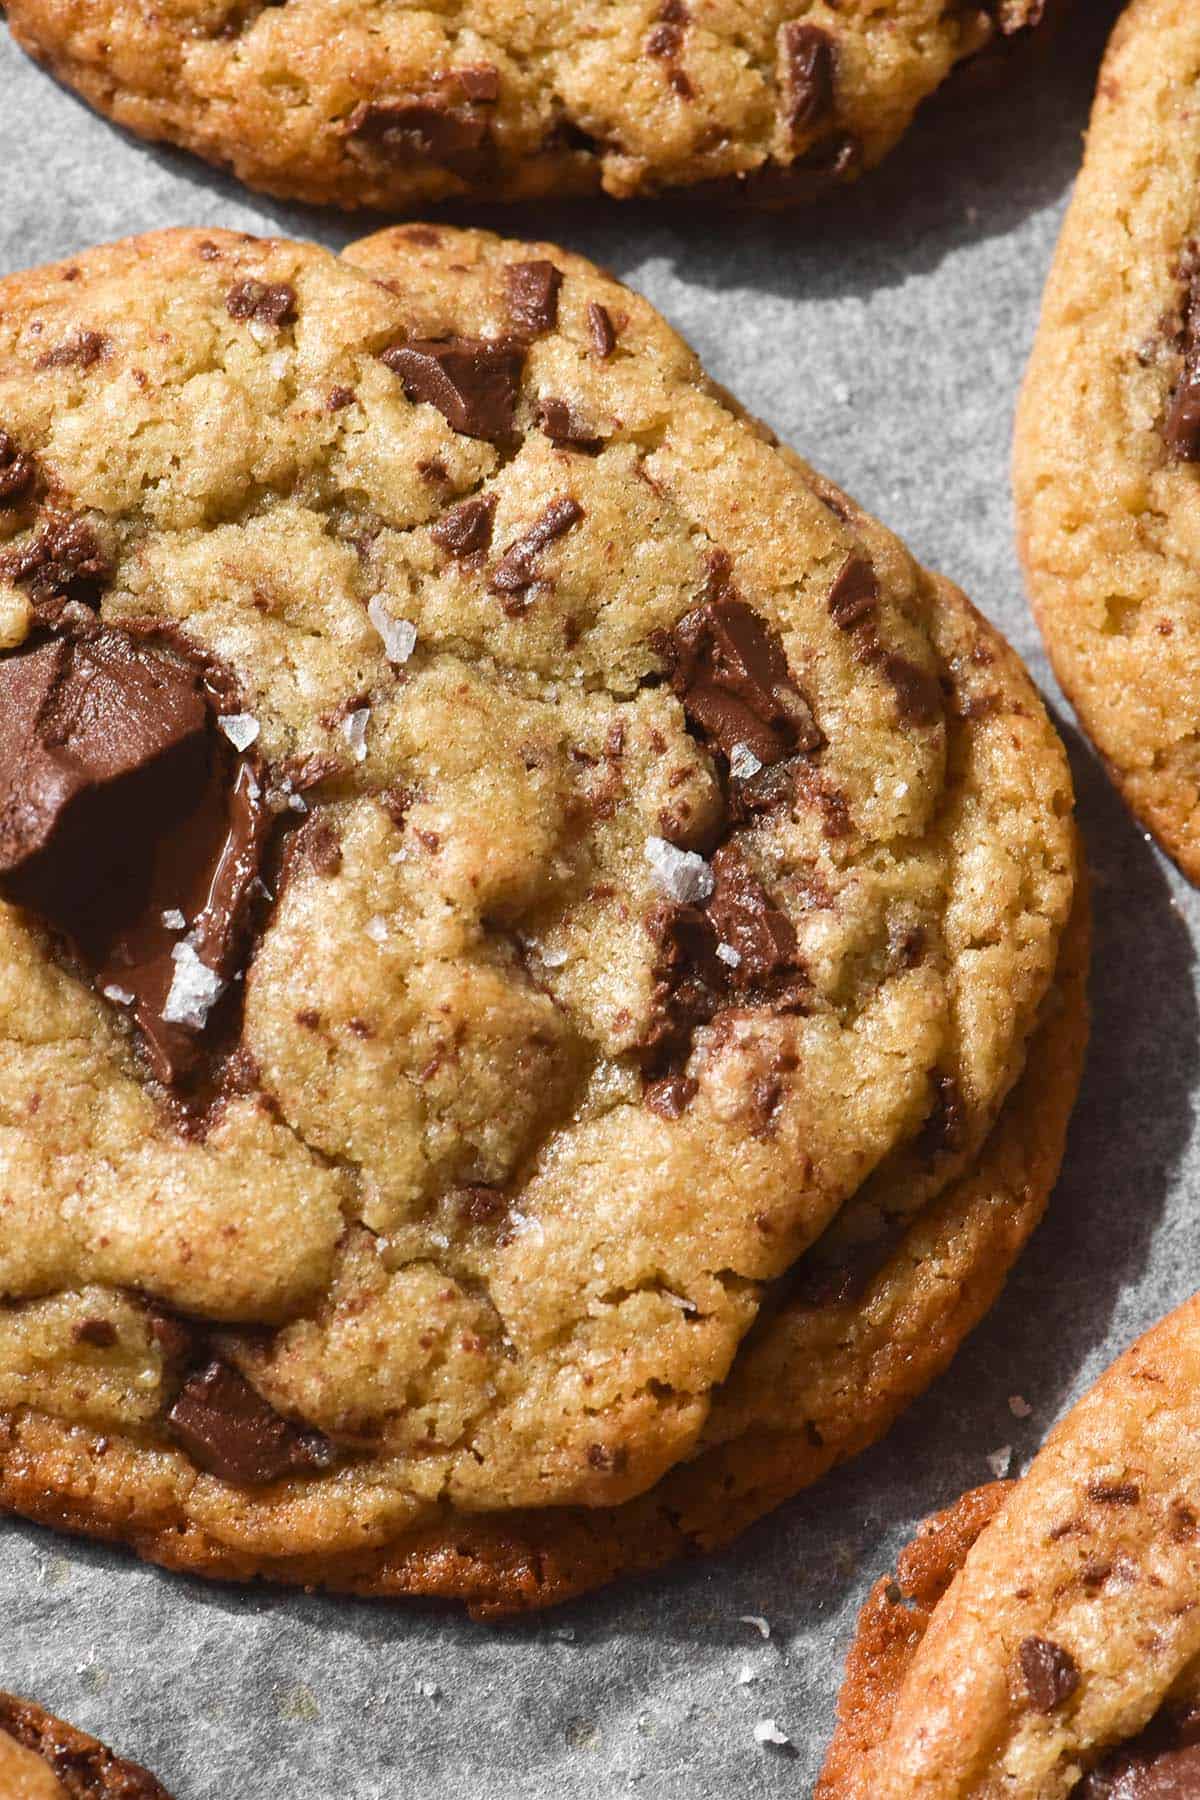
What about Oat flour? I just used it cup for cup in a chocolate chip cookie recipe and it was perfect. Have you ever used it?
Oat flour isn’t classified as gluten free in Australia. It contains a protein that is very similar to gluten and can cause people with acute allergies/intolerances to react. As far as my learning goes, oat crops are also cycled with wheat ones for soil rejuvenation purposes, so there’s the possibility of cross contamination there (which I think is mainly relevant to coeliacs).
Personally, oat flour bloats me like a balloon. I wish I could use it because it’s supposed to be great in sourdough but alas.
Glad to hear it works for you though!
Thanks for your quickie reply. Yes this gluten free oat flour is grown in a dedicated field so no crossing going on;) I am celiac so it is wonderful. Which flour could I switch it for in your recipe if it is good in sourdough?
I don’t/can’t cook with oat flour so I can’t say with any certainty! I’ve just seen other recipes (and some readers) include it. If you read through the comments on the bread post you might be able to find some information, people have been very generous in sharing what combinations they’ve used 🙂
Have you ever made sourdough with just tapioca and brown rice flour? Trying to use what I have but don’t want a catastrophic flop. Would love to hear your thoughts / suggestions!
Hi Linden! I have tried to make a sourdough with just rice and tapioca, but I found it was quite lacklustre. I’m working on a new method for a two flour loaf but in the interim I recommend adding in something inexpensive like buckwheat flour. I find 3 is really the minimum for a loaf but I’m hoping that changes with the new method. I will keep you posted!
Hi,
Thanks for your very helpful recipes and information.
Have you used chestnut flour in bread? I bought some at a local store and am now not sure how much I could use in your g/f sourdough bread recipe. Do you think it would be similar to your tips above on using almond meal?
Thank you.
Hi Sally,
Unfortunately I have never used chestnut flour so I can’t say what qualities it has in baking or provide suggestions for use. I will definitely try and get my hands on some to experiment because it looks fantastic!