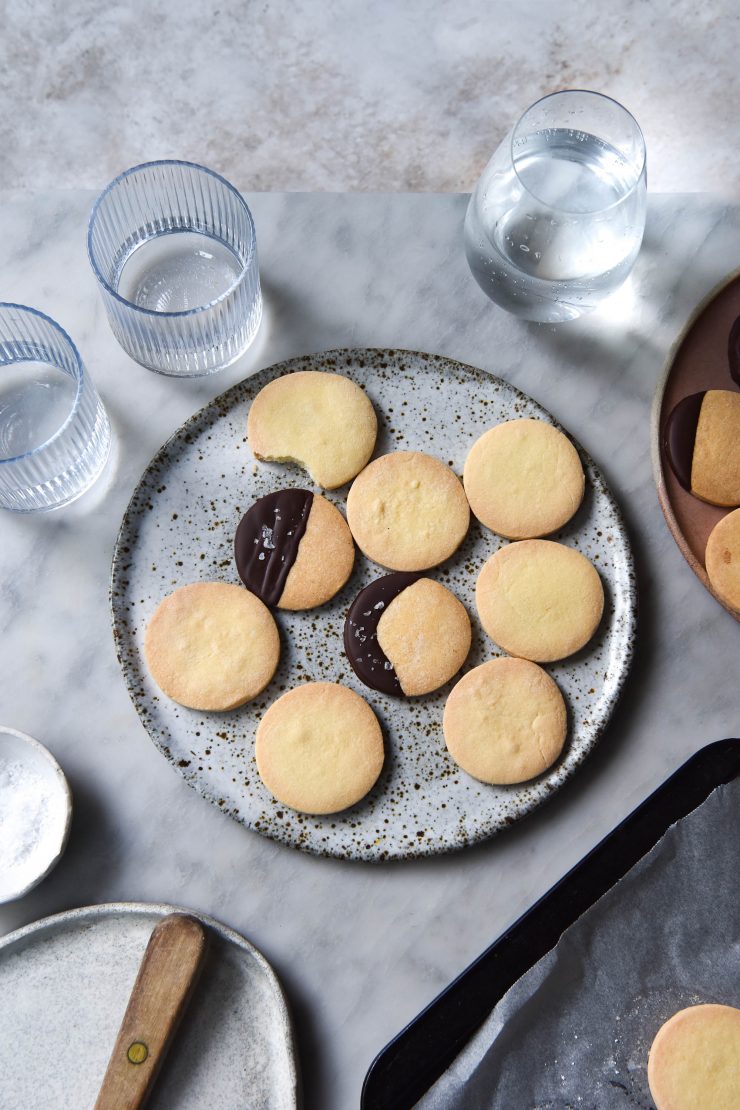
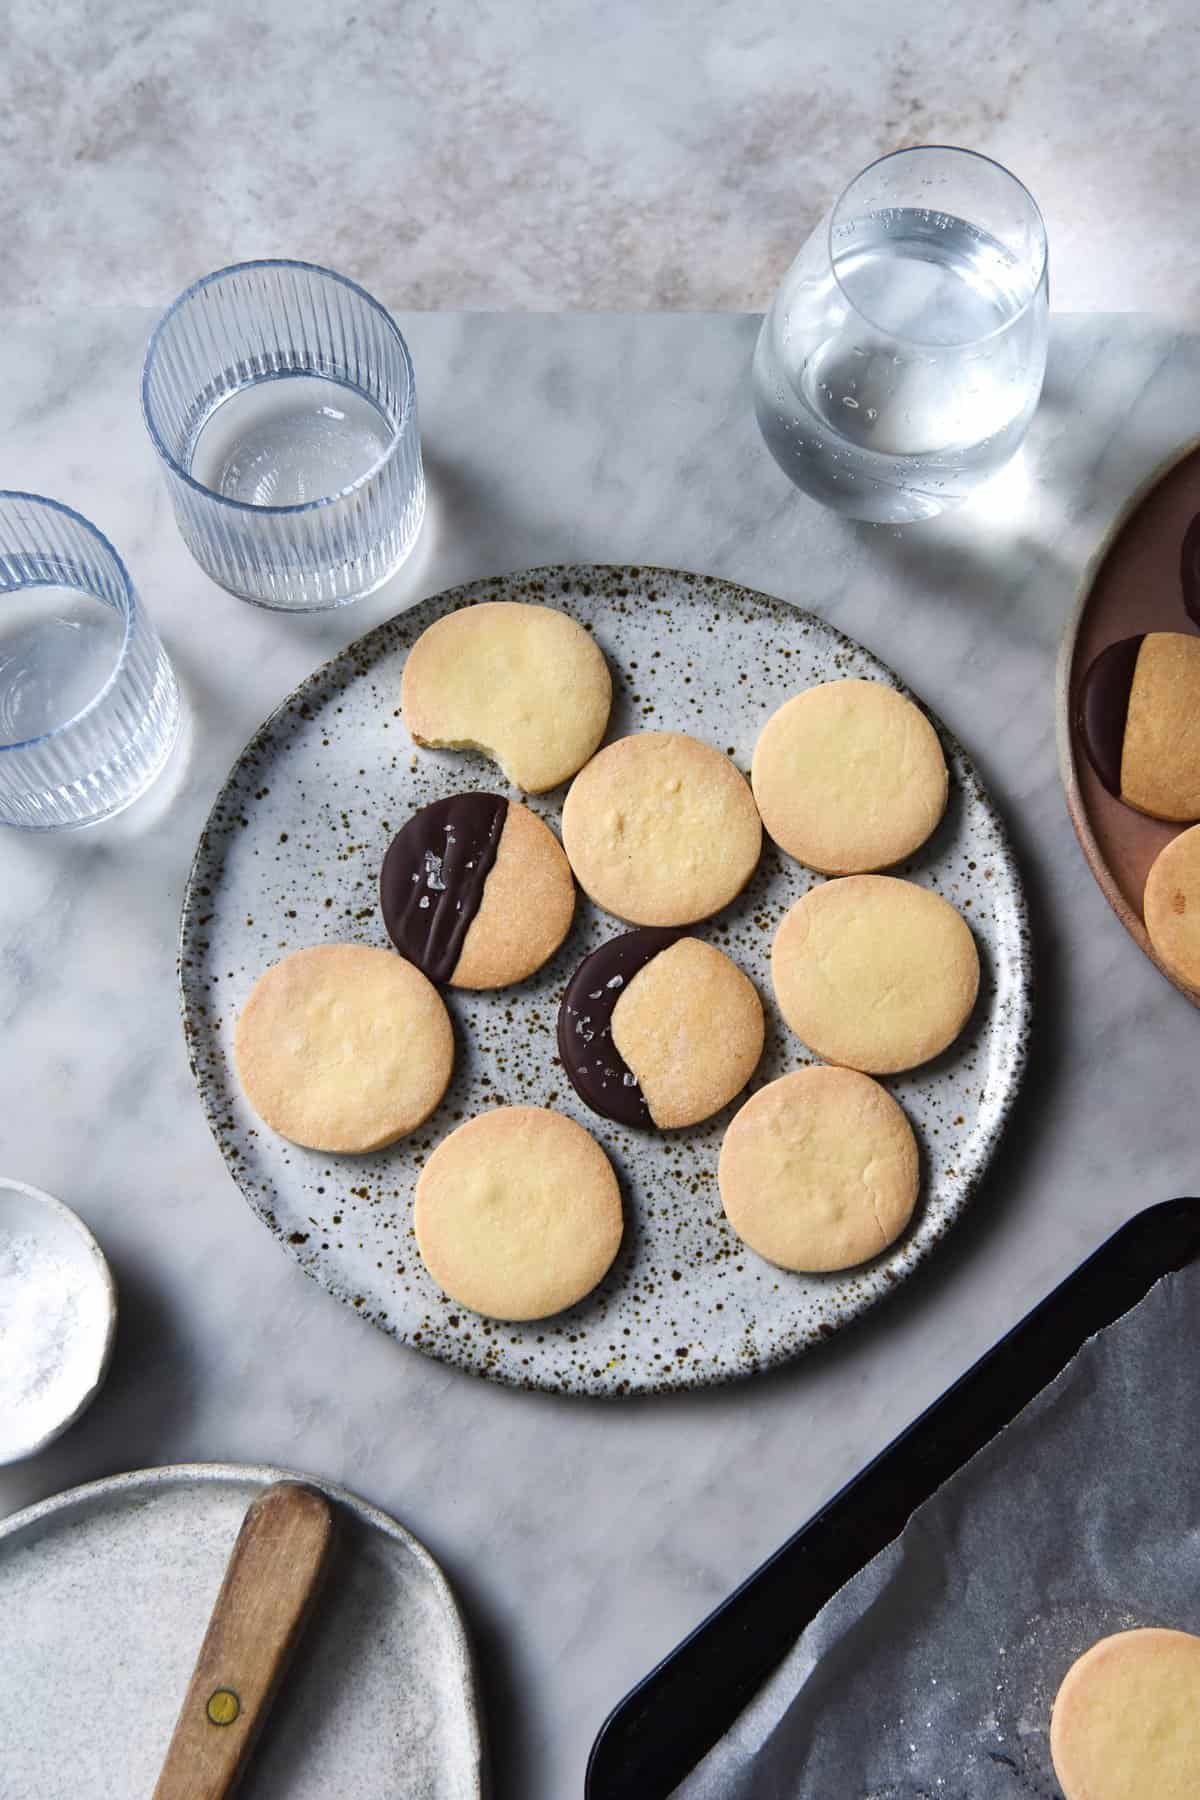
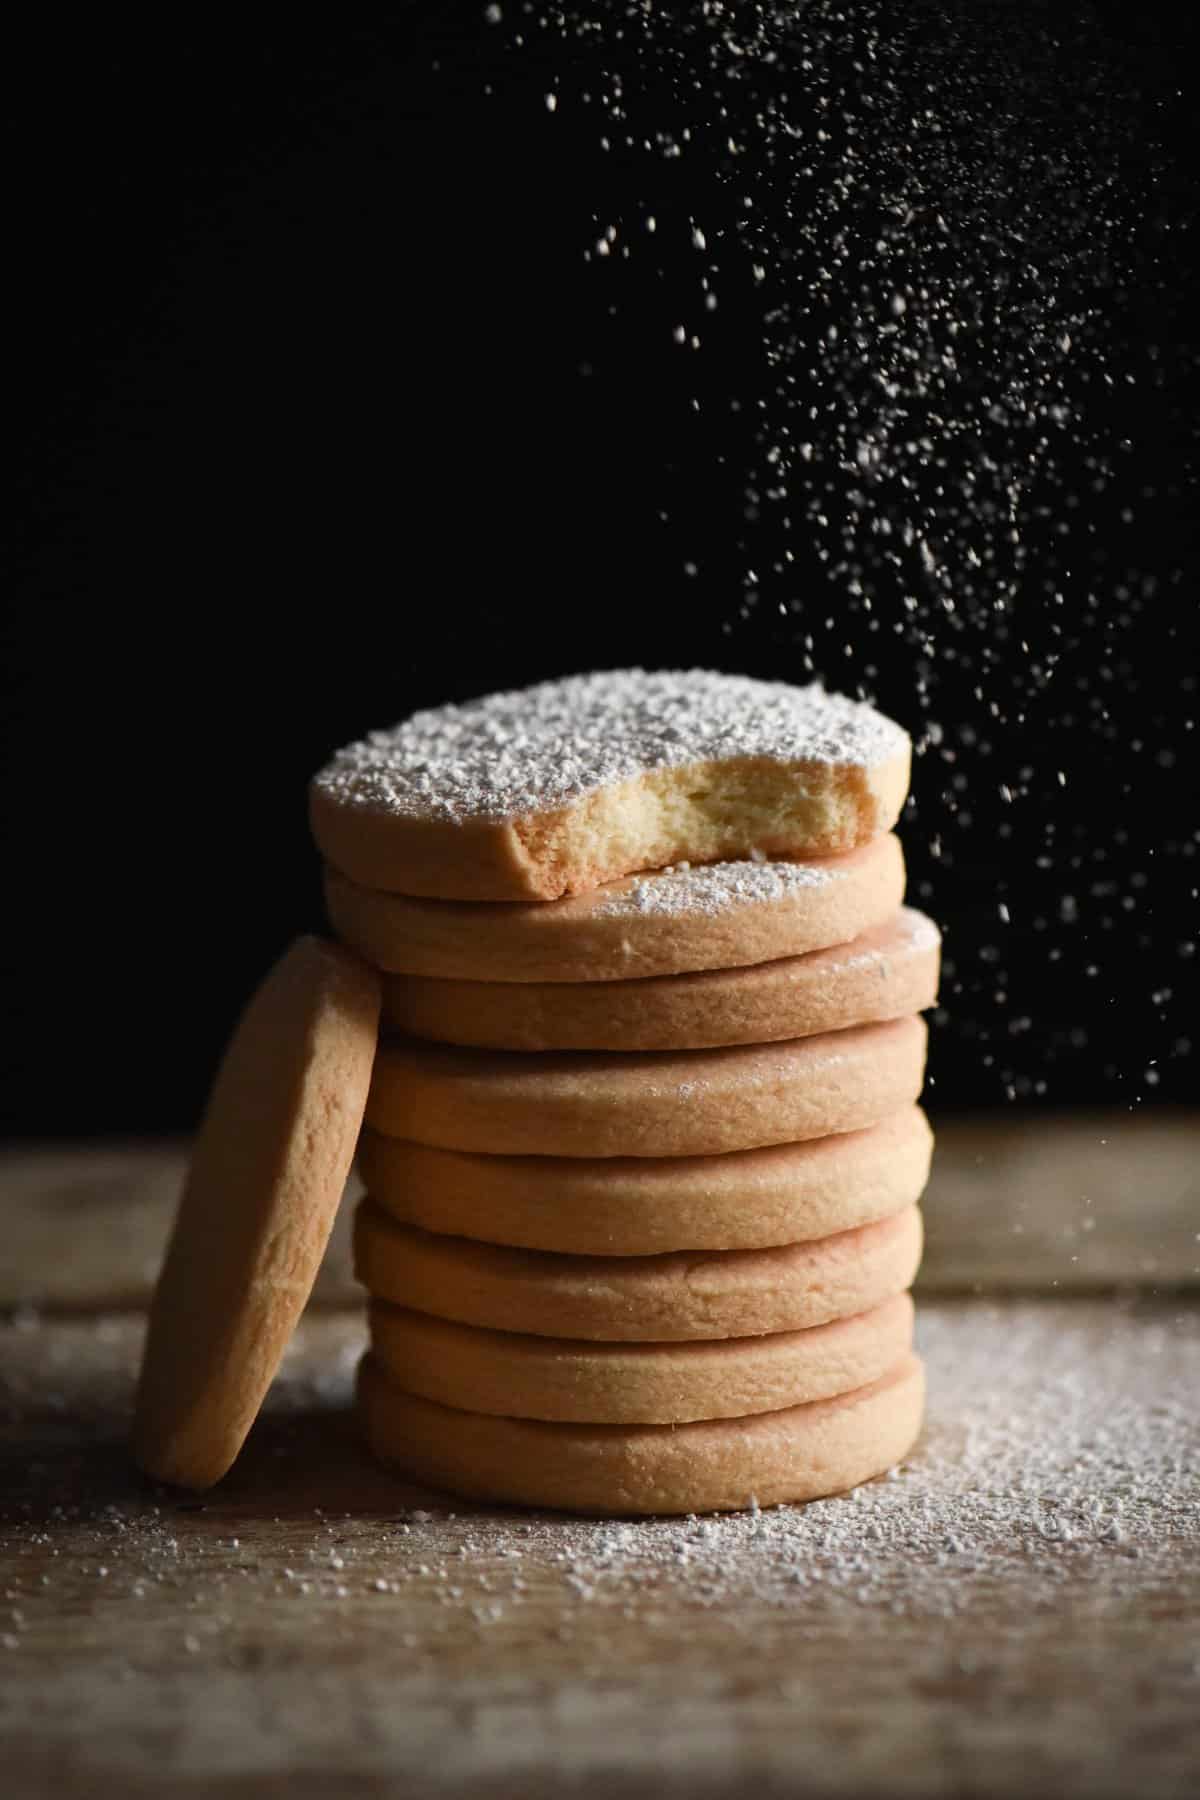
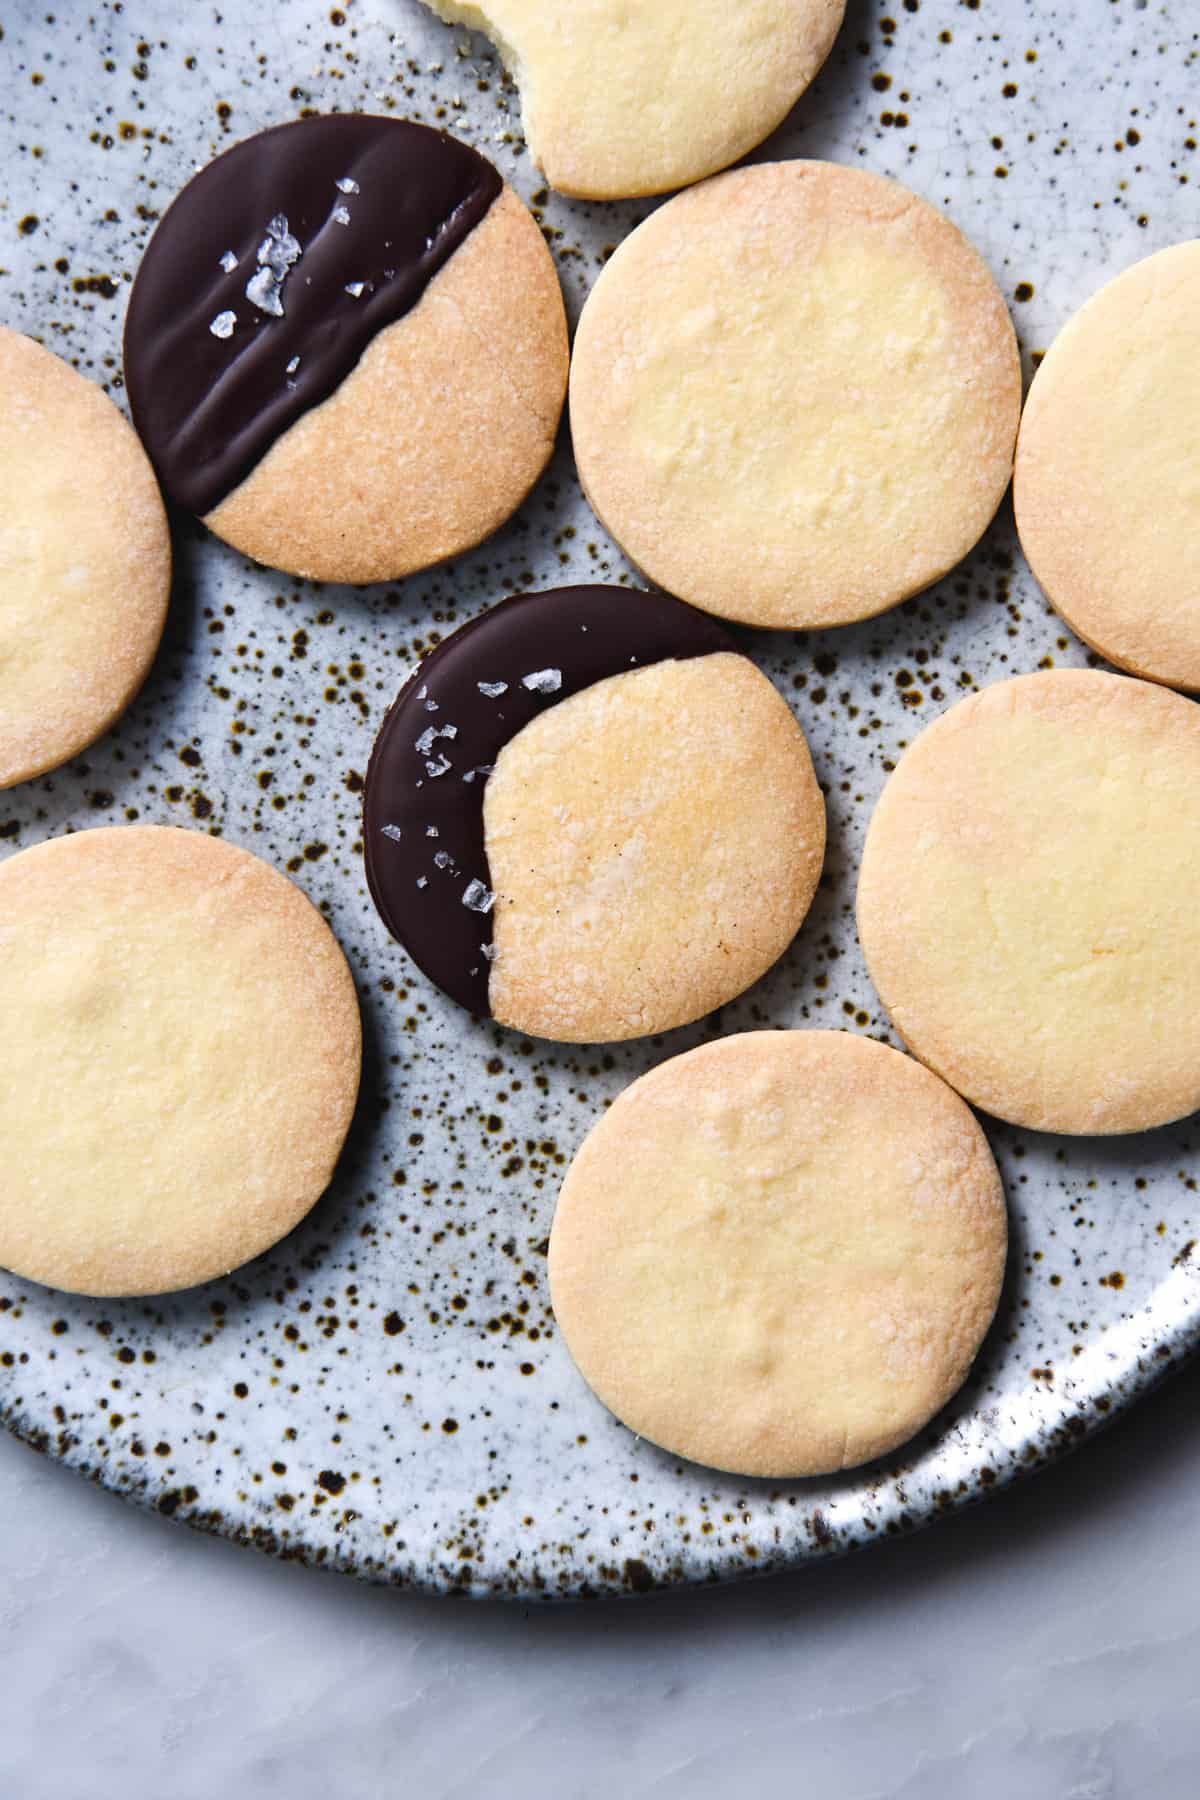
A gluten free shortbread recipe has always been high on my agenda. I grew up making and eating shortbread with my Nan, so they have a nostalgic quality for me. A delicious, buttery and festive treat, these gluten free shortbread cookies are perfect for your Christmas table.
Gluten free shortbread without xanthan gum
I wanted to make gluten free shortbread without xanthan gum, because it doesn’t tend to agree with me. I also wanted to make these shortbread without nuts, catering to as many dietaries as possible.
A lot of gluten free shortbread use a flour blend and often eggs to aid in binding. These shortbread are made without eggs and with a simple blend of gluten free flours. They can also be made without cornstarch or cornflour, for those with corn allergies or intolerances.
Better yet! These gluten free shortbread can also be made without a starch flour, using my new best friend, cassava flour.
Cassava flour is made from the root and starch of the cassava plant. Tapioca flour is made from the starch of the cassava plant. So cassava flour is technically a wholegrain and starch in one. It works really well in these shortbread cookies, and we will go into how and why below.
More gluten free low FODMAP Christmas recipes
- These gluten free, fruitless mince pies
- My all time favourite fruitless, FODMAP friendly and gluten free Christmas pudding
- This lactose free cheesecake with a gluten free shortbread base
- Gluten free and lactose free Tiramisu
Flour notes for your gluten free shortbread
Although I generally try to minimise starches in my recipes, I can concede that they are absolutely necessary when it comes to gluten free shortbread. As with regular shortbread, a combination of a wholegrain flour (in this case, white rice flour) and a starch creates that airy, ethereal buttery texture. You can, however, use cassava flour in place of starch (more on that below).
There’s not much to say about rice flour except that it should be finely ground and as fresh as possible. Rice flour has an obvious taste and smell when it goes rancid, which seems to be quite quickly. If you can, buy some from a bulk food store – it is much more finely ground and better tasting than the bags/boxes at the supermarket.
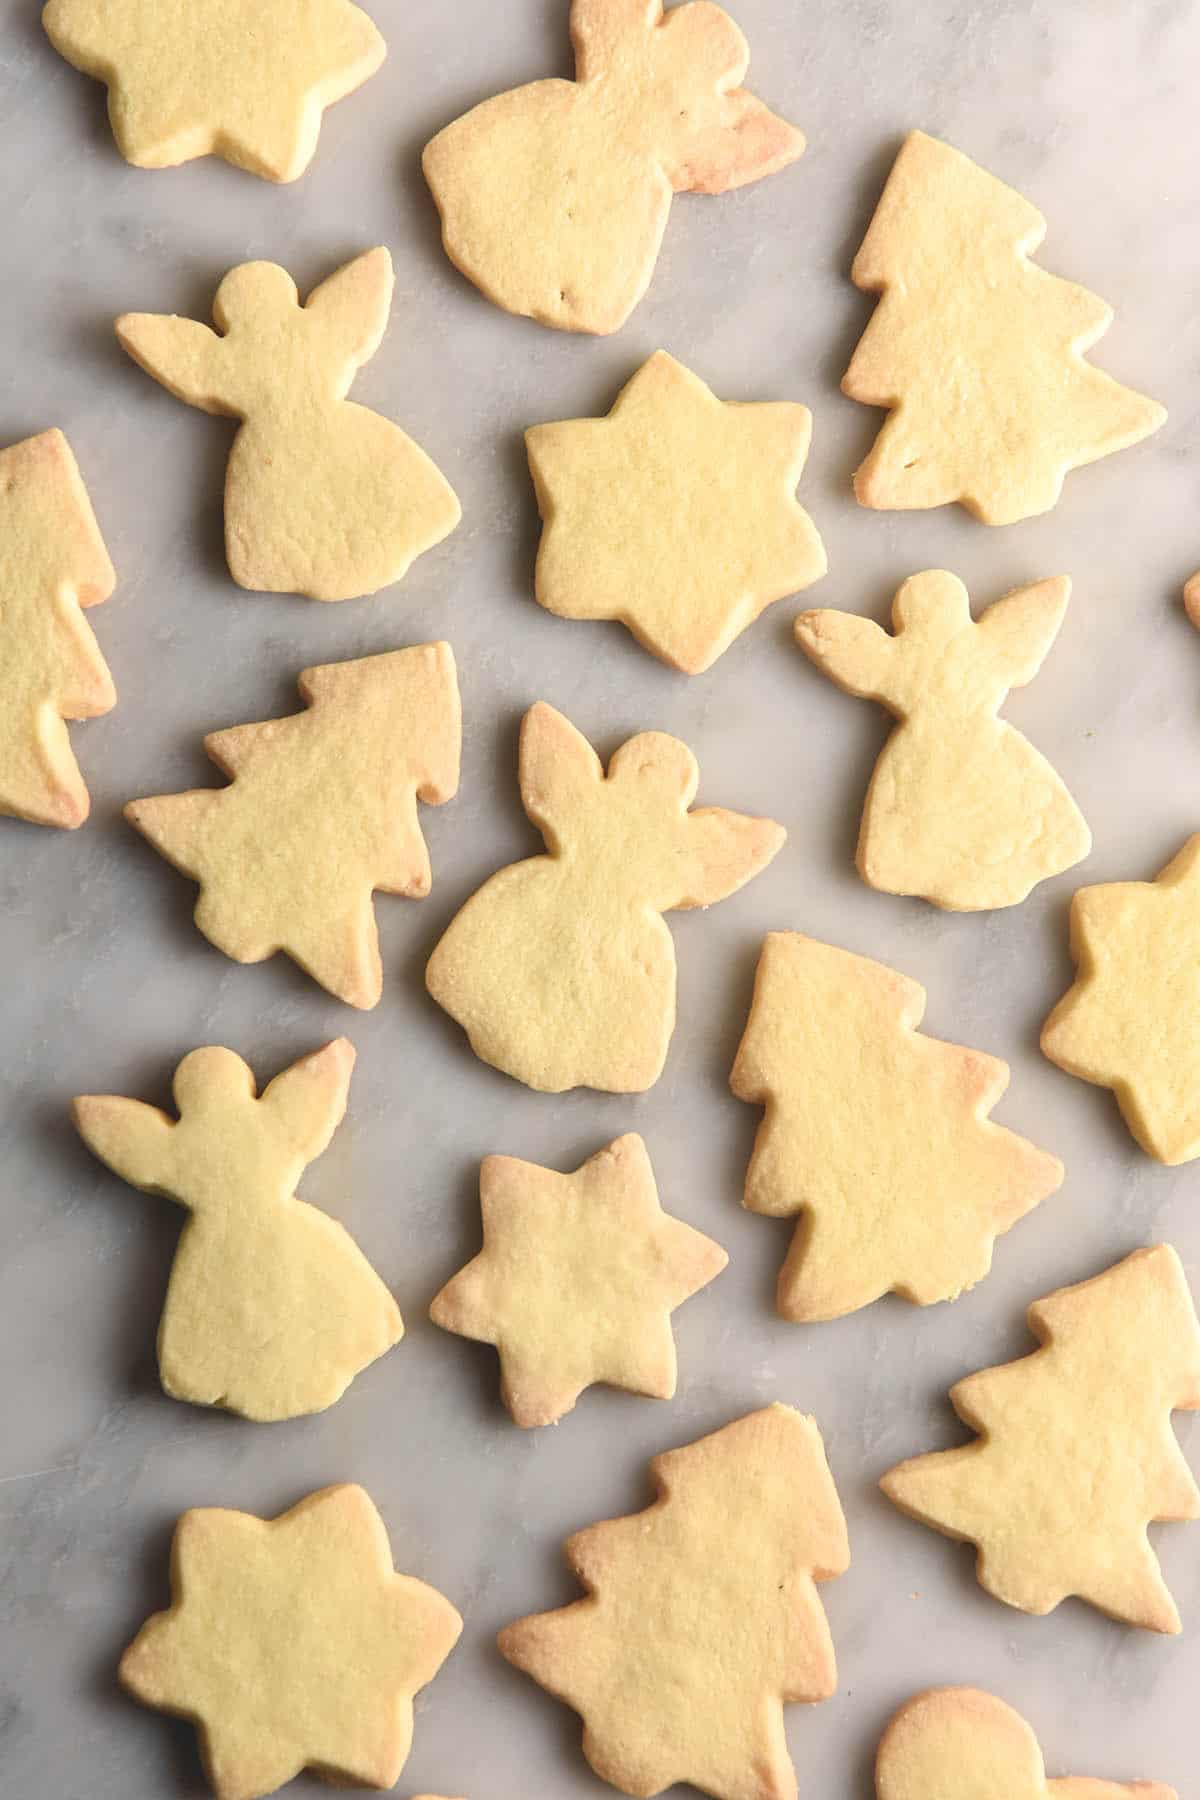
Options for which starch to use in your gluten free shortbreads
I have tested a whole manner of combinations so that all dietaries are addressed.
Glutinous rice flour
Glutinous rice flour or sticky rice flour is made with sticky rice – the variety that makes mochi. It is easily purchased at the supermarket in Australia in the Asian section. It is generally always Erawan brand in a clear package with green writing. Normally it is located down the bottom of the shelves.
Glutinous rice flour has that extra binding capacity that makes it really helpful for gluten free shortbread cookies xanthan gum. It is still light and airy, but holds everything together. I found that glutinous rice flour made for a lovely shortbread that didn’t spread.
Tapioca flour
Tapioca flour is one of the more common starchy based flours. I found shortbreads made with tapioca flour were a real mixed bag. Some of them worked without incident and others spread. Not astronomically, but more than the glutinous rice version and more than I wanted. I would say you could try tapioca if you’re desperate, but you should expect them to spread. Texturally, they’re also not my first choice.
Cornstarch/cornflour
This starch is called cornstarch in some countries, cornflour in others. It is that squeaky, white starch that is often used to thicken gravy. The batches I tested with all cornflour had an ethereal melt in your mouth quality around the edges that I loved. However, I found that the innards of each cookie were weirdly crunchy and almost honeycomb like in texture and structure. For people with corn allergies, these gluten free shortbread can absolutely be made without cornstarch.
Cassava flour
I have tested a batch using cassava flour as the starch and I found they worked really well. They’re easy enough to roll out, hold together nicely and only spread a little bit. These would probably be my go-to moving forward. This is for the ease, but also the fact that they’re less starchy (my SIBO appreciates that).
Having recently made a batch of cassava flour shortbreads in winter (Christmas is in Australian summer) I have some notes. Whether or not it was due to the cooler kitchen temperature and thus cooler butter or the cassava flour, I found I needed much less than 160g. In fact, 100g worked really well for me in two separate batches.
In the past, I have found that there is a difference between fermented and non fermented cassava flour. Fermented cassava flour seems to be much more absorbent. All this to say: start with a conservative amount of cassava flour and work up. I keep the extra 60g in a separate bowl and add it to the mixer as necessary.
Potato starch
I have tried using potato starch in these gluten free shortbread without xanthan gum. While they were beautifully light and airy, they had some issues. Firstly, they needed 220g of potato starch, which is nearly double what the recipe specifies. Secondly, the dough was wet even after adding all the potato starch, and needed 3+ hours chilling before I could work with it. Finally, they spread. So the taste was gorgeous, but they were hard to work with. There is definitely some potential with potato starch, but probably not in this particular recipe (unless you are keen to experiment).
My dream combination, if you are so inclined? Half cornflour with half glutinous rice flour or cassava flour . I found this combo was the best for binding, lightness and crispiness, all in one. The half tapioca and half cornflour version spread, so I don’t recommend that.
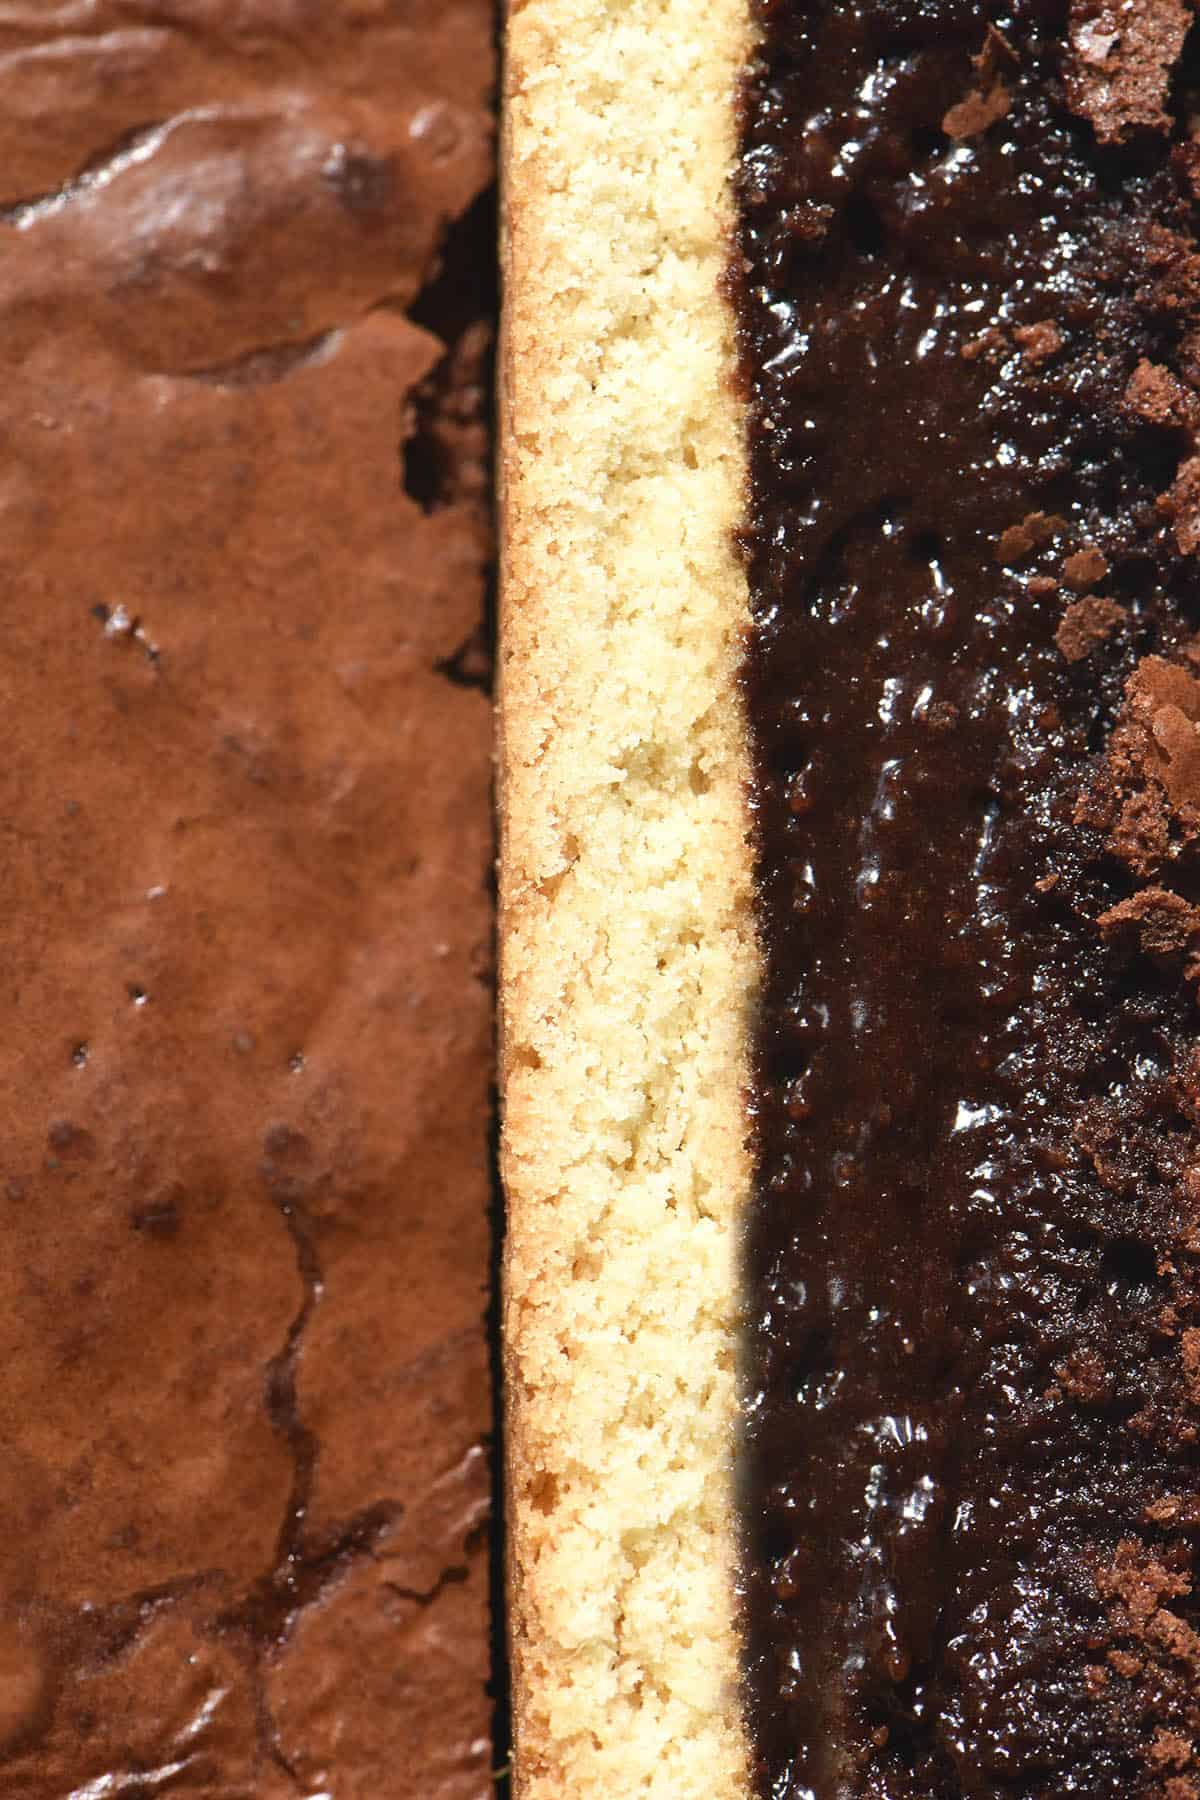
Ingredients notes for your gluten free shortbread
Beyond the flours, there are a few ingredients worth chatting about quickly.
- I use pure icing sugar in these gluten free shortbread. Regular icing sugar is mixed with tapioca starch, whereas pure is 100% sugar. Given that the tapioca version of the shortbread spread, I use pure icing sugar. If you don’t have any you can try using regular icing sugar, although I can’t say if your shortbreads will spread.
- In terms of butter, I always like to use salted butter. It adds a lovely nuanced balance to the shortbread. You can use unsalted butter and a good pinch of salt if you’d prefer.
- Good quality butter will really shine in these gluten free shortbread.
- The vanilla bean paste is an optional inclusion. The shortbread still taste lovely without it, but it is a nice way to add extra flavour. If you don’t have any, simply add a little extra milk to compensate. You could also use vanilla bean extract (which is liquid) – just add less milk accordingly.
How to cream butter properly for light and airy gluten free shortbreads
Creaming butter is a critical step in creating light and airy gluten free shortbreads. Creaming butter involves beating it until it is almost white in colour and fluffy in texture. The air beaten into the butter during creaming is what makes the shortbread texture so ethereally light.
There are two important factors in well creamed butter. These are room temperature butter and patience. Room temperature butter is far more easily beaten than cold butter, which forms chunks without incorporating air. Ensure your butter is room temperature for your sanity and shortbread success.
Onto patience: creaming butter takes time. The colder the butter and the climate you’re baking in, the longer it will take. On the flip side, though, butter or kitchen temperatures that are too warm spell trouble, too. If the butter begins to melt, air cannot be whipped into it.
Best practice for creaming butter
I am not a butter creaming expert, but these are my tips for ensuring properly creamed butter.
Use room temperature butter and ideally choose a bake day that is not too hot during summer. These are the best conditions for speedily creamed butter that will retain air. In winter, allow your butter to well and truly come to room temperature before you start. Cold butter will not whip into a light and airy mixture (nor will butter that is too warm and soft).
When creaming butter, look for a super pale yellow, almost white colour. The butter should feel light and airy when you run a spatula through it. My key indicator for butter being creamed is when I scrape the bowl with a spatula, there is no resistance from firmer bits of butter. You should be able to easily scrape down the whole bowl (especially the bottom). The butter should all be that light and airy texture.
I use the paddle attachment on my stand mixer for this recipe. You can also use hand beaters, if that’s what you have.
To make gluten free choc chip shortbreads
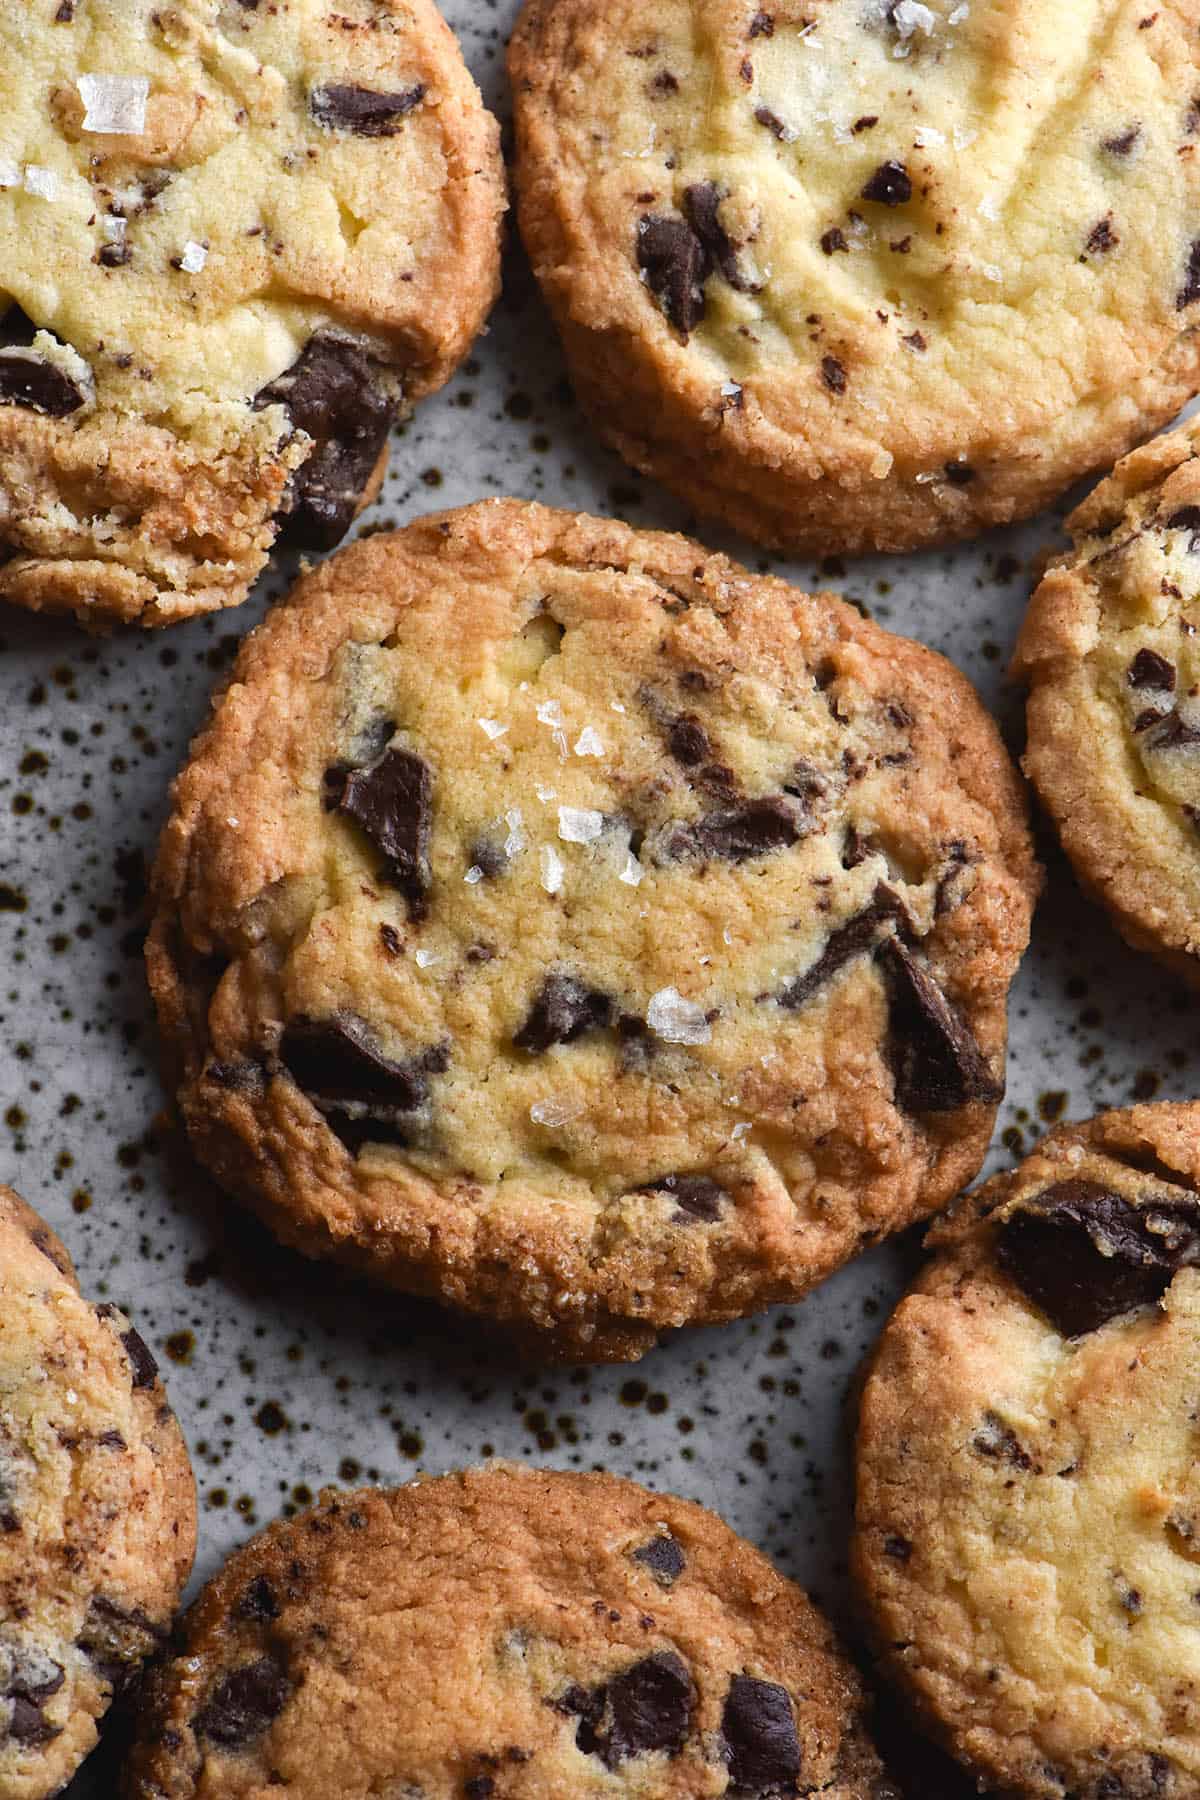
- Add 100-150g finely chopped dark chocolate (I used 70%) to the dough before refrigerating it. Really, genuinely finely chopping your chocolate will save on a lot of headaches later. Big chunks of chocolate make the cookies a lot harder to cut out, and you will have to mould the shortbread back together with your hands.
- You can roll the dough into a log on a large piece of baking cling film and chill, or chill and then use a round cutter to cut out. I made a log and then brushed it with milk to roll it in finishing sugar, a la Alison Roman. Honestly, I think it would have been quicker, easier and just as good to cut out the shortbreads with a cutter and omit the sugar.
- Proceed with the recipe as written.
Cookie fiend? Try these other gluten free cookie recipes
- Gluten, grain and starch free vegan tahini cookies
- Brownie crinkle cookies that are nut free and can be made flourless or vegan
- Gluten free linzer cookies (starch and gum free)
- Gluten free choc chip cookies without xanthan gum
Gluten free shortbread recipe without xanthan gum
Ingredients
- 250 g salted butter, at room temperature
- 125 g pure icing sugar (soft icing sugar contains tapioca flour, while pure is 100% sugar) sieved
- 160 g (1 cup) fine white rice flour
- 120 g (1 cup) glutinous rice flour OR 60g glutinous rice flour and 60g gluten free cornflour OR 100g-160g cassava flour (see notes)
- Pinch of salt
- 1 teaspoon vanilla bean paste (optional)
Instructions
- Preheat the oven to 170C/338F. Line two large baking trays with baking paper.
- Place the room temperature butter in the bowl of your stand mixer with the paddle attachment. Add the sieved icing sugar and beat on a medium high speed until pale, light and creamy. This can take as few as 3 minutes or as long as 20. Persist until you have the right texture – creamed butter is critical for airy, light shortbread. Scrape down the bowl as often as necessary.
- Once the mixture is creamed to your liking, add the flours, salt and vanilla. Process on a slow speed to fully incorporate, then scrape down the sides and turn the mixer to high. If the mixture comes together in large balls without any liquid, don't add any more. If it doesn't, add a teaspoon at a time until it does.
- Take a small ball of mixture and roll it in your hands. If the balls crumbles and falls apart, you need to add more liquid. If it’s easy to roll, you’re good to go.
- Scrape the dough into a rectangular piece of cling film and wrap. Press the dough down into a rectangle and chill for 30-60 minutes. Pressing the dough into a thinner rectangle helps it chill faster.
- Once chilled, cut half the dough and place it on a clean, dry and floured bench. I use tapioca flour for this purpose. Gently thump the dough down with your rolling pin to flatten it, then begin to roll. Keep picking the dough up as you roll to ensure it doesn't stick.
- Roll the dough to about 1/2 centimetre (0.19 inches or 1/5th of an inch) and use a circular cutter to cut out your shortbreads. How many you get will depend on the cutter you use. I get around 25 with a 6cm (2.3 inch) circular cutter.
- Gently transfer the cut shortbread onto the lined baking tray. If you haven't floured the bench enough you might need to use a thin spatula to pick them up off the counter. If you're working in hot weather, refrigerate the dough as necessary and keep the rolled out shortbreads on their tray in the fridge as you work.
- Re-roll any extra pieces until you have used all the dough.
- Bake each tray for 20 minutes or until just lightly golden. They are more fragile as they cool so leave them on the tray to cool completely. Store leftovers in an airtight container.
Notes
- I recommend making these ahead of time in case they need to chill.
- I have found some variation in the need for liquid with these shortbread. Some need liquid, and don’t need liquid – in fact, they need to chill and harden in the fridge. I’m testing whether this has anything to do with the butter type/brand or just the absorbency of the flours.
- Either way, be lead by your dough. If you need to add liquid, add it. If your dough is soft and batter like, spread it into a piece of cling film and refrigerate until hardened, 1-2 hours+ (weather dependent)
- I have found that the version with cassava flour has a bit of variance. In summer, I found it needs chilling – the dough is softer than other versions. It also needs 160+ cassava flour as opposed to 120g with other starch varieties. In winter, I found it didn’t really need chilling and only required 100g of cassava flour. I recommend weighing the extra 60g and keeping it in a separate bowl to add to your dough as necessary. A slightly too soft dough is better than a dough that is too dry.
- You can easily make a half batch of this recipe if you don’t need this many shortbread. Simply halve all the ingredient quantities.

Your description for gf shortbread is easy to follow. My grandson has celiac disease and I would like to learn more about food exchanges. It would also help my husband who has had food intolerances most of his adult life, that we are just learning about. Thank you