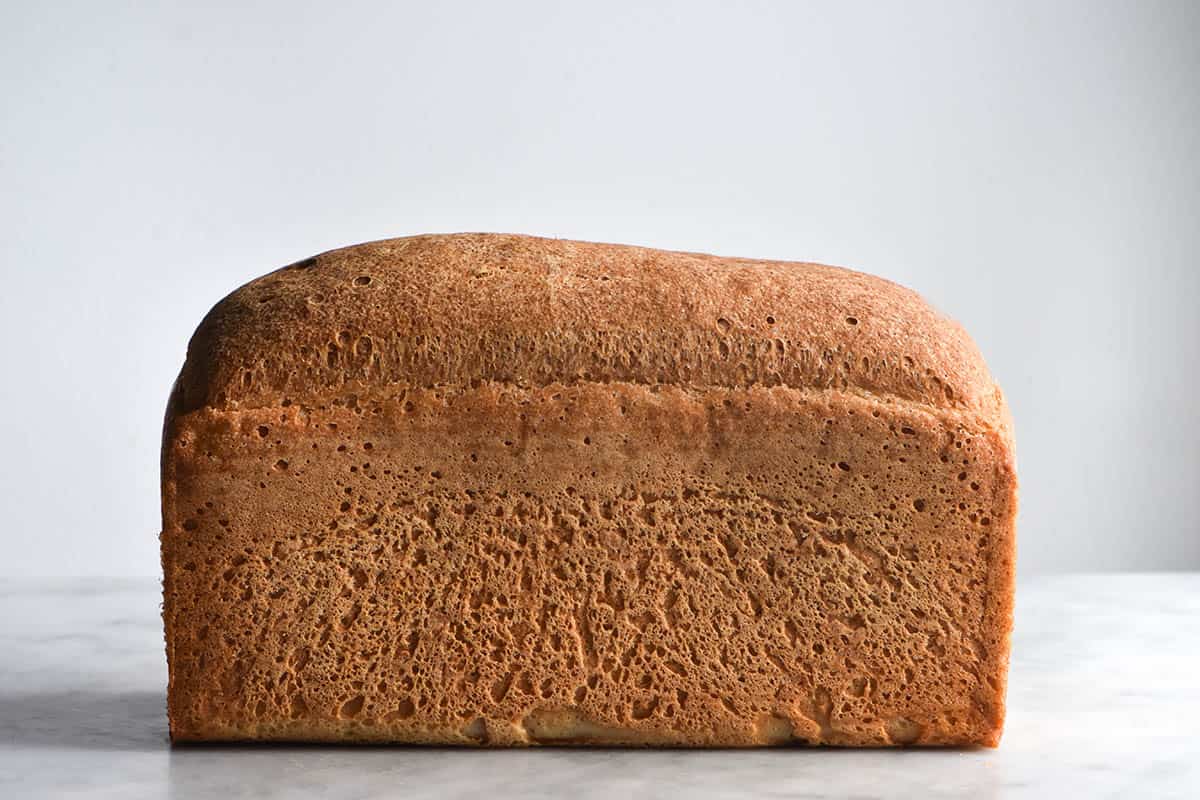
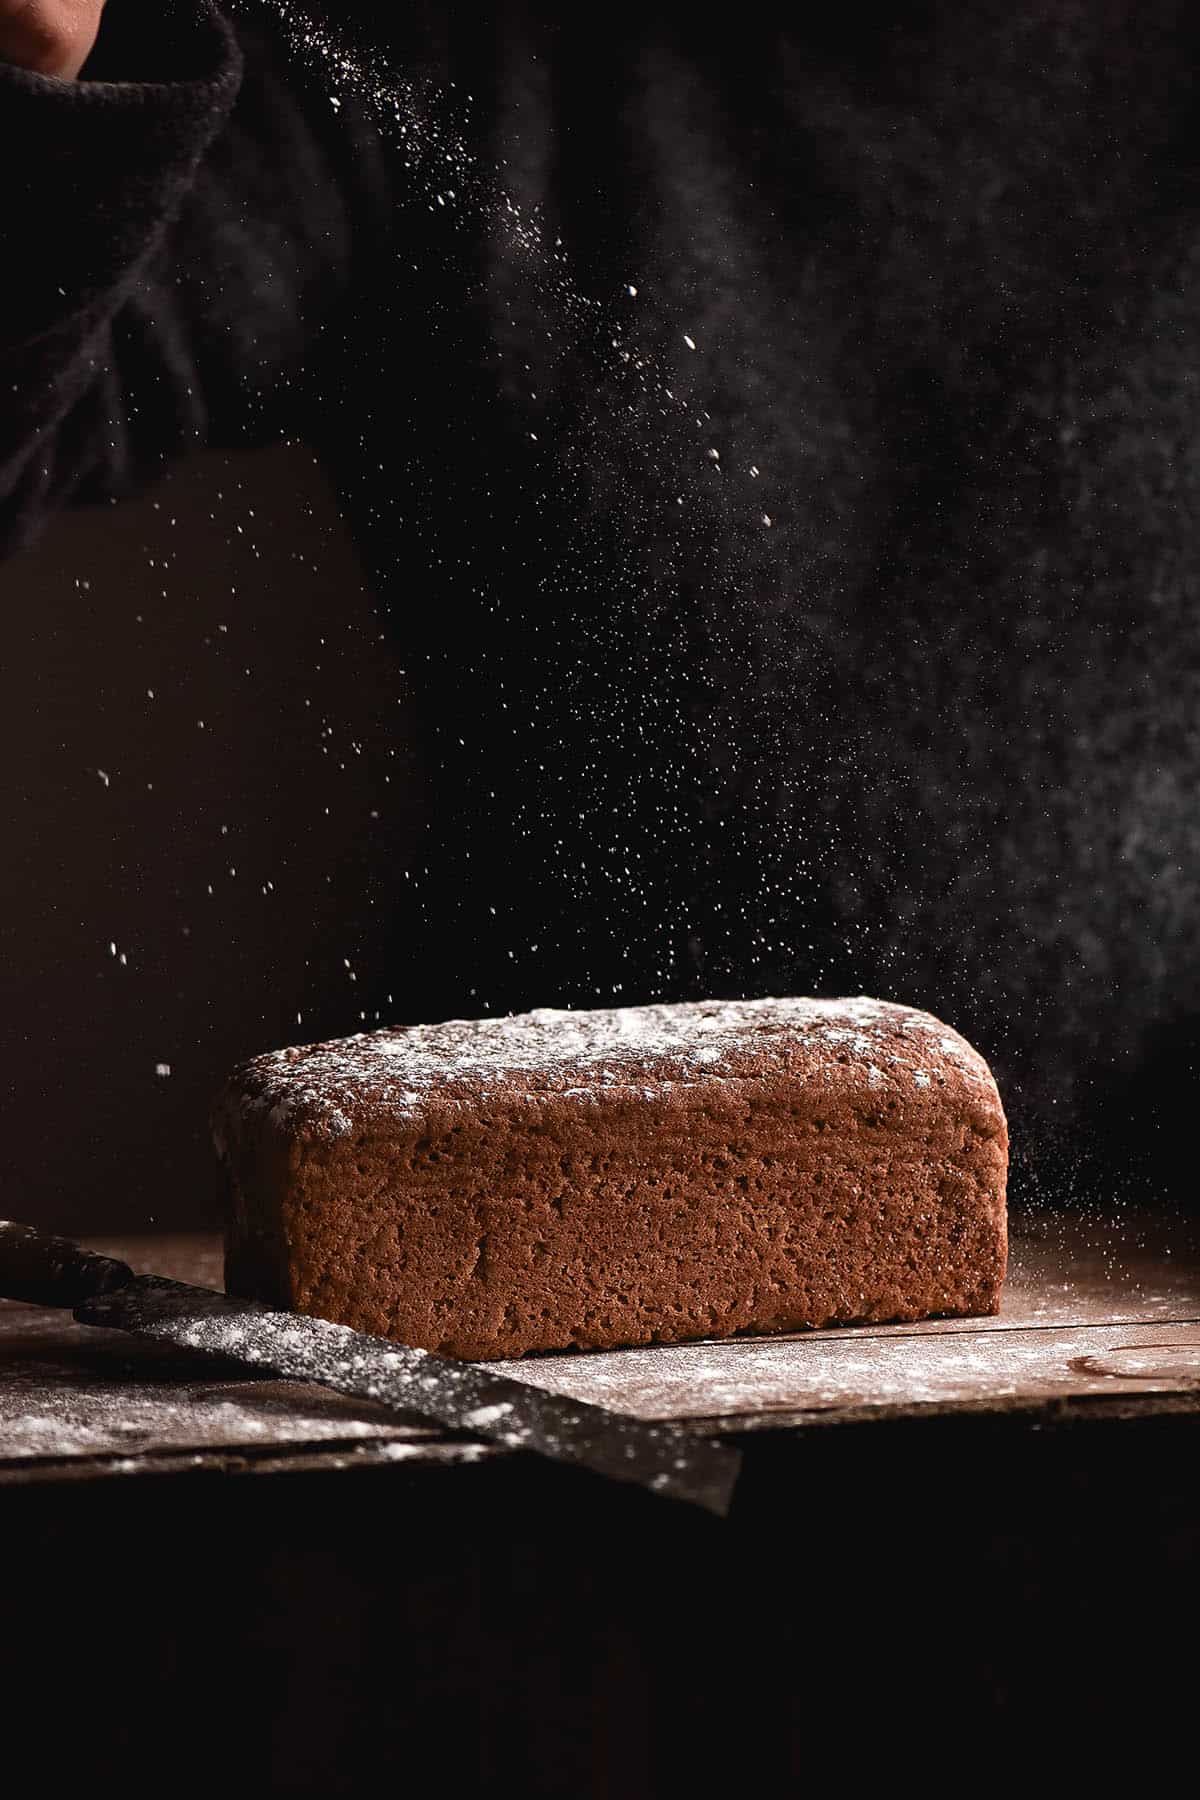
This gluten free sandwich bread is the cousin of my gluten free buckwheat bread. It uses similar ratios and methods to produce a light and fluffy gluten free bread without eggs or xanthan gum. The loaf is inherently vegan and nut free, meaning everyone can enjoy it.
Gluten free sandwich bread without eggs or xanthan gum
This gluten free sandwich loaf is vegan, nut free and xanthan gum free. It’s a wholegrain loaf that uses psyllium husk powder and water for binding, elasticity and a soft crumb. Yeast and a small amount of baking powder work together to provide lift. Yeast is responsible for that classic bread flavour.
A side note, before we continue: if you can’t have commercial yeast, try my gluten free sourdough recipe. The buckwheat bread in my cookbook Intolerance Friendly Kitchen is completely yeast free, if you can’t have natural yeast (ie sourdough starter) either.
Gluten free sandwich bread ingredient notes
- This bread recipe is open to experimentation, but there are some caveats. I have developed this recipe around two of the thirstier flours – white rice flour and cassava flour. That means that the quantity of liquid I have used works for their absorbency. I am in the process of developing a recipe without cassava and one without rice flour, so stay tuned.
- In the meantime, If you want to try making a bread without rice flour or cassava, you’ll need to drop the liquid back significantly. How much by depends on a myriad of factors. I can only test so many loaves of bread, so you’ll need to do some experimenting if you’d like to try different varieties. I’d start by using 550g-600g of water and assess.
- A reminder: gluten free flours vary in their absorbency from brand to brand, country to country. You need to have your wits about you and adjust the recipe if things are looking particularly dry or wet.
- You will need a steel loaf tin for this recipe. Anything less (silicon, primarily) doesn’t have the strength to contain a loaf as it proofs. You want the loaf to proof upwards, not outwards, and steel is the only thing strong enough here. More on this below.
Important notes on the cassava flour
I am a huge cassava flour fan. It has a lovely mild sweet flavour and plenty of elasticity, if hydrated properly (it becomes very gummy if you use too much liquid).
The one important thing to note with cassava flour is the varying hydration. I predominantly use one from my local bulk food store. However, I have recently acquired some Otto’s brand cassava flour. They have wildly different rates of absorption.
My best guess is that Otto’s brand absorbs a lot more liquid because it is fermented where other brands are not. This is just a guess, though. Whatever the reason, I find it absorbs significantly more liquid than the other variety I use.
So! My rule(s) of thumb for cassava flour are simple. Add liquid conservatively at first, until you know what you are working with. Then, be prepared to add a significant amount more liquid. I added 100g extra water to my loaf that used Otto’s brand cassava flour.

Can I use a silicon loaf pan for this gluten free sandwich bread?
No, unfortunately not. This loaf requires a steel Pullman style loaf tin to help it rise upwards and retain a classic sandwich bread shape. Without it, the loaf won’t have any structure and will likely proof outwards in a blob.
I use a small USA pan Pullman pan for all my loaves. The specs are 10.16 x 10.16 x 22.86 cm; 649 Grams. It’s perfect for gluten free loaves, which tend to be smaller than regular bread. It holds everything up and in for the tallest gluten free loaf possible.
Can I omit the psyllium husk powder?
Unfortunately not. Psyllium husk powder is critical to the success of this loaf. It gives the loaf structure and holds in enough liquid to make for a soft and elastic crumb. Without the psyllium husk powder, there would be far too much liquid to make a dough.
I have moved to grinding my own psyllium husk powder (from the flakes) in almost all of my recipes. I like the powder because it’s fine and doesn’t leave any little flakey remnants in dough (particularly important for things like gluten free croissants). You also need to use less of it. I grind my own because it’s easier to find, but also because I find the powder tends to be quite dark in colour and can turn your baked goods purple/grey. This impacts the aesthetic, which isn’t a huge thing but it is to me lol.
Psyllium husk flakes are more commonly available in Australia when compared to the powder. I use a spice grinder (specifically, this Breville one) to grind the flakes to a powder.
Personally, I haven’t experimented with using the flakes in place of the powder in this gluten free sandwich bread. If you’d like to try, I recommend using 10g or so more than the recipe specifies (powder is more absorbent).
Can I experiment with the flours used?
You can experiment, but I can’t guarantee any results that deviate from what I have tried. My top suggestions for experimenting are:
- Have a loose idea of your absorbent your flour is. This will help in knowing how much liquid to add.
- Try to keep roughly the same proportions of starch (in this case, the cassava acts as starch) to wholegrain flours. If you want to lower the starch content, add in more buckwheat flour. Buckwheat has some elasticity, which will help replace that lost by the absence of starch.
- If you’re using low absorbency wholegrain flours like sorghum or millet, try to use a high absorbency flour in there like rice flour or cassava flour.
- Add less water to the psyllium mixture and add more if the dough looks dry. You can always add in extra water, but you can’t remove it.
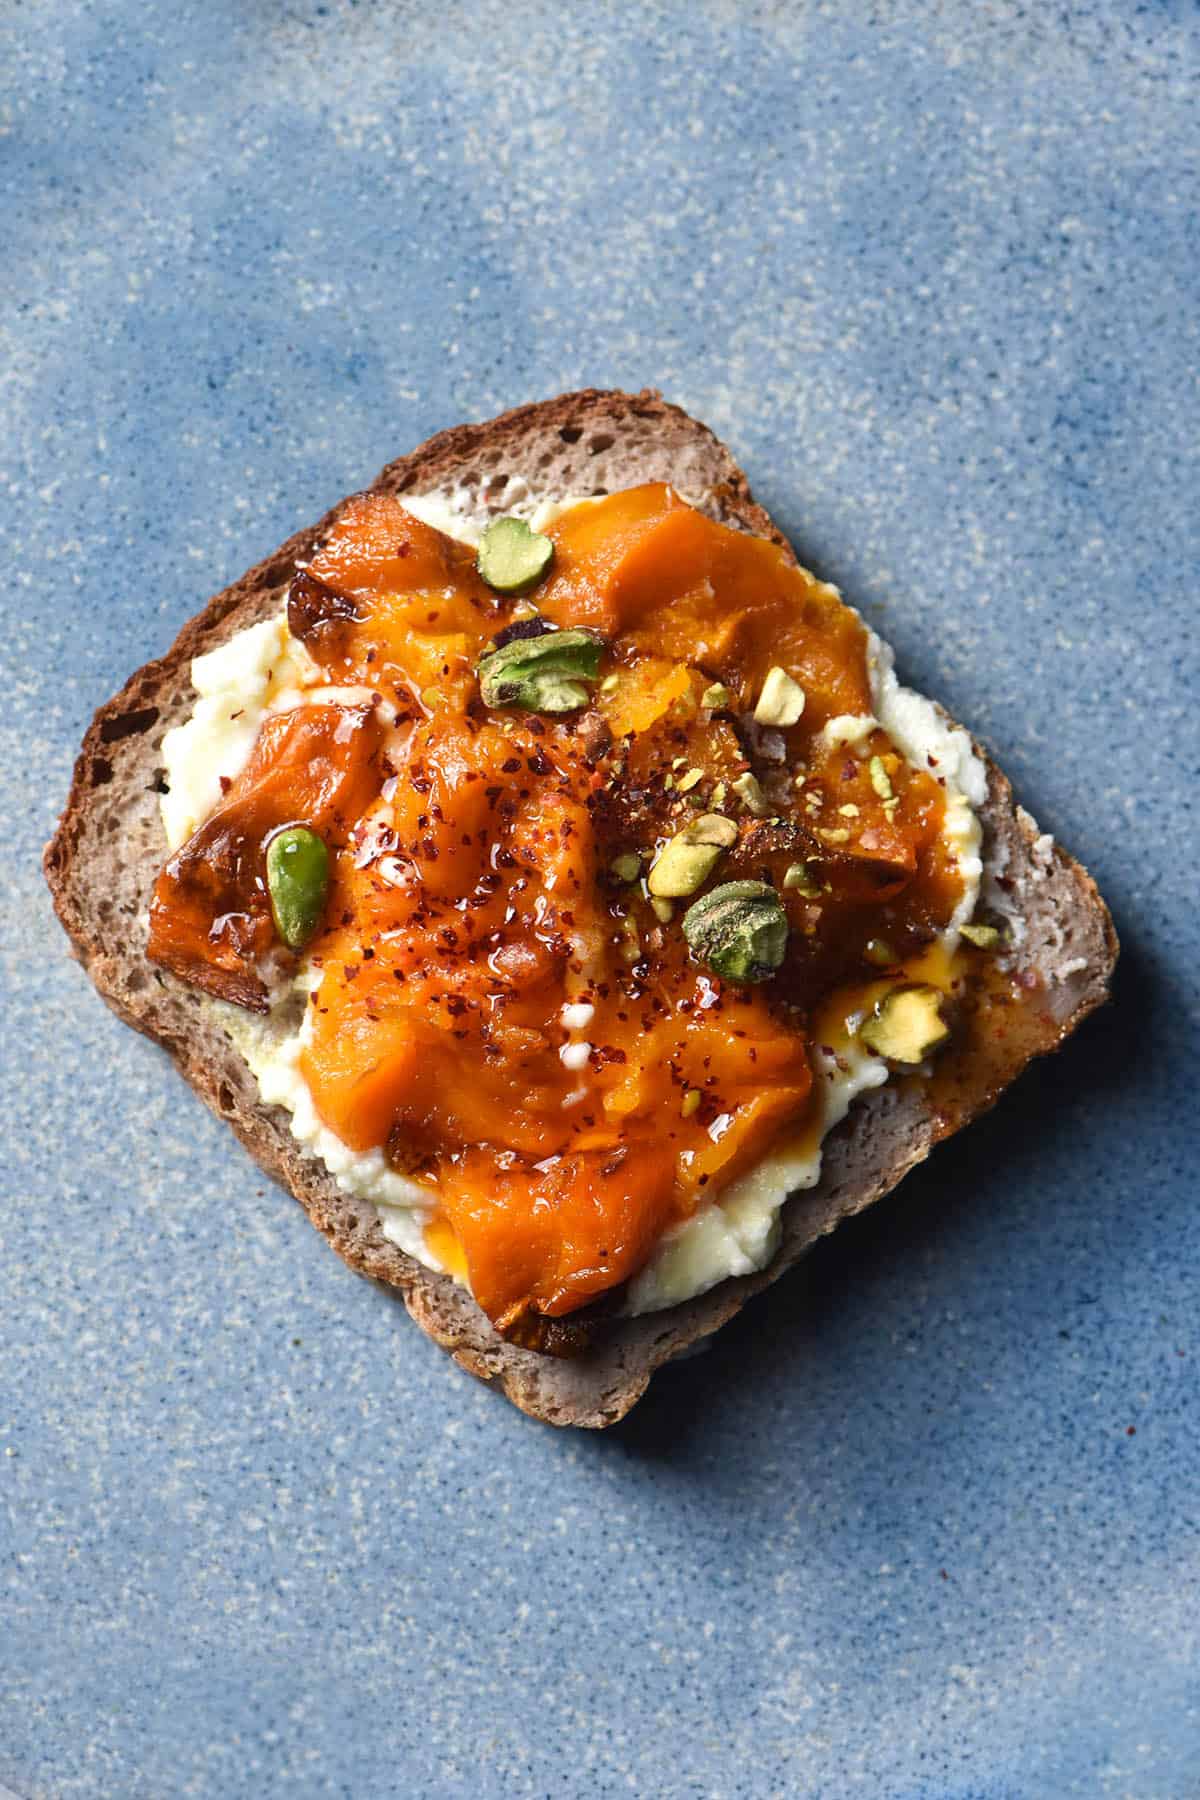
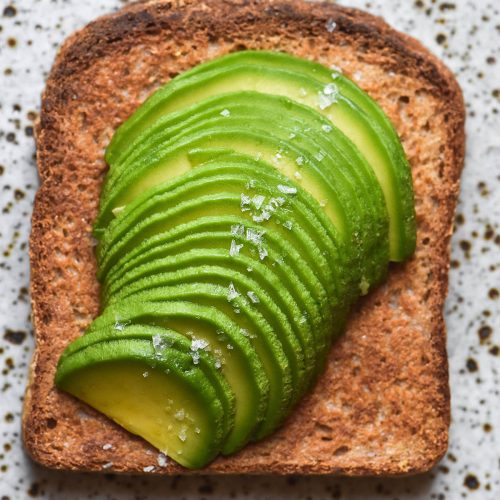
More gluten free vegan bread recipes without xanthan gum
- Grain free white bread
- Gluten free buckwheat bread
- Gluten free everyday sourdough
- Gluten free bagels
- Focaccia (gluten free)
- White bread sourdough (gluten free)
Gluten free sandwich bread
Equipment
- 10.16 x 10.16 x 22.86 cm steel bread pan
Ingredients
- 200 g cassava flour (see notes)
- 150 g light sorghum flour
- 100 g white rice flour
- 50 g buckwheat flour
- 8g (2 teaspoons) baking powder
- 10-12 g salt
- 1 x 7.5g sachet instant yeast
- 30 g psyllium husk powder
- 700-750 g water
- 20 ml (1 tablespoon)* oil
- 20 ml (1 tablespoon)* maple syrup
Instructions
- Grease and line a steel 10.16 x 10.16 x 22.86 cm bread pan.
- Combine the flours, baking powder, salt and yeast in a large plastic or glass bowl and whisk to remove any lumps.
- In a medium mixing bowl, combine the psyllium husk powder and water. Whisk immediately thoroughly (I like to start whisking as I add the water) to remove any lumps, then set aside for 10 minutes to form a gel.
- Once the psyllium mixture has formed a gel, whisk in the oil and maple syrup.
- Add the gel to the flour mixture, and use a spoon to combine the ingredients most of the way. Next, use hands to squelch the dough through to thoroughly combine, ensuring there are no dry spots or lumps left in the dough. If the dough is too dry to form a ball or looks scrappy, add 50g more water.
- Proof the dough in the bowl for one hour, before transferring to the bread pan to proof for 1/2 – 1 hour or until the bread reaches the top of the pan. Use a moistened hand to flatten the dough into the pan before it proofs.
- Alternatively, proof the dough straight in the pan for 1 1/2 hours or until it reaches the top of the pan.
- While the bread is proofing, thoroughly preheat the oven to 220C/430F.
- 10 minutes before the bread is ready to bake, boil the kettle and place an ovenproof cake tin or pan filled with boiling water at the base of the oven. This will help the bread rise and stay moist.
- Place the bread in the oven and bake for 50 minutes, or until the loaf is a deep brown in colour and hard on top if you knock on it.
- Remove from the oven and allow to cool for 10 minutes before removing from the pan and transferring to a wire rack to cool.
- If you’re struggling to remove the bread from the pan, allow it to sit an additional 10 minutes. The crust softens as the loaf cools, making it easier to remove.
- Allow the bread to cool for an hour before slicing. For best results, allow to cool completely before slicing.
Notes
- See notes in the body of the post for cassava flour tips. I find that Otto’s brand is significantly more absorbent than the variety I get at my local bulk food store. I used 100g extra liquid when using Otto’s brand.
The one problem I faced is that I had some small lumps firming in the psyllium husk mixture and couldn’t get rid if them I baked the bread without adding any more water, it came out looking like regular bread but a bit gummy but its my first time baking low fodmap bread, the taste is good and am happy to have an option while i am on my elemenation phase.
Thank you for the recipe