
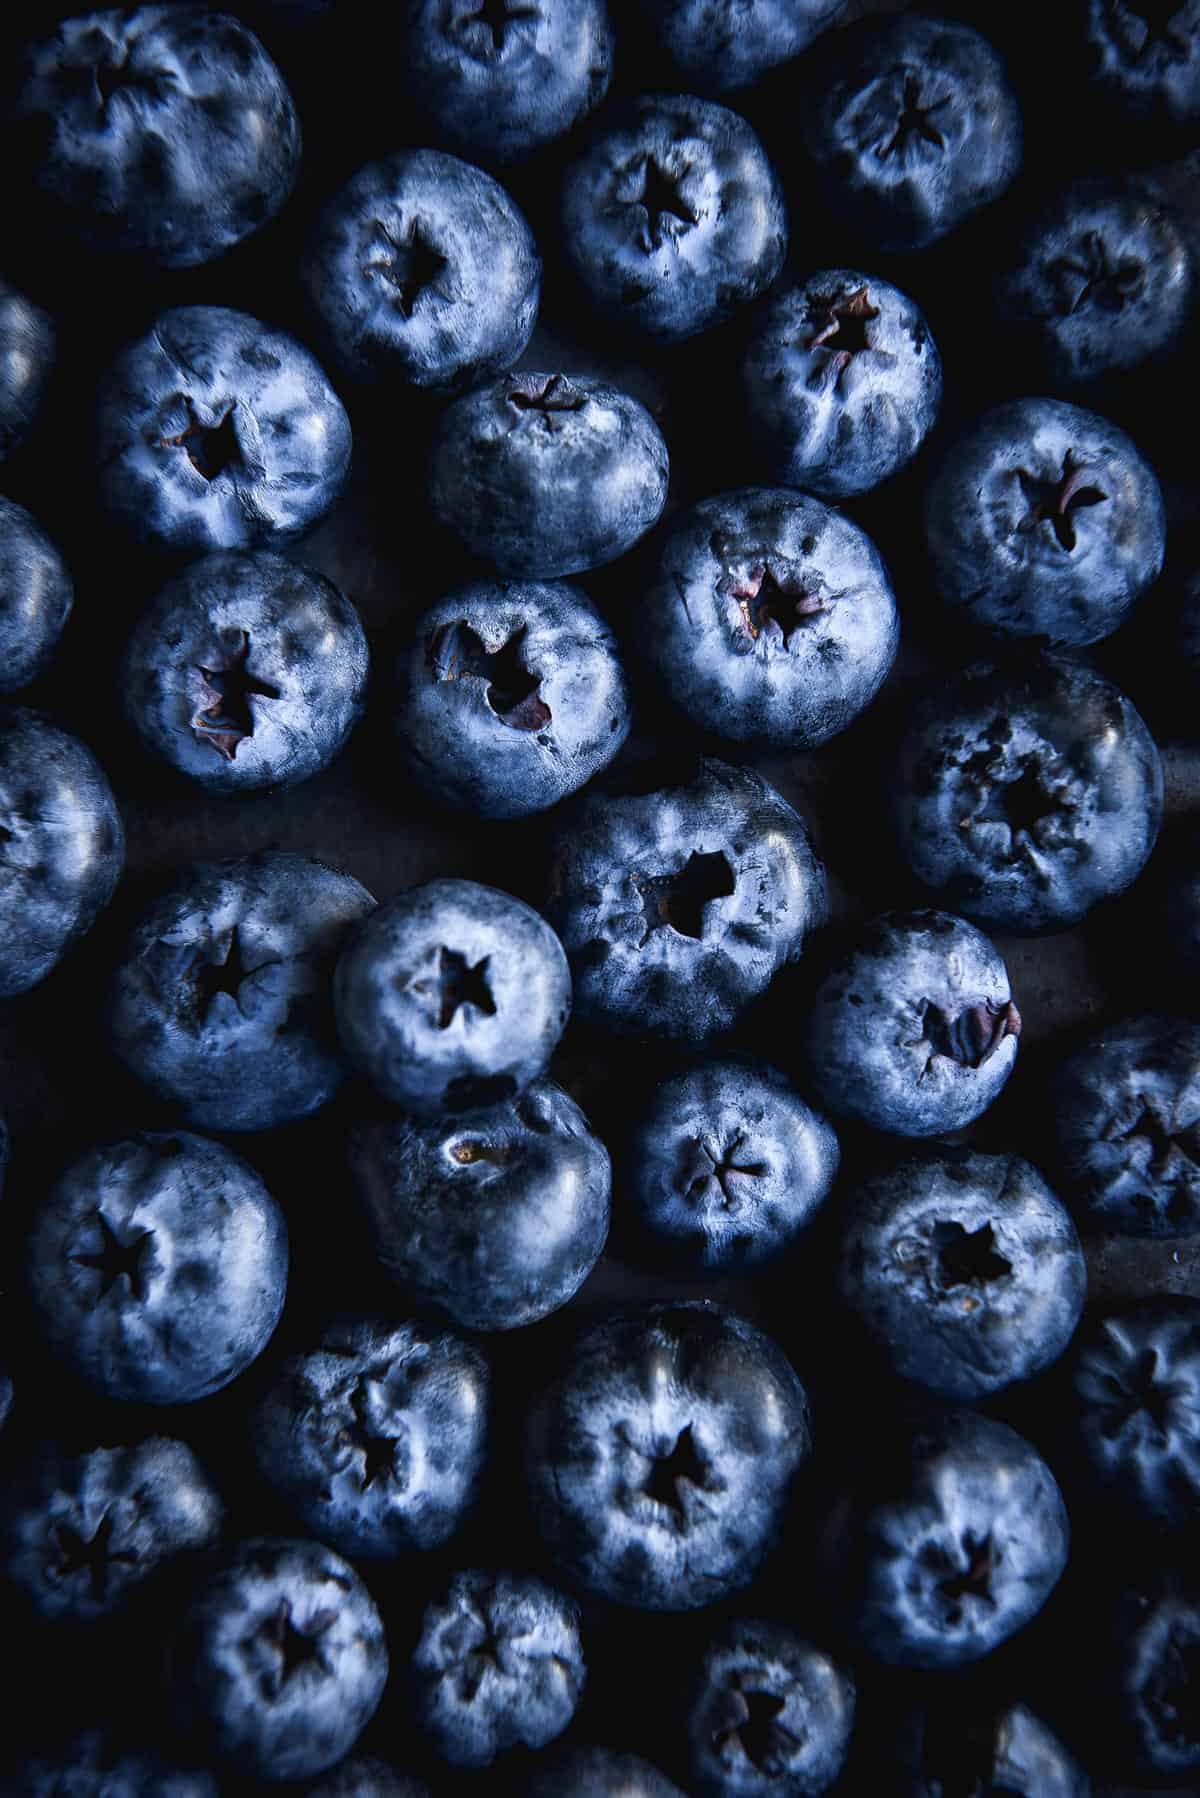
I am not a huge summer fan but one aspect of the season I do respect is summer berries. This gluten free blueberry cobbler is an ode to those summer berries. It’s currently late summer here in Australia and there are still an abundance of blueberries floating around. It would be rude not to make a cobbler out of them, right?
Gluten free blueberry cobbler
This cobbler is nut free, xanthan gum free and low lactose. It can be made with fresh berries, of course, but I have written up the option to use frozen berries too. You can use the basic recipe to make a cobbler with a number of fruits (my strawberry version is delicious).
The blueberry base is a simple mix of berries, lemon juice, sugar and some cornstarch. Cornstarch helps soak up liquid and make the cobbler less liquidy underneath. Once cooled, it also gelatinises into a delicious berry pudding texture.
The cobbler topping is made from a simple mix of flours – white rice flour and tapioca flour. They are brought together, biscuit style, by rubbing in some butter and then with cream. I use lactose free cream to keep the lactose content down but you can use whatever works. An egg is added to bind everything together as well as add flavour and browning.
Similarly, sugar adds sweetness and browning to the cobbler topping. Baking powder provides a little lift for light and airy little bites of heaven.
Recipe notes
Fresh blueberries are preferable, but I have some notes below on using frozen berries.
You can use thickened, double, dollop or any sort of dairy cream here. If you need the cobbler to be low lactose, use lactose free cream. I haven’t tested coconut cream.
Make sure your cornstarch is gluten free if it needs to be.
Personally, I like the clean sweetness of white sugar here, both in the filling and the cobbler topping. Use what works for you.
It’s very important to note that starches need to reach a certain temperature to unleash their thickening powers. If you’re concerned that your pie won’t get up to temperature, I’d recommend pre-cooking the filling in a pot on the stove before adding the cobbler topping. This way you can control the liquid before it’s even an issue.
Tips for a non-watery cobbler
The biggest issue when making cobbler or fruit pies is that fruit will forever have a varying amount of liquid. Some blueberries will be super liquidy, others less so. It’s impossible to tell before you bake your cobbler.
The most surefire way to make a non-liquid cobbler is to cook the fruit mixture on the stove before you bake the cobbler. This will allow liquid to cook off – it can’t under pieces of cobbler. It will also ensure the cornstarch has gelatinised, soaking up the excess liquid to form a cohesive fruit mix rather than fruit and liquid.
If you’d prefer not to, there are still a few tricks you can use. Firstly, fresh berries will be less watery than frozen, so use fresh berries. Secondly, ensure your cobbler gets up to temperature. This will give the starch every chance to gel up properly. Thirdly, make the cobbler the day before and reheat to serve. A lot of fruit desserts are watery when they first come out of the oven.
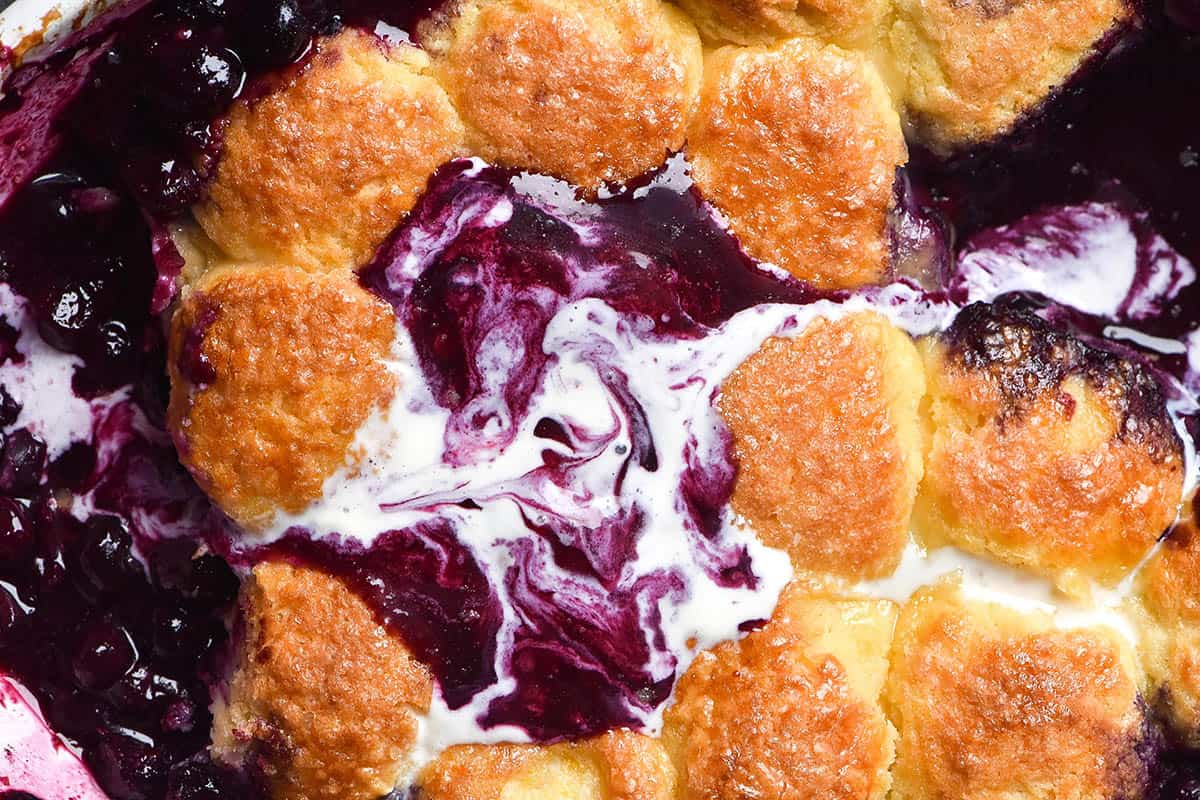
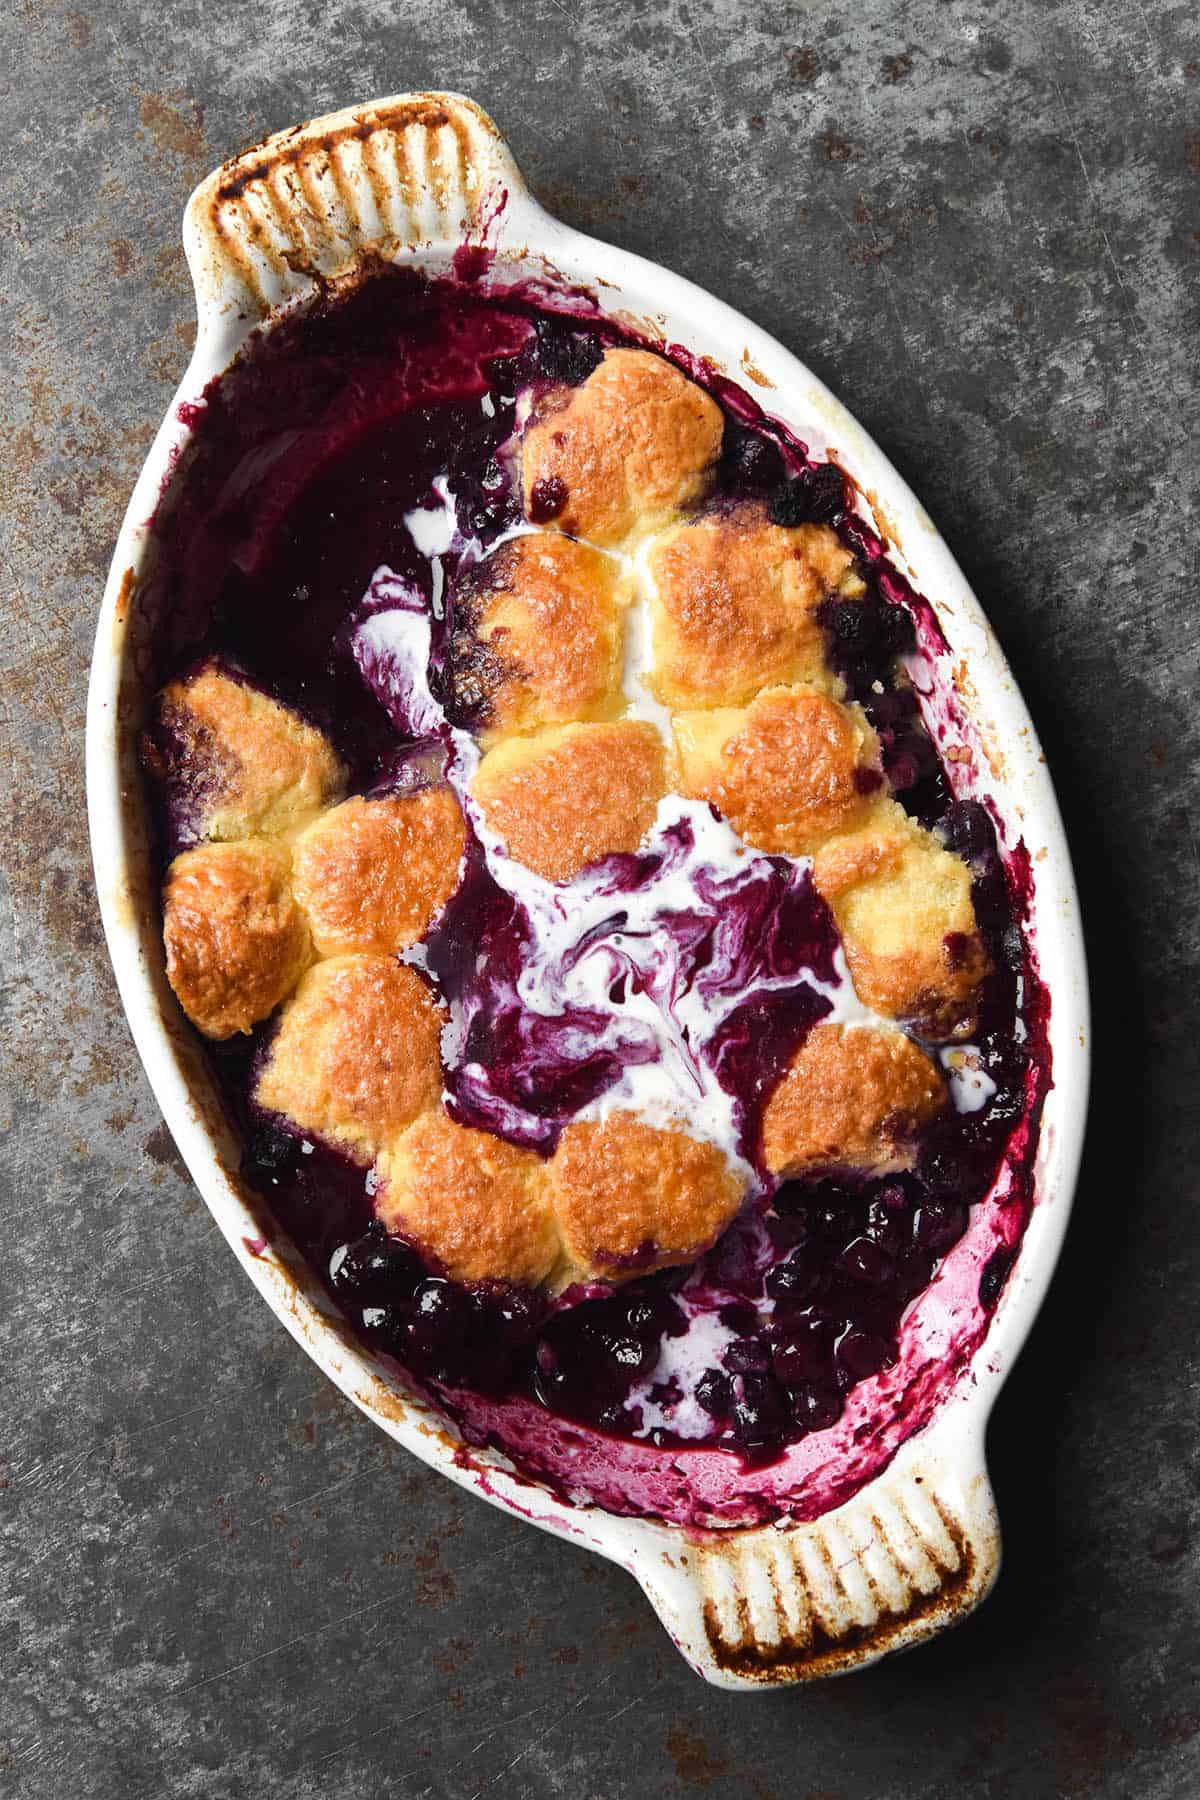
Finally? A lot of blueberry juice in a cobbler isn’t a fail! It’s not like there’s pastry on the bottom to become excessively soggy. The cobbler will still be delicious, and the juices make an excellent sauce for ice cream on the cobbler. A juicy cobbler is still a great cobbler.
How to cook your blueberries first:
- Place your blueberry mixture in a large pot over a medium heat.
- Cook until thickened, stirring regularly.
- Allow to cool a little before you add your cobbler topping and then bake as per the instructions.
Can I use frozen blueberries for this gluten free blueberry cobbler?
Yes, with some caveats. Firstly, you’ll need to use the higher amount of cornstarch. Cornstarch helps suck up some of the moisture that is produced as the blueberries thaw in the oven.
Secondly, keep in mind that it will be quite liquidy out of the oven. If you want to use frozen blueberries, I’d recommend making the cobbler the night before. The mixture will firm up as it cools, so the berries won’t be quite as liquidy the next day.
If you want to serve it fresh out of the oven with a firm filling, stay tuned. I suspect that cooking the berry mixture (berries, sugar, lemon, cornstarch) in a pot until thickened, THEN adding the cobbler topping to bake, is the way to go. Because the berries are under the cobbler, not much liquid can evaporate. If you cook the liquid off first, you’ll begin the process with a less liquid filling. I plan to test this theory, but I haven’t yet. If you test it before me, let me know!
How do fresh and frozen blueberries compare?
I wanted to include this because I found it quite interesting. Frozen blueberries mounded higher in the baking dish and I worried they might overflow with juices. In my tests at least, the frozen berries sunk back into the baking dish while cooking, and didn’t overflow with juices.
Fresh blueberries, on the other hand, sat lower in the baking dish uncooked, but produced a reasonable amount of juicy overflow once baked. If you like the aesthetic of the beautiful purple liquid overflow, fresh berries are the way to go.
In terms of the colour of the juice, it seemed to be a darker purple with frozen berries as compared to fresh. Frozen produced a slightly bluer purple, while fresh produced a slightly more pinky purple.
Can I use a different starch?
I haven’t tested a different starch in this recipe, but I have consulted American websites. Americans are the experts in fruit pies and cobblers, as far as I am concerned.
This Washington Post article goes into which starches can be used and what temperature they need to reach to gelatinise, which is very helpful.
In savoury things (like my vegan, low FODMAP gravy) I have found potato starch to be the next best thickener for me. I’m not sure if this also applies to cobblers, but I will update the post when I try this.
More gluten free dessert recipes
- Grain free self saucing chocolate pudding
- Gluten free croissants from Intolerance Friendly Kitchen
- Gluten free lemon olive oil cake
- Gluten free banana cake
- Grain free brownies
Gluten free blueberry cobbler
Equipment
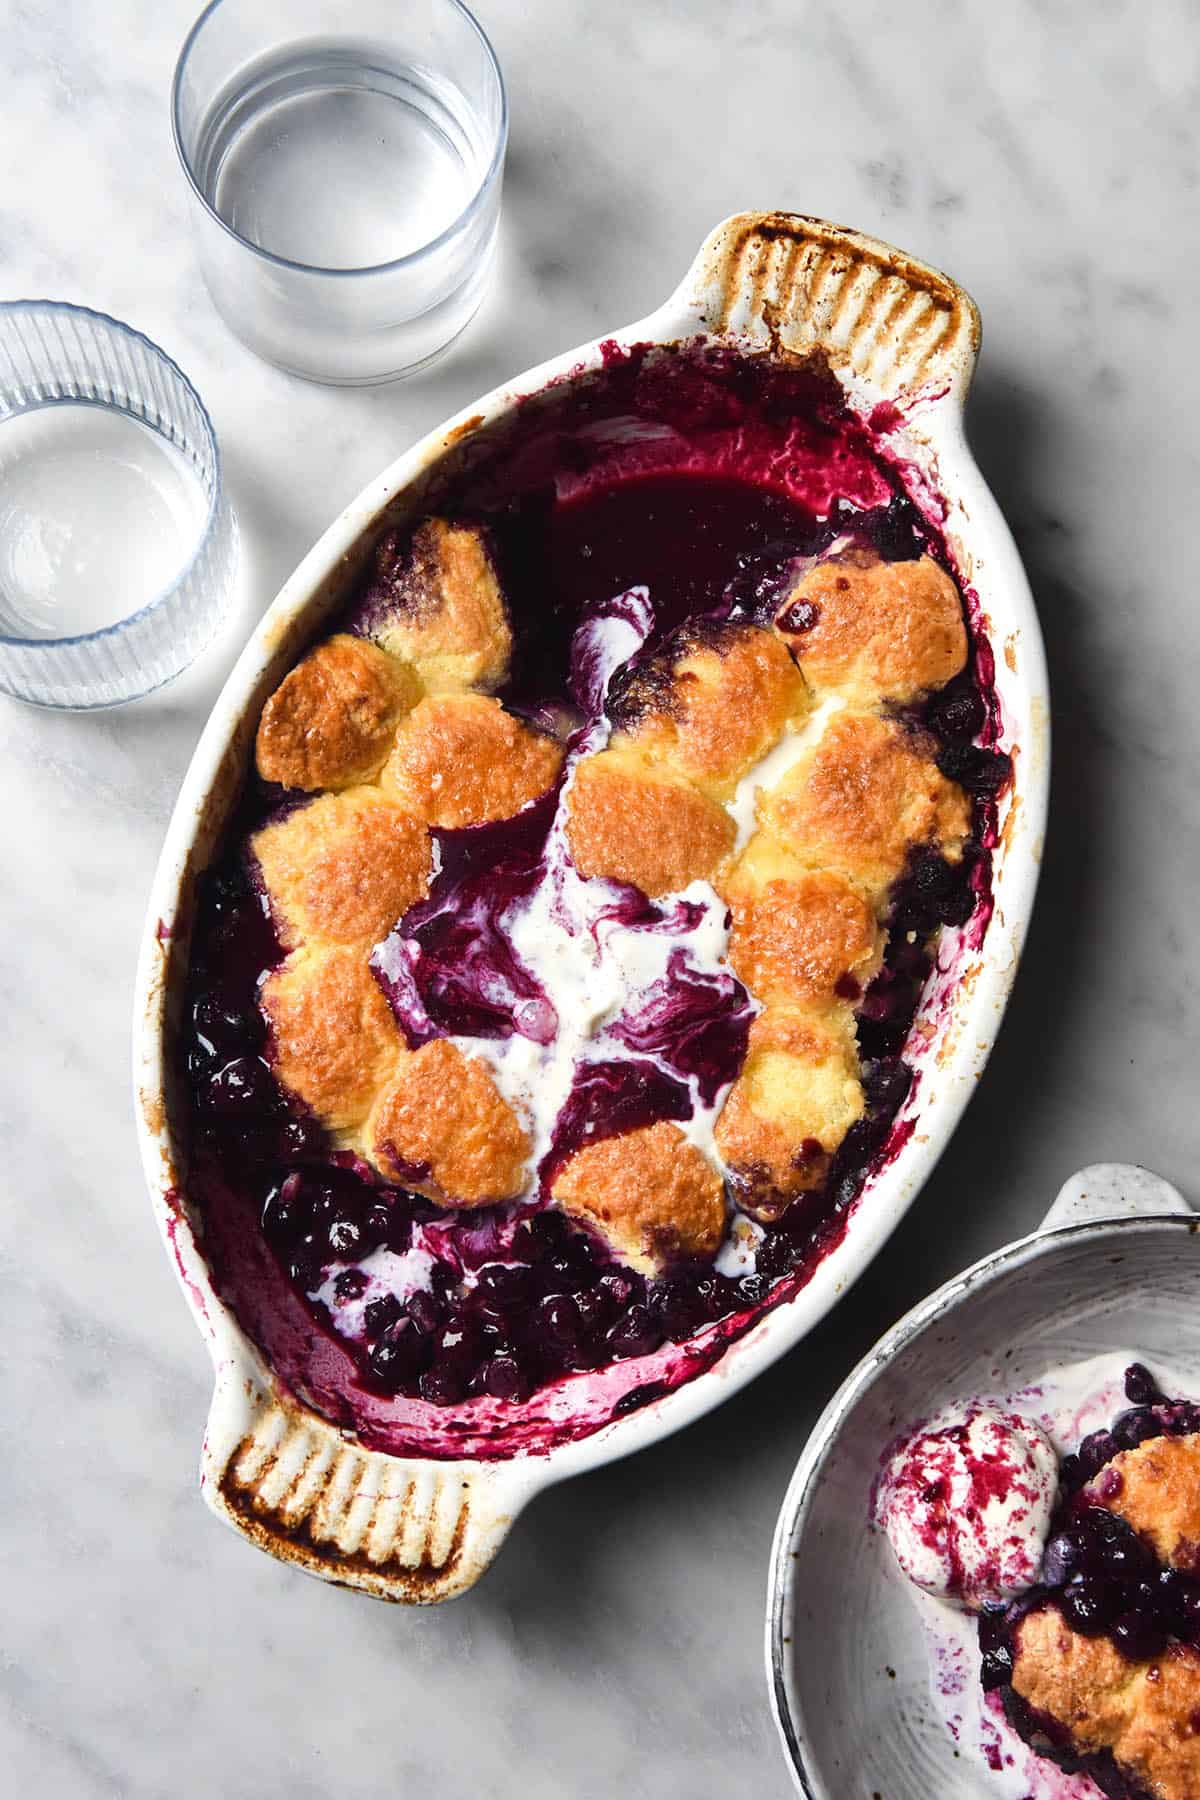
- 28cm (1.6 litre) baking dish (the dimensions of my Le Creuset in the images are 30cm L x 20cm W x 6cm H)
- 1 x 4cm mini scone cutter (or small cutter of your choice)
Ingredients
For the topping:
- 80 g (1/3 cup)* tapioca flour
- 160 g (1 cup)* finely milled white rice flour
- 4 g (1 teaspoon) baking powder
- 60 g (1/4 cup)* caster sugar
- 100 g butter salted or unsalted but cold – straight from the fridge
- 1 extra large egg (45-55g, weighed out of shell) whisked well
- 125-145 ml (1/2 cup + 1 tablespoon)* full fat lactose free cream (30-35% fat)
- Pinch of fine salt
For the blueberry filling:
- 1 kg blueberries see body of post for notes on using frozen
- 60 ml (1/4 cup)* lemon juice
- 60 g (1/4 cup)* caster sugar
- 40-50 g (4-5 tablespoons)* gluten free cornstarch (this absorbs some of the moisture in the berries – use less for fresh and more for frozen berries)
To finish:
- Extra tapioca flour to flour the work surface
- Extra egg for egg wash
- Finishing sugar, to sprinkle on the cobbler (optional)
Instructions
- Line a large baking tray with baking paper and set aside. In a large bowl, combine the flours, baking powder and sugar. Stir them well to combine.
- Add the butter pieces to the flour and rub the flour into the mixture. Keep going until the mixture looks a little sandy. There should be no huge chunks of butter, but it shouldn’t be entirely gone. Little sheets are what we’re after. If it’s summer and your butter starts melting, just pop the mixture in the fridge for 5-10 minutes.
- Add the whisked egg, and use a spoon to gently incorporate it.
- Add the cream, 1/4 cup at a time. Gently push the mixture around the combine, without being too rough or flattening in the pieces of butter. The dough should be shaggy, but all the loose bits of flour should be wet or attached to the main ball of dough. You might not need the last tablespoon of cream, but see how you go.
- Gather the dough into a ball in the bowl and cover. Place in the fridge for 15-20 minutes to firm up.
- Preheat the oven to 200C/400F.
- Flour a clean, dry surface with tapioca flour. Place the chilled dough onto the surface, and use a rolling pin to create a rectangle of dough, about 3 centimetres thick. Keep moving the dough and making sure it isn’t sticking. Add tapioca flour whenever necessary.
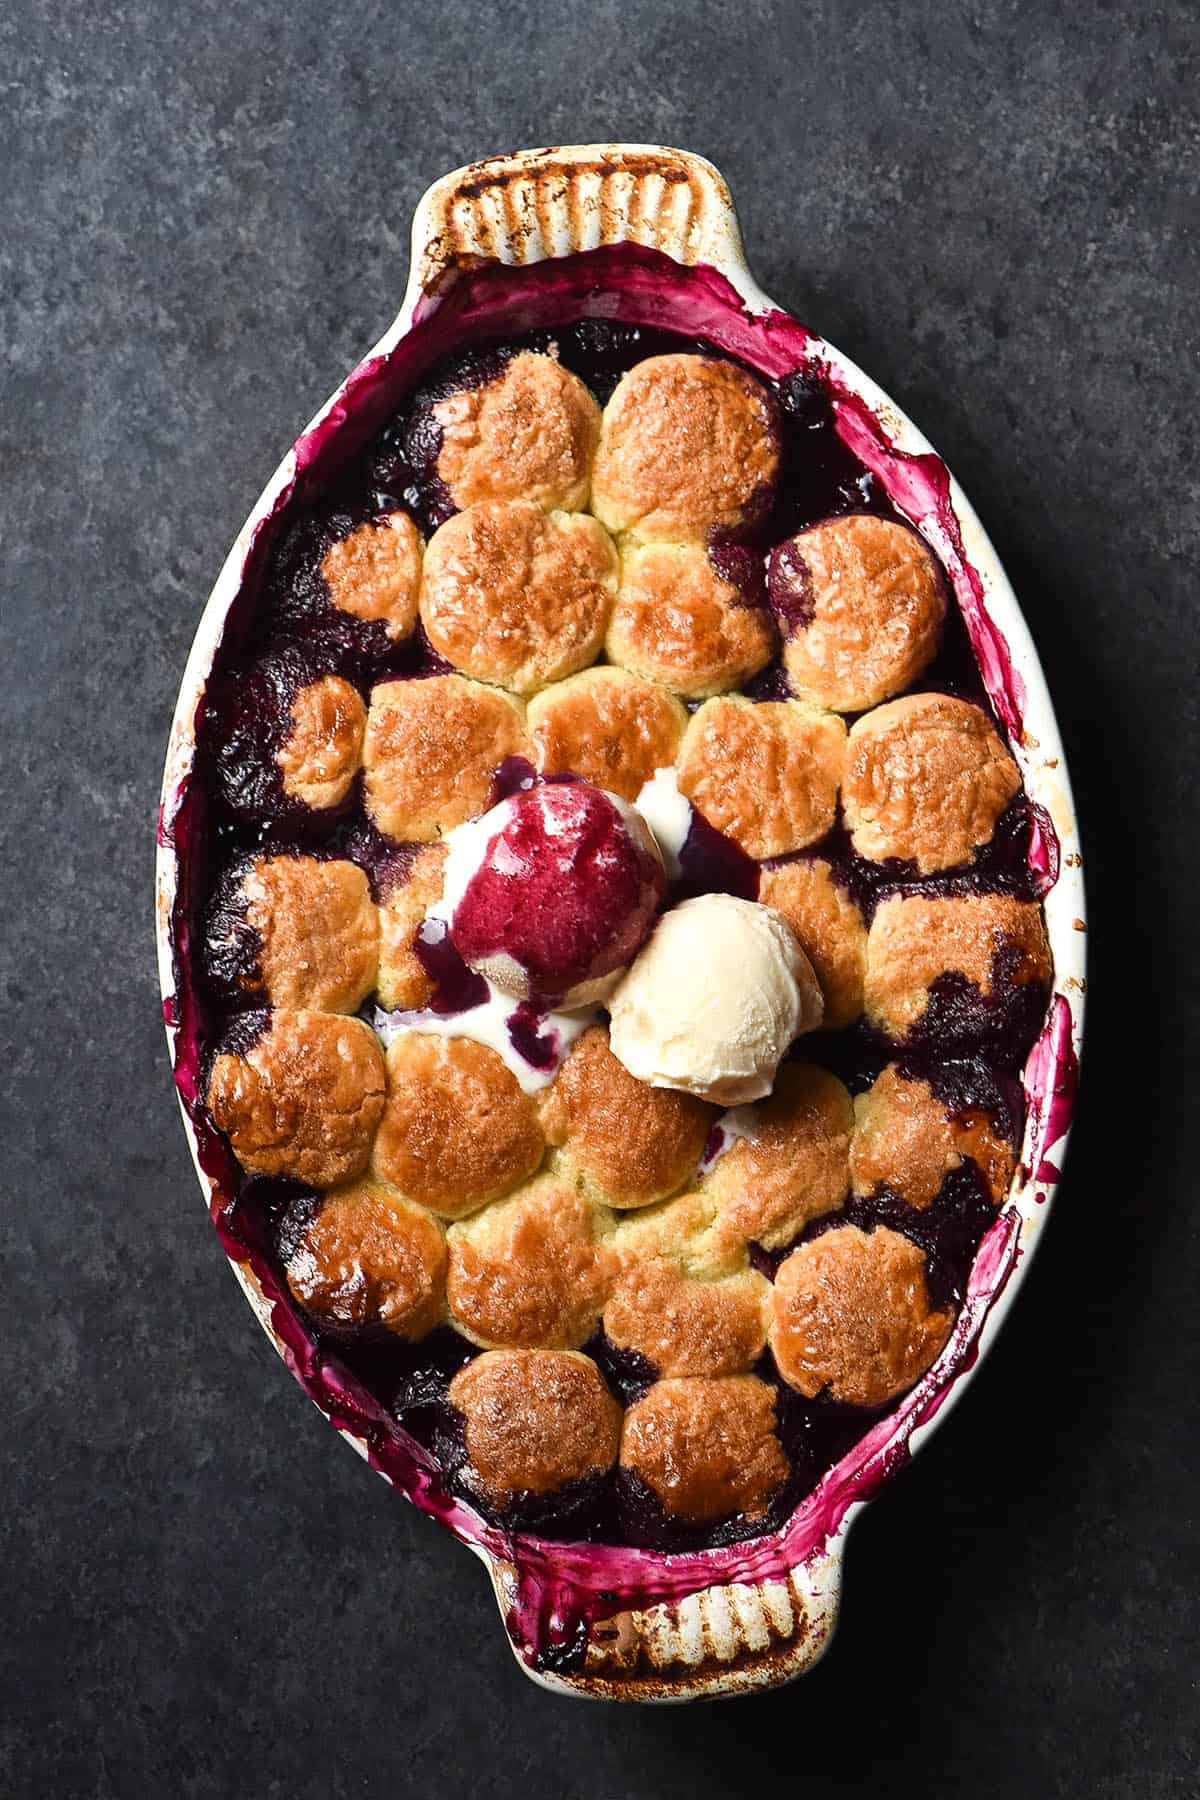
- Use your scone cutter to cut out the cobbler bits, flouring it liberally and whenever necessary. Place the cut scones onto the lined baking tray, and continue until you have used all the dough. Depending on the size of your cutter, you should have 18-24 little scone bits. I like to place them in the freezer for a little while to set the butter and encourage lift in the oven, but the fridge is fine too.
- While the cobbler bits are chilling, combine your ingredients for the berries and stir until evenly coated. You can also cook the mixture down before assembling if you want to minimise the risk of an extra juicy cobbler – see 'tips for a non watery cobbler' for more.
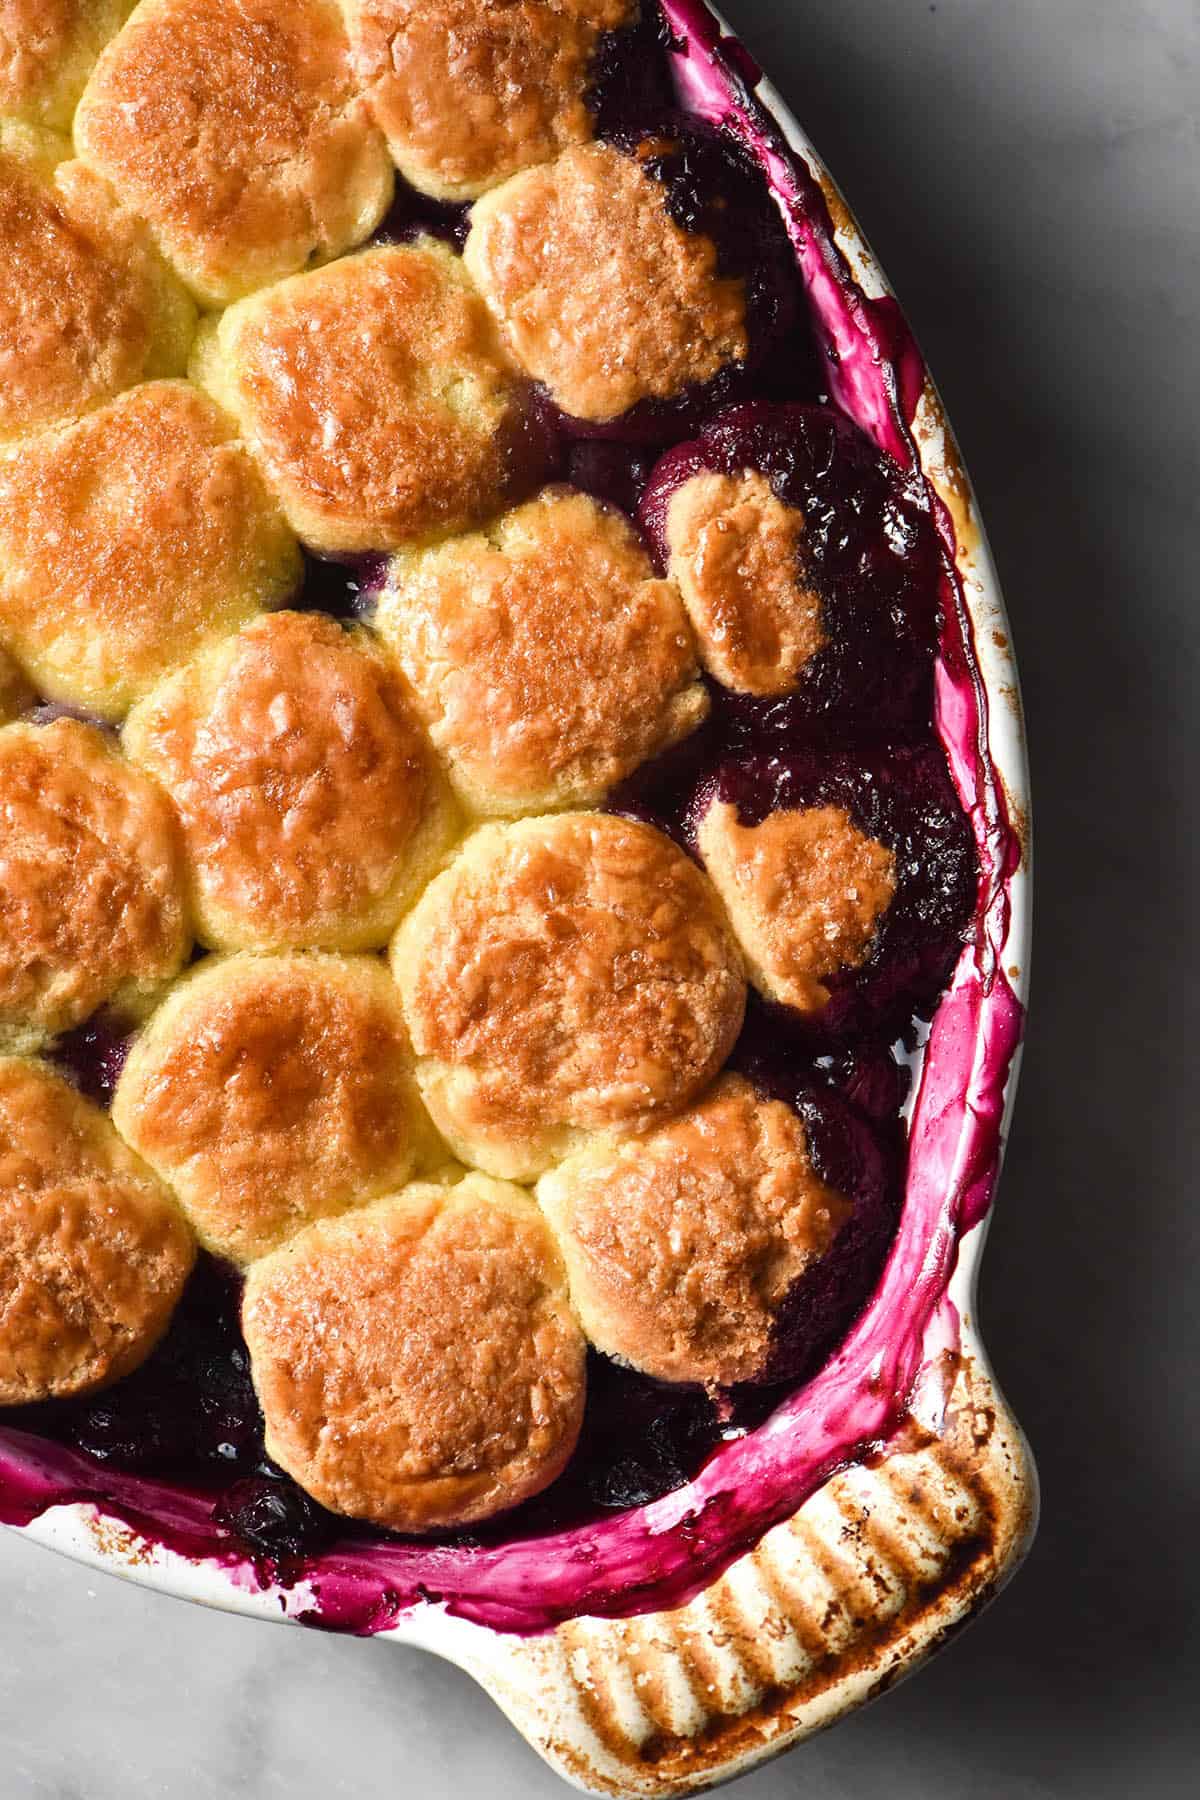
- Transfer the berries and all their juices to the baking dish and smooth them out as best you can. Remove the scones from the fridge/freezer and give each a brush of well whisked egg wash before arranging in the tray. Arrange them close together – a tight knit pattern encourages them to expand upwards in the oven, rather than outwards.
- Give the topping a sprinkle of crunchy sugar, and place the tray in the oven. It’s good practice to put a large baking tray underneath oven cooked fruit – they have a tendency to become juicy and run all over your oven floor. Cook the cobbler for 20 minutes, then cover very loosely with a piece of foil and cook for an additional 20-30 minutes. A cobbler using frozen berries might need extra time.
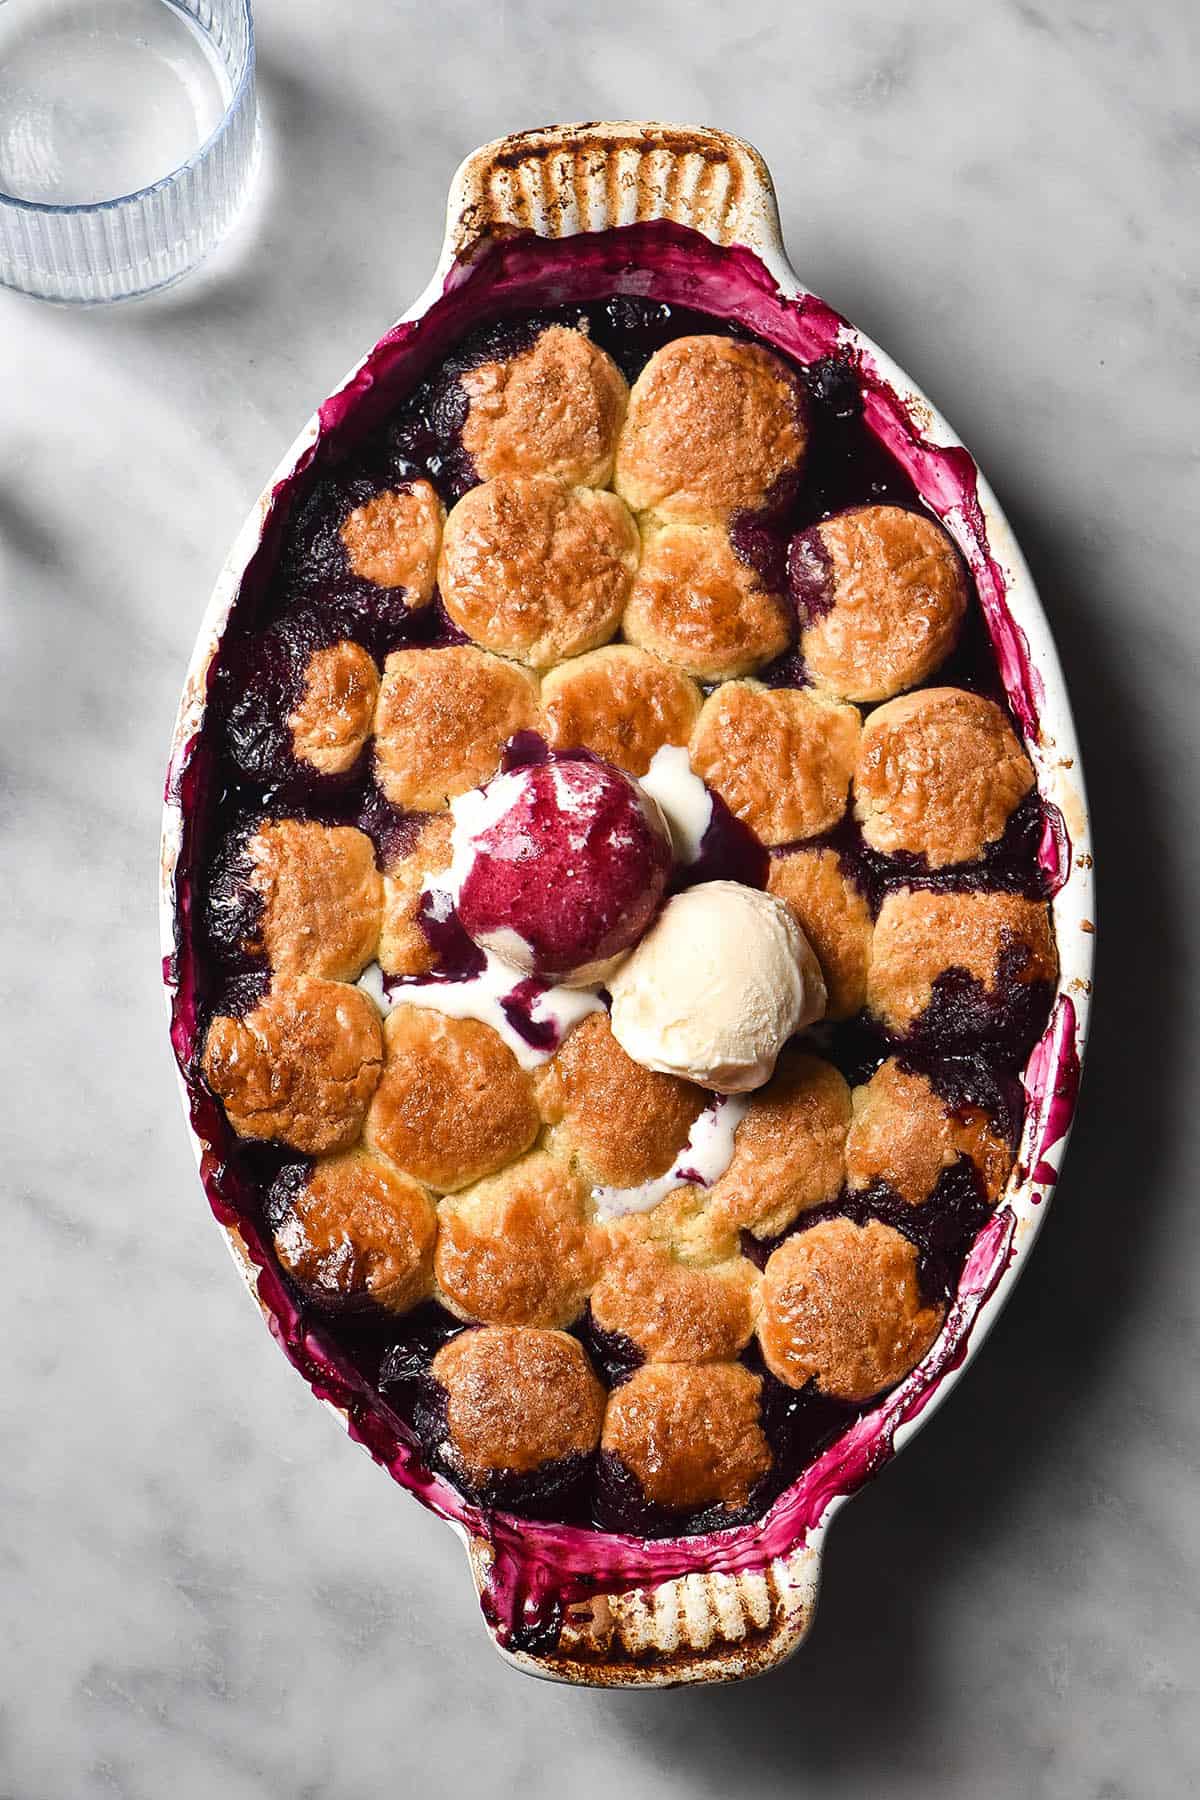
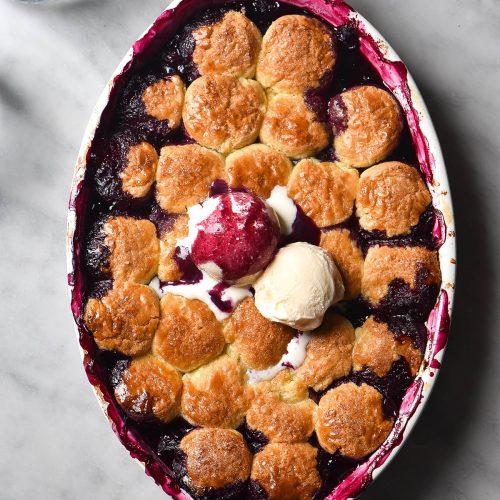
- You can serve warm or cool – the juice will settle as it cools, so I like to wait an hour or even make the night before. Don’t serve immediately as cooked fruit can be scalding hot. You can serve the cobbler with the remainder of the cream (ideally whipped with a tiny bit of icing sugar) or vanilla ice cream.
Notes
- See tips and recipe notes in the body of the post.
No Comments