
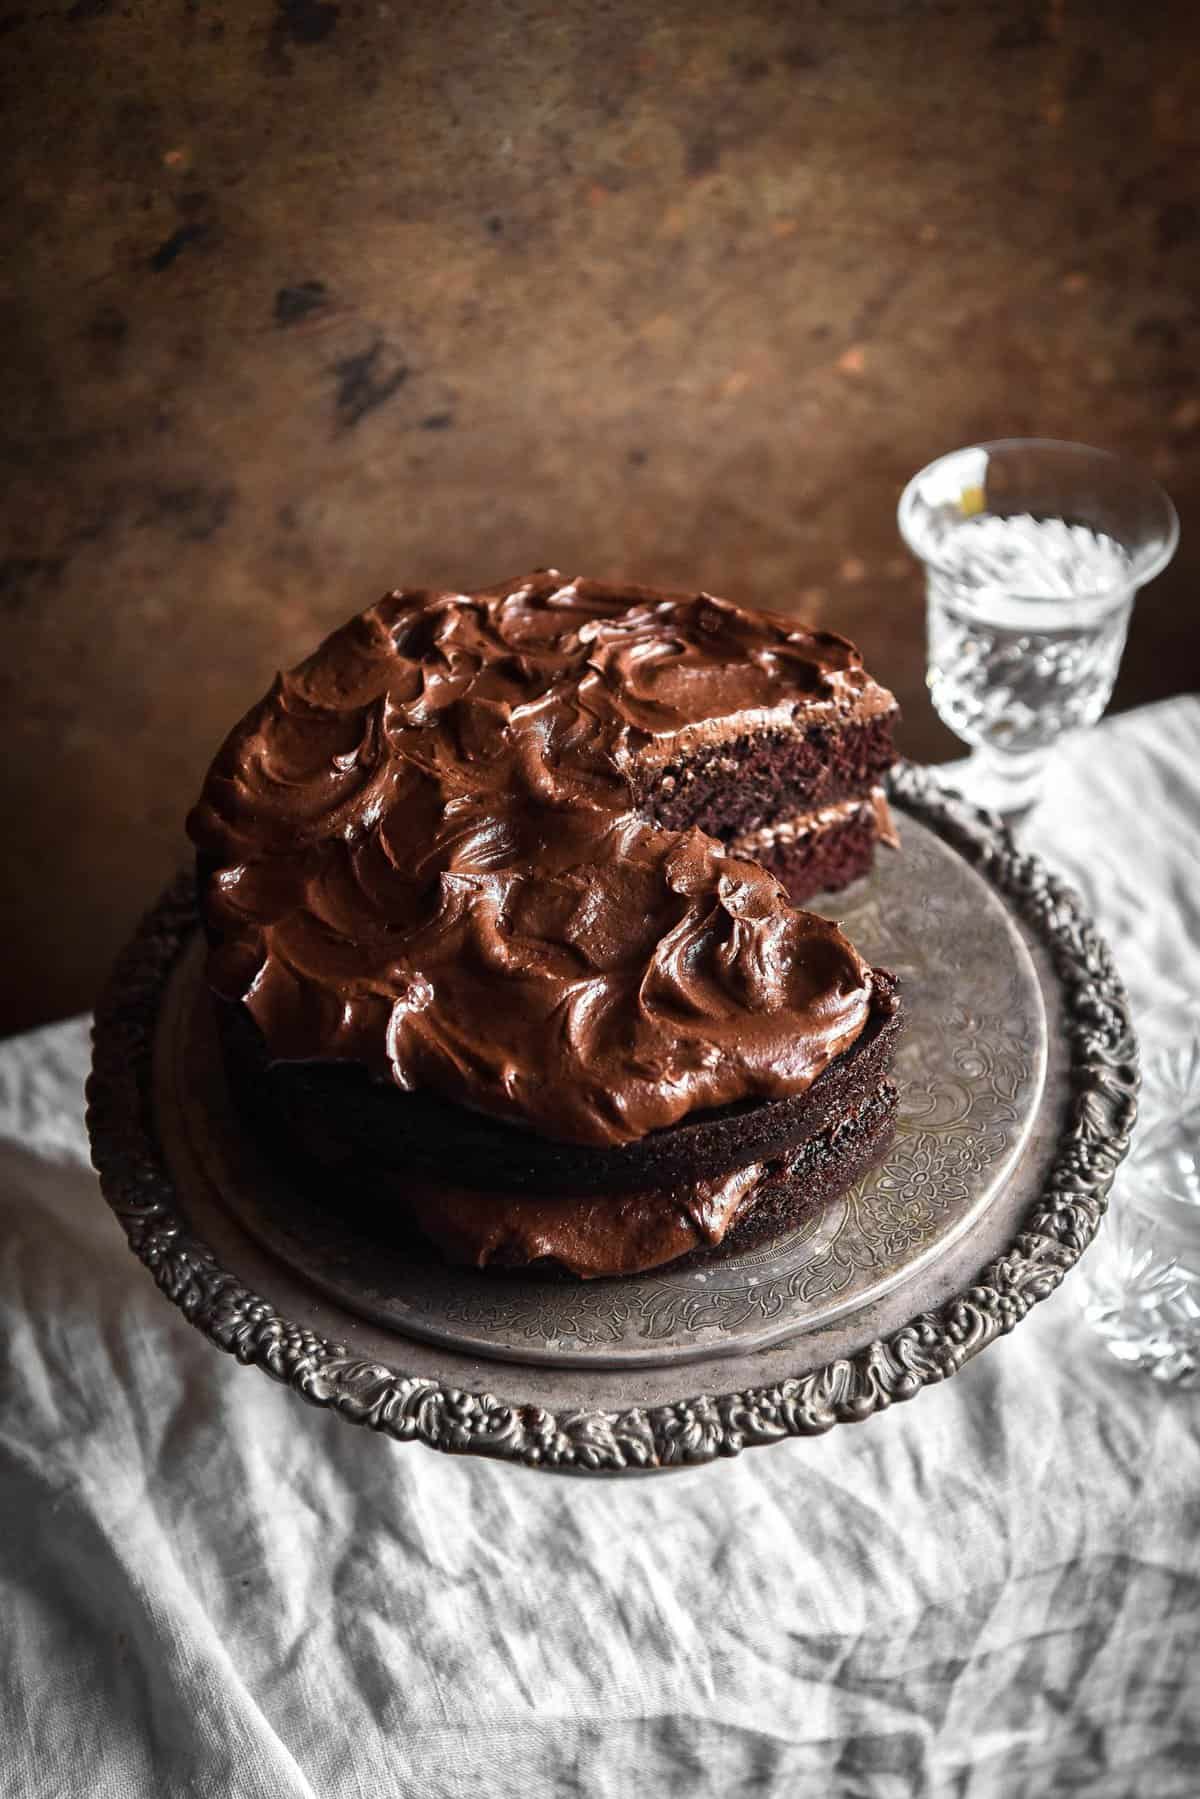
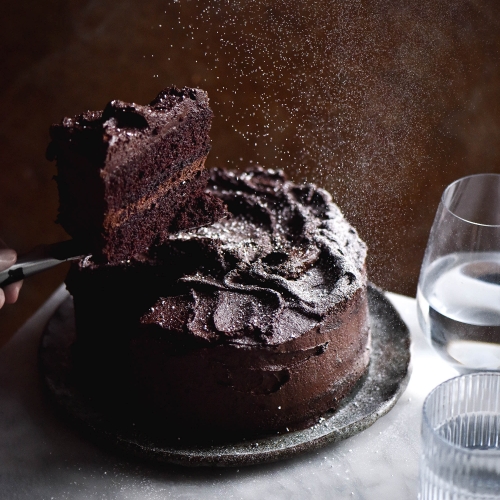
BROWN BUTTER CHOCOLATE BUTTERCREAM. Yes, you heard me. I originally published this recipe along with the gluten free (1 flour) chocolate cake recipe, but it’s so good that it needed it’s own space. This will probably be the chocolate buttercream I make until the end of time.
Buttercream and I have a bit of a love hate relationship. I love it dearly, but I have many gripes with buttercream and one of them is particularly poignant in a pandemic. That is: I don’t want to have to leave my house for 15,000 ingredients. I don’t want to trudge out to buy cream, chocolate and a sugar thermometer. However, I also want my buttercream to be the tastiest buttercream it can be. Enter my new best friend: brown butter chocolate buttercream.
I’ve done the brown butter thing a couple of times before now. Firstly, there were the gluten free brown butter chocolate chip cookies. Next, the gluten free brown butter banana bread. The brownie cookies. You get the picture.
But honestly, browning butter is SUCH an underused technique, even if I overuse it. It adds so much depth of flavour to anything it touches, and all that’s required is a bit of extra time on the heat.
Brown butter chocolate buttercream notes
As I learned from this Serious Eats article on cookies, browning butter drives off liquid. The browned pieces are remnants of the milk solids, and they are where all the taste lies.
Because browning the butter drives off liquid, this icing adds more milk than a regular buttercream calls for. This is to recompense for the liquids lost in the browning process. Only use as much as you deem necessary to make a spreadable icing.
Interestingly, the only thing that separates ghee from brown butter is these milk solid remnants. Ghee is essentially the fat left behind from the browning process, although it’s generally cooked at a much lower temperature.
Hypothetically speaking, you could make a completely lactose free version of this buttercream using ghee. It would be expensive and it would lose a lot of the flavour, but it is nonetheless possible.
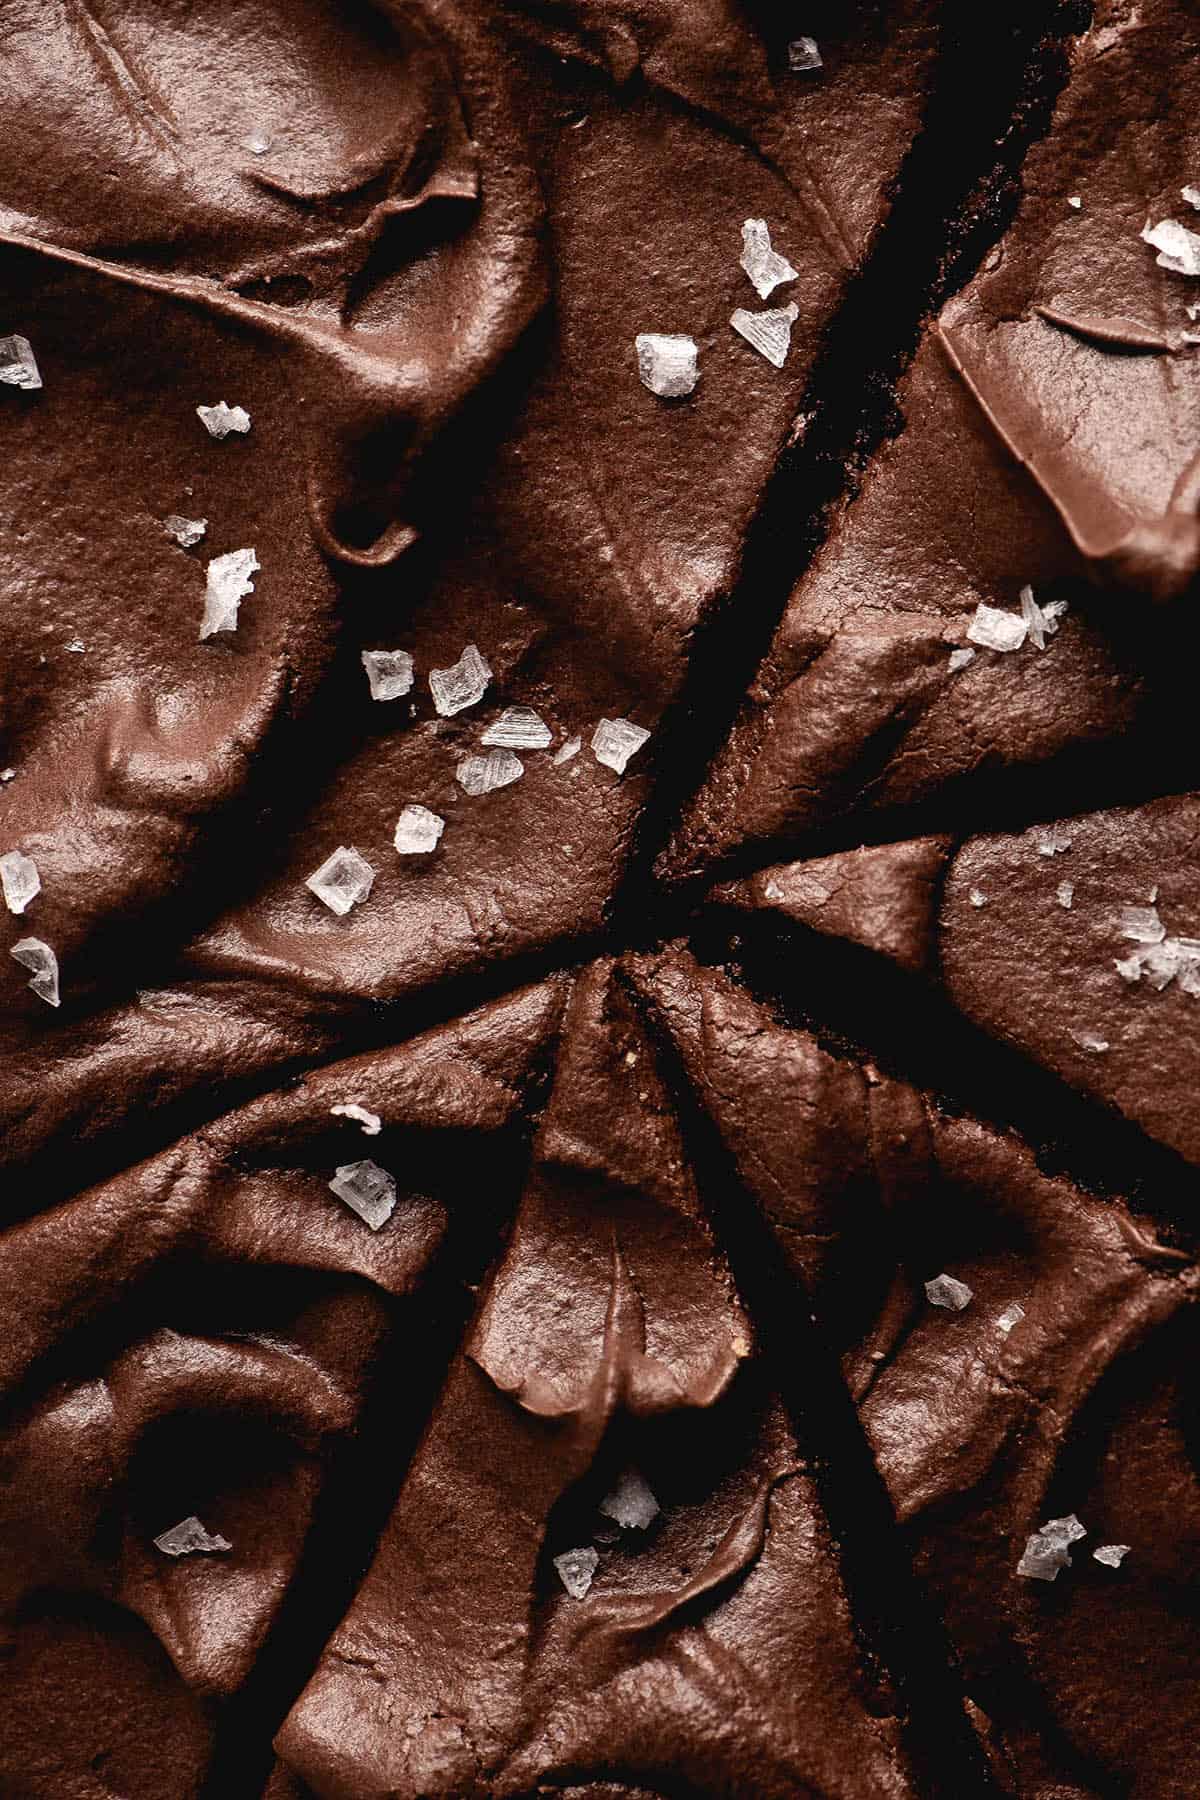
I tried to keep the icing sugar content as low as possible because I find buttercream is often unbearably sweet. Salt is absolutely necessary in obtaining a balance and depth of flavour in what is otherwise missing.
Ingredient notes and suggestions
Use a good quality butter, if you can. Over my years of browning butter I have noticed wild differences in the browning process when using butter of varying quality. Some foam up dramatically, others barely at all. But because we’re cooking the butter away to it’s essence, the better quality varieties will shine through in your icing.
Controversial: I almost always use salted butter. I know people say that it’s best to use unsalted so you can salt to your taste. I know. But I also find unsalted butter very sad, particularly when I go to take a slither. Yes, I sometimes eat butter on it’s own and yes, that probably has something to do with my graveyard of jeans that no longer fit. You do you, but I like using salted butter.
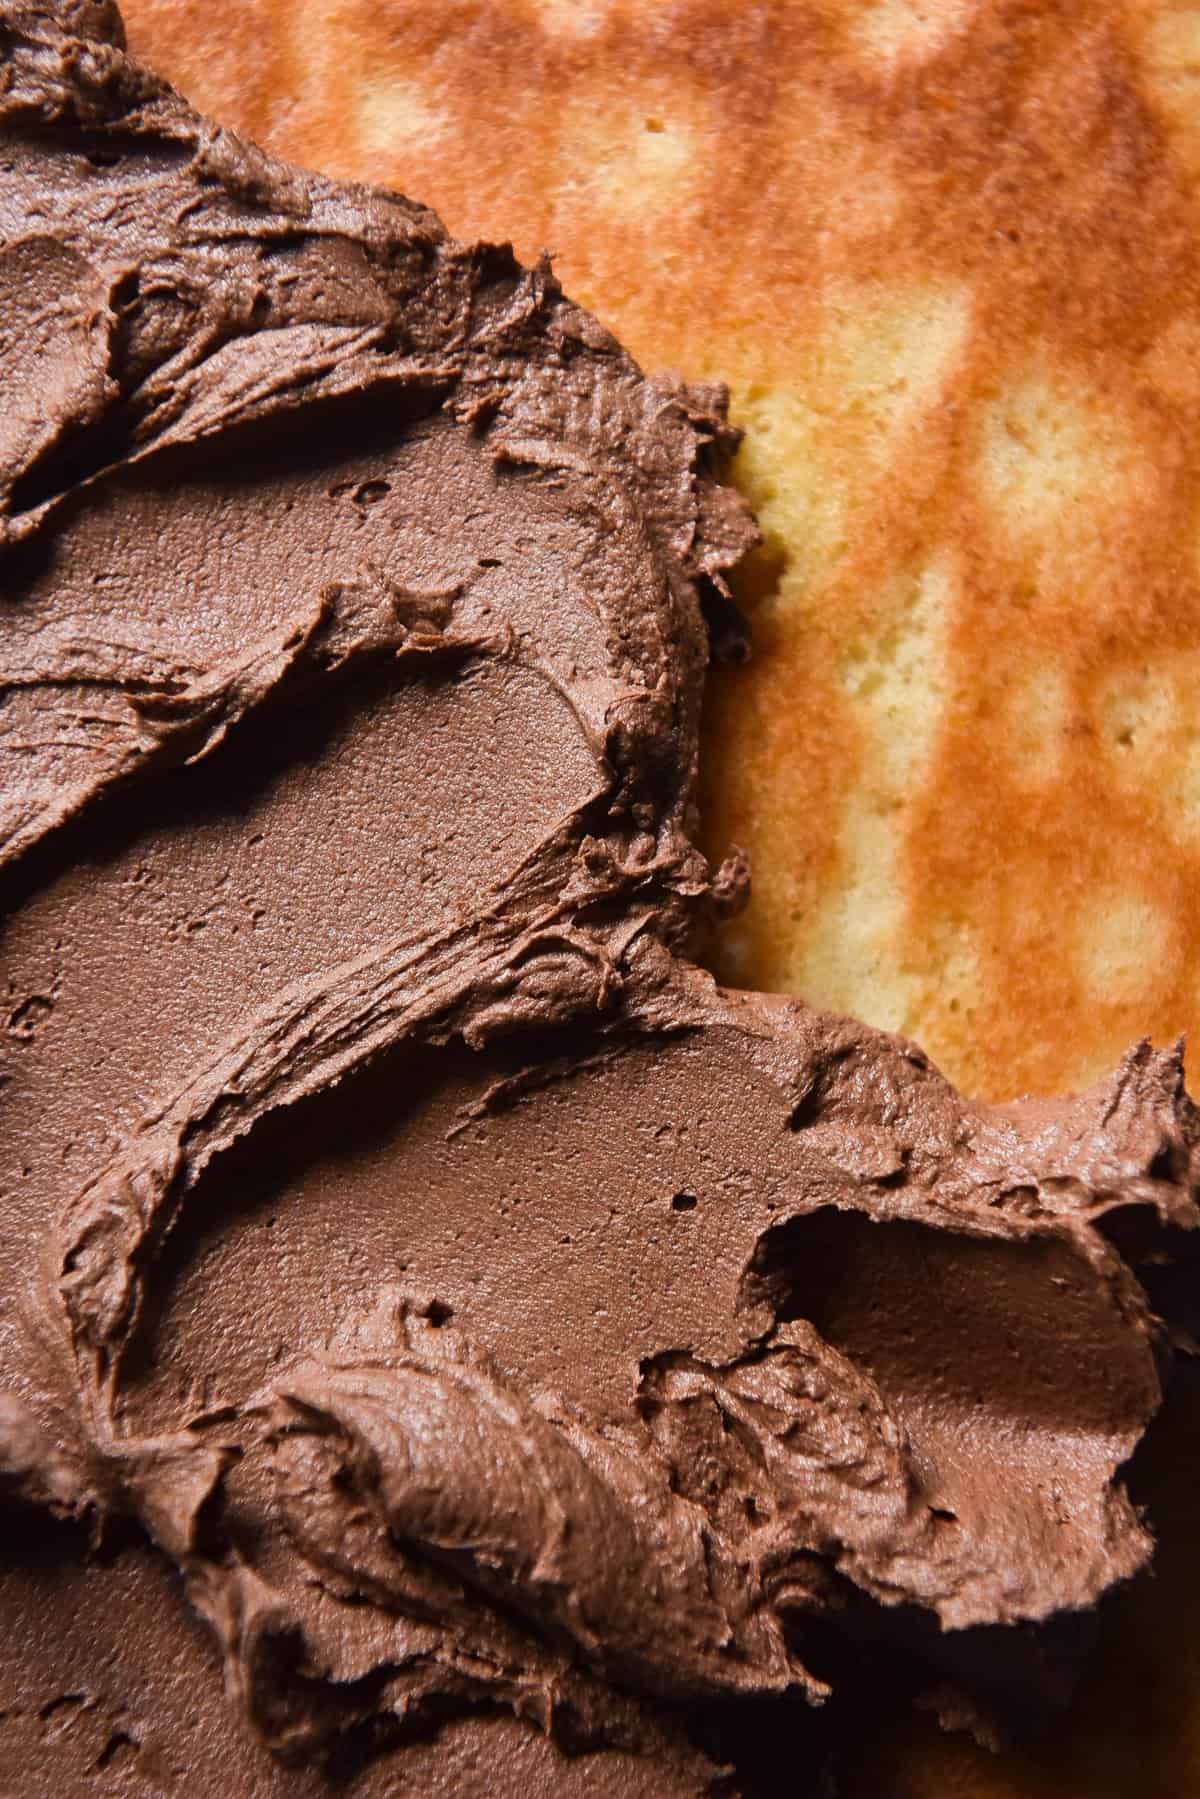
Dutch processed cocoa will make your icing darker and more intense in chocolate flavour. I highly recommend it, but it will also work with regular cocoa powder. I haven’t tried with cacao powder, but I imagine it would be slightly more bitter and earthy.
The vanilla bean paste is an optional but delicious way to add another depth of flavour to the buttercream. You can omit or add some vanilla bean extract if you can’t get paste.
You could also add a teaspoon of fresh espresso, if that’s your thing.
Tips for your brown butter chocolate buttercream
First things first: you will need to brown the butter and refrigerate it until solid before making this buttercream. The process only takes 30-40 minutes all up, but if you can I recommend browning the butter the night before.
Another thing I recommend? Using a silicon loaf tin to refrigerate the butter. Once it’s solid, you can easily pop it out of the mould without leaving any behind. You could also use muffin tins, if they’re the only silicon mould you have. This is all optional but I do find it super helpful.
Personally, I think recipes lie when it comes to a time suggestion for creaming butter. I suggest budgeting for 15-20 minutes at the very least – creaming is crucial to a smooth buttercream, so if you rush this step you’ll notice it in the end result
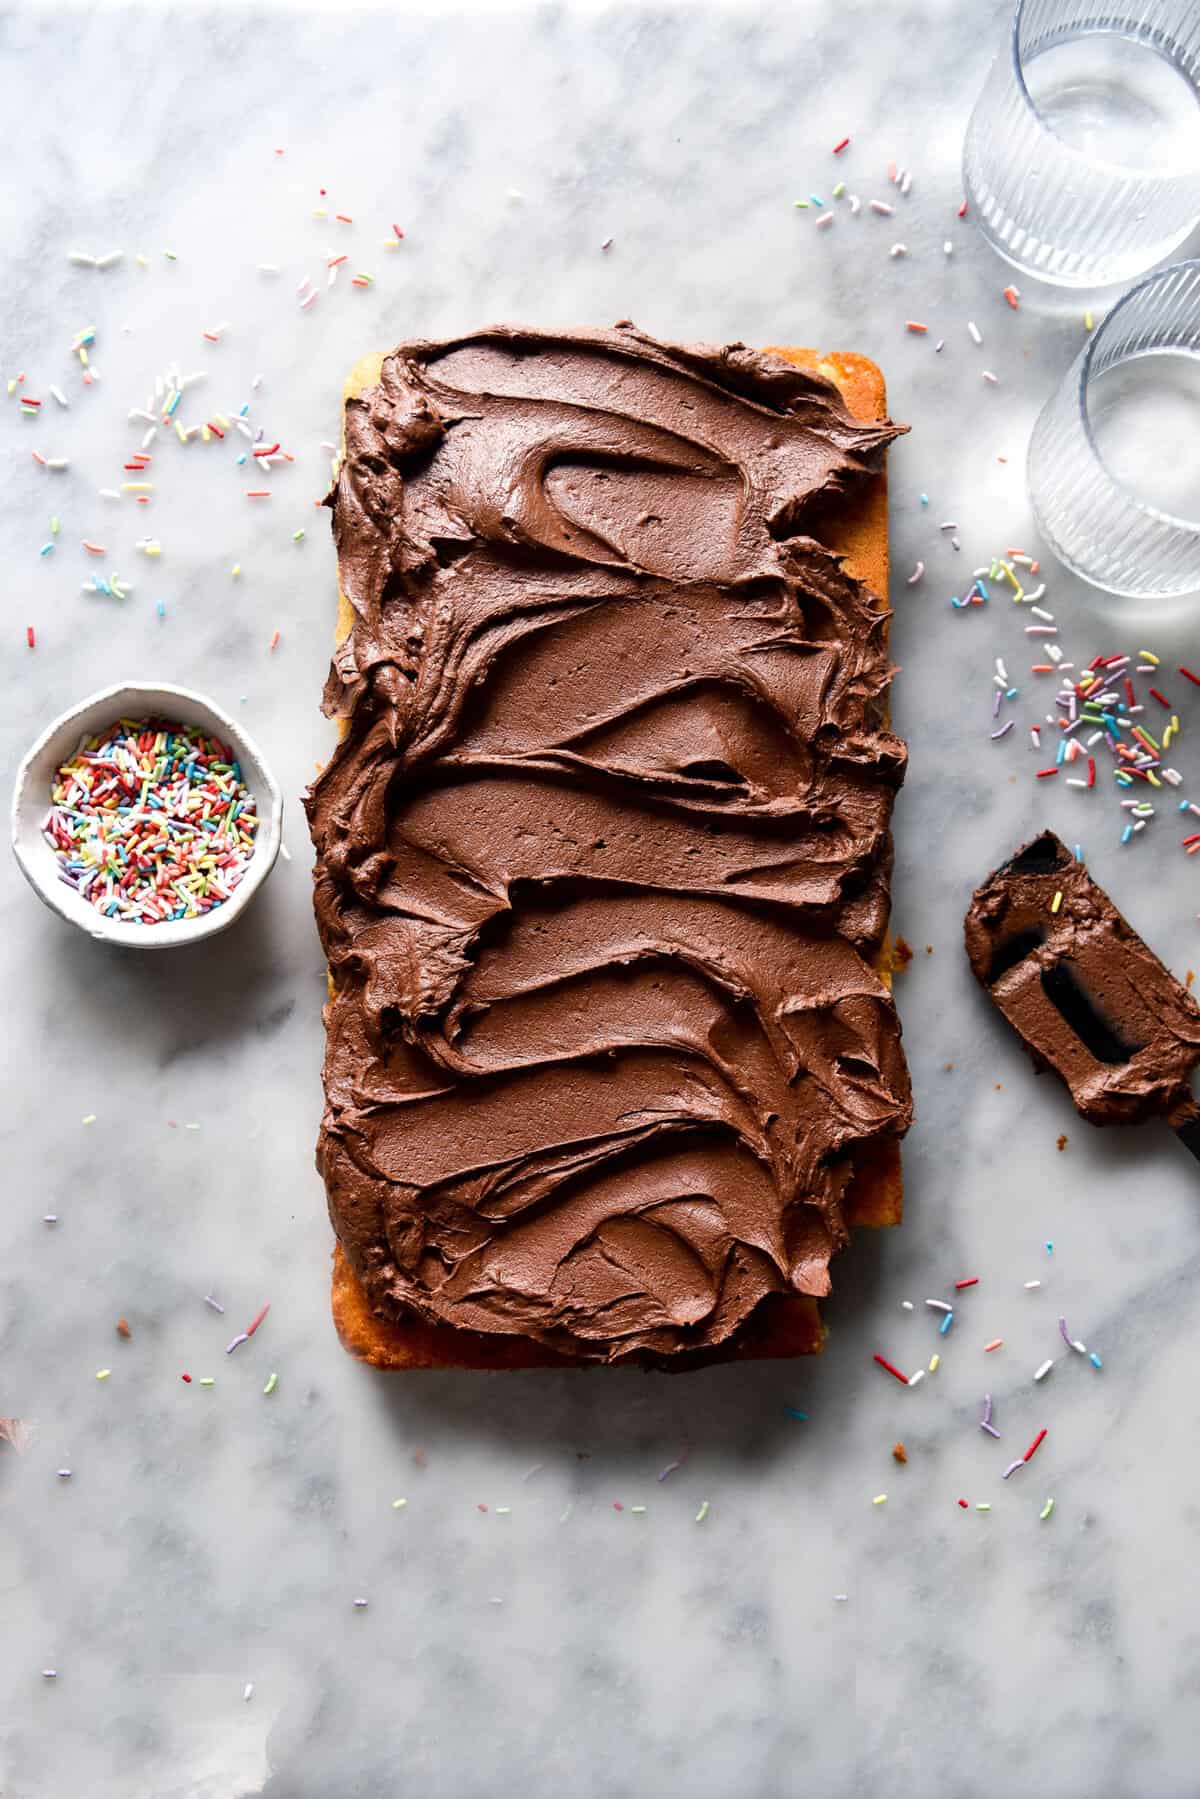
I hate sieving. Loathe it. So you know I’d only recommend sieving when it’s absolutely necessary, and in the case of buttercream it is. I recommend sieving the icing sugar and the cocoa together – cocoa has a tendency to clump, which can be remedied by sieving it in with something else. In this case, that something is the icing sugar.
More chocolate dessert recipes
- These super fudgy chocolate brownies
- The gluten free ‘Tim Tam style’ biscuits in Intolerance Friendly Kitchen
- This grain free chocolate self saucing pudding
- Gluten free chocolate olive oil cake
- A quick and easy gluten free vegan chocolate mug cake
Brown butter chocolate buttercream
Equipment
- Stand mixer or hand mixer with a whisk attachment
Ingredients
- 185 g butter
- 240g (1 1/2 cups) of icing sugar
- 75g (3/4 cup) of cocoa, dutch processed or regular
- 125ml (1/2 cup) milk of choice (only use as much as necessary)
- 1/2 teaspoon vanilla bean paste optional
- Pinch of fine salt
Instructions
- Place the butter in a small saucepan and brown very well over a low-medium heat. If you haven’t browned butter before, see the notes section for some handy links.
- Once browned, pour the butter into a silicon cake tin and place in the fridge or freezer to set. It will take about 15-20 minutes in the freezer.
- Once the butter is completely cooled, break it up and place it in the bowl of your stand mixer. Beat the butter with the whisk attachment until it is light and fluffy, scraping down the sides as necessary. Don’t be fooled – this isn’t a quick process. It will take about 10-15 minutes of beating and scraping down. The mixture should be light and fluffy – not quite white but a very pale beige.
- While this is happening, sieve the icing sugar and the cocoa together. I hate sieving so I wouldn’t instruct you to do this unless it was totally necessary for a smooth icing, I promise.
- When the butter is ready, turn the speed to low and mix in the icing sugar mixture and the milk. It might form a cloud of icing if you go too quickly. Add the salt and vanilla bean paste (stop the machine to add vanilla or it gets tangled in the beaters) and mix until combined. Taste and adjust if necessary.
No Comments