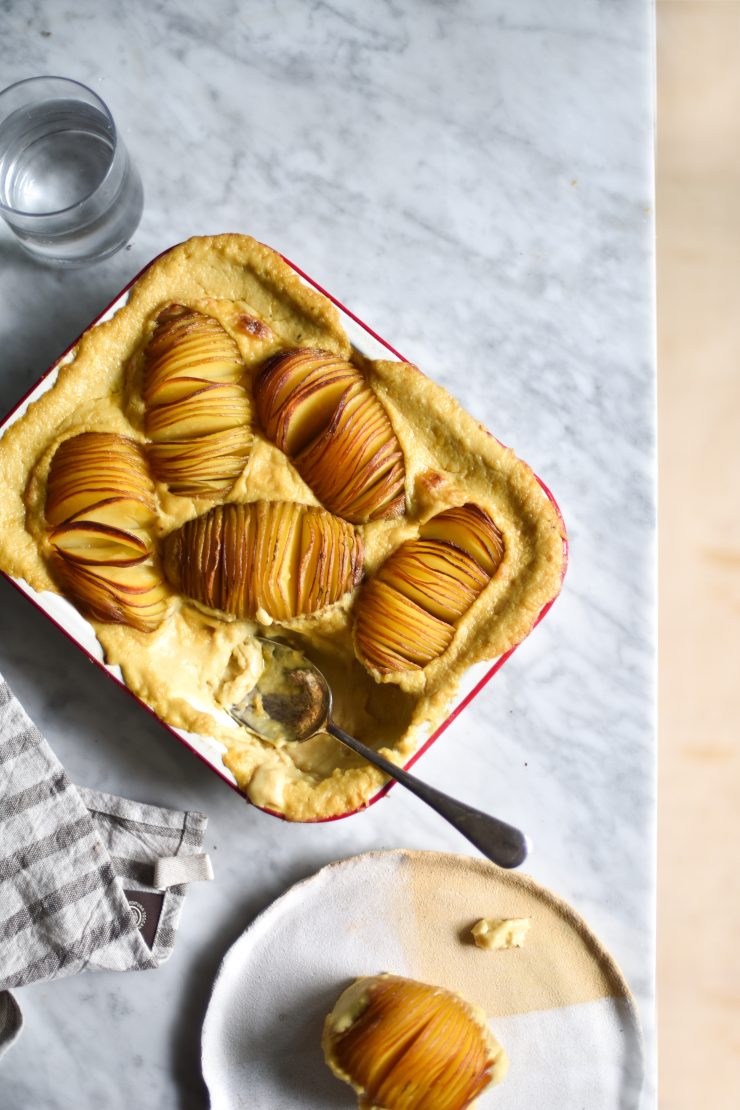
If you hadn’t noticed, this vegan hasselback bake is a riff on the vegan mac’n cheese that I posted recently. I decided to make said riff because some people, (myself included) have issues with grains.
I’ve briefly discussed it before, but at the moment my digestive system is doing terribly with grains, regardless of whether or not they are gluten free. Last Sunday night, I was feeling mildly hungover, wholly depleted, and in the mood for a wild amount of carbs. I settled into the couch with a big bowl of the gluten free mac, feeling smug that I’d managed ‘to do some work.’
Famous last words (or thoughts). Why? Because for the following two days, I felt like I’d been hit by a bus. The kind of bus that punches you in your stomach, and leaves you lethargic, nauseous, bloated, and generally apathetic. Whether it was my portion size (quite likely) or whether my system is just a dud, I’ve decided to give grains a little break for now.
This temporary diet change begged the obvious question: how to enjoy cheesy deliciousness without pasta? This, in turn, begged the obvious answer: on potatoes.
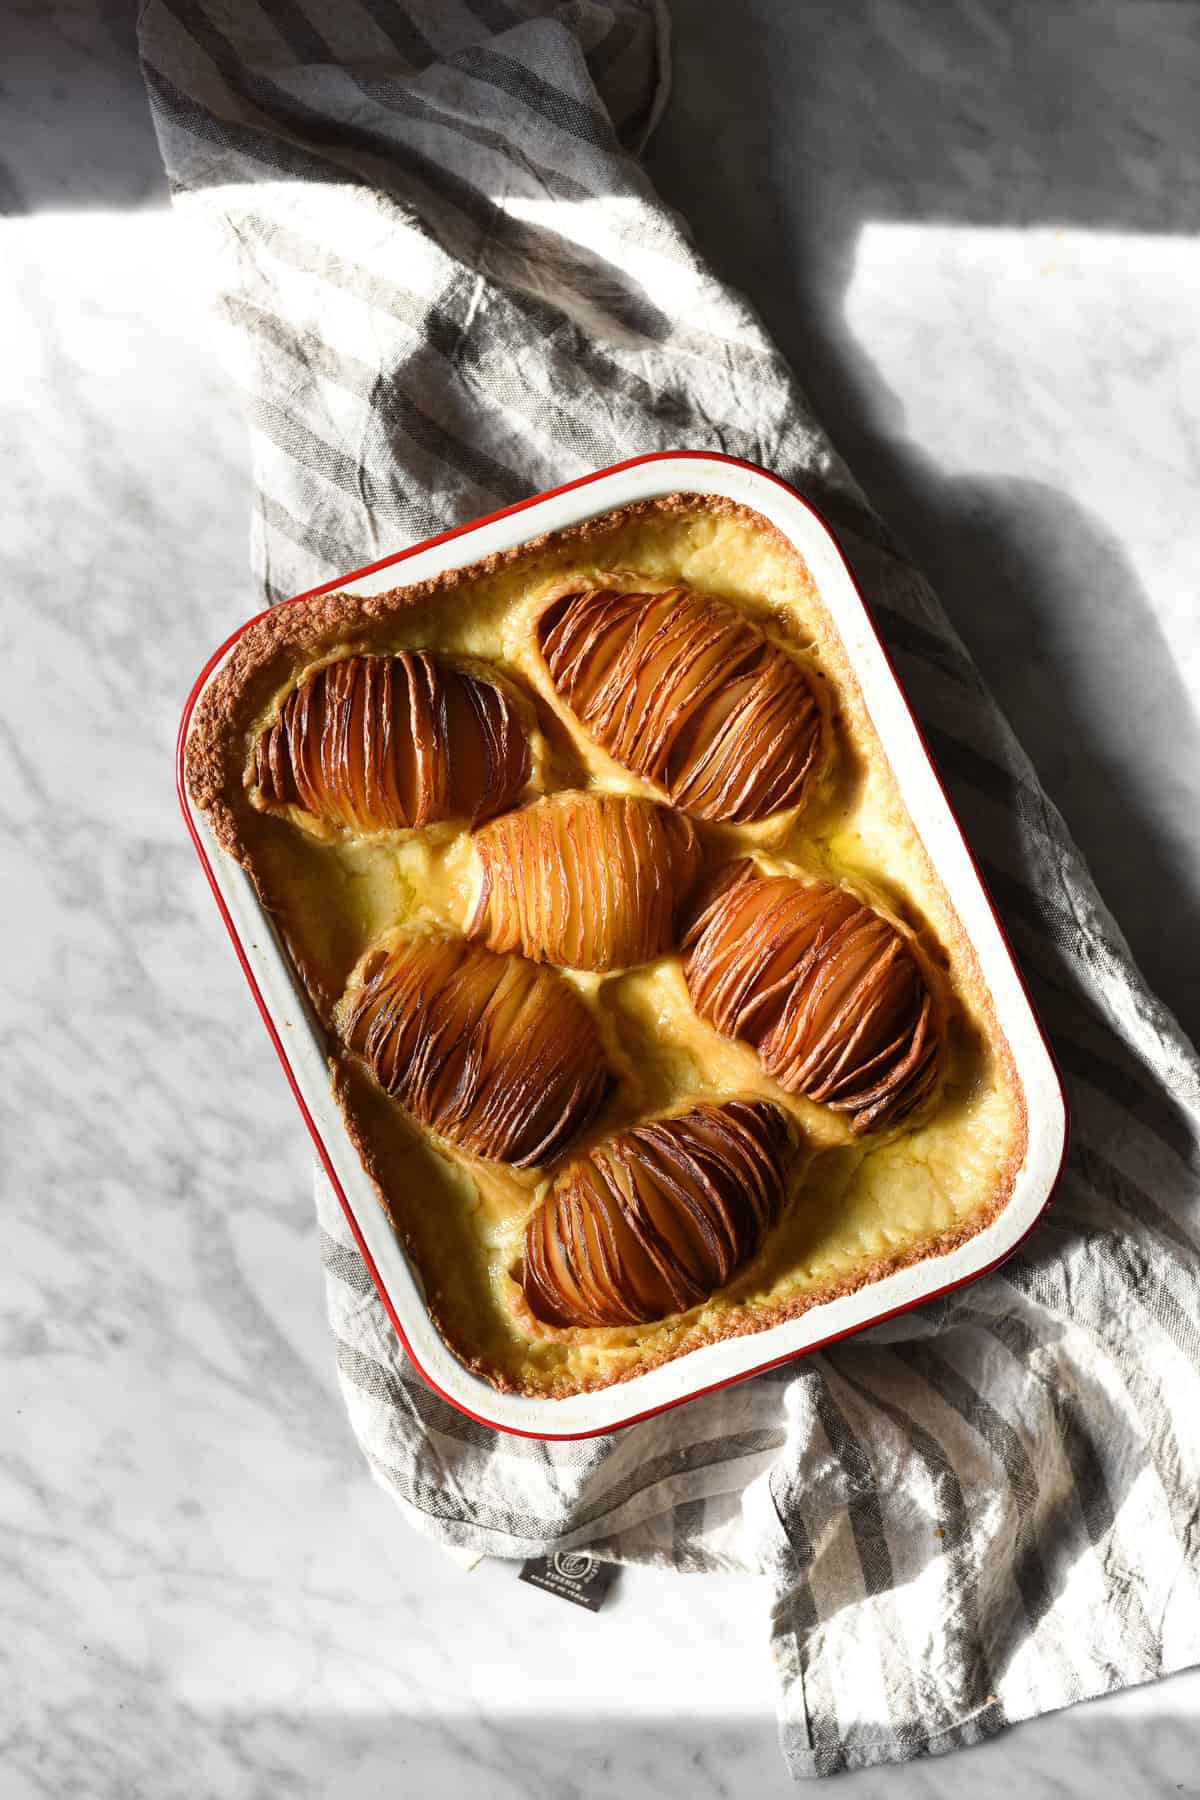
Vegan hasselback potato bake
Generally speaking, a waxy or all rounder variety of potato performs best in a bake. This is because both hold up well to being cooked in a liquid base, while a starchy potato is more likely to become mushy. In Australia, waxy varieties of potatoes include Dutch Cream and Kipfler. All rounder varieties include Sebago, Coliban, Desiree and Yukon Gold.
I find all rounder potatoes a safe bet for most things. They’re the best of both worlds – fluffier than a waxy variety on the inside, but with the strength to stand up to a saucy bake. Choose the best option for you, depending on what’s available.
Go slowly when hasselbacking your potatoes! It’s very easy to take it a little too far and end up slicing your potato in two. Slow and steady. I find it helpful to put the sides of the potato on two chopsticks or pens. This creates a little barrier so that you can’t slice right through the potato.
You can use any plant based milk that you prefer for the roux. Personally I like the creamy, rich taste of a good soy milk here, but choose what works for you.
As with any potato recipe, this vegan hasselback bake would benefit from a little cheese. I chose not to include vegan cheese in the original recipe to make it accessible to everyone. However, if you’d like to include some, it would work a treat.
Whether you add the cheese to the roux while cooking or stir it in afterwards depends on the cheese you’re using. I find that some vegan cheeses aren’t great at melting, so if you’re unsure, add it after cooking the roux but before adding the potatoes.
More potato recipes
- Greek lemon roasted potatoes without onion or garlic
- Crispy cacio e pepe potatoes
- Vegan crispy roast potatoes
- Low FODMAP leek and potato soup
- Gluten free Varenyky with a cheese and potato filling
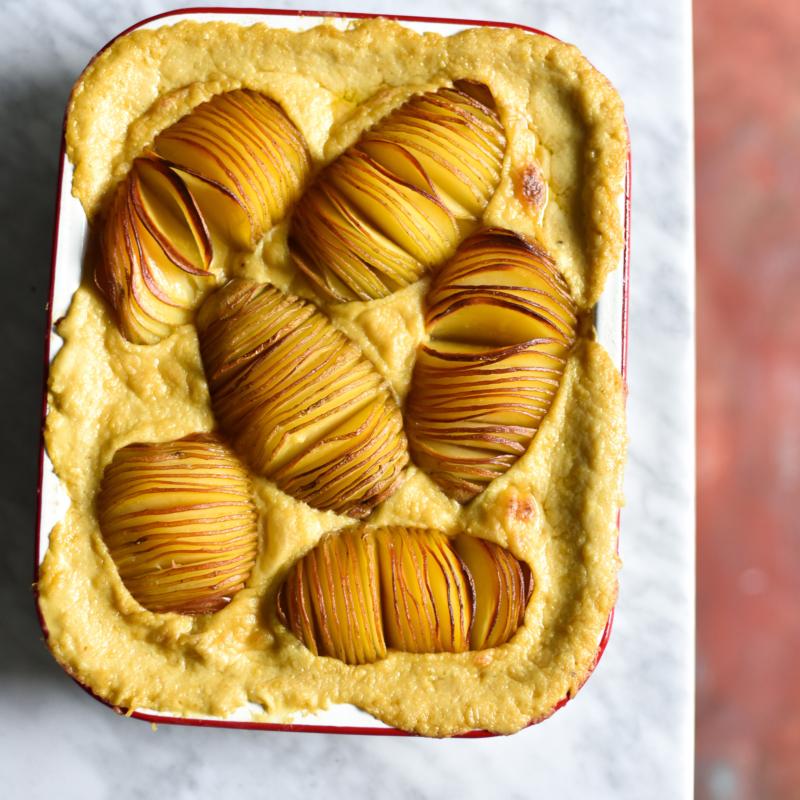
Cheesy, vegan and FODMAP friendly hasselback potatoes
Equipment
- 28cm x 22cm baking dish (4cm depth)
Ingredients
- 6 large around 1.3-1.5kg potatoes (look out for potatoes that are a uniform shape, and thus easy to hasselback)
- 6 tablespoons vegan butter substitute I used Nuttelex buttery and a vegan butter made from coconut oil, both to success
- 6 tablespoons gluten free cornflour
- 6 tablespoons nutritional yeast found at your health or bulk food store, or online – worth it!
- 1 teaspoon salt, to your tastes please use sea and not table
- 750ml (3 cups) soy milk to keep it nut free or another vegan alternative (I have used and liked almond, as long as it’s good quality almond)
Instructions
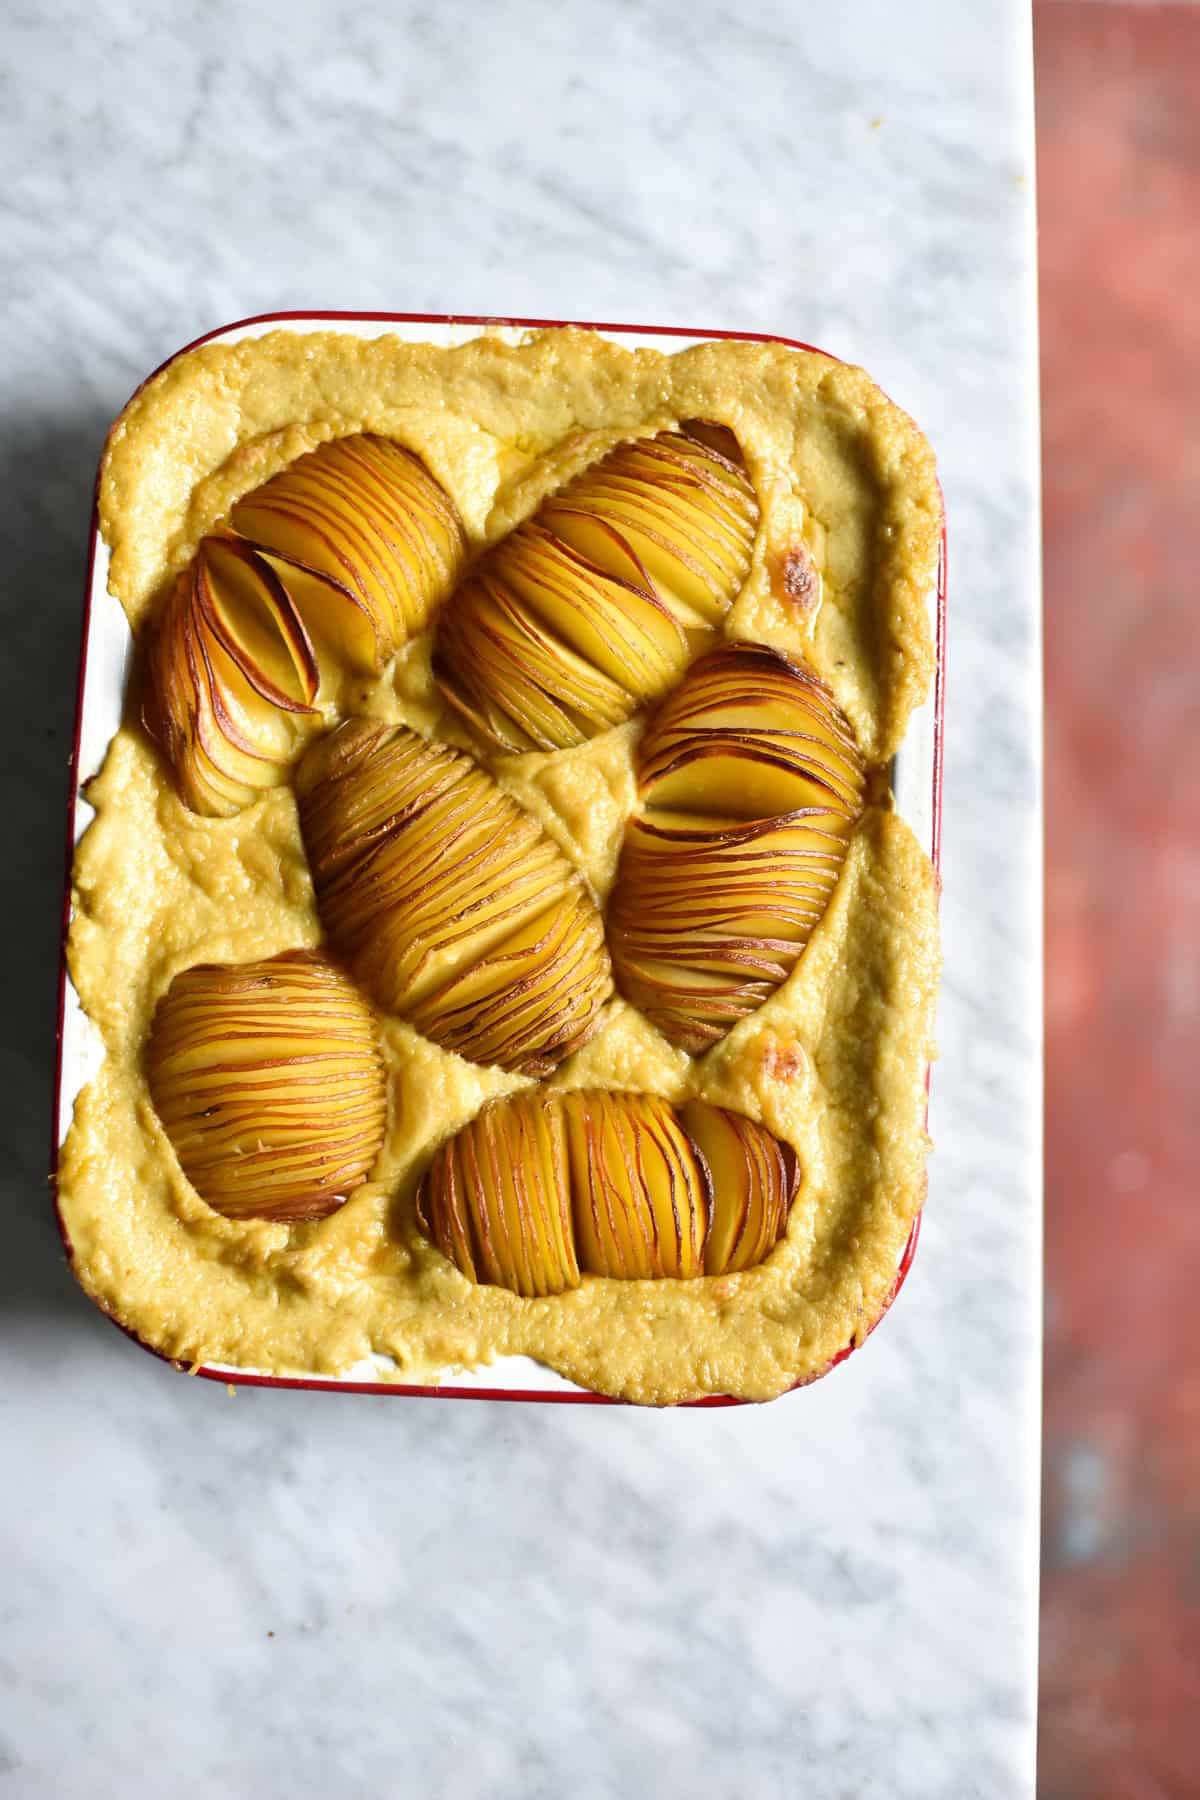
- Hasselback your potatoes. Do this by slicing them, extremely thinly, 3/4 of the way through each potato. You do not want to touch the other side of the potato – it will fall apart. Go slowly – they are basically never perfect but ain’t nobody going to notice when they’re covered in cheese sauce.
- Add the hasselbacked potatoes to a large pot of water, and bring to the boil. Allow them to cook for around 10-15 minutes. This will depend on the size of the potato. You want them to be cooked through, but still form and holding form. While they are cooking, preheat the oven to 180C/356F.
- Once the potatoes are par boiled, drain them gently, and transfer to a baking tray. Spray liberally with olive oil, and place in the oven for around an hour. You want the tops to be reasonably browned, but not so crunchy that you can’t swallow them. Been there.
- When the potatoes are nearly done, melt the vegan butter in a large saucepan over a medium heat. Once it has melted, add the cornflour, and whisk speedily. Turn the heat down, and follow this immediately with the milk, continuing to whisk until the lumps are gone. It really helps to have these ingredients measured out in advance, otherwise you’ll get stressed and knock something ceramic onto your tiled floor. Or something.
- Add the nutritional yeast and sea salt, and continue whisking until the mixture is cheeeeezy and has thickened to a roux.
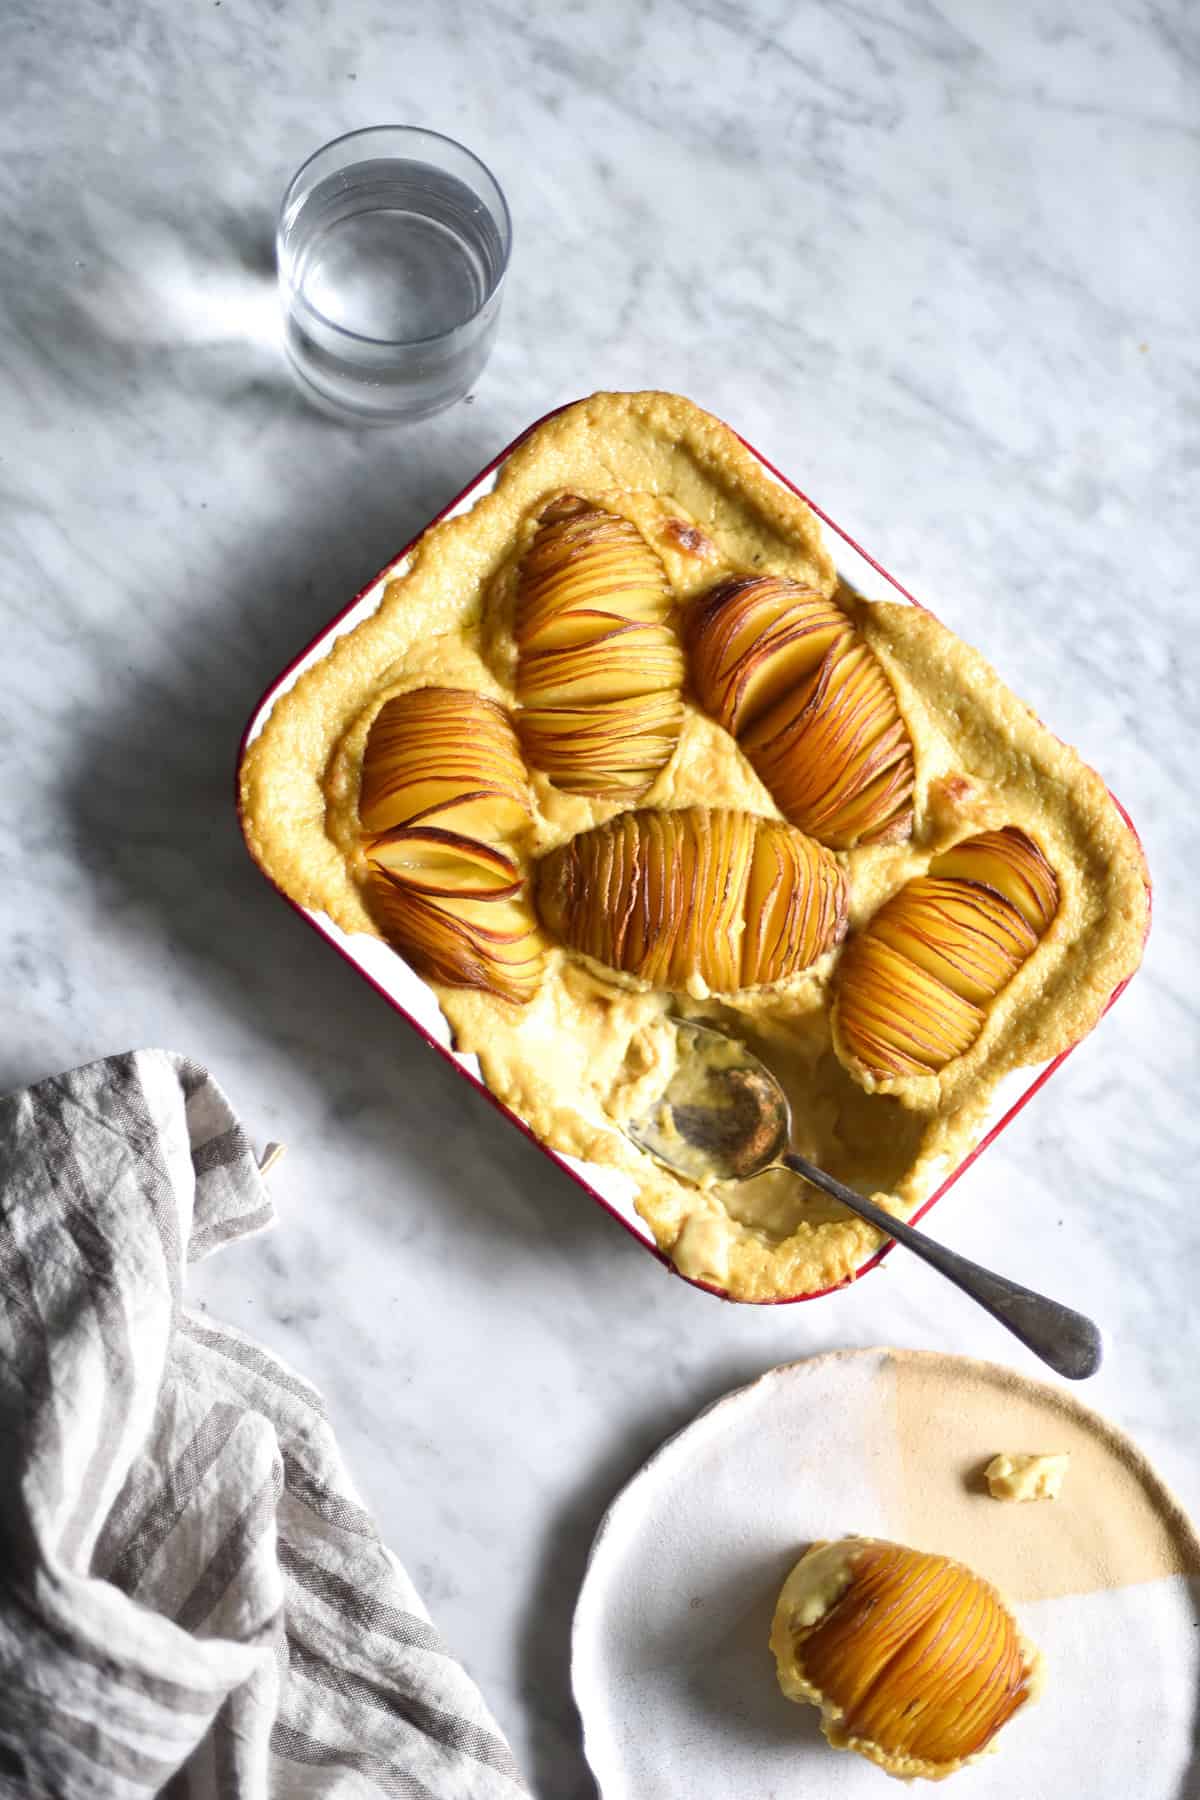
- Take a large baking dish, and spread the cheese sauce across the bottom. Gently press your hasselback potatoes into the sauce, give them another spray of olive oil, and return to the oven for 15-20 minutes. After this time, you can flip the oven to grill for a few minutes to brown your cheese (although be careful of your precious potatoes) and then serve. I keep this in the fridge for as long as it manages to not get eaten, which has only been 2 days, but I’m confident they’d last longer.
Omg looks delicious! I’ve been seeing nutritional yeast in recipes a lot, and probably something I should use as milk makes me feel a bit gross, so I’m excited to try these this week! Thanks so much for sharing this comfort food that my partner will like too 😉
Hi Elissa! Nutritional yeast terrified me for a while, but it’s actually super delicious and well worth the investment. A great cheesy salty sprinkle for salads and what not as well. I hope you and your partner like them 🙂
Wow!!! It sounds amazing. Definitely, want to try this. Thanks for sharing the post
Thanks Chelsea 🙂