Would you believe that I started working on this lactose free creme caramel recipe before I went to Argentina? Before I was even cognisant of the Argentinian love of a good flan? Fate.
This creme caramel kind of fits into my suite of lactose free dairy recipes, so here they are for your convenience:
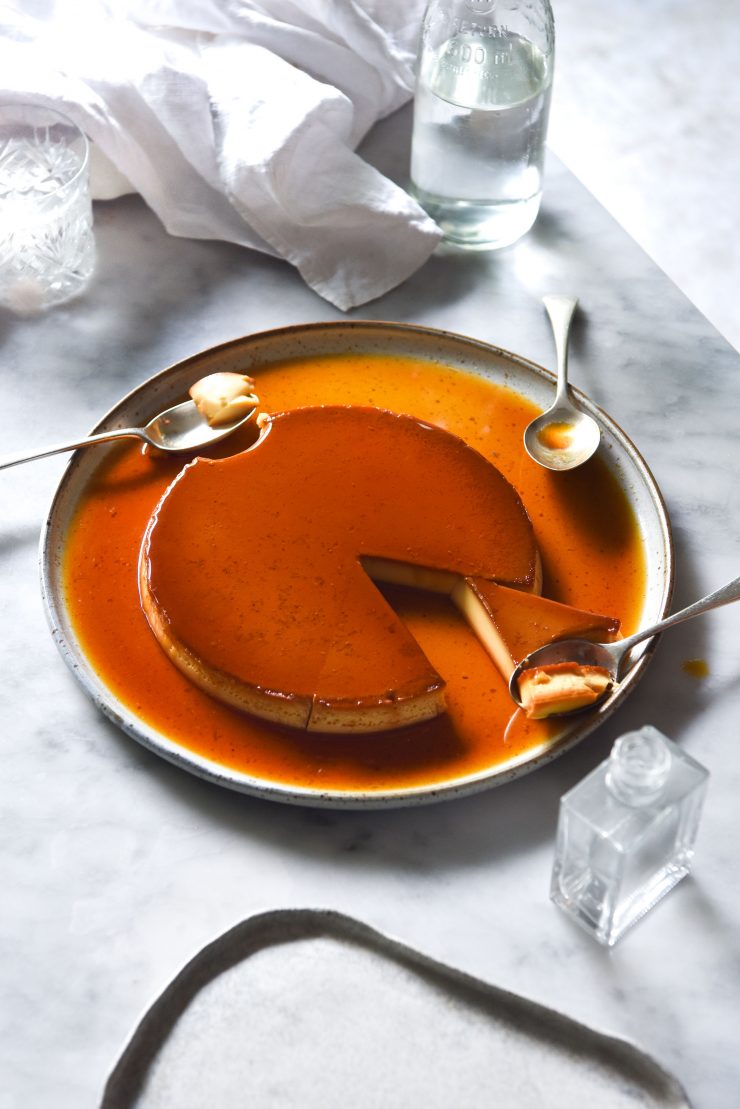
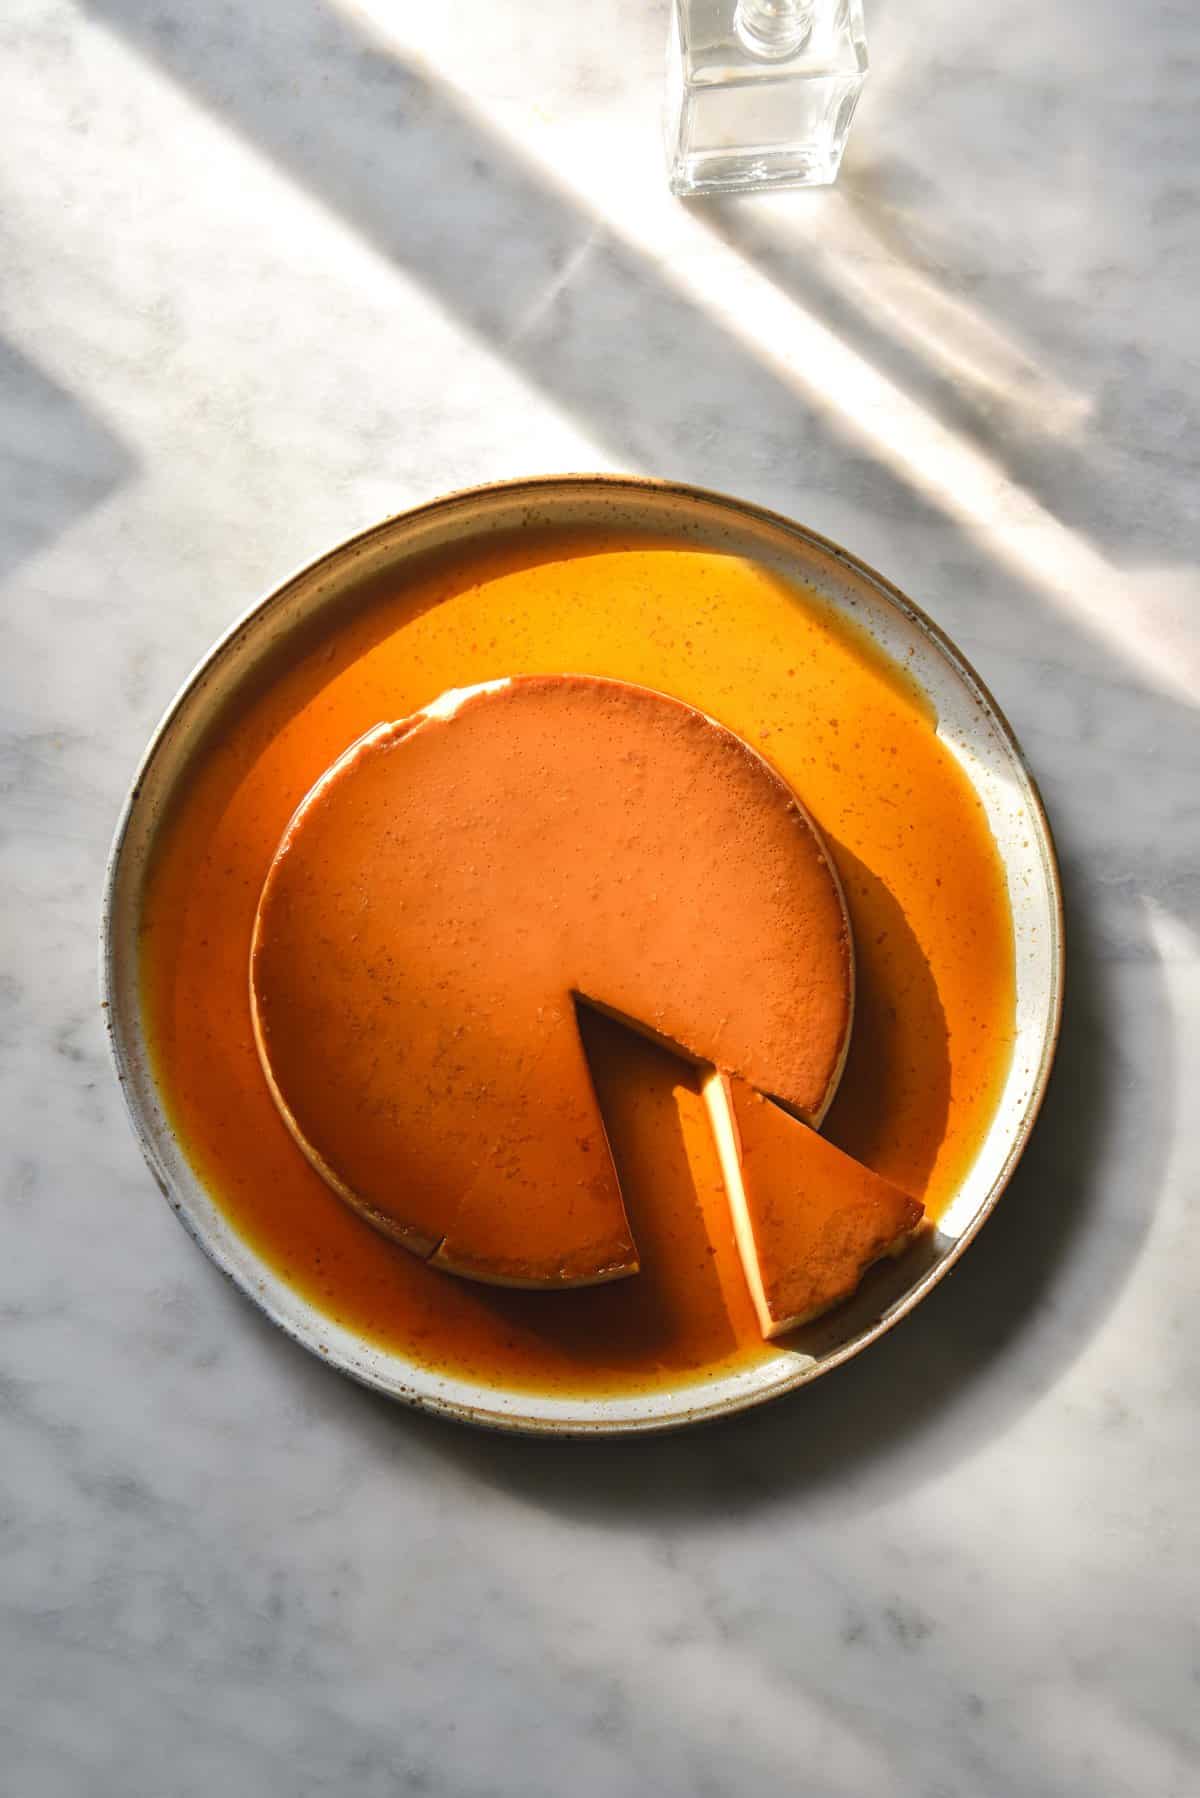
Lactose free creme caramel
Personally, I feel like you can’t go wrong with a creme caramel. Not only are they delicious and endlessly customisable, but they are gorgeous to look at.
Sure, there is a bit of a leap of faith when removing a creme caramel from the tin, but the results are so satisfying and so worth it.
This lactose free creme caramel is so easy to make lactose free with lactose free full cream milk. Full fat milk is key to a lactose free creme caramel that is creamy and has a great mouthfeel.
FODMAP notes for your lactose free creme caramel
Pretty smooth sailing here, my friends. The main requirement (obviously) is the use of full cream lactose free milk. While other recipes for creme caramels often use condensed milk, I decided on the more traditional method of using solely milk. Not only is the custard light and milk forward, it is also a lot easier than adding in the additional step of making condensed milk first.
The use of full cream milk is important – it adds richness, fullness, flavour and structure to the custard. I wouldn’t recommend using skim milk for this purpose.
Other than milk, we’re golden! Sugar is FODMAP friendly, eggs are FODMAP friendly, water is FODMAP friendly. A home run, my food intolerant friends.
Recipe notes for your lactose free creme caramel
Using a lighter coloured saucepan to make the caramel makes it a lot easier to see when the sugar has dissolved and when the caramel is cooked. I’d recommend using a silver or light coloured saucepan, if you have one.
Once the sugar has dissolved in the saucepan, you are no longer permitted to stir it. You can swirl the saucepan, but no spoon must enter or you might stuff it all up. Continue swirling intermittently to distribute the cooked patches of caramel evenly.
Don’t try to push the crystallised bits of sugar on the edge of the saucepan back into the caramel. They are sacrificial, they get left behind.
Once the sugar has dissolved from the pan, don’t walk off from your caramel. It can turn from golden to black in a matter of seconds, I promise.
Greasing the moulds AFTER the caramel has set will assist in swift removal of the flans. If you grease the entire mould before the caramel is poured in, it will struggle to adhere to the sides of the dish. I used butter but you could use a light and neutral flavoured oil, like canola. A TINY bit of greasing is more than sufficient.
Not only you do need to be very careful handling hot caramel, you need to be aware that A) time is of the essence and B) the mould/moulds will quickly become very hot.
Tips for lactose free creme caramel success
Don’t vigorously whisk the egg and milk mixture! The idea is to completely combine without adding air into the flan. Lots of air and bubbles in the custard will result in that Swiss cheese style bubble filled custard.
If the milk develops a skin while you’re scalding it, remove the skin and discard it. We don’t want lumps in the flan.
Skim the bubbles off the top of the milk and egg mixture like your life depends on it. This includes before and after you pour it into the moulds. Air bubbles, be gone!
Crème caramels can develop a light skin on the base as they cook. If this doesn’t sound appealing, cover the flans in alfoil before cooking.
On the note of tin foil, make sure you don’t just cover the crème caramel/s in great swathes of it. Because we’re using a water bath, this can invite water into your precious desserts. If you’re using individual sized tins, I recommend cutting the foil to size.
The water bath is worth it. I promise. Also worth it? Placing a tea towel or dish cloth on the bottom of the baking tin. This ensures that the bases of the caramels aren’t exposed to a more intense heat than the rest of them.
Handy links for creme caramel success
- This article from The Guardian. Their ‘how to make the best’ articles are always so informative and helpful. Hire me Guardian. Please.
- The idea for resting the custard mixture overnight comes from Gourmet Traveller.
- If you’re a visual learner, watch Carla from Bon Appetit make a Creme Caramel before you start.
More lactose free dessert recipes
- This lactose free Tiramisu
- These vegan, gluten free and yeast free cinnamon rolls without xanthan gum
- Vegan brownie cookies
- The vegan, gluten free chocolate cake (without xanthan gum) in Intolerance Friendly Kitchen
Lactose free creme caramel
Equipment
- 1-2 20cm cake tin (not spring form)
Ingredients
For the caramel:
- 1 cup (220g) caster sugar
- 1/4 cup (60ml) water
For the custard:
- 4 extra large eggs
- 2 extra large egg yolks
- 1/3 cup (70g) caster sugar
- Pinch of salt
- 1 teaspoon vanilla bean paste optional
- 750 ml full cream lactose free milk
Instructions
To make the caramel:
- Make sure the mould/moulds are clean, dry and ready to go. Place a tea towel in the base of a large baking tin, big enough for your crème caramel/s to be in a water bath.
- Combine the sugar and water for the caramel in a medium saucepan and stir to combine. Place the saucepan over a medium heat, and cook, stirring intermittently, until the sugar has dissolved. The mixture should be clear, but you can double check this by tilting the saucepan to check if there are remaining granules on the bottom.
- Once the sugar has dissolved, put the spoon away. From here on in, simply swirl the saucepan to evenly distribute the heat. Do this intermittently until the sugar begins to brown, after which watch it like a hawk. How dark you like your caramel is up to you – I like mine a light mahogany. Once it is cooked to your liking, remove it immediately from the heat.
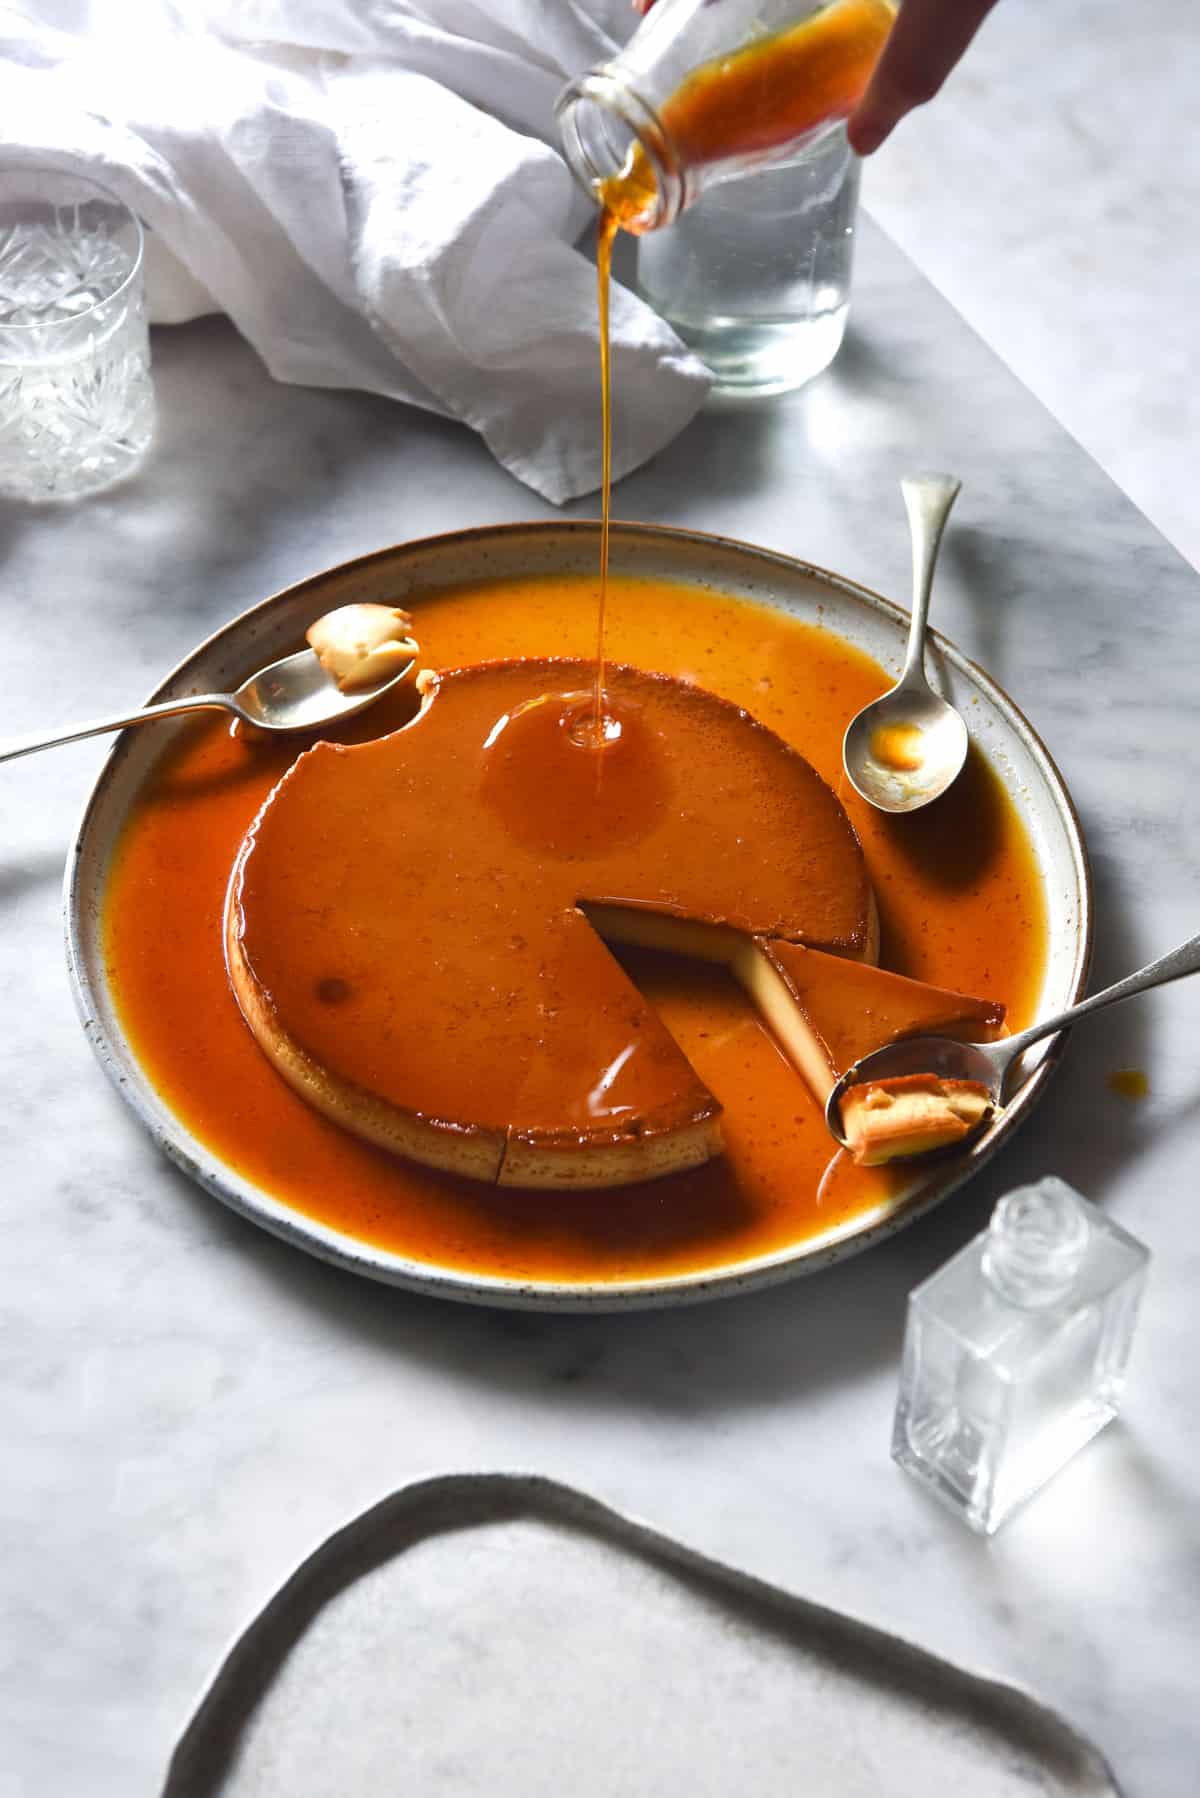
- Pour the caramel very carefully into the prepared tin or tins – it is molten sugar and could cause a nasty burn. Working quickly, tilt your pan to swirl the caramel around the base and up the sides a little, so that the caramel is a little lip when the dessert is inverted. It should harden as you work. Note that the tins will heat up very quickly, so use gloves.
- Allow the caramel to harden in the tin at room temperature. Don’t worry if you hear the caramel crack – it won’t affect the final product. During this time, we can work on the custard. Preheat the oven to 160 degrees Celsius, so it’s ready to go.
To make the custard:
- Place the milk in a medium saucepan over a medium heat, and stir intermittently until the milk is scalding. Remove any skins if they begin to form.
- While the milk is heating, very gently whisk together eggs for the custard in a medium mixing bowl. The idea for whisking here is to completely combine the eggs and break up the egg whites without whipping air and bubbles into the mixture. Once the eggs are combined, add the sugar, salt and vanilla (if you’re using it) and gently whisk until combined.
- Once the milk is ready, decant it into a large pouring jug with a lip. Pour a tiny drizzle at a time into the egg mixture, very gently whisking while you do so. The idea here is to gently heat the egg mixture (by adding the hot milk) without making scrambled eggs. Take your time and pour slowly so that doesn’t happen.
- Once all the milk has been incorporated, give the mixture a couple of minutes to cool off. Some recipes suggest allowing the mixture to rest for 30 minutes to discourage textural anomalies. Do with that information what you will.
To finish:
- When you’re ready, take a fine mesh sieve and very gently pour the milk mixture into your caramel lined tin or tins. Use a spoon to scrape any new bubbles off the surface and discard.
- Gently place the crème caramels into the baking dish you have lined, and carefully cover them with alfoil, if you’re using it. Pour enough water into the dish to come up 3/4 of the side of the tin, and then very carefully place in the oven.
- How long to cook them depends on the tin you’re using, but also on your oven and a whole plethora of factors. Have your wits about you and use the jiggle and touch tests to ascertain when the crème caramel is done. The mixture should jiggle without looking too unstable. You should be able to lightly touch the surface of the caramel without taking a piece of it with you. It should be bouncy to the touch, kind of like a softer set jelly.
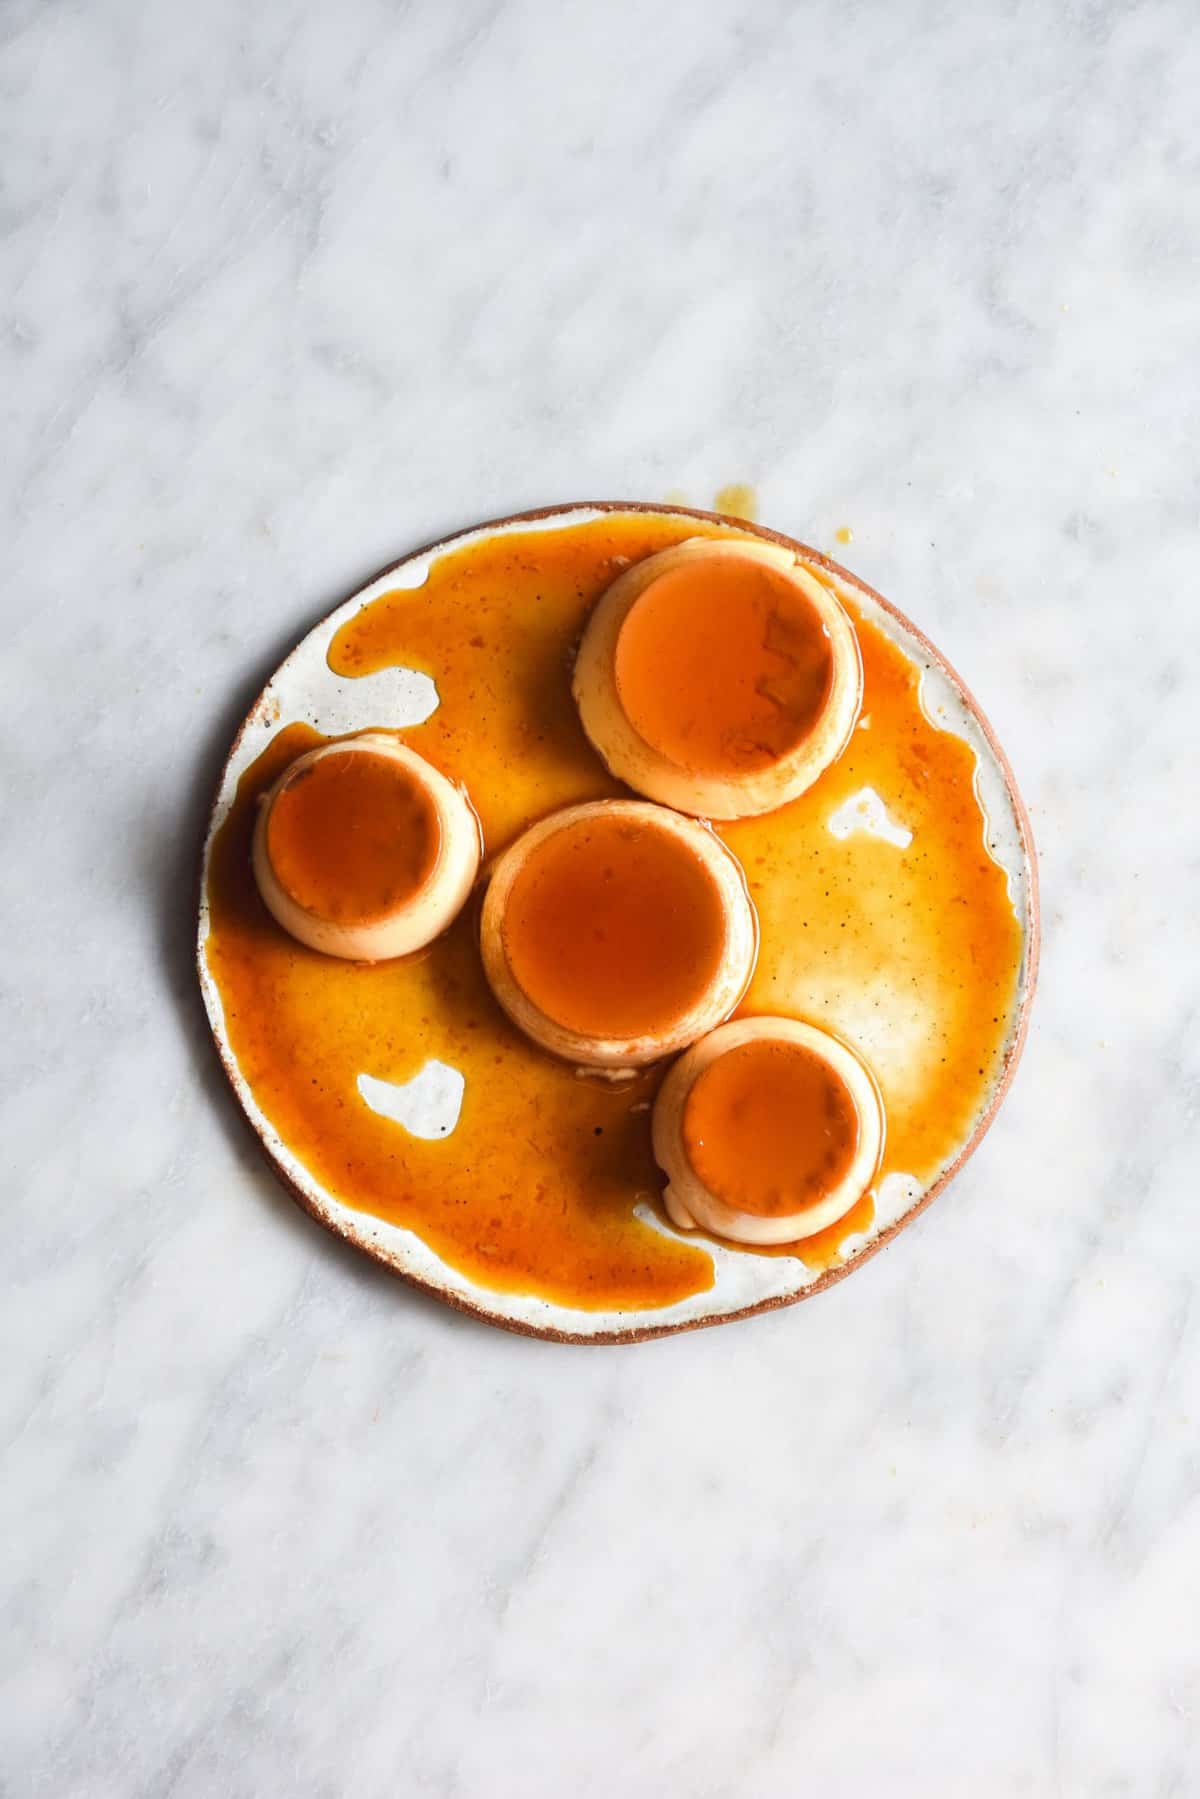
- As a rough guide, one extra large crème caramel should take around 80-90 minute. Two medium should take about an hour. And for individual sizes, I’d recommend checking in at 30 minutes and assessing from there. Note that covering the caramel bases with foil can slow the cooking time.
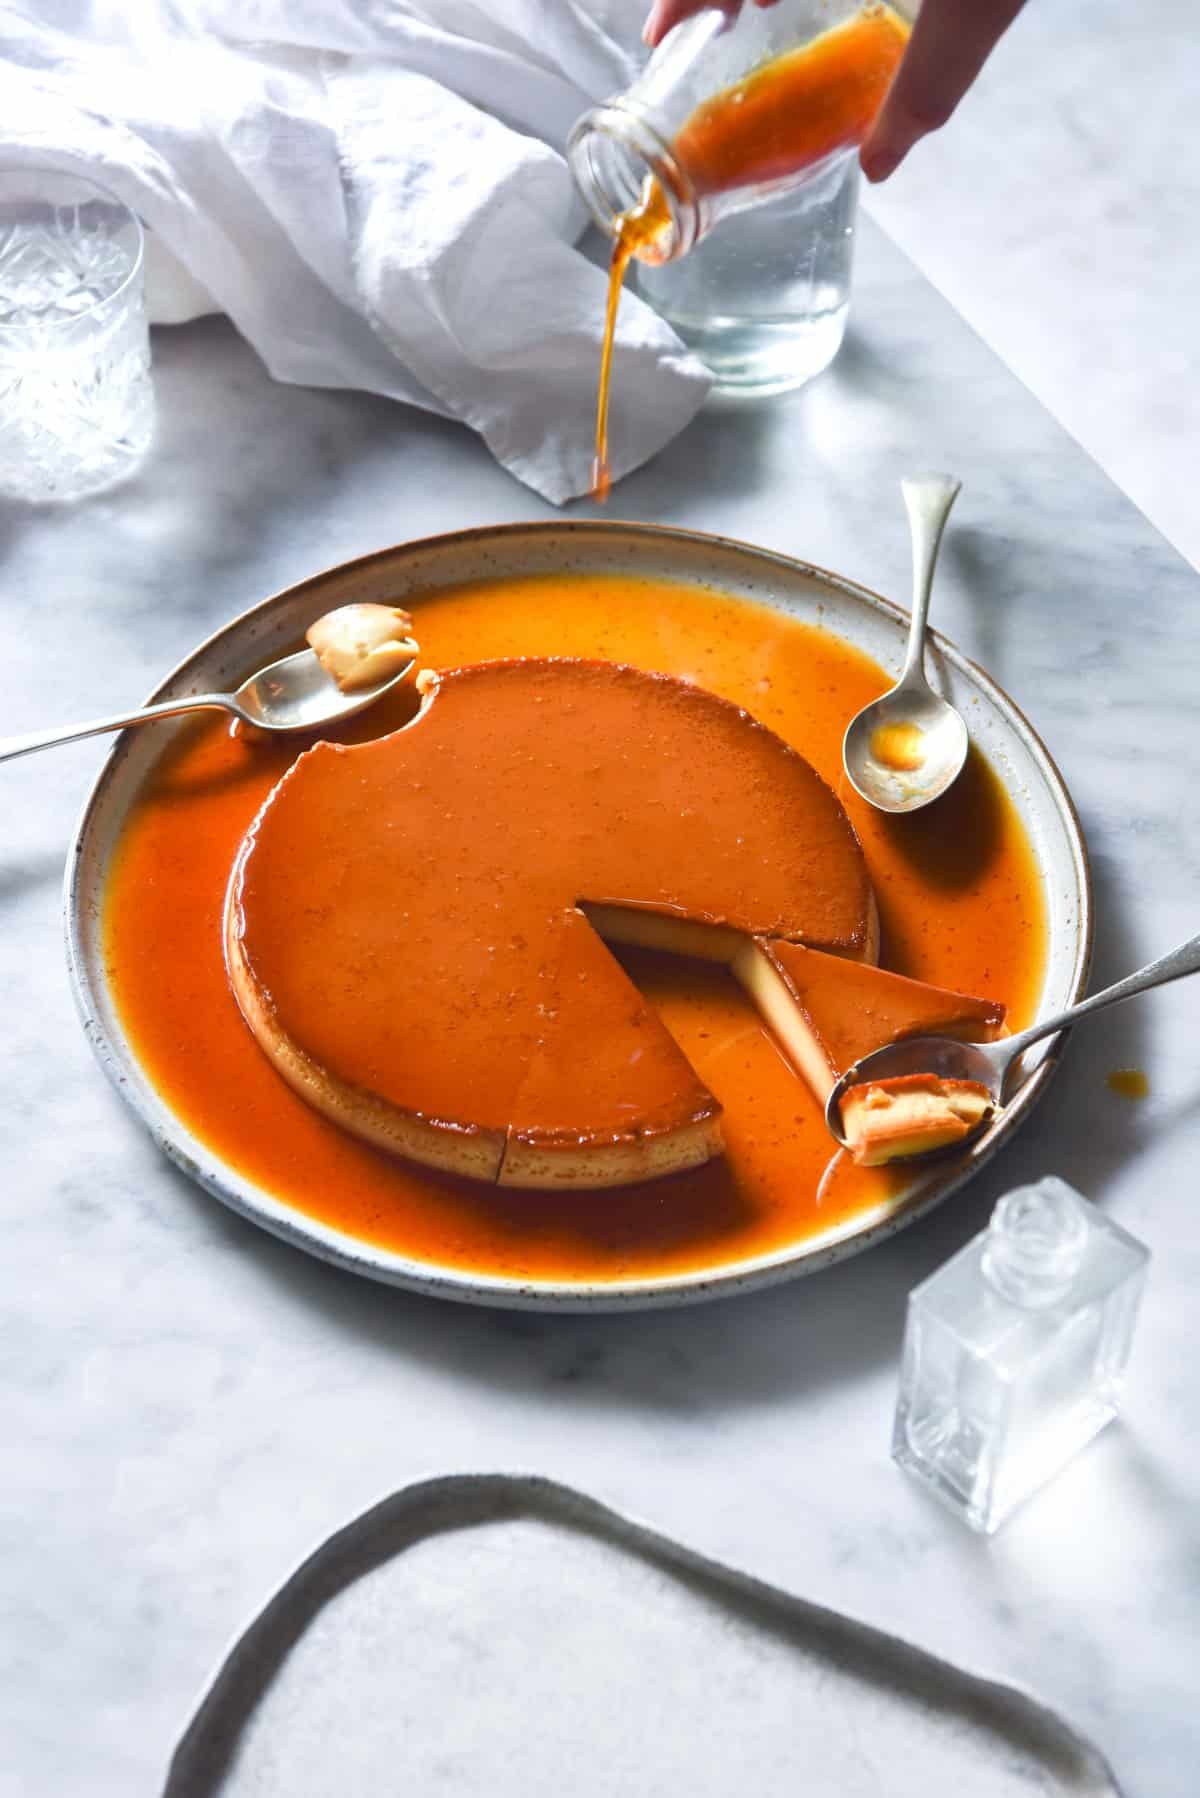
- Once cooked, remove from the oven and allow to cool completely. For best results, give your caramel a little time in the fridge – it melts the caramel so that you’re not left with a hard caramel shell in the base of your tin. To serve, run a very thin knife around the caramel, flush with the tin. Carefully invert and serve immediately.
- Crème caramels can be stored in the fridge prior to being inverted for a couple of days. Note that the longer they are in the fridge, the more liquid and less defined the caramel base becomes.

I tried this recipe and it turned out so perfect and delicious! Thank you so much!
I’m so glad you enjoyed it! One of my favourite desserts, so good! 🙂
This looks incredibly delicious and so tempting!