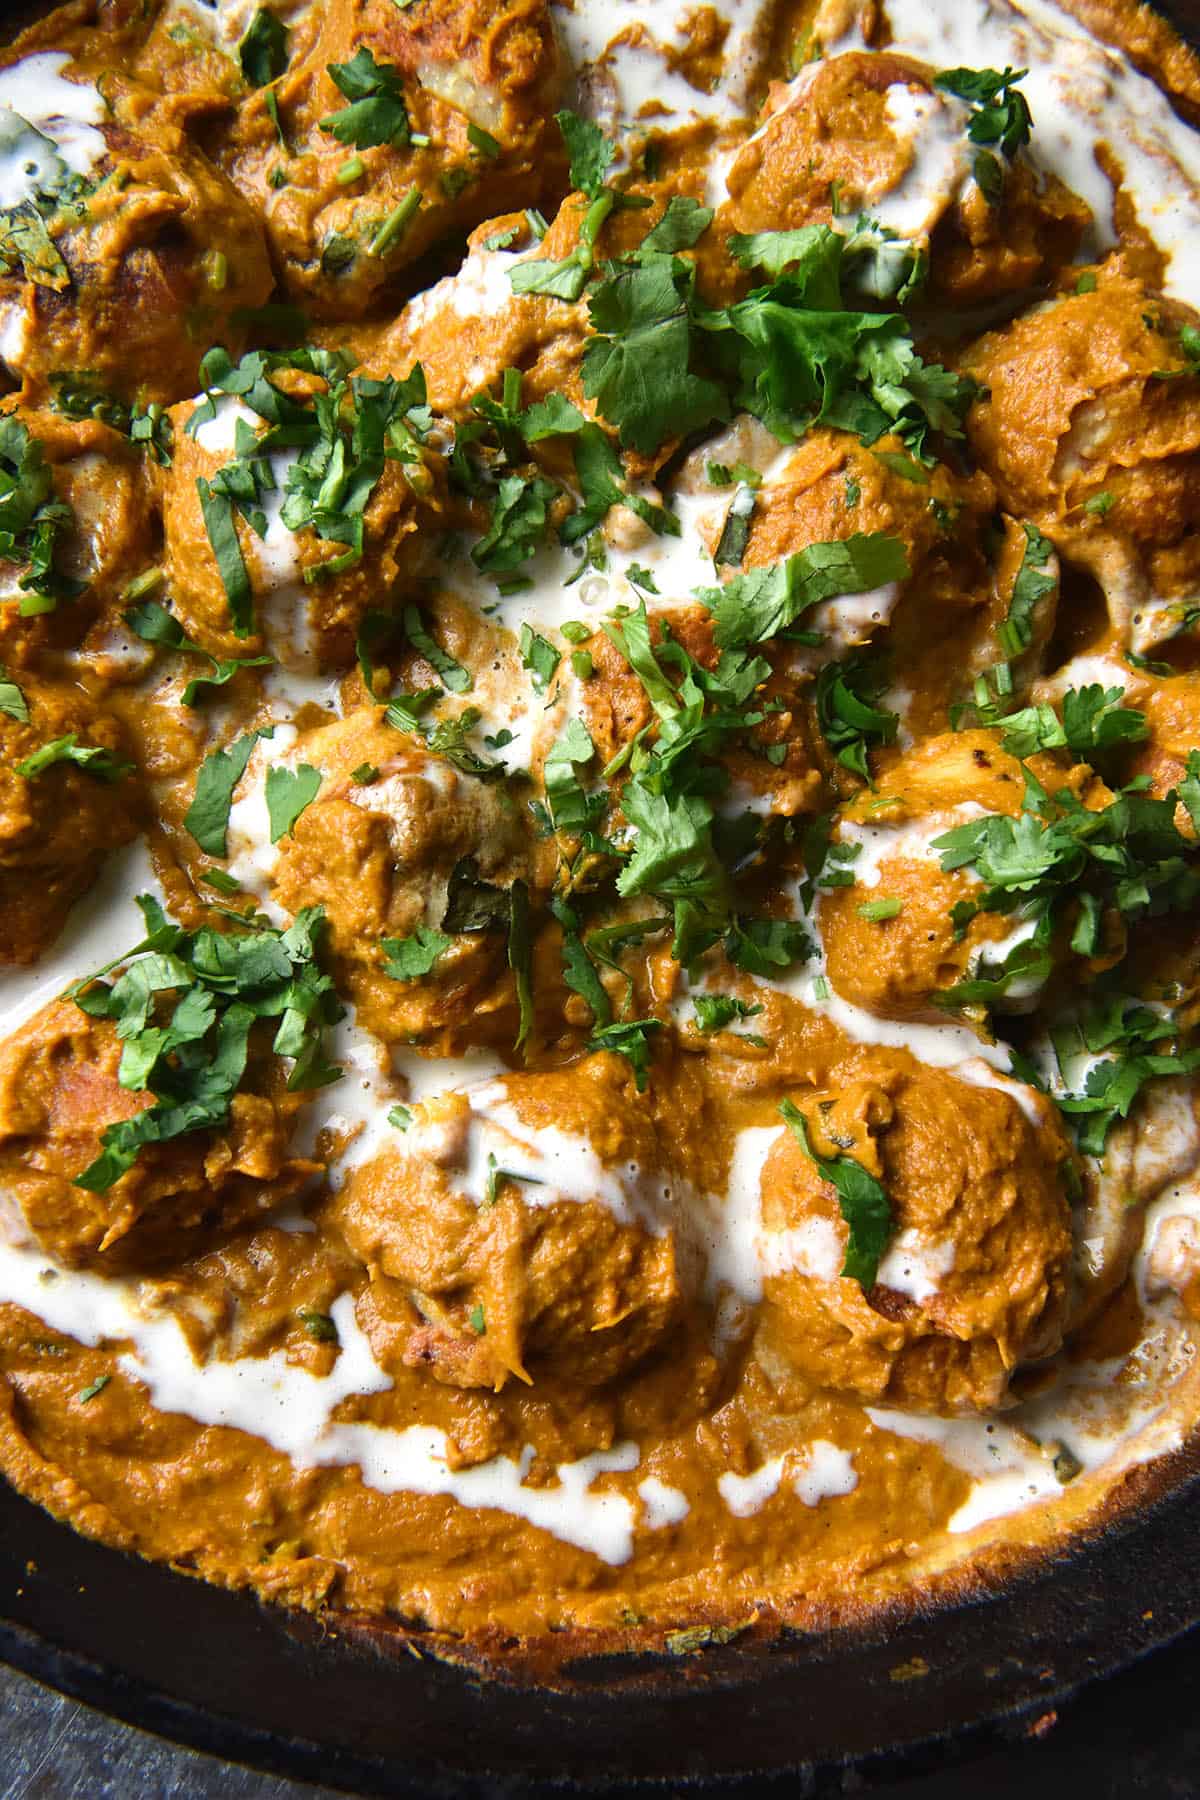
I was at the supermarket recently shopping for the paneer component of a FODMAP friendly Malai Kofta. It struck me that A) Many Australian supermarkets only have one brand of paneer and B) that it’s EXPENSIVE. $8 for 200g of paneer expensive. Standing in front of the paneer, I googled how to make it. And what do you know? Lactose free paneer is as easy as lactose free ricotta. That is: very easy.
Paneer making is essentially the same as making lactose free ricotta. It involves cooking a lactose free milk and adding an acid to coagulate the milk. This separates the solids from the liquids or curd from the whey. The ‘whey’ is then drained off the curd, leaving a soft, milky cheese.
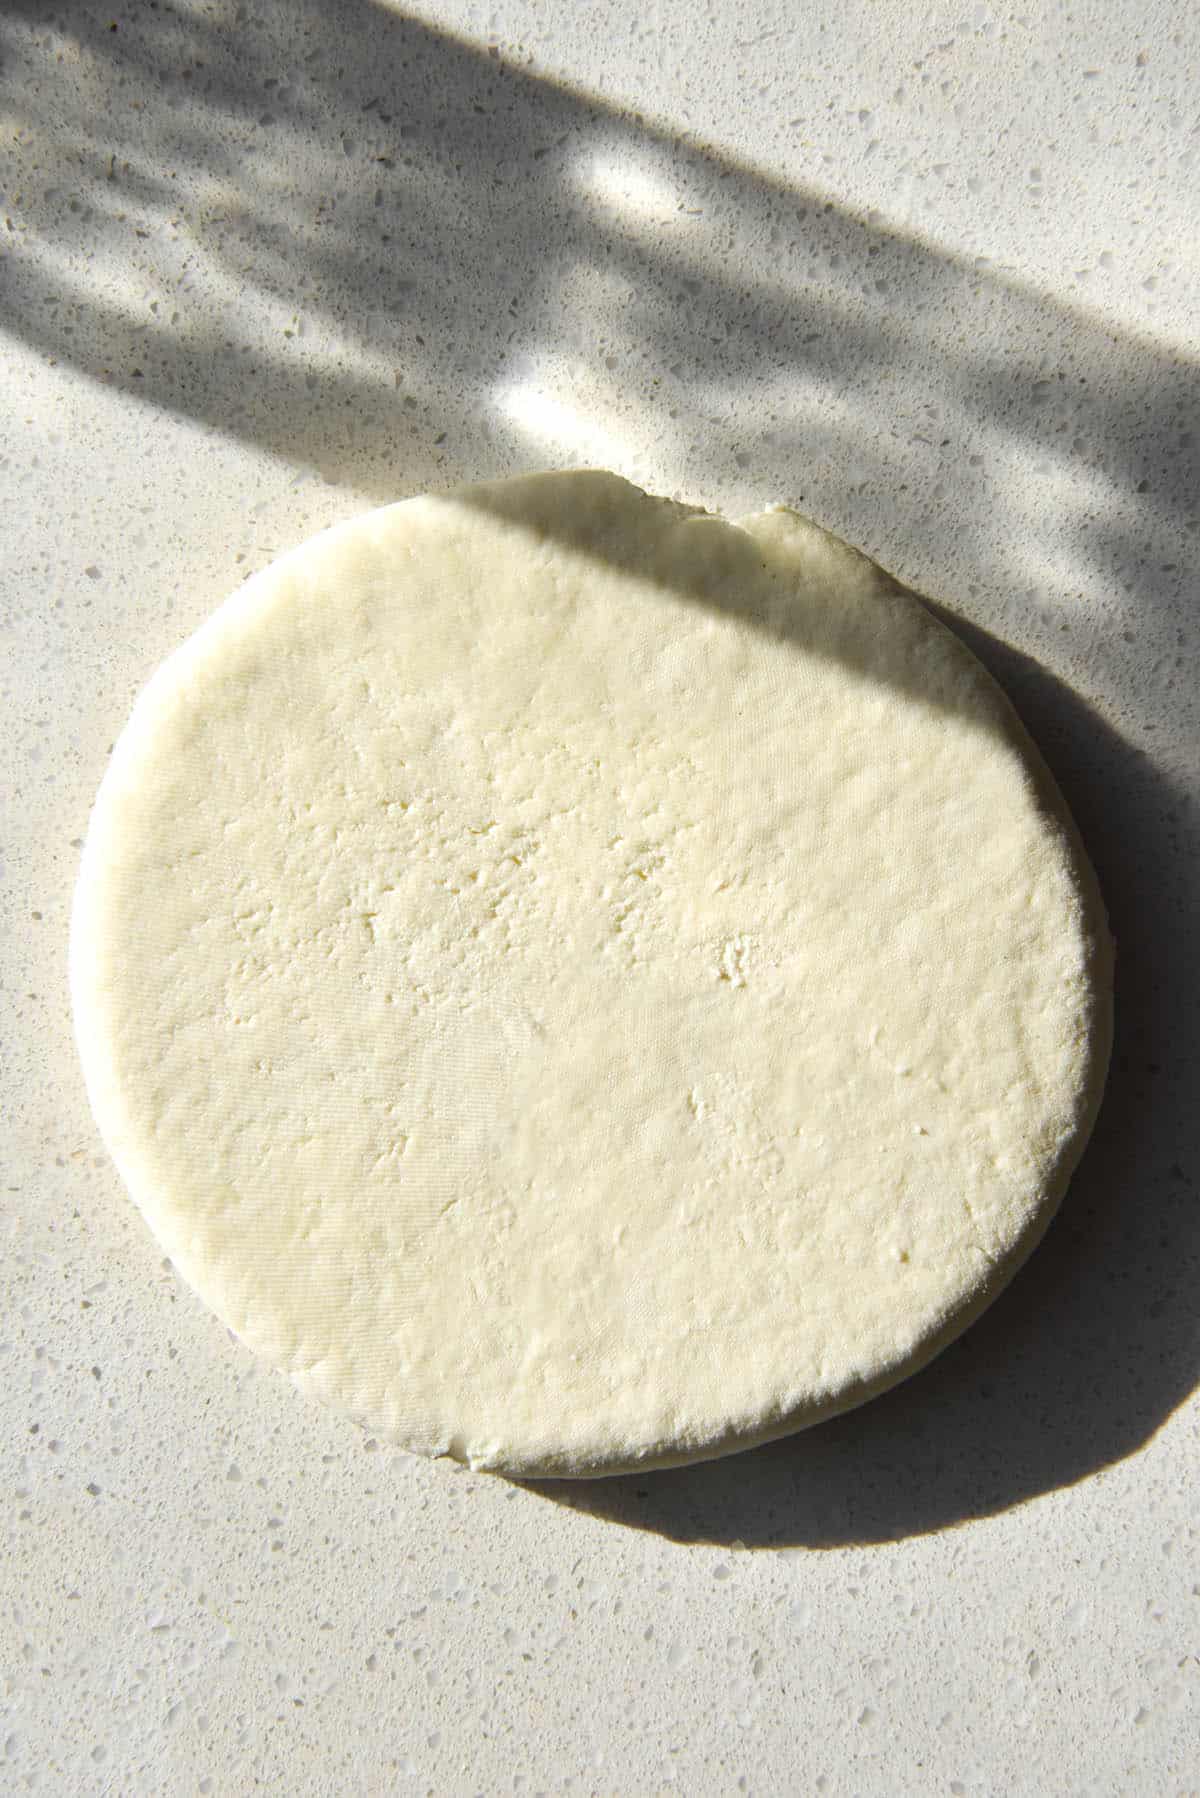
Ricotta is simply drained as is, whereas paneer is pressed into a solid shape. Both are easy to make at home and handy for recipes like this FODMAP friendly Malai kofta.
Recipe notes for your lactose free paneer
Lactose free is different to dairy free. Lactose free products use dairy with lactase (a lactose digesting enzyme) so that minimal lactose remains. Dairy free does not use dairy at all – think oat milk or coconut milk. This lactose free paneer is a good substitute for people who malabsorb lactose. It is not suitable for a dairy allergy.
With that in mind, you will need to buy lactose free milk or use milk that you have added lactase to. See more in the section below. Further: it needs to be full fat milk, not light milk. Light milk won’t work in the same way.
You can use lemon juice or white vinegar for the acid component.
Notes on lactose free milk
Lactose free milk is easily purchased at most Australian supermarkets. It is simply milk that has had lactase, a lactose digesting enzyme, added to it. Other than that, it is exactly the same as regular milk. As we’ve discussed, it’s not vegan or dairy free. Sometimes the two can be confused. This is a dairy based paneer that has had the lactase removed, which significantly reduces the lactose content.
Interestingly, the technique used to make lactose free dairy milk is a bit opaque. As this article goes into, they don’t have to specify how much enzyme they added, which enzyme, how they tested the milk, etc. That said, it’s all about how it makes you feel after eating it.
Making your own lactose free milk
in Australia, Zymil is a widely available lactose free milk. If you don’t have access to lactose free milk, you can make your own. Lacteeze makes lactase drops that can be added to regular dairy products to reduce their lactose content.
The Lacteeze website says to use 4 drops per litre of milk, then refrigerate for 24 hours. They say that this will convert 70-80% of the lactose. Whether adding more converts lactose, the website does not say. Best bet is to determine what works for you and adjust if necessary. I have a full recipe here, if you need it.
Tips and tricks
- Some websites specify that you need to use a thermometer for this sort of cheese making. I find it’s relatively easy to make lactose free paneer (and ricotta) without a thermometer.
- The milk needs to be heated slowly and thoroughly and should have a slightly foamy surface and a steamy appearance before adding the vinegar. There is a bit of wiggle room, though: you can continue to heat the mixture if it doesn’t separate.
- Once the vinegar is added, gently stir the mixture. It should separate into white curds and a yellow, translucent liquid fairly quickly. If the liquid is still milky in colour or no separation occurs, continue cooking on a low heat until it does.
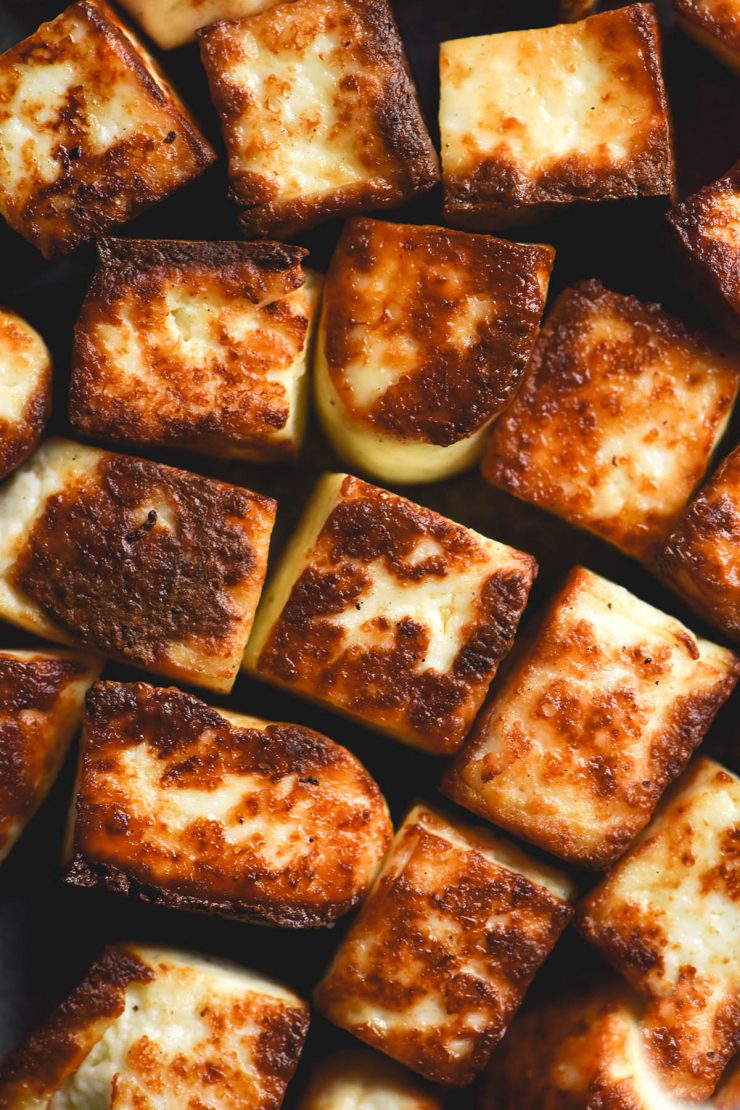
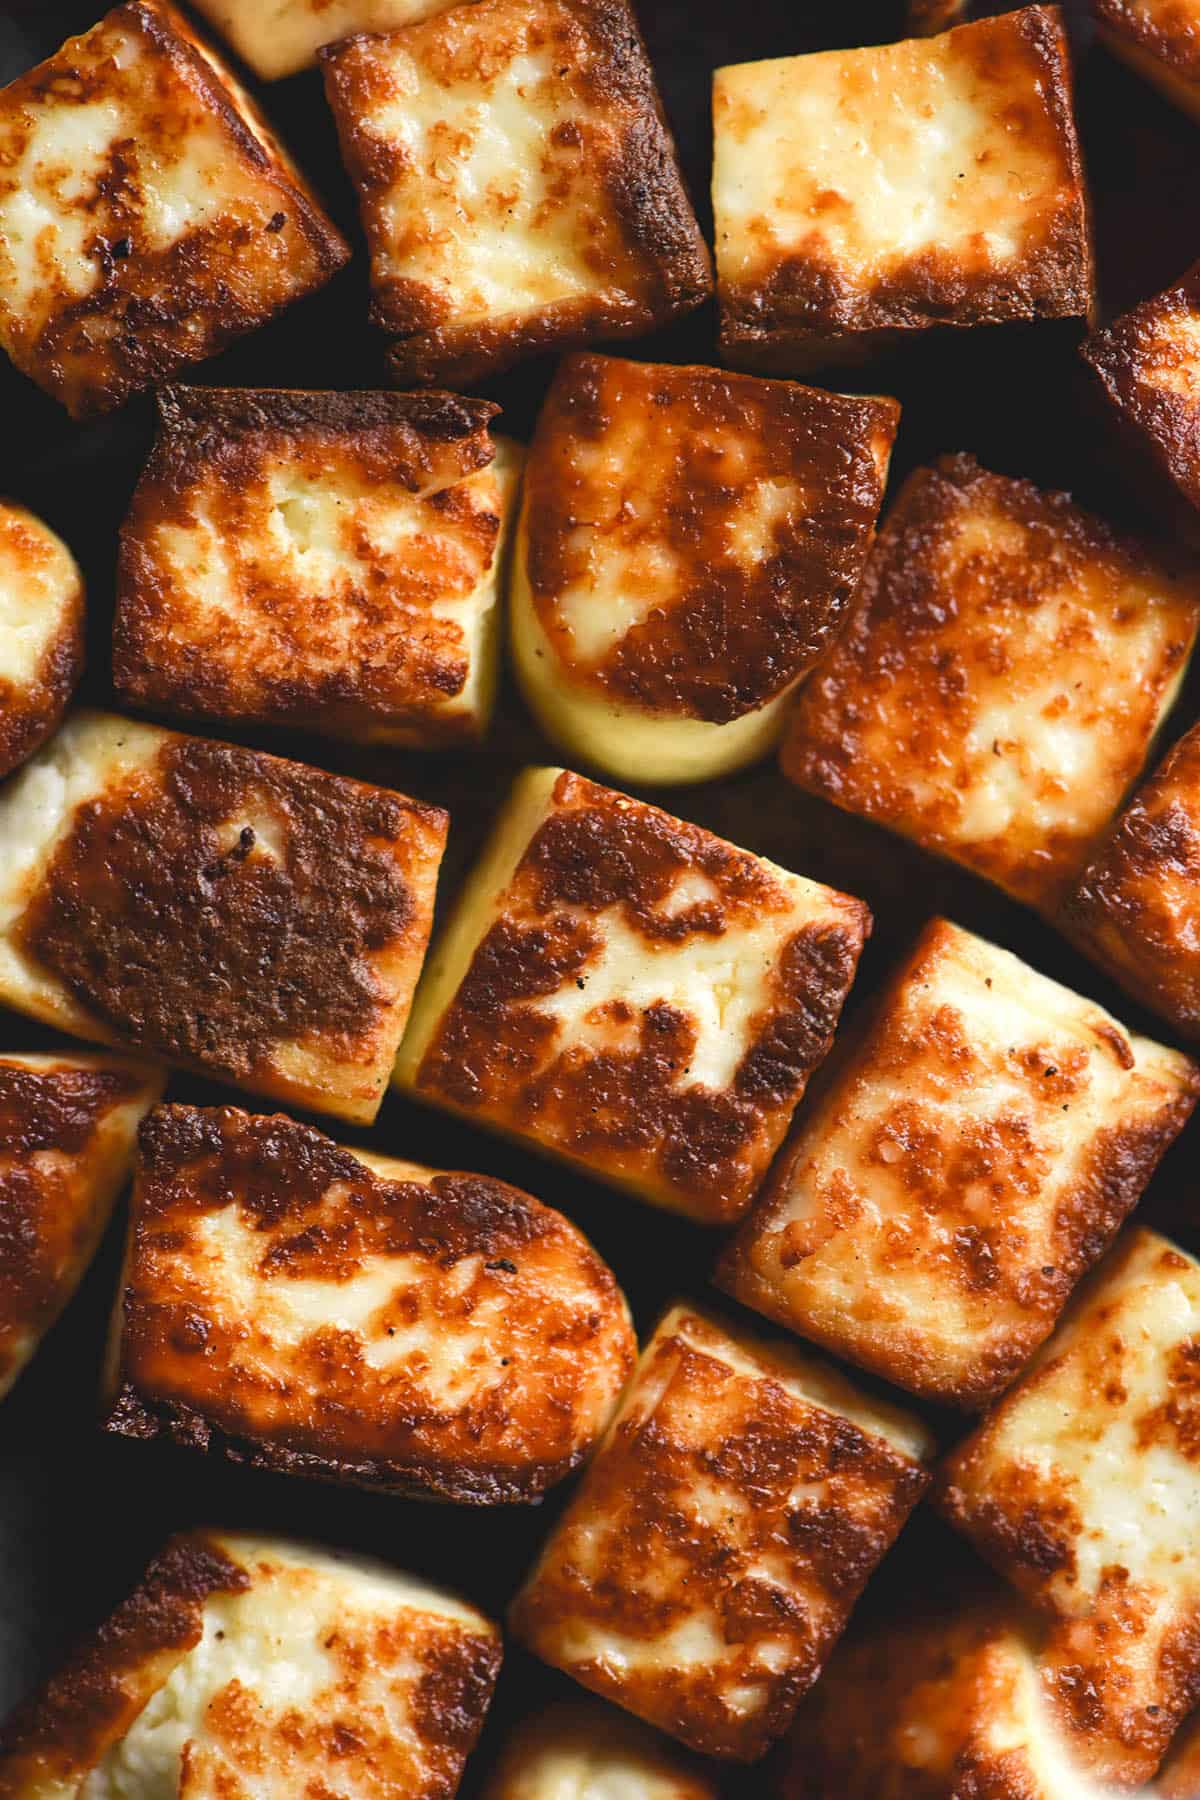
- Pressing the paneer into a solid shape and draining it until firm is what separates paneer from ricotta. We’re also not salting the paneer as we would ricotta (although you could if you wanted to).

Where to use your lactose free paneer
- In this FODMAP friendly paneer shahi
- As an addition in this FODMAP friendly curry
- In a FODMAP friendly Malai Kofta
- As the star ingredient in the FODMAP friendly, gluten free vegetable curry pie from Intolerance Friendly Kitchen
More homemade lactose free dairy recipes
- Homemade lactose free ricotta recipe
- Homemade lactose free mascarpone recipe
- Homemade lactose free vanilla ice cream
- Homemade lactose free cottage cheese recipe
- How to make your own lactose free milk
Lactose free paneer
Ingredients
- 2 litres (2000ml) full cream lactose free milk
- 125ml (1/2 cup) fresh lemon juice or white vinegar
Instructions
- Pour the milk into a large pot and place it over a low heat. Allow the milk to heat slowly but thoroughly (around 5-10 minutes) until it reaches a simmering point. It should be just lightly bubbling away, with plenty of steam coming off the surface.
- Add the lemon juice or vinegar and stir just to combine. The mixture should separate into curds and whey – white cottage cheese like solids and a lemon opaque liquid. If this doesn't happen, continue cooking the mixture (without stirring too much) until the mixture separates. Do the same if the liquid is milky and not opaque. When the mixture separates, take it off the heat and allow to sit for 10 minutes.
- Pour the mixture (curds and whey) through a nut milk bag in a sieve. Gather up the bag and rinse the curds thoroughly. This will help eliminate some of the tang from the lemon juice or vinegar.
- Gently but thoroughly squeeze the remaining liquid out of the paneer. It's easy to break a nut milk bag by squeezing too hard (speaking from experience) so go slowly.
- Shape the paneer into a tight disk while still in the nut milk bag. Place it on a flat plate that you can easily pop something heavy on, to help press the paneer of the final liquid. I used my skillet and eventually put my Dutch oven on top too.
- Press for 2-3 hours or up to overnight. When you remove the paneer from the nut milk bag it should be solid and relatively dry.
- The paneer keeps well in the fridge for a week.
So easy! Don’t worry about making it look pretty when pressing as it will be cut up or ground up. The whole family loved it with the low FODMAP malai kofta. No tummy troubles-in fact, we all had very happy bellies!!! 🙂 Thank you for posting this recipe.
Is the paneer pressed at room temperature or in the refrigerator?
Thank you.
Hi Sara,
I do it at room temperature, but both work. If it’s particularly hot or humid where you live, the fridge might be best!
What is full cream lactose free milk? Is that the same as whole milk? I’m in the USA and we have different terminology, which doesn’t translate. Thanks
Yes, that’s the same as whole milk 🙂