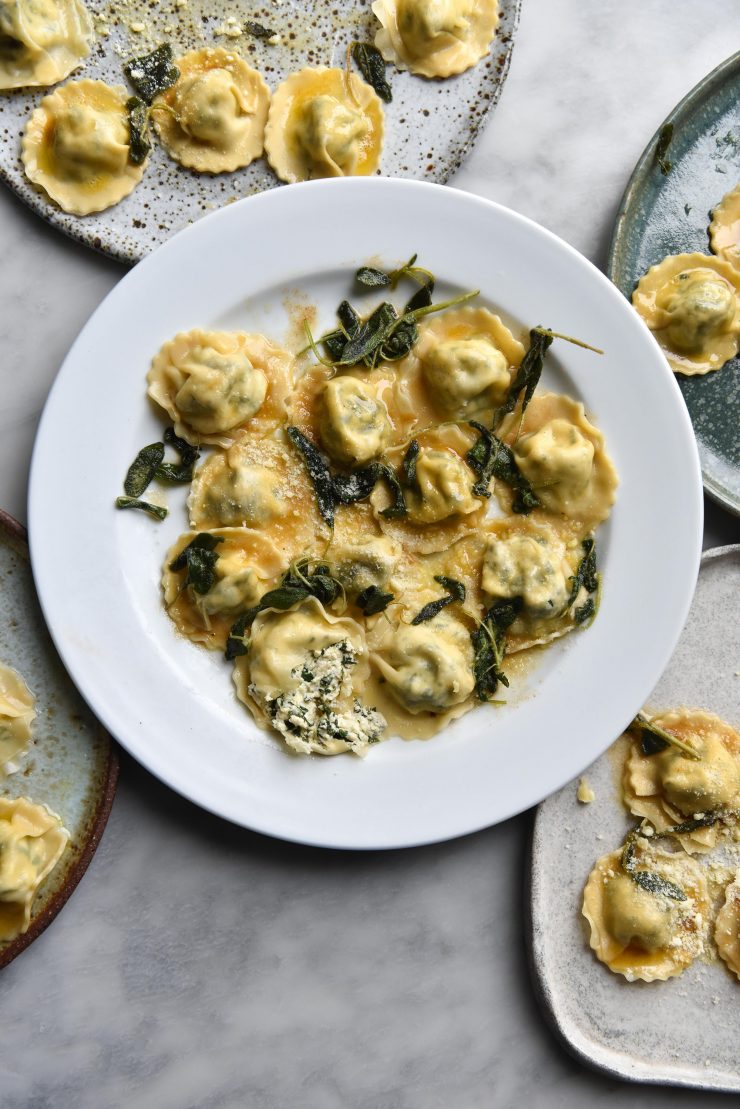
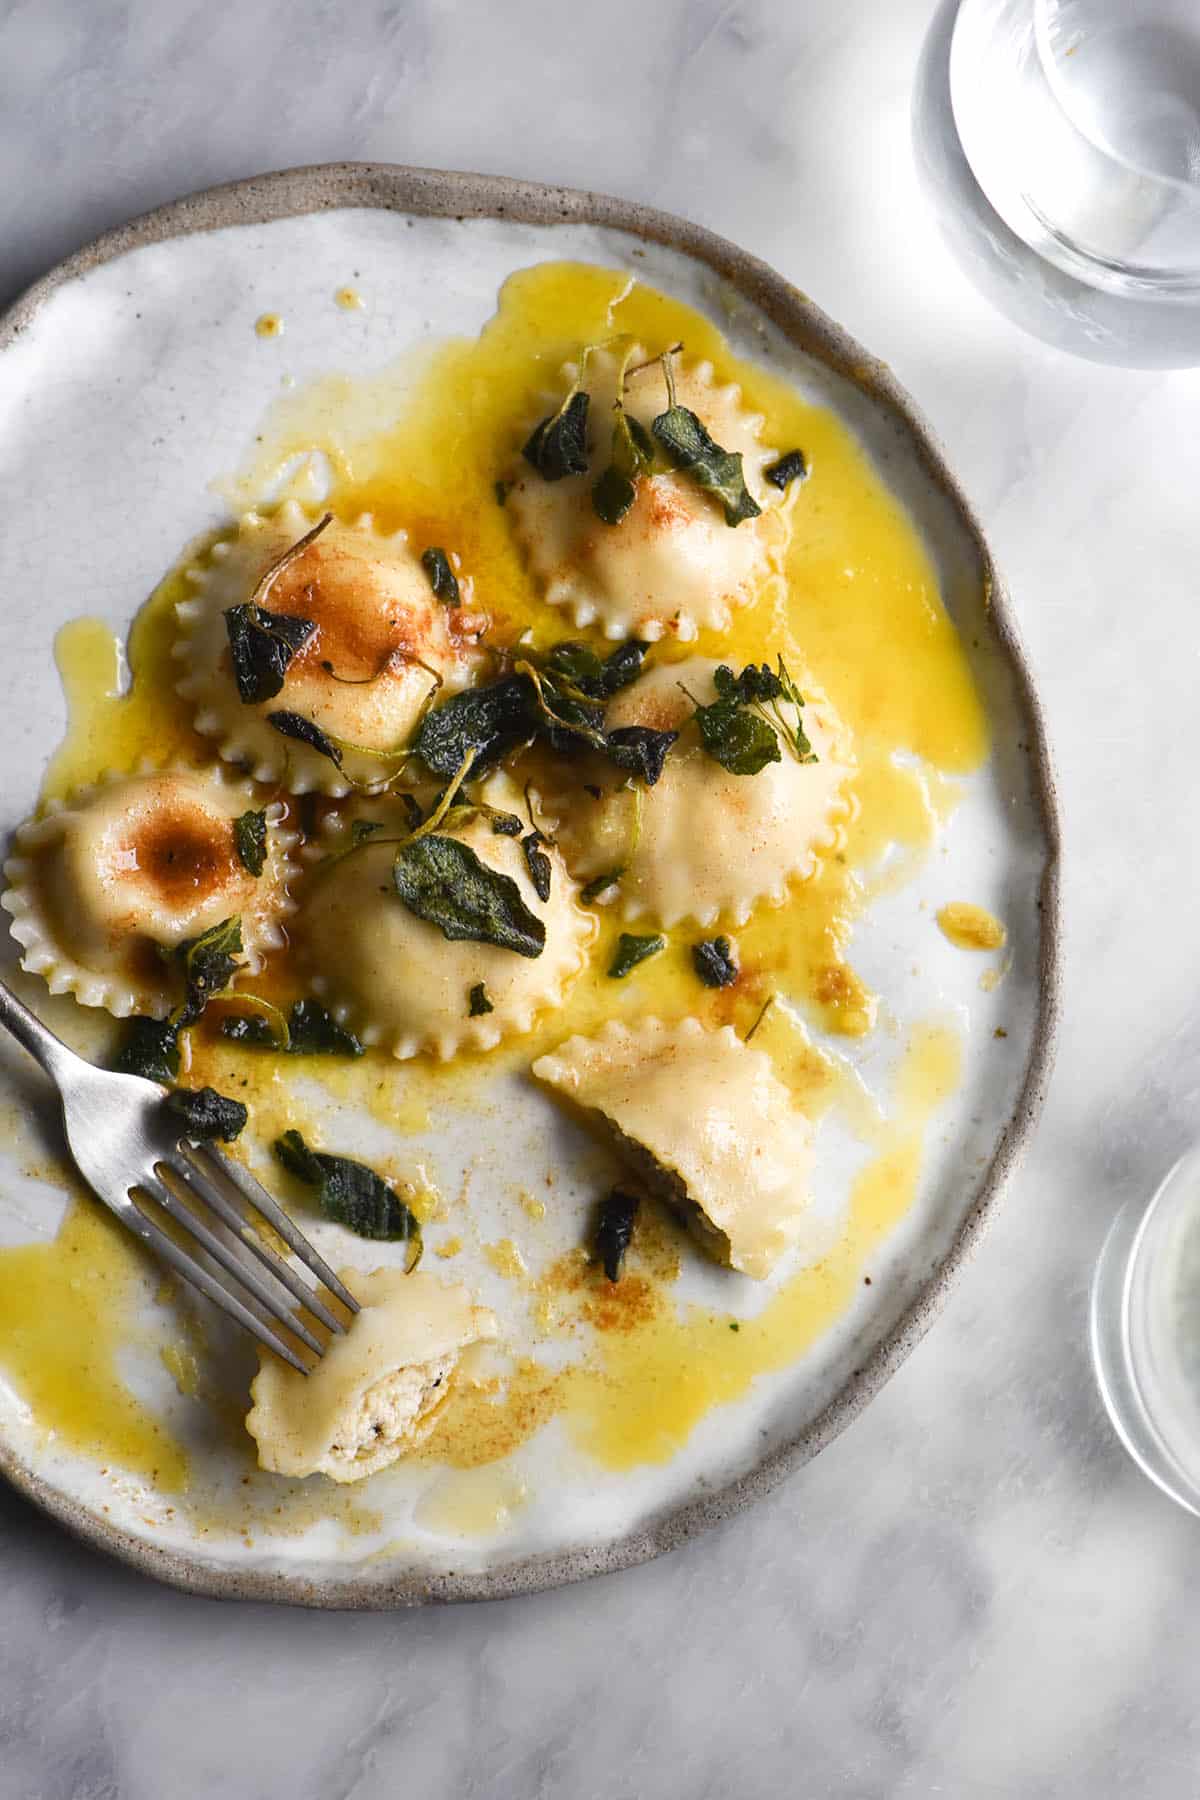
Question: Is there anything better than homemade gluten free ravioli? Answer: yes. Homemade gluten free ravioli with brown butter, sage, and a low lactose spinach ricotta filling. Heaven on a plate.
Admittedly, homemade pasta making does take time. Recipes like these are best for an afternoon at home as opposed to a weeknight. That said, you can always prepare pasta in bulk and then freeze it uncooked, leaving treats for future you.
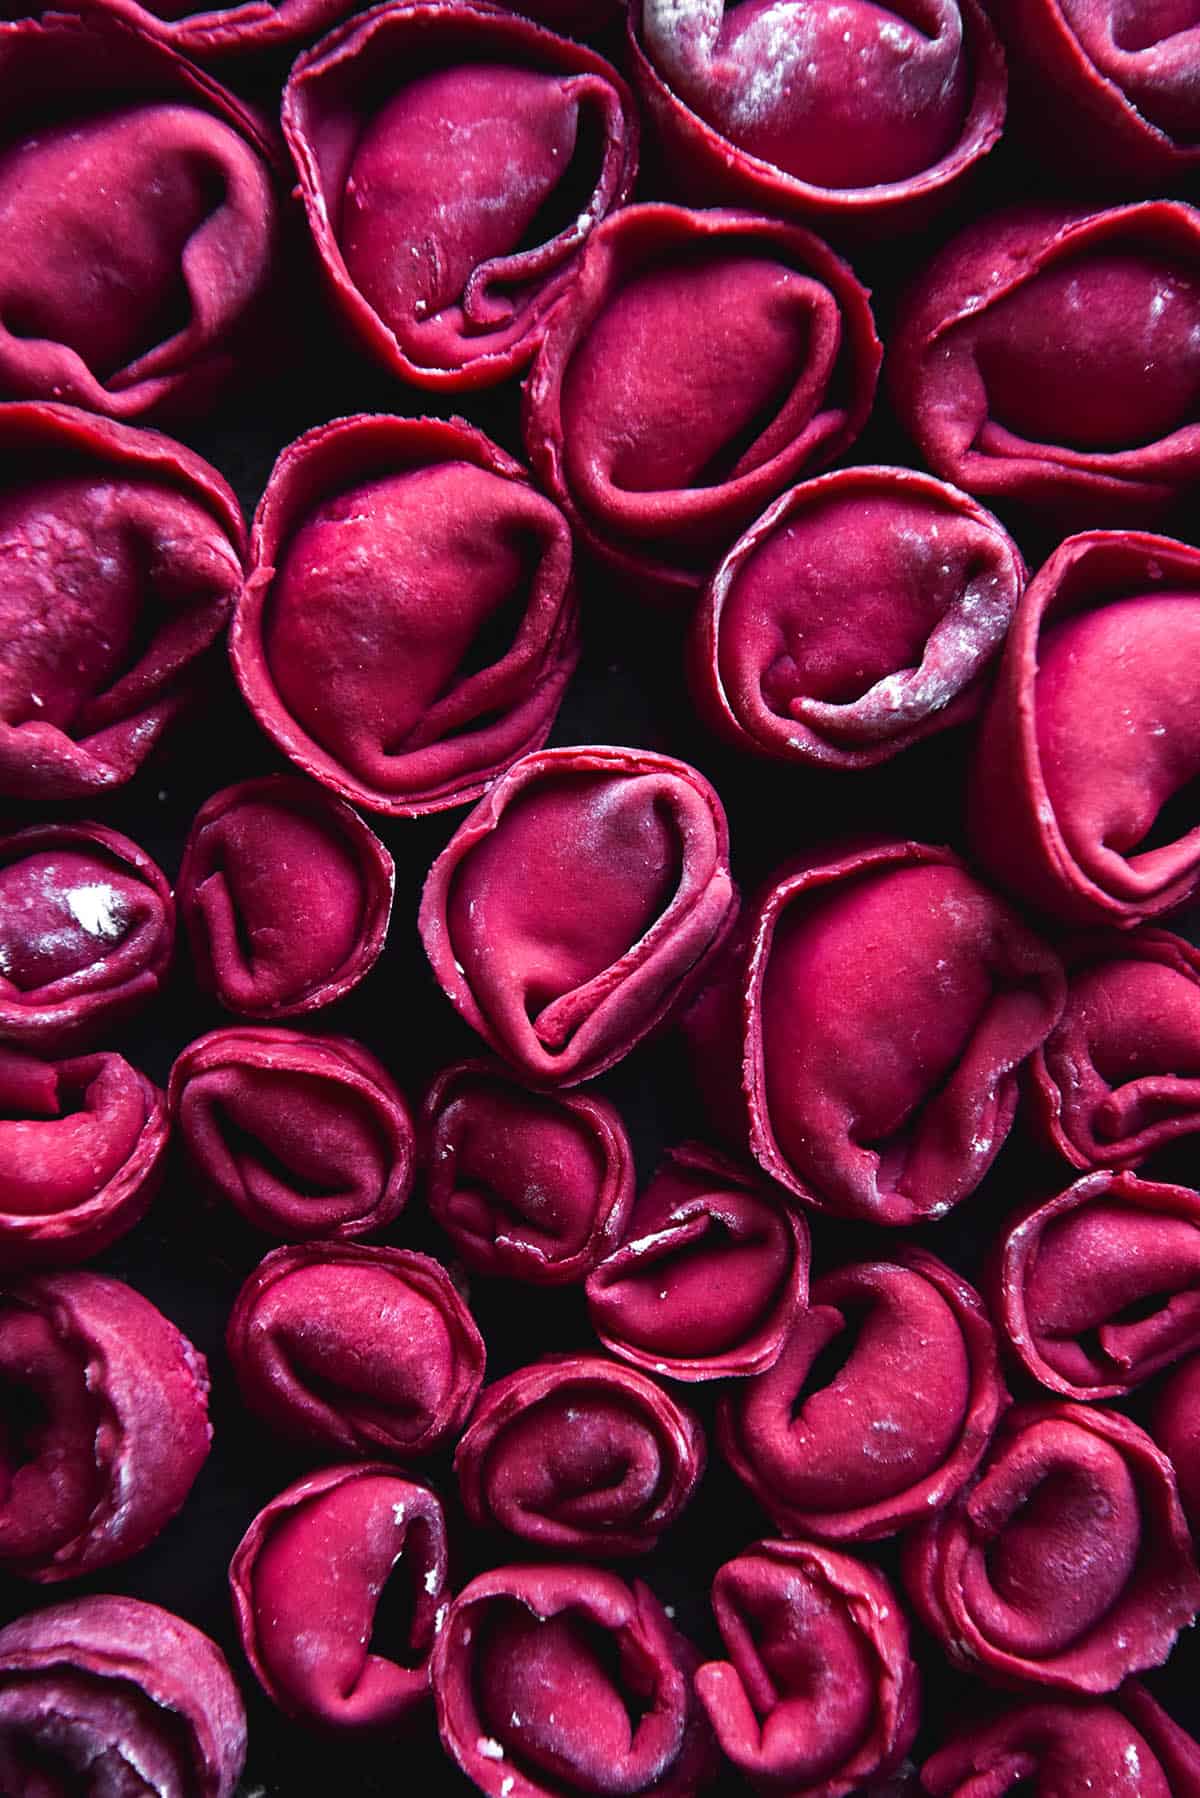
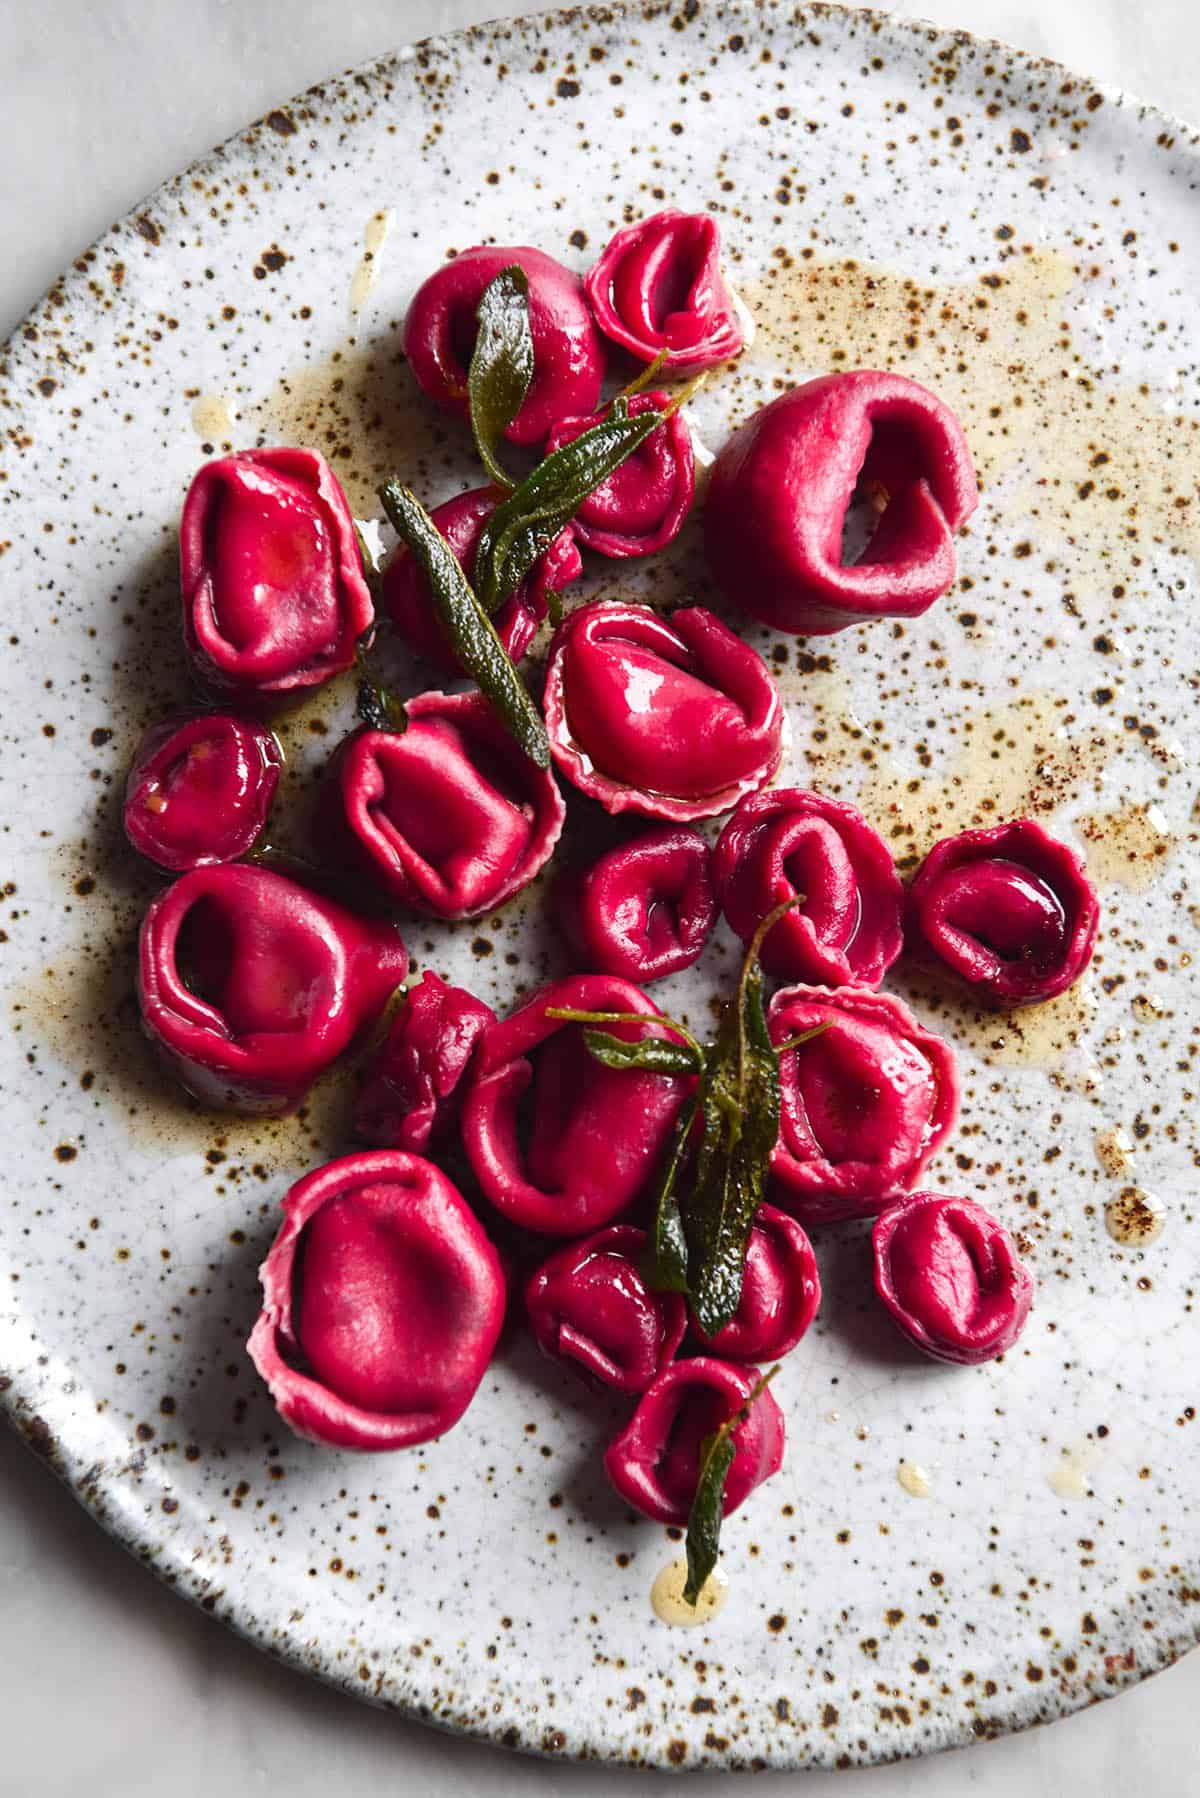
You can also make this gluten free ravioli with the gluten free beetroot dough recipe, which is a visual delight.
Homemade gluten free ravioli
I use homemade lactose free ricotta for this recipe. You can find my guide here. The thing about homemade ricotta, however, is that the the final weight of the product tends to vary. Some batches might weigh 350g, some 450g. I’m not entirely sure why this is, but just so you know. If you are particularly concerned, you can buy an extra litre of milk and make extra as an insurance policy. Whatever you don’t use can be spread on toast or put through pasta.
You’ll also need one batch of my gluten free pasta dough, and ideally a pasta machine.
How many pieces you get will depend on a huge number of factors. How big you make them, how thin you roll the pasta, etc. I got around 45-55 pieces from each of my batches, which comfortably serves 4-6 people.
Gluten free pasta can be a little unruly, and it can be hard to roll out two long sheets of even size. Worst comes to worst, you can cut your long sheets into squares and press the individual squares together to form ravioli pieces. This can be less intimidating for a beginner, and I will admit I kinda like doing it this way.
That said, here’s a video on ravioli making how-to. Helpful viewing if you have never made it before (from the 7 minute mark).
You can use a knife to form ravioli squares, or a cutter to form cute little circles. Anecdotally I found that my circular ravioli adhered together better than the square ones, so I got less seepage in the cooking process. That might just have been luck or the squishing action of the cutter. I used a scone cutter.
Equipment notes for your homemade gluten free ravioli
- I have a Jamie Oliver pasta machine which I googled to give you a link (it’s an inexpensive, super old machine so I wanted to prove you could do it with the basics) but everyone seems to hate on their Jamie pasta machine in the reviews. Personally mine works fine, but maybe consider shopping around for another brand of inexpensive machine.
- As I’ve mentioned elsewhere, I find a rolling pin useful to get the pasta thin enough to put through the machine in the first place. It’s not compulsory, but it is very helpful.
Tips for rolling gluten free pasta
The aim of the game is to have the dough wet enough to form a relatively smooth ball, without being so wet that you have to ply it with flour to roll out. When and if you’re adding extra liquid, really question if you NEED that liquid or you’re just being lazy in kneading it together. Trust me, your life will be a lot easier in the long run if you put in the work early on. Wet pasta needs a lot of flour to roll out. It also constantly tears or sticks to the machine. This means you’ll need to keep flouring it and re-rolling, which can add up to double to the rolling time. That might have an add on effect of making pasta too starchy.
Patience is key! Pop on a podcast and relax into the rolling out process. Using a pasta machine, it takes about 30-40 minutes to roll and cut the pasta at a semi-leisurely pace.
If the pasta has little tear marks, it’s too wet. Easy solution – add a little extra tapioca flour and try again.
I personally found it helpful to use a rolling pin to get the original piece of dough flat before feeding it through at the thickest setting. You can press it thin with your hands, but a rolling pin is quick, easy and leaves less craggy edges (which will end up as a craggy piece of pasta).
If you’re a visual learner: here’s a simple Delicious video that will show you show to roll out pasta.

Adjusting the gluten free pasta dough to your tastes
I daresay, looking around the internet, that you could play around with the starch content relative to the wholegrain flour content. I settled on these measurements to emulate a silky, regular pasta that can be rolled very thin. Both the starch and the eggs help with the extensibility of the dough.
Sorghum flour and green banana flour (!!) can be used in place of the brown rice flour! With that in mind, I daresay you could substitute a number of wholegrain flours here. Quinoa, millet, sorghum or amaranth should work well. I’m unsure about buckwheat because it tends to be very thirsty, so you’d be experimenting there.
I haven’t tried using all yolks or all whites or no eggs. If you’d like to try that, you’ll be experimenting.
As I’ve mentioned, I honestly think xanthan gum is worth it’s weight in gold here. You’ll be able to roll the pasta thinner and it will hold together better during the cooking process. I haven’t tried the pasta without it and I don’t intend to.
Tips for filling your gluten free ravioli
Firstly, it goes without saying that you can fill the pasta with whatever you like (within reason, anyway.)
You absolutely must cook and well drain the spinach beforehand. This condenses it and removes the liquid so that the ravioli innards won’t be too wet.
It’s also a great idea to chop it really well after you’ve cooked and drained it. Failure to do so results in a stringy sensation when you eat the ravioli.
If you don’t compress the pasta really well and adhere it with water, the cooking water will seep into your ravioli parcels.
Good parmesan and generous flavourings (lemon, nutmeg, seasoning) are key in a flavourful ravioli filling. Season to taste and add more wherever necessary.
FODMAP notes
- Using lactose free milk for your ricotta is what makes the filling lactose friendly. Parmesan is virtually lactose free, as is butter (even more so when you brown it).
- Aside from that, the remaining ingredients are all suitable for a FODMAP diet. The dish is low lactose, fructose friendly, nut free and vegetarian.
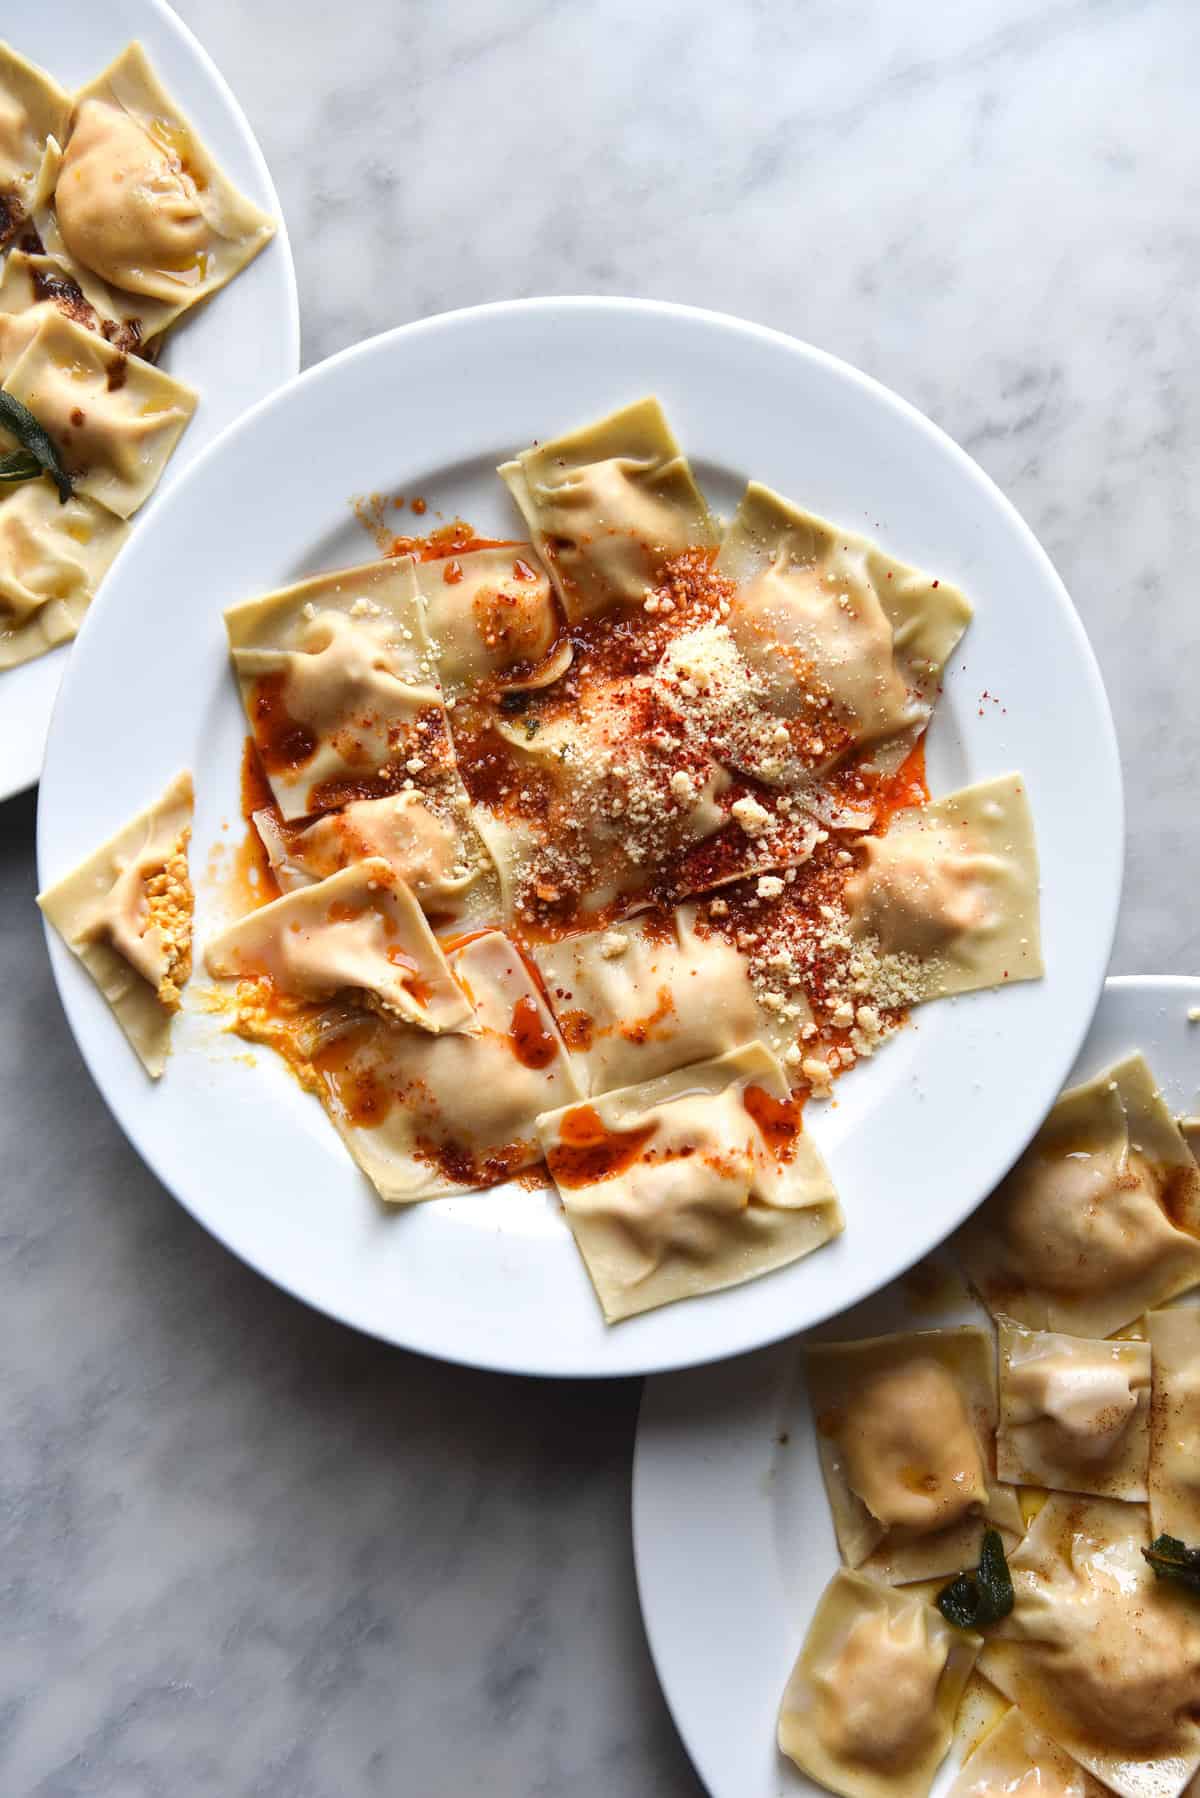
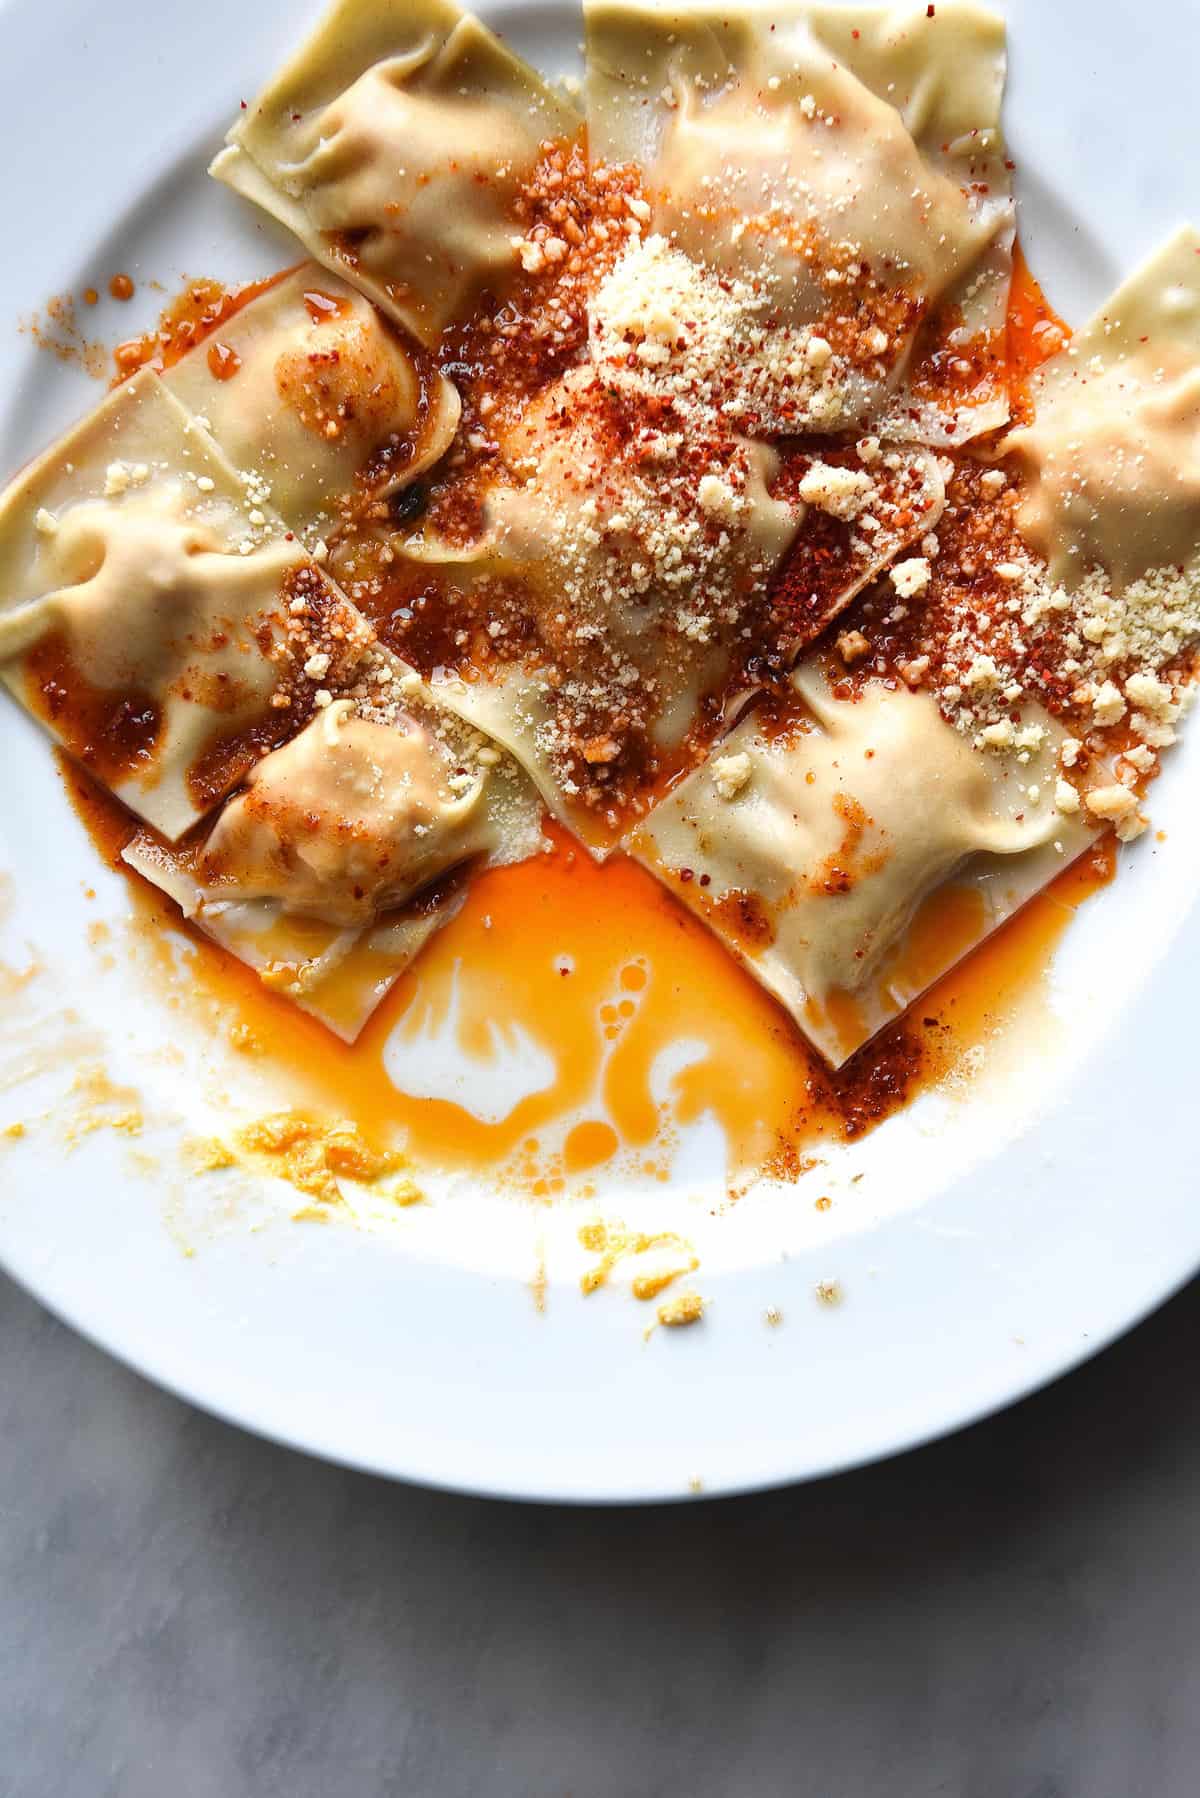
To make a cacio e pepe ravioli filling
- Nix the filling ingredients on the recipe card.
- Add 500g of ricotta to a mixing bowl (or for lactose free, make your own – I’d suggest 3 litres of milk to safely get 500g). Grate in 200g of parmesan in your food processor or on the finest part of your grater. Add 1/2 – 1 tablespoon freshly cracked black pepper. Taste and adjust for seasoning – I ended up adding 1 tablespoon of pepper and extra salt. Parmesan is salty, but sometimes not salty enough.
- Proceed with the recipe!
More gluten free pasta dishes
- Vegan, gluten free lasagne
- Low FODMAP pasta aglio e olio
- FODMAP friendly pasta alla vodka
- Gluten free potato gnocchi without xanthan gum
- Green protein pasta sauce

Gluten free spinach and ricotta ravioli
Ingredients
For the pasta:
- 180 g (1 3/4) cups tapioca flour
- 160 g (1 cup) brown rice flour
- 1 1/4 teaspoons xanthan gum
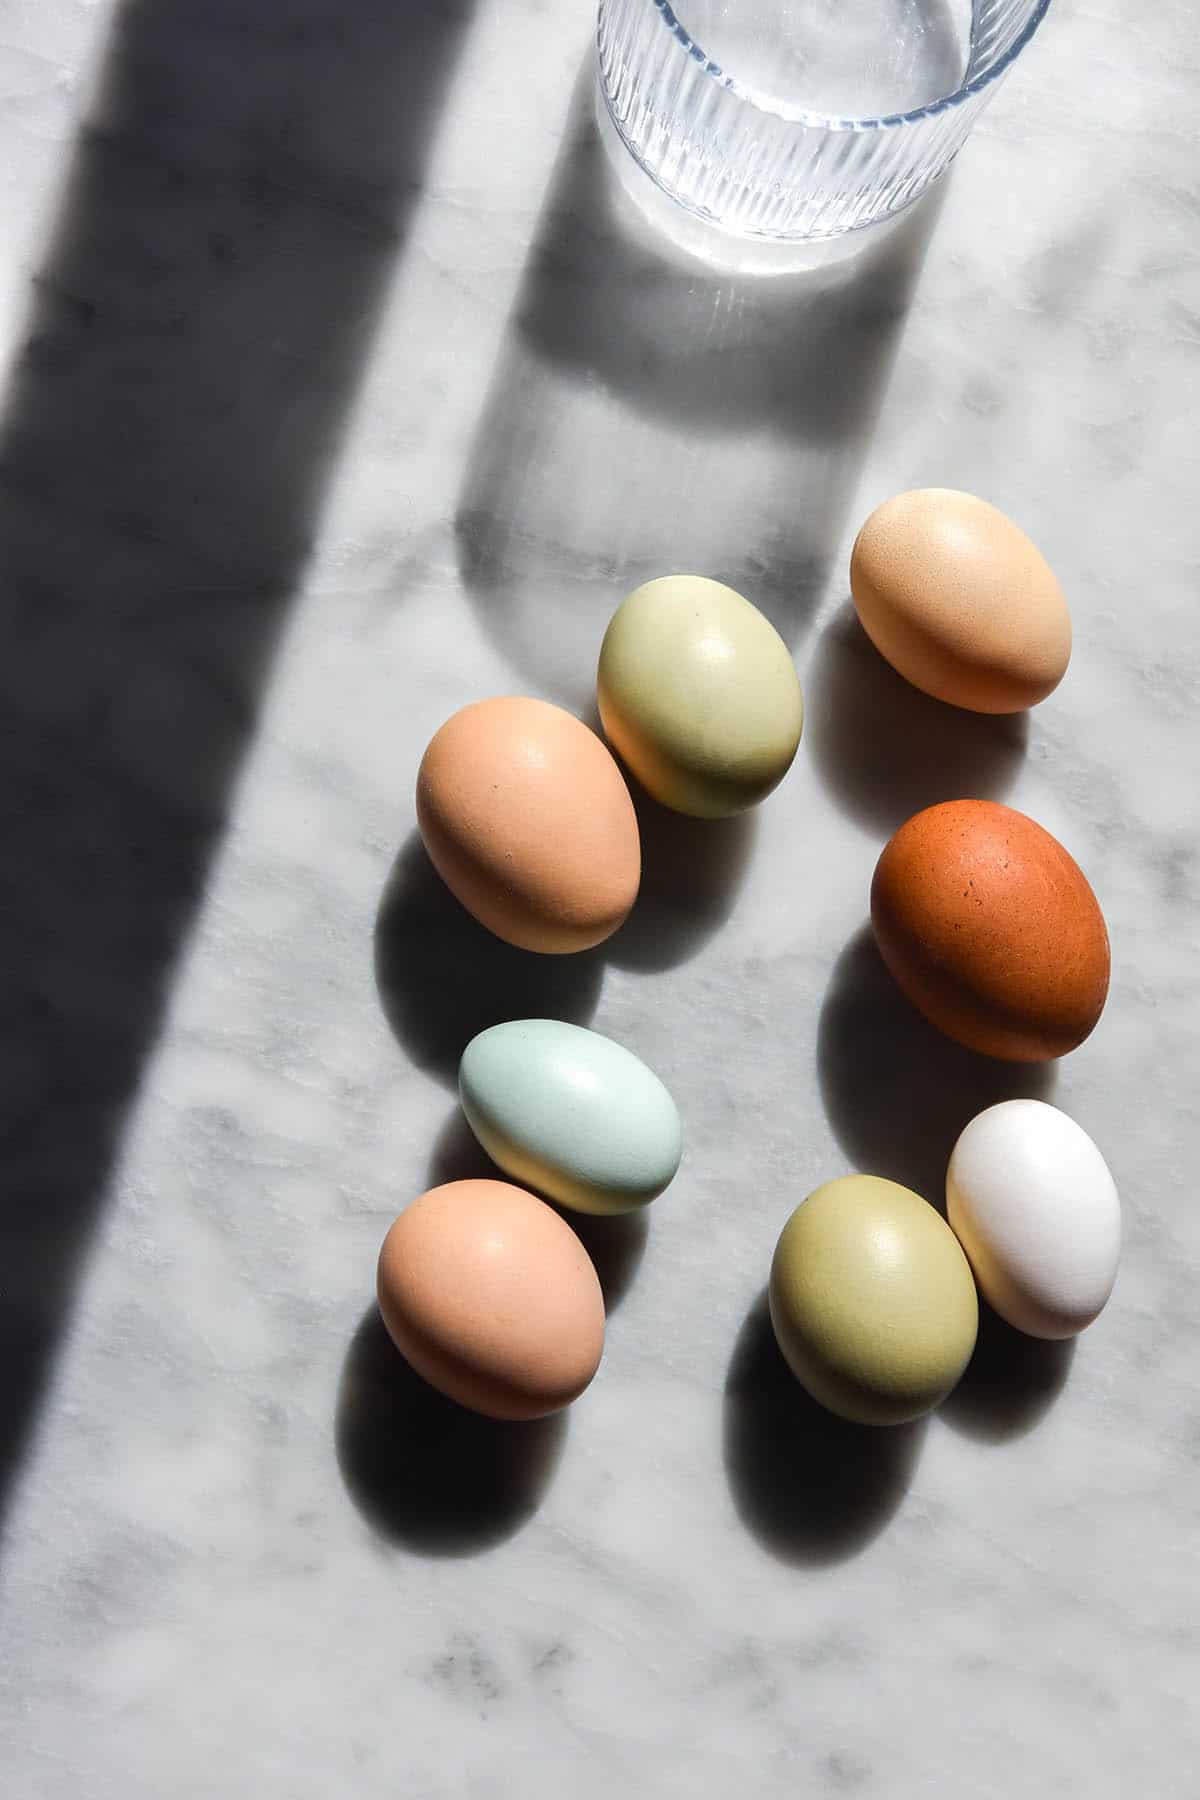
- 3 extra large eggs
- 50-60 g water only as necessary
For the ricotta:
- 2 (2000ml) litres milk
- 1/2 cup (125ml) acid of choice lemon juice, white vinegar
- 1 teaspoon table salt
- OR
- 350-450 g firm deli ricotta if you don’t need it to be lactose free
For the spinach ricotta filling:
- 1 batch of ricotta 350-450g ricotta, very firm
- 100 g blender parmesan fresh parmesan that has been processed to a fine crumb in a food processor or Nutribullet
- 100-150 g spinach blanched, drained and finely chopped
- Salt and pepper to taste
- Zest of 1/2 – 1 lemon to taste
- Lemon juice to taste
- 1/4 – 1/2 teaspoon ground nutmeg to taste
For the brown butter and crispy sage topping:
- 100 g butter
- 1-2 bunches sage
Instructions
TO MAKE THE RICOTTA FILLING
- If you’re making the ricotta from scratch, click on the ricotta recipe link in the notes section to make the ricotta.
- Blanch the spinach in boiling water before allowing to drain. Once cooled a little, squeeze all the liquid you can out of it before chopping thoroughly. Place in a mixing bowl.
- Add the ricotta and remaining ingredients to the mixing bowl and stir to combine. Adjust the seasoning to taste, noting that the flavour won’t dramatically amplify while being cooked (meaning you should flavour it robustly now).
- Set aside or place in the fridge while you make the pasta.
TO MAKE THE PASTA DOUGH:
- Combine the flours and xanthan gum in a large mixing bowl. You can also do this on the table (as is traditional) but I always get excited and under-form my flour well. Either way, form a well in the flour and add in the eggs. Use a whisk to break up the yolks, and then begin to incorporate the eggs into the flour.
- Once the eggs are mostly incorporated (the mix will look clumpy) add in the water, using one hand to bring the dough together. Keep adding water only as necessary, noting that you really need to work the dough to bring it together. If you’re lazy and just keep adding liquid, the pasta will be a lot harder to work with. Best to put in the effort early.
- Once you have brought the dough together into a relatively smooth ball, tear off a piece and cover the remaining pasta in cling film or a slightly dampened tea towel.
- Lightly flour the bench with tapioca flour, using as much as necessary, whenever necessary.
- Use your rolling pin to roll the piece of dough thin enough to get through the thickest setting of your pasta machine. After getting it through the thickest setting (mine is a 7) fold it and run it through the machine again. Continue rolling it through on decreased width settings until it’s thin enough for your tastes, noting that it swells during cooking (so go a little thinner than you think.) I like to get mine through smoothly at setting 2 or 3 on my Jamie Oliver machine.
- I don’t have a special technique – I keep running the pasta through until it’s smooth and (ideally) has relatively straight edges. You won’t toughen the pasta from rolling, so you can re-roll as often as you see fit. If it’s wonky, you can start fresh. You can also add extra water to very dry pieces that have toughened from being rolled out.
TO FILL THE RAVIOLI:
- Once you have two long, thin sheets of even width, place small teaspoon-ish blobs of ricotta mixture evenly across the bottom sheet of pasta, leaving space between them. See the video in the notes section for a visual.
- Use a finger or pastry brush to lightly brush the pasta around the ricotta with water. Lay the second sheet of pasta on top. Seal the pasta sheets together in between the ravioli pieces. Working around slowly, seal the top pasta sheet onto the bottom around each individual ravioli, pushing all the air out as you go. If you leave air in the ravioli it will float as it cooks and is more likely to pop open.
- Make sure each ravioli is well sealed and then trim as you see fit. You can trim it into a square, or use a scone cutter to make circular ravioli. Continue working like this until all the pasta and filling is finished. If you have any leftover pasta dough, you can make it into fettuccine and fresh it for later.
- Continue like this until all the ravioli are finished.
TO FINISH THE RAVIOLI:
- Bring a large saucepan of well salted water to the boil. While you’re waiting, make the brown butter. Place the butter in a large skillet or pot over a low medium heat. Allow to cook and stir intermittently until the butter is deep brown in colour and smells nutty. Add the whole sage leaves while the butter is hot – they will sizzle up and become crisp within under a minute.
- Working in batches, gently lower pieces of ravioli into the water and cook for 2-3 minutes. It should be floating and the pasta should be soft and almost translucent. Gently drain with a slotted spoon and divide onto individual plates. Drizzle the brown butter atop each individual plate and top with some crispy sage leaves. Serve immediately.
No Comments