
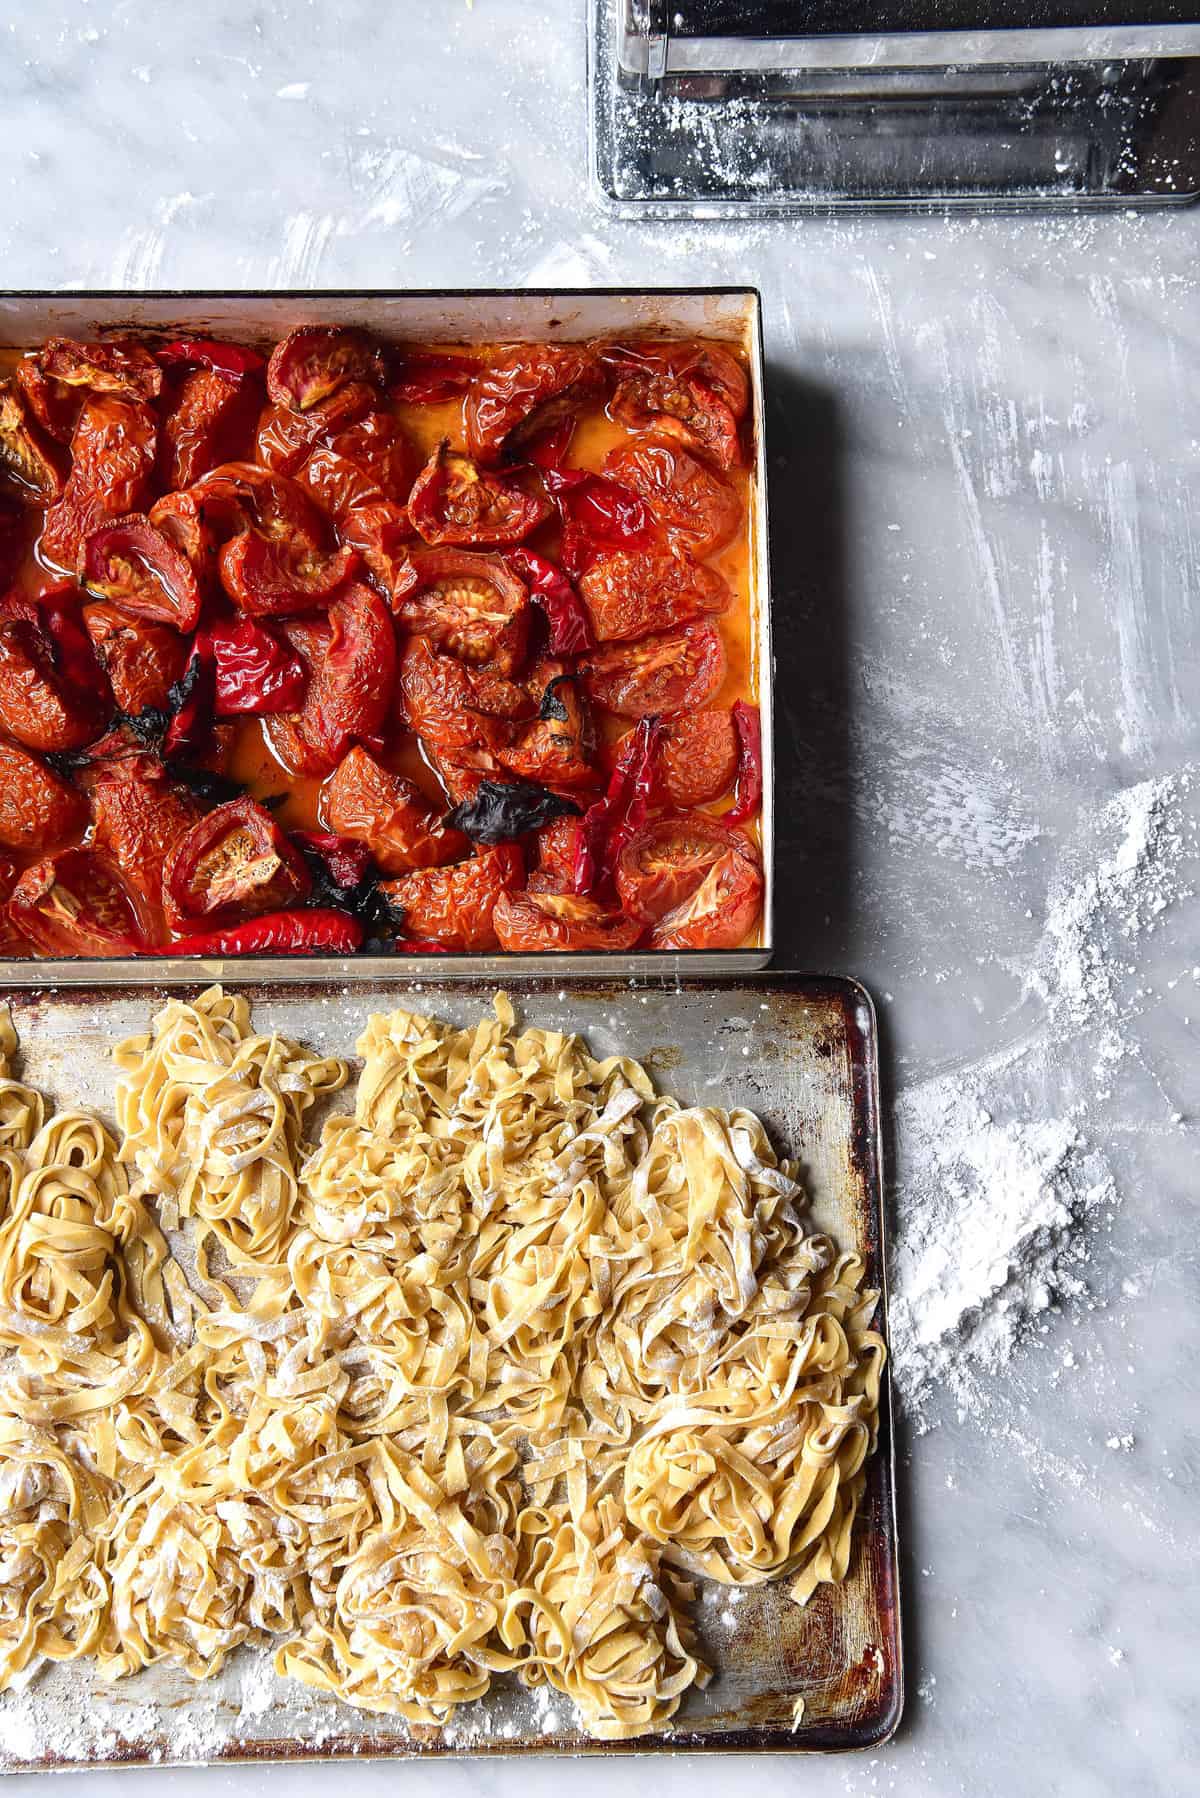
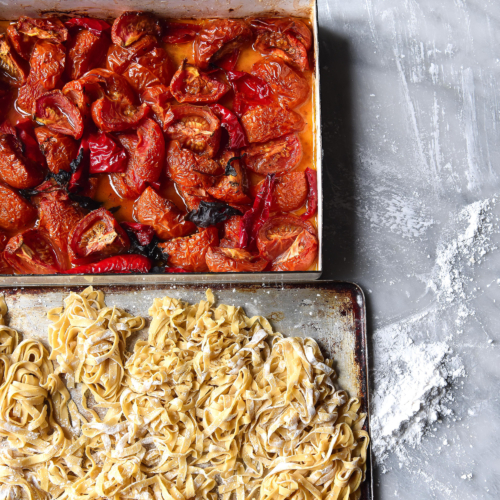
In my opinion, there are two major victories in the game of gluten free recipe development: bread and pasta. We’ve conquered gluten free sourdough, so today I am very excited to announce my new conquest: easy gluten-free egg pasta.
I have tinkered with pasta recipes, on and off, for a couple of years now. In the past I have lacked experience, time and patience, allowing average pasta attempts to get the better of me. Not this time! Consider this the first of many gluten-free pasta recipes, because pasta might just have become my new gluten free sourdough (read: obsession).
Easy gluten free egg pasta
This recipe is gluten free, nut free and FODMAP friendly. I have a recipe for gluten free beetroot pasta, and a xanthan gum free pasta in Intolerance Friendly Kitchen. Buckle up for some serious carb loading, pals.
Note! This batch makes enough for 4-6 people, hunger and sauce dependent.
Easy gluten free pasta ingredient notes
I ALWAYS use extra large eggs. This is particularly important for things like this pasta, where the eggs are the binder, fat and liquid source.
You all know that I don’t recommend xanthan gum unless it is truly, absolutely necessary. In brownies? No way. Cookies? Can do without it. Cake? Nah. But in pasta, xanthan gum is a super important ingredient. Not only does it assist in strength, elasticity and stretch (think of it as a gluten replacer) it will generally make your life so much easier. I haven’t tried this recipe without it.
I used white rice flour for this pasta – a fine, fresh good quality white rice flour. Stale white rice flour is one of the worst culprits for giving things a gluten free taste, because of how it tastes when rancid. Make sure you buy a fresh rice flour – I get mine at the bulk food store. You shouldn’t be able to smell it – if it has a musty, almost floral smell, it’s stale. Please don’t buy the boxed version in Australian supermarkets – it’s very gritty and your pasta will be gritty.
Pasta is reasonably forgiving when it comes to playing with flours (as long as you have xanthan gum). If you like, you can experiment with different flours. Keep in mind that they all have different absorbencies, though, so you will likely need to add a different amount of liquid. I would also recommend (particularly if you don’t use any rice flour, which is the most absorbent flour) adding two eggs and mixing the dough before adding the third egg. You might not need it if the flours aren’t very absorbent.

Equipment notes
- I have a Jamie Oliver pasta machine which I googled to give you a link (it’s an inexpensive, super old machine so I wanted to prove you could do it with the basics) but everyone seems to hate on their Jamie pasta machine in the reviews. Personally mine works fine, but maybe consider shopping around for another brand of inexpensive machine.
- As I’ve mentioned elsewhere, I find a rolling pin useful to get the pasta thin enough to put through the machine in the first place. It’s not compulsory, but it is very helpful.

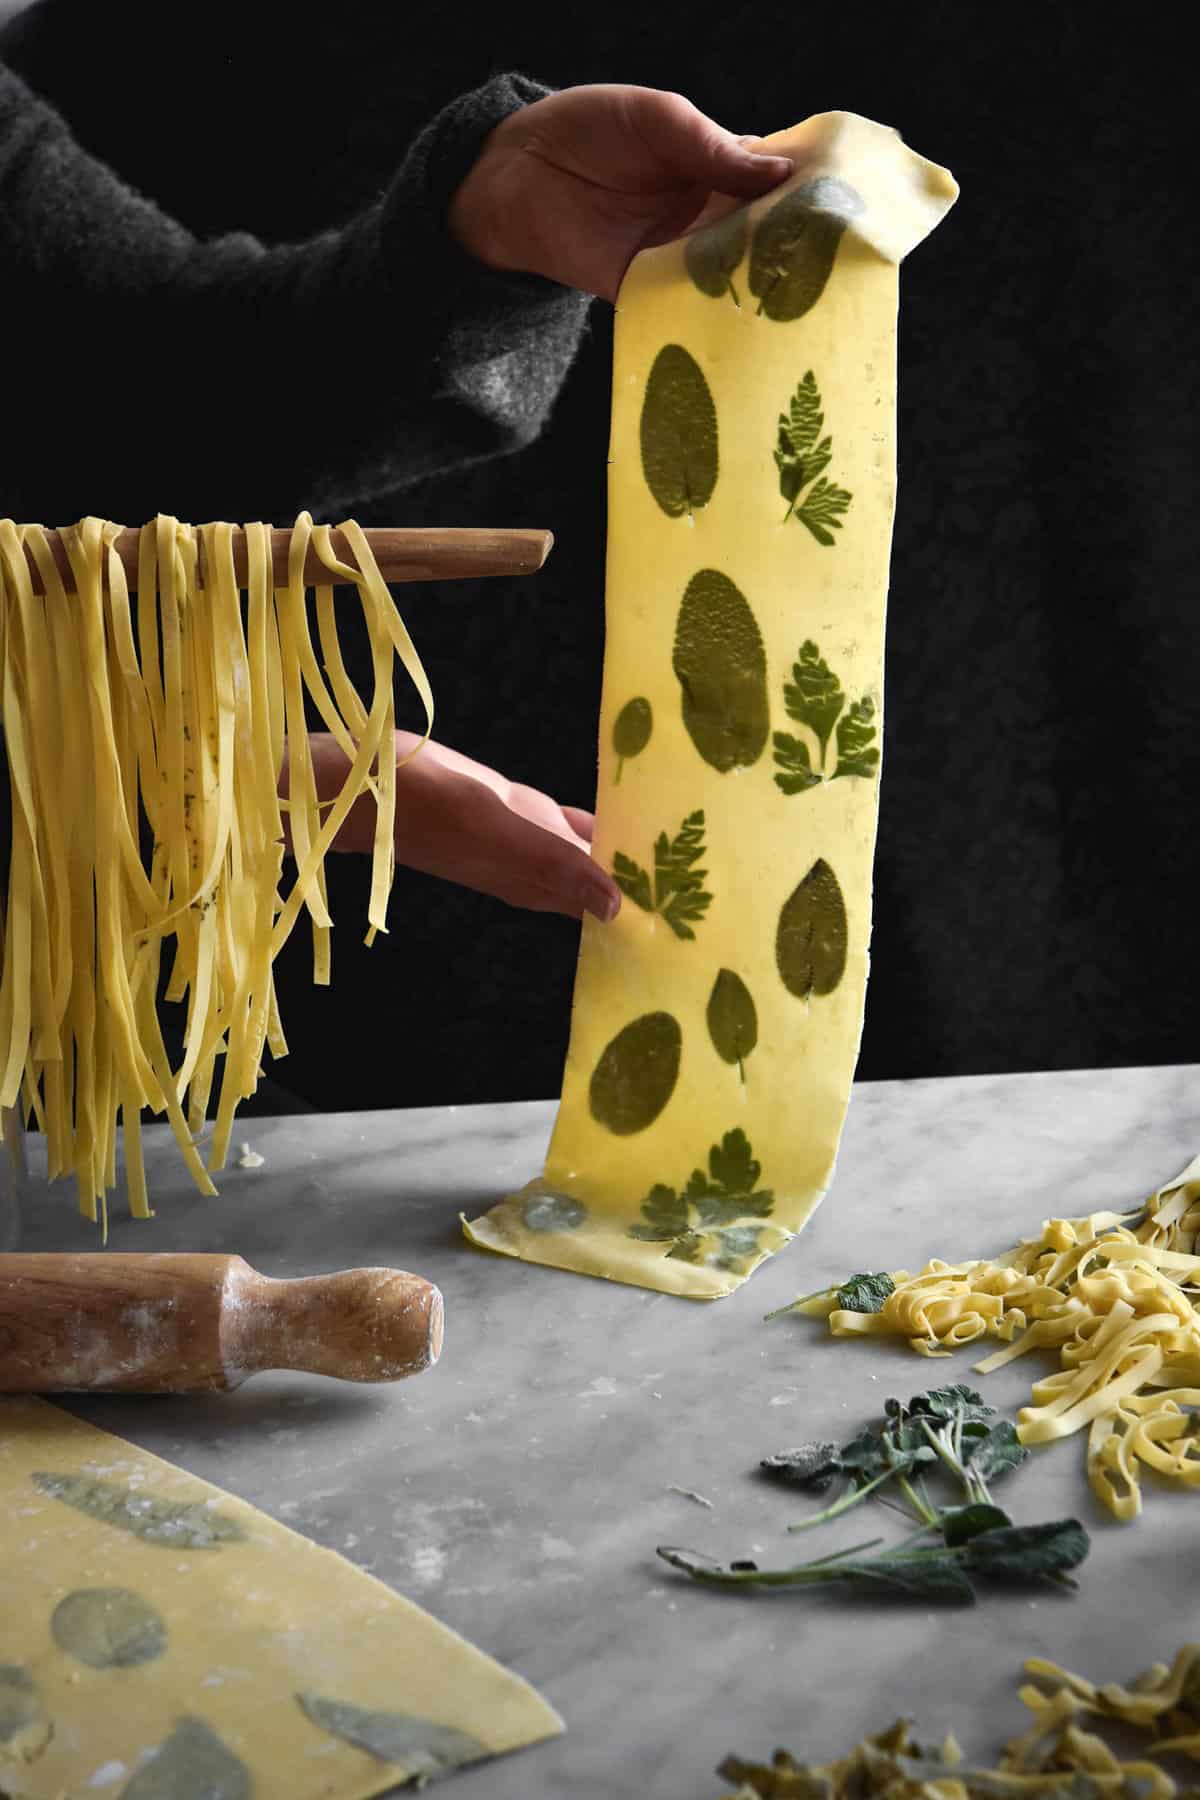
Tips for rolling gluten free egg pasta
The aim of the game is to have the dough wet enough to form a relatively smooth ball, without being so wet that you have to ply it with flour to roll out. When and if you’re adding extra liquid, really question if you NEED that liquid or you’re just being lazy in kneading it together. Trust me, your life will be a lot easier in the long run if you put in the work early on. Wet pasta needs a lot of flour to roll out, and it also constantly tears or sticks to the machine. This means you’ll need to keep flouring it and re-rolling, which can add up to double to the rolling time (and make your pasta too starchy).
Patience is key! Pop on a podcast and relax into the rolling out process. Using a pasta machine, it takes about 30-40 minutes to roll and cut the pasta at a semi-leisurely pace.
If the pasta has little tear marks, it’s too wet. Easy solution – add a little extra tapioca flour and try again. Always start on the thickest setting and gradually move to thinner settings. If you go from a 7 (thickest on my machine) to a 1 (thinnest) instantly, the pasta will probably be shredded up completely or torn in large segments. It’s all about slowly thinning it out.
I personally found it helpful to use a rolling pin to get the original piece of dough flat before feeding it through at the thickest setting. You can press it thin with your hands, but a rolling pin is quick, easy and leaves less craggy edges (which will end up as a craggy piece of pasta).
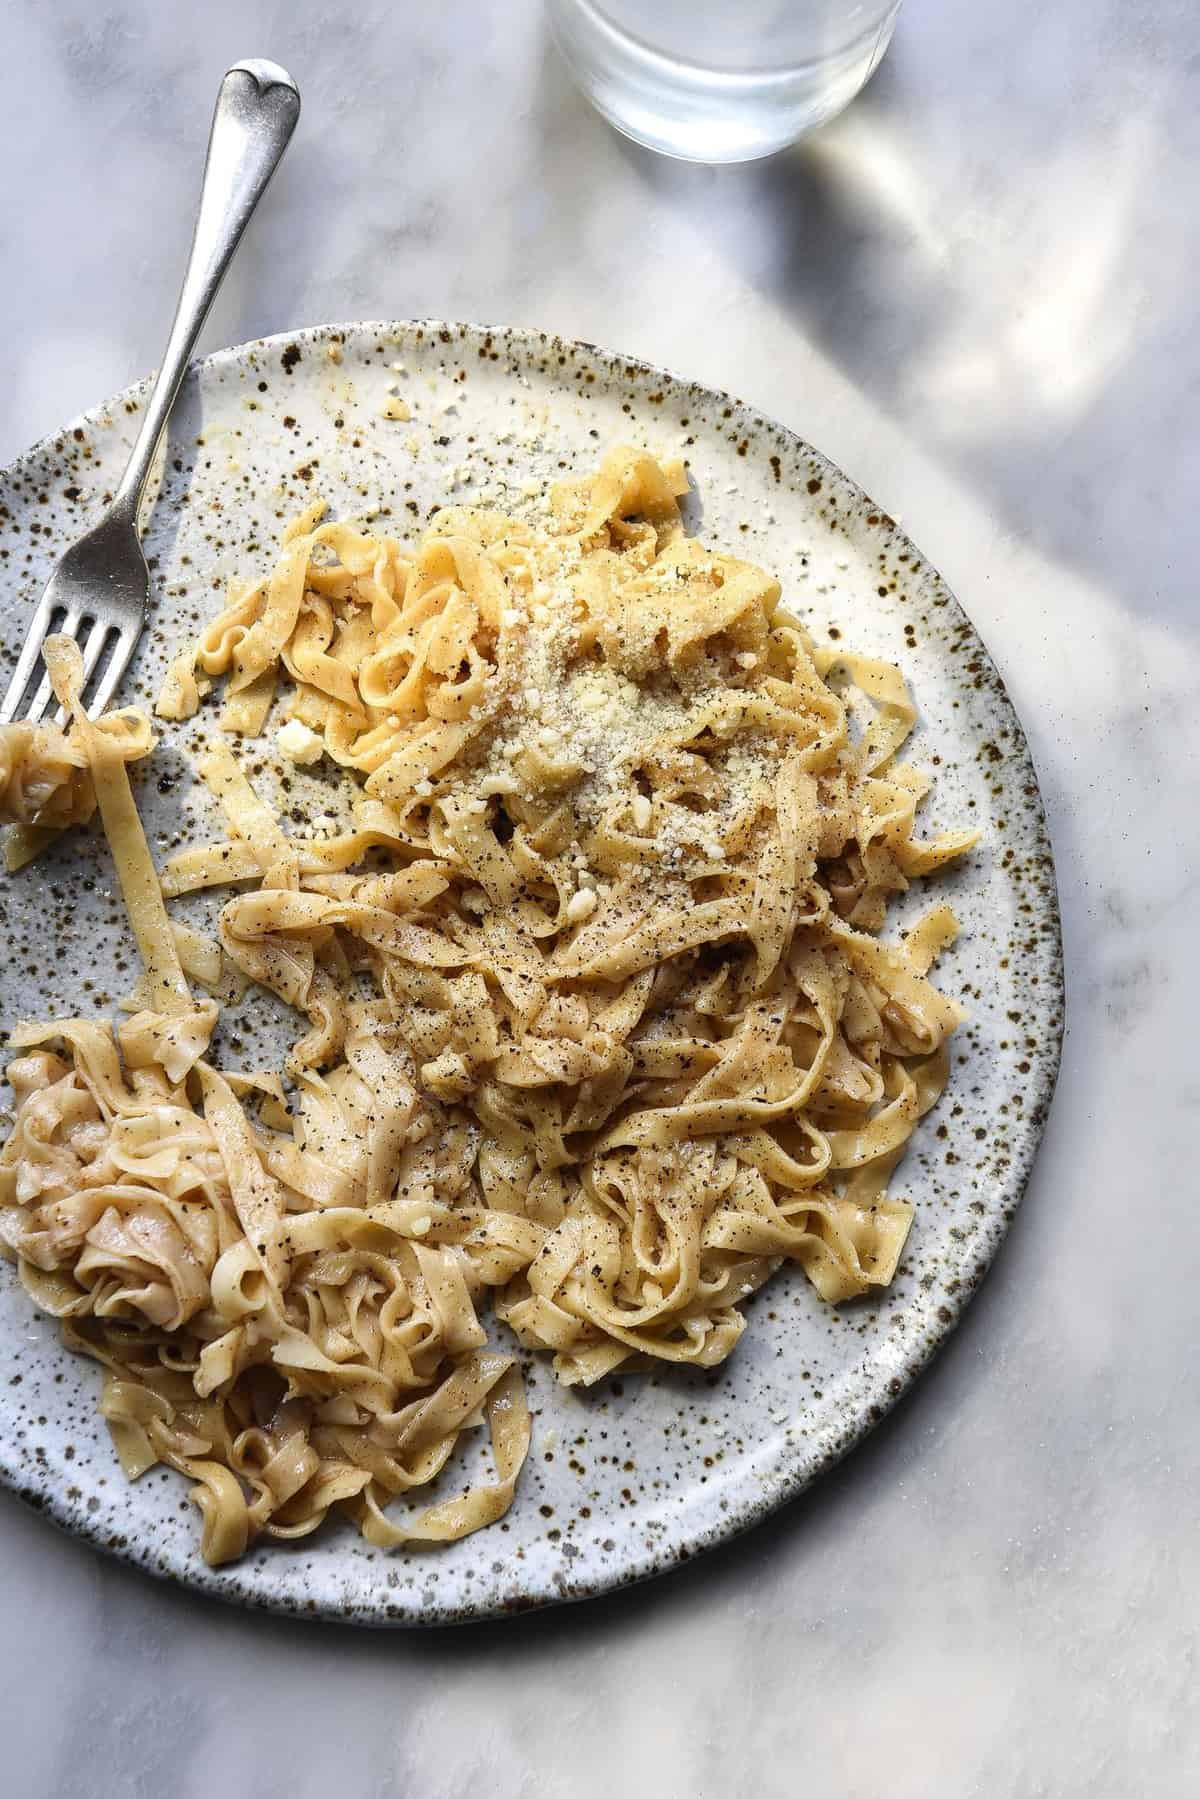
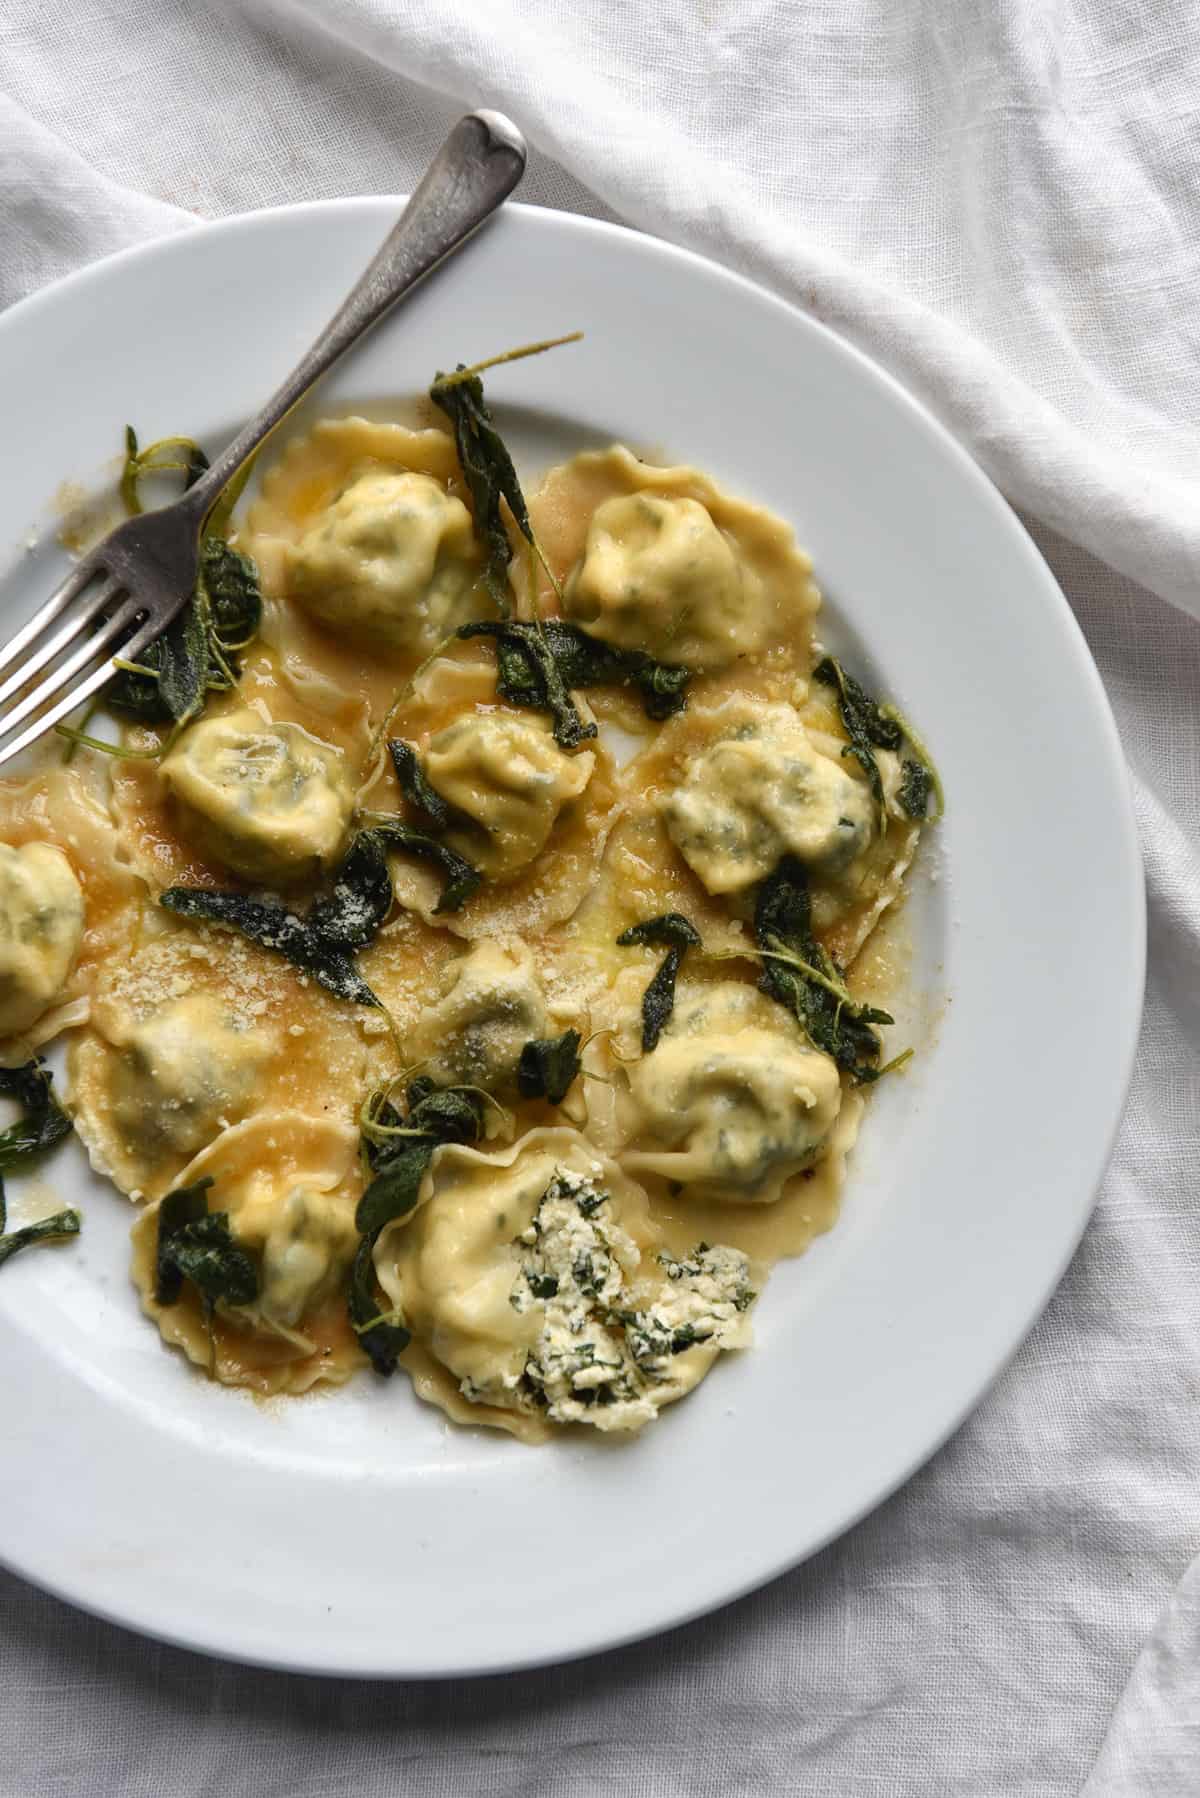
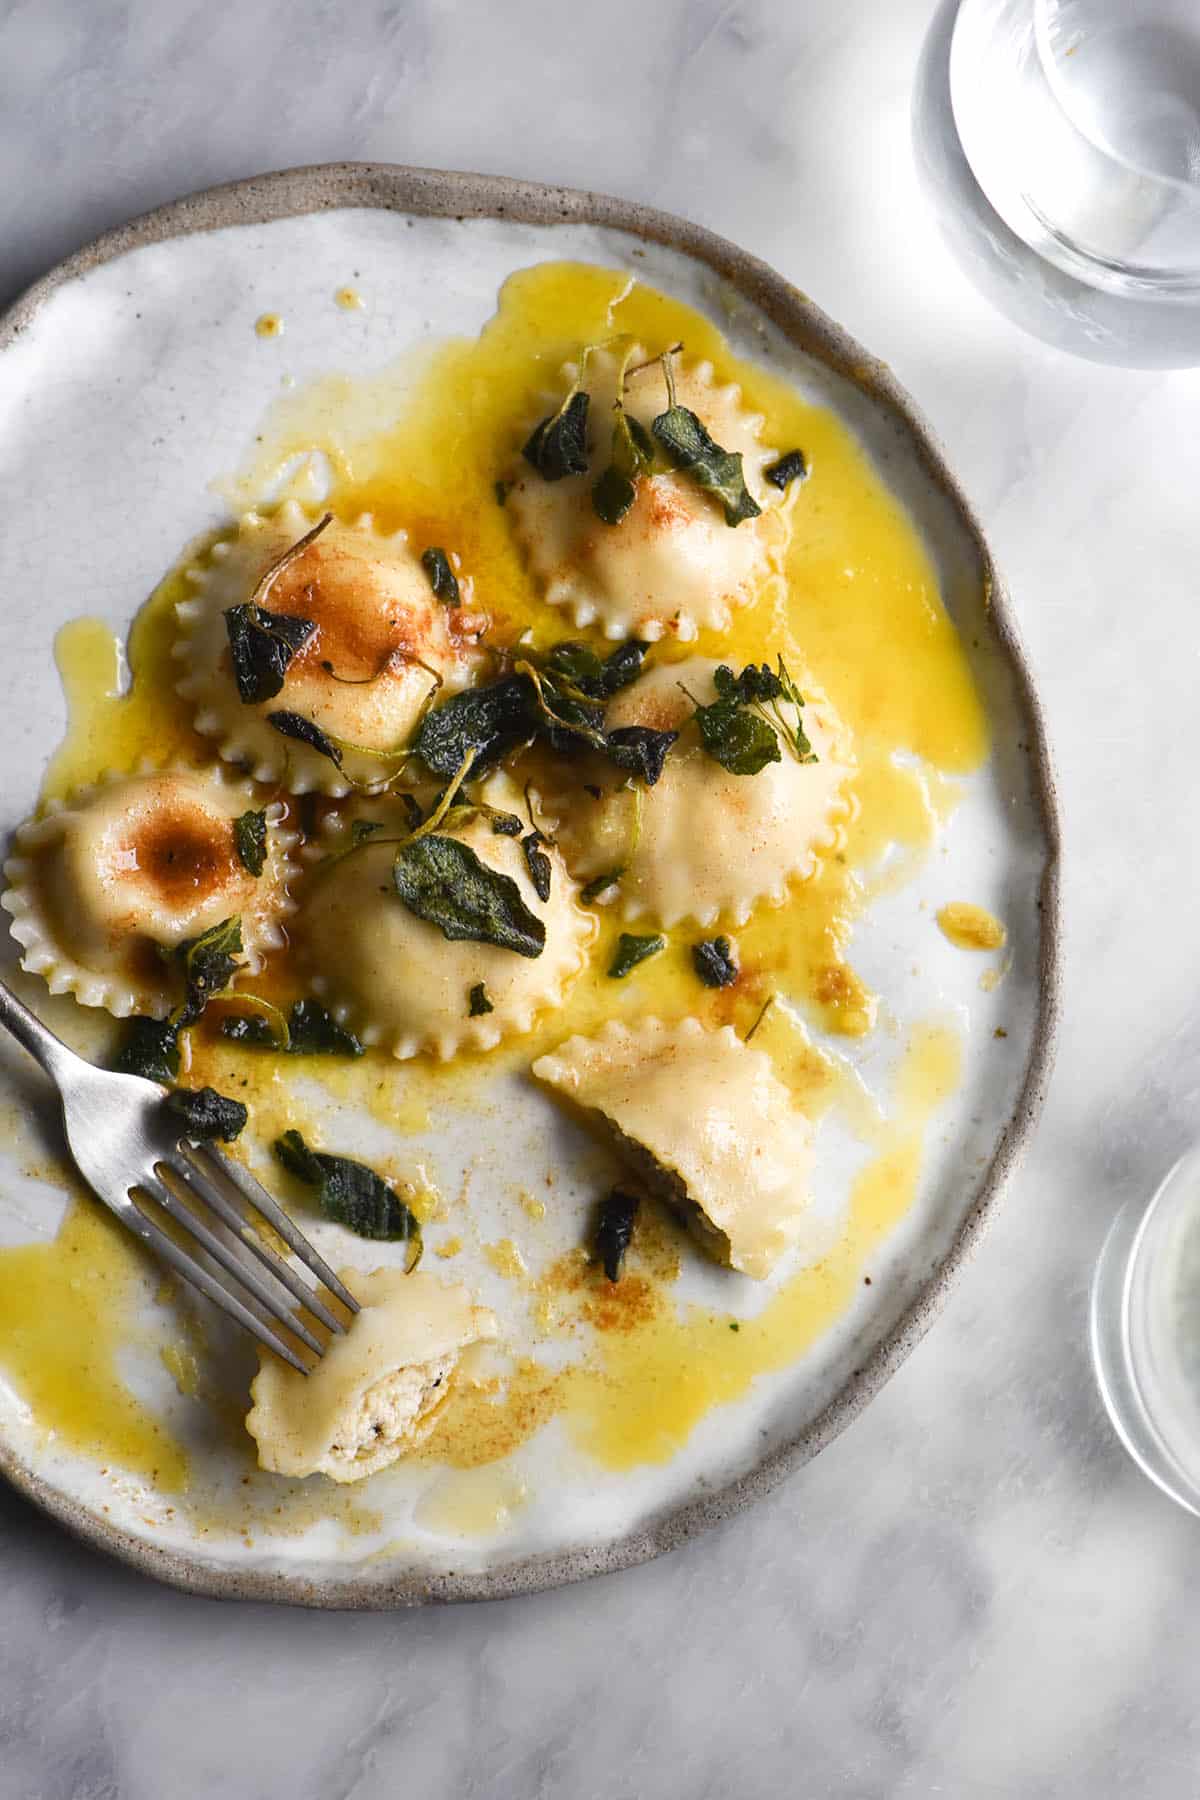
I have only tried a fettuccine style pasta with this dough. Although it successfully cuts into an angel hair style, I find it’s best in it’s cooked form as a fettuccine. It does make a great ravioli with a few adjustments – I’ll be sharing that recipe soon.
If you’re a visual learner: here’s a simple Delicious video that will show you show to roll out pasta.
Tips for cooking your gluten free egg pasta
I’ve found that there are two big determinants of success in cooking up long strands of pasta. 1) ample flour and loose nests for storage and 2) being attentive to the pasta when it first goes in the water.
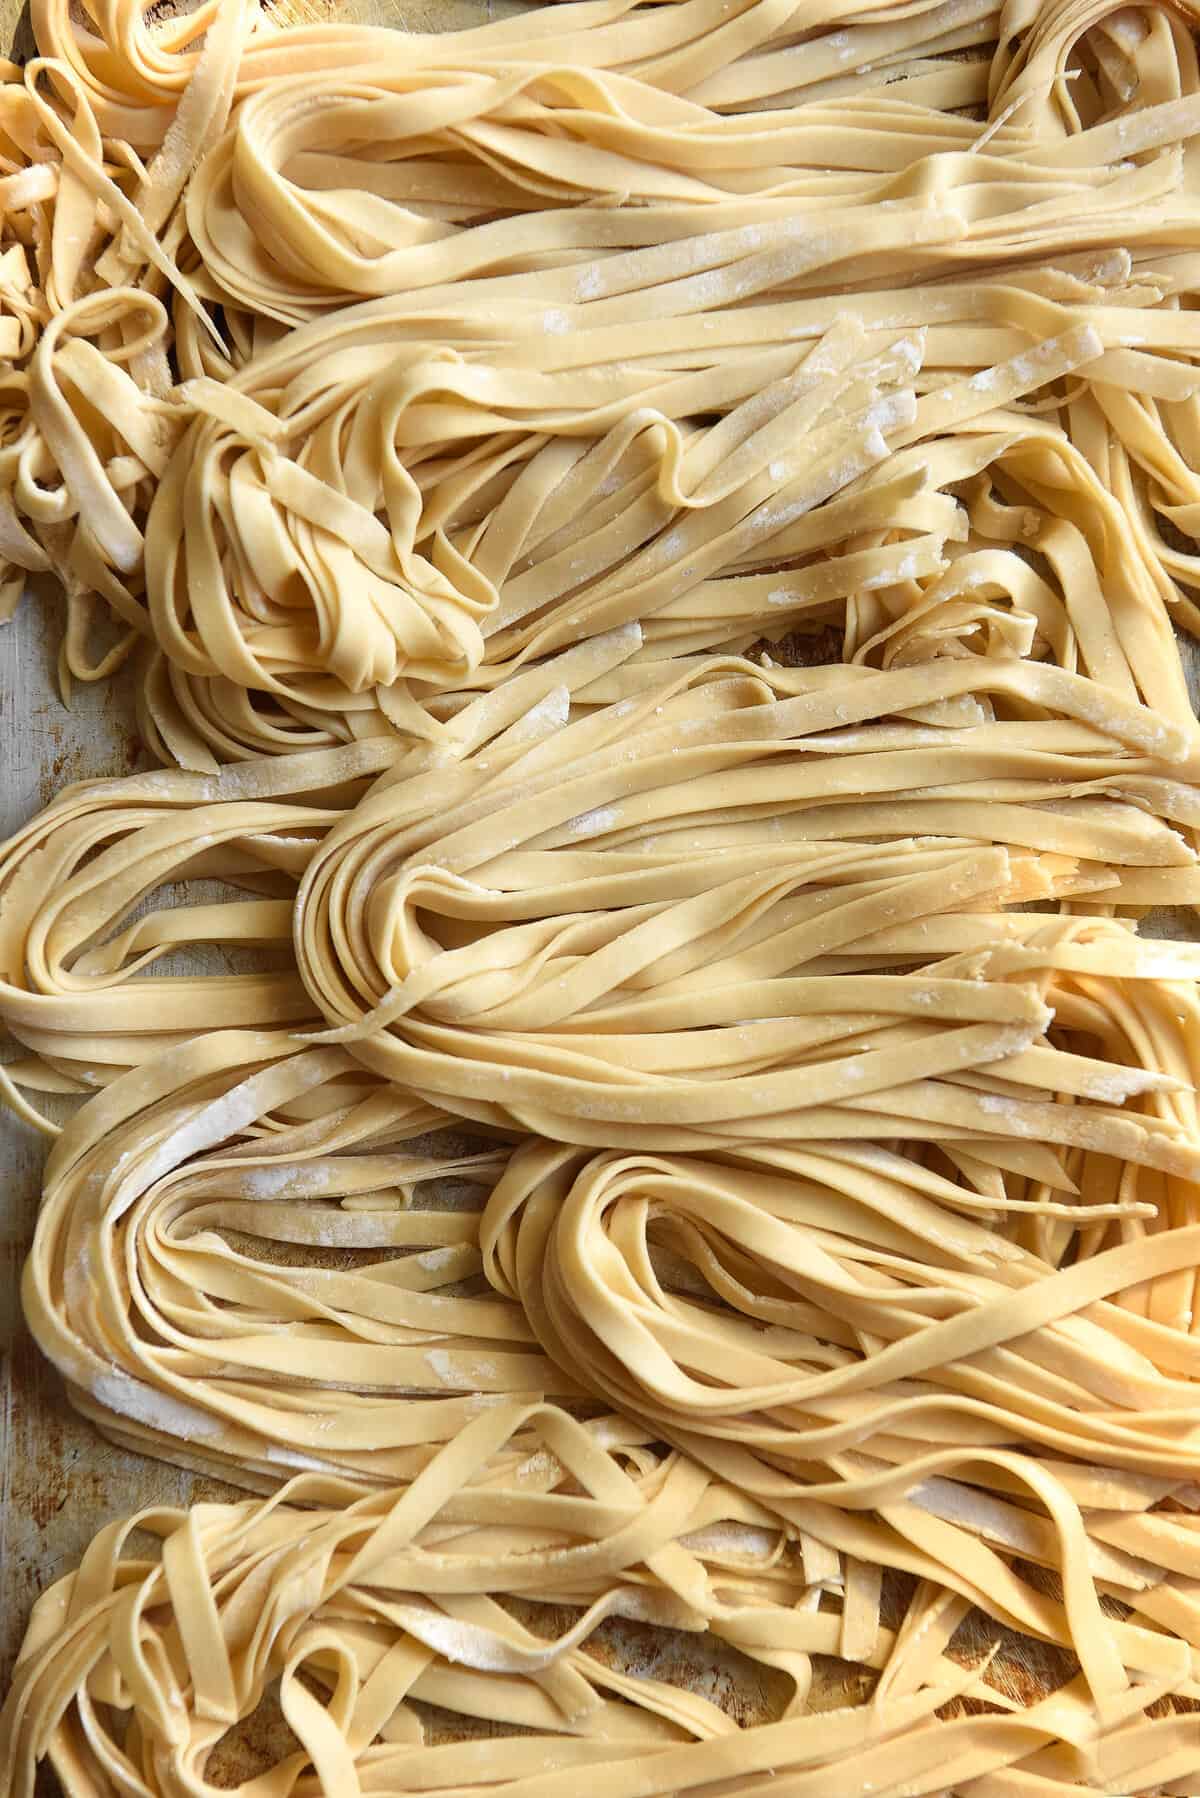
I haven’t quite figured out what makes for a good pasta nest, but I have noticed that sufficient flouring makes life easier later on. If the dough is wet once you’ve rolled it out, it will stick to itself when you cook it. There begins a vicious cycle, you’ll spend the cooking time trying to separate it, only to end up breaking it into little pieces. So, a well floured, dry pasta makes for better strands later on.
On the second topic, I’ve found that you really need to spend a bit of time with tongs gently encouraging the pasta to separate once it goes into the boiling water. It likes to stick to itself, so dispersing it into the water early on really helps. Don’t wait a minute or two to do this: do it as soon as the nests hit the water.
As the recipe stands, it only needs 2-3 minutes cooking time. Overcook it and the pasta will begin breaking apart and feeling a little slimy. I find it best to undercook this pasta as opposed to overcooking it. This is particularly important if you’re tossing it through a warm sauce like cacio pepe, as it will continue cooking in the saucepan.
Making the gluten free egg pasta your own
I have a few tips for making this pasta your own – a pasta that works for you. Without further ado:
I daresay, looking around the internet, that you could play around with the starch content relative to the wholegrain flour content. While I initially favoured equal parts starch and wholegrain, I’ve now gone in the majority wholegrain direction. The dough is stiff and you will need to use some elbow grease to roll it, but it comes out beautifully and doesn’t clump together.
If you don’t have a pasta machine and intend to roll the pasta by hand, I would recommend using a little extra starch and less wholegrain. This will make it slightly easier to roll out by hand. My suggestion would be to use 90g (3/4 cup) tapioca flour and 200g (1 1/4 cups) white rice flour.
I haven’t tried using all yolks or all whites or no eggs. If you’d like to try that, you’ll be experimenting.
As I’ve mentioned, I honestly think xanthan gum is worth it’s weight in gold here. You’ll be able to roll the pasta thinner and it will hold together better during the cooking process. I have developed a gum free version for my cookbook.
Storing your pasta
- If you’d like to freeze the pasta, I recommend freezing it uncooked. I can’t say for sure but I imagine reheating a cooked and frozen pasta would result in mush.
- You can store the uncooked pasta in the fridge overnight to cook the next day, if you’d like. Because it contains 3 eggs, I recommend keeping it covered in the fridge. It’s not like regular pasta that can be kept at room temperature (this is probably obvious but I thought I should make it explicit).
- Cooked pasta stores well in the fridge for a couple of days if you don’t use it all at once.
Serving suggestions for your gluten free egg pasta
You might already know what you fancy serving pasta with, and that’s cool. If you don’t, here are some suggestions, including the suggested quantity you’ll need for a batch. Note 1 full batch of this pasta makes enough for 4-6 people, depending on how much you eat, what you serve it with, etc.
- You always knew I was going to suggest the vegan bolognese. 1 batch of bolognese is perfect for 1 batch of pasta.
- FODMAP friendly pesto. Depending on how pesto-y you like your pasta (I want mine to be smothered) 2 batches is probably a good idea.
- You could also make 1 batch of the vegetable filled pesto, if you’d prefer to get some veg in. It’s pretty jam packed with them and it makes enough for 1 batch of pasta.
- Kale pesto! This is my new obsession. It’s such a gorgeous bright green and it tastes healthy yet indulgent at the same time.
- A quick FODMAP friendly pasta alla vodka would work a treat. I’d recommend two batches of sauce, just to be on the safe side.

Gluten free egg pasta
Equipment
- Pasta machine (or a lot of time and patience)
Ingredients
- 240 g (1 1/4 cups) fine white rice flour
- 60 g (1/2 cup) tapioca flour
- 1 teaspoon xanthan gum
- 3 extra large eggs
- 1/4 -1/2 cup water only as necessary
Instructions
- Combine the flours and xanthan gum in a large mixing bowl. You can also do this on the table (as is traditional) but I always get excited and under-form my flour well. Either way, form a well in the flour and add in the eggs. Use a whisk to break up the yolks, and then begin to incorporate the eggs into the flour.
- Once the eggs are mostly incorporated (the mix will look clumpy) add in the water, using one hand to bring the dough together. Keep adding water only as necessary, noting that you really need to work the dough to bring it together. If you’re cheating by adding extra liquid, the pasta will be a lot harder to work with. Best to put in the effort early. The dough should be stiff and firm with a drier surface but with little to no dry flour in the bowl.
- Once you have brought the dough together into a relatively smooth ball, tear off a piece and cover the remaining pasta in cling film or a slightly dampened tea towel.
- Lightly flour the bench with tapioca flour, using as much as necessary, whenever necessary.
- Use your rolling pin to roll the piece of dough thin enough to get through the thickest setting of your pasta machine. After getting it through the thickest setting (mine is a 7) run it through the machine again. Continue rolling it through on decreased width settings until it’s thin enough for your tastes, noting that it swells during cooking (so go a little thinner than you think.) I like to get mine through smoothly at setting 2 or 3 on my Jamie Oliver machine.
- I don’t have a special technique – I keep running the pasta through until it’s smooth and (ideally) has relatively straight edges. You can save a bit of time and sanity by trimming the edges of each piece you roll out before putting it through the machine. You won’t toughen the pasta from rolling, so you can re-roll as often as you see fit. If it’s wonky, you can start fresh. You can also add extra water to very dry pieces that have toughened from being rolled out.
- Once the sheet of pasta is thin enough, put it through the fettuccine setting. Arrange into a little loose nest and set aside.
- Repeat with the remaining pasta dough until you have used it all. From here, you can either cook immediately, refrigerate overnight as nests, or freeze as nests. I find it tastes best fresh, but they’re all delicious regardless.
- To cook, bring a large pot of very well salted water to the boil. Add the pasta and use tongs to gently but thoroughly separate the strands. This is particularly important if you made them the night before, as they have the tendency to stick together. Cook the pasta for 2-3 minutes, until it’s lightly chewy but cooked through. If in doubt, pull it out – homemade pasta doesn't take long.
- Leftovers keep well in the fridge for a day or two and can be frozen. The pasta might be a little fragile after cooking and freezing, so I recommend either freezing it raw or using it up within a few days.

Hi! I don’t want to use xantan, so it is possible to add another ingredient insted of it? Thanks.