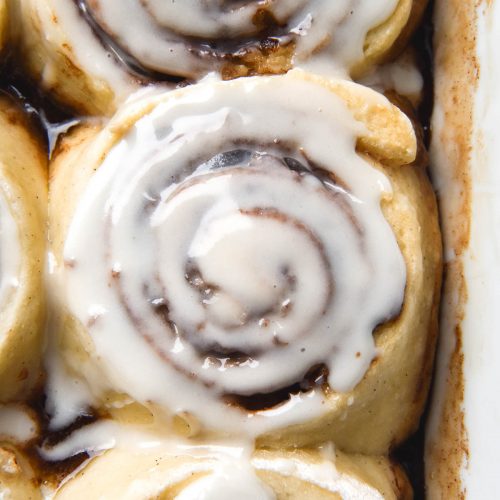
To me, there are three pinnacles of gluten free dessert making: puff pastry, croissants and cinnamon rolls. It has taken me nearly a decade of learning, but today I’m proud to say I’ve cracked the case for gluten free cinnamon rolls (and the first two recipes are in my cookbook).
Gluten free cinnamon rolls without xanthan gum
These gluten free cinnamon rolls are low FODMAP, free of added nuts, low lactose and made without xanthan gum. While I try not to use too many starches or any gums in my recipes, a light and fluffy cinnamon roll really does need some starch for fluff and chew.
If you’re a cinnamon roll fan, see my other cinnamon roll recipes:
- Vegan, gluten free cinnamon rolls
- Vegan, gluten free cinnamon rolls without yeast
- Microwave vegan, gluten free cinnamon rolls
Ingredient notes for your gluten free cinnamon rolls
Firstly, it’s worth mentioning that I strongly advise sticking to the recipe as written. It has taken me a long time to develop the recipe as it stands, so it’s worth keeping everything as is for best results.
Psyllium husk powder is a non negotiable in this recipe, sorry. Firstly, it provides the necessary elasticity that gluten free goods lack. Secondly, it absorbs the liquid content necessary to create light, fluffy and moist gluten free cinnamon scrolls.
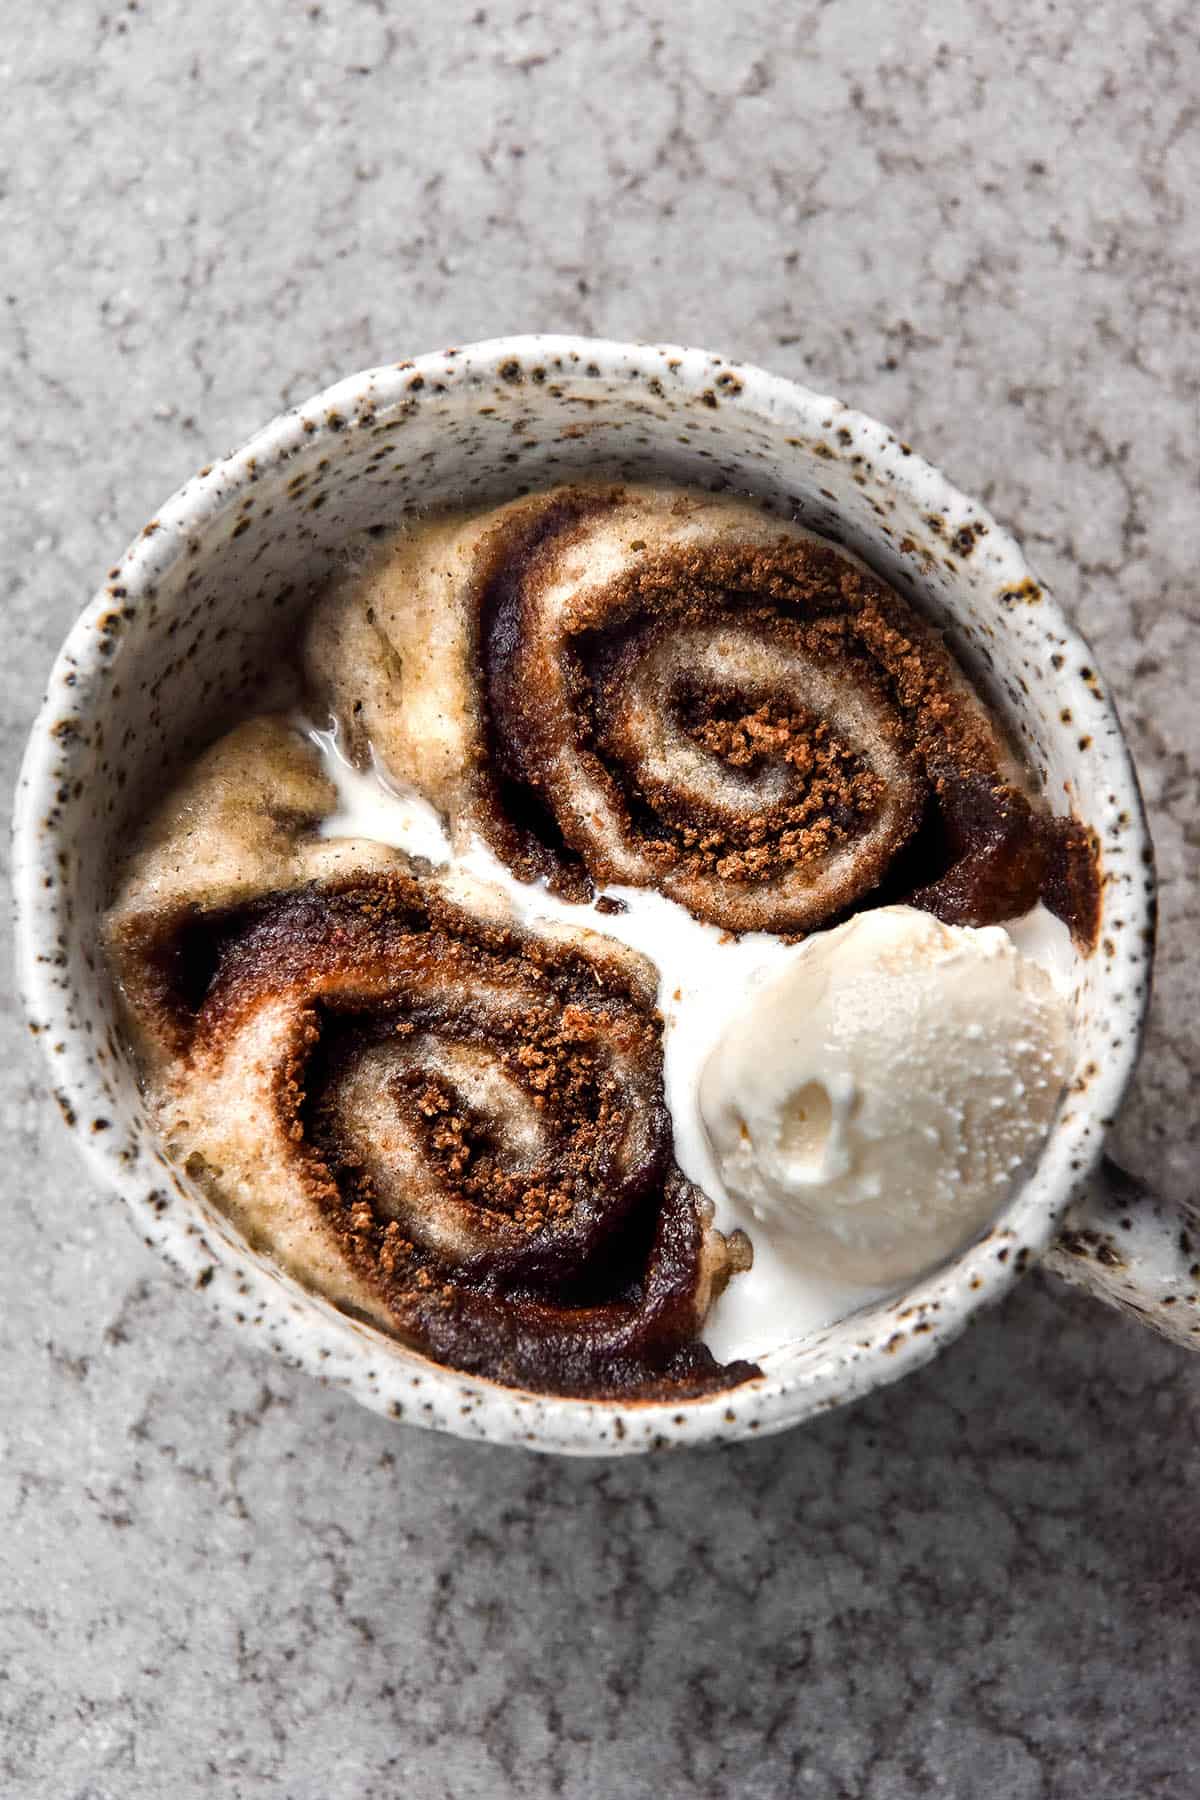
If you’d like a gluten free vegan version, I have a recipe here. I also have a recipe for gluten free vegan cinnamon scrolls without yeast. Bonus? This vegan, gluten free and xanthan gum free cinnamon roll mug cake.
Notes on the gluten free flours
The flours in this recipe have been purposefully chosen for their qualities. Fine white rice flour is a bland, white flour that works well as a wheat alternative. The caveat? It needs to be fresh. The stuff you buy from the supermarket is often gritty and randid. It often smells musty and almost floral – a taste which will permeate your baked good. For best results, try and buy from a bulk food store, as the quality is better and the flour is fresher.
The second flour in these scrolls is a starch. In my experience, starch is necessary for creating a light and fluffy cinnamon scroll with the right amount of chew and stretch. I have used half sorghum flour and half buckwheat flour as a starch free option, but I found them to be less delicious without a bit of chew.
I really like using glutinous rice flour in these scrolls. It adds chew and stretch. Sometimes also called sweet rice flour, it’s easily available at the supermarket in Australia under Erawhan brand.
That said, I have also tested the recipe with tapioca flour and it works well. Tapioca flour tends to absorb less liquid than glutinous rice flour, so make sure you use the lesser amount of milk if you go the tapioca flour route.
Hydration notes
The starch you use will alter how much milk you need for the dough. In my experience, a dough made with glutinous rice flour (aka sticky rice flour) takes about 1/4 cup (60ml) more milk than a dough made with tapioca flour. So, use more milk in a glutinous rice flour dough, and less in a tapioca flour dough.
Finally, how much milk you add depends on the time you’re taking to make the dough, as well as the type of scroll you want to achieve. If you plan to make the scrolls from start to finish straight away, use a more conservative amount of milk. Highly hydrated dough needs to sit in the fridge overnight to ferment and firm up, whereas less hydrated dough can be rolled out straight away.
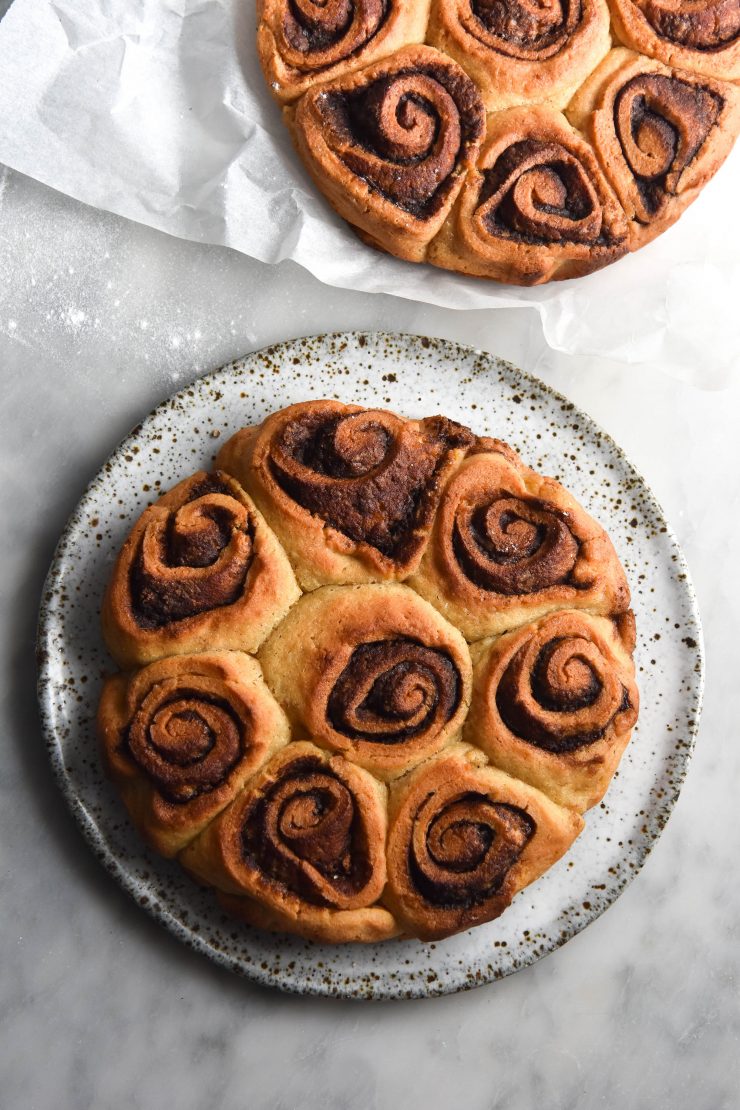
Why all this hydration talk? Put simply, a highly hydrated dough creates a super light and fluffy bun. This dough can take up to 2 cups (500ml) of milk if you leave it to ferment in the fridge overnight. It creates a super light and fluffy, white bread style cinnamon scroll. This does come at the expense of structure, however. Highly hydrated buns will lose their shape a little during baking, and often form one large slab of cinnamon scroll. This doesn’t affect the taste, merely the aesthetics. You can choose which route to go down based on your own preferences.
Tips for your gluten free cinnamon rolls
The dough as it stands is ready to roll out immediately. If you want even fluffier buns, add 1/4 cup (60ml) extra milk, or even more. Keep in mind, though, that this might make the dough harder to roll out. If it’s too soft to roll, place it in the fridge. You can refrigerate the dough overnight, if necessary.
Keep in mind that dough with extra liquid tends to result in scrolls that lose their shape. Make sure you pack them into a baking dish to prevent too much spreading.
I have found that you can easily leave the dough in the fridge for 2 days before you use it. Helpful if you want to make things a little ahead of time.
You could also make the dough and roll it into cinnamon scrolls the night before. Place the tray in a ziplock bag in the fridge
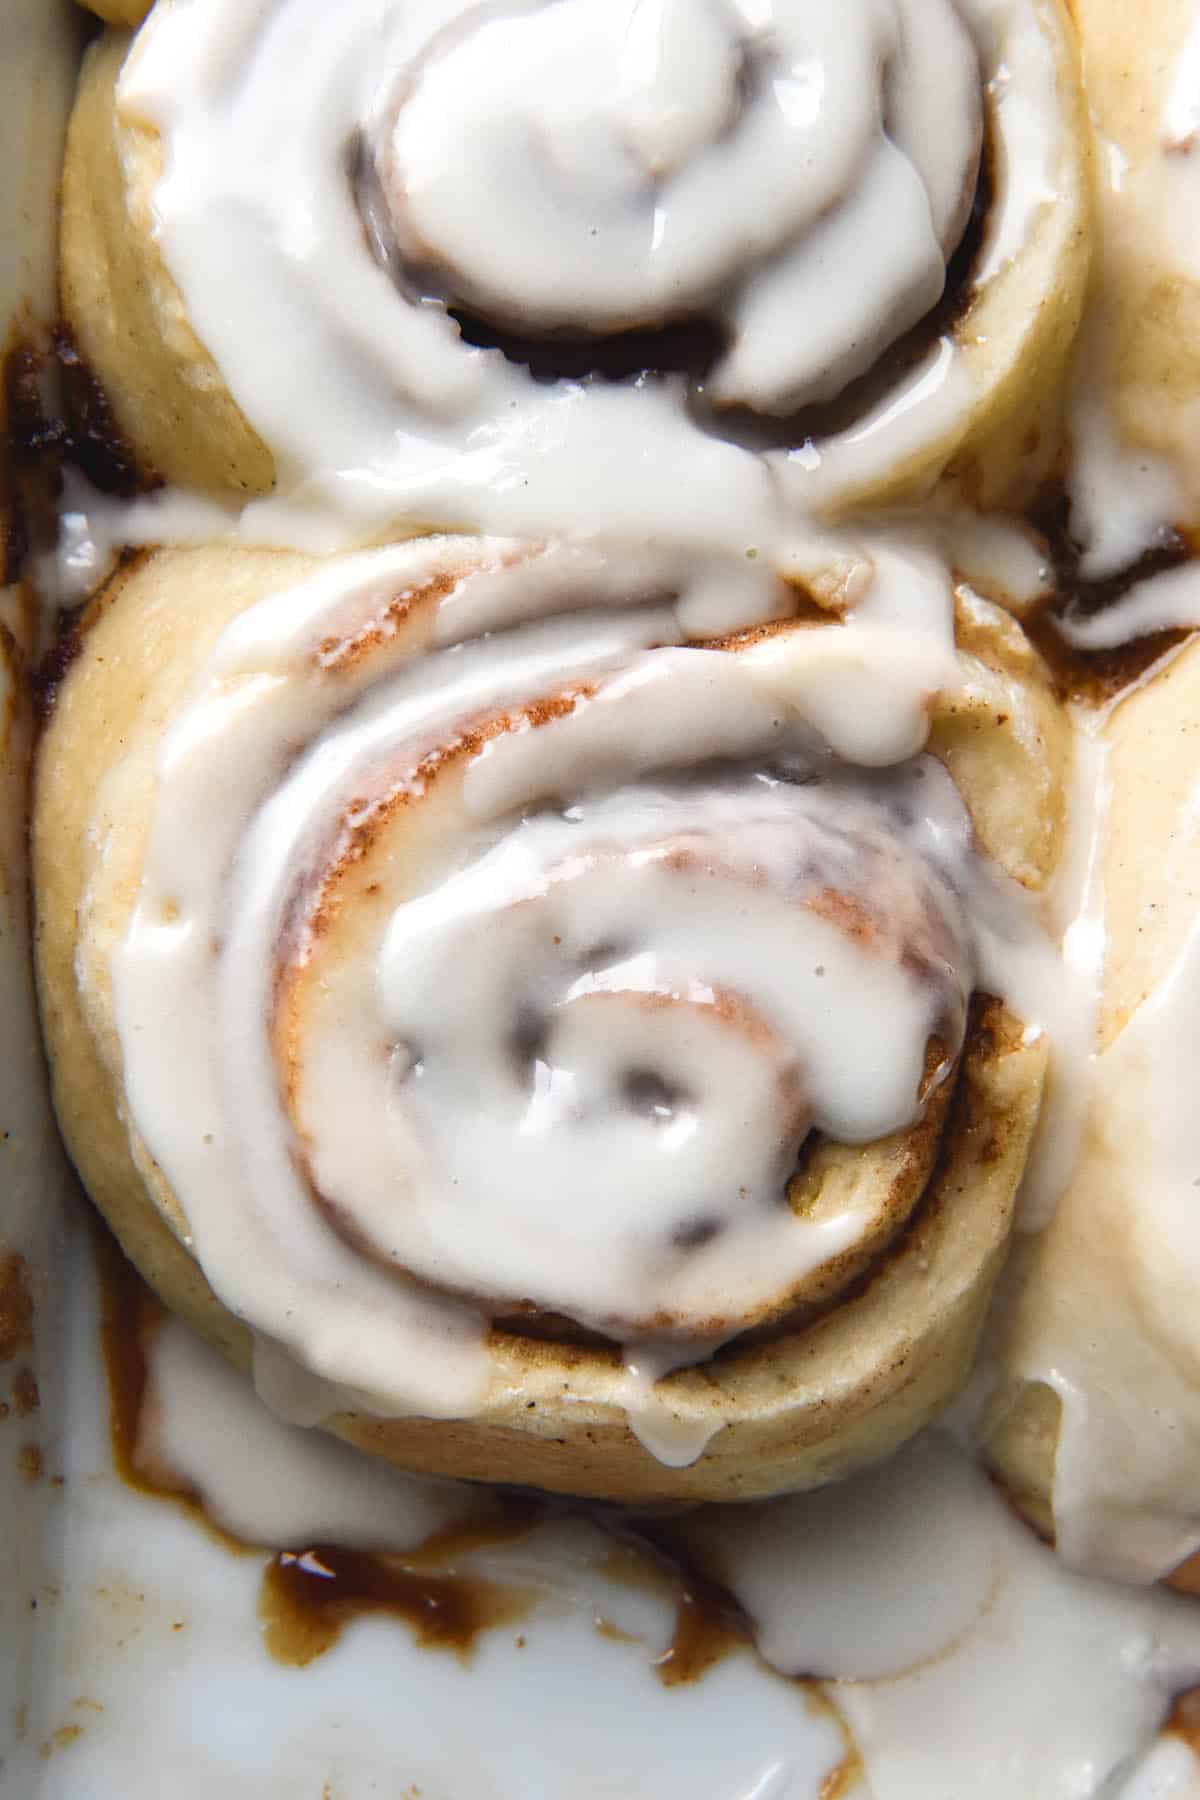
I found that you get the most vibrant cinnamon flavour if you paint melted butter onto the dough and then sprinkle the cinnamon sugar over the top. In my experience, combining the two into a paste, or creaming them together, resulted in uneven cinnamon coverage and a muted flavour. This is why I do it the way I do.
I love a strong, bold cinnamon taste. If you don’t, add less! Everyone is different.
Cutting cinnamon scrolls with a piece of thin thread will change your life, I promise. So easy!
In the mood for festive baking? Try:
- My all time favourite FODMAP friendly, gluten free fruitless pudding (which has both a nut and a grain free option)
- Keeping with the fruitless theme: my gluten free, fruitless mince pies
- Finnicky but delicious gluten free linzer cookies
- Ethereally light and airy gluten free shortbreads
- Finally, a sweet and savoury Christmas roundup of FODMAP friendly and gluten free vegetarian recipes
Gluten free cinnamon scrolls
Equipment
- 1 X 25cm cake tin
- Thread, for cutting the cinnamon scrolls
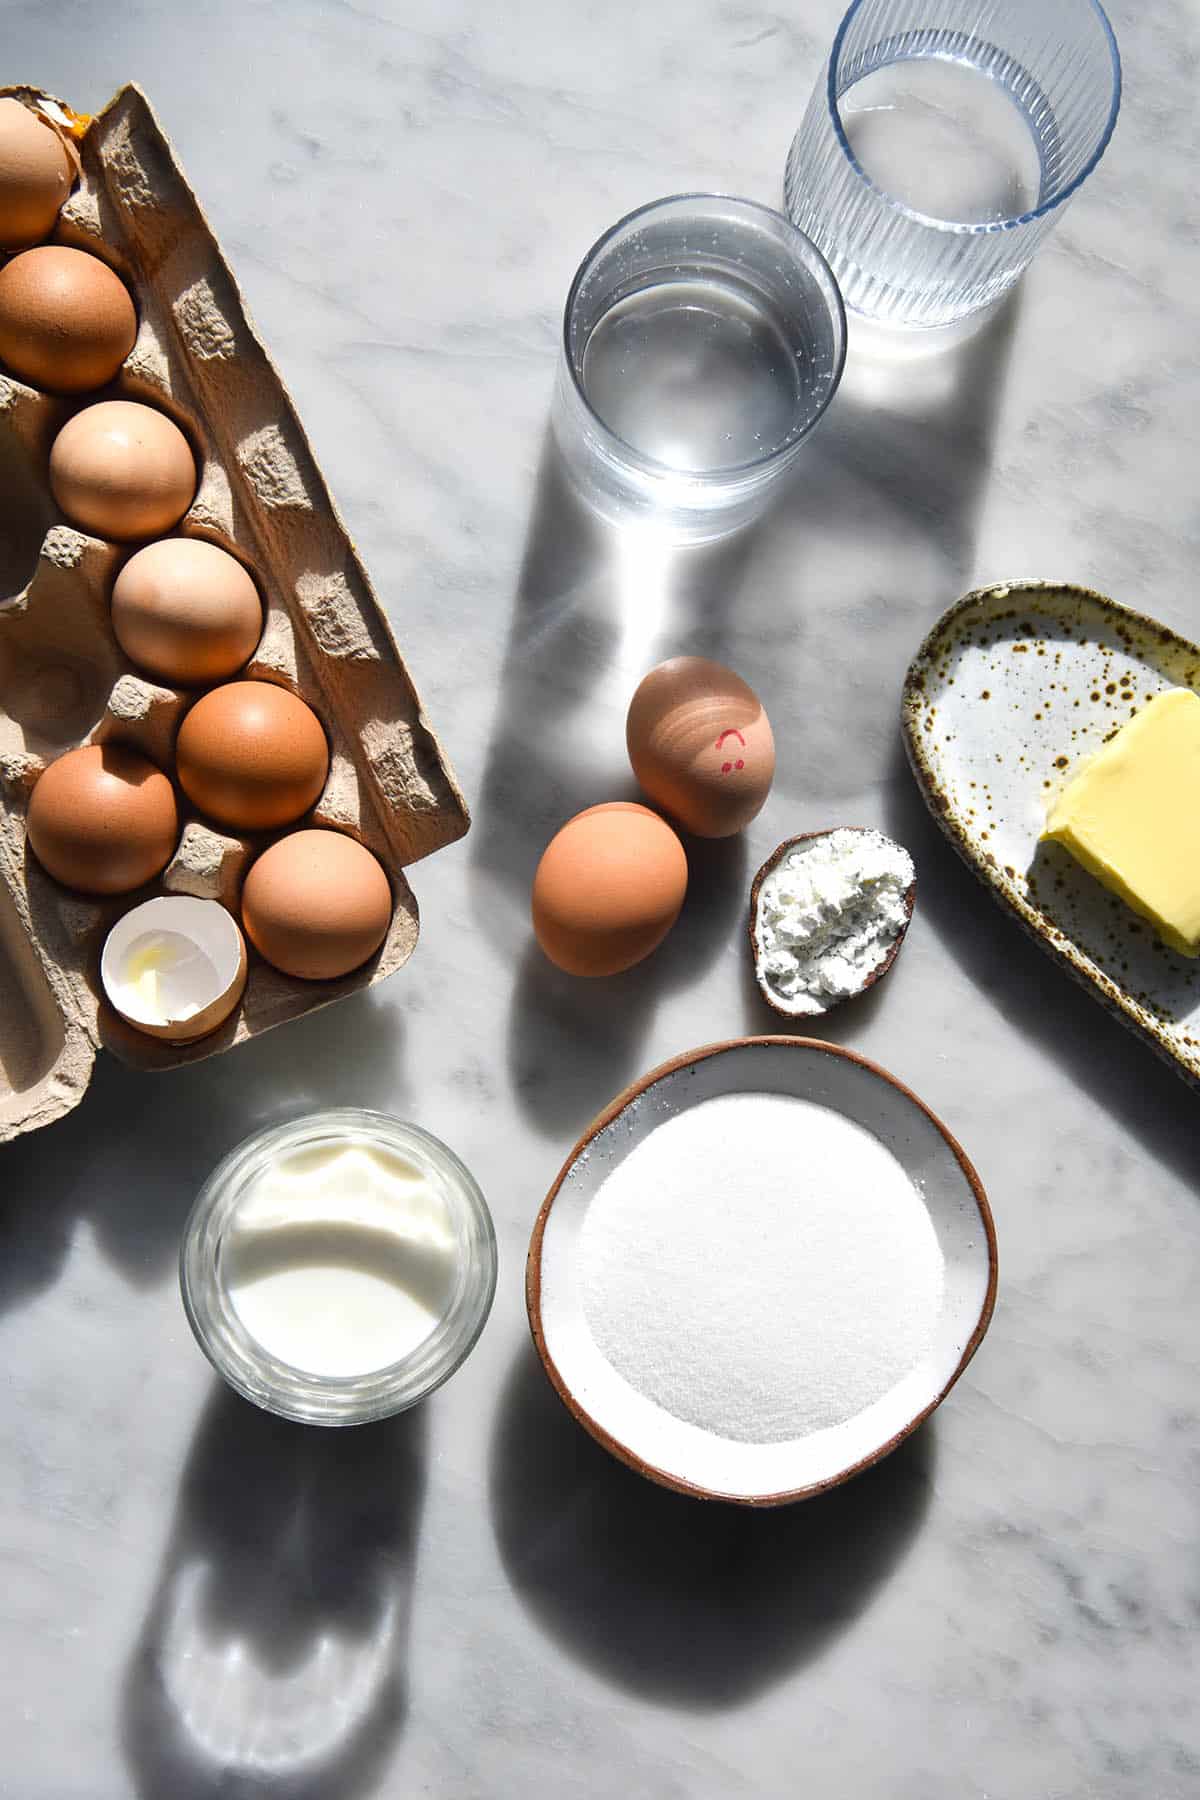
Ingredients
For the binder:
- 20 g psyllium husk powder
- 1 – 1 1/4 cup (250-310ml) milk of choice (I used full fat lactose free milk)
- 100 g butter
- 3 tablespoons oil of choice vegetable or sunflower are nice and plain, but olive also works
- 3 extra large eggs
For the dough:
- 240 g (1 1/2 cups) fine white rice flour
- 120 g (1 cup) glutinous rice flour (also called sweet rice flour or mochiko) or tapioca flour, see notes
- 150 g caster sugar
- 1 sachet 7.5g instant yeast
- 2 teaspoons baking powder
For the cinnamon filling:
- 50-75 g butter melted
- 100 g light brown sugar
- 1 tablespoon ground cinnamon
For the cream cheese icing:
- 25-50 g icing sugar
- 100 g lactose free full cream cheese
Instructions
To make the binder:
- Microwave or melt the butter and milk together until liquid and warm. Add the psyllium husk powder to the medium mixing bowl, then pour over the milk and butter liquid. Whisk the mixture to ensure the psyllium powder doesn’t clump up.
- If the mixture is hot, allow it to cool a little before adding the eggs so they don’t scramble. Add the oil and whisk to combine. Set aside to thicken for 10-15 minutes.
- While you’re waiting, whisk together the ingredients for the dough.
To make the dough:
- Add the dry ingredients to the binder in the bowl of your KitchenAid. Use the whisk attachment to combine the dough on a medium speed, until a ropey dough forms. If the dough feels too loose to handle, place it in the fridge for 20 minutes.
To make the cinnamon scrolls:
- When the dough has chilled, take a large piece of baking paper and oil it with about 1/2 tablespoon of neutral flavoured oil. Distribute it evenly and thoroughly using your hands. Turn the sheet of paper so a long side is facing you. Place the dough onto the centre of the paper and oil your rolling pin. Gently roll the dough out to the size of the sheet of baking paper. Patch up any holes and even out the sides as necessary.
- Use the back of your spoon to drizzle then spread half the melted butter. Sprinkle the cinnamon and brown sugar mixture over the top, leaving a 1cm border on the long sides of the dough. Finish with the remaining melted butter. If you like, you can gently press down the cinnamon mixture with your hands. This will help adhere it to the dough, which makes slicing easier.
- Beginning on the long side, use your fingers to fold the 1cm border of the dough up onto itself. You want to create a tight roll, so try and make this first notch as small as possible. Continue folding the dough up until you can begin to use the baking paper to roll the dough onto itself. Take it about 80% of the way, then take the far side of the dough and bring it up over the log. You should have a log of dough with the seam facing upwards.
- Grease or line your 20-24cm baking vessel. Take your piece of thread and thread it under the log of dough. Gently thread your piece of string underneath the log. Eyeball about one eighth of the dough log and think of the string as your knife. Holding one end of the string in each hand, pull in opposing directions to slice through one-eighth of the dough. Gently flip that first cinnamon scroll upright and use your hands to gently cup and mould it. Press it down a little so that it has a solid base, then place it into the prepared baking dish. Repeat with the remaining dough and scrolls.
- Place the cinnamon scrolls in a jumbo ziplock bag or jumbo airtight container. Proof for one hour or until they feel fluffy and have risen a little (it won’t be double). About 20 minutes before they finish proofing, preheat your oven to 180C/356F. Place a baking dish filled with boiling water at the bottom of the oven to create a steamy environment. This will help keep them nice and moist during baking.
- After 1 hour, the cinnamon scrolls should have spread a little in the baking dish and feel puffy to the touch. Place them in the steamy oven (stand back as you open it) and bake for 30 minutes. They should feel firm to the touch and be lightly golden on top. Allow them to cool before icing.
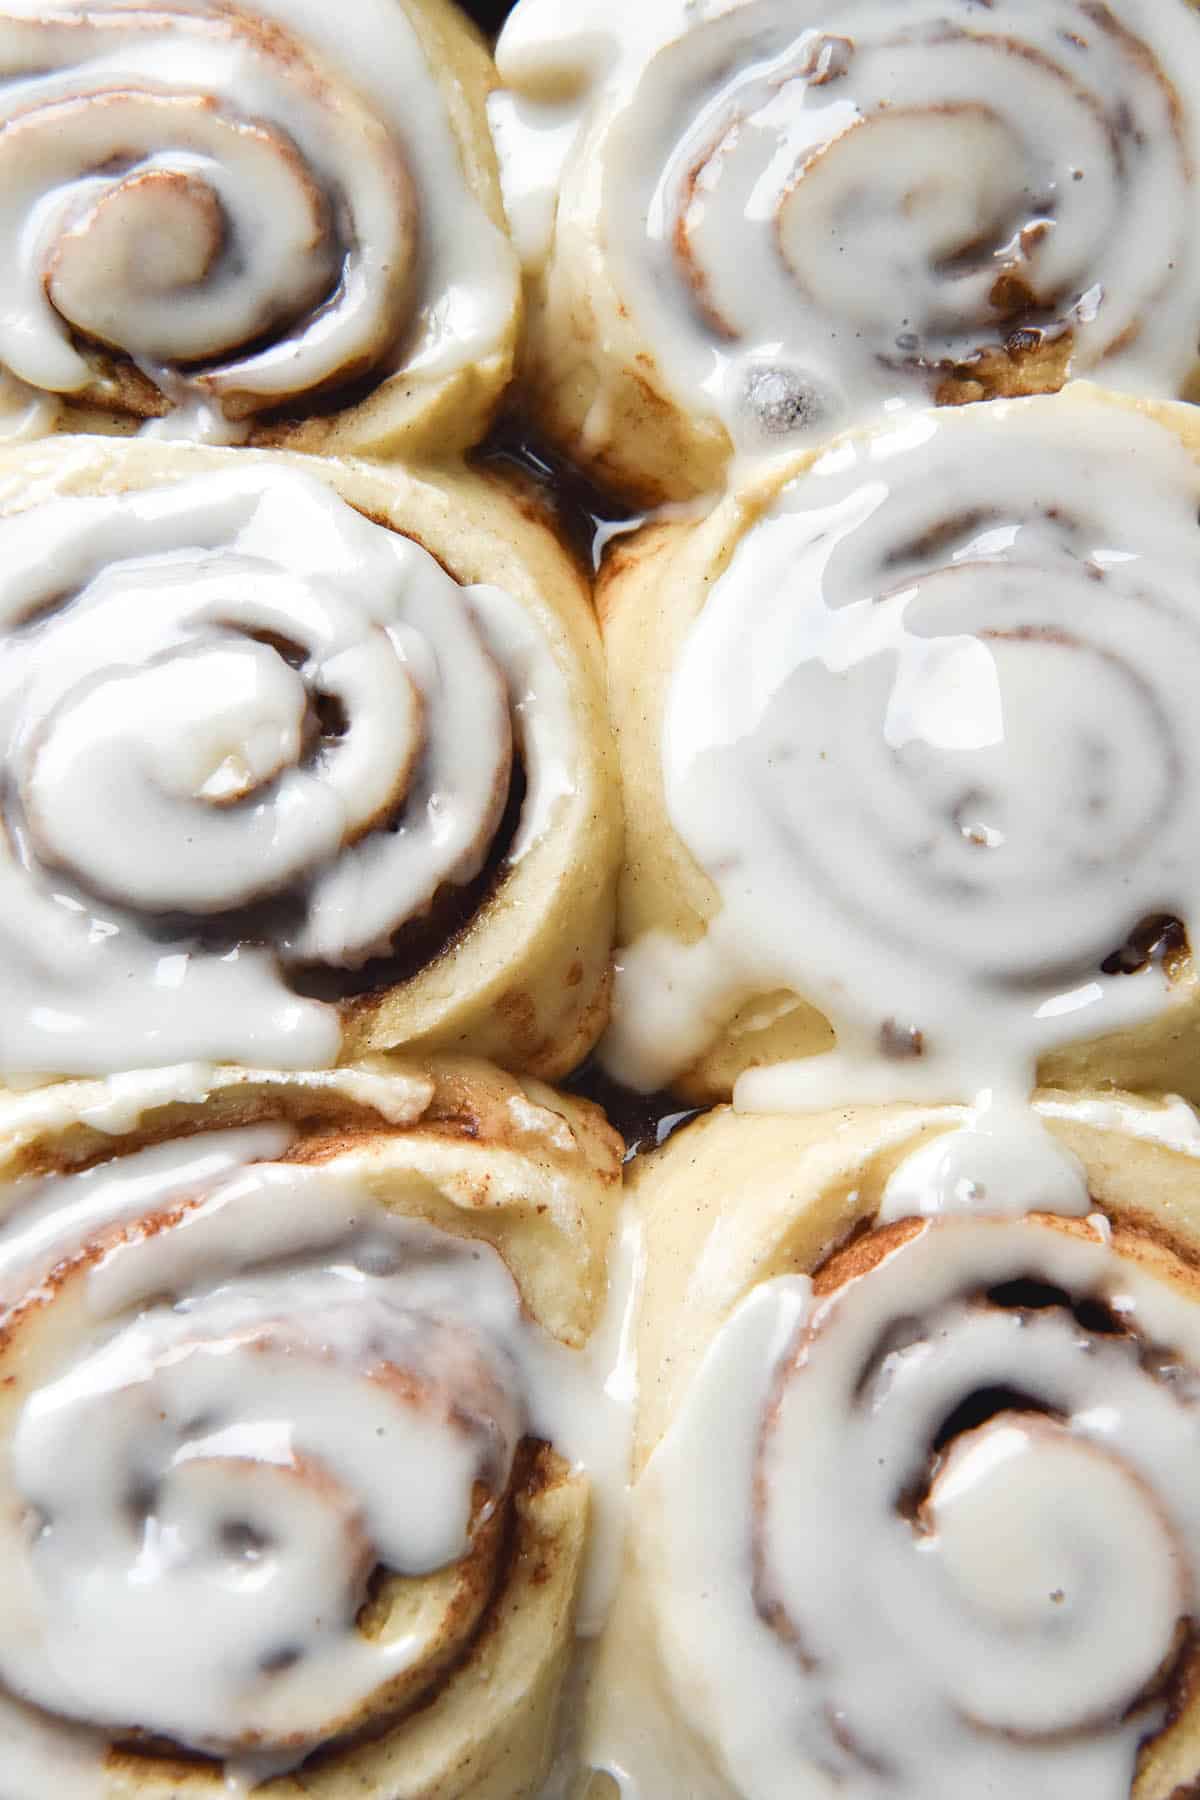
To make the icing:
- Place all the ingredients for the icing in the bowl of your KitchenAid with the whisk attachment. Beat on a medium – high speed until smooth and fluffy. Dollop the icing onto the cooled cinnamon scrolls and serve. Leftovers keep well in an airtight container for a few days. I would recommend icing them as you eat them if you plan to have leftovers, as the icing will dry out.
Hi Georgia,
I’m looking for your sourdough cinnamon roll recipe which was mentioned on a blog post with your top GF sourdough recipes but there was no link. Are you able to share it here? I’ve been loving your gf sourdough recipes, thank you so much for sharing them. Also my daughters name is Georgia 🙂 <3
Hi Zoey,
The recipe for the sourdough cinnamon scrolls in my cookbook Intolerance Friendly Kitchen 🙂
So glad you’re enjoying the recipes!