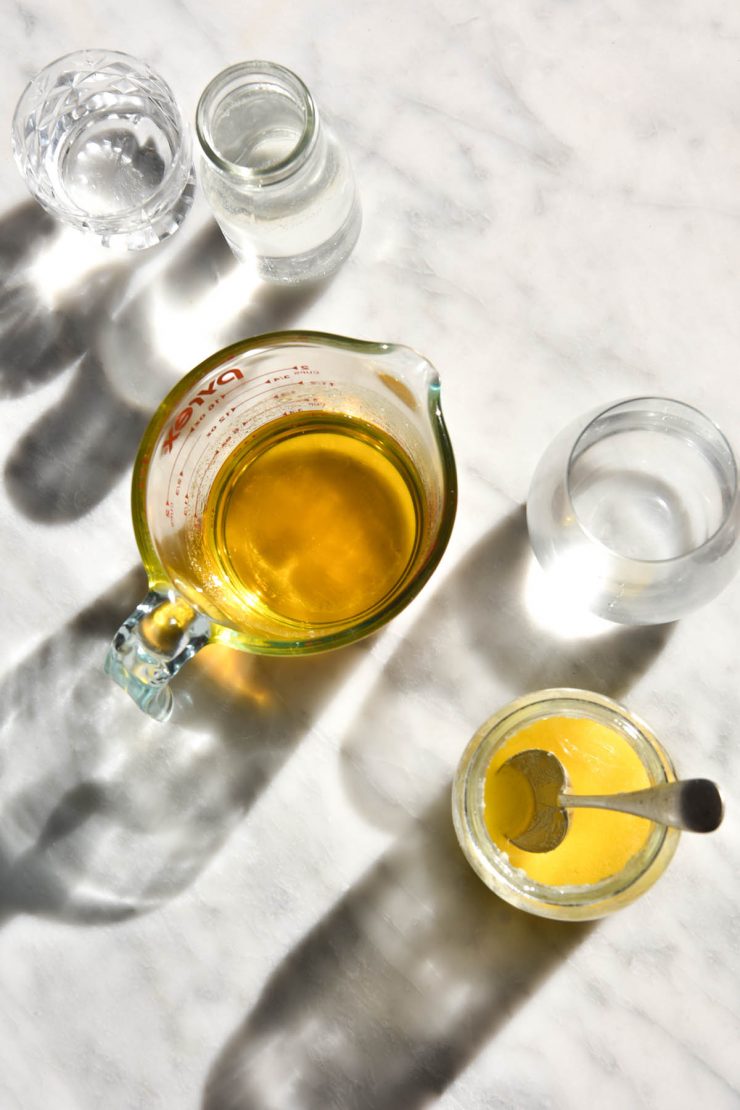
I’m not one to play favourites (I am and I have) but there are a couple of recipes that I’m particularly proud of. The gluten free croissants in my new cookbook, Intolerance Friendly Kitchen. My gluten free sourdough recipe. And now? This garlic infused ghee. The taste of garlic and buttery goodness combined is a total revelation for this garlic deprived FODMAP gal. Before you baulk, shall we get straight into the science?
Garlic infused ghee
The fructans in garlic are water soluble, but not fat soluble. So, if I were to pop some garlic cloves into a soup and fish them out before serving, the fructans would leech into the soup. However, if I were to infuse oil with garlic and strain it before use, I could harness the flavour of garlic without the FODMAPs.
Butter, of course, is not 100% fat. It contains around 80% (give or take) fat; the remainder made up of water and milk solids. If you were to cook and strain that butter, though, you’d be left with 99.9% fat, otherwise known as ghee.
Why make garlic infused ghee?
There is arguably no better combination than butter and garlic. Sadly, for people who malabsorb fructans (like me) garlic makes us feel sick after eating it. As we’ve discussed though, garlic isn’t fat soluble, which is why we can infuse it in oil. Garlic infused ghee follows that same logic:
- The fructans in garlic are water soluble but not fat soluble. This means that you can safely infused garlic in something that is 100% fat to get all of the flavour and none of the FODMAP content.
- The idea here, in summary: by making ghee, we have cooked off all the liquid from the butter. This means we can safely infuse it with garlic, without having the fructans leech into our food. We’re combining the best of butter and garlic in a FODMAP friendly way.
- It is worth noting that ghee can contain .1% liquid, which leaves a tiny margin for error. I can taste even a slice of garlic in my food and I have had no issues with this ghee. Quite the opposite: it’s my new favourite thing – a total revelation given how much I liked garlic in my past life.
Notes for your garlic infused ghee
Ghee is butter that has been slowly and gently cooked to remove any liquids and milk solids. It is sometimes called ‘oil of milk’, which I think sums it up nicely. Cooking out the liquid and straining the mixture of any milk solids that appear (the little brown flecks you see in browned butter) leaves just the butter fat behind.
If you’d prefer, you can also buy pre-made ghee. Proceed from step 5 onwards for a very easy garlic infused ghee.
As the ghee solidifies, it may or may not turn a little grainy. Some of my batches have and some haven’t. I suspect it is down to using really low temperatures, although I haven’t confirmed that. Either way, grainy ghee is nothing to fear – it will become a smooth, silky liquid as it warms up either way.
Using unsalted butter allows you to control the salinity. Salt is not a fat, so by ensuring you use unsalted butter, there is less margin for FODMAP error. That said, I have used salted butter for this before and it was fine.
Ghee lasts forever in the fridge, but I’m not 100% sure how garlic changes that. I recommend using the ghee within a week or two to be on the safe side.
Ghee has a much higher smoke point than butter, which means it’s far easier to pan fry or roast with without setting off your smoke alarm. You can use it anywhere you would use oil. My current favourite is garlic ghee on plain pasta. So simple, so good.

How to make ghee
Ghee is made by gently cooking butter so that the liquid evaporates completely. It is the same process as browning butter, although you need to be slower and more careful with the heat when making ghee. After the milk solids have become golden and the mixture has stopped spitting, it is strained of the remaining milk solids, making it almost 100% fat. It is sometimes referred to as oil of milk, which I think is a nice succinct description.
Super low heat is the best way to ensure you don’t burn your brown butter. Burnt (not browned but blackened) brown butter is a lost cause – the acrid taste permeates the fat even after you strain it. Low heat, good butter, patience and a watchful eye are all you need to make ghee.
How to make garlic infused ghee
Once you have made your ghee, it’s time to make it into garlic infused ghee! As with the garlic infused oil, it’s a simple process. Simply add as much sliced garlic as you are game to (I add a whole head) and cook it over a low heat with the ghee for about five or ten minutes, or until the garlic is golden. I like to turn the heat off and allow it to sit in the cooling ghee for a while, although I can’t say if that makes a difference to the flavour. I’m really just disorganised, so any excuse.
Why do I need to use unsalted butter?
In my experience with ghee and browned butter making, salted butter tends to spit and splutter more than unsalted. Not a huge dealbreaker, if salted is all you have, but it does make it a lot easier to see how the butter is browning without scum on the surface.
I have also found that salted butter results in a mixed bag of salinity in the end result. Some batches are subtle, others quite salty. I love salt so it’s rarely an issue for me, but some people might find it overpowering.
Salt does really round out the flavour of this garlic infused ghee, though, so I highly recommend adding some to taste before you pop it into the fridge.
What about the 0.1% of liquid potentially remaining in the ghee? What does that mean for the fructans?
There is potential for 0.1% liquid in your ghee, which the fructans can adhere to. So yes, there is a very small risk of a tiny bit of fructan in garlic ghee. I can taste garlic in anything and I don’t react to this ghee. If you feel uncomfortable though, try making the garlic oil instead. It’s not quite the same, but it is a good stand in and more flavoursome than store bought.
Do I need to make my own ghee?
No! You can use store bought, if you prefer. I find that ghee is way more expensive when you buy it as opposed to making it yourself, though. It’s too easy to make to justify how much they charge for it at the shops.
What if I accidentally over-brown the butter? How is this different to browning butter?
There’s no need to worry too much if you take the browning process a little far. We’re not talking burnt, of course, but some moderately browned and nutty smelling bits are fine. They will add a little flavour to the ghee, and they are strained off in the process anyway.
Can I make garlic infused ghee with dairy free butter?
Unfortunately not (if you need it to be FODMAP friendly). Although some plant based butter brands (like Miyokos) can brown successfully, they don’t have the same chemical make up as butter. Because they contain things like nuts, the FODMAP content of the garlic has an ‘in’. I’m also not sure that the water cooks off in the same way as regular butter. Try using the garlic infused oil instead, but stay tuned for a little something I’m working on.
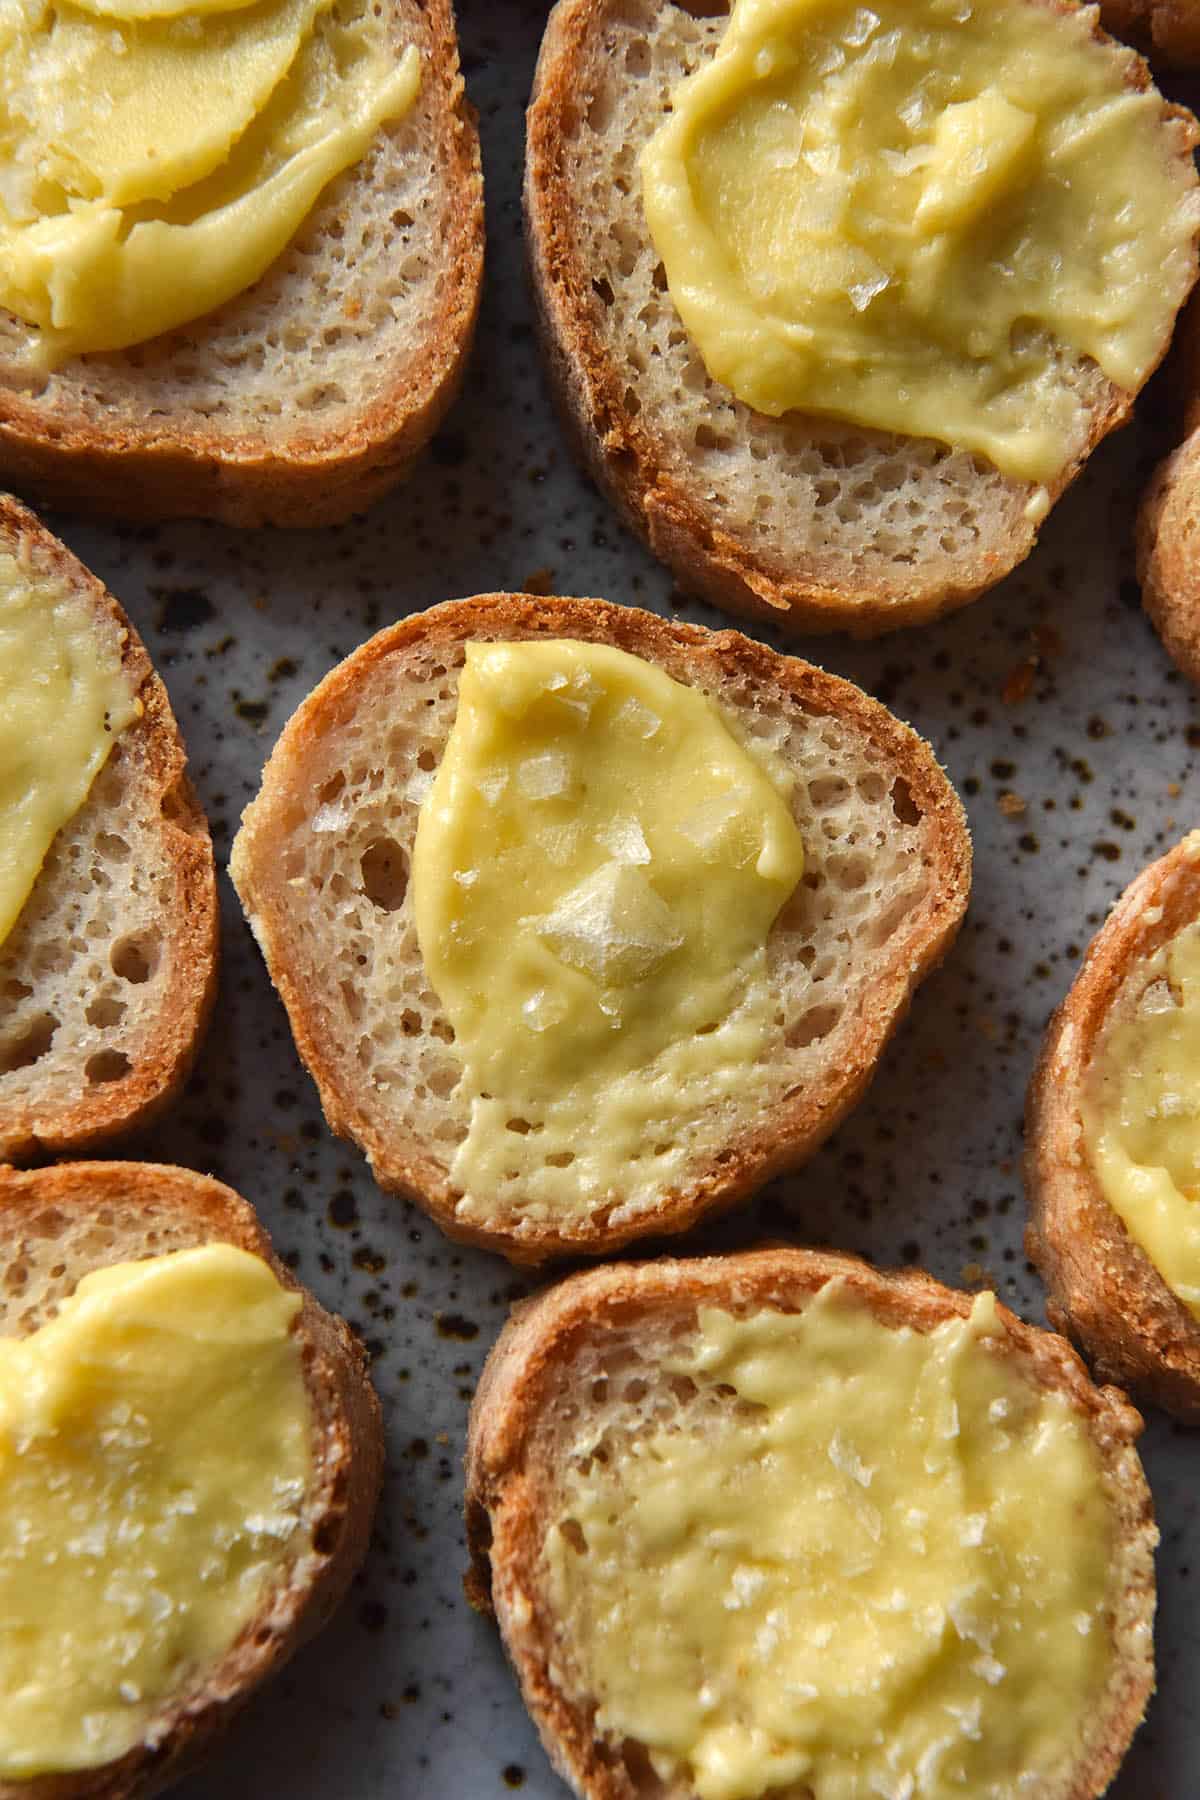
Serving suggestions for your garlic infused ghee
- Cook spinach or greens in garlic infused ghee and a sprinkle of salt for a scarily garlicky finish
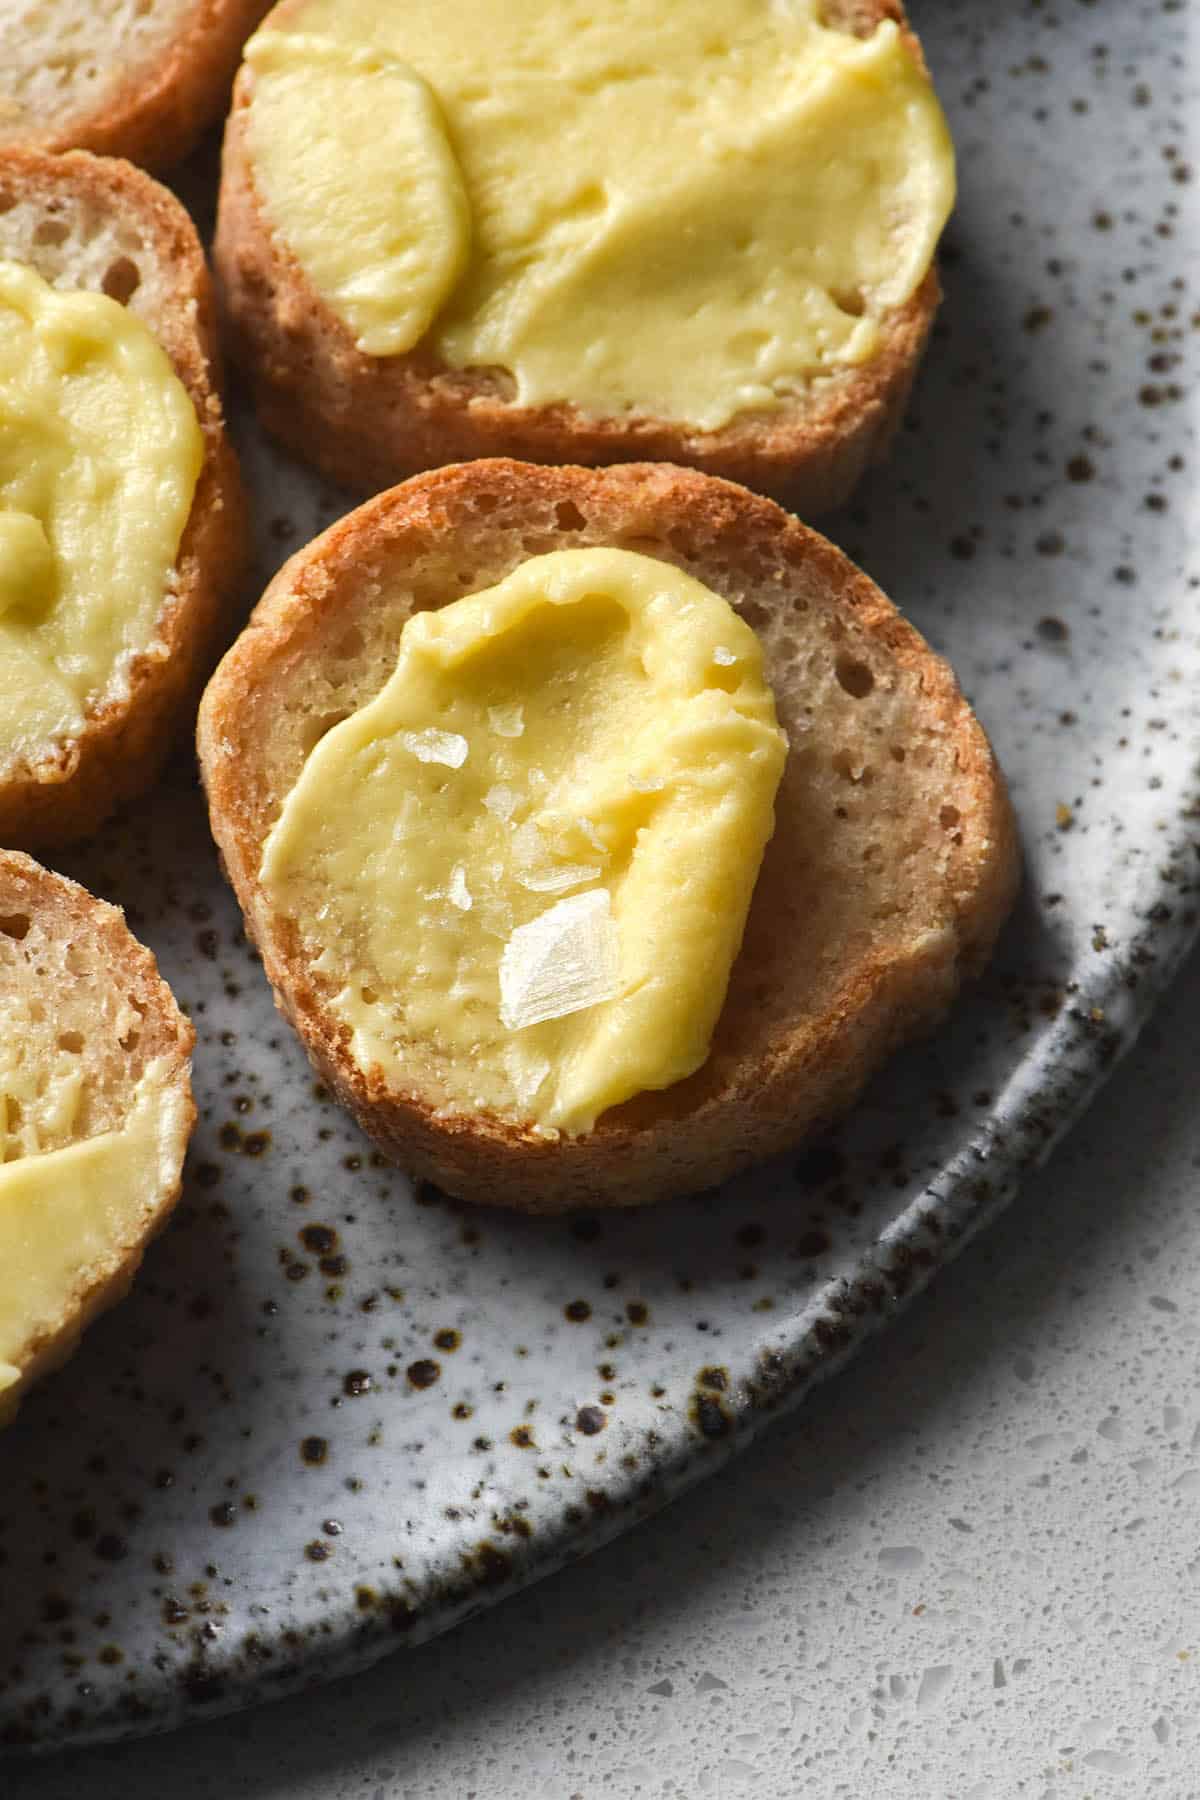
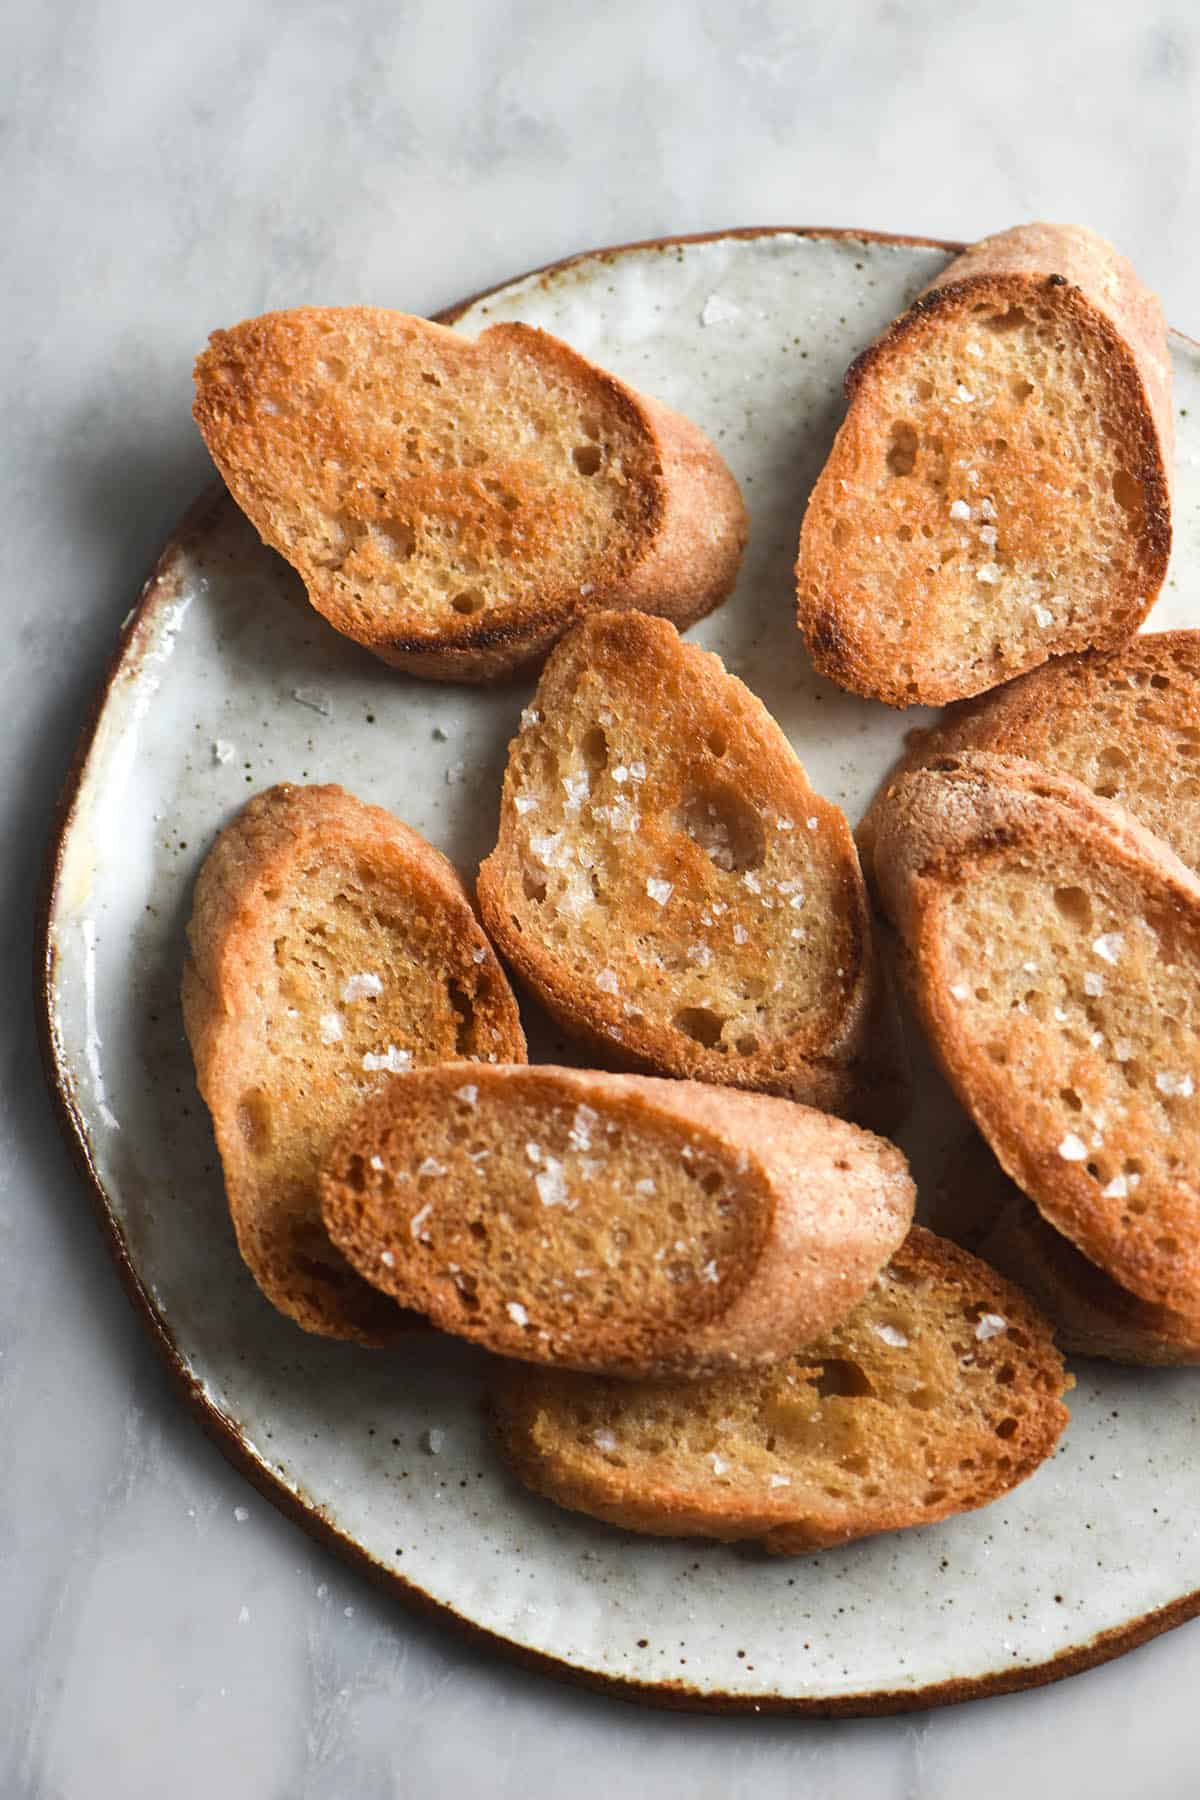
- Fry these gluten free baguettes in ghee for a garlic bread hit – you can also grill them and top them with melty cheese, or serve them basil and tomato for a bruschetta style snack
- Make a simple cacio a pepe with this garlic infused ghee as the base
- Drizzle it over pasta or roasted potatoes
- Smother it over these gluten free cheese stuffed naan. Trust me.
More low FODMAP vegetarian recipes
- FODMAP friendly chilli oil noodles
- low FODMAP garlic aglio e olio
- Crispy potatoes with garlic infused chilli oil and zingy mustard yoghurt
- Plus: all my tips and tricks for adding flavour without onion and garlic
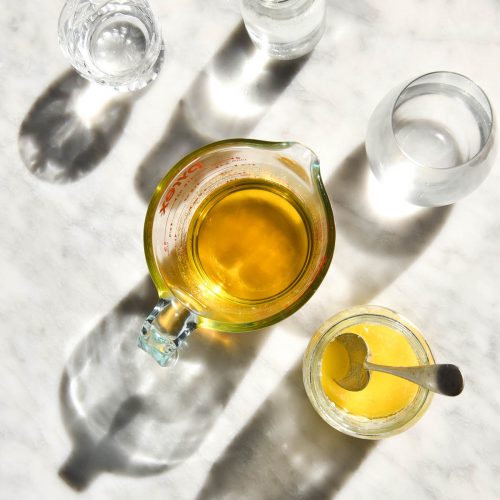
Garlic infused ghee (FODMAP friendly)
Ingredients
- 250 g good quality unsalted butter
- Head of garlic cloves papery skin removed and cloves sliced
Instructions
- Place the butter in a medium saucepan to prevent any splatter. A light-coloured base works well as it enables you to see the butter browning. Cook it atop a very low heat. First, the butter should start to bubble up and spit a little. This is to be expected as the liquid begins to cook off. Keep cooking on a really low heat, stirring occasionally.
- After a while, the bubbles should begin to get bigger, then eventually they will start to disappear. You should be able to see the butter in its vibrant yellow glory. The scum that was on the surface should have disappeared.
- Next up, the milk solids on the bottom of the pan will begin to brown. Once they’re golden and toasty, the ghee is ready to be strained.
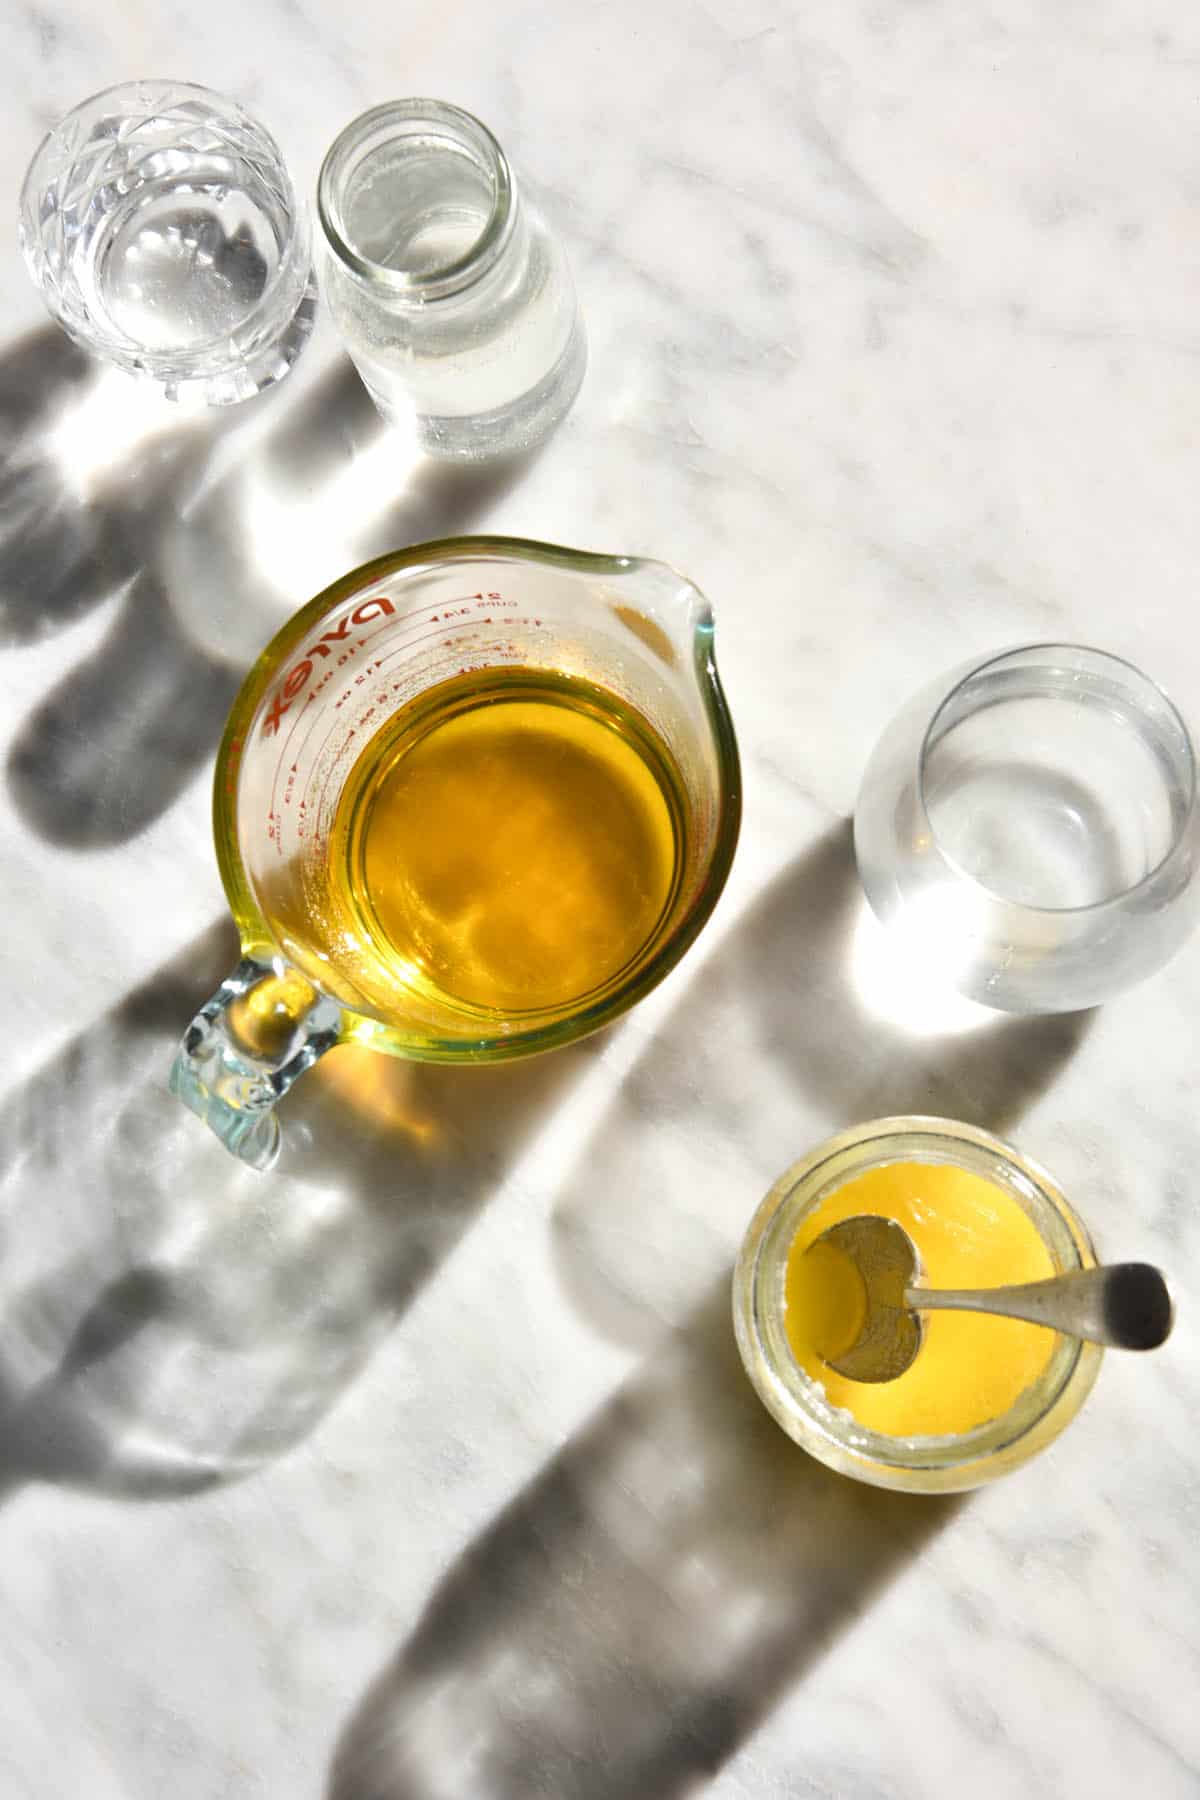
- Place a sheet of kitchen towel, muslin cloth or a nut milk bag in a fine meshed strainer. I use a small one that I place over a kitchen measuring jar. Slowly pour the ghee into the sieve and leave it alone to strain completely. You can use the browned butter bits to flavour other cooking (like stirred through some roasted vegetables).
- Once the ghee has completely strained, it’s time to make it into garlic ghee. Pour the ghee into a clean, medium saucepan and place it over a low-medium heat. Add the garlic, then cook for 5-10 minutes or until the garlic is lightly golden and the kitchen smells like heaven. The mixture might bubble up again, and that is fine. Rely on the garlic being light browned as a cue to take the ghee off the heat.
- Pour the garlic ghee into a sterilised glass jar through a sieve to separate the garlic from the ghee. Gift the garlic pieces to your garlic starved housemates.
- Keep the ghee in the fridge. Use within a week or two, although I doubt it will last that long.


No Comments