The recipe for these gluten free baguettes was originally part of the bonus e-book for my new cookbook, Intolerance Friendly Kitchen. Now that the book is out, though, I wanted to share it with everyone. It’s an incredibly easy and delicious recipe, if I do say so myself.

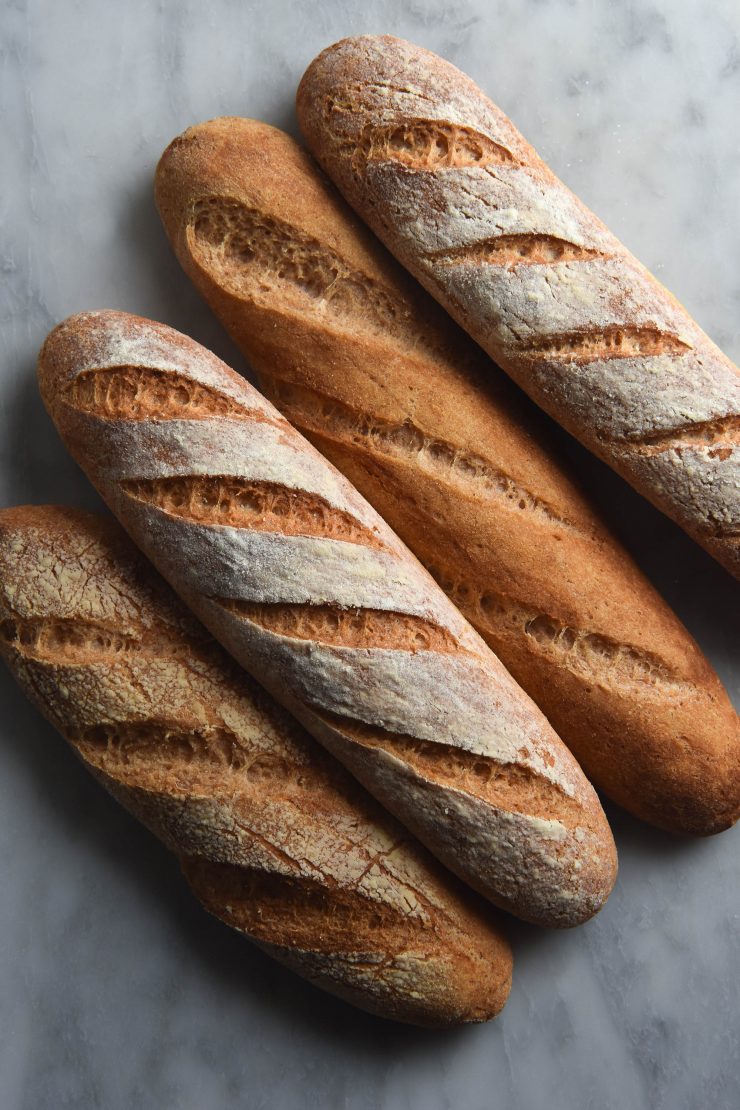
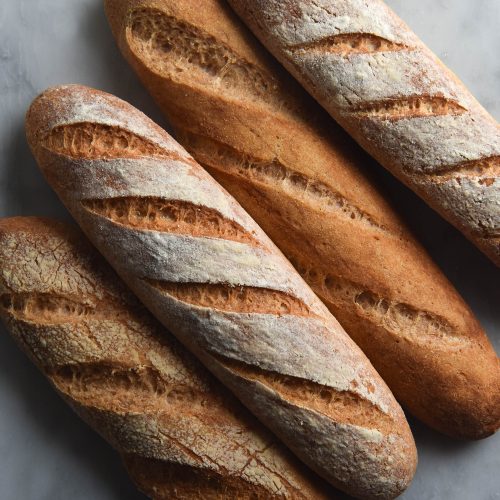
Gluten free baguettes without xanthan gum
These gluten free baguettes are FODMAP friendly, xanthan gum free, nut free, and use only two flours. They’re not overrun by starch, but they do contain tapioca flour for that stretch and light, white fluffiness. They are also enriched with an egg and butter, but we’ll go into vegan options below.
The baguettes are made without xanthan gum. They use psyllium husk for binding and elasticity. A very simple blend of white rice flour and tapioca flour is used to create a soft and light gluten free bread without the need for gums.
Ingredient notes for your gluten free baguettes
As always, make sure the white rice flour you use is finely milled and fresh. Musty, rancid rice flour has a distinct smell (unlike fresh, which smells mildly milky but otherwise not much at all). That smell and will shine through in your baked goods, as will grittiness from coarsely milled rice flour. Make sure you choose a fresh, finely milled variety – I buy mine at bulk food stores.
Again, as always, psyllium husk is not an optional ingredient in this recipe. It is a binder that forms the backbone of the baguettes. It holds them together and creates shape, but also binds enough water into the dough to make it lovely and soft.
See below for notes on how to veganise these batards.
The sugar in this recipe is food for the yeast in the dough. You could also try using honey or maple syrup if you would prefer.
Tips and tricks for your gluten free baguettes
First and foremost: yes, this recipe really does need an overnight (or 6+ hour) rest in the fridge. I tried to make it without and the result was lacklustre and flat. The resting time slowly ferments the dough to develop flavour, but it also gives it time to absorb liquid. A firmer dough = a batard with better shape.
Which brings me to the lack of a second rise in this recipe. I experimented with forming the batards and then leaving them to rise for another 30 minutes before baking, but found that the baguettes tended to spread during this time, leaving them a little flat. For a lovely perky baguette, it’s best to shape them and get them straight into the oven.
You will need a lame (bread scoring utensil) or a sharp knife and a baguette pan or two long pieces of baking paper for this recipe.
Putting the baguettes straight into the oven from the fridge will help them retain their shape. This is particularly important if you don’t have a bread pan, because they tend to spread outwards if they are left for a second proof on the bench. A second proof is more suited to a baguette pan, where they will still be given support in the oven.
I have a baguette pan and I really love it. They are definitely optional, but it does give the baguette a lovely shape and that classic pattern on the bottom of the baguette.
Making these gluten free batards or baguettes vegan
First and foremost, I haven’t yet tested these batards in vegan form. However, given the recipe I assume it is quite straightforward to do. Simply use a vegan butter substitute in place of the vegan butter. To replace the egg, add 5g extra psyllium husk and 50g extra water. Proceed with the recipe as written.
Make sure that you also brush your batards or baguettes with vegan butter. It tends not to brown as well as regular butter, so I recommend cranking the oven before putting the baguettes in. Alternatively, you can brush the baguettes with a plant based milk mixed with a little maple syrup or agave to aid with browning in the oven.
Other gluten free bread recipes without xanthan gum
- These gluten free bagels
- My favourite gluten free sourdough bread
- A white bread sourdough bread
- These gluten free bread rolls
- Gluten free buckwheat wraps
- Gluten free buckwheat bread recipes in my buckwheat e-book
Gluten free baguettes without xanthan gum
Ingredients
For the baguettes:
- 200 g (1 1/4 cups) white rice flour
- 90 g (3/4 cup) tapioca flour
- 15 g psyllium husk powder
- 1 sachet 7.5g instant yeast
- 1 tablespoon white sugar
- 3/4 teaspoon (5g) salt
- 1 teaspoon gluten free baking powder
- 1 extra-large egg
- 40 g butter melted
- 350 g water
To finish:
- Extra white rice flour for flouring the baguettes
- Melted butter for finishing the baguettes
Instructions
The night before:
- Combine the dry ingredients in a medium-large mixing bowl. Add the wet ingredients to the bowl then whisk or stir thoroughly to form a smooth, cohesive dough. Cover the dough and place in the fridge for at least 6 hours or ideally overnight.
The next day (or 6+ hours later):
- Preheat your oven to the highest possible setting. When it’s ready, boil the kettle and place a heatproof dish (I use a cake pan) of boiling water at the base of your oven.
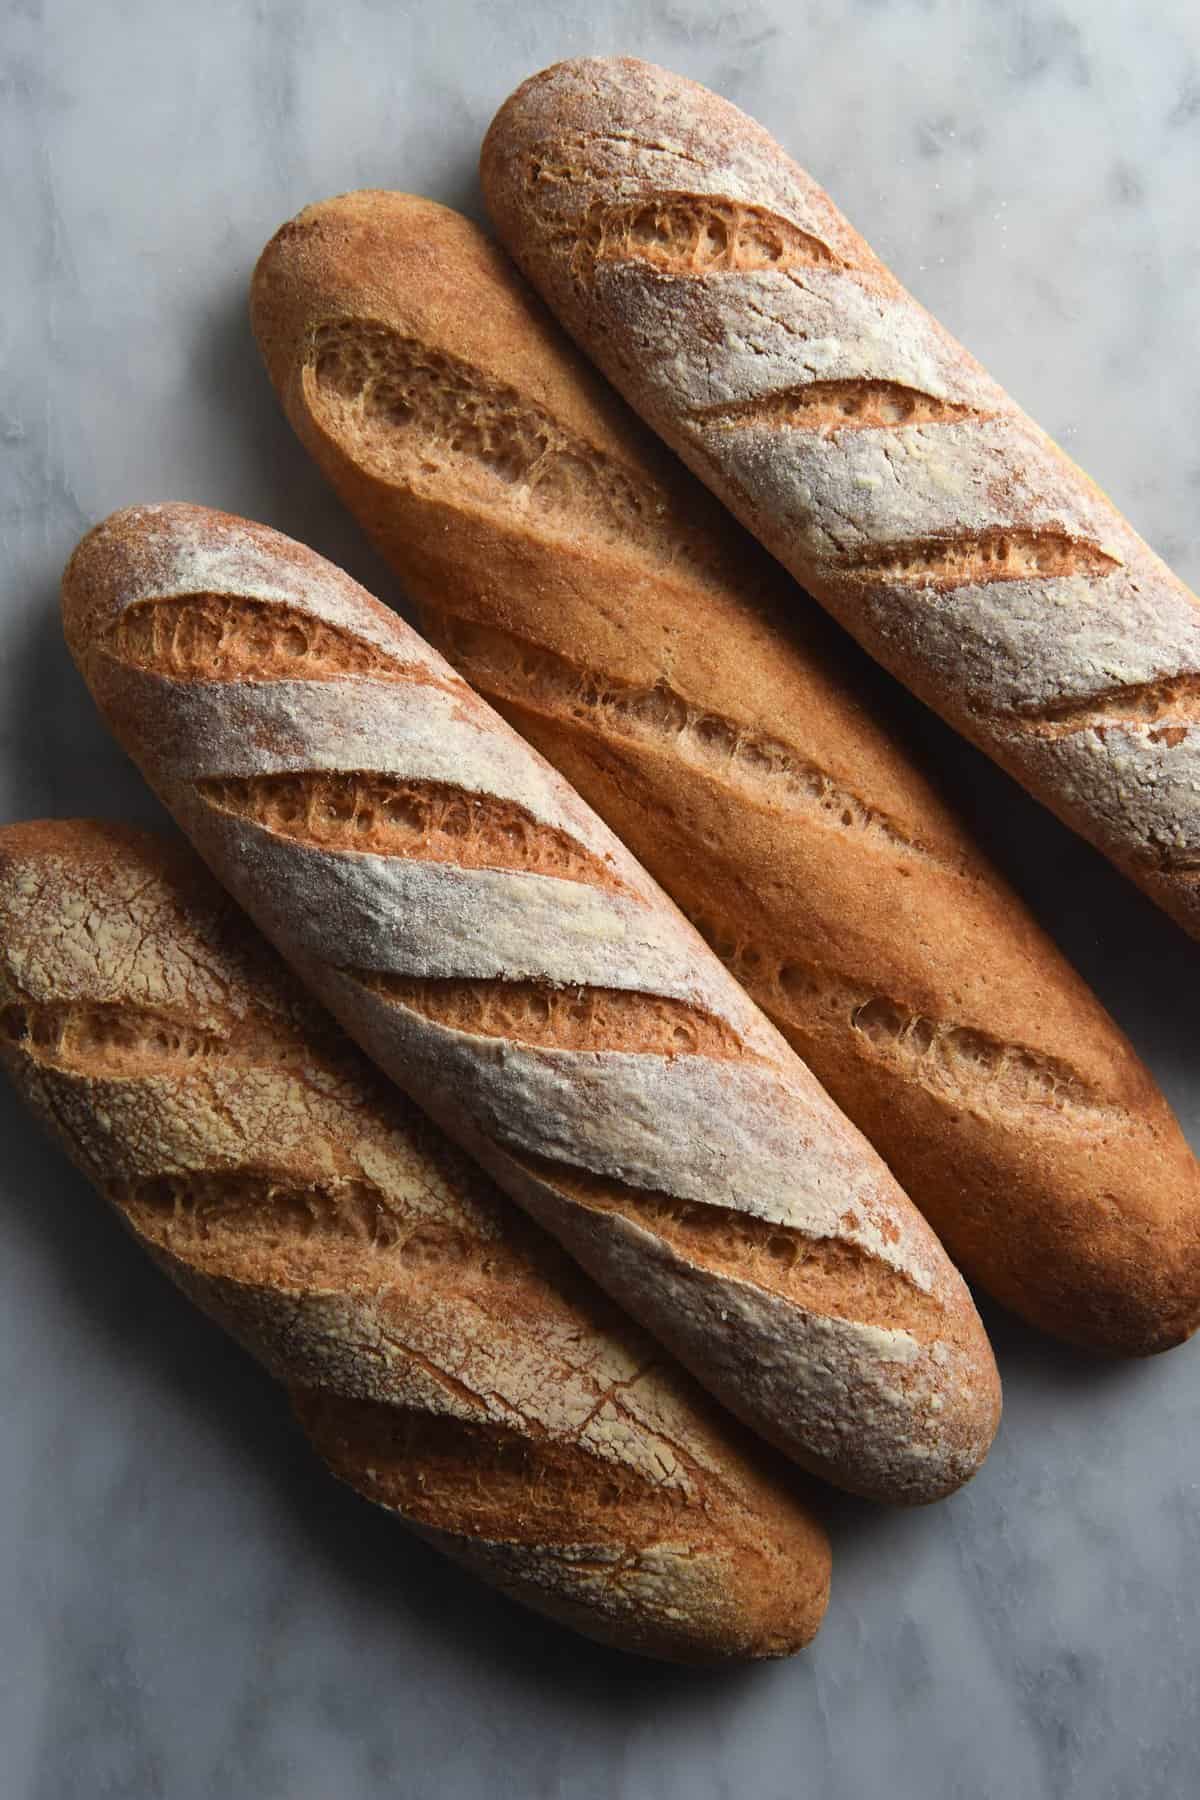
- Take the dough out of the fridge and dump it out onto a clean, dry and floured work surface. Divide the dough into two, then use floured hands to roll each ball out into your preferred shape (batard or baguette). Keep in mind that the loaves will expand in size as it proofs, so you can roll it a little thinner than you’d like. Either way, make sure the loaves have smooth tops as this will impact their appearance once baked.
- Gently place your loaves in your baguette pan or on a long pieces of baking paper on a baking tray, lightly floured. For extra browning, brush the baguettes with melted butter, then sprinkle them with some rice flour. Score your batards with the lame or sharp knife – This creates a weak point to direct the expansion of the dough as it rises. Place them straight in the oven, standing back as you open it (it will be hot and steamy!). As discussed in the body of the post, these baguettes need to be baked straight after shaping to retain their shape. They have proofed in the fridge the night before, and do not require a second proof.
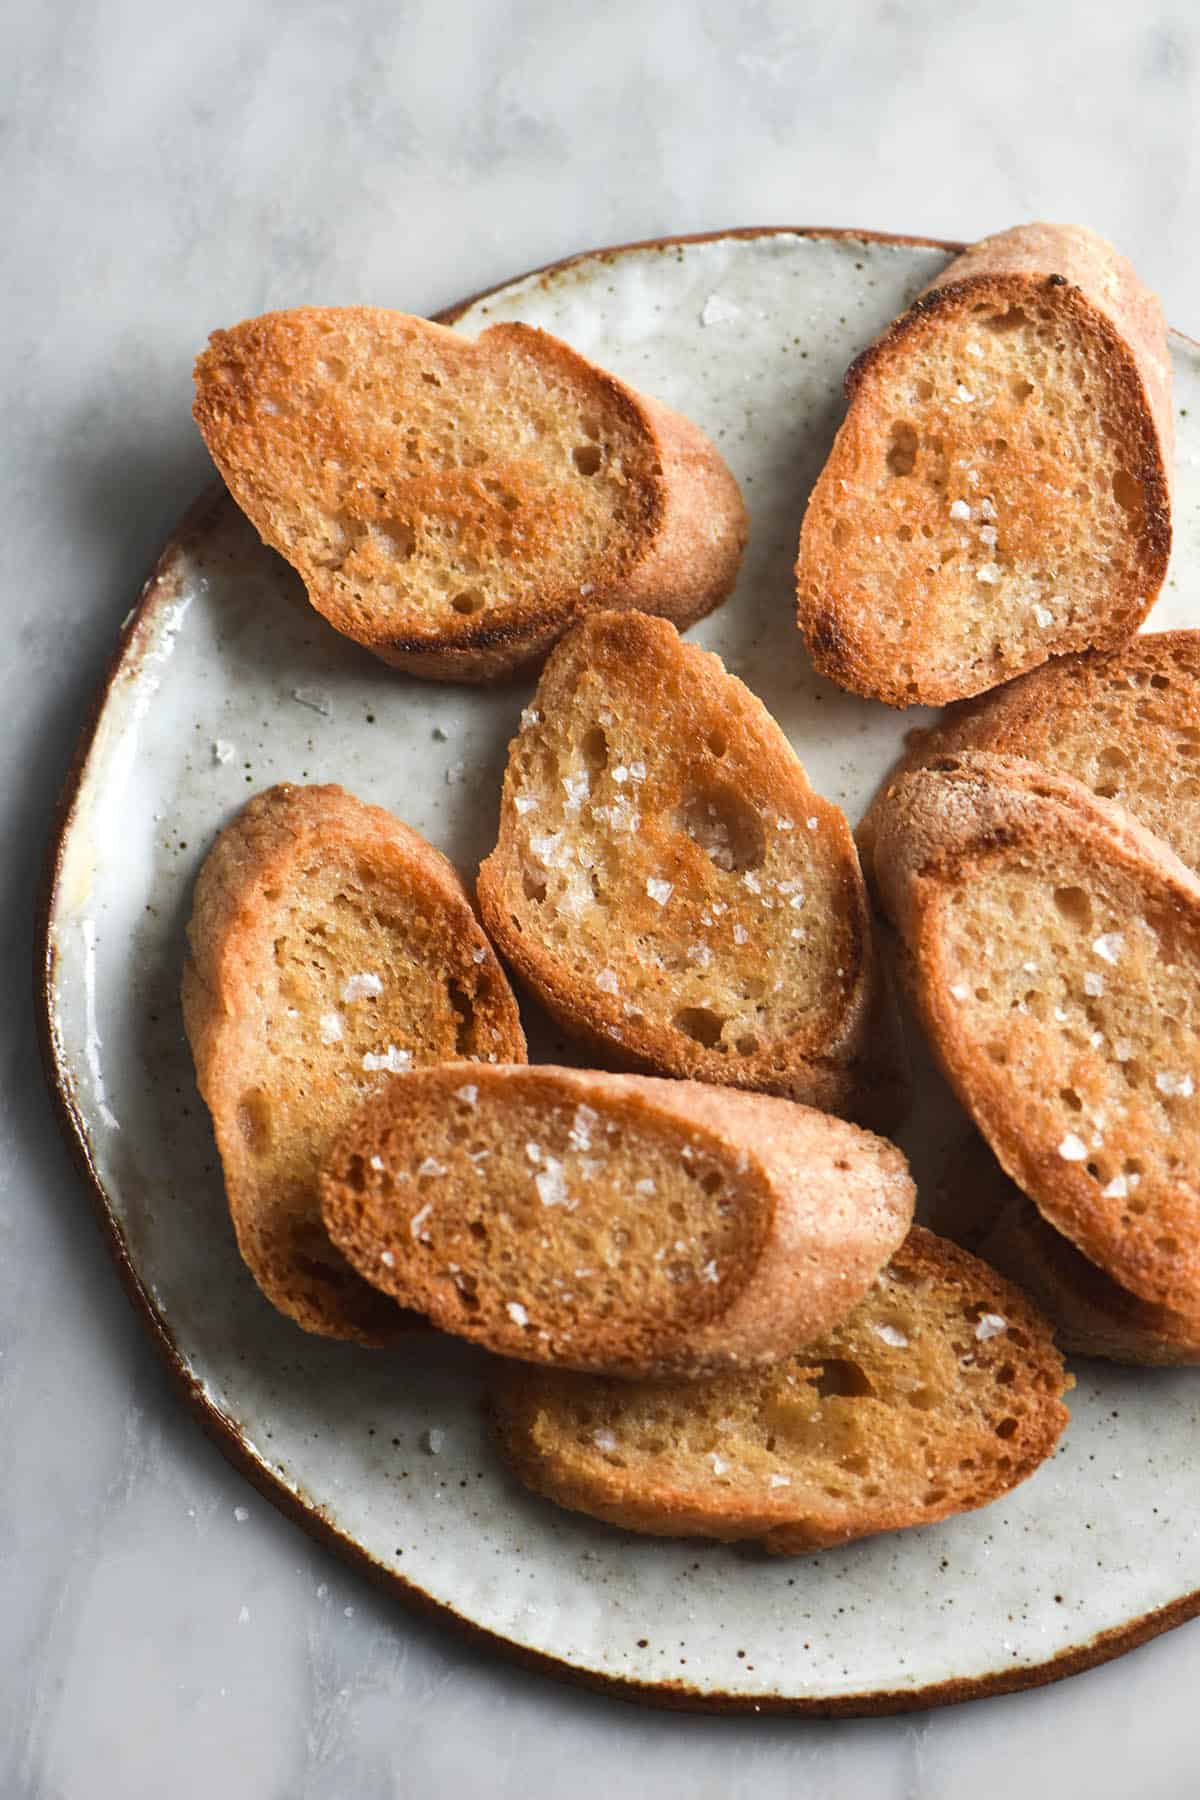
- Bake the baguettes for 10-15 minutes at the highest setting, then turn the oven down to 200C and bake for an additional 15-20 minutes (for a total of 30-35 minutes baking time) or until golden brown and crisp on top. Remove from the oven and allow to cool for at least 30 minutes before slicing. If you cut into it too early, the bread might be gummy as it hasn’t fully set yet.
Hi Georgia, I baked these baguettes today. They didn’t turn out the same way as your but I love the buttery taste of them!!! Mine are a bit soft, didn’t hold their shape and floppy. I used psyllium husk powder and baked them straight from the fridge. I am thinking maybe to reduce the liquid a tiny bit next time? I am about to bake your choc chip cookies and I am waiting for your book to arrive. I am so excited to read it. And, I love your website!!! Please don’t stop creating! ????
Hi Andre! Glad to hear you enjoyed them!
Yes, I would definitely drop the liquid back if they didn’t hold their shape. It can be a bit tricky to know how much water to add because every bag of flour will need a slightly different amount but hopefully you can find a liquid volume that works nicely for you.
You are very kind! So glad to hear you are enjoying the recipes, that truly makes my day 🙂
One of the easiest gl free recipes I’ve come across for a while. Made the mistake of not using the psyllium husk powder, changed the flour a bit to be less white, added tiny bit of xhantan gum because I didn’t have eggs and used oil instead of butter. Despite all the changes this came out one of the best GF breads I’ve baked. Trying another batch this eve. The dough is fairly soft (esp when not using psyllium husk powder) but because I’ve got the baguette baking thingies they held their shape. Fingers crossed for tomorrow mornings bake 🙂
Hiya about to try this and had a question on whether I can use tapioca starch vs flour? Thanks!
I know this is an old question, but just in case anyone is wondering the same thing, it depends exactly what your “tapioca flour” actually is. Sometimes tapioca starch is labelled as tapioca flour, sometimes tapioca flour is actually cassava flour. Where I live (UK), tapioca flour is almost always tapioca starch, but elsewhere in the world the word tapioca is used more interchangeably with cassava, so it might be the flour rather than the starch.
You should be able to tell which it is by appearance and texture; if your “tapioca flour” is a lot like cornflour/cornstarch (very fine, almost silky texture, and very white in appearance) then it is tapioca starch, if it seems more like normal white wheat flour then it’s cassava flour.
I tried this recipe as the vegan version and it kind of turned out. The texture was quite moist and floppy on the inside (it didn’t seem to hold it’s shape after cooling). Not sure if I’ve missed something in terms of the proofing after rolling out the dough? It doesn’t specify if I need to proof it then and for how long? Thanks for the recipe though!!
Hello! Let’s troubleshoot this because I think you might have missed something. They’re so good, I want them to work for you!
Did you proof these on the bench the next day? They are supposed to go straight into the oven, because they do tend to spread outwards if left to their own devices, as I discuss in the notes. Gluten free doesn’t really have enough strength to hold shape with a bench proof, hence the need to bake them straight from the fridge.
Did you use psyllium husk powder, or just psyllium husk? Powder absorbs more liquid and because of that it provides more structure. Also, did you use extra powder for the vea
I suspect it might be one of these two things, but let me know and we can go from there 🙂