I make my buckwheat wraps every single week to keep in the freezer. Seriously, every. single. week. I love that recipe and the ease of the wraps, so I wondered if the method would work for quinoa flour. It did and it does, so today we’re making quinoa wraps!
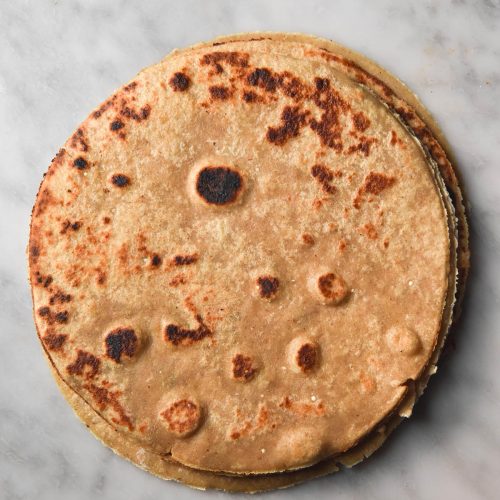
Quinoa wraps (gluten free)
These quinoa wraps are gluten free, xanthan gum free and have a dairy free/vegan option. The wraps are made with 100% quinoa flour which can also be ground fresh from whole quinoa (more on that below).
Thick plain yoghurt, oil and psyllium husk help bind the dough and make it easy to roll out.
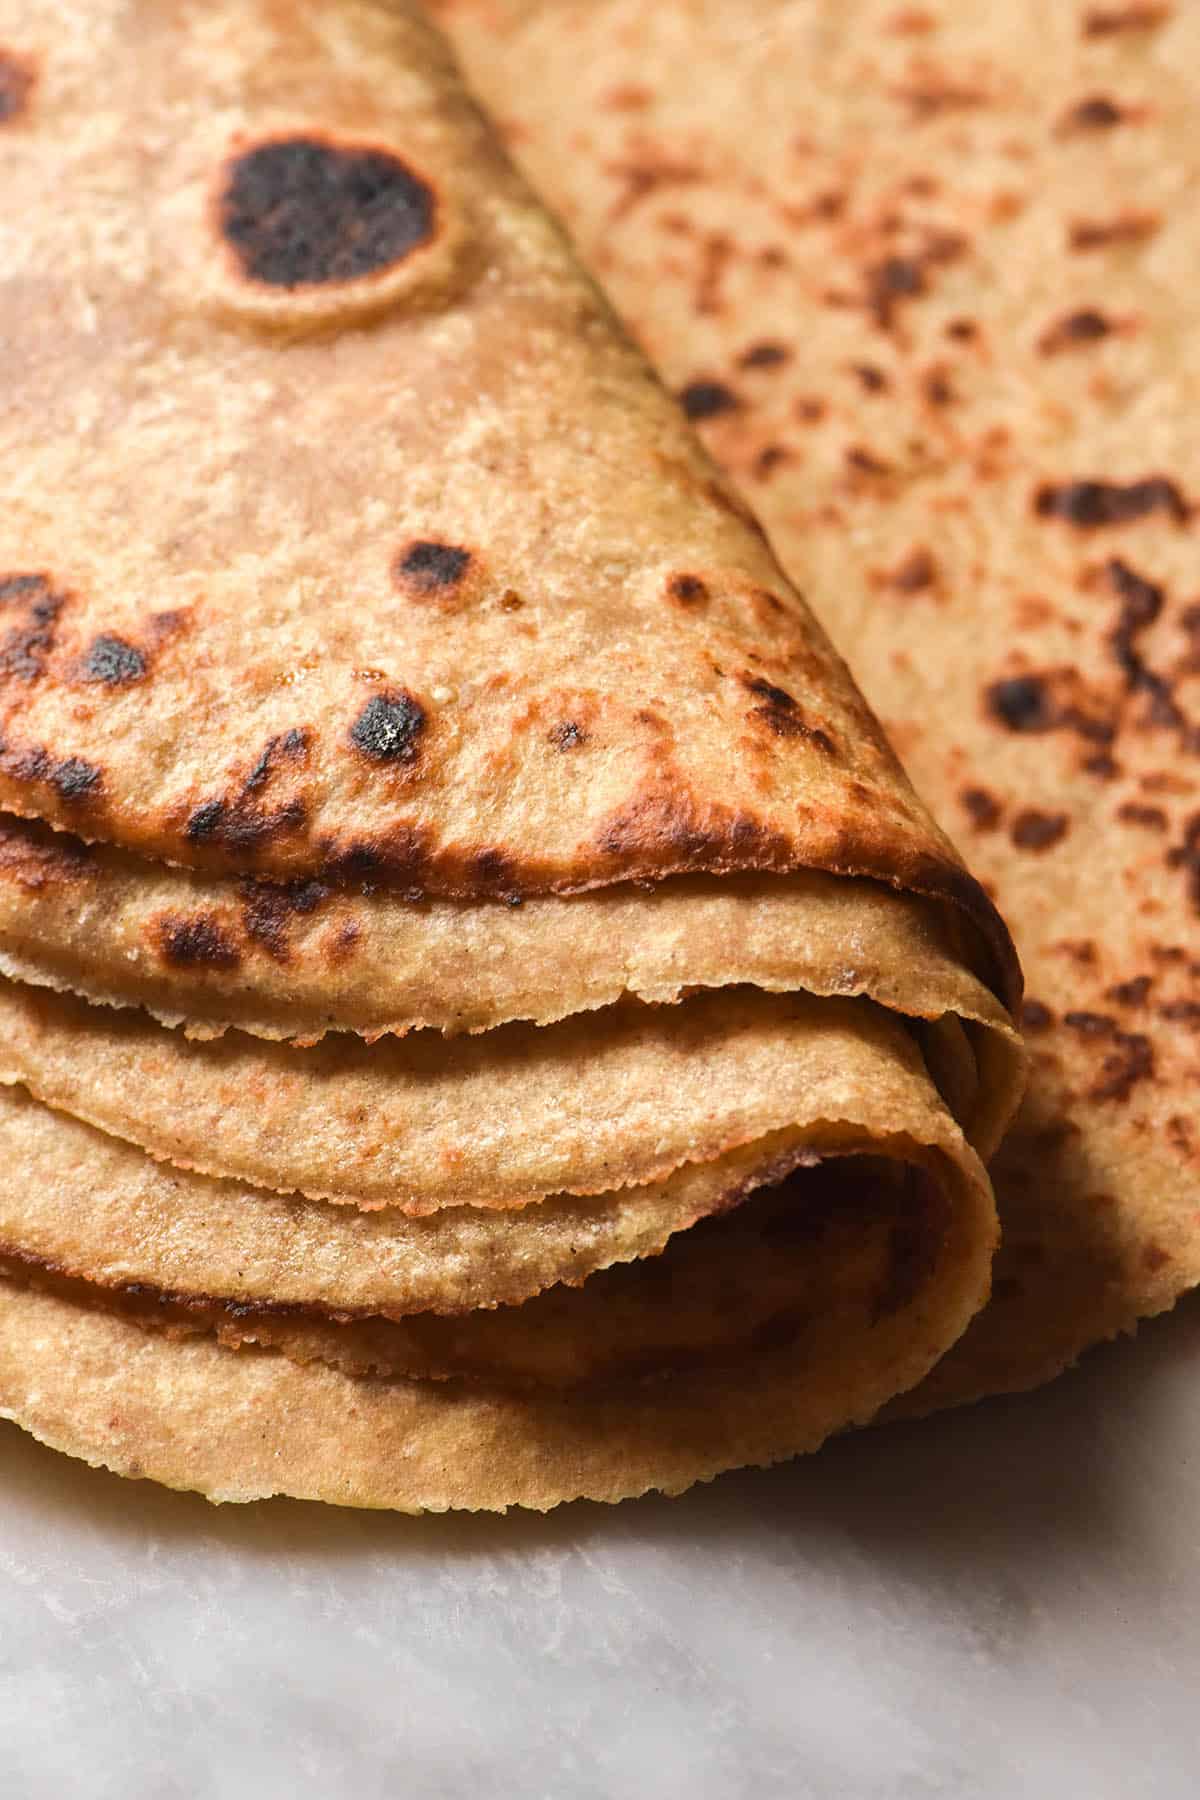
The final trick is to use a scald (boiling water) to create lovely flexible wraps.
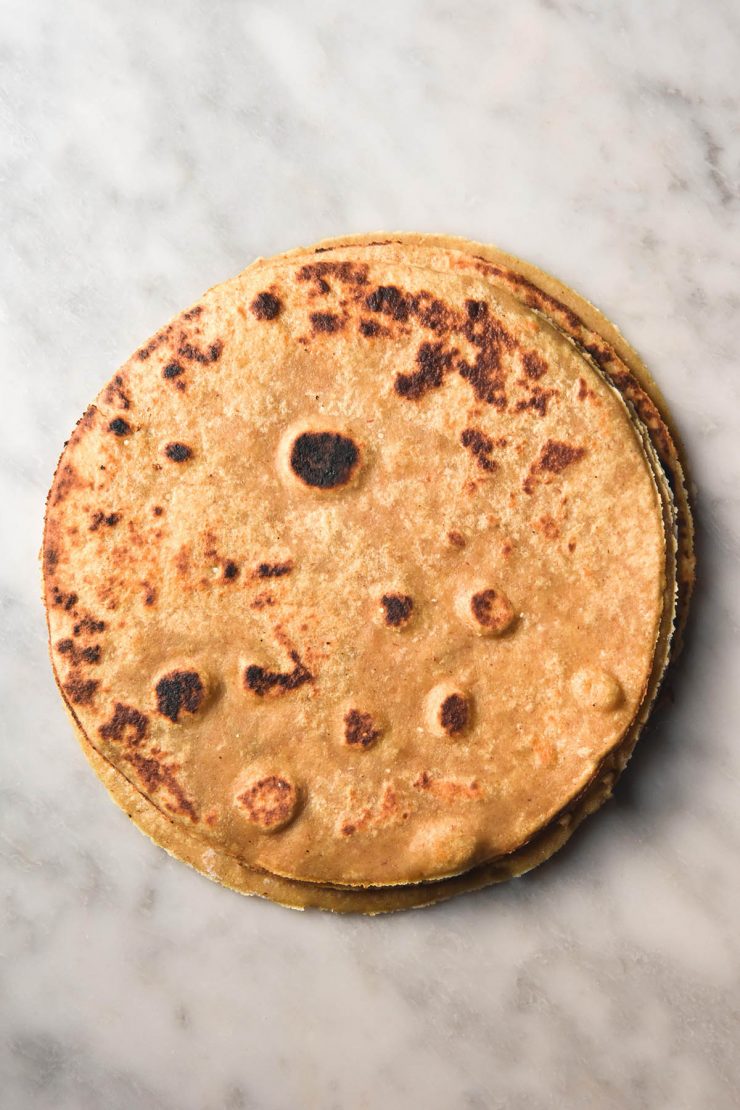
The result? Deliciously flexible wraps that have the gorgeous nutty taste of quinoa.
What is a scald?
Scalding flour is the process of pouring boiling water into the flour. The boiling water gelatinises the starches in the flour, making them infinitely more elastic. We all need all the elasticity we can get in gluten free baking, so this is is a fantastic tool to have in your arsenal.
This is particularly relevant in recipes without added starches or xanthan gum. Gelatinising the wholegrain flour goes a long way to ensure a flexible wrap.
Ingredient notes and substitution options
I’ve decided to dedicate a whole section to the quinoa below. It is the primary ingredient, after all.
Psyllium husk powder is not directly interchangeable with the larger flakes. The powder is more absorbent than the flakes. I also find it easier to use as the particle itself is smaller and doesn’t interrupt slicing etc. Personally, I grind the whole flakes to powder myself using a spice grinder. I find that the store bought stuff has a tendency to turn purple or grey in baked goods (which is purely an aesthetic issue).
I have used a plain, super thick lactose free yoghurt (Jalna brand). This recipe will also work with a good quality plain vegan yoghurt of your choosing. Try to choose one that is as thick as possible and with no sweetener or flavouring.
Quinoa flour notes
If you have access to fresh quinoa flour, by all means use a store bought brand. However, for those who don’t have easy access to it, fear not! You can easily make these wraps by grinding whole quinoa yourself (provided you have a high powered food processor).
To grind the quinoa flour yourself, you’ll need a Nutribullet or equivalent. I daresay a Vitamix would also do a bang up job, but I am not in the Vitamix tax bracket.
Simply process the grains 2-3 times to ensure they have been ground to flour completely. Not being thorough here will make your wraps a pain to roll out, so take your time.
I have written about grinding whole quinoa grains before and received a question in regards to rinsing the quinoa first. Personally, I generally never rinse it and haven’t had any issues. Some store bought brands specify they have already been rinsed, but some do not. If you want to rinse your quinoa prior to making flour, I have written a little how-to in my quinoa bread recipe.
Hydration notes
These quinoa wraps work a little bit differently to my buckwheat wrap recipe. Buckwheat flour has some inherent elasticity, which is why the recipes differ a little bit.
The quinoa version benefits from a little extra psyllium husk, for starters. However, I also find it benefits from being slightly over hydrated in the initial stages. For me, slightly over hydrated was 185ml (3/4 Australian cups) boiling water. For you, this might be a bit different.
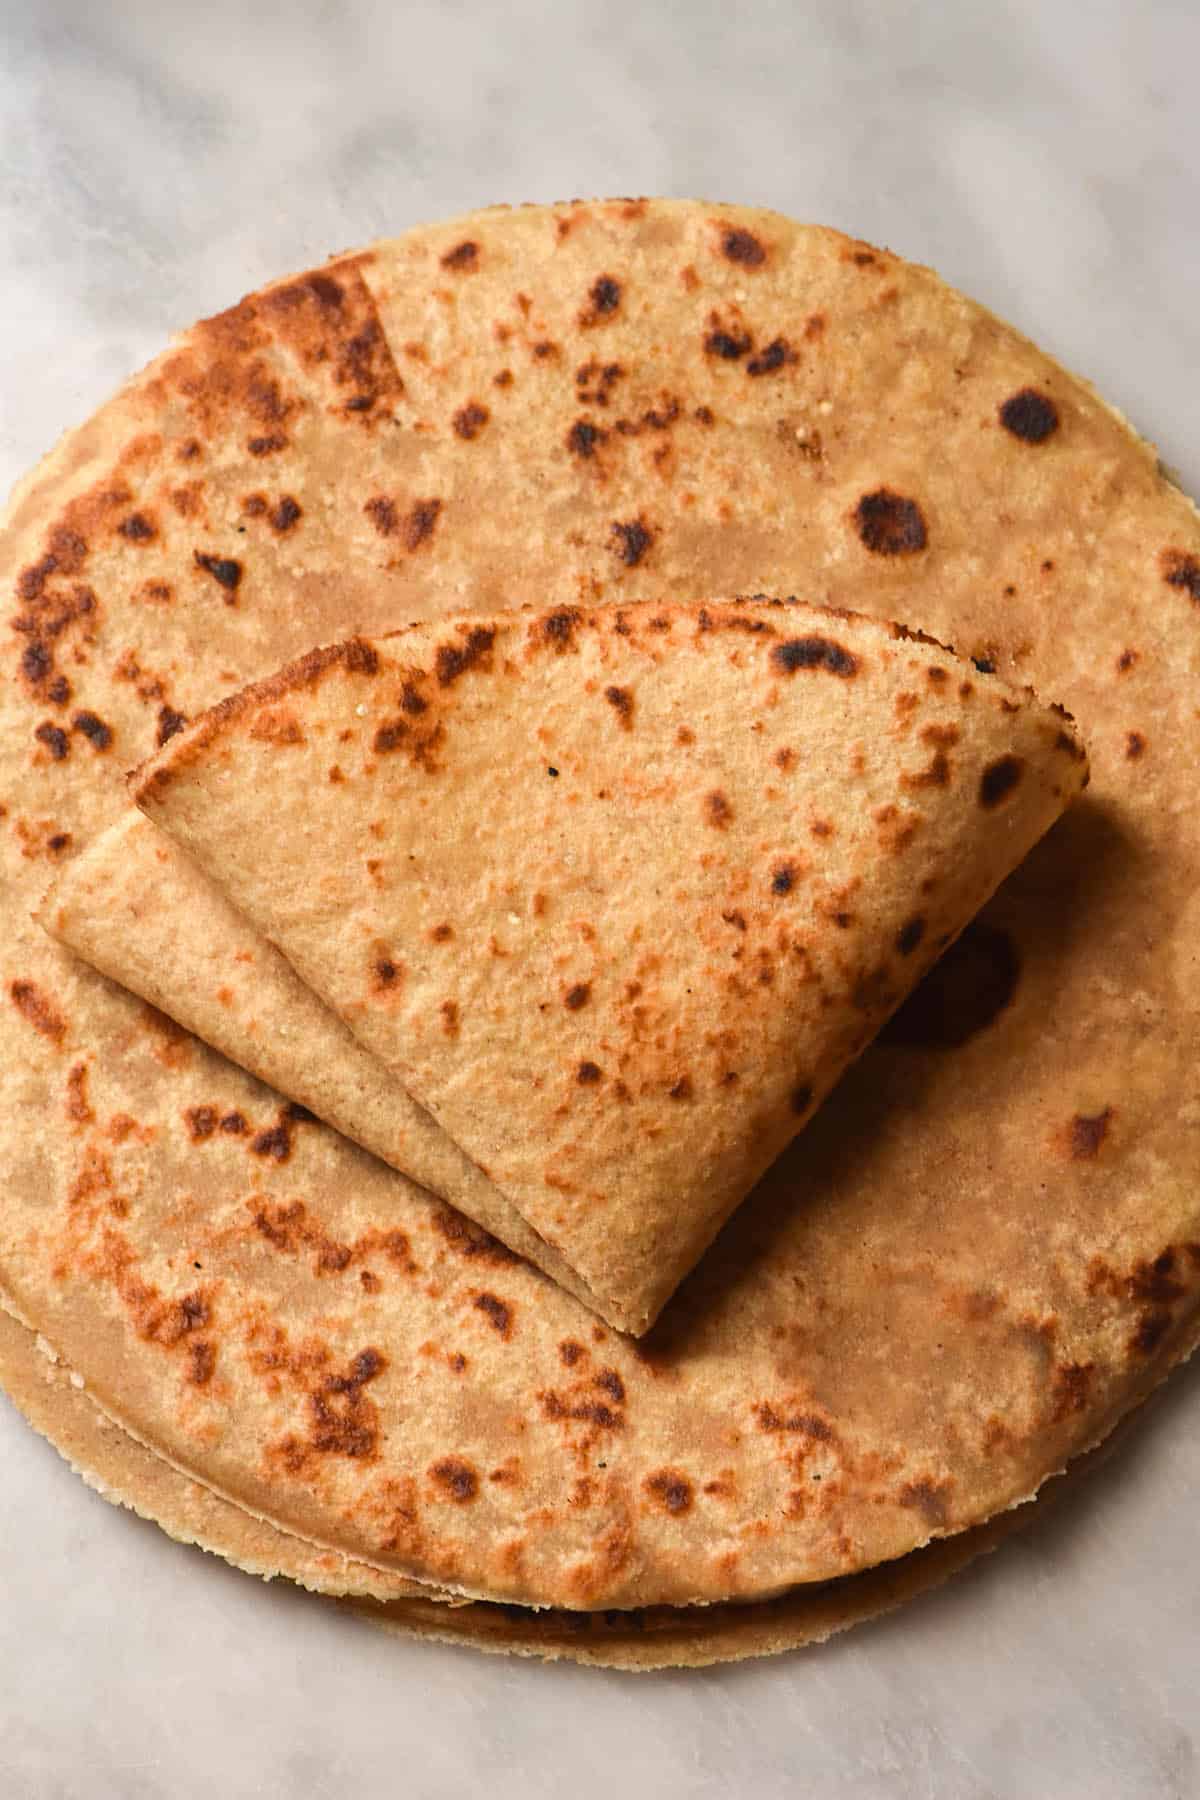
By adding a smidge too much liquid for easy wrap rolling, the dough becomes soft and pliable and makes an incredibly soft wrap.
The excess liquid is mostly absorbed by the psyllium husk, and any leftover moisture is addressed with tapioca flour when rolling out the wraps.
This method is optional, and you can certainly use the lesser volume of liquid (125ml). However, I did find that it made for a softer, more flexible wrap.
Tips for rolling out your quinoa wraps
The main tip for this recipe will always be in regards to rolling them thinly. A thin wrap is pleasant to eat and flexible, while a thick wrap is neither of those things. This quantity of dough should make 5-6 wraps – any less and you’re not rolling them thin enough.
Although the dough can feel a bit fragile, it’s stronger than it looks. It is also receptive to patching up or re-rolling.
Having lots of tapioca flour on hand is key to making the rolling process easy. It will ensure the wraps don’t stick to the bench, for starters. It will also help course correct a dough that is slightly too wet.
Why tapioca flour? It’s easily accessible (in Australia at least) and inexpensive. It is also lovely and soft, so it doesn’t add grit or texture to your quinoa wraps. In fact, any tapioca flour that gets absorbed into the dough will provide a little boost of elasticity, which is always welcome.

More gluten free bread recipes
- Gluten free buckwheat bread
- Gluten free sourdough bread without rice flour
- Grain free bread without xanthan gum
- Gluten free vegan high protein bread
- Gluten free tortillas without xanthan gum
- Teff flour wraps, buckwheat flour wraps and oat wraps
Quinoa wraps (gluten free)
Ingredients
For the wraps:
- 220g quinoa flour (see body of post)
- 5g (1 teaspoon) sugar
- 5-7.5g fine salt
- 20g psyllium husk powder
- 20ml (1 tablespoon)* oil of choice
- 100g thick plain yoghurt (I used Jalna lactose free Greek)
- 125 – 185ml (1/2 – 3/4 cup)* boiling water
To roll and cook the wraps:
- plenty of tapioca flour, for rolling out the dough
- Oil, for cooking the wraps
Instructions
- Whisk the dry ingredients together in a large bowl.
- Add the oil, yoghurt and boiling water and use a spoon to quickly stir the dough together. Quite quickly, it should become a moist but cohesive dough that you can pick up (be careful though, it will be hot!). Add the boiling water and more if needed to form a dough that is plump, moist and feels a tiny bit wetter than would easily roll out. The dough shouldn't feel crumbly or chalky in your hands.
- I find that this dough benefits from being slightly too wet to begin with (see hydration notes in body of post). It makes for softer wraps and dough that is easier to roll out.
- Allow the dough to sit for a minute or so (up to 10 minutes for a wetter dough) then place onto a dry clean bench top. Knead for a minute or just until it forms a smooth, moist ball of dough. Cover with the bowl you mixed it in for 2-3 minutes.
- Flour a bench top with tapioca flour. Divide the dough into 5-6 balls. These wraps are best when made really thin – they are more flexible and less doughy.
- Take the first piece of dough and roll it out as thin and wide as you can. I aim for roughly 2mm thickness. Use a large mixing bowl with a sharp lid or a spring form cake tin edge (22cm diameter) to cut a circular wrap out of your dough. Make sure the dough is larger than the bowl before you cut. Press down and wriggle gently to ensure a clean cut.
- Gather the scraps back into the dough and repeat with the remaining dough until you have all your wraps.
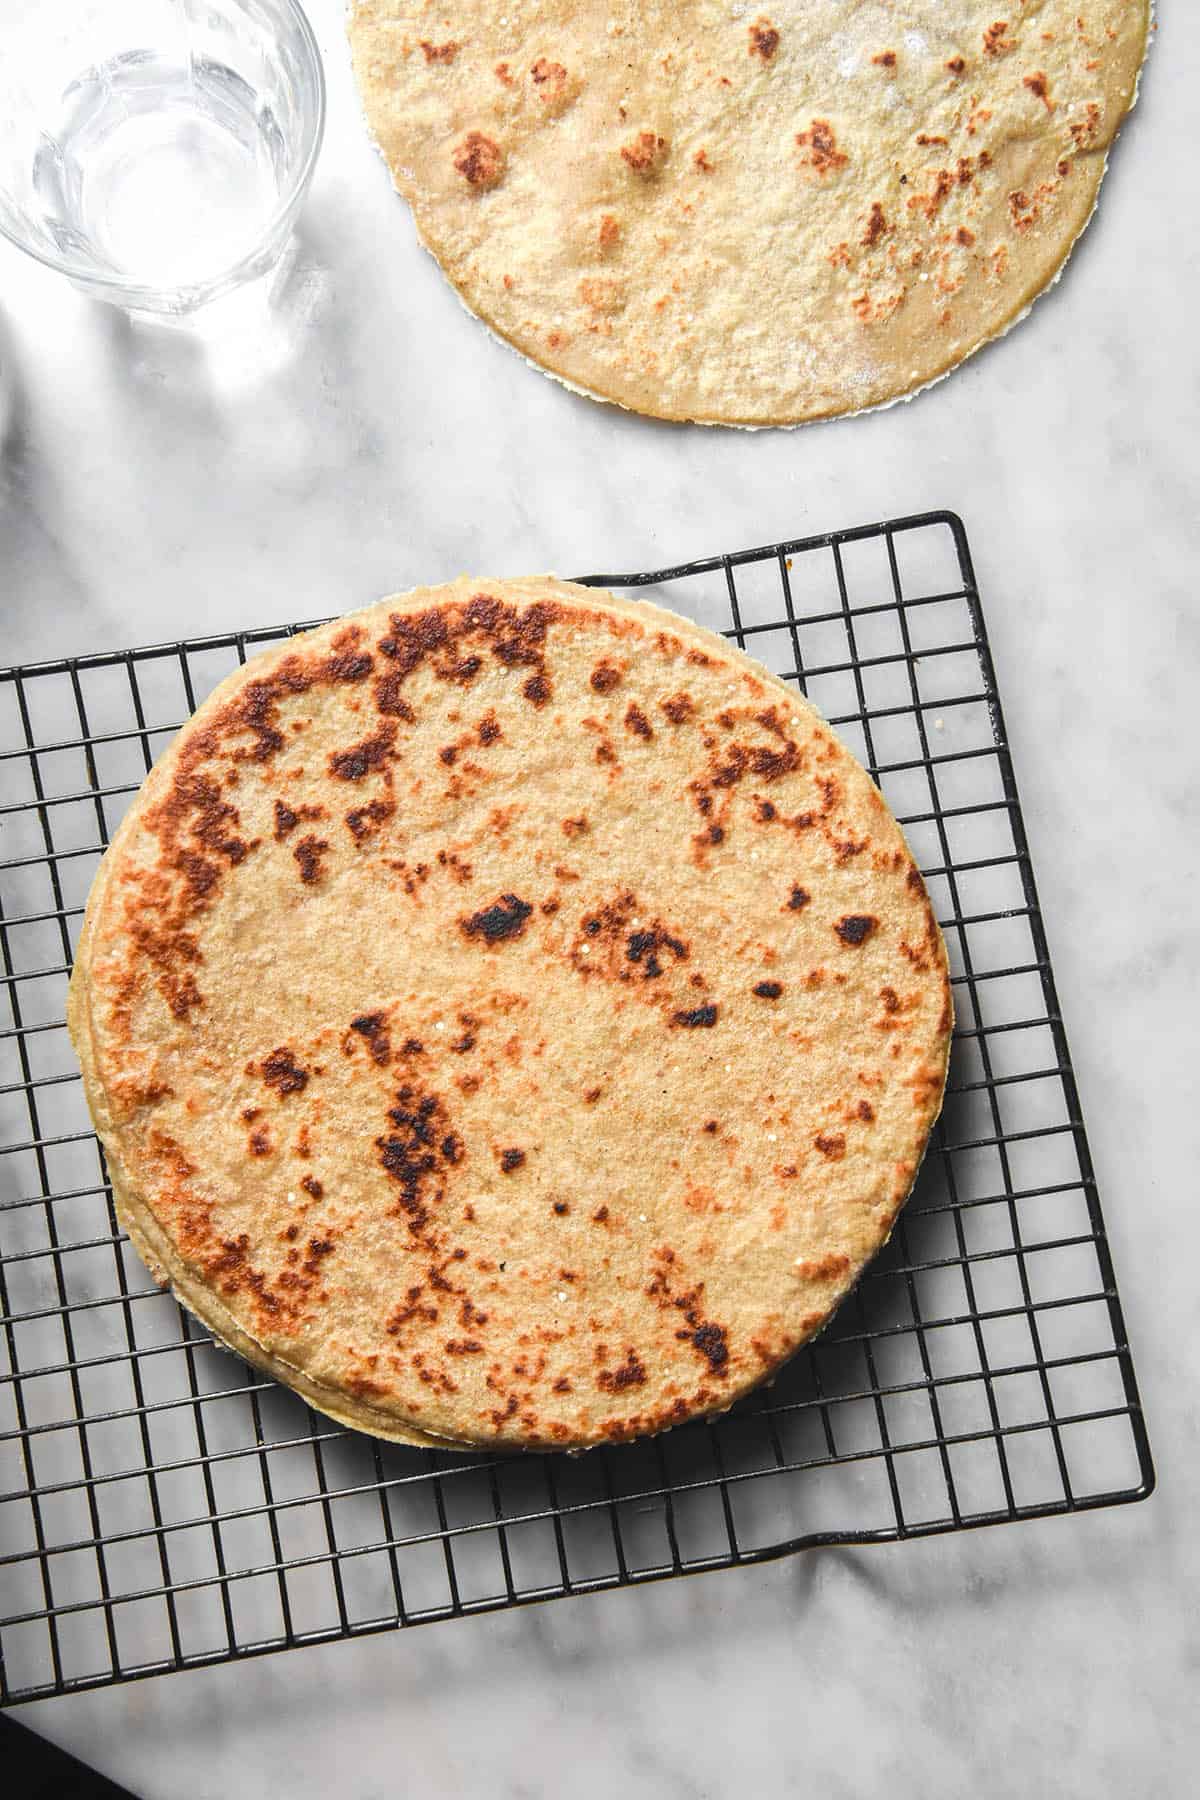
- Preheat a large skillet or fry pan over a medium heat. Once hot, add a scant amount of ghee or oil if you’re using it. Add the first wrap and cook for 1-2 minutes before flipping to cook on the other side. The wrap should look cooked and perhaps have some lightly browned spots. Repeat with the remaining wraps.
- Store leftovers in an airtight container in the fridge. To use, simply microwave or heat in a steamy oven to restore their flexibility. You can also freeze and defrost the wraps in the microwave or in a warm pan with a splash of water for steam.
Notes
- You can use vegan yoghurt in place of regular yoghurt here. Choose a plain, unsweetened variety and try to find one that is as thick as possible. You might need to adjust the hydration of the dough if you use a runny yoghurt.
- The sugar is added for browning and to offset any slight bitterness from the quinoa flour.
- It’s very important to roll these wraps thinly. Thick dough will remain uncooked and be unpleasant to eat. It also will not be able to roll up like thin dough. This batch of dough should make 5-6 22cm diameter wraps that are only 2-3mm thin.
- You can double this recipe and freeze the wraps. I defrost them in the microwave, but you could also heat them in a steamy pan or just let them come to temperature before using.
If I use almond,coconut milk instead of yogurt, what would be the measurement.
Hi Filiz! You can’t use milk instead of yoghurt – these need yoghurt for flexibility and binding.
If you use coconut yoghurt instead of regular yoghurt, it is the same gram weight as the regular yoghurt.
I haven’t tested almond yoghurt here and I suspect it would be too thin and not fatty enough, so I would recommend coconut yoghurt 🙂