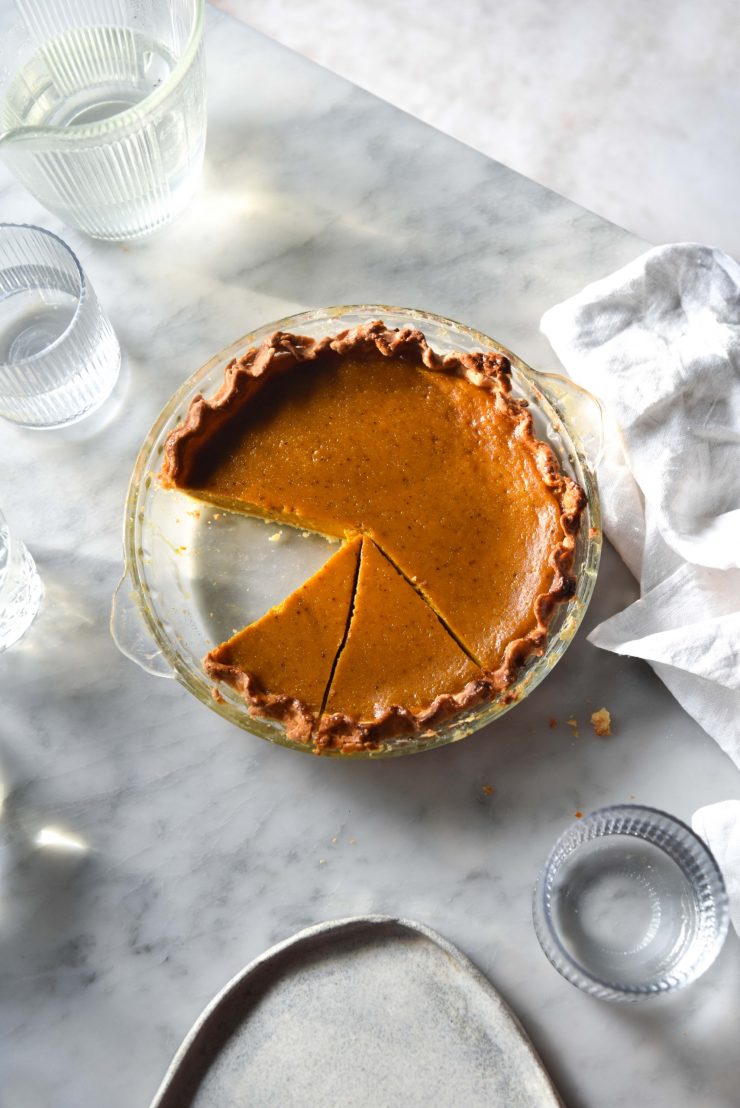
Why yes, I am an Australian with no cultural affiliation to Thanksgiving, developing a gluten free pumpkin pie Thanksgiving adjacent recipes. While I’m no expert at Thanksgiving food, I am a total expert at missing out on the most delicious dishes at any given celebration. As a result, I’m sharing this recipe for a gluten free pumpkin pie, with dynamite gluten free pastry to match.
A quick allergen note: this gluten free pumpkin pie is nut free, low in refined sugar (save for 2 tablespoons in the pastry) and FODMAP friendly. Obviously it is also gluten free.
There are plenty of recipes for gluten free pumpkin pie around. However, my gripe is that many of them use ‘gluten free flour mix.’ Given that no two blends are made equal, it irritates me that the recipe user is basically left to test the recipe with the flour blend they have.
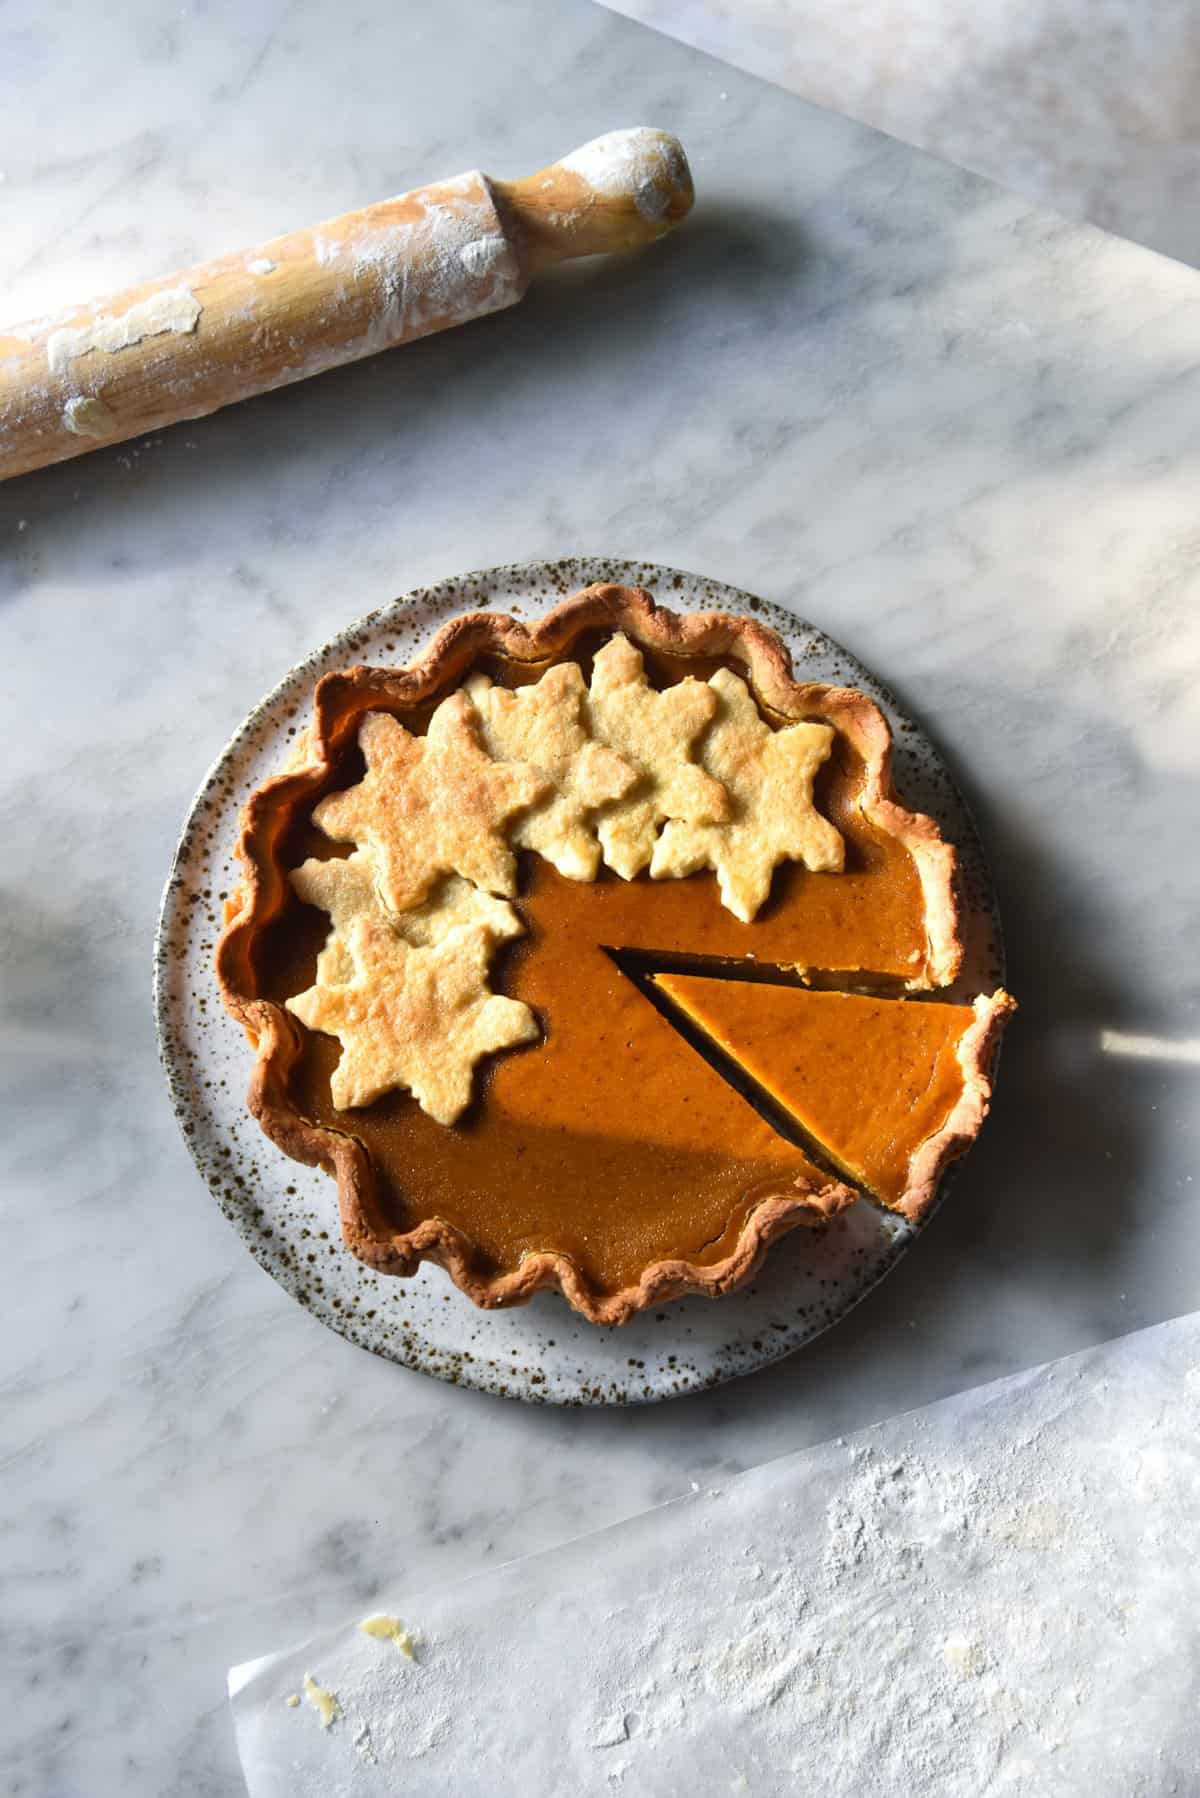
Gluten free pumpkin pie dough
So, this gluten free pastry recipe is made from scratch. It uses three flours that are available at the supermarket – white rice flour, glutinous rice flour (in the Asian section, usually down the bottom) and tapioca flour. Each flour serves a distinct purpose in this recipe.
White rice flour is the workhorse of the group – a somewhat gritty yet reliable flour that is the backbone of the pastry.
Glutinous rice flour provides both lightness and stretchiness to the dough. Glutinous rice flour is used to make mochi, if that gives you an idea.
Tapioca flour has a similar function to the glutinous rice, albeit in different ways and with a little less stretch. If you’d like more information on the flours, see my guide to gluten free flour for more.
What is the other trick we have up our sleeve? Sour cream, my friends.
Sour cream
So yeah, our magic ingredient is of course sour cream. Preferably full fat, maybe lactose free. Firstly, let me start by saying that you need only buy lactose free sour cream if you have a lactose intolerance. Divided between 8-10 slices of pie, 100g of lactose should be doable for most people. Monash FODMAP app says that 1 serve (40g) of full fat cream gets the green light, so approximately 10g per serve is negligible. You can, if you must, use lactose free sour cream, although in Australia we only seem to have a ‘light’ variety. Because there’s more liquid vs fat in light version, the pastry won’t be nearly as rich and flaky.
The sour cream in this recipe replaces the traditionally used ice water in pastry making. It prevents the dreaded crumbly, dry and choke-worthy pastry result, while also making the dough more supple and easy to work with. It provides a real richness to the pastry that compensates for the ‘gluten-free-ness’ of the recipe.
Xanthan gum
This addition is a new one. You can definitely make this pastry without it (this is how I developed it). However, if you value your sanity and/or plan to do anything remotely intricate, I highly recommend using 1 teaspoon of xanthan gum. It makes the pastry a total dream to roll out and work with.
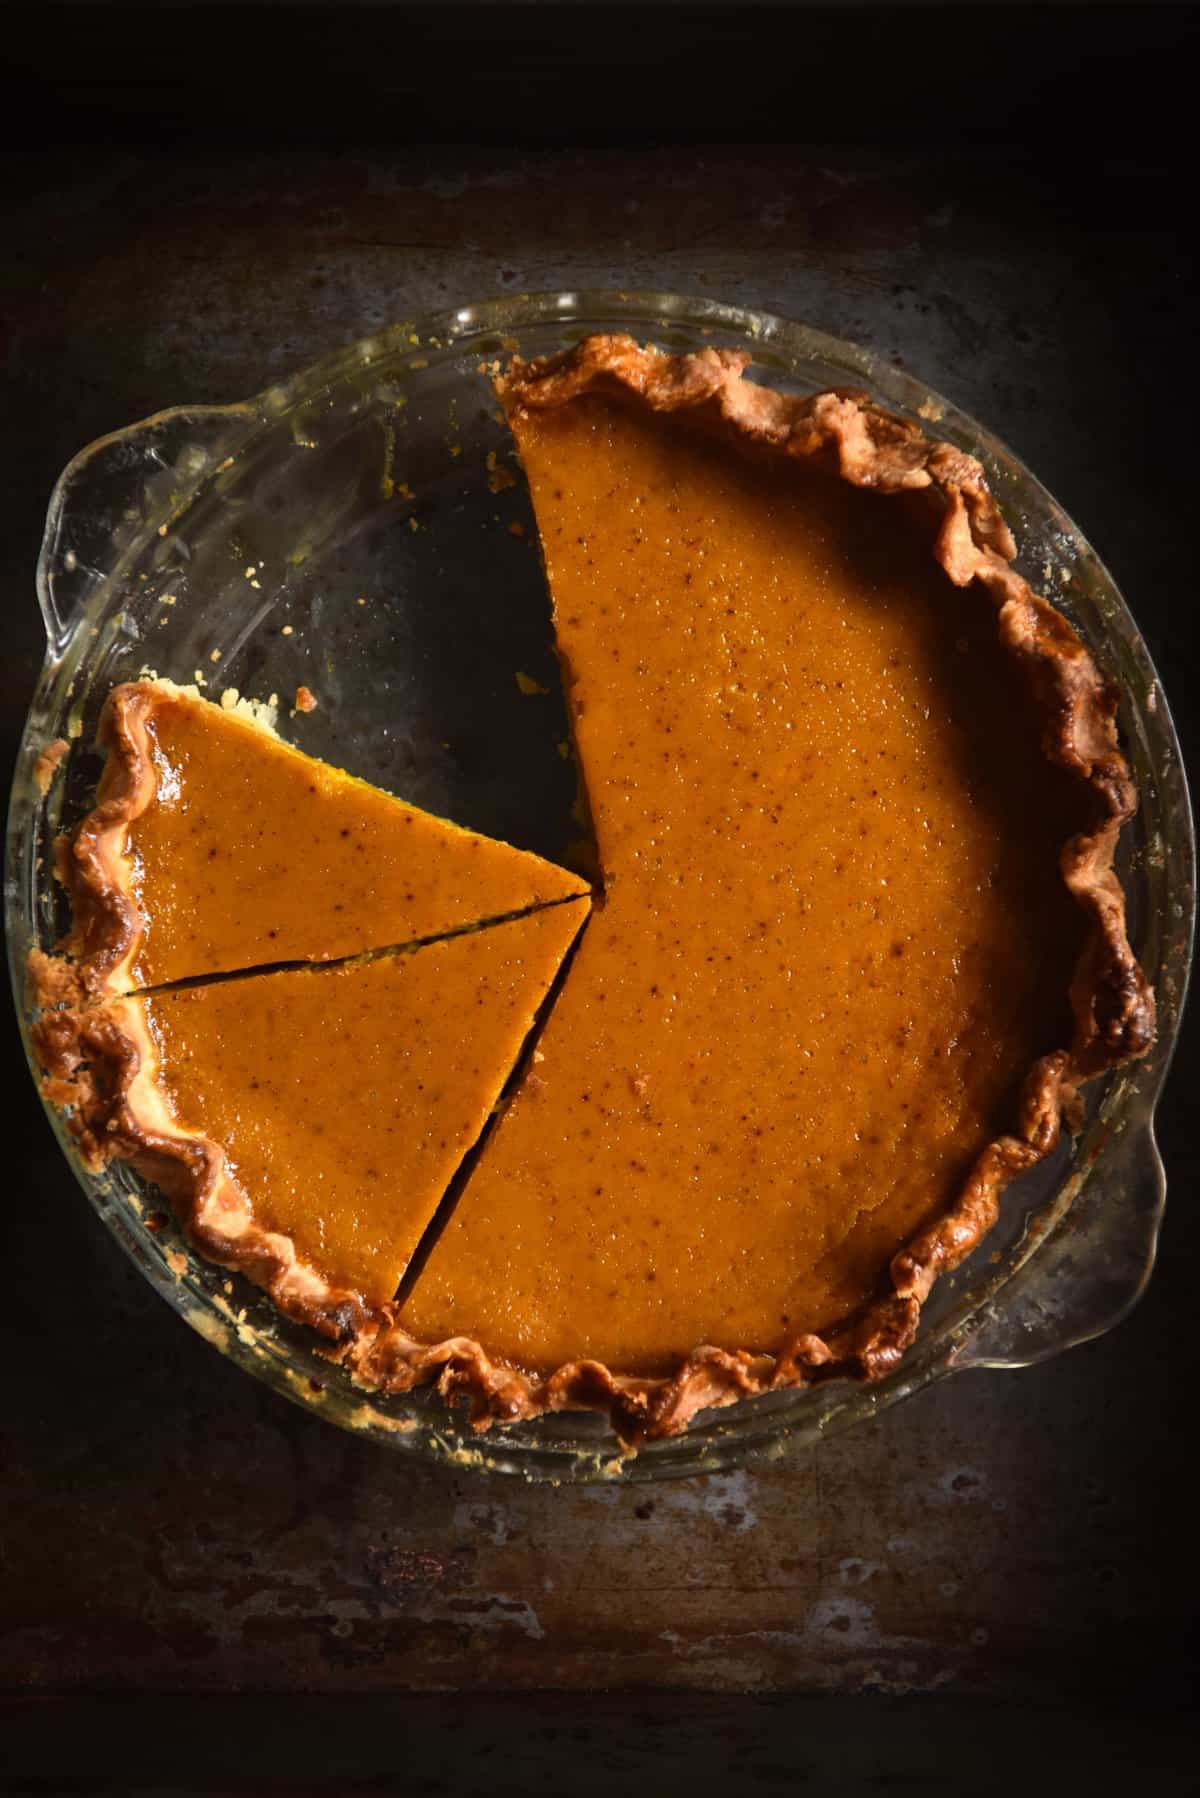
Gluten free pumpkin pie filling
Pumpkin pie is essentially a pumpkin custard in pastry. My version contains pumpkin puree, lactose free (or regular) full cream, maple syrup, eggs and spices. Although regular sugar is generally a more FODMAP friendly option, I find the flavour of maple syrup goes perfectly in this pie. It’s the festive season, just enjoy it.
How to make homemade pumpkin puree for pumpkin pie
I figured this one was worth delving into quickly, just in case people find themselves in my (Australian) situation. Making pumpkin puree from scratch is a little time consuming, but not at all difficult. It also saves on the can, which is always a bonus. If you’re short on time, use the microwave method outlined in my vegan pumpkin mug cake recipe.
- Take a whole pumpkin or a large piece – more than you think you’ll need. There is nothing worse than realising you’ve been through the whole process of pumpkin puree making, only to come up short.
- Leave the pumpkin in large chunks. If your pumpkin has skin on, leave it on. The idea here is to leave as few surfaces open to the drying, leathering impact of the oven.
- People suggest dry roasting the pumpkin on a low temperature. I found that a gentle oiling of the pumpkin pieces (I use my hands) stops any leathery bits forming. These will affect the smoothness of the puree, so you want to keep them to a minimum.
- Roast the pumpkin for as long as it takes for it to be easily scoopable with a spoon. You don’t want any hard bits! For me this was around an hour or a bit more, but this depends heavily on your oven, pumpkin piece size, etc.
- Allow the pumpkin to cool completely, and drain all the liquid off your baking tray.
- Once cooled, blend the pumpkin (in batches if necessary) in a high powered blender. I use my Nutribullet.
- Pumpkins can be all different levels of watery, so use your intuition here. If your pumpkin puree is quite liquid (more like pumpkin soup than spoonable pumpkin) you need to drive some water off. Place the puree in a medium pot over a low-medium heat, and cook it until it reduces in volume and thickens to a more spoonable consistency. Carry on with the recipe as usual.
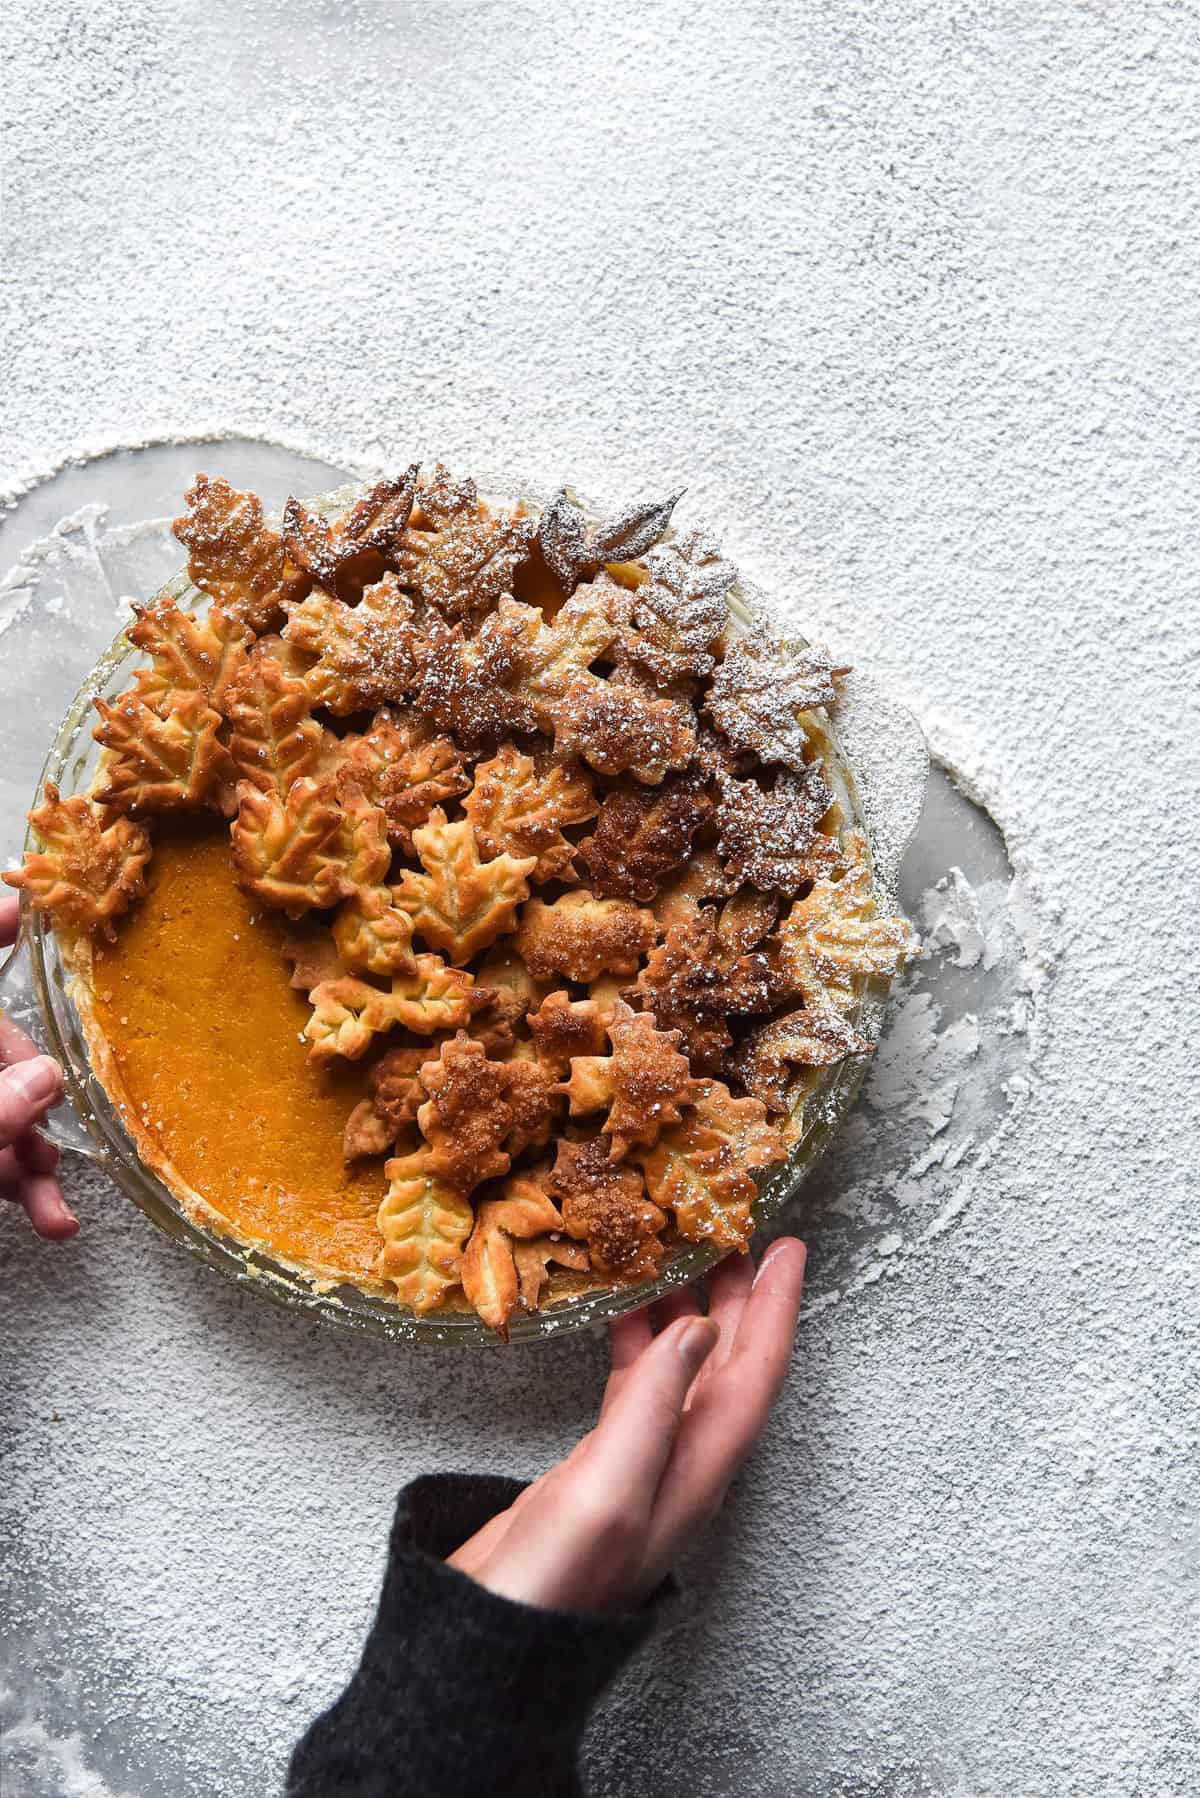
Storing pumpkin puree
I have had offensively bad luck with my pumpkin purees shelf life. If I leave it in the fridge for a couple of days, it seems to start fermenting a little – it’s tangy and kind of bubbly. Not ideal. So, if you plan to make your pumpkin puree ahead of time, I’d suggest freezing it in an airtight container. I would also suggest cooking it off a little, both to defrost it and to drive off any water that formed in the freezer.
Filling tips for your gluten free pumpkin pie
As above, make sure your pumpkin puree isn’t too watery. Watery pie filling is a big contributor to a cracked top, so we want to avoid it at all costs.
The pumpkin needs to be super smooth or the filling won’t be super smooth. Simple as that.
Make sure you buy pure maple syrup – no ‘maple flavoured’ syrup. One small bottle contains enough for this recipe (which uses 3/4 cup)
I use lactose free cream in this recipe. Though I haven’t tried it, I’m reasonably certain you could substitute coconut cream for a dairy free filling. I don’t currently have any substitute recommendations for the dairy in the pastry, however.
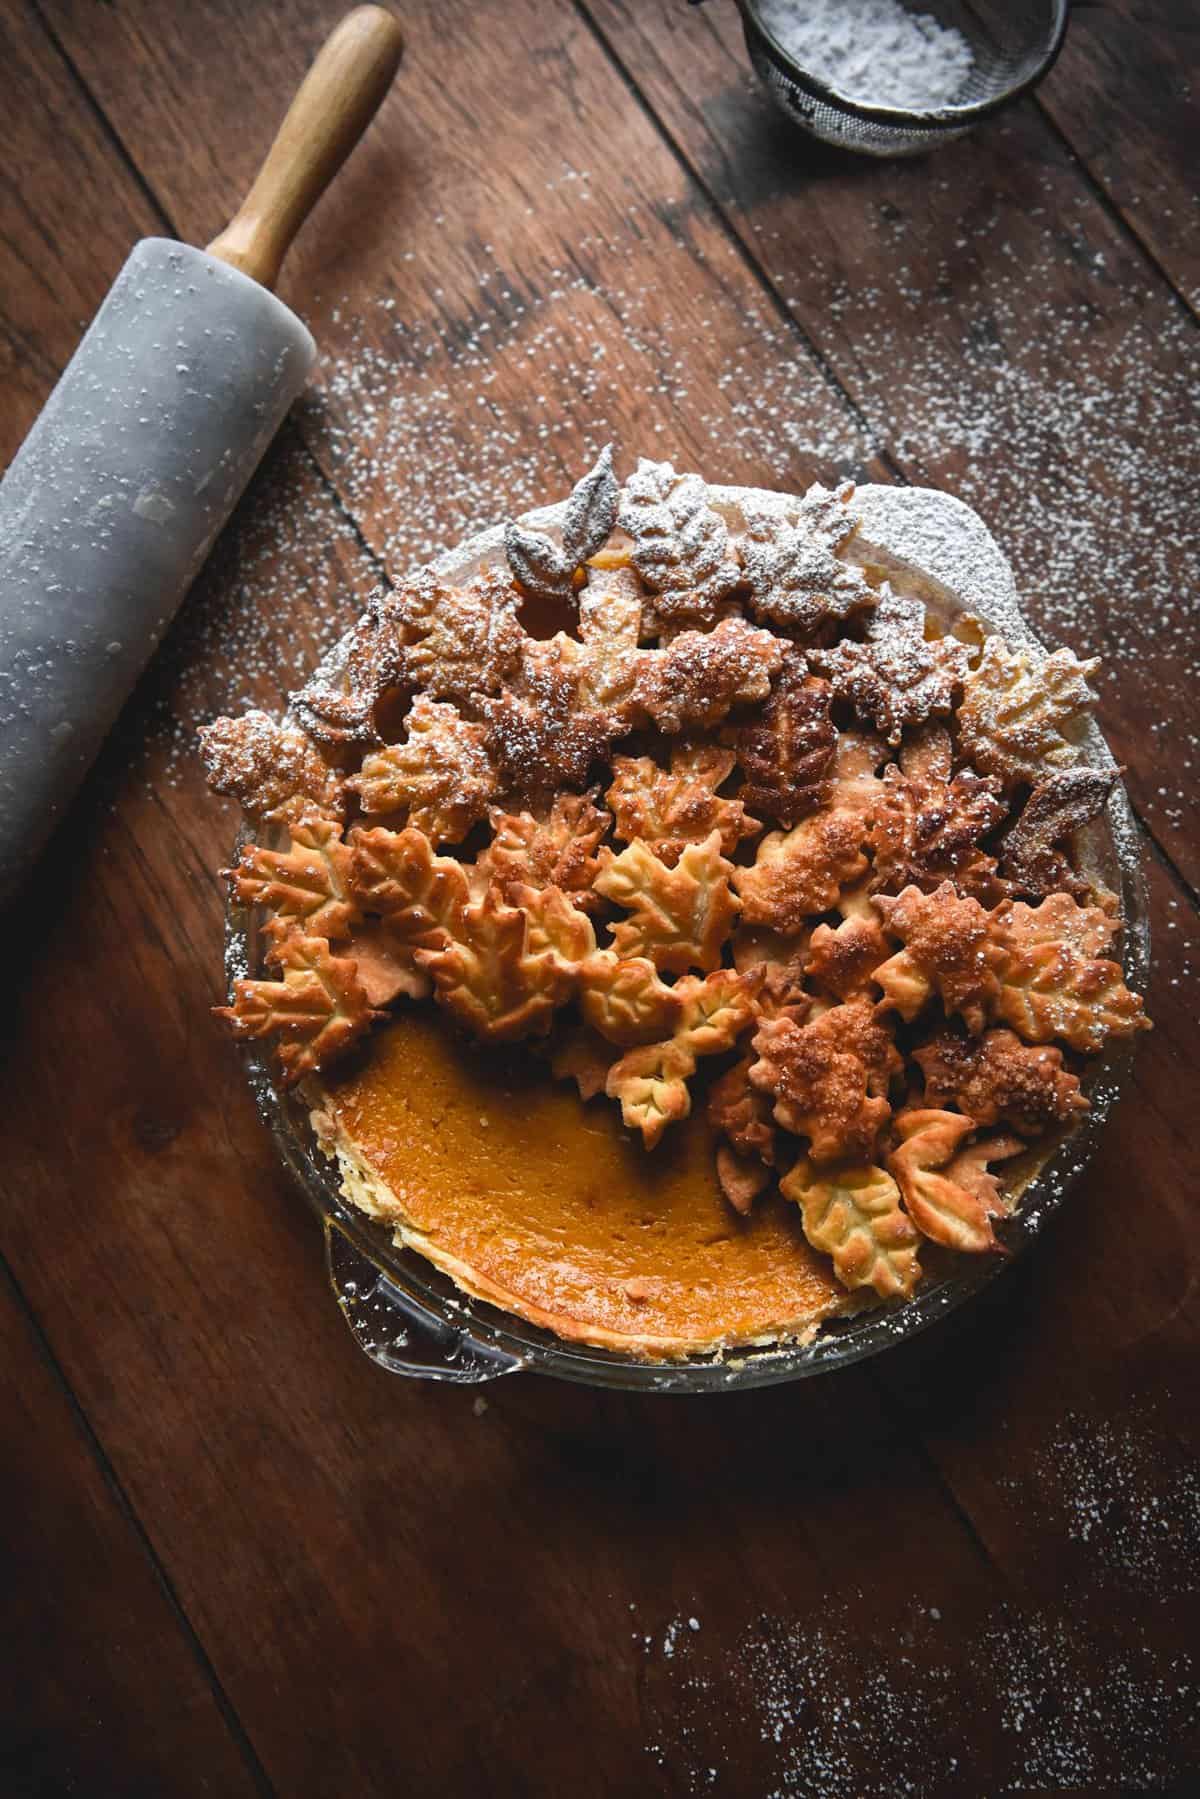
General recipe notes
Is the pastry a dream to work with without xanthan gum? No. Like many gluten free recipes, this gluten free pumpkin pie pastry is a little trickier to wrangle than regular pastry. I choose not to use gums, both for accessibility and for digestive reasons. Be patient.
If you’re interested in using xanthan gum, you can! I have tested the pastry with 1 teaspoon and LOVE the results.
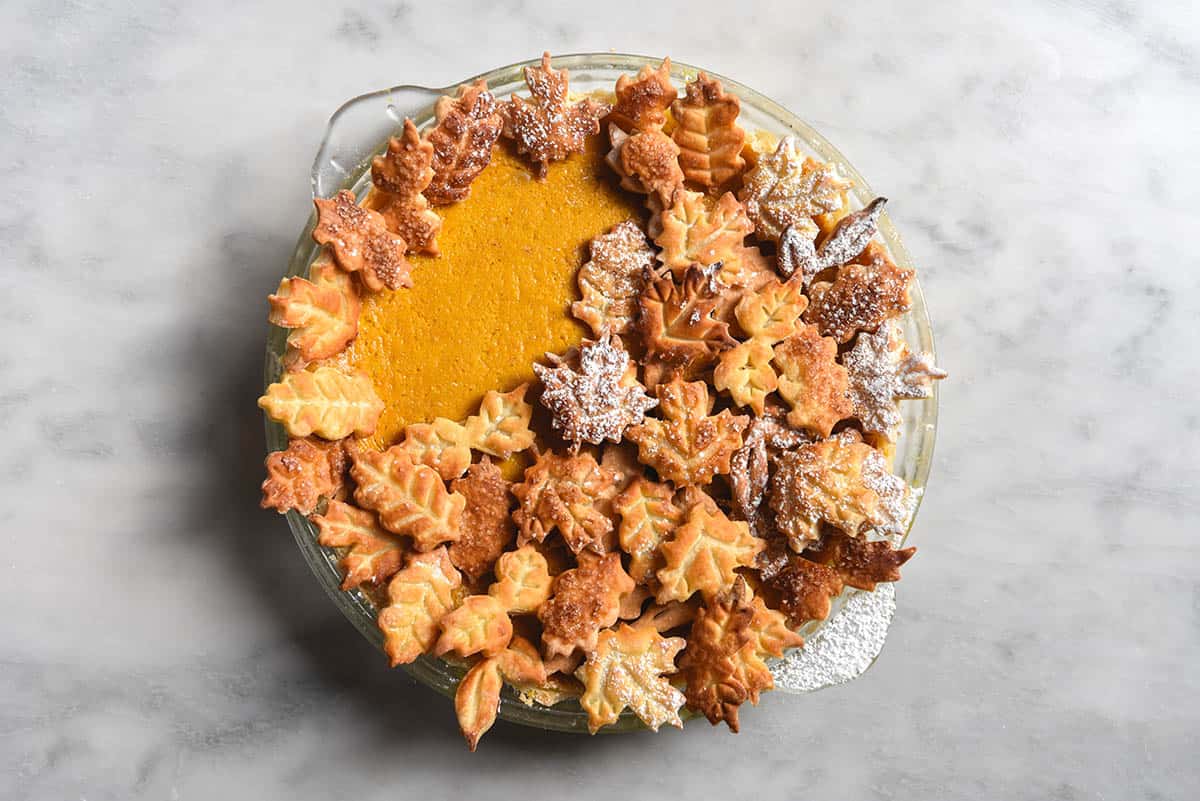
If you would like to decorate the top of your pumpkin pie, you will need to make two batches of the pastry. You might have some leftover, which you can freeze or use to make a little sweet treat. More on that soon.
An overcooked pumpkin pie is a cracked pumpkin pie. I recommend checking on the pie from 30 minutes onwards. It should jiggle in the middle when you pull it out, but will set up as it cools.
Pie weights are a must! I made this recipe without them and the edges collapsed into the centre of the pie plate. I use a couple of cups of dried chickpeas. They’re too dry to eat after all that oven time, but keep them in a jar labelled ‘pie weights’ and you’re golden.
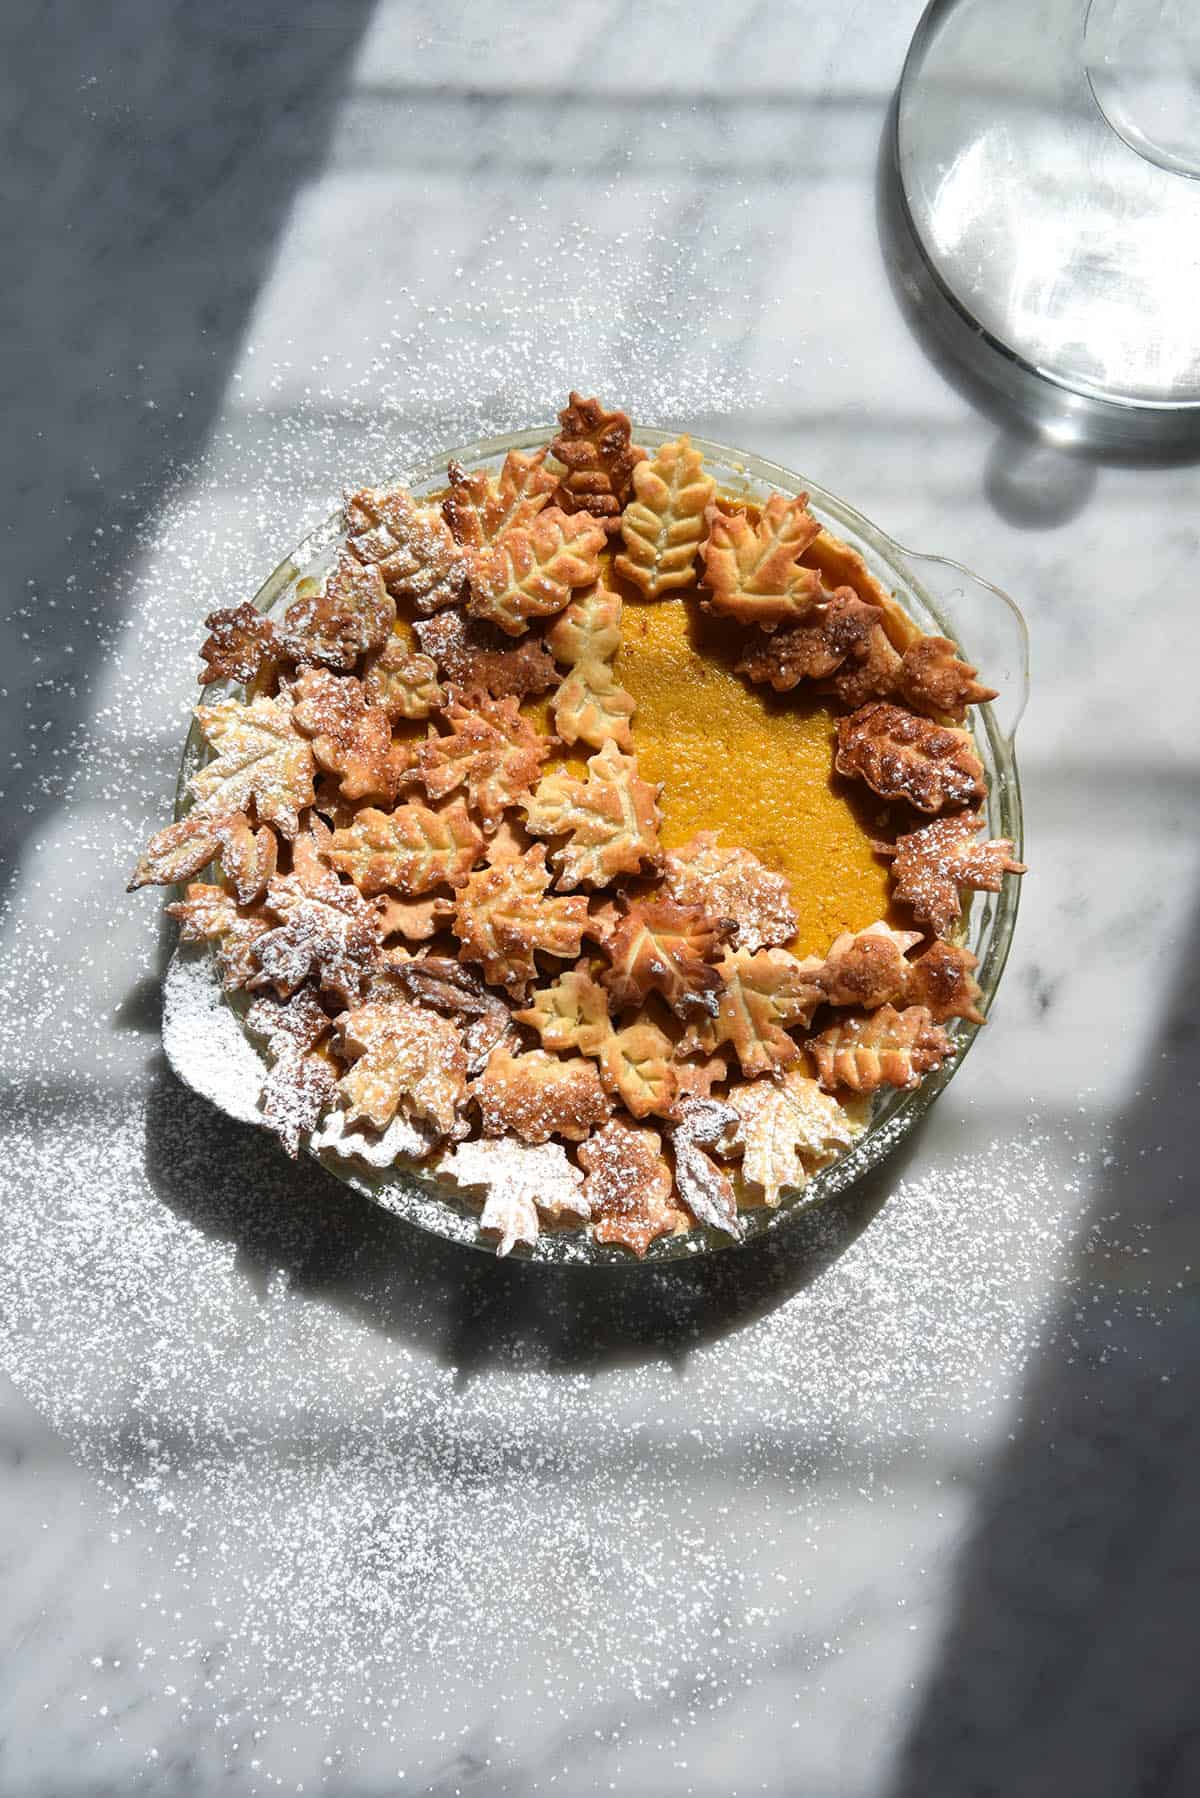
Substitution notes for the gluten free pastry
As I’ve mentioned, you can add in a little xanthan gum if you prefer baking with it. It does make rolling the pastry out much easier, so if that’s your thing then I recommend adding 1 teaspoon.
You could potentially use coconut or maple sugar in the pastry to make this a completely refined sugar dough. That said, it will likely affect the visual appearance and potentially the structure. I really recommend caster or white sugar for this purpose.
If you can’t find glutinous rice flour, you could use all tapioca (50g) instead.
I have successfully made this pastry with brown rice flour as well as white rice. If you want a rice free recipe, I would recommend white sorghum flour. I haven’t tried it myself, but it is the most ‘wheat-like’ gluten free flour in flavour.
As I have mentioned elsewhere, I highly recommend using full fat sour cream for this recipe. It’s a treat and it shouldn’t be too much lactose per serving. Low fat sour cream has a higher liquid content and it will affect the final result. It won’t ruin it, but yeah. Full fat if you can please!
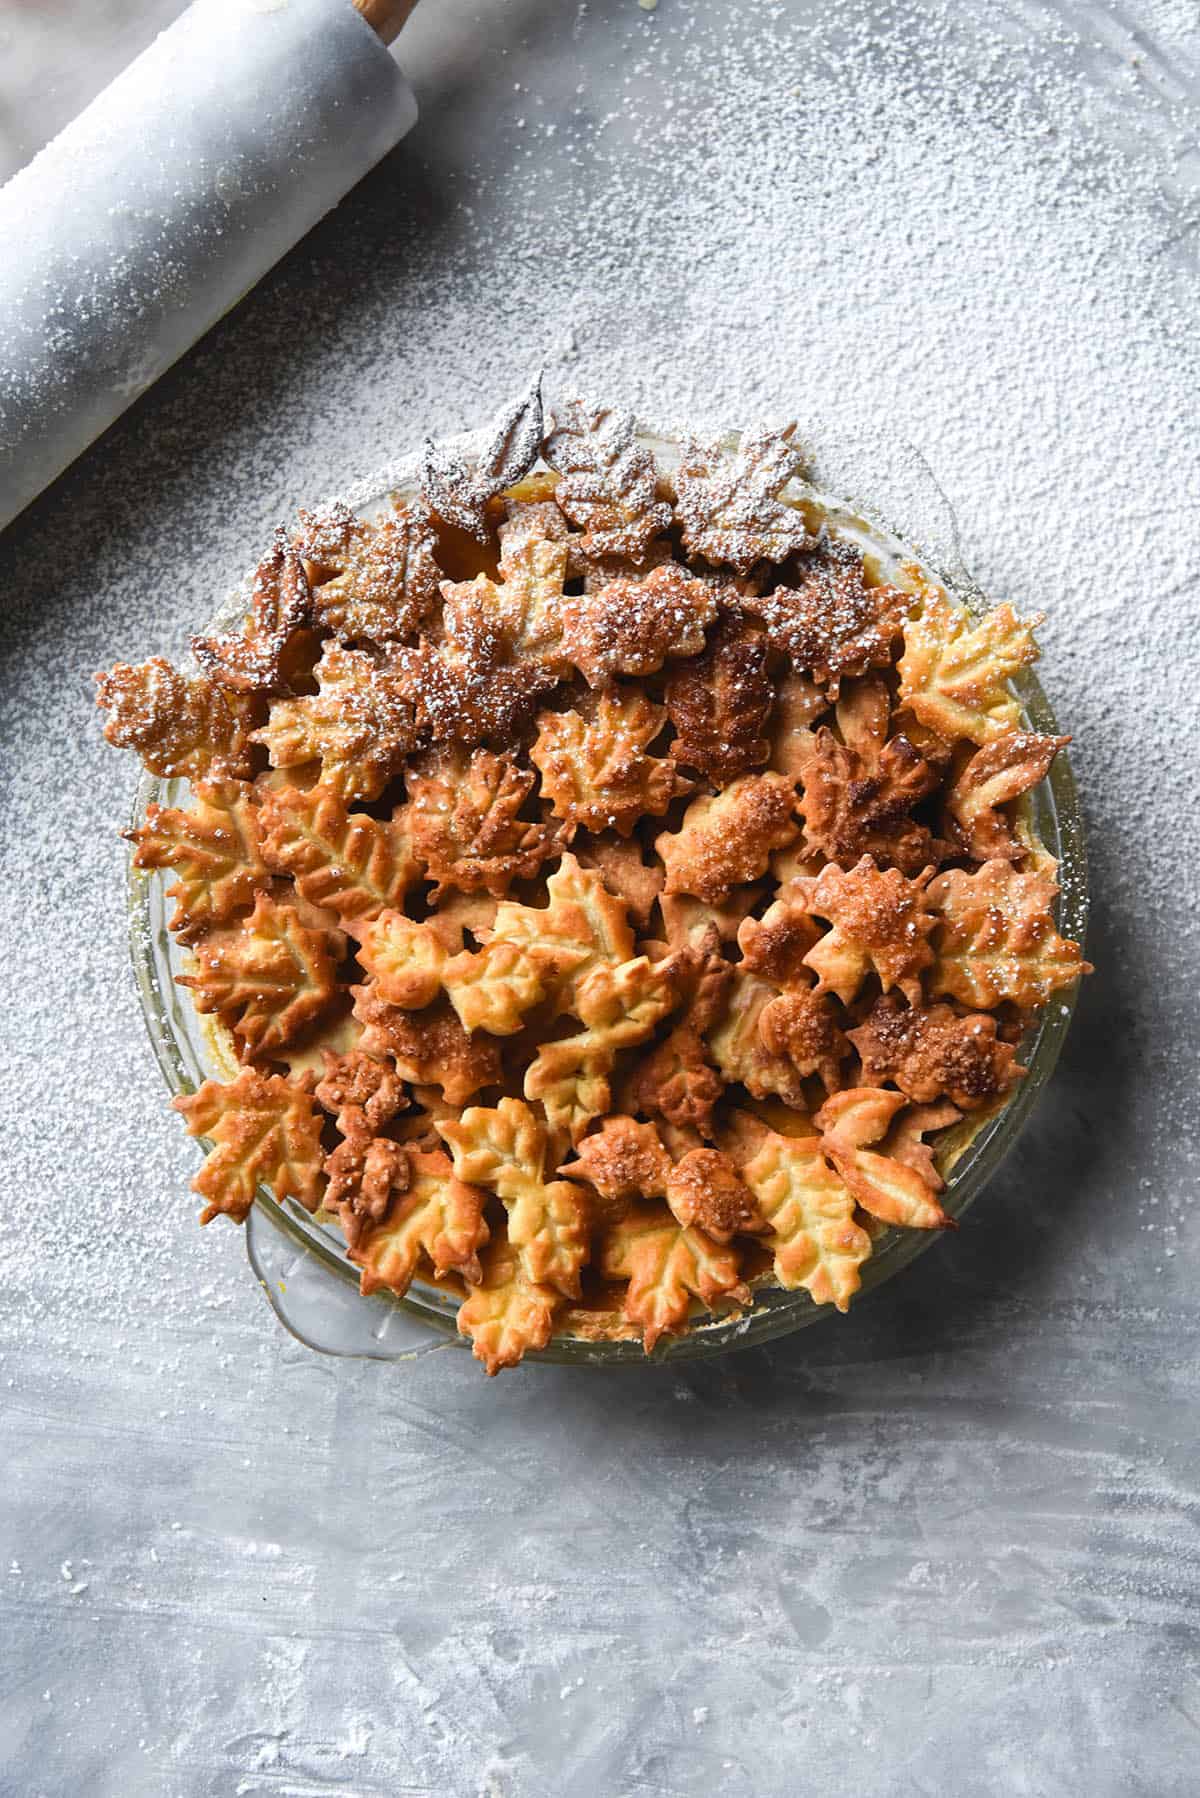
Substitution notes for the pumpkin pie filling
If you’re reading this from somewhere that sells canned pumpkin puree, congratulations! You can skip a step and use that, if you like. You’ll need 300g.
I have not tested the filling with anything other than maple syrup. It adds a really nice caramel note and doesn’t show up as little sugary flecks on the top.
For a lactose free filling, use either lactose free cream or coconut cream (not milk). Make sure you stir the coconut cream before using it.
You can really adjust the spices to suit your tastes. I believe pumpkin pie spice is a thing elsewhere, so you can use that in place of the spices I have outlined. If you’d like to do this, add the spices to the pumpkin before you add the eggs, so you can taste and adjust as you see fit.
Unfortunately I haven’t tried this recipe with vegan substitutes. If you do, please let me know!
Helpful videos
- For general pastry rolling out (hers is obviously not gluten free lol) and crimping technique: Claire from Bon Appetit.
- For the general idea of how to rub butter into pastry (her method is different but the idea is the same) Carla from Bon Appetit. Sensing a theme?
- For general pie tips: See this Tasty video.

More pumpkin recipes
- This vegan and gluten free spiced pumpkin mug cake
- My gluten free spiced pumpkin bread
- This gluten free pumpkin tart with sage and goat’s cheese
- A showstopping gluten free pumpkin swirl tart with gruyere, ricotta and sage filling
- Old faithful, FODMAP friendly pumpkin soup
- This roasted pumpkin, kale and quinoa salad
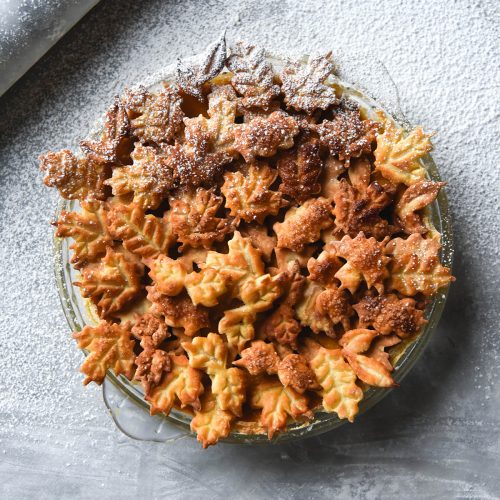
Gluten free FODMAP friendly pumpkin pie
Ingredients
For the pumpkin pie filling:
- 300g pumpkin (you will use 300g or 1 1/2 cups of pumpkin puree, better to have extra than not enough)
- 3 extra large eggs (45-55g, weighed out of shell)
- 1 teaspoon (5g) ground cinnamon
- 1 teaspoon (5g) ground nutmeg
- 1/2 teaspoon (2.5g) ground clove
- 1/2 teaspoon (2.5g) ground ginger
- 180ml (3/4 cup)* maple syrup
- 220ml lactose free full cream cream (see notes for alternatives)
For the pastry:
- 160 g (1 cup)* fine white rice flour
- 30 g (1/4 cup)* tapioca flour, plus PLENTY extra for the rolling surface
- 30 g (1/4 cup)* glutinous or sticky rice flour
- 2 tablespoons caster sugar
- 1/4 teaspoon fine salt
- 100 g good quality butter chopped into cubes and frozen for 10-15 minutes
- 100 g lactose free sour cream see notes
Instructions
To make the pumpkin puree:
- Preheat the oven to 180C or 365F.
- Line a tray with baking paper for the pumpkin. Cut the pumpkin into large chunks and brush with a light coating of olive oil. Place the pumpkin in the oven on the lower rack, and roast until you can easily slice a knife through the pumpkin. The idea here is to roast the flesh without developing a leathery skin, so preferably leave the skin on while you roast.
- Once the pumpkin has cooked through thoroughly, remove from the oven and set aside to cool. When cooled completely, use your hands or a spoon to remove the pumpkin flesh from the skin, adding the flesh to a high speed blender. Ensure you have definitely scooped out all the pumpkin seeds or you’ll end up with little white chunks in your puree.
- Puree the pumpkin until it is completely smooth. If you’re making it ahead of time, freeze it once it has cooled – it tends to go off quite quickly in the fridge, I’ve found.
- If your pumpkin puree doesn’t need to be spooned out of the processor (you can pour it out instead) then it contains too much liquid. This will vary from pumpkin to pumpkin. To remove some liquid, simply pour the puree into a medium saucepan and cook over a low-medium heat until it reduces and thickens. Set aside for use.
To make the gluten free pastry:
- Start by ensuring that all your liquid ingredients are super cold. Put the butter and sour cream in the freezer, and put ice in your water ahead of using it.
- Mix the flours, sugar and salt together in a large mixing bowl. Add the cubes of cold butter and coat them with the flour mix. Now, use your fingertips to gently rub the butter into the flour mixture. At first it will be slow and difficult, but gradually you’ll melt the butter with the heat of your hands and it will start to be more flexible. You don’t want to completely melt the butter – just rub it into the flour in little sheets. This is what makes the pastry puffy and flaky.
- Think of the hand motion as being the same as the one you make to signal someone is rich. Use your thumbs to push the butter up and back into the bowl. I’ve linked a couple of Youtube tutorials if you’re more of a visual learner.
- Once the butter has been rubbed into the flour mixture, it should look a bit like sand that had gotten a little wet.
- Next, add the sour cream and use a spoon to agitate the mixture – distribute the sour cream without roughly mixing. Once most of the sour cream has been incorporated, use your hands to gently bring the dough together without smushing the butter bits.
- Adding liquid here depends entirely on what your dough looks like at this point. If it comes together in a smooth-ish ball with no dry spots, don’t add any water. If it is still dry and crumbly, add the ice water, a teaspoon at a time. Use your hands to bring the dough together between each teaspoon, and stop as soon as the dough is smooth.
- Tightly wrap the dough in a beeswax wrap (I don’t feel comfortable recommending cling film anymore) and place in the fridge for 20-30 minutes.
To place the pastry in the pie plate:
- Generously grease the pie plate with butter and set aside.
- Liberally flour a piece of baking paper with tapioca flour on a dry work surface. Place the pastry dough in the centre of the paper and flour it on the top too. I can’t stress this enough – use plenty of tapioca flour. It’s the only way you’ll come out with your sanity intact.
- Gently roll the dough out, stopping every couple of rolls to flour both sides of the dough. ‘Turn’ the dough regularly (pick it up and flip it over) to prevent it from sticking. Once the dough gets too big to turn, take another piece of well floured baking paper and place it atop the dough. Working quickly, lift the dough up and flip it onto the newer piece of baking paper. Then you can continue rolling.
- If at any point the dough becomes soft and hard to work with, place it flat in the fridge or freezer for a few minutes.
- Once you have rolled it out to a couple of sizes larger than the pie plate, place it flat in the freezer for about 5 minutes to get ready for the pie plate.
- Gluten free pastry is pretty sensitive, so be ready to patch up tears with your hands.
- Lay the pastry flat on a working surface like a table so you have a bit of space underneath for your hands. Place the pie plate gently in the centre of the pastry dough in whatever position maximises pastry overhang.
- Use one hand to pull a corner of the baking paper towards you, and place the other directly underneath the centre of the pie dish. As you pull the pastry off the table, your other hand will push the pastry into the pie dish, after which you will quickly flip the dish, letting the pastry fall into it.
- Don’t stretch the pastry into the dish – be generous with letting it fall into the dish. Patch up any tears as necessary, and then trim excessive overhang, redistributing it to places that may have none.
- Once the whole pie has equal overhang, fold it into the back of the pie dish to create a little wall of pastry. Do this the whole way around.
- To crimp the pastry, use a knuckle of one hand to push the dough one way, and your thumb and pointer of the other hand to push into your knuckle, creating a crimp. Repeat the entire way around.
- Place the pie on a baking tray so that you don’t crush the crimps with fat oven mitt hands.
To bake the pastry:
- Preheat the oven to 180 degrees Celsius or 356 degrees Fahrenheit. Generously brush the crimps of the pastry with egg wash.
- Scrunch up a large piece of baking paper and gently place it into the pastry. This will act as a guard between the pastry and your pie weights.
- Add the pie weights – they can be dried beans or real pie weights. Make sure they’re pushing up against the walls of the pie, as they will hold them firm and stable while cooking.
- Place the pie in the oven for 20 minutes. After that time, very gently lift out the paper (it might have stuck to a few bits of pastry) and remove the pie weights. They will be very hot, so use the paper to transfer them to a heatproof dish to cool.
- Place the pastry back in the oven for 10 minutes or until there are no raw looking bits of pastry on the bottom or edges.
- Finally, brush the base, edges and crimps with one last eggwash (this acts as a barrier between the liquid filling and the pastry) and cook for 1-2 minutes until that has set.
To make the pumpkin pie filling:
- Weigh out the spoonable pumpkin puree into a large mixing bowl, and crack in the eggs. Combine well, and then add the spices and salt. Set aside.
- Pour the maple syrup into a medium sized saucepan and place over a medium heat. Once it starts bubbling, cook the maple syrup for 3-4 minutes. This removes liquid content from the maple and will create a quasi-condensed milk.
- Add the cream in a couple of batches, stirring to combine before adding more. The mixture should look like a runny condensed milk and it should be hot but not crazy hot.
- Gently stream the hot cream mixture into the pumpkin mixture, stirring well each time you add more. This will bring the eggs up to a warmer temperature and help create a silkier custard. If you add the hot cream too quickly you might curdle the eggs, so make sure you do it slowly.
To assemble:
- Scrape down the sides of the pumpkin pie bowl one last time and then pour into the pie crust. Bang the tray gently a few times to remove any air that’s left in the pumpkin filling – this will prevent bubbles on the top of your pie.
- Place the pie in the oven for 30 minutes. After this time, check regularly to ensure your pie still has a wobble in the middle and hasn’t gone crazy with cracks. Cracks are a sign that there was too much liquid in the pumpkin or that the pie has been overcooked.
- As soon as the pie is cooked, turn the oven off. If you can, allow the pie to cool in the oven with the door held ajar by a wooden spoon. This will further assist in ensuring cracks don’t form.
- Allow the pie to cool and set before eating.

3 Comments