When I published my gluten free dumpling wrapper recipe recently, a lot of people asked me if they could use it to make pierogi. The answer, obviously, is yes! It did get me thinking, however, that I should really post a gluten free pierogi recipe. This version uses a potato, cheese, leek, mushroom and sauerkraut filling, making it a great vegetarian freezer stash recipe.
Gluten free pierogi (xanthan gum free)
This gluten free pierogi dough uses a simple mix of flours, psyllium husk powder, salt, sugar and boiling water. The boiling water scalds the flours to make them elastic and super pliable. The dough is a dream to roll out and shape, even for beginners.
So, what is a simple mix of flours? I use white rice flour and tapioca flour for a neutral flavour and colour. However, this recipe holds up really well to any number of substitutions, as we will discuss below.
The filling that I have used here is similar to that in my gluten free varenyky recipe.

What is a scald?
A scald is made by pouring boiling water over flour. The boiling water gelatinises the starches in the flour, which makes them more elastic and pliable. In this case, the entire dough is a scald. In gluten free baking, generally a smaller proportion of scald is used in addition to fresh flour.
Once the dough has been scalded, it is poured out onto a clean work surface to knead into a juicy ball of dough. From there, the dumpling wrappers are cut out and you’re ready to fill and shape them.
The gluten free pierogi filling
The recipe for my pierogi filling is vegetarian and low FODMAP because those are my dietary requirements. If you don’t need the filling to be either of those things, go ahead and use your preferred filling. Keep in mind, as discussed below, that I developed the dough recipe around the filling being potato. I found that variations of the dough with a higher starch content were excessively starchy due to the potato. If you intend to use different fillings, you might want or need to play around with a higher starch content. You can use my gluten free dumpling recipe as a guide.
Traditionally, potato pierogi tend to use farmer’s cheese, which is a Polish cheese. I believe that the closest equivalent is a firm cottage cheese. They also tend to contain onion as well as onion and garlic powder in some recipes.
My filling is quite different, and really a mish mash of different vegetarian options. Firstly, I use cheddar instead of Farmer’s cheese or cottage cheese. This is because it’s easier to find here in Australia, and is also much lower lactose. Secondly, I use leek greens and spring onion greens instead of onion for a low FODMAP version. Thirdly, I have added in some mushrooms and sauerkraut for extra umami and flavour. All in all, a very non-traditional but delicious filling.

FODMAP notes
These FODMAP thresholds are current as of September 2025. They will be periodically reviewed to ensure they remain up to date with Monash’s research.
Cheddar cheese is low FODMAP in serves of up to 500g per person.
Spring onion greens are low FODMAP in 75g serves and contain moderate amounts of fructose in serves exceeding 97g.
Monash has recently added 1 clove of pickled onion as a low FODMAP serve to the app. You could consider adding this in to the pierogi filling for extra flavour. Pickled garlic doesn’t become moderate for fructose until it reaches serves of 29g, which suggests wiggle room here.
Oyster mushrooms are low FODMAP in 75g per serving. Monash previously suggested the moderate limit was 1kg per serving, which suggested a lot of wiggle room in what constitutes a low FODMAP serve. At the moment, they have no upper FODMAP threshold listed.
White sauerkraut (drained) is low FODMAP in 23g serves per person. This recipe uses 50g (which is optional) and serves 8-12 (it makes around 70-80 dumplings) so this is well within an acceptable limit.
To finish these low FODMAP pierogi
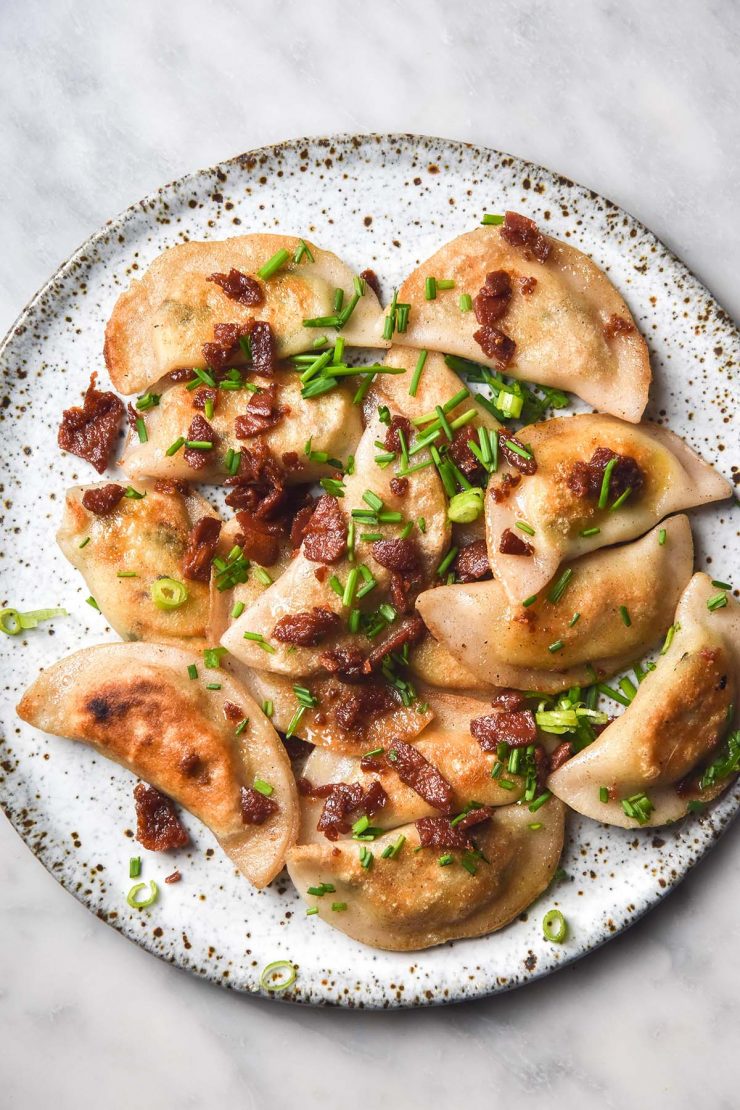
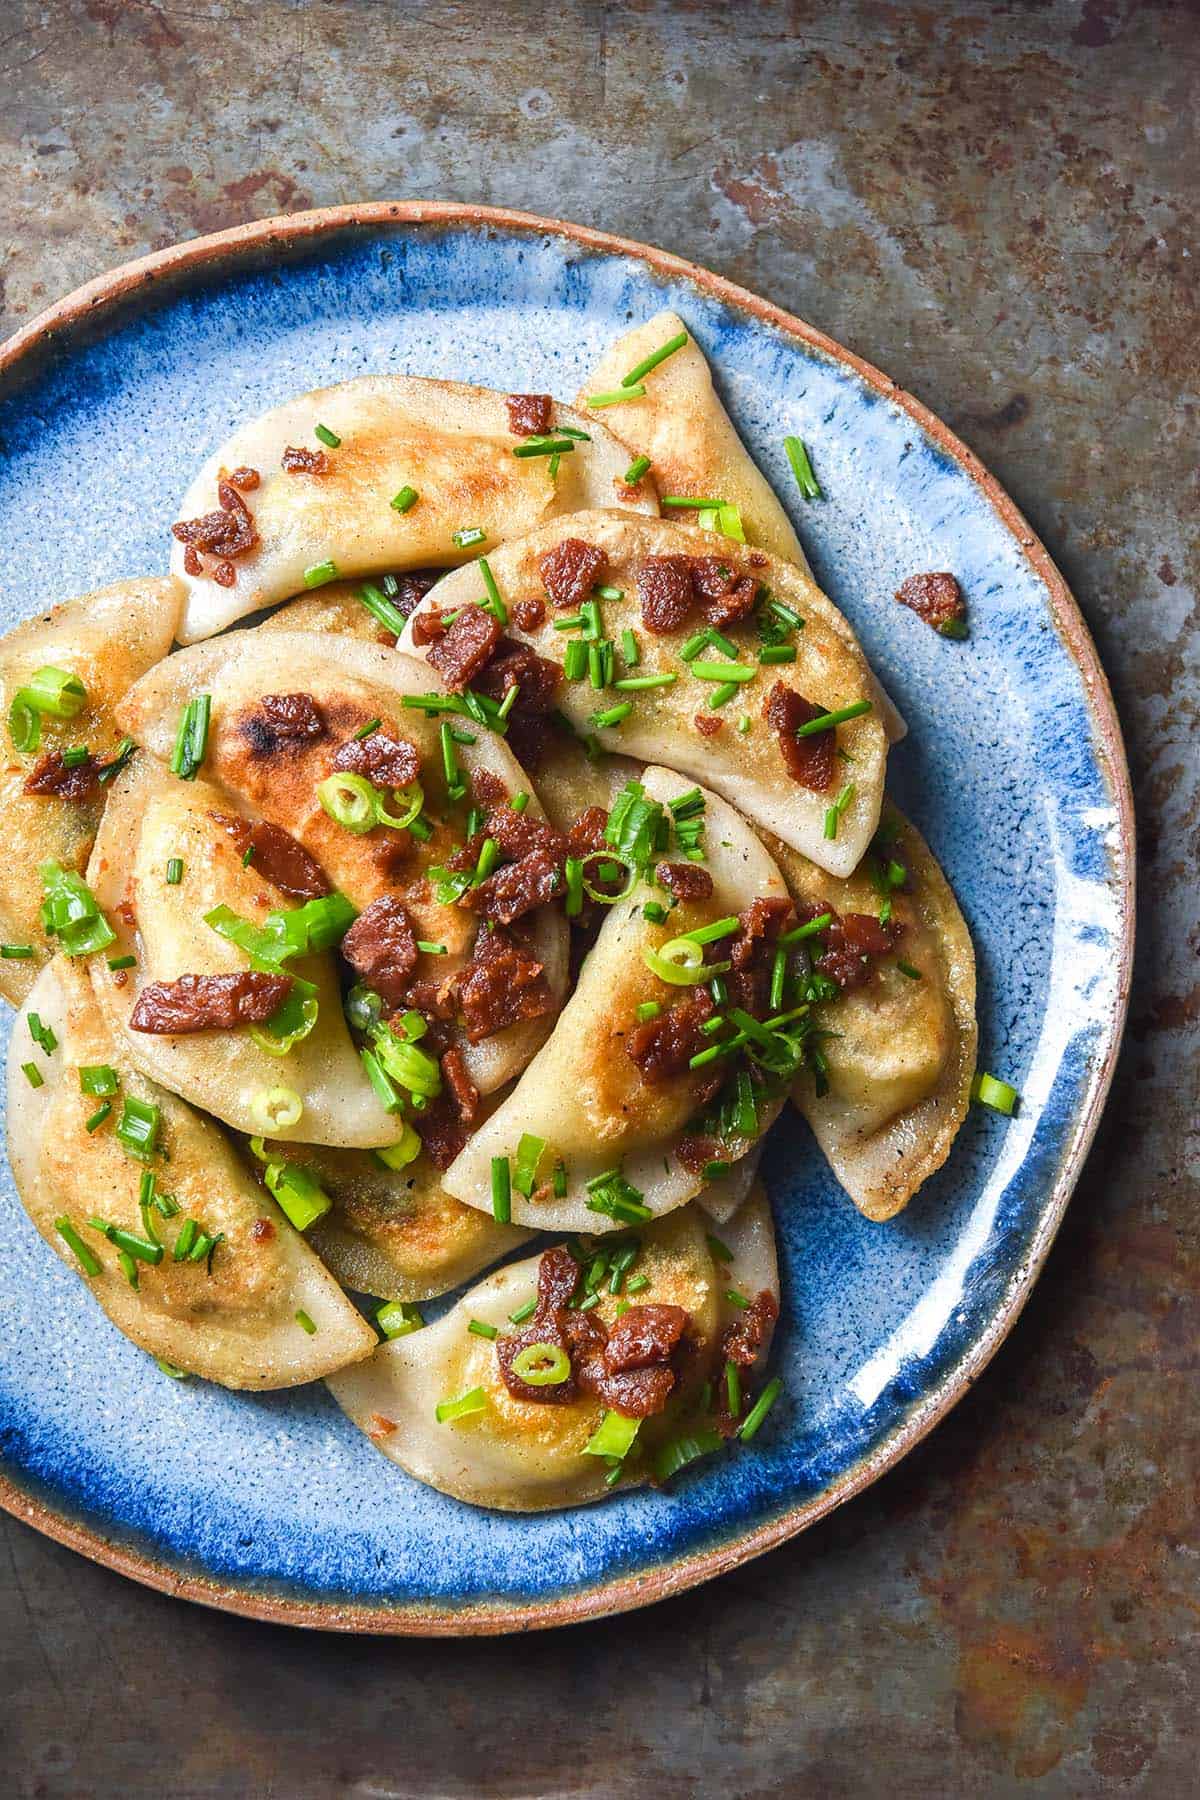
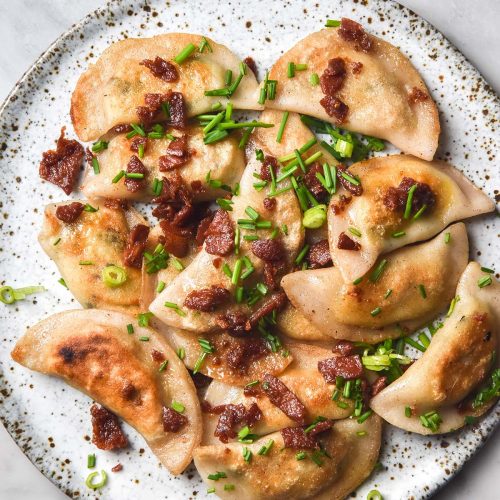
I have chosen to finish these pierogi in some butter, chives and vegan gluten free bacon (I used Sunfed, which I quite like). If you have other toppings you prefer – go for it! These pierogi can be boiled or fried or boiled and then fried. Whatever works for you.
You can of course use regular bacon if you’re not vegetarian. If you plan to use vegan bacon, check the ingredients list to see if it will work for you. The one I used is made from pea protein so the jury is out on the FODMAP content (but it works for me).
I think the chives are a nice addition either way, and they happen to be low FODMAP. Same goes for the butter – a beautiful rich finish and low FODMAP to boot.
Notes for your gluten free pierogi
- This dough is purposefully designed for a potato filling. I found that variations with a higher starch content were excessively starchy due to the potato. If you intend to use different fillings, you might want or need to play around with a higher starch content. Try using my gluten free dumpling recipe.
- Psyllium husk powder has no substitute here. If you can’t find powder, you can grind the flakes to powder in a spice grinder or high-speed food processor.
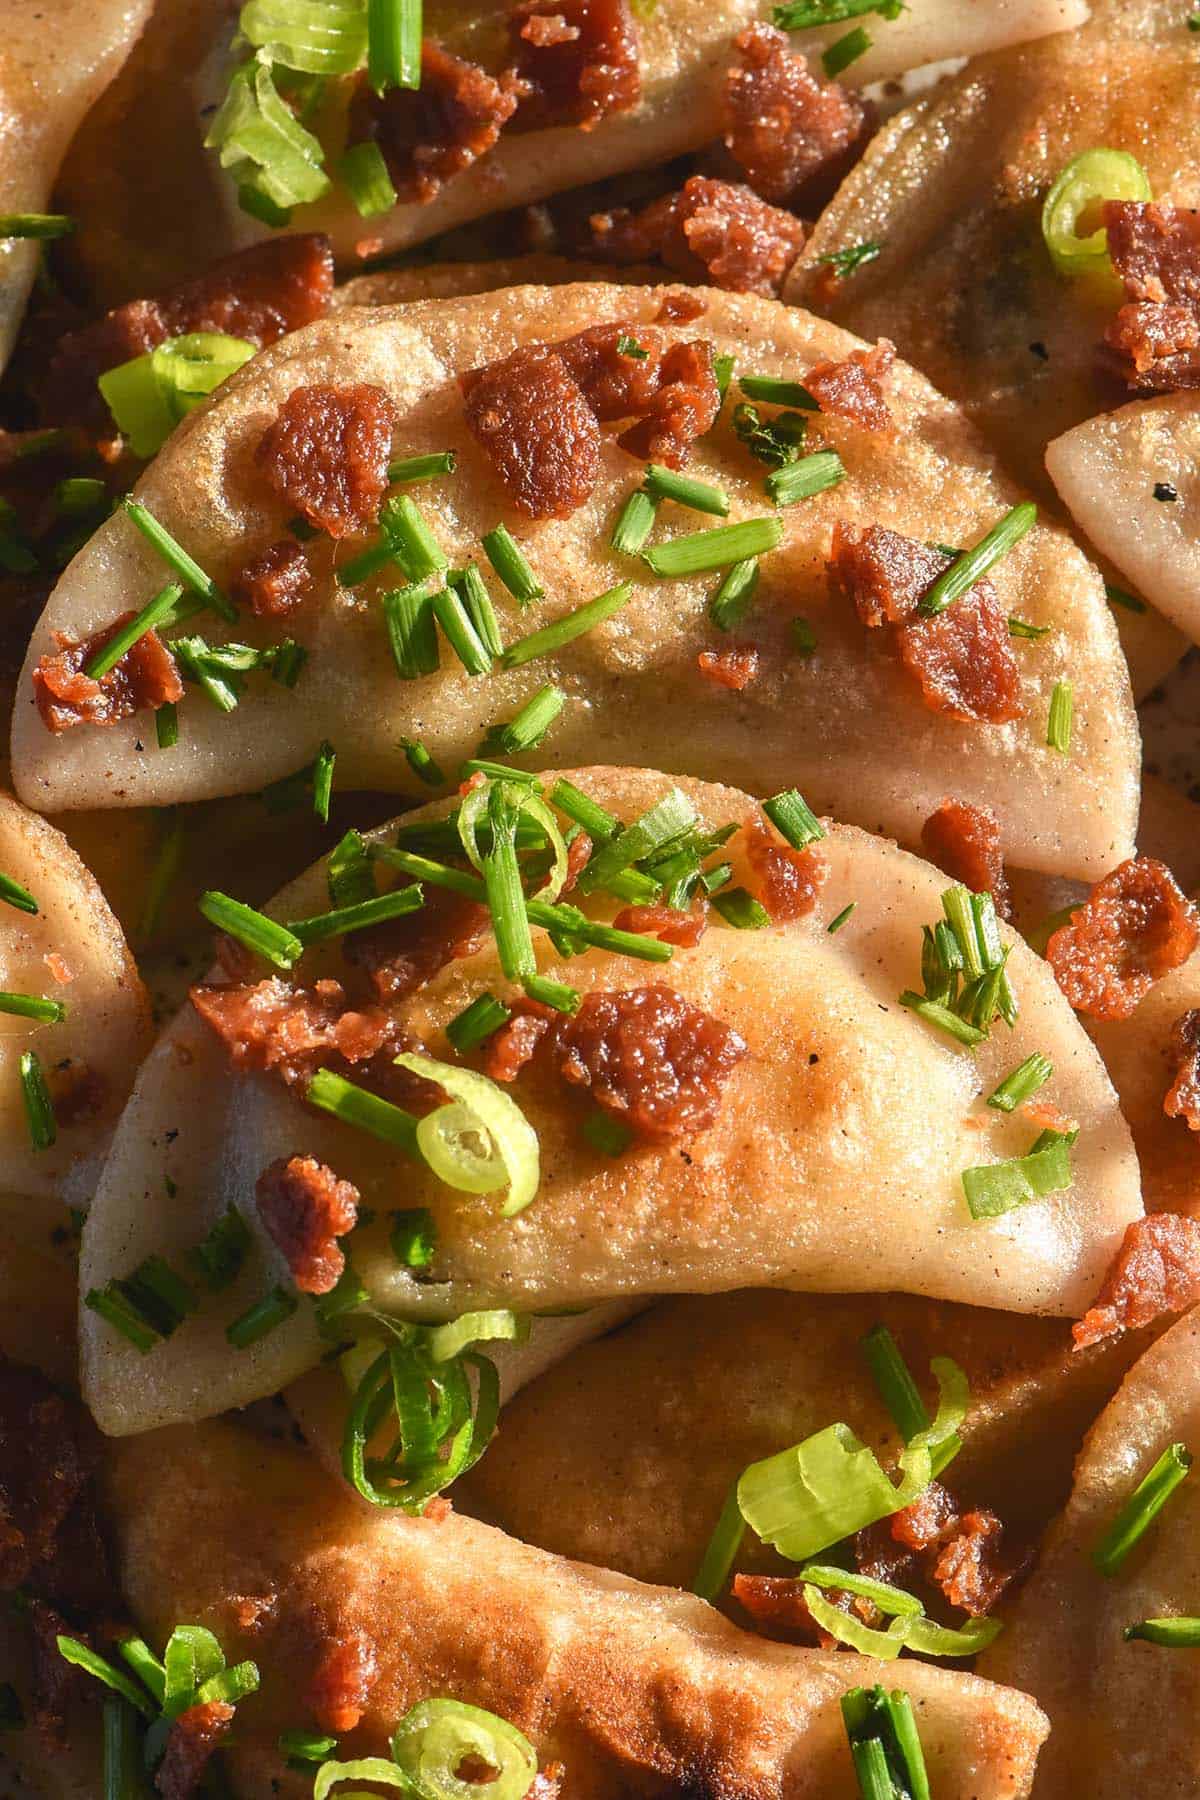
- These pierogi don’t have the golden hue that the regular sometimes have – this is because they are egg free. Scalding the flour here (aka pouring water on it) creates desperately needed elasticity and makes this dough very easy to work with. Eggs and boiling water, as you might have guessed, do not mix.
- This recipe assumes you have finely milled, fresh white rice flour. It should not feel gritty between your fingers, nor should it smell floral or musty. Because the dough uses such a high proportion of rice flour, it needs to be fresh and fine to avoid a gritty, musty tasting end product.
- Traditional pierogi recipes use onion, but we’re replacing it here with spring onion greens and leek greens for FODMAP purposes. Feel free to use onion if you don’t need them to be fructan friendly. You could use some low FODMAP caramelised onion.
- I have used all cheddar and a combination of cheddar and parmesan here. It’s not traditional, but I preferred the combination of two cheeses. That said, the all cheddar version had a smoother mouthfeel at the end. If you need the cheese to be vegetarian, see this list here. I have also seen some people add a small amount of blue cheese, which would be delicious.
- Either way, freshly and finely grated cheese is a must here. Pre-grated cheese often contains fillers which prevent it from melting.

Tips, tricks and observations for your gluten free pierogi
- I highly recommend using a potato ricer here, if you have one. As someone who is kitchen gadget wary, I can 100% attest to their worth. It makes this filling delightfully smooth and lovely. I use it to make gluten free gnocchi as well.
- There’s no two ways about it – making these pierogi takes time. Much like gluten free dumplings, you’ll need to settle in and enjoy!
- I highly recommend having a plentiful stash of extra tapioca on hand for rolling these out. The dough needs to be nice and moist to be pliable, so you will need lots of flour to roll them out with ease.
- Small holes in the pierogi dough can be patched up with a wet finger. Sit these uncooked pierogi with the patched side upwards once formed so they don’t stick to your work surface.
- The cooked pierogi are a little gluey and sticky when they first come out of the boiling water. Handle them with care and know that this will disappear as the gelatinised starches in the flour begin to cool.
- Broken dumplings can have a few causes. Firstly, you might have rolled your dough too thinly and/or overstuffed it. You might also have left the edges unsealed in a tiny spot, allowing water to seep in. Secondly, you might have been too rough with the pierogi before/during the cooking process. If the pot is overcrowded, they might also stick to each other and tear when you try to separate them. You might also have overcooked them, turning the dough mushy. Finally, the boiling water might have been on too rough of a boil. Make sure it is barely simmering to protect the integrity of the pierogi.
- I don’t recommend crimping or creating fork patterns on your gluten free pierogi. My experience is that this leaves them more vulnerable when being cooked.
Can I freeze these gluten free pierogi? Can I freeze the dough?
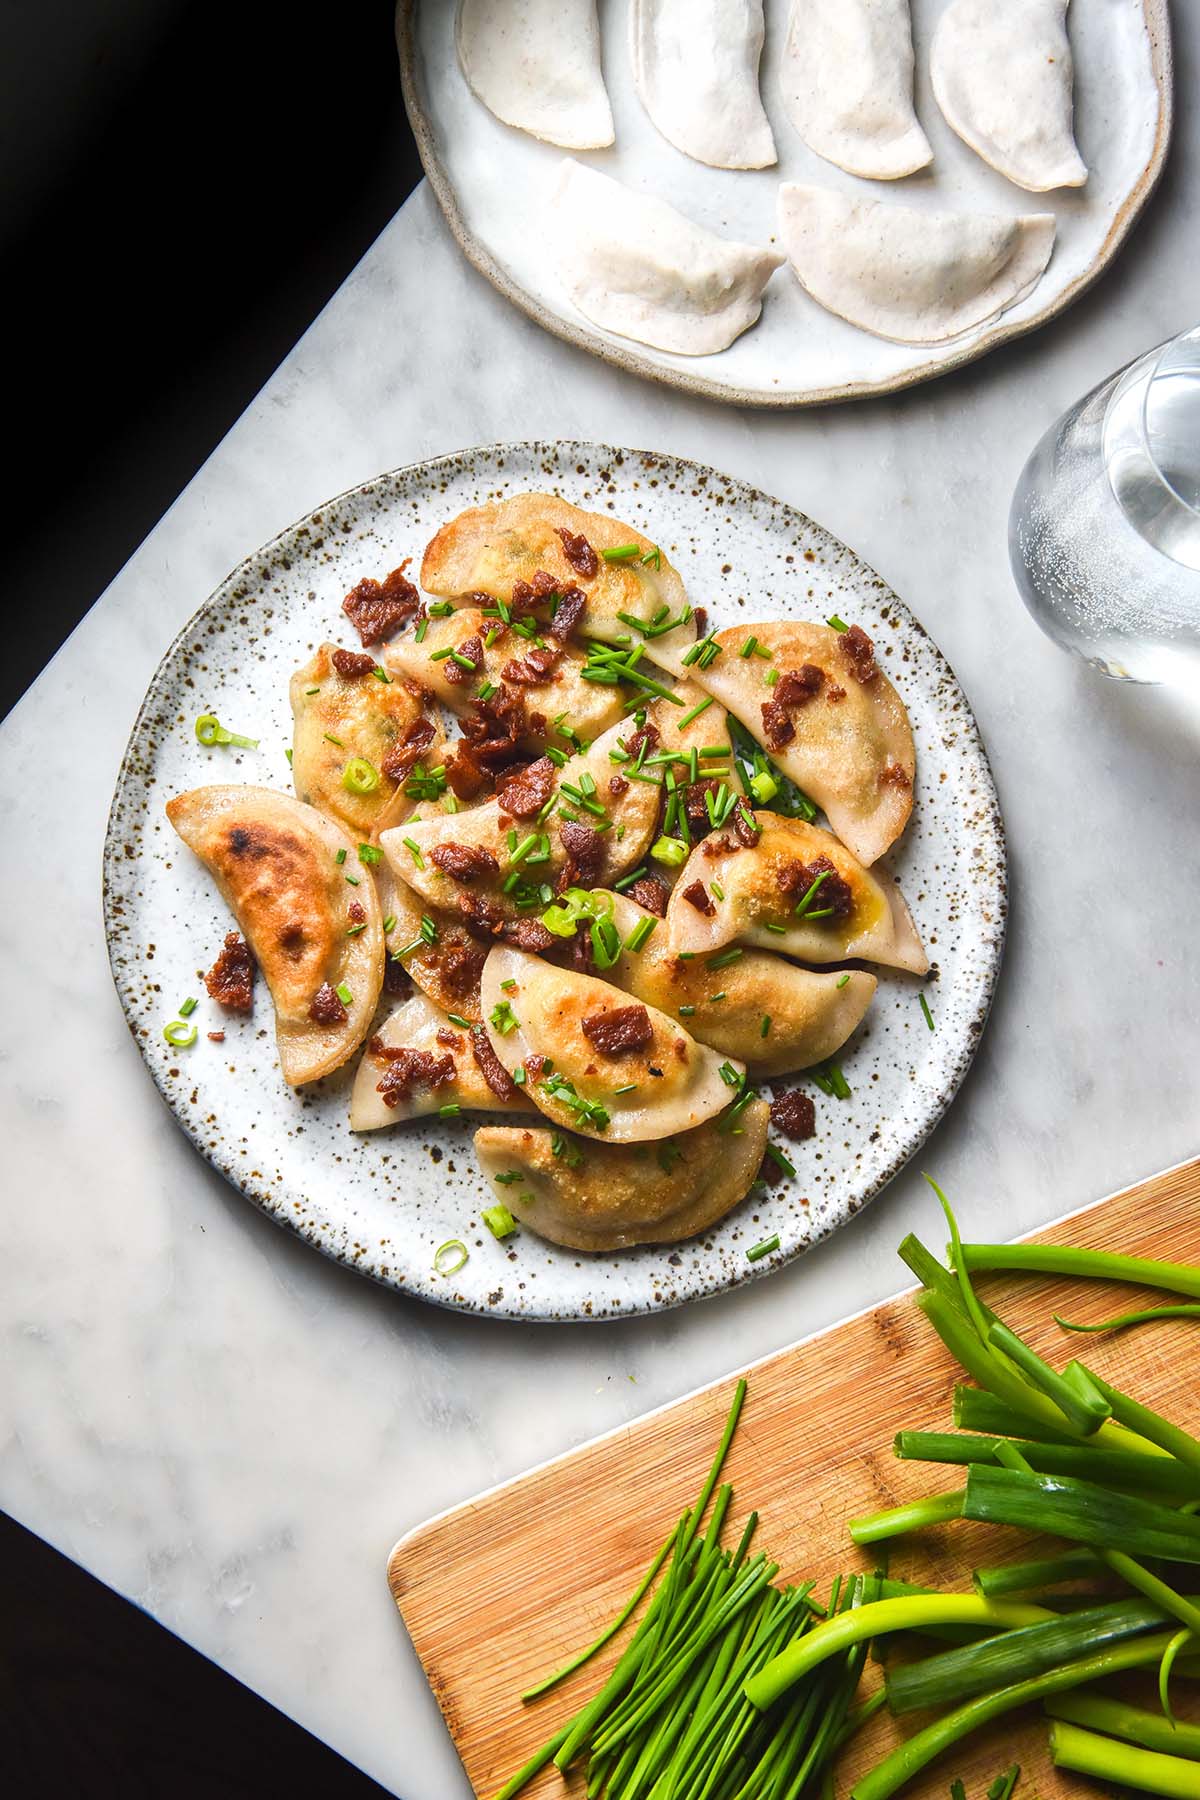
Yes and yes. You can assemble the pierogi and freeze them in their uncooked form. To do this, arrange the pierogi on a lined baking tray without touching each other. Once frozen, you can place them in an airtight container or bag. This ensures they don’t get stuck together, as you will be unable to pull them apart if they do.
I have also successfully frozen the raw pierogi dough in an airtight container. To use it, I thawed it on the bench until room temperature, then used it like normal dough. Keep in mind that it might be wetter than before it was frozen, so you will need to use extra tapioca or glutinous rice flour to roll it out. I only froze it overnight to test this theory, so I can’t say how long the dough lasts in the freezer.
More gluten free recipes from around the world
- Gluten free Varenyky (Ukrainian dumplings)
- Gluten free Chinese style dumpling wrappers
- Gluten free potato gnocchi
- Gluten free skirt dumplings from Intolerance Friendly Kitchen
- Gluten free samosas from Intolerance Friendly Kitchen
- 100% buckwheat flour dumpling wrappers (which could also be used as pierogi wrappers)
Gluten free pierogi
Equipment
- 1 x 9cm/3.5inch diameter cookie cutter (or close to this size)
Ingredients
For the filling:
- 750g-1 kg all-rounder potatoes (I used Sebago) washed with skin left on
- 150 g vintage sharp cheddar vegetarian if it needs to be
- 50 g butter or 2 tablespoons (40ml) oil of choice
- 100 g oyster mushrooms chopped
- Green leaves of 1 large leek thoroughly washed and finely chopped
- 100g spring onion greens, finely chopped
- 50 g sauerkraut chopped
- 2.5g (1/2 teaspoon) salt (I used table salt)
- 1/4 teaspoon ground nutmeg optional but delicious
- 1 tablespoon blue cheese (optional but delicious)
For the dough:
- 320 g (2 cups)* fine white rice flour
- 60 g (1/2 cup)* tapioca flour
- 5g (1 teaspoon) fine salt (I used table salt)
- 15 g psyllium husk powder
- 20ml (1 tablespoon)* oil of choice I used vegetable
- 375 ml (1 1/2 cups)* boiling water, see notes
Instructions
To make the filling:
- Boil the potatoes (skin on) in a large pot of salted water until you can easily slide a knife straight through, about 15-20 minutes depending on the size of the potatoes. Set aside to cool slightly.
- While you’re waiting, heat a large skillet over a medium heat and add the butter or oil. Once warmed, add the chopped mushrooms. Cook for 5-10 minutes until the mushrooms are shrivelled and starting to become brown.
- Add the leek and spring onion greens. Cook for 5 minutes or until the greens have softened a little, then add 250ml (1 cup)* of water and pop a lid on. Leek greens are tougher than leek whites, so they need to be steamed to make them nice and soft. After about 10 minutes or when the water has nearly evaporated, remove the lid and continue to cook until the water is gone and soft, dark greens are left. Remove from the heat and allow to cool.
- Carefully (they will still be hot) remove the skin from the potatoes and use a ricer or a masher to make them into mash. Add the cheese while the potatoes are hot so it melts into the mix.
- Add the sauerkraut, nutmeg, salt and pepper and cooked mushroom green mixture to the potato mixture and stir to combine. Taste and adjust for seasoning, then set aside while you make the dough.
To make the dough:
- Combine flours, salt, psyllium husk powder and oil in a large bowl. Stir, then add 250ml (1 cup)* of boiling water. Stir again to combine, then add the remaining 125ml (1/2 cup)* boiling water if you need it. I always add the full amount, but you might need less. If in doubt, err on the side of caution – you can always add more water later.
- Turn mixture out onto a clean, dry benchtop. Allow it to cool for a minute or two before beginning to knead with your hands. It will be hot, so be careful. Continue kneading until a smooth and pliable dough forms. If it doesn’t, add half a tablespoon of hot water at a time until you reach a good consistency. When the dough is juicy, moist and smooth, cover it with a plastic bag and allow it to sit for 10 minutes.
- Tear off a golf-ball-sized piece of dough and cover the remainder. Roll dough out on a well-floured surface until it is as thin as you want it, keeping in mind it swells a little during cooking. The amount that this recipe makes assumes you will roll your dough 2.5mm thick or less (it’s a very elastic dough).
- Use a medium-sized circular cookie cutter (or an upside-down glass) to cut out rounds of dough. My cutter is 9cm (3.5 inches) in diameter. Use a wet finger to moisten around the edge of each wrapper, then fill it with 1/2-1 tablespoon of filling, aligned to one side of the circle but with a gap to seal the dumpling. Once you have added the filling, fold one half of the wrapper onto the other and press thoroughly to seal the edges together. Watertight seals are important so that your pierogi innards don’t become soggy. Repeat with the remaining dough and filling, re-rolling any excess dough as you work. You might need to moisten trimmings with wet fingers to return it to its pliable glory.
- You can boil your pierogi or freeze them for a rainy day. To boil, bring a medium sized saucepan of salted water to a simmer. Add the pierogi, 5 or 6 at a time. Cook for 2 minutes (a little longer for frozen) then gently retrieve from the water and place in a sieve to drain. If you’re cooking lots, it can help to lightly oil the sieve to prevent them from sticking as they cool. It can also help to refresh the boiling water every now and again to prevent it from getting too starchy.
- To freeze the pierogi, arrange them on 1-2 large lined baking sheets or boards that will fit in your freezer. Once the individual dumplings are frozen, transfer them to a container or a zip lock bag. This will prevent them getting stuck to each other as you cook them from frozen.
- As an option, you can fry the boiled dumplings in some butter or oil to create crispy, browned edges and a decadent finish. Either way, serve with extra sour cream, chopped dill and maybe a squeeze of lemon.
Notes
- Read the notes in the body of the post before you begin for best results.
- I have a list of vegetarian vintage cheddar brands in Australia which I have linked here and in the body of the post.
- Leftover potato mixture can be eaten as is or fried up.
Amazing dough for pierogis! I couldn’t believe how easy it was to work with and how much it resembled the pierogies of my childhood.
Where I live it’s hard to find white rice flour actually so I just used brown rice flour as that’s been a workable substitute for your pie pastries (which I make regularly, thank you!). Really appreciate how reliably delicious your recipes are, George! Very grateful for what you offer.
Can I use a simple gf flour blend to make
these?
I have only tested them with the flours in the recipe Roseann. I don’t think I’d recommend a flour blend because I don’t know how xanthan gum performs after a scald – it could alter it in an undesirable way or impact how the dough absorbs water.
The amount of water in the recipe also caters to those specific flours so it would likely need to change (and I can’t say by how much).
🙂
Came across your post was excited to try it until I saw the rice flour seems to be mandatory despite your saying that “So, what is a simple mix of flours? I use white rice flour and tapioca flour for a neutral flavour and colour. However, this recipe holds up really well to any number of substitutions, as we will discuss below. ”
Unfortunately having food intolerance for rice (as well as corn, wheat and soy) this was an important element for me that I was sad to see was missing…
Hi Taylor, thanks for your feedback. Although I’d love to try an infinite amount of flour combinations, I’m just one person developing all these recipes.
It costs a lot and takes a lot of time, and unfortunately it just isn’t feasible for me.
White rice flour is a staple flour for me because it’s inexpensive, easily accessible and tastes neutral. It’s also something the bulk of my readers can consume.
I would love to be making the kind of money where I could test each recipe with every feasible combination, but right now I am just trying my best 🙂