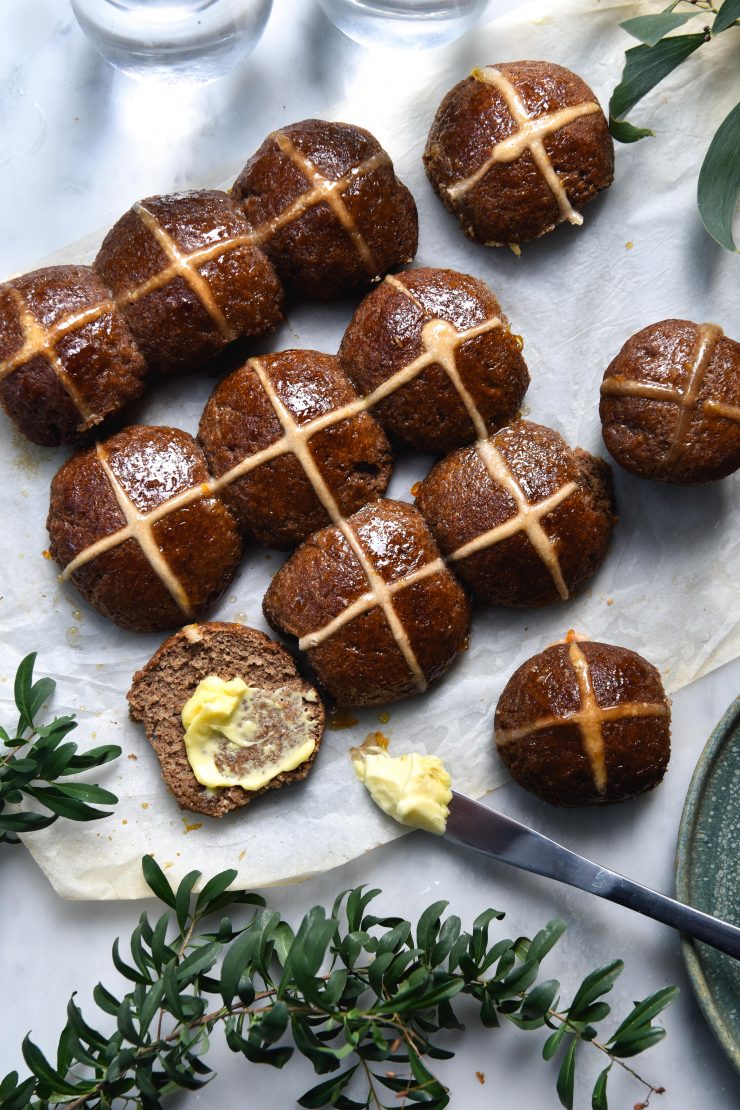
I am so excited to share this recipe for gluten-free hot cross buns with you! A good gluten free HCB has vexed me for as long as I’ve been working with alternative flours and spending too much time on the ‘gram. Although I shared a sourdough hot cross bun last year, I had to pack the recipe with eggs and yoghurt to get it to where I wanted. I generally find a consequence of adding butter, eggs and/or yoghurt is that the taste of the spices becomes quite subdued. Mama likes a well spiced hot cross bun.
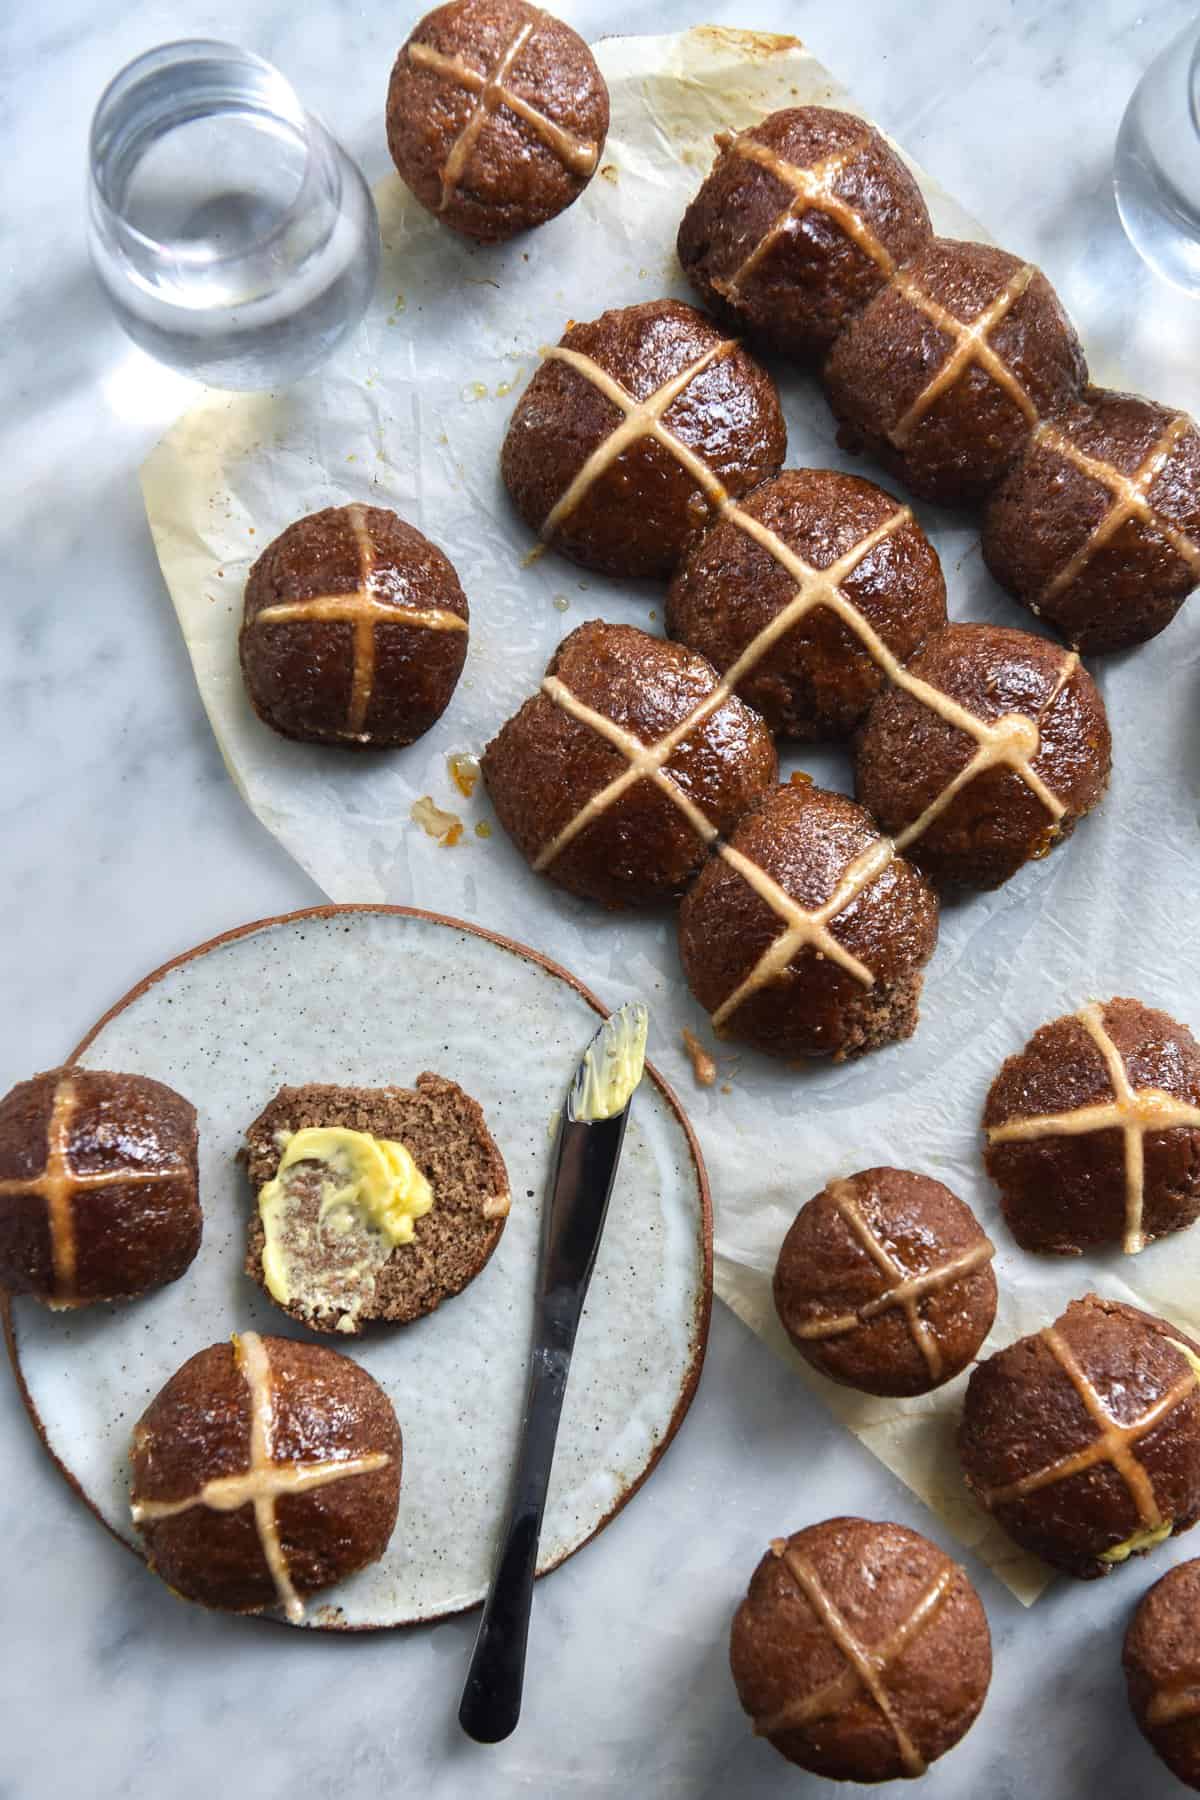
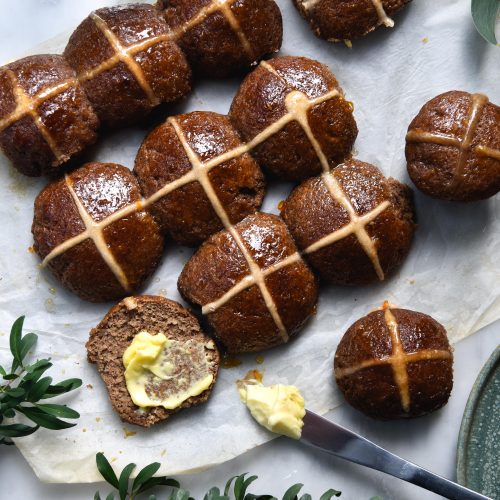
Gluten free hot cross buns (that are vegan and xanthan gum free)
So really, I didn’t start out trying to make these gluten-free hot cross buns vegan. I simply wanted to make them as as spicy as humanely possible. It is a truly happy consequence, though, because now the buns are gluten free, starch free, vegan, FODMAP friendly, nut free and xanthan gum free. I struggle to think of a diet they won’t be an appropriate treat for.
Ingredient notes for your gluten free hot cross buns
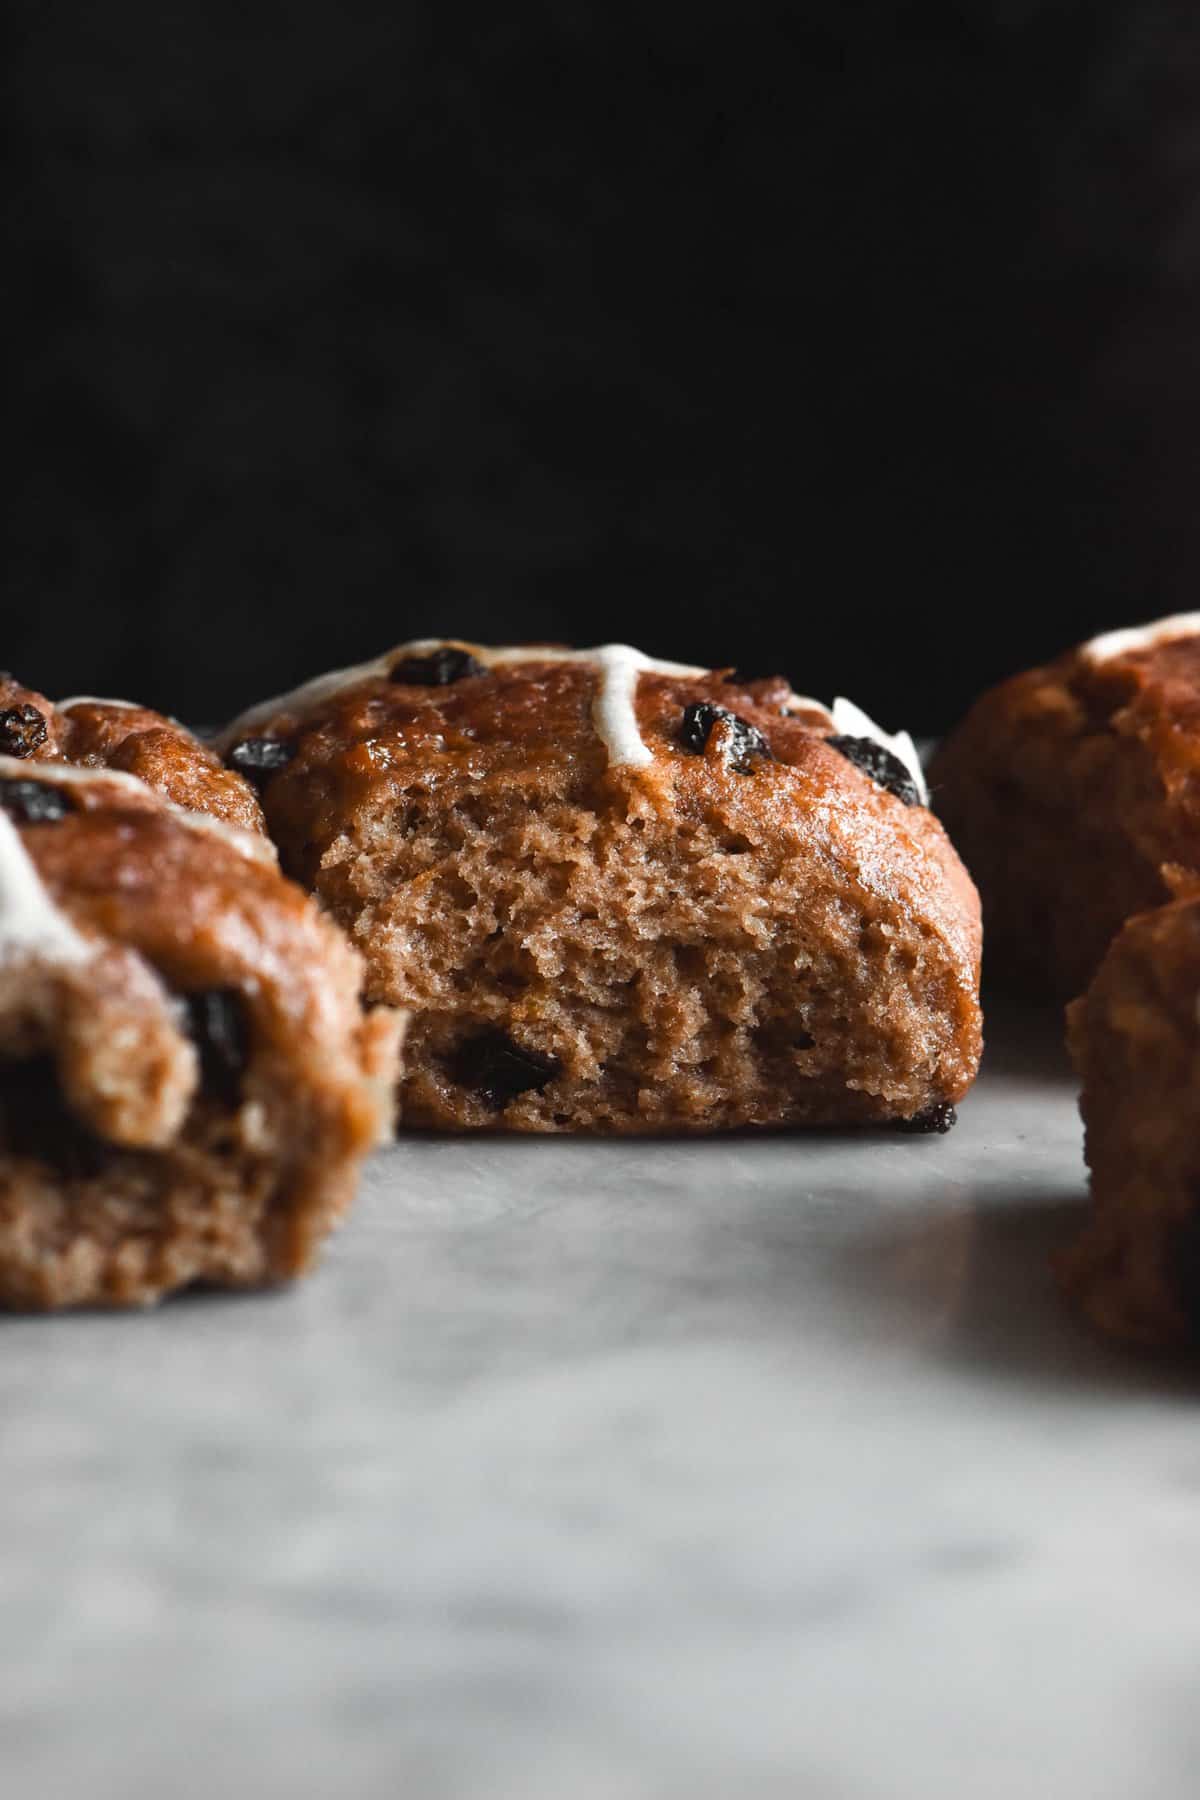
These buns use two gluten free flours: brown rice flour and buckwheat flour. Brown rice is the workhorse flour and buckwheat lends a bit of elasticity that a starch otherwise would. I have not tried these hot cross buns with any other flours, so you will need to experiment if you want to. I will update the post as I test more variations.
Note that brown rice flour is a particularly thirsty flour (so too is buckwheat). If you intend to try a different flour, keep the hydration in mind.
Psyllium husk (not powder) is not an option in this recipe. It pulls the dough together in the absence of eggs. It also serves to suck up all the moisture and keep the buns moist. I have no substitutions.
Sugar isn’t critical to structure here like it is in, say, choc chip cookies. You could use rapadura/panela sugar in place of brown. Coconut sugar is high in fructose so I don’t recommend it unless you don’t have fructose issues.
I daresay any oil will work here – I used olive because I like the savouriness of it in desserts. You could also use vegetable, canola, avocado or probably even coconut.
Proofing options for your gluten free hot cross buns
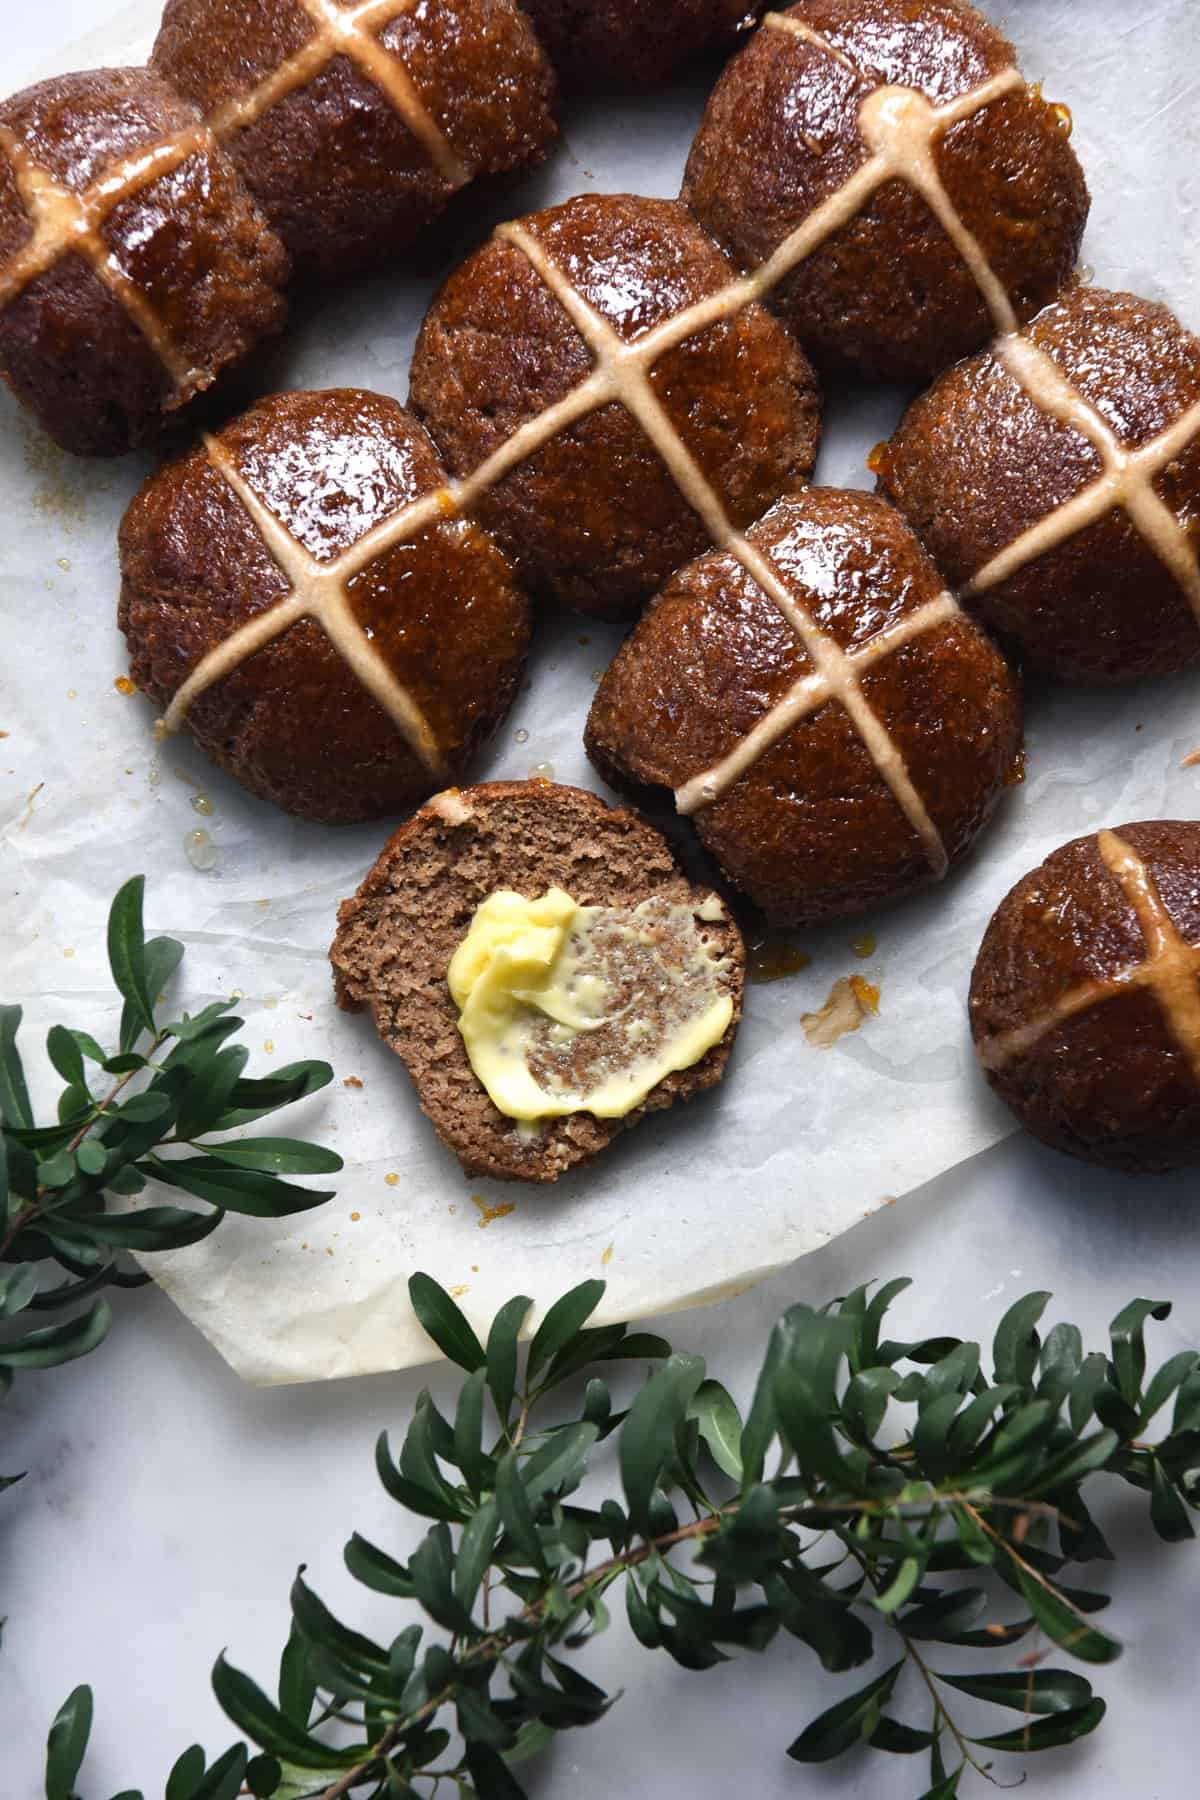
One of my main gripes with gluten free hot cross buns is their shape. Because they require so much extra moisture, they often end up baking into a flat loaf as opposed to individual buns. To help with this, I designed this recipe to be proofed in two ways: my preference being the overnight fridge proof.
Overnight proofing
Firstly, it’s worth nothing that an overnight proof is ideal because of the resultant flavour development. The spices and orange zest have time to mingle and the yeast has time to develop a more complex taste. There’s tangible difference in the rise, but there’s a very tangible difference in the flavour. Given that the mixture is proofed in the fridge, it also results in HCBS that can more easily be shaped into a bun form.
To proof overnight, simply make the recipe up until the point of adding the mixed peel or chocolate. Cover and place in the fridge overnight. In the morning, stir in the add ins and use well oiled hands to form the buns. Place them on a tray to come to temperature and do a final rise for about an hour before baking.
Same day proofing
I get it, sometimes you just want a hot cross bun. The same day batch are still good, they just might spread a little more than the overnight batch. They also just don’t have the depth of flavour that an overnight batch have. I HIGHLY recommend going the overnight route where possible, but it is an option.

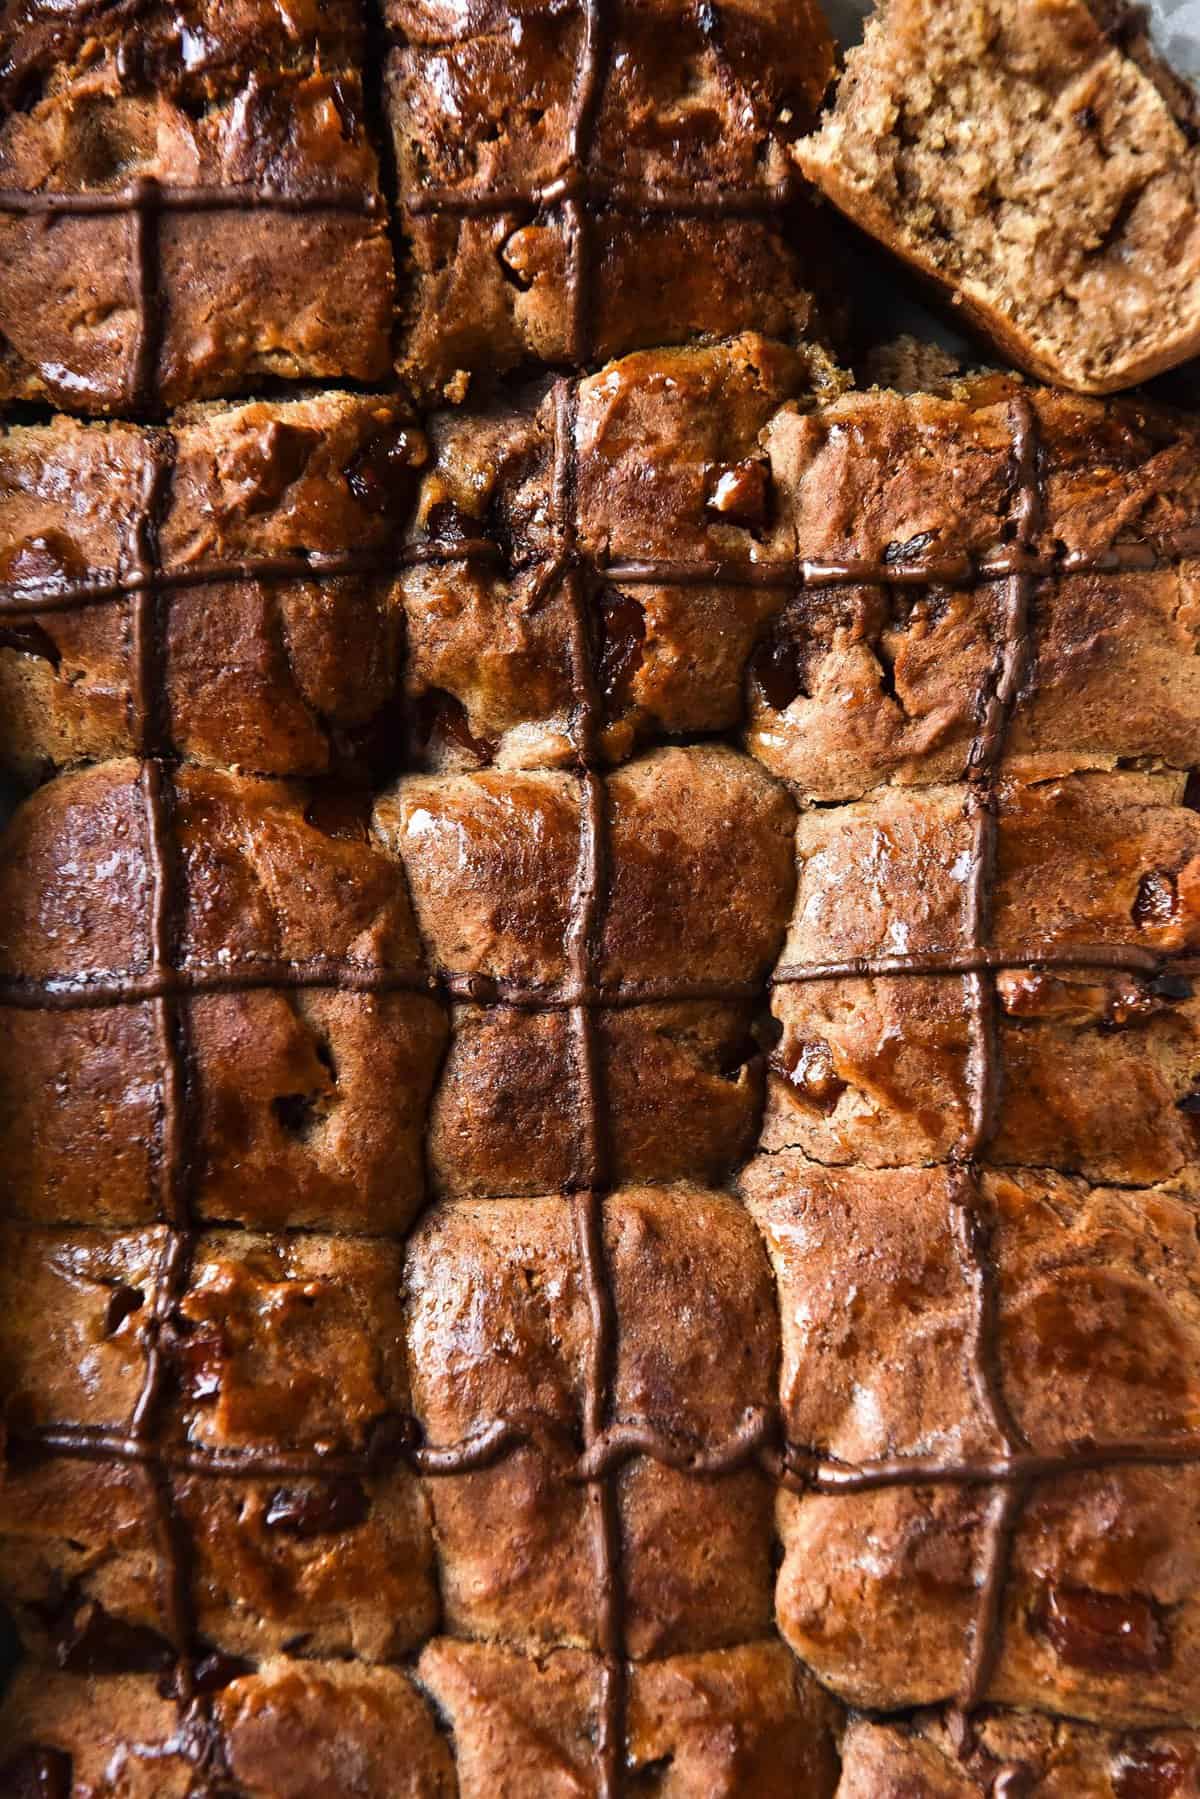
How to make a gluten free cross on a hot cross bun
I have no religious leanings but I can respect culture and history. I’m also aware that they just look better with a cross on them. You do have a few options here: you can use dark cooking chocolate for a chocolate cross, or a tapioca and white rice flour paste for a traditional one.
To make a chocolate cross:
- Melt 50-75g of good quality dark chocolate over a double boiler. Transfer the melted chocolate to a piping bag with a thin nozzle or a ziplock bag with the tip of a corner cut off.
- Go for gold.
To make a flour cross:
- Combine 1 tablespoon of tapioca flour with 1/2 tablespoon buckwheat flour. Tapioca flour is necessary here for giving the cross enough elasticity to survive the baking process in tact. Add in 1/2 teaspoon of neutral oil (although really, any oil will be tasteless in this quantity) and just enough water to make a reasonably thick but somewhat flowy paste, anywhere from 2-4 teaspoons. If you overshoot, add a little extra flour of either variety.
- Transfer the paste to a piping bag with a thin nozzle or a ziplock bag with the tip of a corner cut off.
- Go for gold.
More gluten free vegan desserts
- These brownie cookies
- These cinnamon rolls
- The chocolate cake in Intolerance Friendly Kitchen
- This spiced pumpkin mug cake
- These choc chip cookies
Gluten-free hot cross buns (vegan)
Ingredients
Buns:
- 60ml (1/4 cup)* soy milk or plant milk of choice
- 7.5g (1 Australian sachet) yeast
- 1 teaspoon sugar of any sort
- 120g (3/4 cup)* light buckwheat flour
- 160g (1 cup)* brown rice flour
- 150 g light brown sugar
- 20 g psyllium husk
- Zest of 1 orange
- 125ml (1/2 cup)* olive oil or neutral oil
- 500ml (2 cups)* water (see notes)
- 1 1/2 tablespoons cinnamon (6 American, British or NZ teaspoons)
- 1 tablespoon nutmeg (4 American, British or NZ teaspoons)
Add ins:
- 2 tablespoons peel
- 2 tablespoons chocolate chips
Crosses:
- 50-75 g dark chocolate
- OR
- 1 tablespoon tapioca flour
- 1/2 tablespoon buckwheat flour white or brown
- 1/2 teaspoon oil of choice
- water just to form a thick but flowing paste
Glaze:
- Maple syrup
- OR
- Marmalade or apricot jam
Instructions
- Decide whether you’ll proof the buns overnight or on the same day. See the notes above for more detail.
- Heat the plant milk until it’s warm enough to be pleasant without burning your finger. Add the sugar and yeast and set it aside for the yeast to proof. If you have no action after 10 minutes, start again with new yeast.
- In a large mixing bowl, combine all the dry ingredients and the orange zest. Whisk to combine.
- Once the yeast has bloomed, add it to the dry mixture along with the water and oil. Whisk until there are no lumps, then cover and place in the fridge for 1 hour or overnight.
- After the fridge rest, the dough should look spongy and be borderline wet. Stir in your add in ingredients.
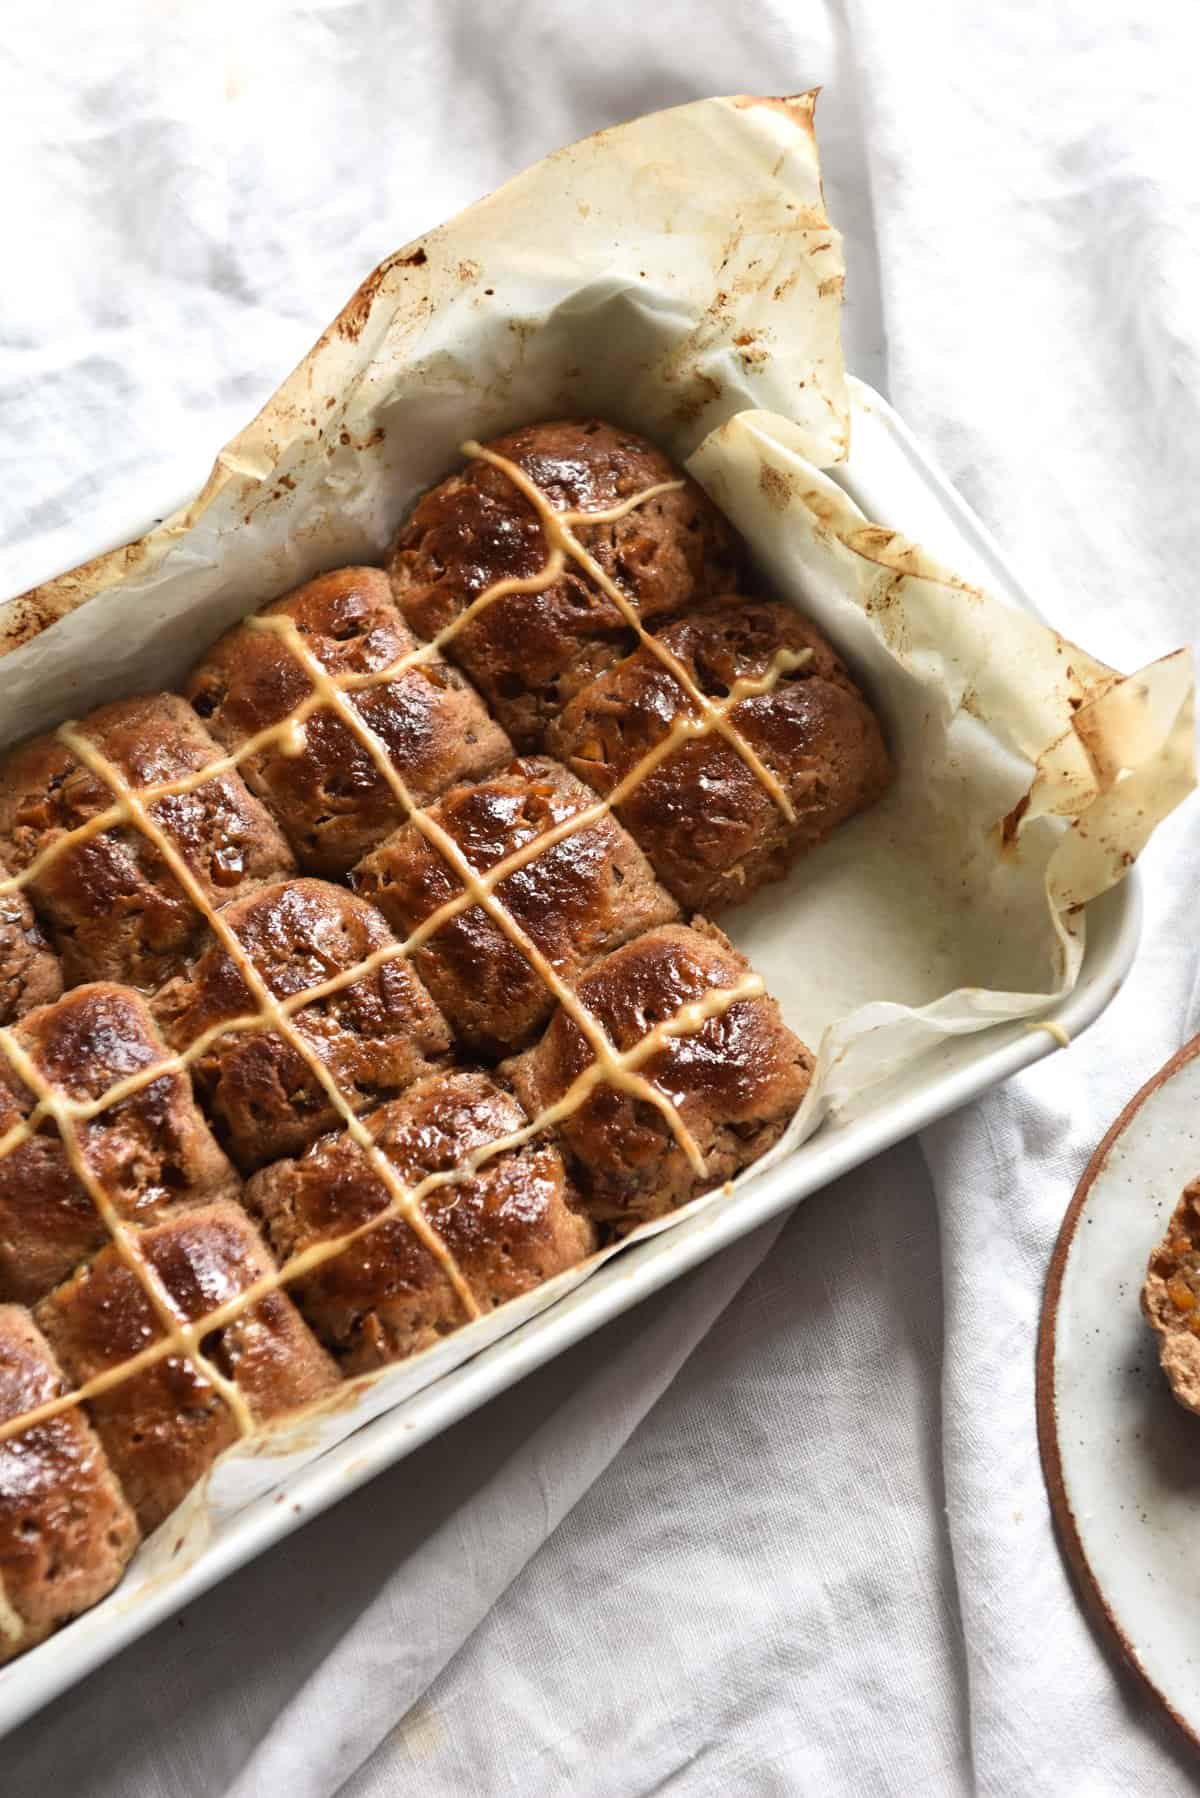
- Using oiled hands, divide the mixture into 8 or 9 buns, rolling them into balls quickly between oiled hands. Place them snug in a lined baking dish with walls (it will help support them rise upwards) with a little space between them to rise. Alternatively you can bake them in muffin holes or a small casserole dish.
- Cover them and allow them to rise for an additional hour.
To make the crosses and glaze:
- If you’re using chocolate crosses, melt the chocolate and transfer to a piping bag. If you want to make flour crosses, mix all the ingredients together until a thick but flowing paste forms. Transfer to a piping bag.Pipe the crosses onto the buns using even pressure and motion. Mine are always wonky so I have no expertise to offer on getting them perfect.Place the buns in the oven and bake for 30 minutes.Immediately upon removing from the oven, brush them with maple syrup or marmalade. These buns keep well for a number of days. I daresay they can also be frozen and defrosted.
To bake:
- About 15 minutes before they’re ready to bake, preheat the oven to 200C or 400F.
- Place the tray of hot cross buns in the preheated oven for 25-30 minutes, or until baked through and lightly browned on top. Once out of the oven, glaze with the maple syrup or marmalade while still hot. Allow to cool for 10-15 minutes before eating.
Notes
- These are well spiced buns. Consider whether you enjoy a well spiced bun and adjust the spice levels accordingly.
- I haven’t yet tried these buns with any other flour combinations so I can offer no suggestions.
- If you prefer a more solid bun for toasting, use 1/4 cup less water. If you prefer a softer but less formed bun, use the whole amount of liquid.
Haven’t had a HCB in so many years so I decided to give these a go. I followed your recipe
Exactly and they are lovely! Mine were a bit too flat and will use a casserole dish next time but the taste was definitely HCB. I thought they could have done with a pinch of salt, and were a little too moist. I will use slightly less water next time. At what point could I add a little salt? Also, with the add-ons, can I add 4 tablespoons of sultanas instead of the dried peel and chocolate. Thanks Georgie, found the recipe remarkably easy considering that it is GF
Can I leave the brown sugar out?
The liquid and flour ratios are based on the sugar content so unfortunately not. If you need a sugar free option I would recommend finding a recipe specifically for that so you don’t end up wasting ingredients, which is always annoying. Good luck!
Thanks for the recipe. They are in the fridge now but wondering how ling they should be baked for. Thanks!
Hi Candice! Apologies, the recipe card cut off the last two sets of instructions so I’ve added them in again. They are baked for 25-30 minutes in a 180C oven. Happy Easter!
The recipe looks great, I’m proofing my dough in the fridge as you suggest and it looks very wet, I’m not sure how it will get to a point that I can form balls, does that sound normal to you?!
Hi Lydia, that’s totally normal. The psyllium husk will absorb the excess liquid and you’ll be left with a dough. It’s weird working with it for the first time, I know!