You might have seen on my stories that I (semi) recently went on an unofficial Pad Thai trip of Thailand. Needless to say, my time in this glorious country has inspired a number of recipe tests. None more pressing, though, than this FODMAP friendly Pad Thai. I’d like to start this post by pointing out that vegetarian Pad Thai (and FODMAP friendly Pad Thai, no less) is not authentic. I suspect a lot of the pad Thai I ate in Thailand (if not all) catered to a Western palate. Thai cuisine expertly blends flavours and one of those main flavours is that of fish sauce. It goes without saying that this vegetarian version doesn’t use real fish sauce.
While I was at Uni and way before I even thought of starting a food Instagram or developing recipes, my hobby was attempting to make authentic international foods. I tried my hand at fried rice (a very basic entry, I know) green Thai curry and Japanese curry, among others. I’m still fixating on a Japanese curry I ate out of a vending machine at Tokyo Disneyland when I was 13. Probably my most passionate attempt, though, was Pad Thai.
I spent months trying my hand at Pad Thai. Admittedly I knew a lot less about cooking then, but a lot of my attempts were lacklustre. Sadly for me, my family voted the jarred sauce (which I heavily researched, might I add) as the winner. I’m here today to rectify that injustice.
Low FODMAP Pad Thai (that is vegetarian) tips
I am not an expert on the topic, I’d like to point out. Although I’m a relatively harsh judge on pad Thai I buy, I found it quite hard to master in a cooking class we did in Bangkok. Getting the noodles not to clump up was my main issue. I ate a slice of humble pie that day, having pointed that out in other pad Thai.
- This Guardian Article goes into different methods and which ones are more straightforward for the home cook.
- She Simmers is a great Thai recipe site. In fact, she has tips for every stage of the Pad Thai making process.
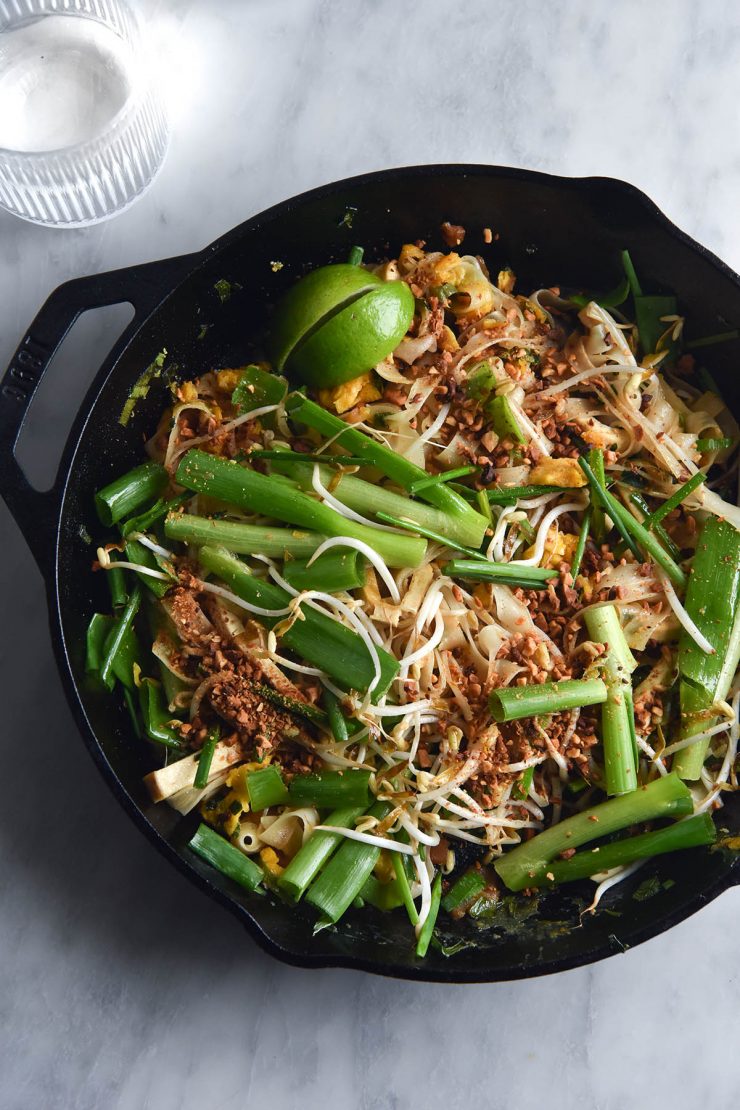
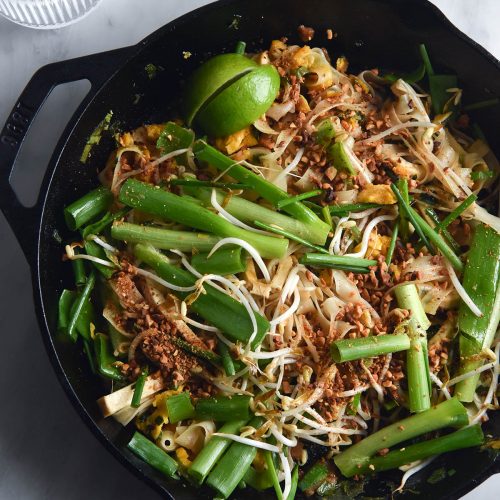
- Part one: the pan. She suggests using a seasoned cast iron pan for a home cook making pad Thai, because it has great evaporation and retains heat really well. A wok looks better for photos (sorry) but I did find that my skillet produced a better result.
- Part two: noodles. The best tips and tricks for soaking (she strongly recommends soaking as opposed to blanching). This tip was a game changer for me.
- Part three: notable ingredients and garnishes. A really interesting read if you’d like to make your dish as authentic as possible.
- Part four: the sauce. Leela recommends making the sauce in advance, as it’s harder to add each individual ingredient as you cook.
- Part five: making the pad Thai. So many good tips for the main event. Even if you skip the other links, I highly recommend reading this one.
Tips for making Pad Thai at home
One cooking class does not an expert make, but I figured I would expand a little on the things I have learned along the way.
Soak your rice noodles in cold water 1+ hours before you start cooking. Ever since doing this, I have not made a single batch of gluey, clumpy Pad Thai. I think this is how I will prepare all rice noodles moving forward (time permitting).
Make the sauce first. This gives you the opportunity to taste and adjust to your own personal preferences, which is too hard if you pour them individually into the wok. This is really important given the varying saltiness and fishiness of vegetarian fish sauces.
Cook two serves at a time. Cooking more is almost an instant ticket to a mushy, gluey pad Thai. Speaking from experience, this alone can ruin the dish, even if the sauce is perfect. It’s easy to make in batches, particularly when you have the sauce prepared.
The eggs are optional, but they do bind all the little ‘bitsy’ ingredients to the noodles a little better. You can absolutely make it without, you might just find that the bits are at the bottom of your bowl as opposed to evenly dispersed throughout it.
Ingredient notes for your low FODMAP Pad Thai
To make this Pad Thai FODMAP friendly, we’re eliminating the traditional garlic and shallot and replacing it with spring onion greens. I have to say, I didn’t find the garlic and onion noticeable in any Pad Thai I ate in Thailand, but that might just be the effects of being on Holidays. Either way, we’re using spring onion greens here – as the base and for garnish.
If you can find them, garlic chives are considered low FODMAP by Monash. They add a distinctly garlic flavour to the pad Thai and an authentic look. I found some at a local grocer that has a great Asian section.
Personally, I think pickled daikon is integral to Pad Thai. It’s a unique flavour that I really love. In my Pad Thai exploration days, I spent months trying to track it down at a local Asian Grocer. Minh Phat is still my favourite, if you’re in Melbourne. That was 2010 or 2011, so availability has drastically improved since then. Daikon are FODMAP friendly and I recommend sourcing some if you can. I found some Japanese pickled daikon from Spiral foods at my local IGA. They’re not the same thing, but it does hint to the increased availability of international ingredients.
Rice noodles are naturally gluten free. So, as we’re using Tamari or gluten free soy, the pad Thai is 100% gluten free.
Essential ingredients for homemade Pad Thai
If you or someone you’re cooking for has a peanut allergy, the first obviously does not apply to you.
To me, fresh, toasted and chopped peanuts are an essential element. They add flavour, texture and contrast. If you can avoid it, don’t buy pre-packaged ones, as they don’t have the freshness and flavour.
Bean sprouts. Having had so much Western style pad Thai, I almost assumed carrot was part of the dish. Not so – bean sprouts are the only vegetable. They add a textural contrast and maybe stop the noodle from sticking together? Don’t quote me on the last one but they seem to keep the whole thing a little aerated. A must include.
A wedge of lime and chilli flakes to serve. It is amazing how a squeeze of lime juice can pep up an average pad Thai. Everywhere I ate in Thailand, they gave us condiments to adjust the taste for our own personal preferences. I recommend doing that at home, too.

Recipe substitutions
Some things are harder to find than others. While I’m not the authority on what to substitute in Thai cuisine, here are some suggestions I have picked up in my research and in my own experience with not being able to find things.
For a vegetarian or vegan pad Thai, use vegan fish sauce. I like this one – I eat a bit of fish and it tastes perfectly fishy to me. It’s also easy to acquire. If you have any brands you prefer, I’d love to hear about them.
Making a vegan pad Thai? Simply omit the egg. You could also use a vegan egg if you have a brand you like and trust (although a lot of them are made with beans, so proceed with caution for FODMAP purposes).
For soy allergies, you can omit the tofu and Tamari and use coconut aminos.
This article goes into vegan fish sauce options very thoroughly. It also suggests using fermented bean curd in place of shrimp paste, which is used in authentic pad Thai. I plan to try this and report back.
If you absolutely can’t find garlic chives, regular chives (they were called onion chives at my local Asian grocer) seem to work in a pinch.
Hot Thai Kitchen says that you can use Japanese pickled radish or omit the radish altogether if you can’t find it. Personally, I think it adds an important (but probably not critical) flavour.
Palm sugar is available at supermarkets in Australia, so it’s very easy to find. If you absolutely cannot find it, brown sugar is the next best thing. I’d recommend adding less, though, as it is much sweeter.
A very important note on the Pad Thai sauce
Different brands of fish sauce (vegan or regular) taste different and have different salinities. Tamarind can come in a paste (Jeeny’s Brand is a common supermarket one in Australia) or a puree that needs to be soaked. The quantity of each of these ingredients you add to your sauce is EXCEEDINGLY DEPENDENT on factoring in variation. Palm sugar is perhaps a little less variable, but it’s still an important ratio to get right.
What’s more? Everybody has different tastes. I made a batch that I loved; my mum thought it was too fishy. Pad Thai sauce balance is a highly individual thing, and there’s no one size fits all solution. Mine might be too sour, or not sweet enough, or too sweet. This depends both on your ingredients and your tastes.
So, what’s the very important note? It is integral and essential that you taste the sauce as you make it. My fish sauce might be weaker or stronger than yours, leading to a different result. Same goes with the tamarind and the palm sugar.
If you taste the sauce and don’t like it – fix it. Add more of whatever it’s lacking. This is your opportunity. There is no point making the whole dish and then disliking the taste of the end result.
The impact of different fish sauce brands
I thought I would include a quick example to show just how much the sauce quantities can vary. For my first batch, I used Niulife vegan fish sauce. It’s the easiest to acquire from supermarkets. I used 5 tablespoons of Niulife fish sauce. For my next batch, I used Vincent Vegetarian Food brand of fish sauce. I only needed 2 tablespoons of fish sauce. There can be such a huge variation!
I recommend starting conservatively – 100g of palm sugar dissolves in 2 tablespoons of fish sauce without drama. From there, you can assess if you need more and make notes for future batches.
A note on the rice noodles
We’re on the home stretch of notes, I promise. ANOTHER thing I have learned during this process is how much different rice noodle brands differ. In fact, I liked one style of Erawan brand noodles, but didn’t like another. I found some brands stuck together more than others, and some were too chewy even after soaking.
I will update the post as I try more brands, but I am quite limited to Australian offerings. If you find a brand you really like, make a note of it! All the technique in the world might be for nothing if you end up with uncooked noodles. That’s probably dramatic (slightly crunchy Pad Thai is still good Pad Thai) but if you intend to make it often, keeping note is helpful.
One last thing I noticed was that some brands of rice noodle took a lot longer to soften in the cold water than others. So if your noodles haven’t softened after an hour, the noodles might offer an explanation.
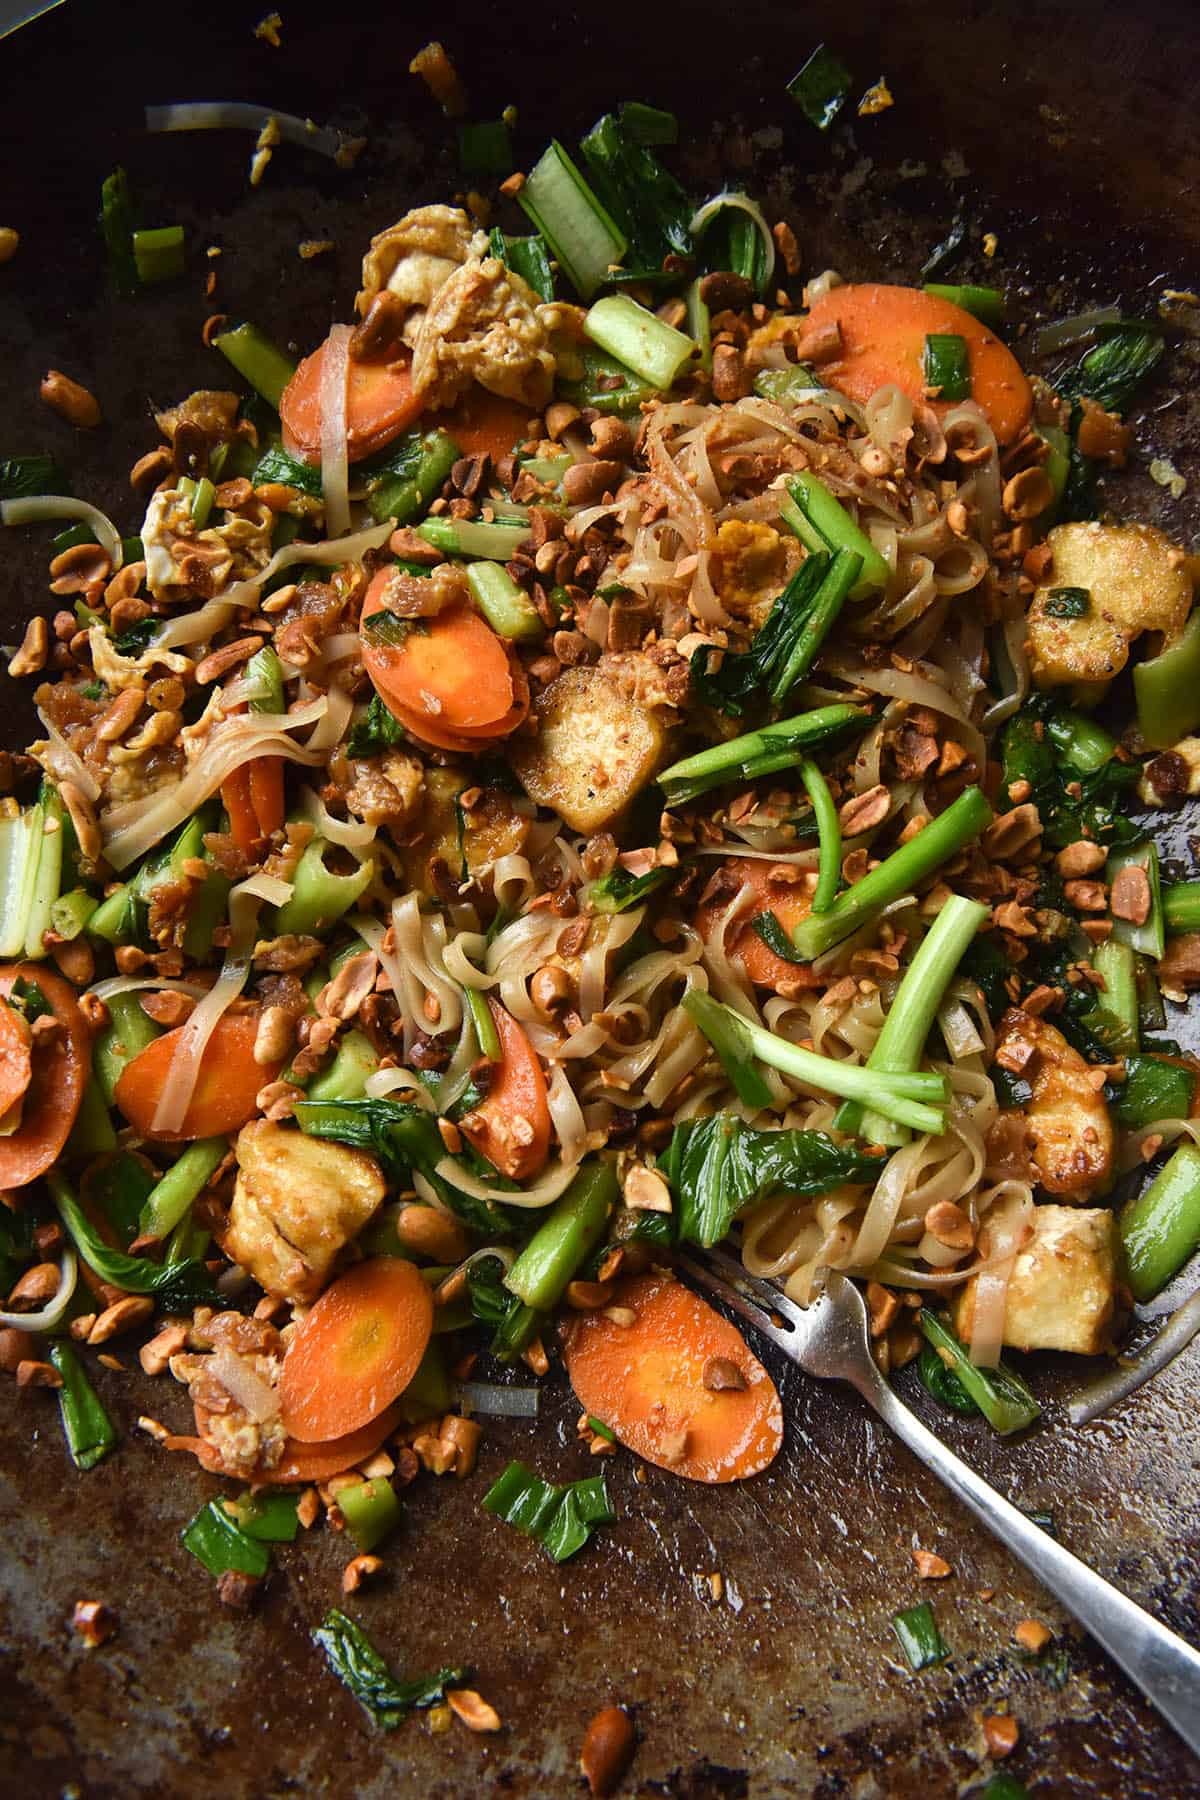
To make an (inauthentic but practical) vegetable packed Pad Thai
An inauthentic but yummy midweek dinner that serves 4.
- Make a double batch of the sauce and soak 150g noodles.
- Chop 2 large carrots and a large bunch of Pak Choi, Choi Sum or the leafy green Asian veg of your choice. Use 400-500g firm tofu.
- Cook the vegetables (with a tablespoon of oil) until softened, then remove from them the wok.
- Thoroughly reheat the cook, then proceed with the recipe as written.
- Very gently return the vegetables to the wok and stir to coat before serving.
More low FODMAP vegetarian recipes
- Green Thai curry
- Chilli oil noodles
- Laksa with zucchini noodles
- Peanut butter stir fry
- Vegetarian curry
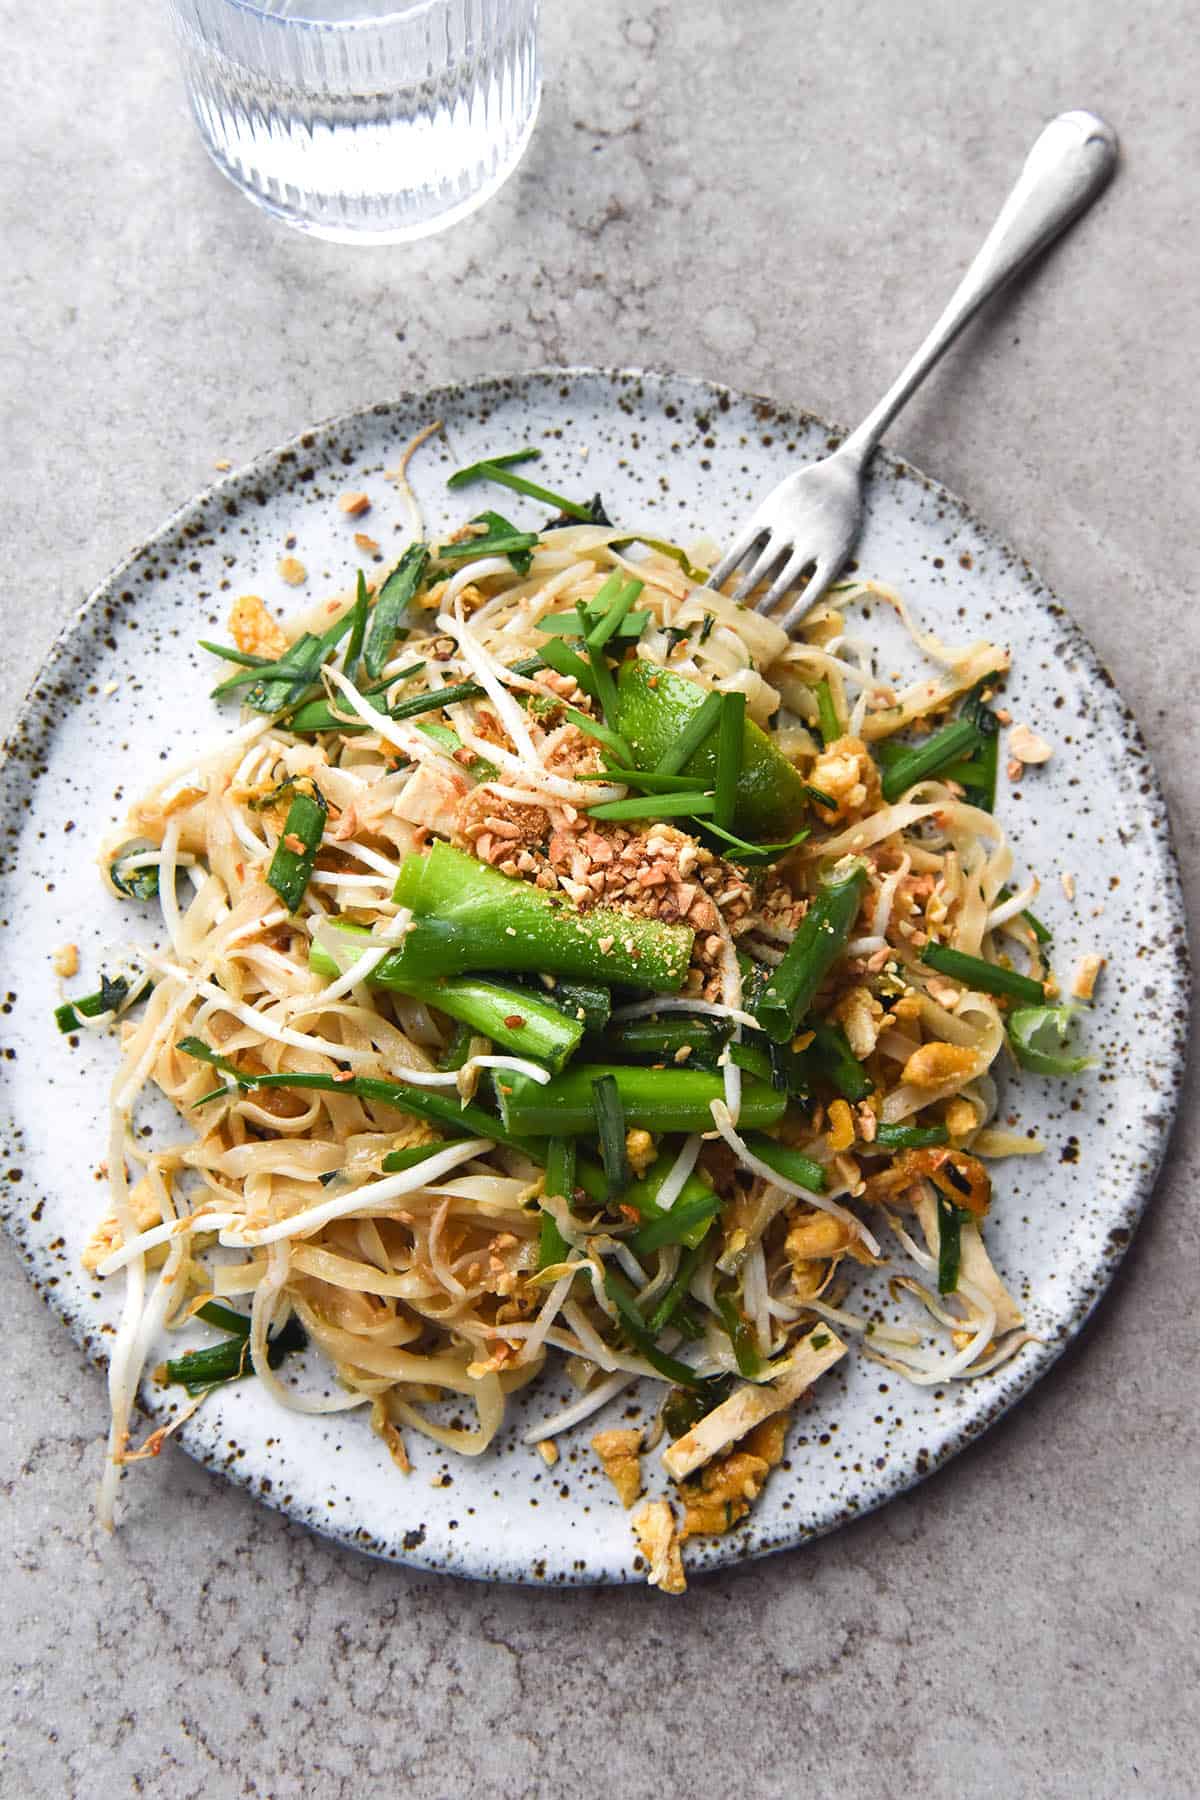
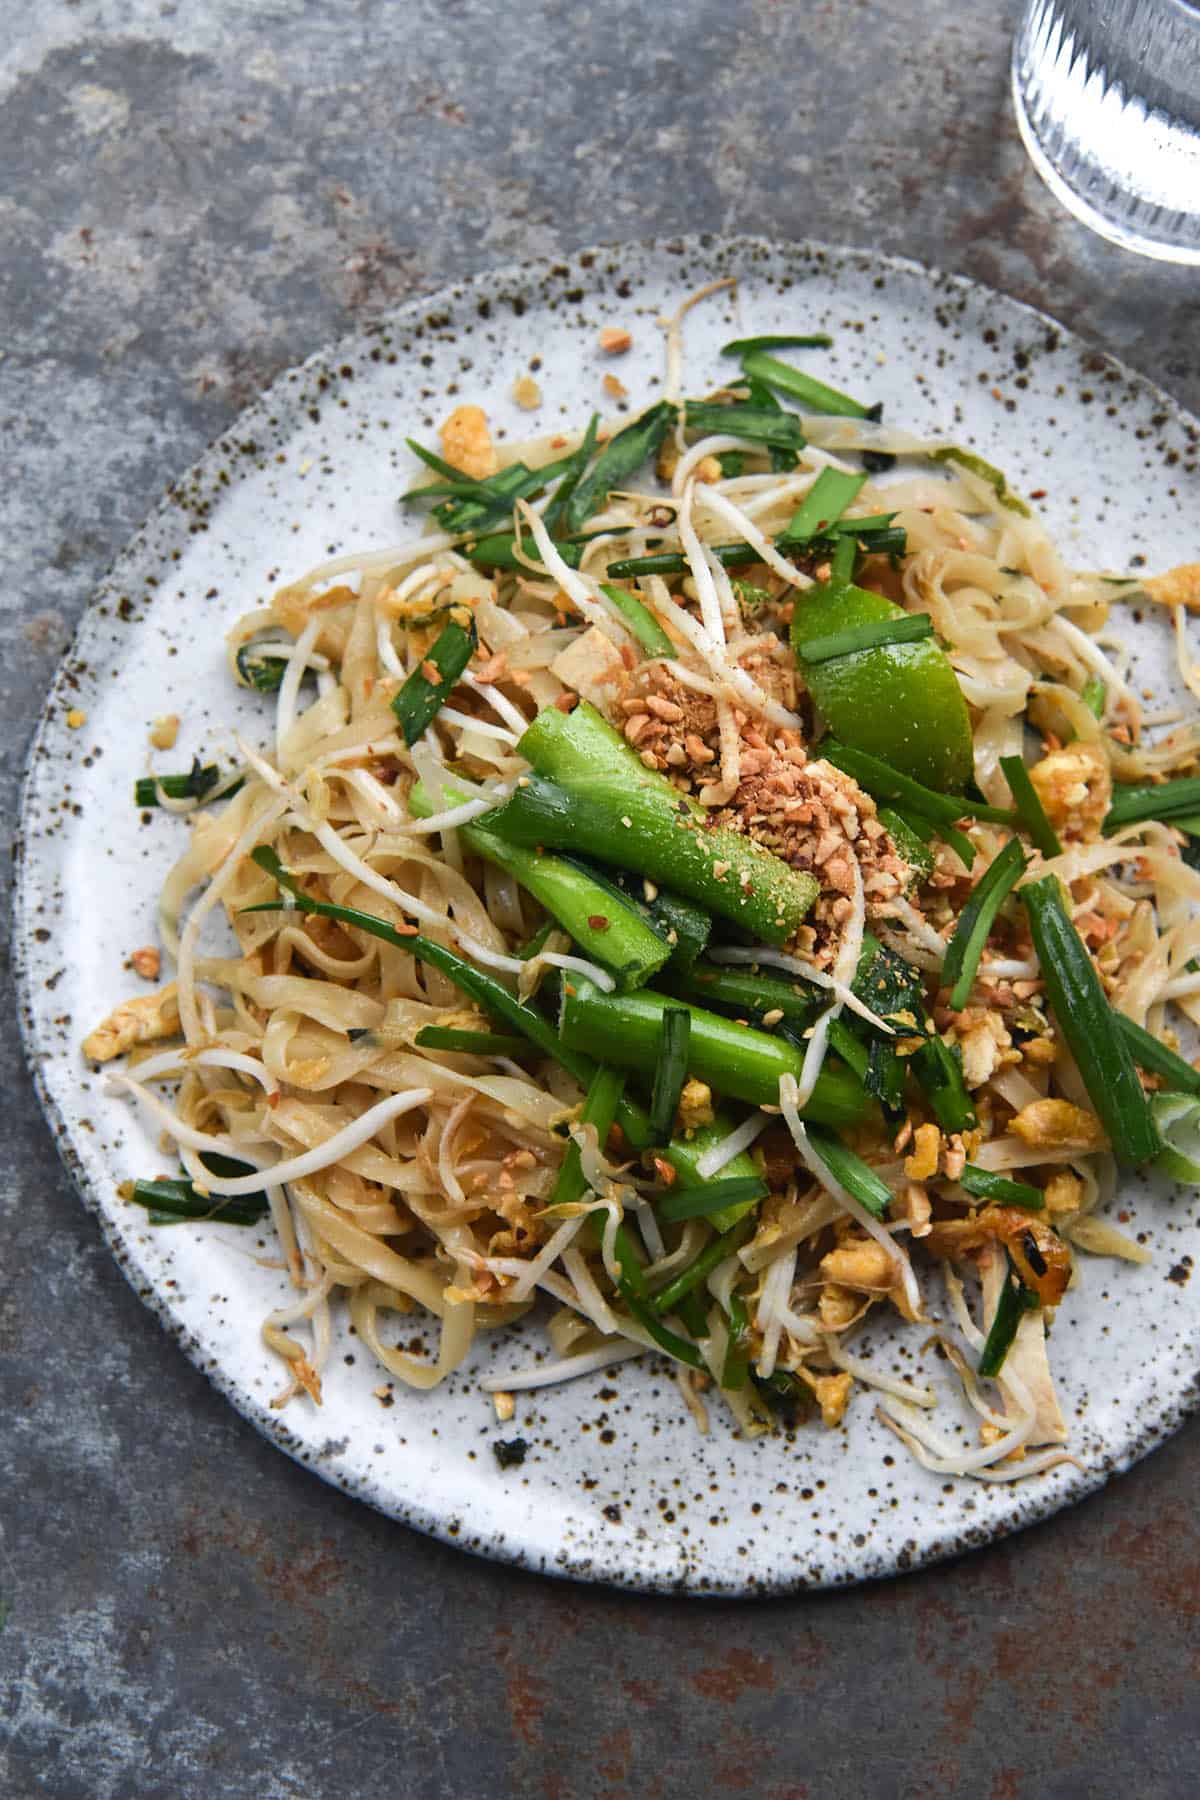
Low FODMAP Pad Thai (vegetarian, vegan option)
Ingredients
For the sauce:
- 75-100 g palm sugar see notes and body of post
- 3/4 teaspoon Tamarind paste concentrate I used Jeeny’s brand, see notes
- 40-60ml (2-3 tablespoons)* vegan fish sauce highly dependent on the brand, see notes and body of post
- 1 teaspoon gluten free dark soy sauce see notes
For the Pad Thai:
- 125-150g Pad Thai rice noodles soaked for 1+ hours (see notes and body of post)
- 80-10ml (4-5 tablespoons) vegetable or peanut oil don’t skimp or it will be dry
- 25-50g bunch spring onion greens half finely chopped and half in thumb sized slices for garnish
- 1 tablespoon garlic chives see notes
- 25g Thai sweet preserved radish see notes
- 2 extra large eggs whisked
- 50-100g extra firm tofu sliced into thin batons
- To finish
- Toasted chopped peanuts to finish
- Handful of bean sprouts to finish
- Extra garlic chives and thumb sized spring onion greens to finish
- Lime wedges to serve
Instructions
- Begin by submerging and soaking your rice noodles in cold water for at least an hour. You could be able to twist one around your finger without issue once they have softened.
- When the noodles are ready, drain them and set aside. Then, make the sauce by combining the palm sugar, tamarind paste, dark soy sauce and fish sauce in a small saucepan over a low-medium heat. Add the fish sauce conservatively to begin with. Cook the sauce until the sugar has melted and it begins to bubble up. Taste and adjust vigorously according to your preferences. This might mean adding more fish sauce, tamarind, palm sugar or even dark soy. Once you’re happy, set the sauce aside.
- Have all the remaining ingredients chopped and ready to go. Finely chop your spring onions, garlic (except the garnish ones) garlic chives and your preserved radish (I like to chop it and then throw it in my mini food processor to make it superfine). Whisk the eggs in a small bowl and chop the peanuts and garnishes.
- Heat the oil in a wok or skillet over a medium high heat. Once it is shimmering, add the spring onions, garlic chives and preserved radish. It should sizzle on impact. Stir to combine, then add the drained rice noodles.
- Stir well to coat the noodles in the hot oil. It can help to do a sort of side to side swishing with your spatula, or to use tongs.
- Add the Pad Thai sauce and stir to coat the noodles. Once they are coated and have softened, push them to one side and pour in the whisked eggs. Move the egg around to thin it out a little – this will ensure it all cooks. After about 30 seconds (or when your eggs are opaque but still soft) stir to incorporate them into the noodles. Break up any large chunks if there are any.
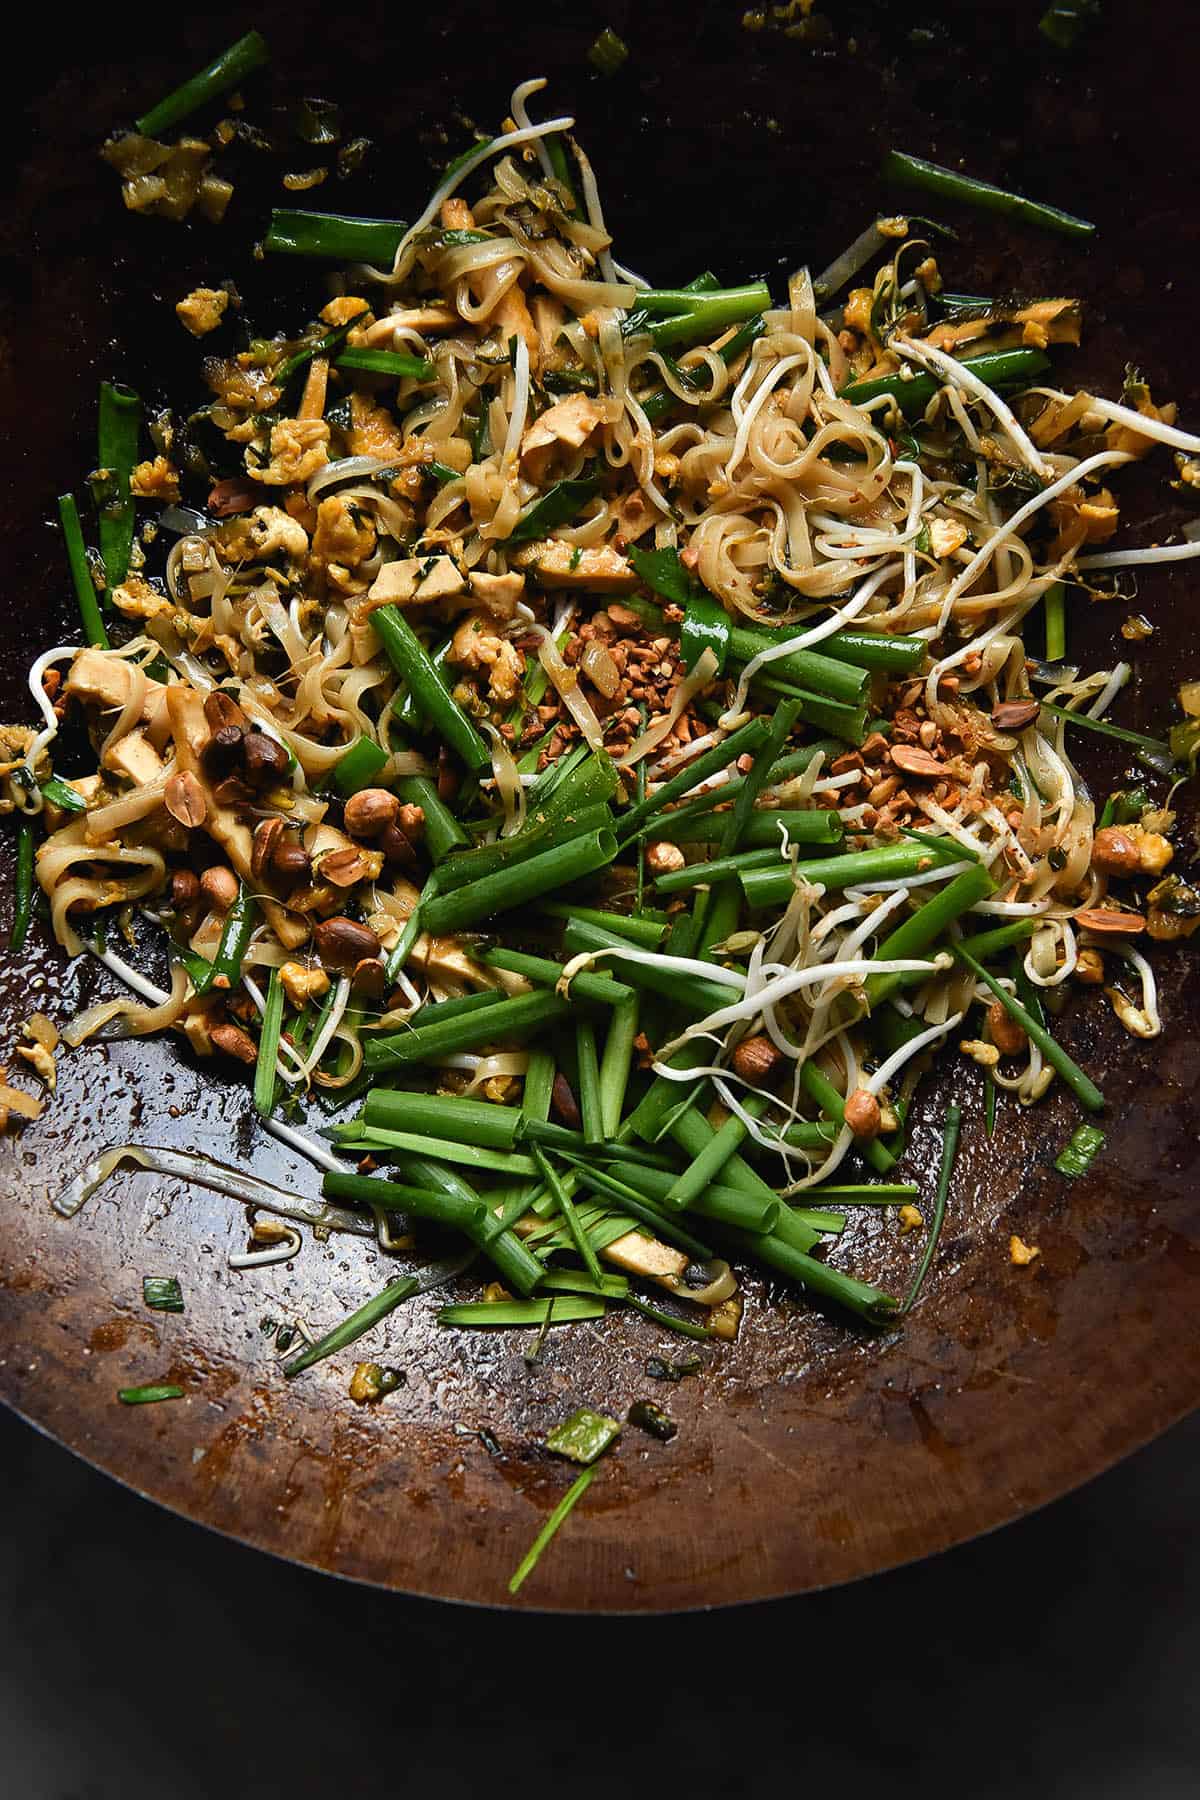
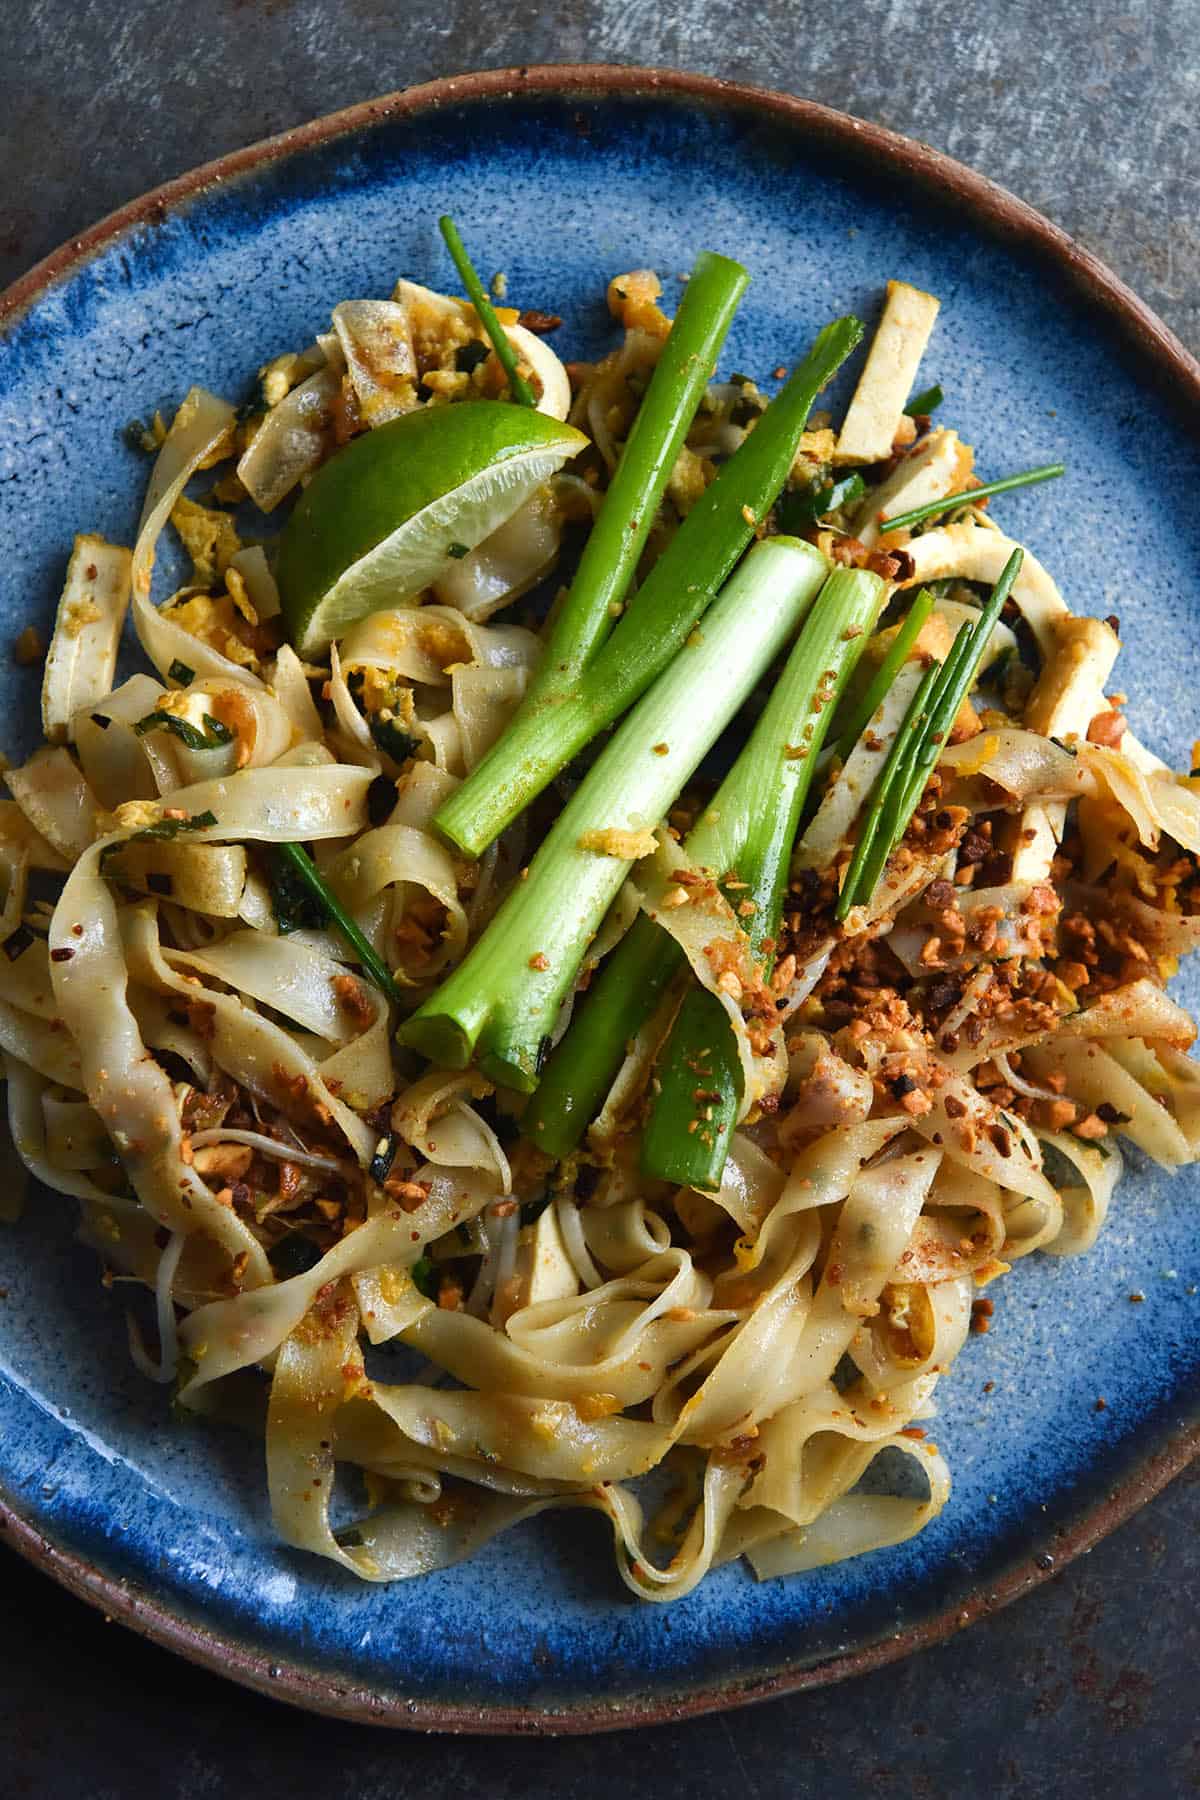
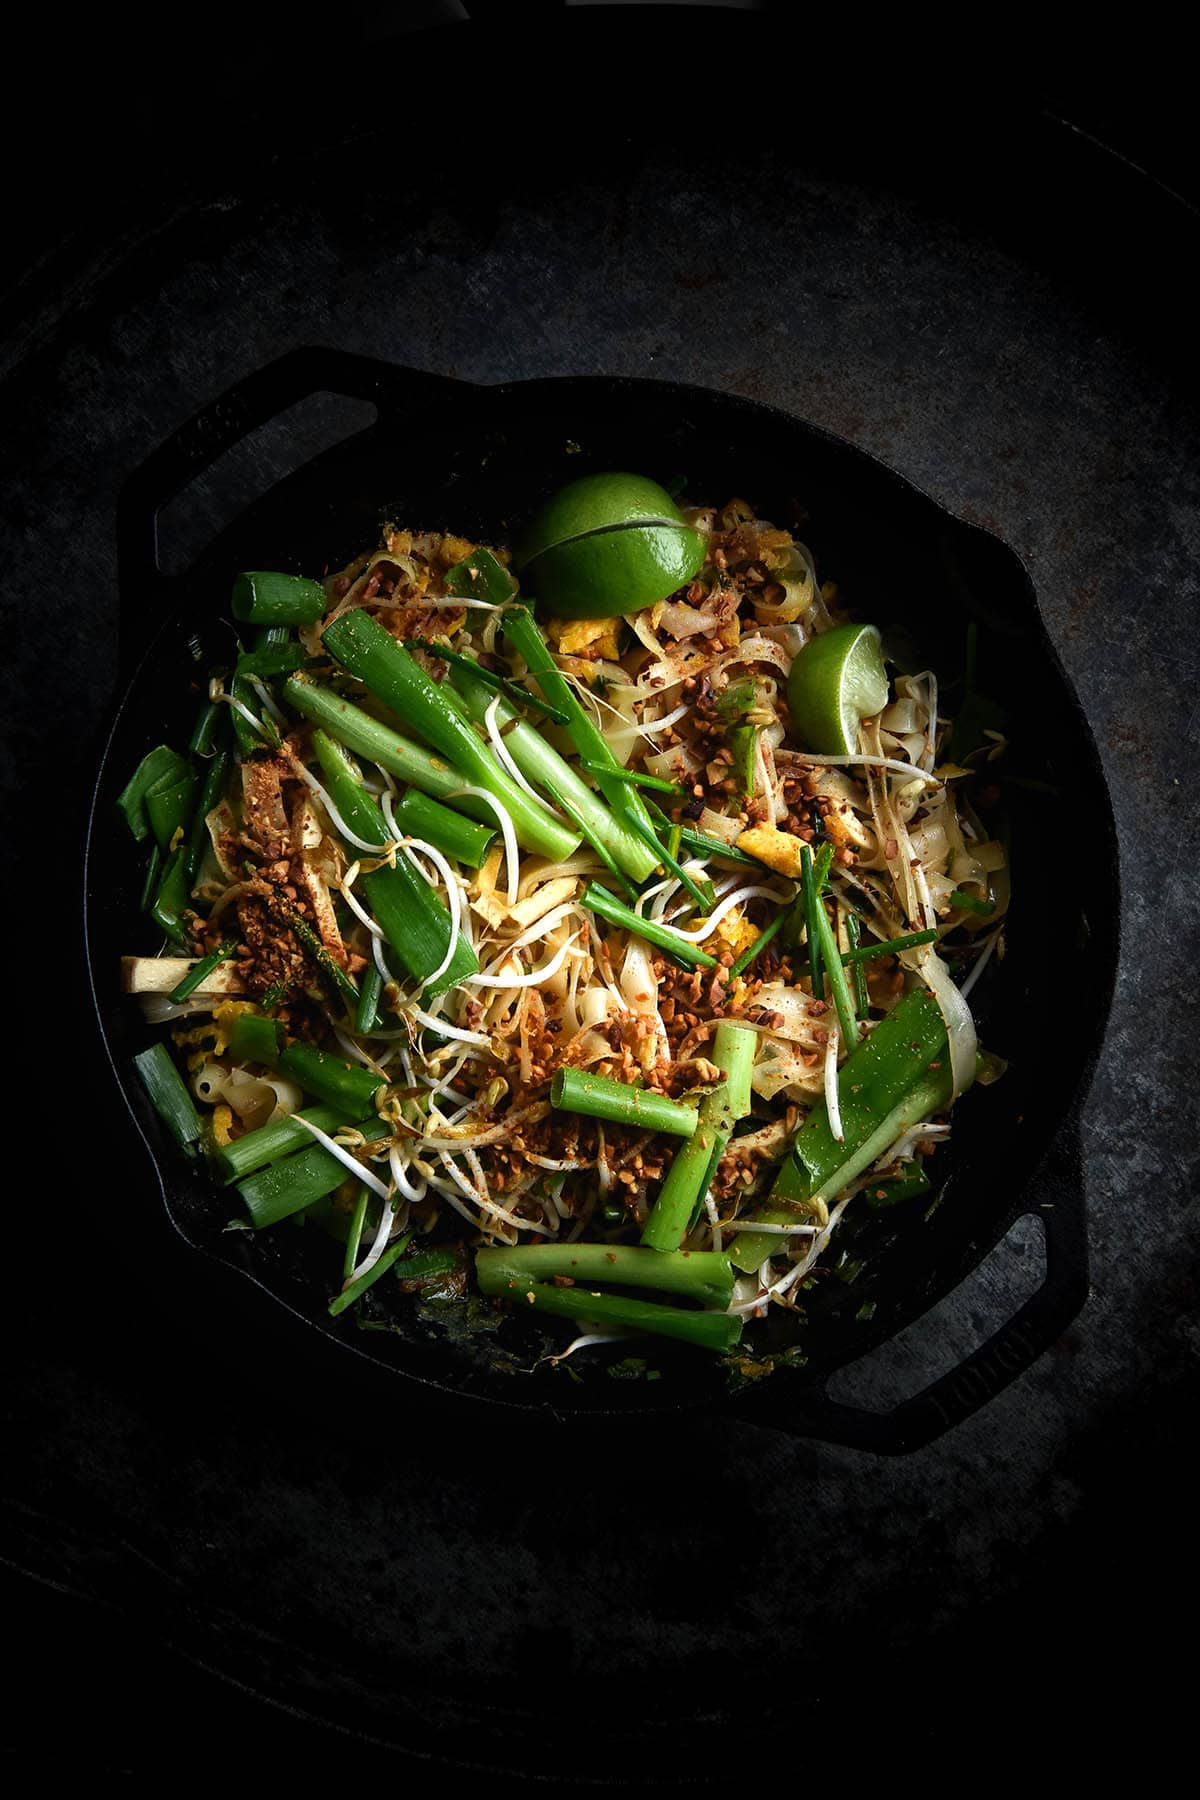
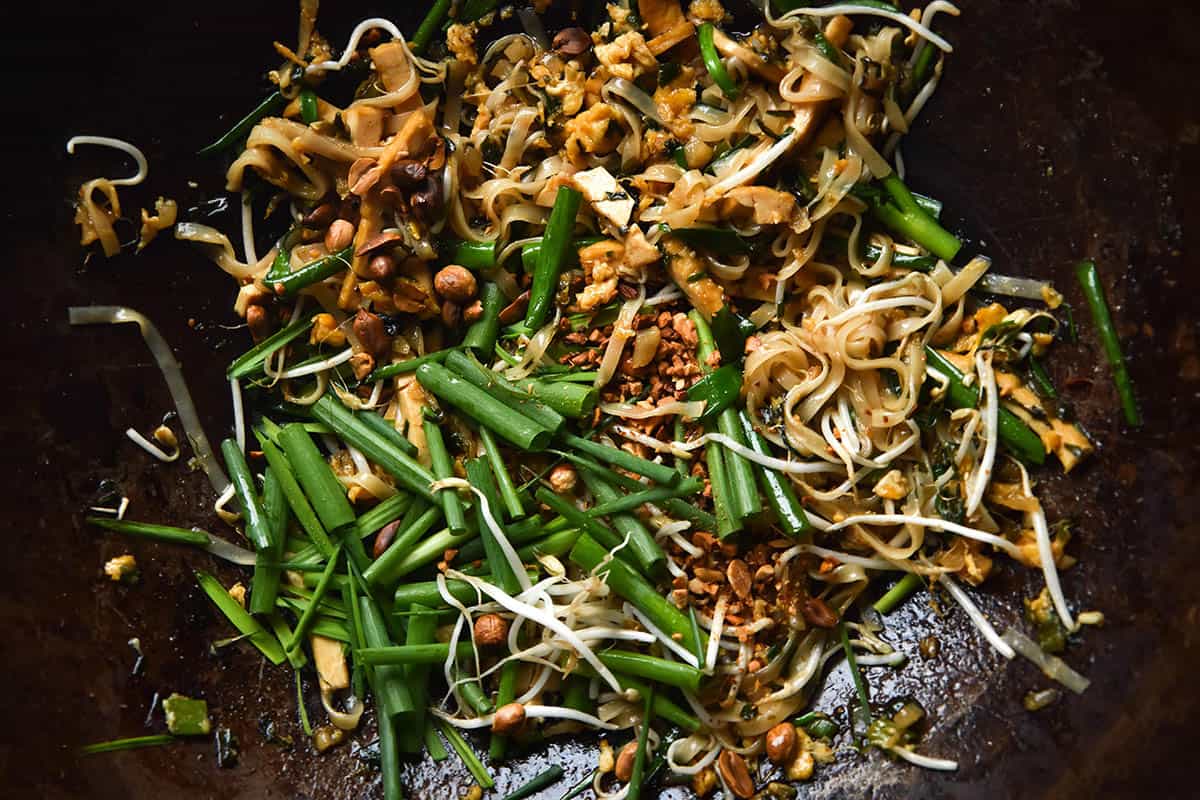
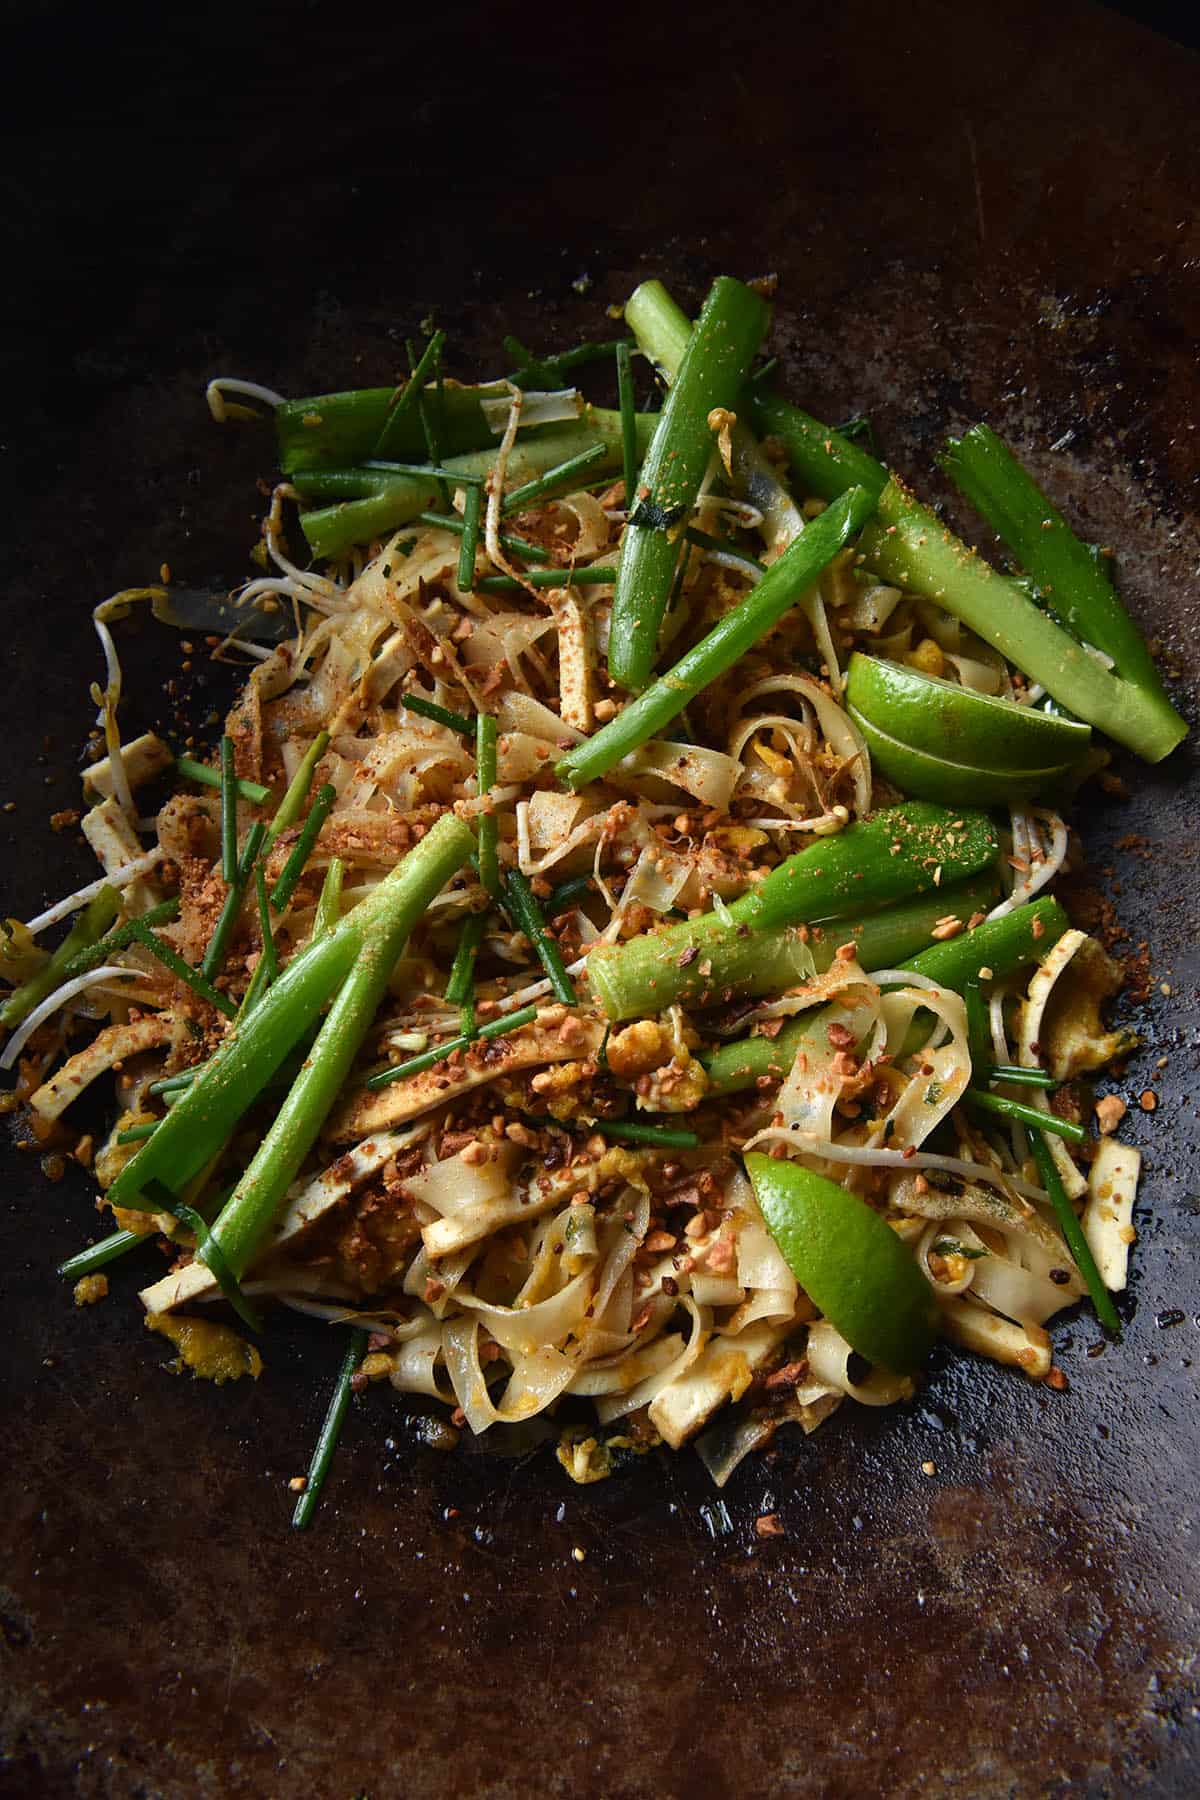
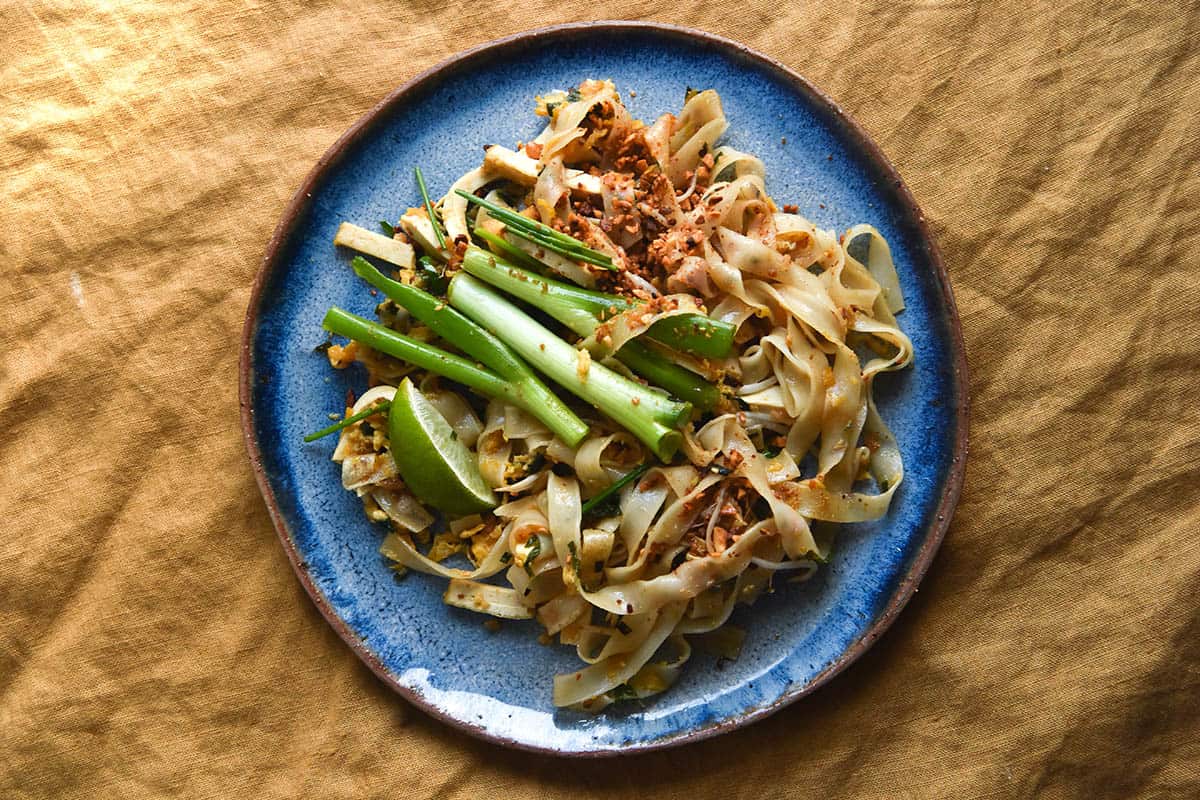
- Add the tofu and stir gently to combine. Heat the tofu through, then take the Pad Thai off the heat. Stir in a big handful of bean sprouts and top with the leftover spring onion greens and toasted peanuts. Plate the two serves up and finish with extra peanuts and wedges of lime.
Notes
- Vegan fish sauce brands vary hugely in their flavour and saltiness. I have tested Niulife (which I needed 4-5 tablespoons of) and Vincent Vegetarian (which I needed 2 tablespoons of). You will need to make the sauce according to the brand you have and also according to your tastes! Some people like a pronounced fishy flavour and some don’t.
- Tamarind paste and the block of tamarind that needs to be soaked are very different. I have only tested the paste thus far. I will update the post when I try to block.
- Dark soy sauce adds colour and a bit of salt to your Pad Thai. You might find that your fish sauce is salty enough and that you don’t need it. Without the dark soy, your Pad Thai might be a little light in colour, but no less delicious.
- If you can’t find garlic chives, I have had some success with regular chives. Alternatively, you could try adding extra spring onion greens.
- If you can’t find Thai sweet preserved radish, you can use the Japanese variety or omit it.
- Monash have recently introduced a FODMAP threshold for spring onion greens. They are low FODMAP in 75g serves and contain moderate amounts of fructose in 97g serves. This recipe uses 25-50g total.
Which noodles work best Georgia? Thanks!
Hi Sally, do you mean which brand? To be quite honest I haven’t written down my preferred ones but I will do as I make more. I’m not sure if you’re in Australia or not but generally any Pad Thai noodle that doesn’t contain anything weird (nothing but rice flour and water generally) is an OK bet. None of them have been awful, I just noticed the variation