I only recommend products I use daily and all opinions are my own. This post contains affiliate links, and I earn a small commission for any qualifying purchases made through the link, at no extra cost to you.
Nut butter. Nutribullets. Do the two play nice? I say yes, because I recently starting making almond butter in a Nutribullet. There are caveats, though, so read on
Making almond butter in a Nutribullet
Before we begin, let it be known that this advice depends somewhat on which Nutribullet model you have. I have a recent version, which means I can walk away from it. I don’t HAVE to hold it while it makes magic (mostly!) We’ll chat more about this later.
Now that we’ve cleared that up, let’s get into it. Firstly, make sure you use enough almonds to fill the smaller cup of your Nutribullet. Any less and the process of blending and scraping the sides will age you considerably.
Secondly, PLEASE ensure that your almonds are fully cooled before you begin the process of blending. Nutribullets have no valve for steam to escape, meaning that they might potentially explode when faced with excessive steam and heat. The lady who sold mine to me told me this, and I’ve been hyper paranoid ever since.
Thirdly, and in the same vein, allow some time in between blends where you feel the blender heating up. It will get hot after a couple of 1 minute blends, so crack it open and allow it time to cool down. Slow and steady – no broken Nutribullets on my watch. Only explosions of deliciousness are permitted.
Finally, don’t add any water or liquids to your blending almond butter. In fact, add nothing at all in the initial stages. Trust the process, and continue to intermittently blend until the butter is pourable consistency.

The catch
There is one catch to making almond butter in a Nutribullet. That is cleaning said Nutribullet. Because of their design, Nutribullets are not exactly easy to clean when faced with something sticky. Much less, something sticky and oily.
Getting all the nut butter out of your cup (particularly if you use the tall one) is an absolute achievement. It takes patience, and it takes short sleeves (you’ll be licking a considerable amount of almond butter off your arm.)
I would recommend batching the almond butter in the smaller cup, if you can bear the thought. It’s easier to scoop the almond butter out of, and thus easier to clean at the end.
That all said, for people who don’t have another blending option (like me) it is great to know that delicious, silky smooth almond butter can be achieved relatively easily.

Flavouring your almond butter
Flavouring almond butter tends to be approached with some trepidation. By me. I’m cautious. I know that almond butter tends to jam up when you add anything to it that is liquid – maple syrup, vanilla bean paste and the gang.
Previously, I have stuck to adding some salt and perhaps a scant teaspoon of cinnamon. However, I have learnt a simple trick that has changed the game for me. Adding some extra oil.
If there’s a flavour you’re dead set on (within reason) it can be done. Simply add an extra teaspoon or so of oil for every teaspoon of maple. I used avocado, but you could also use whatever you happen to have on hand, provided it isn’t too strong in flavour.
Some good flavouring suggestions? Cinnamon and nutmeg, vanilla, or even smoked paprika, for a savoury version.
Storing your almond butter
Pour it into a jar, and store it away from heat sources, ideally in the fridge. Homemade nut butters go rancid more quickly than stabilised, store bought ones.
According to the internet, homemade nut butters will keep in the fridge for a couple of months, although I doubt they will last that long. This article also suggests storing them upside down to prevent them from separating, although with a runnier almond butter this isn’t much of an issue.
Where should I use my almond butter?
I mean, nobody is seriously asking this question, but imma answer anyway. Almond butter is perfect in both sweet and savoury applications. On toast, over yoghurt and berries, or as a satay sauce are all great places to start. I love a drizzle over roasted vegetables in winter, or as a dressing on salads in summer.
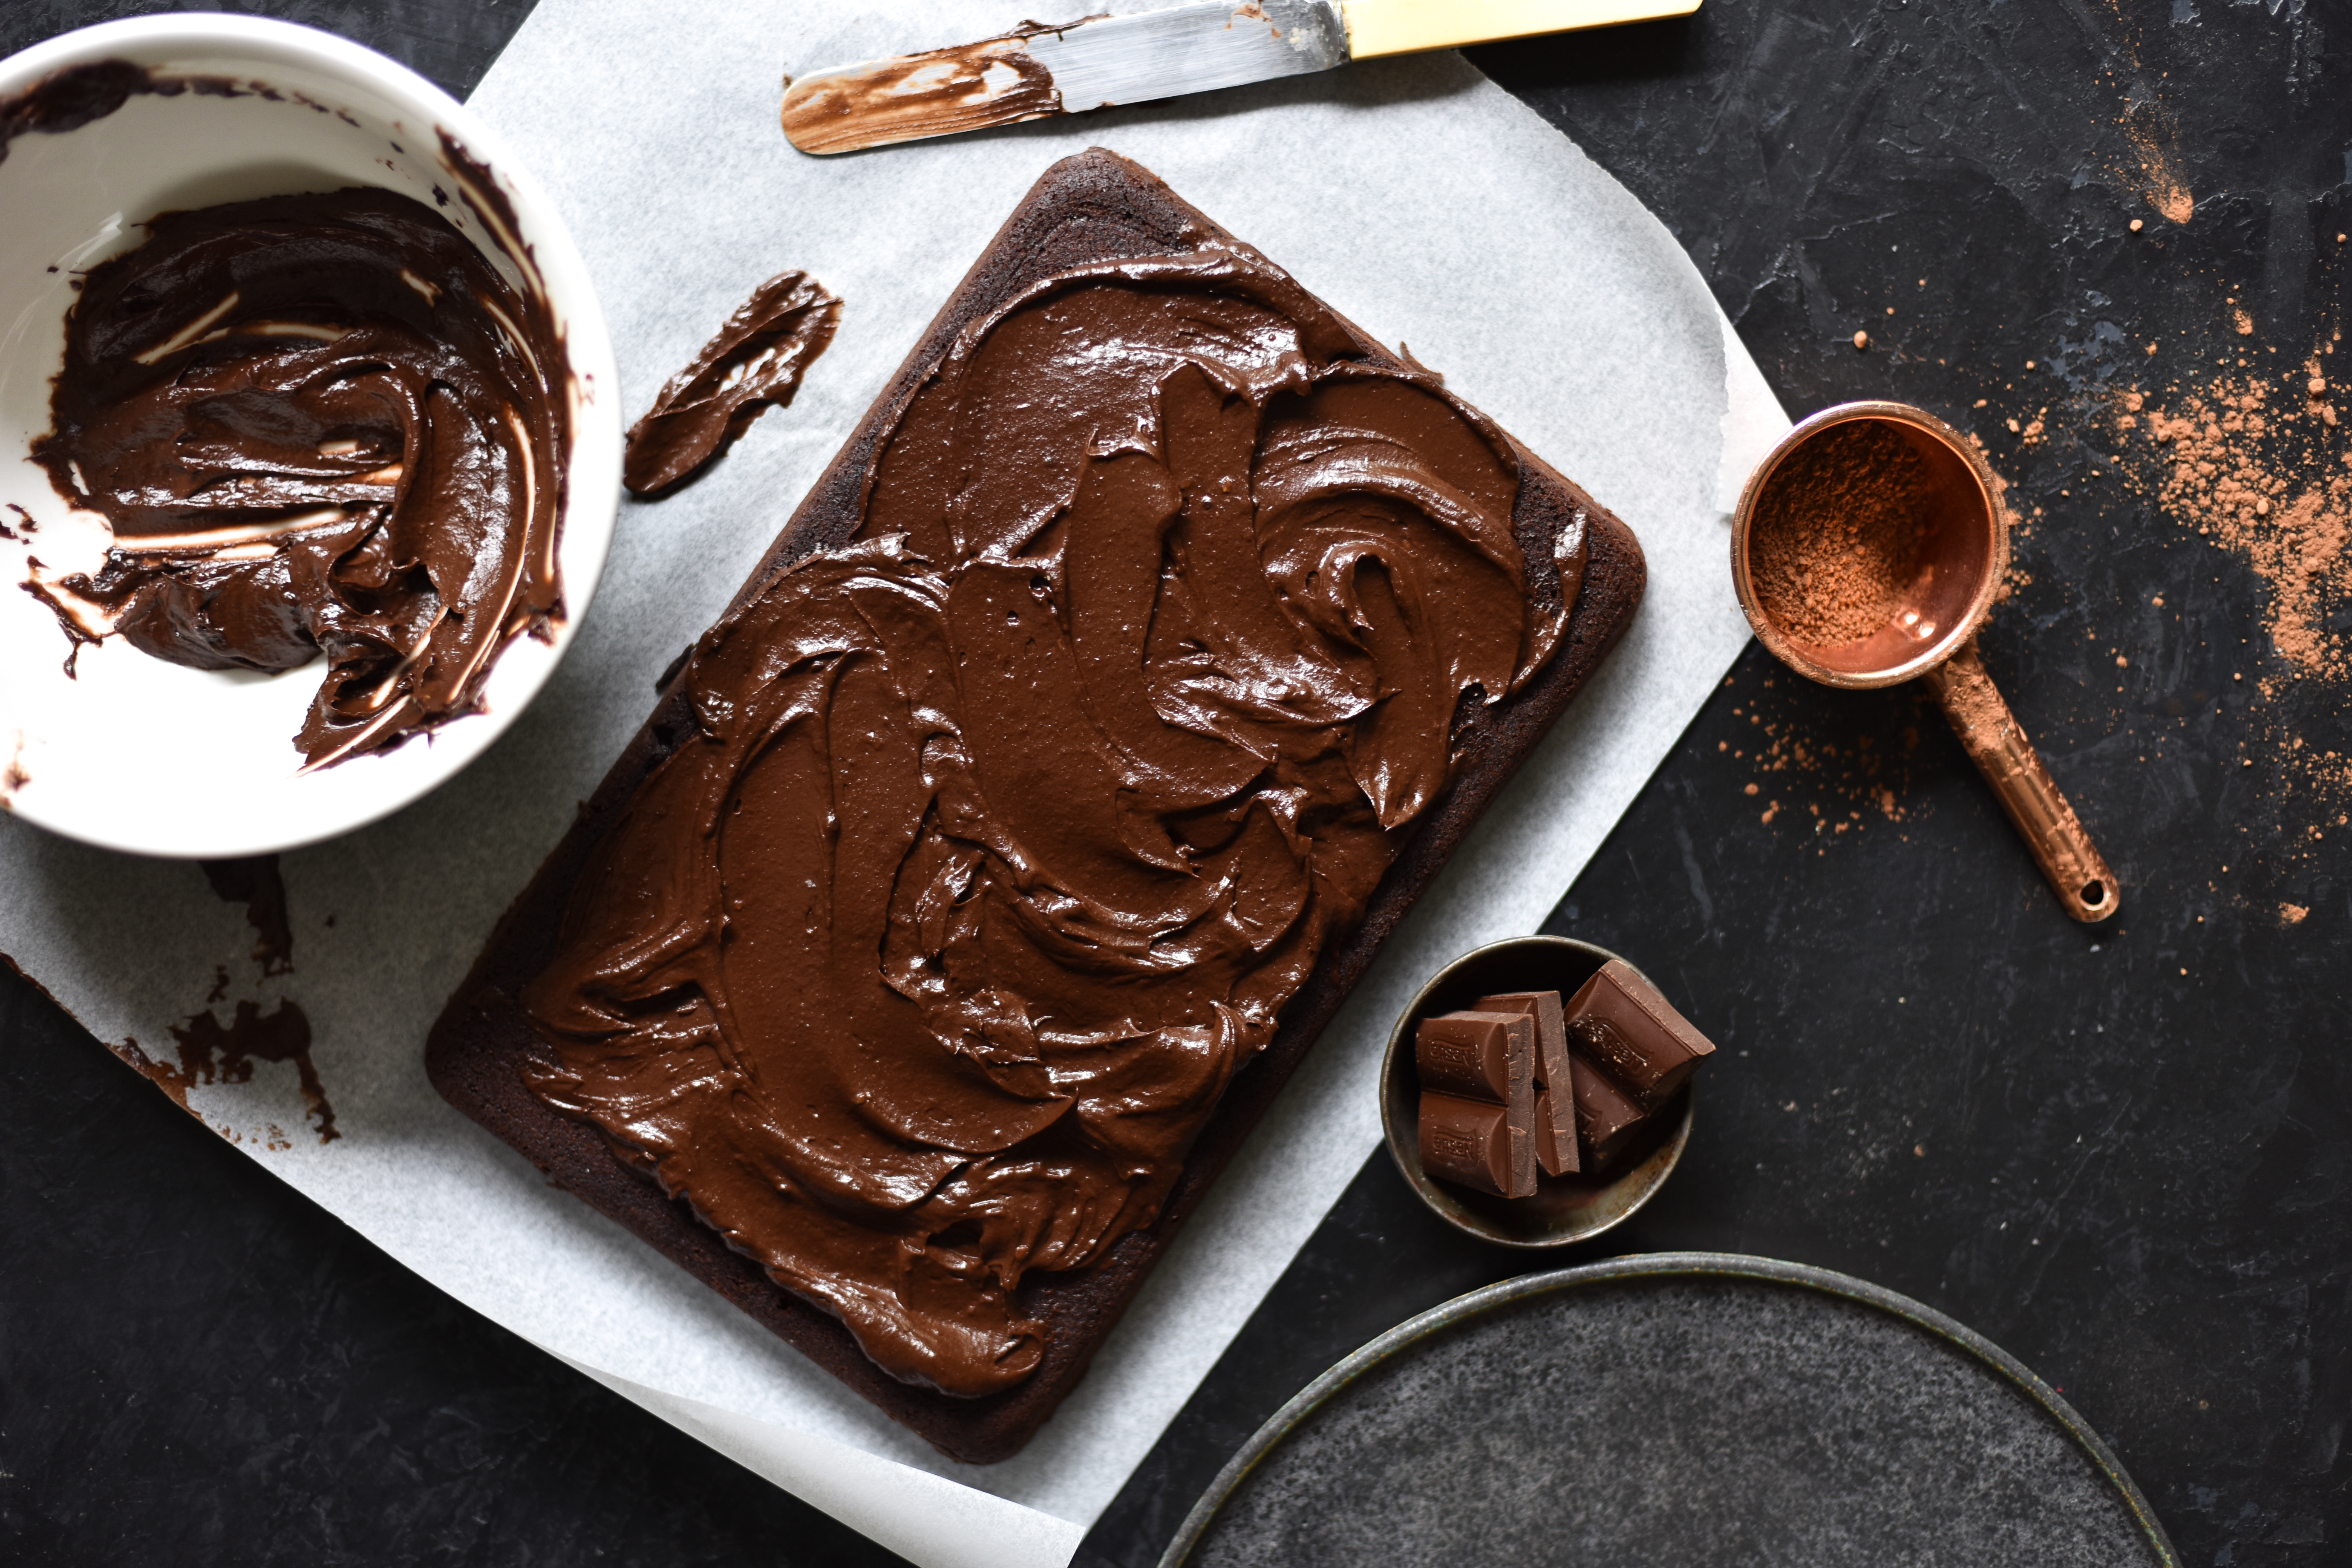
You could use your homemade almond butter in the chocolate zucchini sheetcake, or as a drizzle over the gluten free quinoa crumble roasted bananas. HEAVEN.
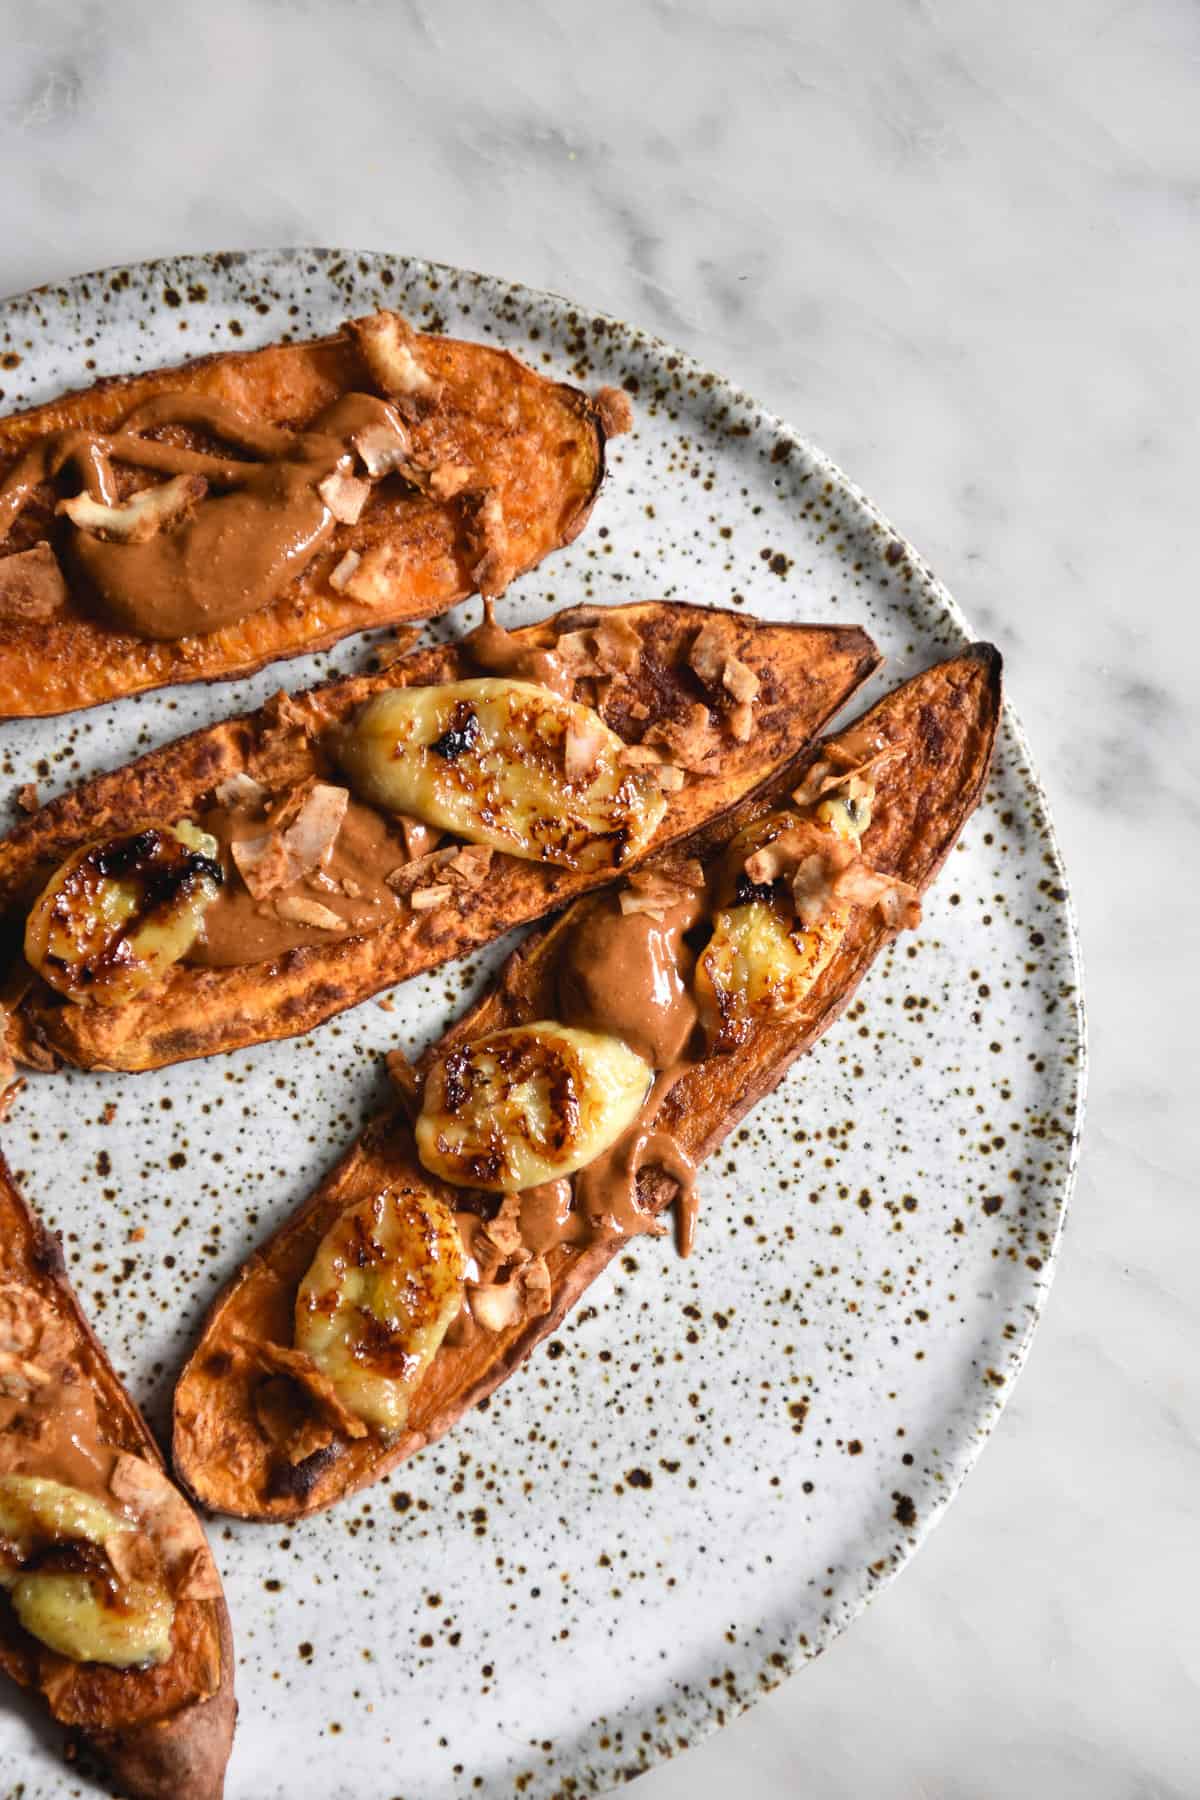
Another great suggestion? On sweet potato ‘toast.’ I intend to put up a quick recipe soon, because so many of you said you struggled to achieve crispy sweet potato toast. It’s a feat, to be sure, considering sweet potato is naturally higher in moisture than regular potatoes, who crisp up so well.
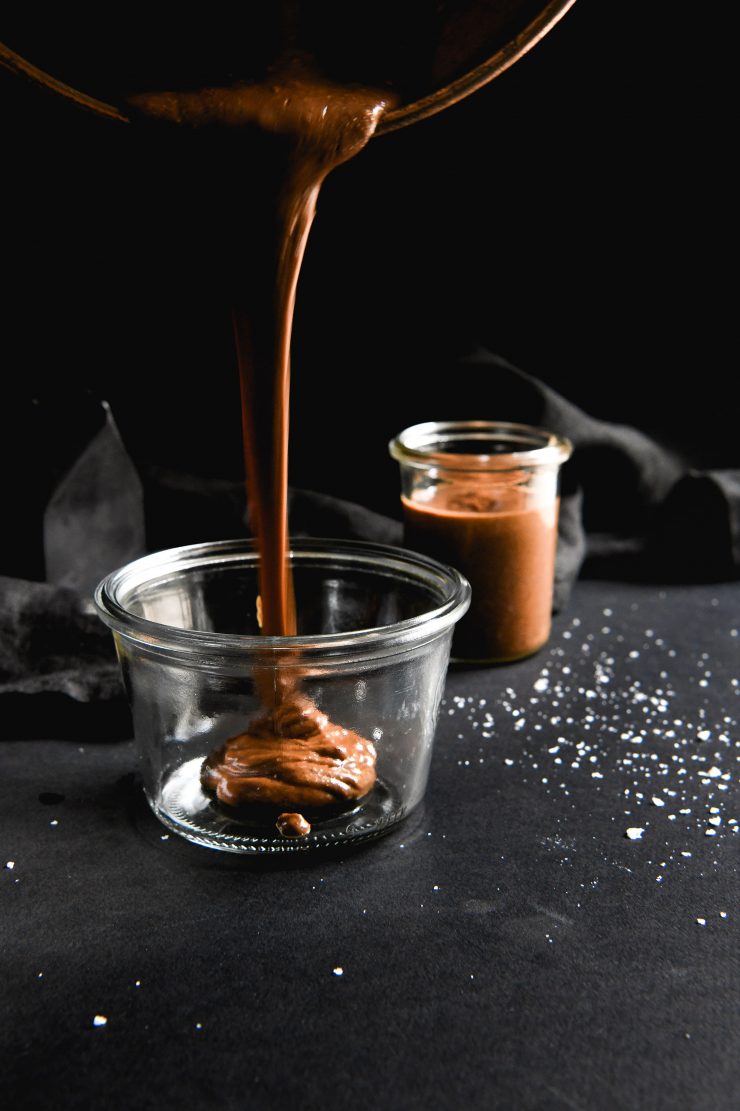
For now though, I’ll just leave this dark roasted almond butter inspo here. LIFECHANGING with the caramelised banana addition.
More nut based recipes
- Peanut butter truffles
- Vegan gluten free Hedgehog slice
- Chewy vegan peanut butter bars
- Low FODMAP date bark bites
- Vegan peanut butter cookies
Dark roasted almond butter (in a Nutribullet)
Ingredients
- 4 cups raw almonds
- Sea salt to taste
- Desired flavourings
Instructions
- Preheat the oven to 180 degrees Celsius.
- Place your almonds in the oven for 10 minutes. At the ten minute mark, flip them around and revert the tray. Set the timer for another 3-6 minutes, depending on how dark you want the butter. Watch the almonds closely – I can confirm there is such a thing as almond butter that is, er, too dark. Burnt. I’ve burnt some.
- Allow the almonds to cool before placing them in a high powered food processor. This is particularly important if you’re using a Nutribullet, as there is nowhere for steam to escape.
- Process your almonds, intermittently scraping down the sides, until a super runny butter has formed. Quite honestly, this takes time and patience in a Nutribullet. You will need to stop and scrape down the sides regularly. You will also need to stop to allow the machine to cool if it's feeling hot.
- Have faith, DON'T add anything at this stage, and just keep on blendin'. I promise you'll get there. NOTE that if you're using a Nutribullet, you should stop and crack the lid open at least a couple of times during the process. You'd be surprised by how hot it can get in there.
- Once you are happy with the consistency, decant your almond butter into a bowl, and mix in the remaining ingredients. Nut butters jam up when things like maple syrup or vanilla bean paste are added, which is why we add the oil to compensate. Only use just as much oil as necessary to make the butter runny and spreadable.
- Store in a glass jar or container, in the fridge, for a few weeks.
Hi Natalia. As I’ve mentioned in the post, you need to be really patient with this process. If the Nutribullet is getting hot, take a break. It will take time and plenty of rests to get there – that’s just the nature of making this in a Nutribullet. Open the Nutribullet and allow the nuts to cool down whenever you need to.
There is no magic set time – it depends on your machine and the nuts.