I am well renowned for the quantity of peanut butter I consume. If it weren’t somewhat grotesque and slightly concerning, it would actually be pretty impressive. So why not fuel my own addiction, I figured, by making chewy peanut butter bars slathered in dark chocolate?
Kind of like a nougat-less Snickers (because I watched Gourmet Makes Snickers episode and ain’t nobody got time for nougat) these mini odes to nut butter are everything I want them to be. They’re vegan, gluten free, refined sugar free (chocolate dependent) and FODMAP friendly. Because they use cocoa butter, they are solid at room temperature. This means that they are one of those rare snack bar recipes that can actually be transported! Taken to the office! Fancy that!
These bars are subtly sweet, just the way I like them. Rice malt isn’t known for it’s overt sweetness, so these are not a replica of the well known candy bar in the sweeteness sense. They are, however, a delicious ‘sweet-ish’ treat that is also filling, perfect for an after lunch or after work snack.
Why I use rice malt syrup in this recipe
I like to use the whole spectrum of sugars according to the function I need it to perform. For example, a good spread on a cookie (like these brown butter ones) can only be achieved with sugar. For this galette, I wanted the caramel sharpness of maple to flavour the halloumi. Finally, for the recipe you’re actually here for, I use rice malt syrup as a thick, liquid sugar that will hold the peanuts together.
Sure, there are other thick liquid sweeteners (namely honey.) However, given the high fructose content of honey and the low fructose content of rice malt syrup, I stuck with our old pal rice malt.
Recipe notes
I have only tested this recipe as it currently stands. I haven’t tested alternative nuts, nut butters, sweeteners or fats. Feel free to do so, but note that I can’t guarantee success. There is only so many chewy peanut butter bars a single girl can get through.
I have used natural peanut butter and again, have not tested with a version that contains anything more than peanuts and salt. My favourite brand of peanut butter is Ridiculously Delicious Peanut Butter. Trust me, it lives up to the name.
I have a strong aversion to coconut oil in most dessert recipes. I also find it incredibly irritating when said desserts melt after 10 seconds out of the fridge. Cocoa (or cacao) butter is not only completely firm at room temperature, but it doubles down on the chocolate taste. Cocoa/Cacao butter is essentially responsible for the creamy mouthfeel of chocolate while still being vegan.
A quick note on the above: as far as I can ascertain, cacao and cocoa butter can totally be used interchangeably. The main difference is that cacao butter is processed at low temperatures so it is kept ‘raw.’ Much like the difference between cocoa and cacao.
Cocoa/cacao butter is available at health food stores, bulk food stores and even in the health food aisles of some supermarkets. It’s a creamy colour and can come in blocks or little disks. All are perfectly fine for this recipe.
Roasted peanuts are KEY to making this slice as delicious as possible. Same goes with the vanilla bean paste, the sea salt and the quality of the peanut butter you use. Because rice malt syrup is quite a bland sweetener, it needs some pizzazz.
More gluten free and vegan dessert recipes
- The chocolate cake in my cookbook, Intolerance Friendly Kitchen
- My refined sugar free chocolate mug cake
- This pumpkin version for a festive treat
- These cinnamon scrolls without yeast
Chewy peanut butter and chocolate bars
Ingredients
FOR THE PEANUT BARS:
- 2/3 cup (170ml) rice malt syrup
- 1 tablespoon (20ml) soy milk you could probably use any plant milk of choice
- 1 1/2 – 2 tsp vanilla bean paste
- 2/3 cup natural smooth peanut butter I used Ridiculously Delicious brand
- 1 – 1 1/2 tsp sea salt flakes use less and taste if using table salt
- 75 g cocoa or cacao butter see notes
- 1 1/2 cups roasted peanuts
FOR THE CHOCOLATE COATING:
- 125-175g dark vegan chocolate (see notes, I use Lindt couverture)
- 30-50g cocoa or cacao butter
Instructions
TO MAKE THE PEANUT BARS
- Line a 24cm x 24cm baking tin with baking paper, edges hanging up over the sides. This needn’t be precise – it’s just so you can pull the bars up easily later.
- Make sure your peanuts are ready to roll – if they’re raw, peel roast them. Discard the skins, if they’re in skins. Chop them to your preferred size – I like a mix of finely and roughly chopped peanuts.
- Place the rice malt syrup over in a small saucepan over a low heat. Allow it to cook for around 5 minutes. It should have started bubbling up around the 2 or 3 minute mark.
- While this is happening, heat the cocoa or cacao butter in another small saucepan over a low heat. Once it has melted you can turn it off, or continue to leave it on a very low heat.
- Now that the rice malt syrup has been going for around 5 minutes, add the soy milk and stir to combine. It should bubble and then subside, before beginning to bubble up again. Kind of similar to adding cream to a caramel sauce.
- Next up, stir through the vanilla bean paste, and then the melted cocoa or cacao butter.
- Follow this with the peanut butter and sea salt flakes, stirring them through until a smooth, peanut butter coloured mixture has formed. Take the mixture off the heat, and immediately stir through the peanuts. Pour the mixture into the prepared tin, and pop into the fridge to harden completely – at least 2 hours (overnight is ideal.)
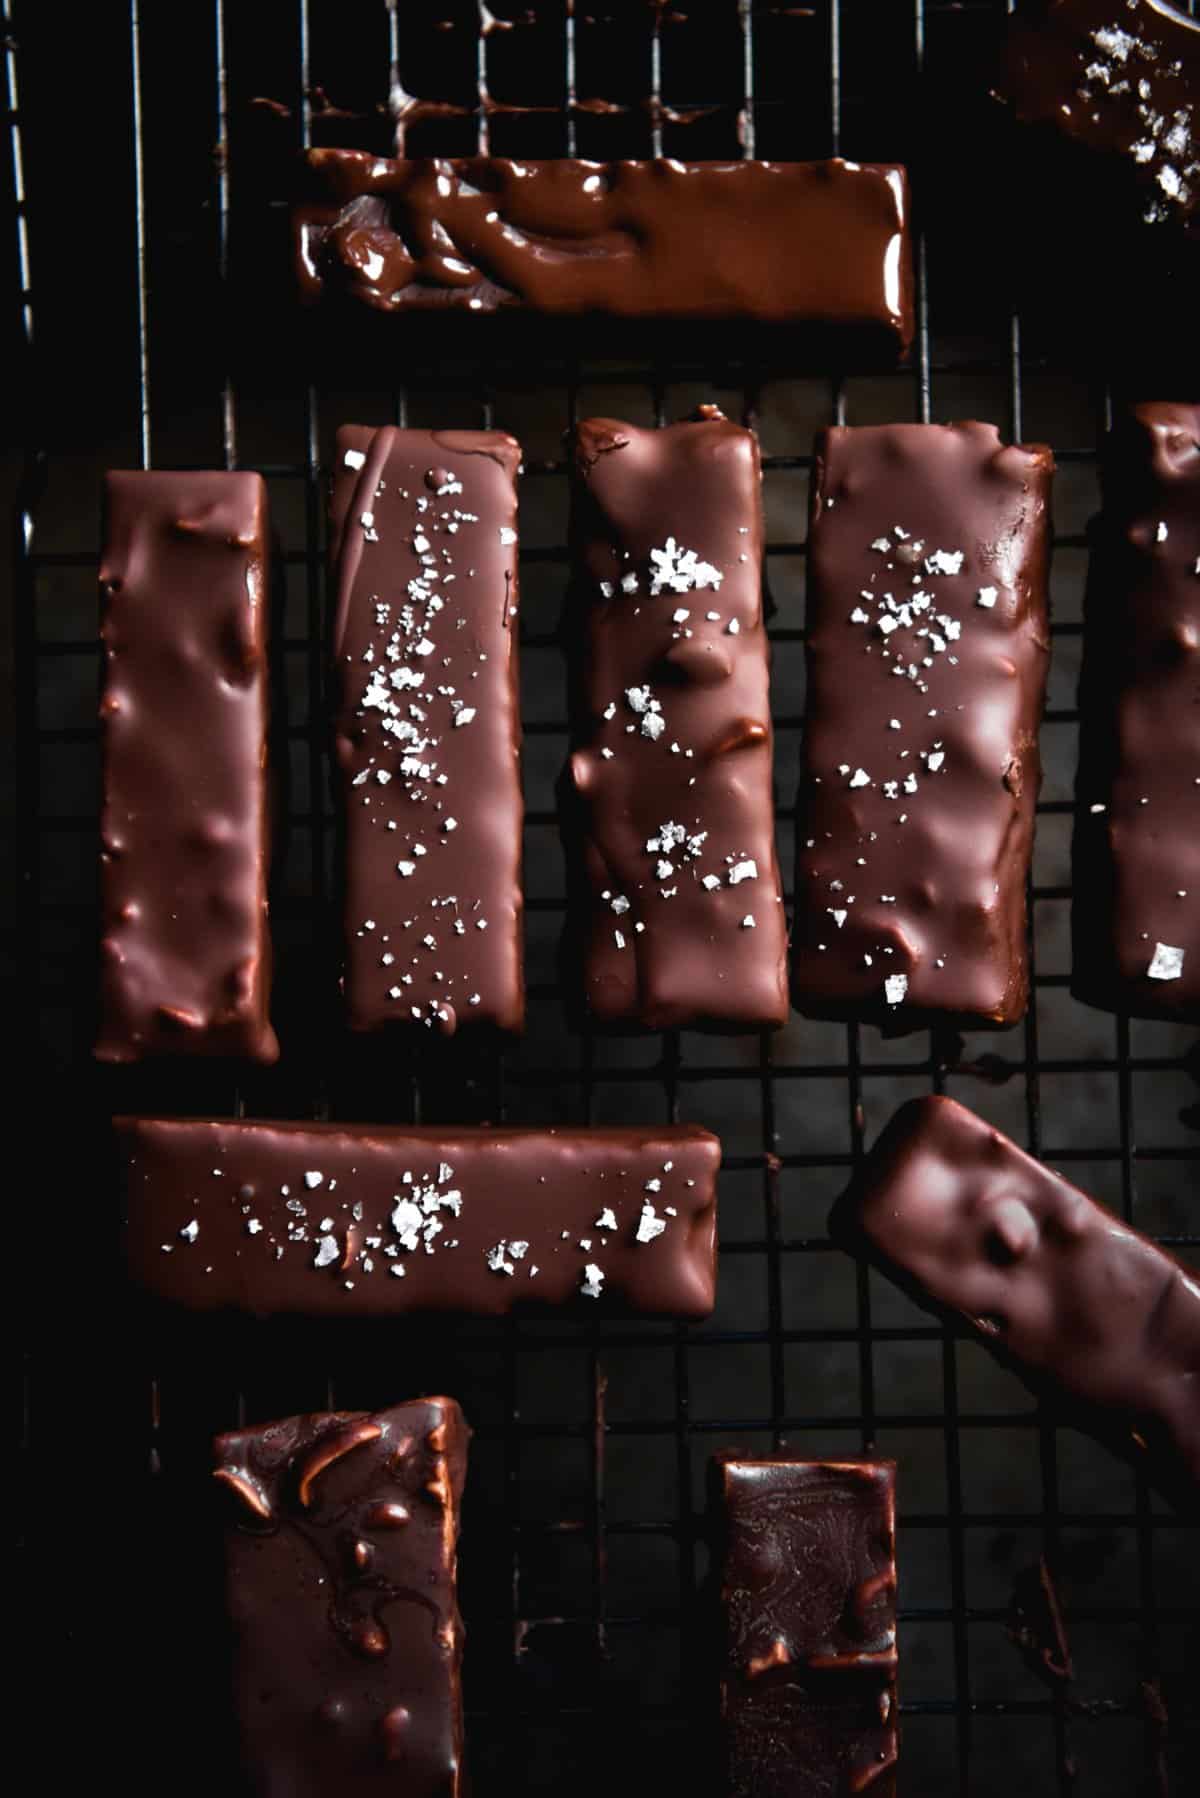
- The bars can be sliced pretty easily when cold, but as an insurance policy, I like to leave them at room temperature before cutting, and then put them in the freezer to flash freeze – around 10-15 minutes. The freezing makes the chocolate coating process a lot quicker, and allows you to do double coats very easily.
TO COAT THE BARS
- If you're planning to generously coat the bars, use the higher amounts of chocolate and cocoa. If one coat per bar is fine with you, use the lesser amount.
- Melt the dark chocolate (see noteand cocoa or cacao butter in a double boiler (placing a steel boil over a small pot, half filled with water, over a medium heat. Allow the mixture to melt completely. The cacao butter is especially important in ensuring the bars don’t melt in your hands when you go to eat them, so don’t leave it out.
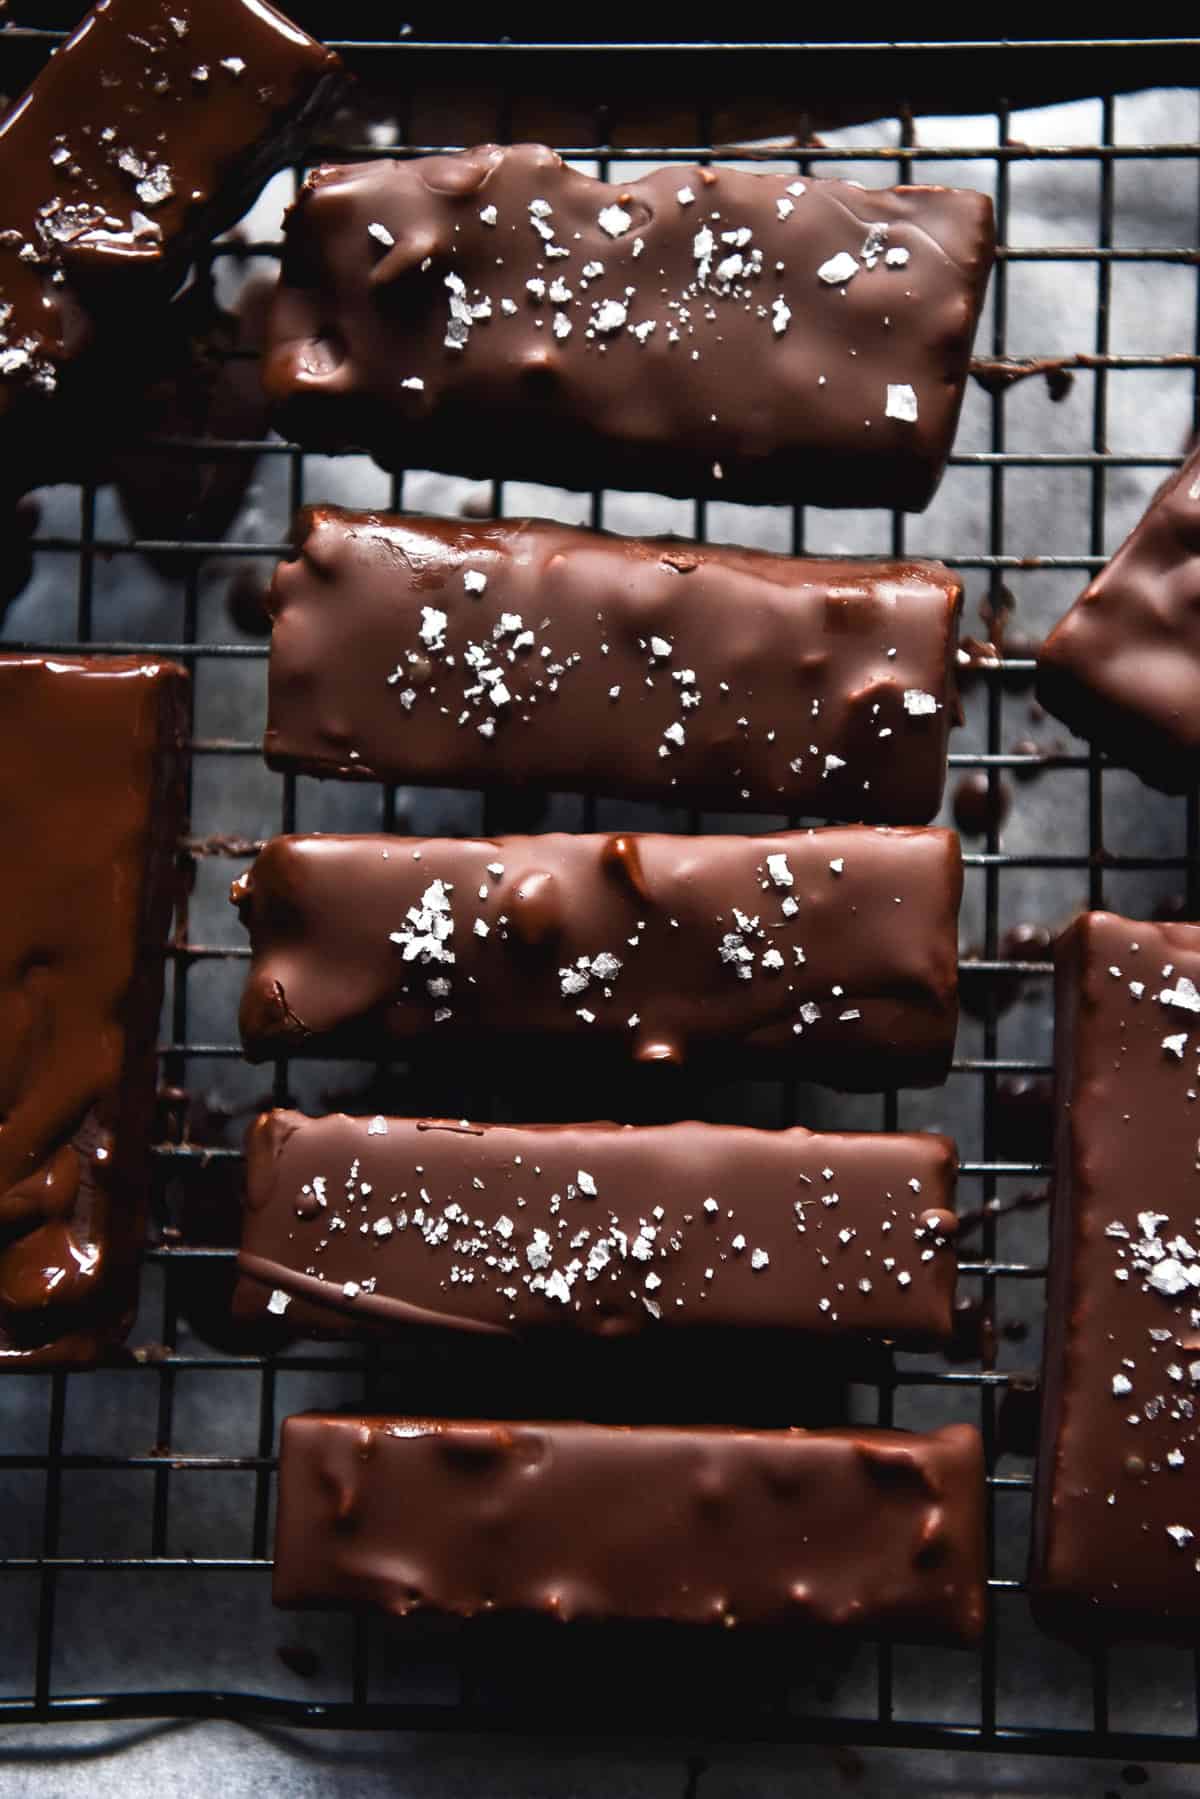
- Once it has melted, remove the sliced bars from the freezer. Place a well greased cooling rack over a sheet of baking paper (I put mine atop a baking tray so nothing slips.) The rack helps chocolate drip off, the greasing attempts to stop the bars from getting stuck to the rack, and the baking paper catches chocolate drips. The chocolate will dry on the paper and you can slide it back into the double boiler to melt again, or just eat as is.
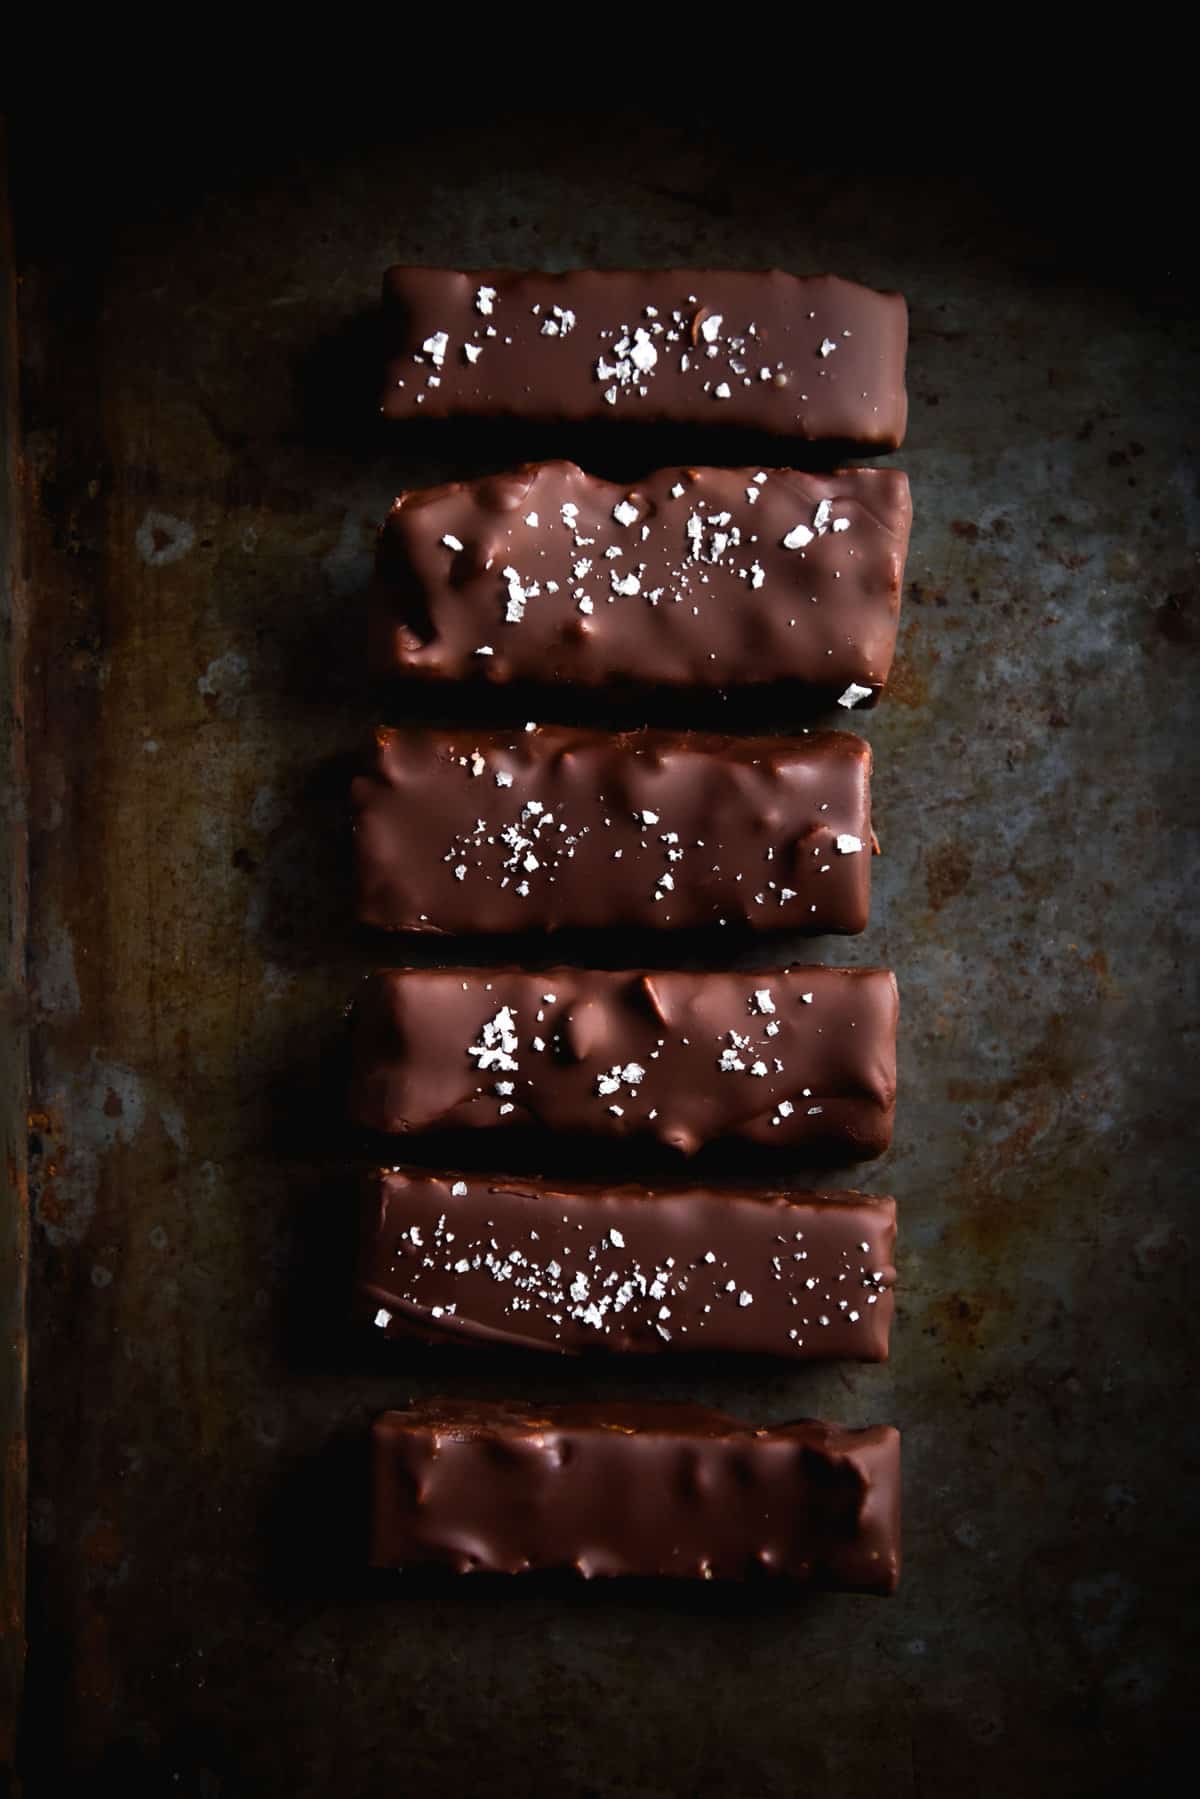
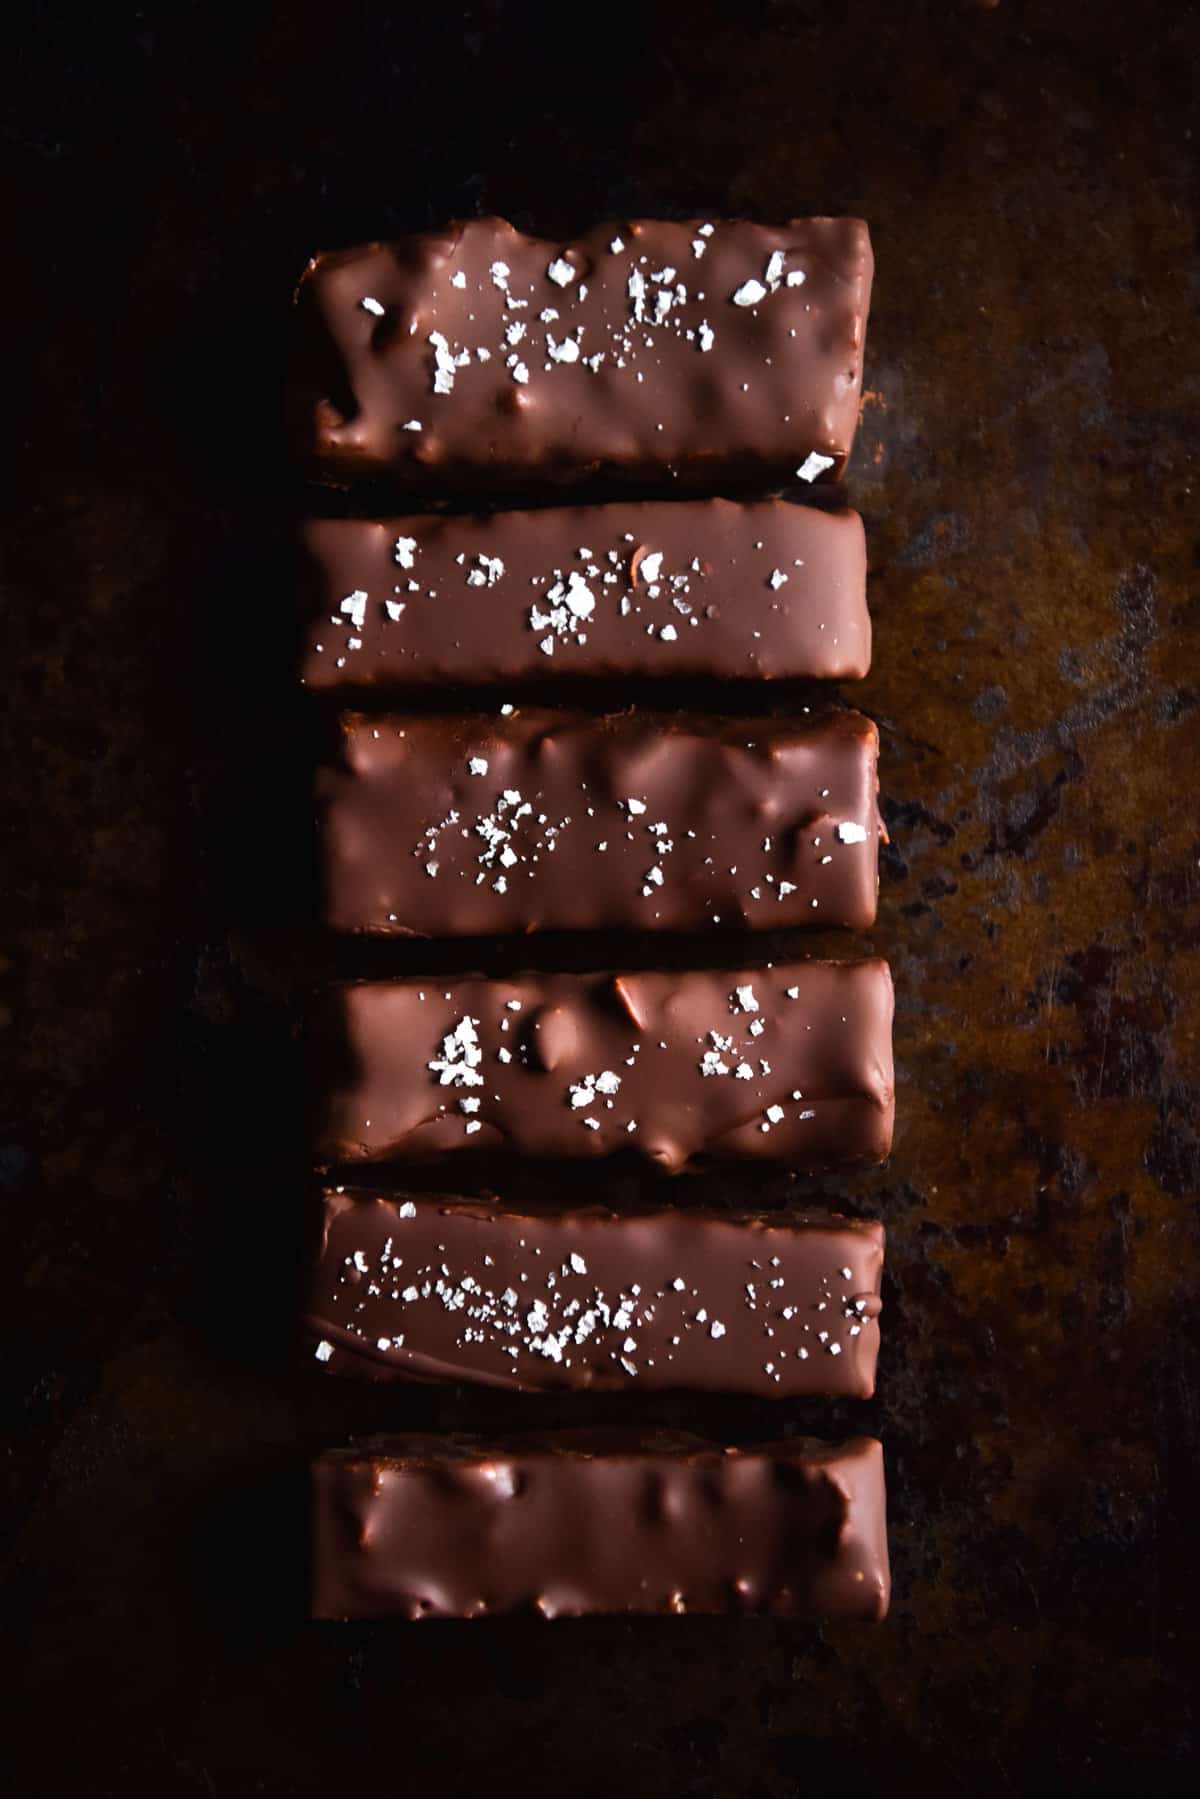
- Use two forks to lower the bars, one at a time, into the chocolate mixture. Toss to coat them thoroughly, and then transfer them to the rack to dry off. I like to double coat my bars (or even triple!) Wait until they start to go a little matte before you do the second coat.
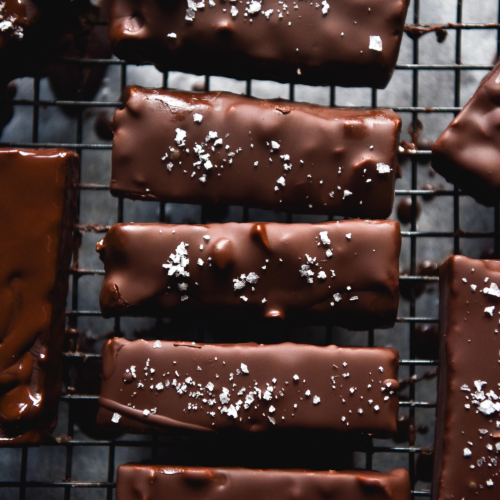
- Just before the bars dry, you can sprinkle them with whatever you fancy – a little sea salt, some extra crushed peanuts, or nothing. Allow to dry completely before gently pulling off the rack (I have lost a few chocolate bottoms in this procesand transferring to an airtight container. These bars last really well in a container for a week or so.
1 Comment