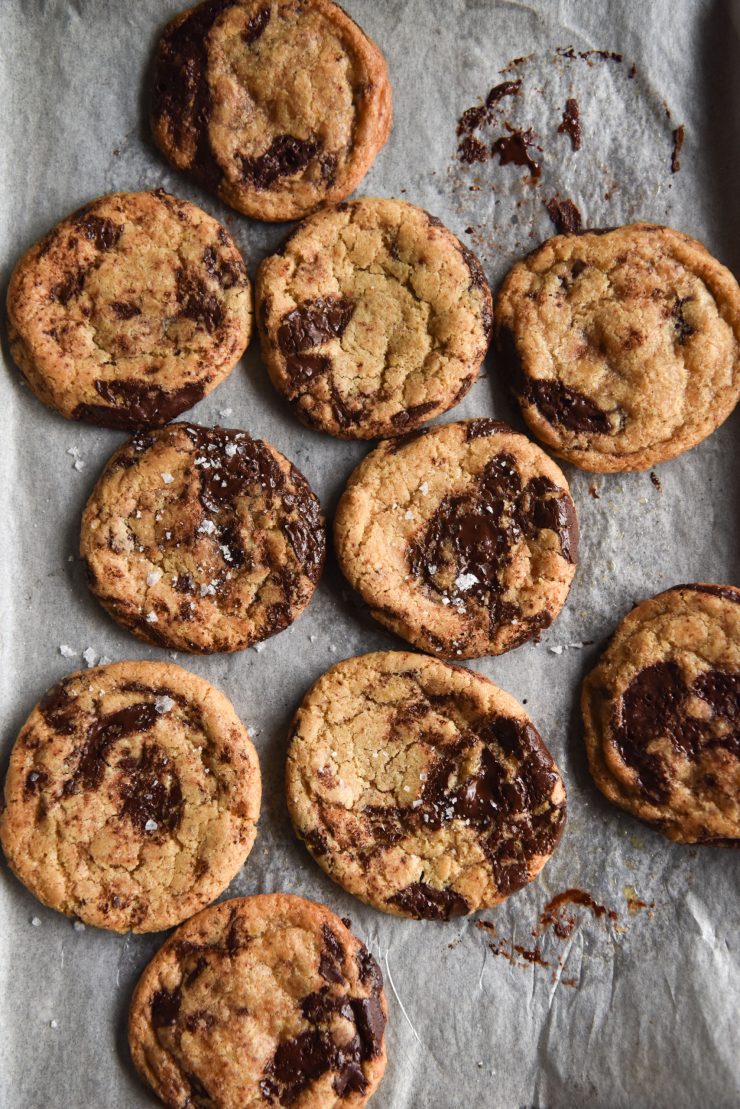

Gluten free choc chip cookies. They’ve been a bit of a thing around here recently, I know. Buoyed by the success of the vegan, gluten free choc chip cookies from last week and the somewhat healthier almond butter version, I’m back, baby. This time gluten free choc chip cookies without eggs, a version that utilises the richness of a well browned butter.
Brown butter is the ultimate flavour, as far as I’m concerned. It’s beautifully rich, with a deep nutty aroma and dark golden flecks of cooked milk solids. If you have never browned butter before, hello and welcome. It is a necessary step in these cookies, because the browning process cooks off water from the butter fat. If you use regular melted butter, you’ll probably end up with cookie puddles.
Once you’ve browned butter once, though, you’ll probably never go back. It adds such an amazing depth of flavour to these cookies, and dare I say involves little to no culinary skill. Stirring and watching and a bit of intuition are all you need. That said, here’s a good brown butter resource to get you started, if you need it.
Gluten free choc chip cookies without eggs
As you will have guessed if you have frequented my site before, these gluten free choc chip cookies use a simple mix of gluten free flours. It irks me to no end that most gluten free recipes say ‘1 cup gluten free flour mix’ when they’re all made SO DIFFERENTLY. So, today we’re using tapioca flour and brown rice flour, two of my most used gluten free flours. They are easy to find – I buy mine at the bulk food store to eliminate single use plastic, but they are also available at supermarkets across Australia, and online.
As mentioned, these cookies are egg free and nut free. They’re egg free, quite honestly, because after two months testing vegan cookies I found an egg version exceedingly hard and offensively eggy. Added bonus of this is that a lot of people have egg allergies, and a lot of people exclude eggs in their vegetarianism. Or you know, some people just don’t like eggs.

Gluten free cookie making tips
I’ve spoken extensively about this in my vegan choc chip cookie recipe, but here’s a refresher, just in case:
Weighing ingredients in the only way to go here. There is genuinely a huge difference between adding an extra 5g when it comes to cookies, so weighing is key. Scales are inexpensive, and even serious ones will only set you back a couple of hundred. Truly worth the investment.
Don’t omit the salt! Salt is key for balancing out the sweetness of the sugar in cookies. Sugar, in turn, is responsible for much of the structure and spread, so just lessening the quantity is not an option. Salt, in combination with the brown butter and vanilla bean paste, create multiple flavour dimensions in these cookies. It is very necessary.
Refrigerating cookie dough is necessary. Just accept it. I have made these by fridging 2-ish hours and also by fridging overnight. Overnight is far superior – the flours soak up the liquids and become less ‘gluten free’ tasting. I absolutely recommend overnight if you can.
Never put a cookie on a hot oven tray. Best practice is to use multiple lined baking trays, and alternate them in the oven.
Different gluten free flours have different densities and properties. The brown rice flour you buy at the bulk food store might have a very different density than the one from the supermarket. Keep an open mind when making cookies, and be prepared to add 5g extra flour or a little extra liquid if necessary.
In that vein, I recommend cooking the first cookie alone, to check the consistency. If they’re a little flat or puffy, you can adjust the remaining mixture.
Always let the cookies cool almost completely before handling. They are essentially molten sugar, and they will break apart.
Light brown sugar is necessary for adding a bit of structure and lift to this recipe. In the world of cookie mechanics, brown sugar puffs and white sugar spreads. Because tapioca flour is also a spready ingredient, we need the light brown sugar in this recipe to hold the cookies up. It is also responsible for a way better depth of flavour than white sugar can provide.
Big cookies seem like a good idea, but with this recipe, you will probably end up with cookie puddles. Stick to the 10-12 dough balls suggestion for best results.

Recipe notes for your gluten free choc chip cookies without eggs
As mentioned, there is no substitute for browned butter in this recipe. Because browning butter cooks off some of the butter liquid, the ratios will be thrown off if you don’t brown your butter. Unsure why you wouldn’t want brown butter in your cookies, but anyway. Not an option here. On the topic of butter: the picture above is how dark your browned butter should be. It should have reduced from 65g to 50g in weight during the browning process, and have medium dark specks of brown. These are where all the flavour is at.
There are no refined sugar free substitutes for these cookies. Personally, I have come around to the fact that refined sugar free is a bit of a crock. It all goes down the same way, with perhaps a few trace minerals. Anyway, sugar is responsible for much of the structure in these cookies, so it’s a must.
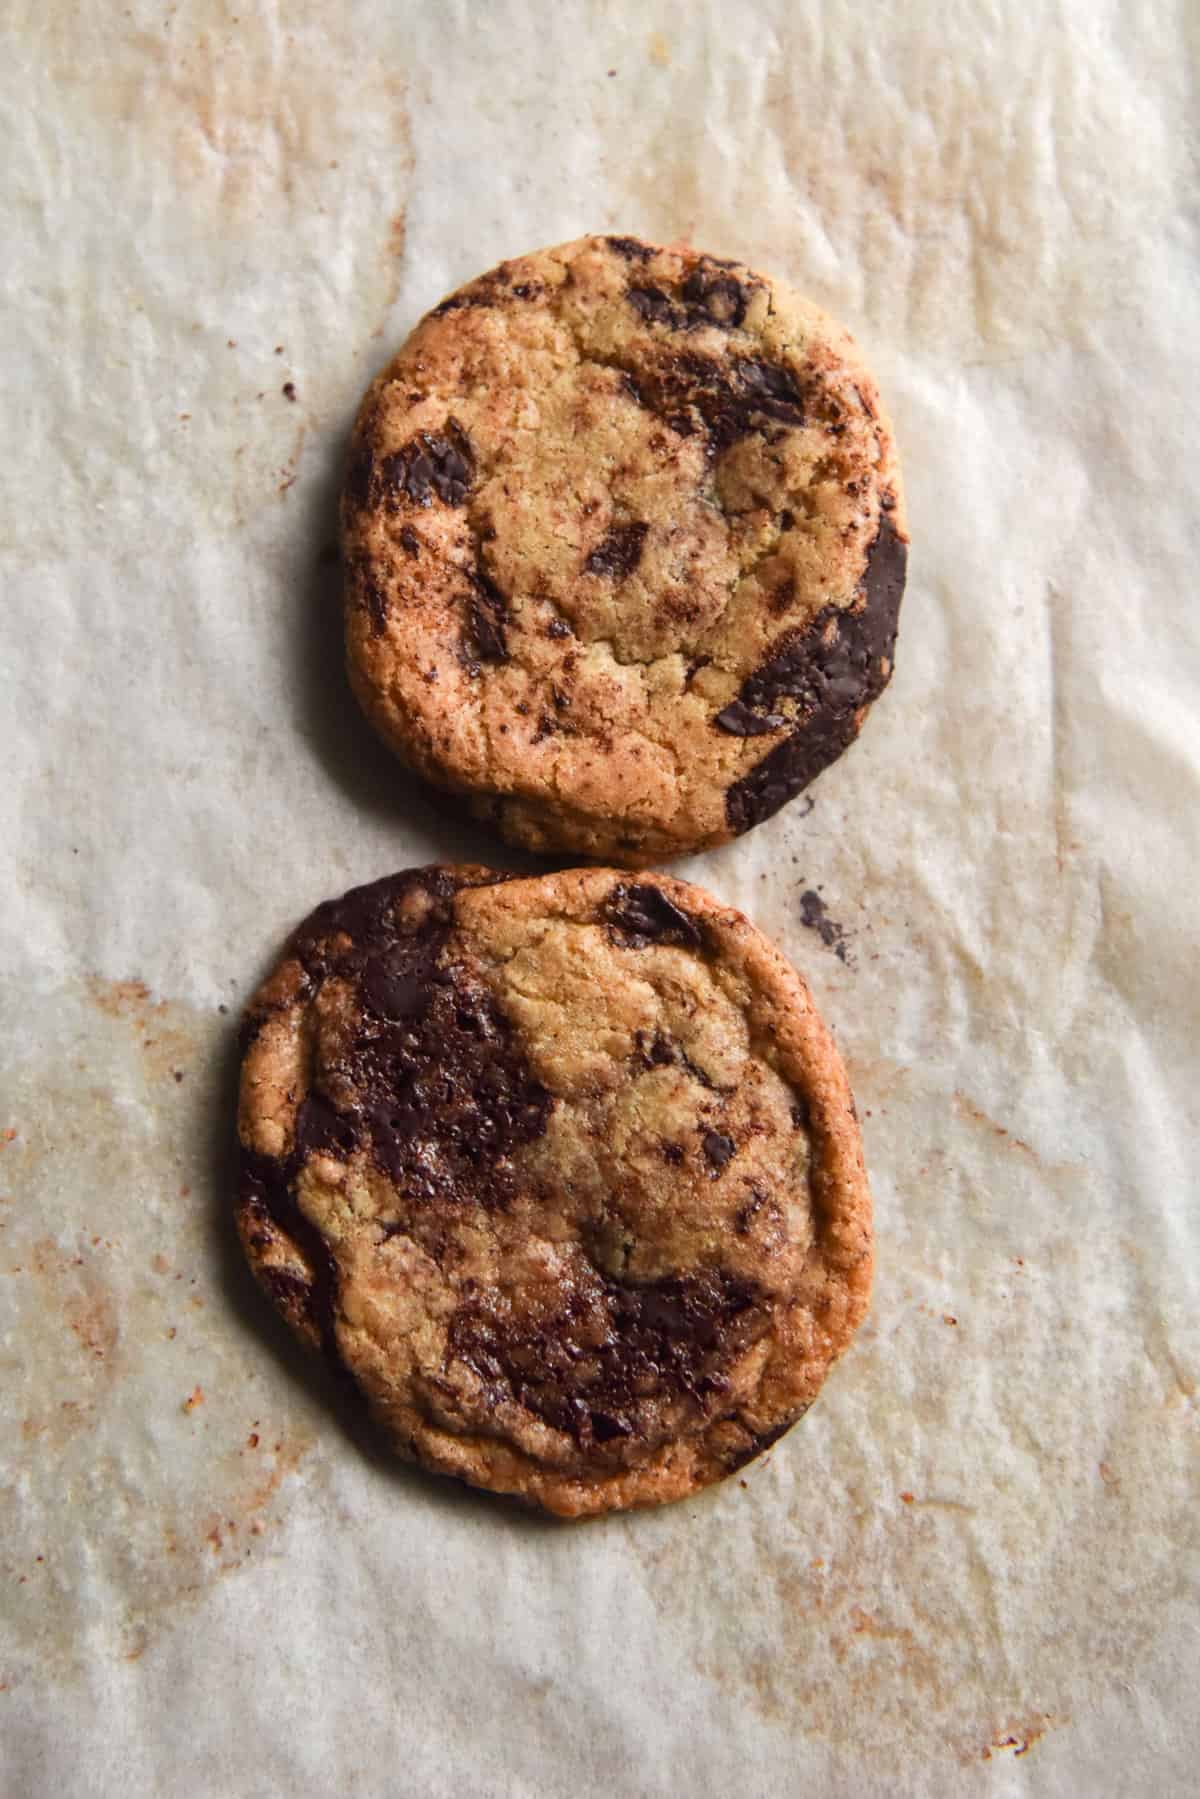
If you like a more rippled, chewy cookie, use 45g of brown rice flour instead of 50g. If you like a slightly puffier, crunchier cookie, use 50g. I took a picture to show you the difference – see below.
Interestingly, I found that while flash freezing cookie dough balls with the higher amount of brown rice flour (50g) made them extra perky, freezing those with less (45g) resulted in fairly flat and unappealing cookies. I will have to do a little more research, but I wouldn’t recommend freezing the 45g version.
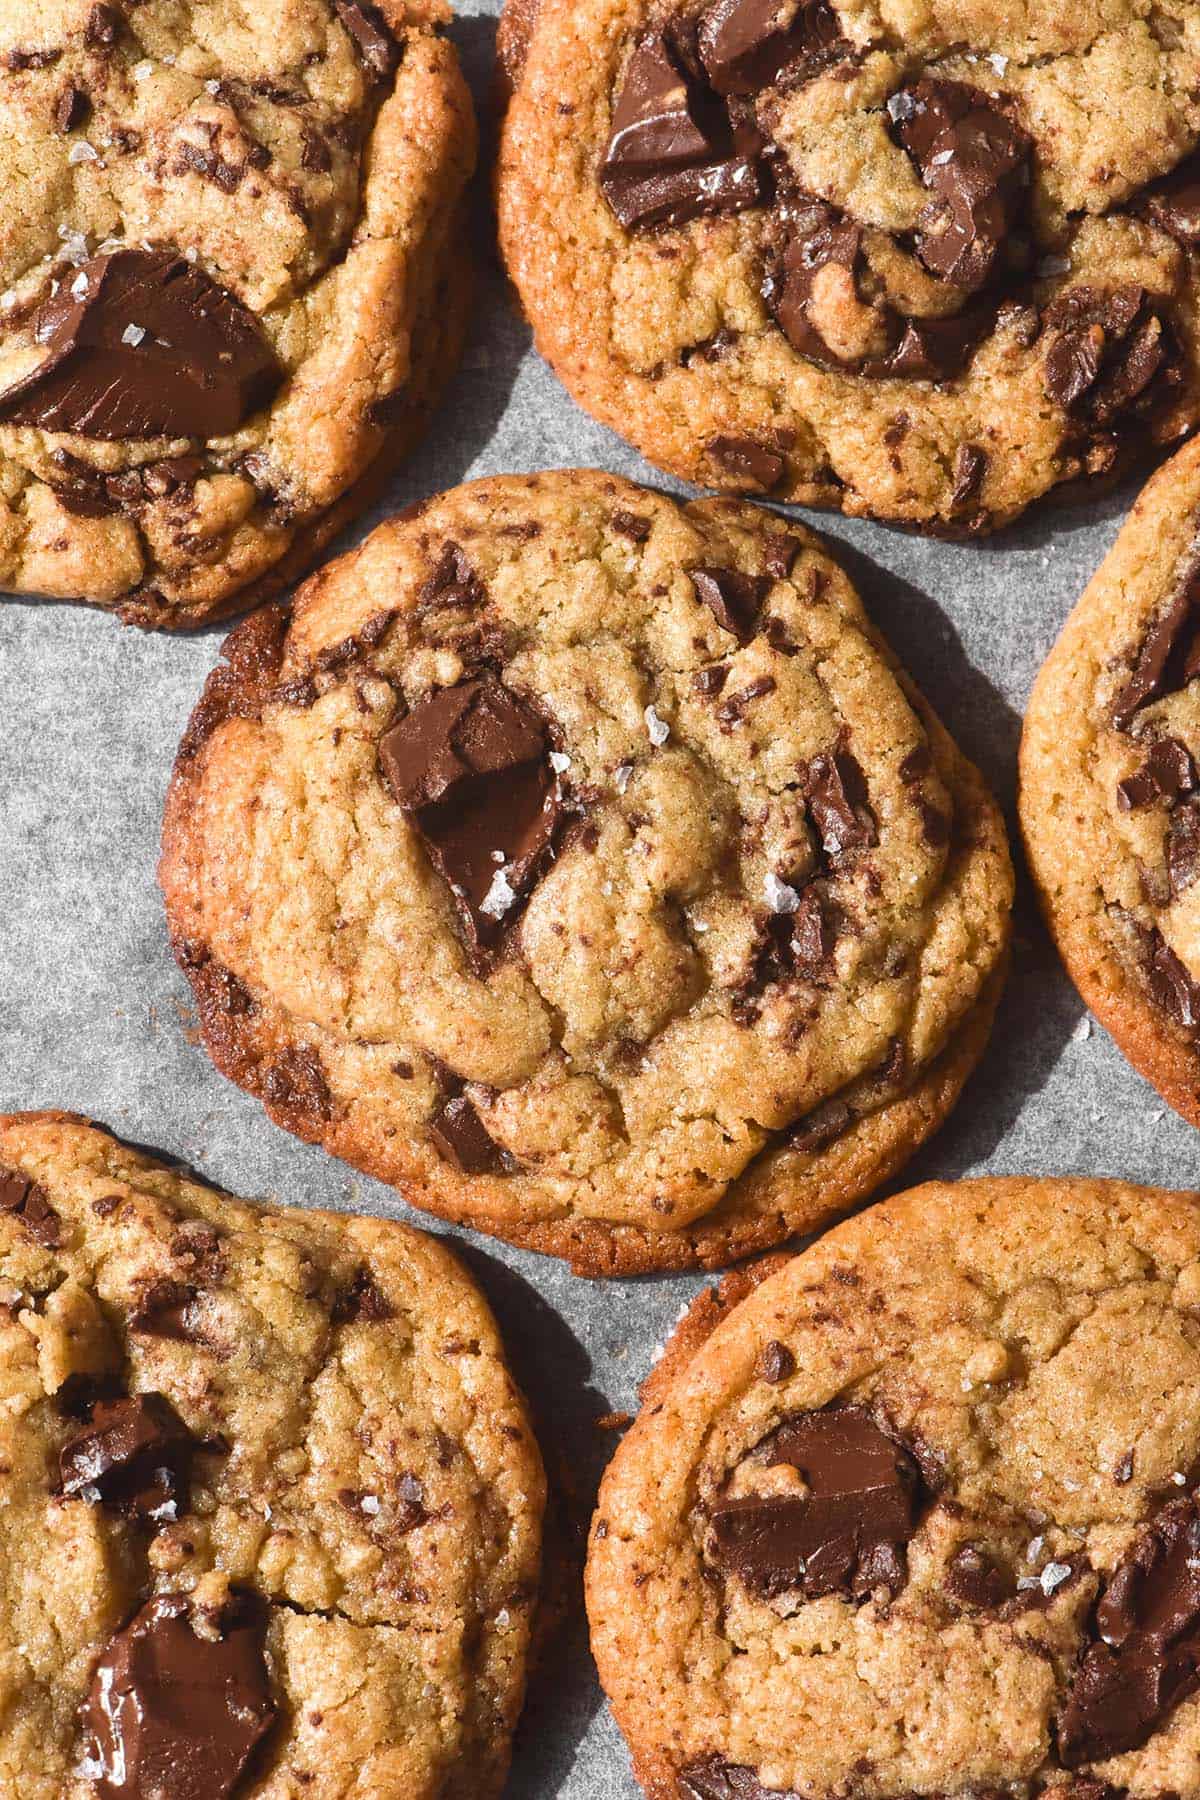
I recommend dark chocolate for these cookies. Because they’re very sweet, a 70% or so chocolate gives a nice savoury-ish twist and balances the cookie nicely. That said, as this isn’t a vegan recipe, you have a bit of choice here.
Chopped chocolate is my choice – I think it gives the most interesting texture out of the chocolate options available. I buy Lindt coverture dark chocolate from The Source Bulk Food store and chop it myself.
I found refrigerating the dough overnight to produce the best cookies. While it does take some clawing out of the bowl, it produces cookies with an even distribution of sugar that are flatter, but in a good way. I found the versions cooked after 30 minutes and 1 hour respectively had a bit of sugar leakage and were a bit oddly puffy. I will do some more research aka eat some more cookies to find out why.
To add the chocolate chips to the firm, refrigerated dough, use a spoon or your hands to claw it off the bowl, and break it up into pieces. Add the chopped chocolate, and use your hands to quickly bring the dough into a ball with an even distribution of chocolate. You might need to pop it back in the fridge to firm up if you’re in a hot climate.
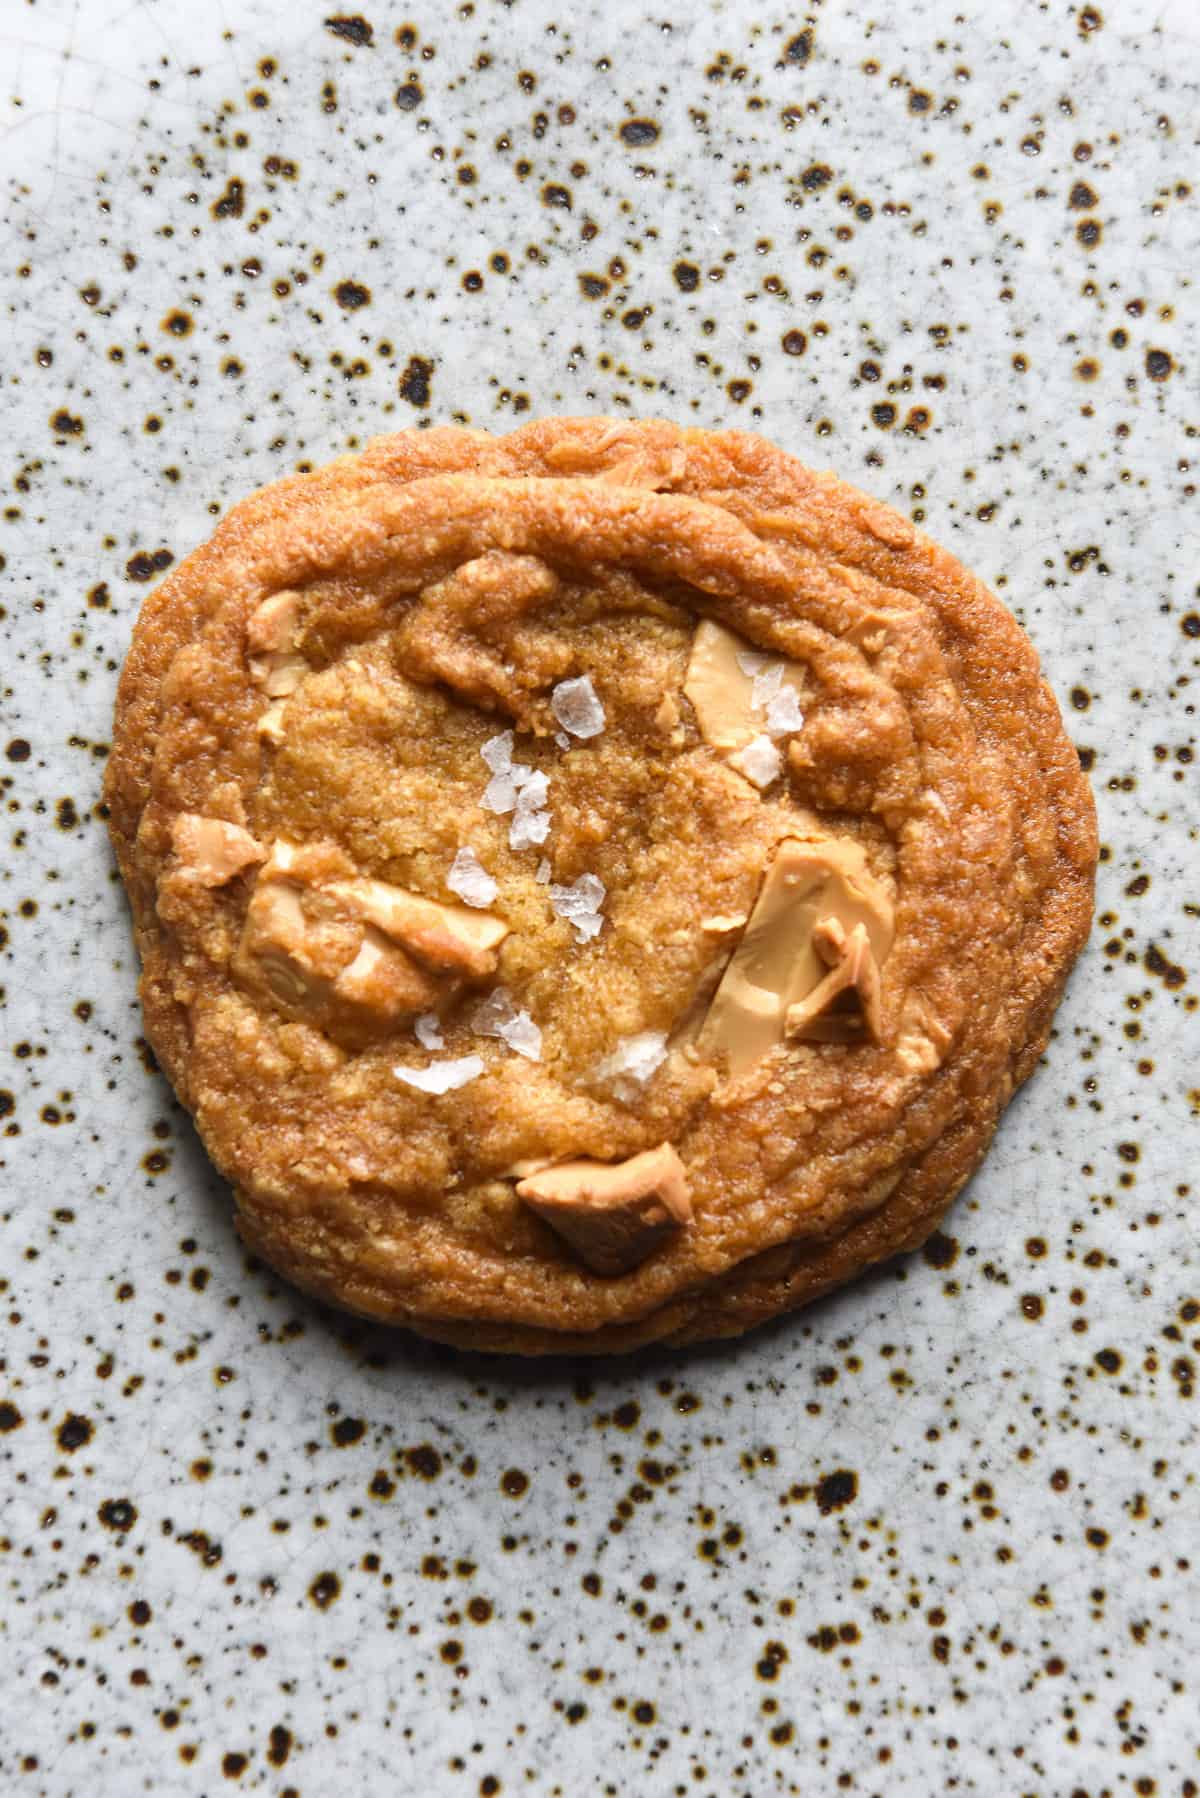
If you want to add some white chocolate, I recommend lowering the oven temperature a little so it doesn’t burn. You’ll need to bake the cookies for a little longer than the recipe suggests to compensate. For a bit of both, I recommend around 1/3 white chocolate, and 2/3 dark chocolate.
Store the cookies in an airtight container and eat within a couple of days. Brown sugar attracts water from the air, so they will go soggy quicker than a cookie made with all white sugar.
Cookie making resources
- Another good non gluten free cookie related watch? The Boy Who Bakes Cookie Chronicles series. Good for understanding the ingredient differences between some viral cookie recipes, which is good for a general understanding of cookie mechanics.
- The Ultimate Cookie Guide from Handle the Heat is a very helpful four part blog series with pictures to illustrate what altering cookie ingredients does.
- This cookie guide from Serious Eats is seriously one of the most impressive things I have come across.
- Can I reference my own vegan gluten free cookie recipe guide? Not because I’m a culinary goddess, but mainly because I wrote a lot about cookies there and I don’t have it in me to write it up again.
More gluten free dessert recipes without xanthan gum
- Croissants from Intolerance Friendly Kitchen
- Easy chocolate cake
- Lemon drizzle cake
- Vegan blueberry muffins
- Grain free chocolate self saucing pudding
- Gluten free buckwheat flour choc chip cookies from my buckwheat e-book
Gluten free choc chip cookies without eggs
Ingredients
- 65 g salted butter becomes 50g after browning
- 50 g light brown sugar
- 25 g caster sugar
- 1 teaspoon vanilla bean paste
- 1 tablespoon 3 teaspoons warm soy milk
- 80 g tapioca flour
- 45-50 g brown rice flour (see notes)
- 1 teaspoon gluten free baking powder
- 1/4 teaspoon and 1/8 teaspoon fine salt (I used table)
- 50-75 g good quality dark chocolate, chopped (I used Lindt dark coverture)
Instructions
- Place the butter in a small saucepan over a low heat. If you can, use a saucepan with a light coloured bottom, so you can see how the butter is browning. Stir and swirl intermittently for about 5 or so minutes, until the butter foams and then forms medium to dark brown flecks in the bottom of the pan. See the picture for reference on what colour the specks should be. Take it off the heat as soon as it’s done, because it will continue cooking.
- Working quickly, place a medium sized metal bowl on your kitchen scale, and pour in the hot melted butter. A medium sized bowl makes it easier to stir the flour in later. On the note of equipment, you’ll be using the saucepan again, so don’t put it in the sink.
- Measure the 1 tablespoon and 3 teaspoons of milk into the warm saucepan and swirl around. This has three benefits – firstly, less dishes. Secondly, it will warm up the milk using residual heat, so that the milk doesn’t cause the butter to harden when you pour it in. Thirdly, it will pick up the extra brown butter bits on the bottom of the pan. The more the merrier.
- Tare off the scale (reduce it back to zero) so you can weigh in the sugars. Remove from the scale, stir to combine, and add the vanilla bean paste. Finally, stir in the warmed soy milk, and keep stirring until it is thoroughly combined and thickened slightly, around 1-2 minutes.
- Allow the butter mixture to sit and thicken for 5 or so minutes while you weigh out the flours in a small bowl. Add the baking powder and fine salt to the flours, and use a whisk to thoroughly combine.
- Add the flour to the butter mixture, and use a spoon to thoroughly combine. Make sure you get every little bit of flour off the side of the bowl. It will take a little while to incorporate all the flour, but don't stop until you have. A little good old fashioned elbow grease will get you there! The mixture should be matte but kind of shiny, and hold it's shape reasonably well. Transfer it to the fridge to harden for at least 2-3 hours, ideally overnight. See notes for my findings on letting the dough rest.
- To bake, heat the oven to 180 degrees Celsius, or 356 degrees Fahrenheit. Line 2 baking trays. Working quickly, use your hands to form 10-12 even sized small bowls of dough, and place 4 on a sheet. If it's hot where you are you can flash freeze the dough for 10 minutes, but see the notes first.
- Bake the cookies for 10-12 minutes, or until browned and wrinkly. Allow to cool completely before removing from the tray. Finish with a little sprinkle of sea salt (it amplifies the taste!) and store, cooled, in an airtight container.
You’ve done it again. These are such a treat to make.. the smell of the browned butter.. the anticipation with the overnight wait.. the fact they’re FODMAP friendly and GF… bloody love it. Now a pinned fav recipe to make many times again!