
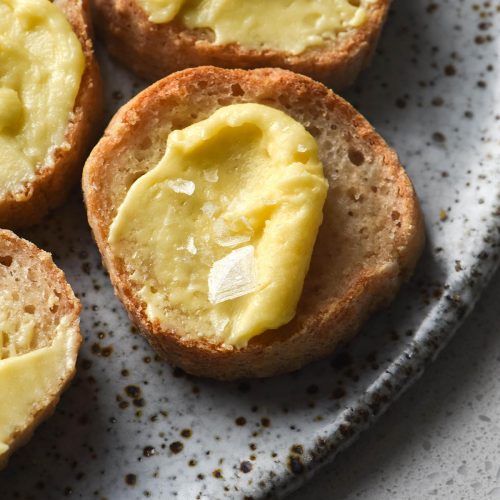
Whipped garlic infused ghee. Oh boy. If you have missed eating garlic, this is the recipe for you. A combination of my garlic infused ghee and gluten free baguette recipes, this whipped garlic infused ghee is pure FODMAP bliss. It’s rich, airy, fluffy and light yet punctuated with a deep garlic flavour. The kind of delightful, everyday snack or meal that normal digestive systems take for granted. I could eat this every day and never get sick of it.
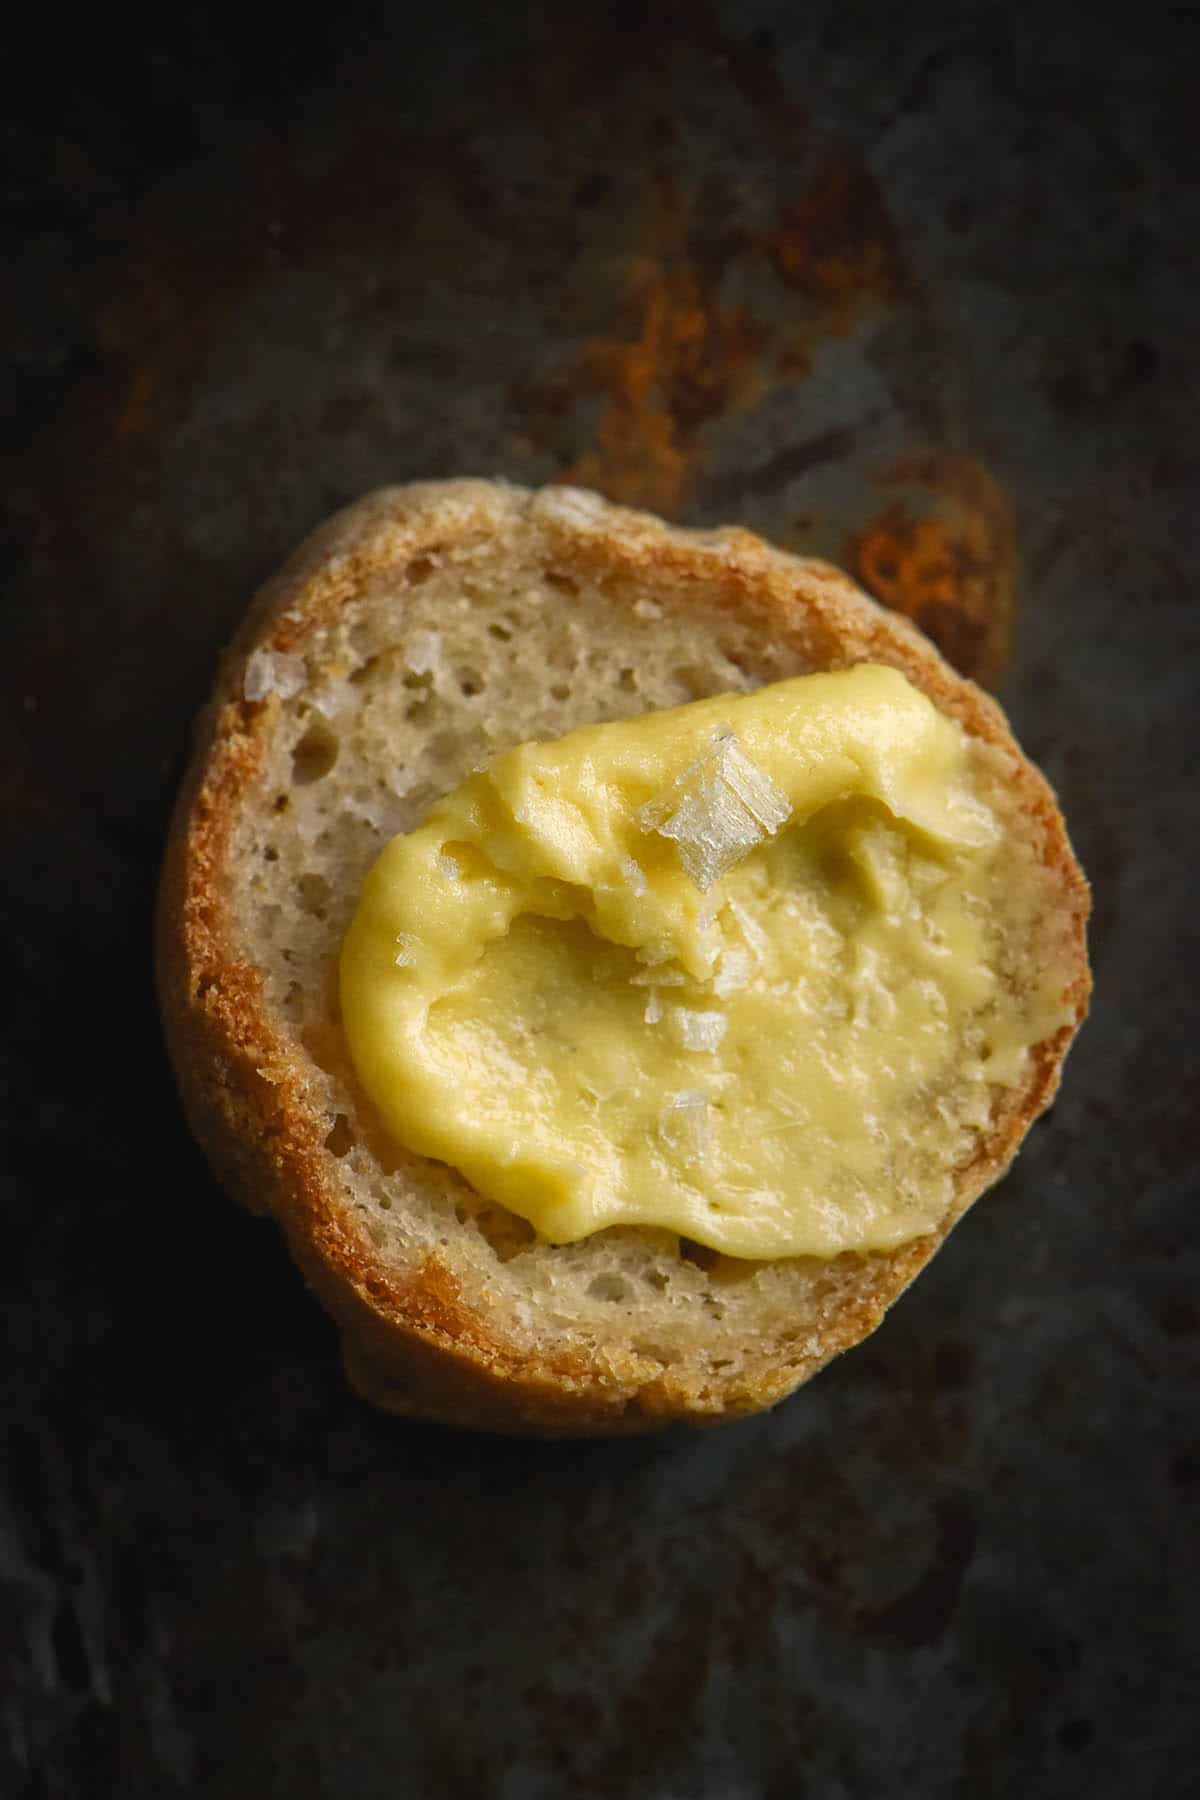
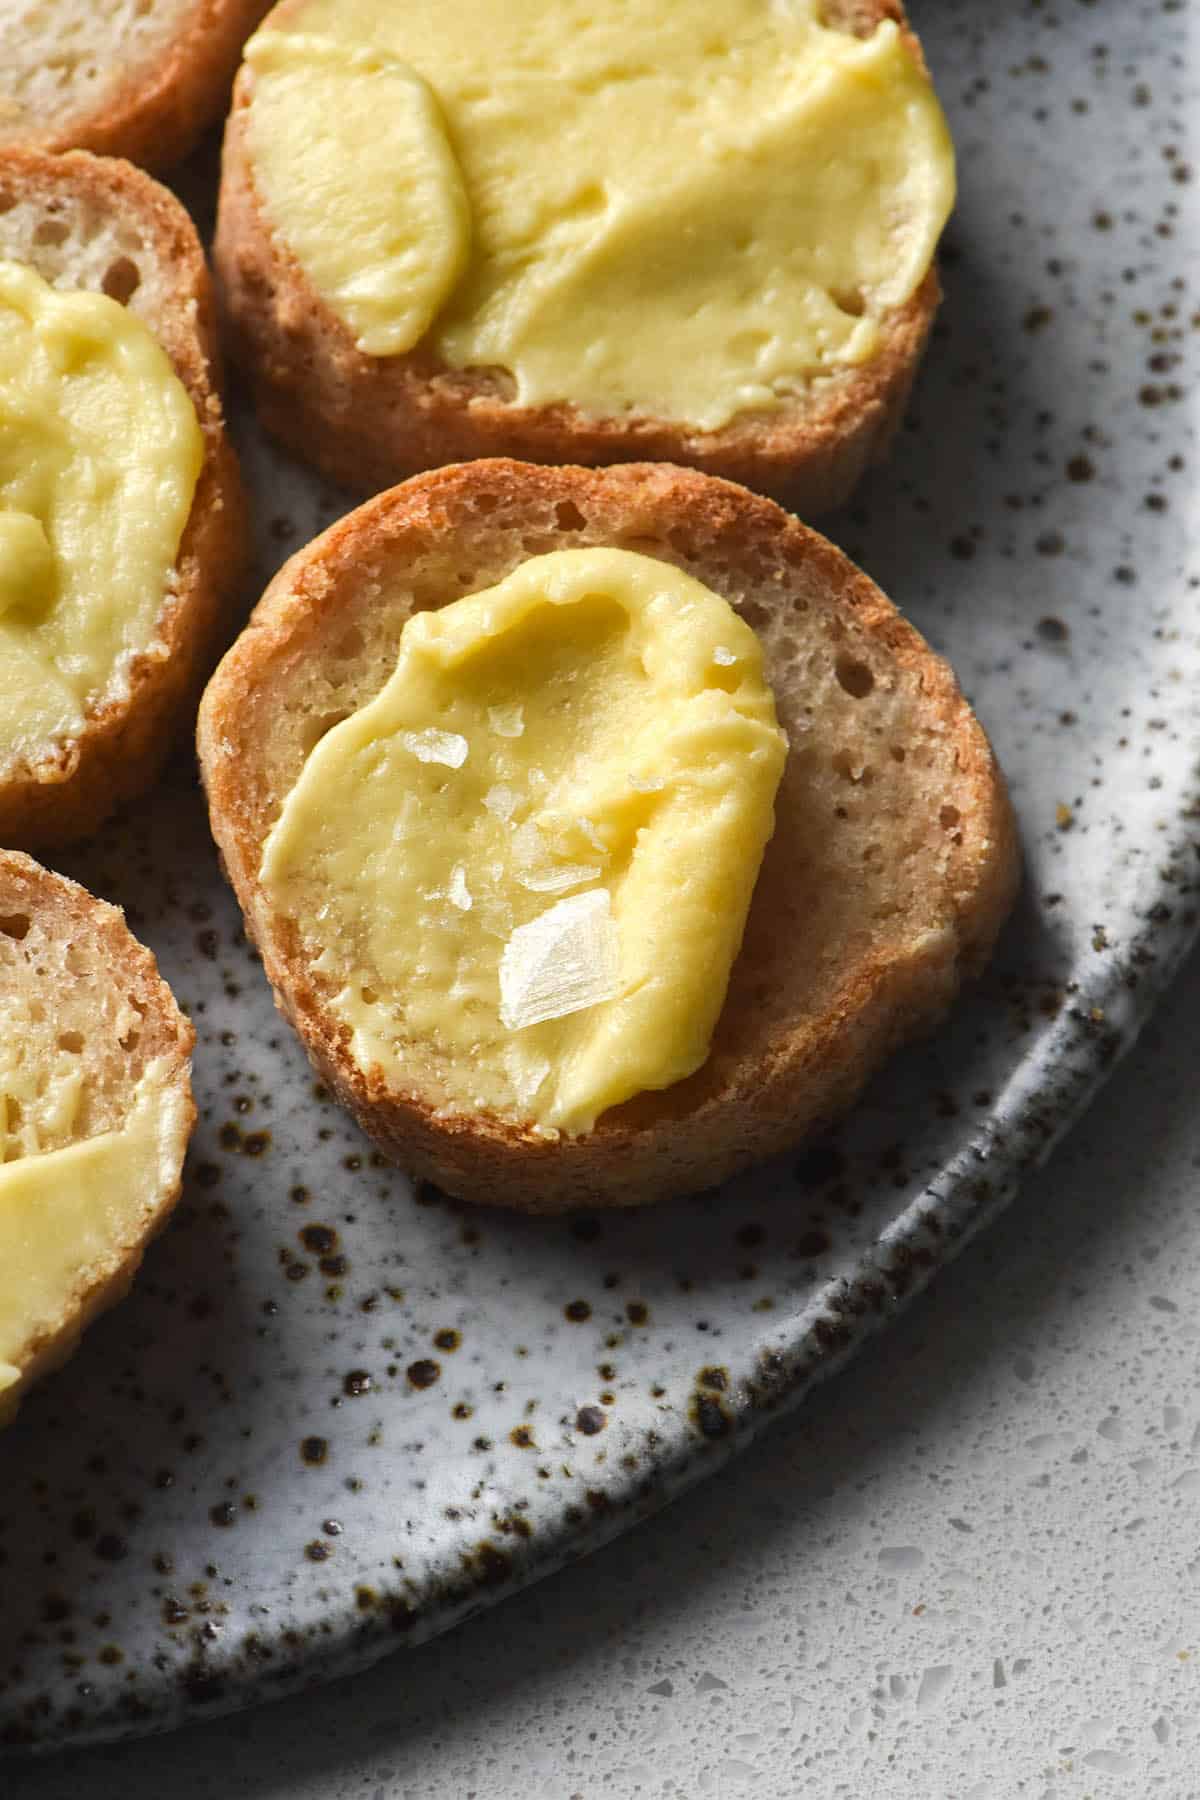
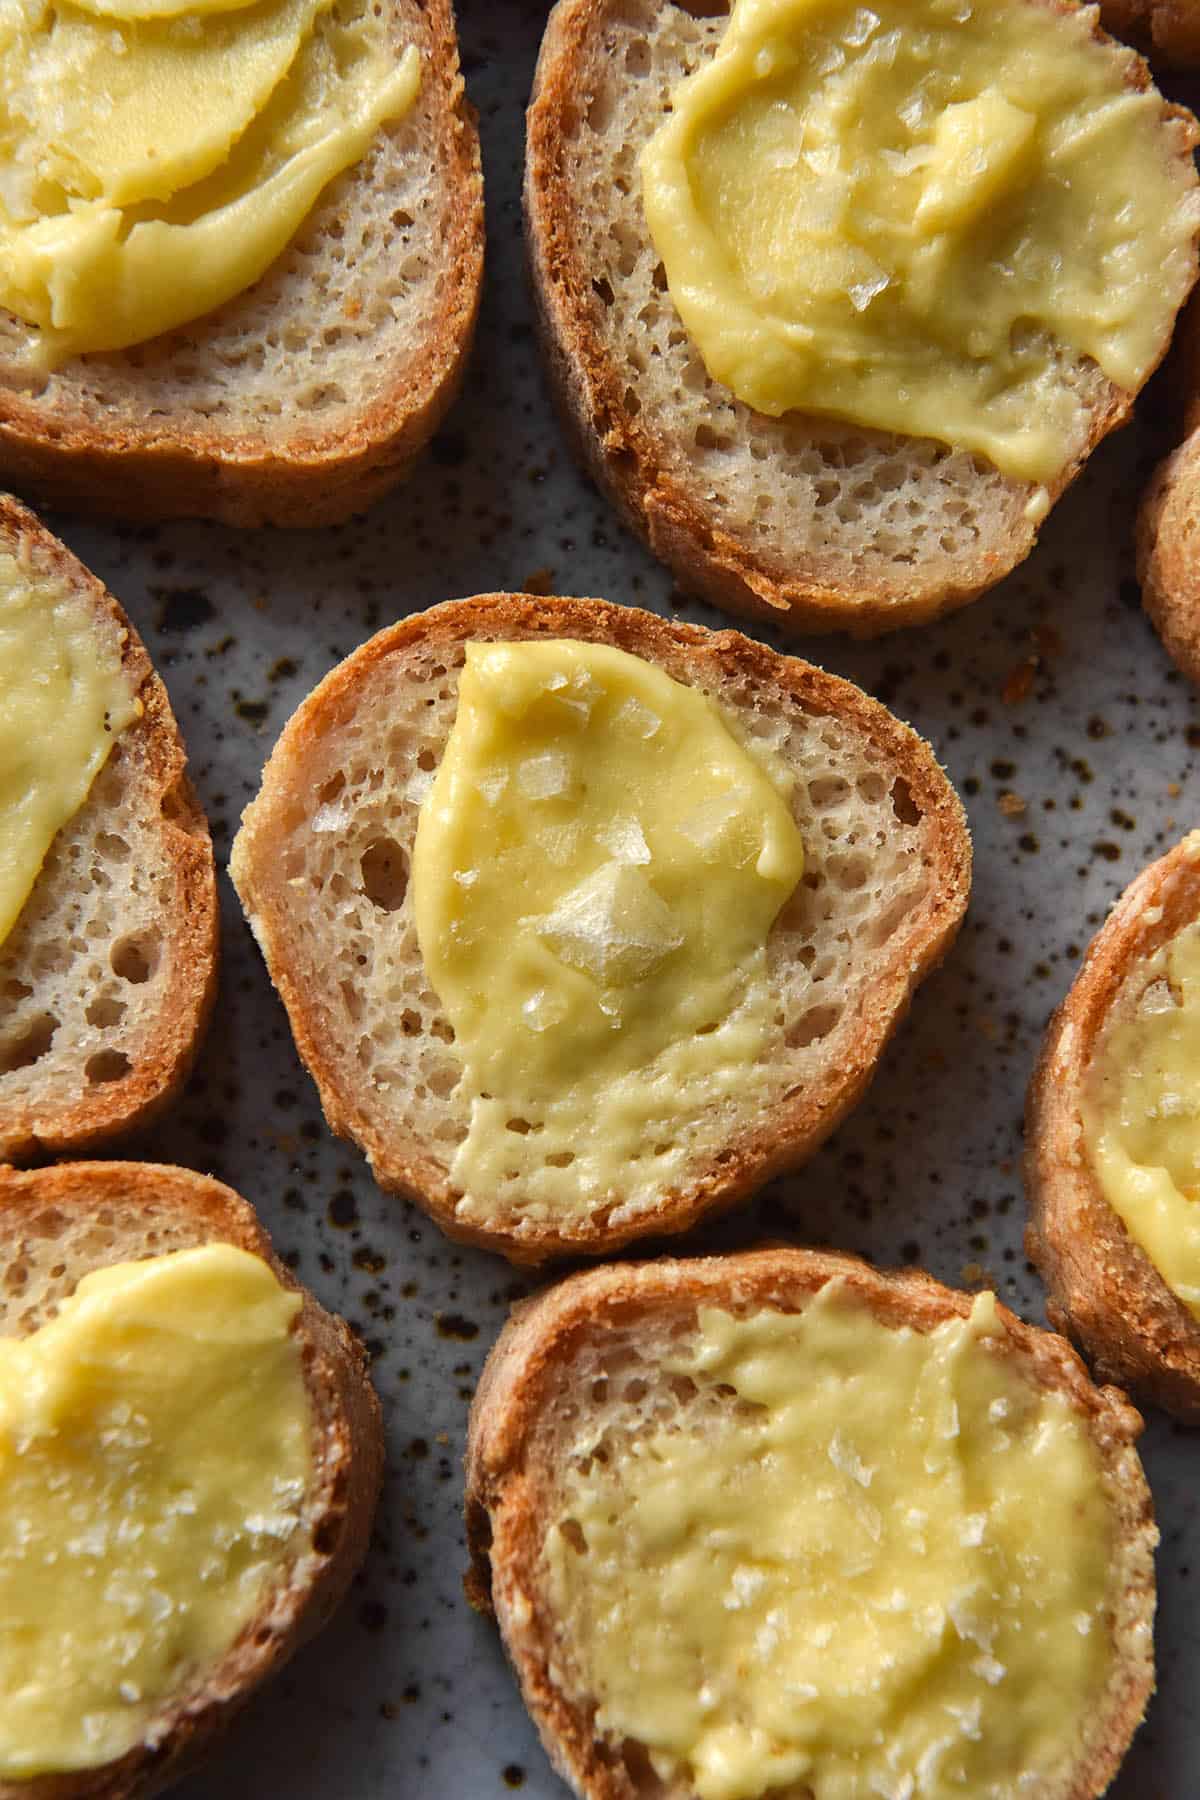
Whipped garlic infused ghee on fresh gluten free baguette
This whipped garlic infused ghee on fresh baguette is gluten free, FODMAP friendly, gum free and nut free. This is provided you use the baguette recipe, of course. The ghee might make a little more than you need, but it keeps really well. You can use it anywhere you’d like a garlic hit, although the flavour is strongest in raw applications. That is; melted into a simple pasta or over crispy roasted potatoes.
Why make garlic infused ghee?
Garlic is high fructan and therefore high FODMAP, which means it is off limits for people who malabsorb fructans (me included). We can all agree, though, that there is nothing better than the combination of garlic and butter. So, this recipe aims to bring that heavenly combination back into our lives. How?
- The fructans in garlic are water soluble but not fat soluble. This means that you can safely infuse garlic in something that is 100% fat to get all of the flavour and none of the FODMAP content.
- By making ghee, we have cooked off all the liquid from the butter. This means we can safely infuse it with garlic, without having the fructans leech into our food. We’re combining the best of butter and garlic in a FODMAP friendly way.
- It is worth noting that ghee can contain .1% liquid, which leaves a tiny margin for error. I can taste even a slice of garlic in my food and I have had no issues with this ghee. Quite the opposite: it’s my new favourite thing – a total revelation given how much I liked garlic in my past life.
- If you’d prefer, you can also buy pre-made ghee. Proceed from step 5 onwards for a very easy garlic infused ghee.

Notes on making garlic infused ghee
Ghee is butter that has been slowly and gently cooked to remove any liquids and milk solids. It is sometimes called ‘oil of milk’, which I think sums it up nicely. Cooking out the liquid and straining the mixture of any milk solids that appear (the little brown flecks you see in browned butter) leaves just the butter fat behind.
As the ghee solidifies, it may or may not turn a little grainy. Some of my batches have and some haven’t. I suspect it is down to using really low temperatures, although I haven’t confirmed that. Either way, grainy ghee is nothing to fear – it will become a smooth, silky liquid as it warms up either way.
Using unsalted butter allows you to control the salinity. Salt is not a fat, so by ensuring you use unsalted butter, there is less margin for FODMAP error. That said, I have used salted butter for this before and it was fine.
How to whip garlic infused ghee
Ghee is nearly 100% fat, which means it doesn’t quite whip in the same way that butter does. It needs to be quite cold but not frozen, and it tends to ‘melt’ quickly, which means that it needs lots of time in the fridge.
The whipping itself doesn’t take long. You will quickly see the ghee turn from a solid yellow block to a light straw colour and a fluffier texture. It won’t be quite as fluffy as regular butter, but the change should be tangible. Whipping the ghee is optional – it’s lovely slathered straight onto bread, too. That said, the whipping creates a lovely light and delicate texture, which is a nice contrast to it’s intense richness.
I recommend putting your (solid) ghee in the fridge for freezer for 10 minutes at any point it seems to be melting. You will quickly get a sense for the ideal temperature for the ghee to be whipped.
Ingredient notes for the gluten free baguettes
- As always, make sure the white rice flour you use is finely milled and fresh. Musty, rancid rice flour has a distinct smell (unlike fresh, which smells mildly milky but otherwise not much at all). That smell and will shine through in your baked goods, as will grittiness from coarsely milled rice flour. Make sure you choose a fresh, finely milled variety – I buy mine at bulk food stores.
- Again, as always, psyllium husk is not an optional ingredient in this recipe. It is a binder that forms the backbone of the baguettes. It holds them together and creates shape, but also binds enough water into the dough to make it lovely and soft.
- The sugar in this recipe is food for the yeast in the dough. You could also try using honey or maple syrup if you would prefer.
Tips for making gluten free baguettes
First and foremost: yes, this recipe really does need an overnight (or 6+ hour) rest in the fridge. I tried to make it without and the result was lacklustre and flat. The resting time slowly ferments the dough to develop flavour, but it also gives it time to absorb liquid. A firmer dough = a batard with better shape.
You will need a lame (bread scoring utensil) or a sharp knife and a baguette pan or two long pieces of baking paper for this recipe.
Putting the baguettes straight into the oven from the fridge will help them retain their shape. This is particularly important if you don’t have a bread pan, because they tend to spread outwards if they are left for a second proof on the bench. A second proof is more suited to a baguette pan, where they will still be given support in the oven.
I have a baguette pan and I really love it. They are definitely optional, but it does give the baguette a lovely shape and that classic pattern on the bottom of the baguette.
More low FODMAP garlic infused recipes
- The garlic infused ghee itself
- This garlic infused olive oil
- FODMAP friendly spaghetti aglio e olio
- These crispy potatoes with garlic chilli oil and zingy mustard yoghurt
Whipped garlic infused ghee on fresh gluten free baguettes
Ingredients
For the baguettes:
- 200 g (1 1/4 cups) white rice flour
- 90 g (3/4 cup) tapioca flour
- 15 g psyllium husk powder
- 7.5 g (1 sachet) instant yeast
- 1 tablespoon white sugar
- 5 g (3/4 tablespoon) salt
- 1 teaspoon gluten free baking powder
- 1 extra-large egg
- 40 g butter melted
- 350 g water
To finish the baguettes:
- Extra white rice flour for flouring the baguettes
- Melted butter for finishing the baguettes
For the whipped garlic infused ghee:
- 250 g good quality unsalted butter
- Head of garlic cloves papery skin removed and cloves sliced
Instructions
The night before:
- Combine the dry ingredients in a medium-large mixing bowl. Add the wet ingredients to the bowl then whisk or stir thoroughly to form a smooth, cohesive dough. Cover the dough and place in the fridge for at least 6 hours or ideally overnight.
- Make the garlic infused ghee as per the instructions in the links above.
The next day (or 6+ hours later):
- Preheat your oven to the highest possible setting. When it’s ready, boil the kettle and place a heatproof dish (I use a cake pan) of boiling water at the base of your oven.
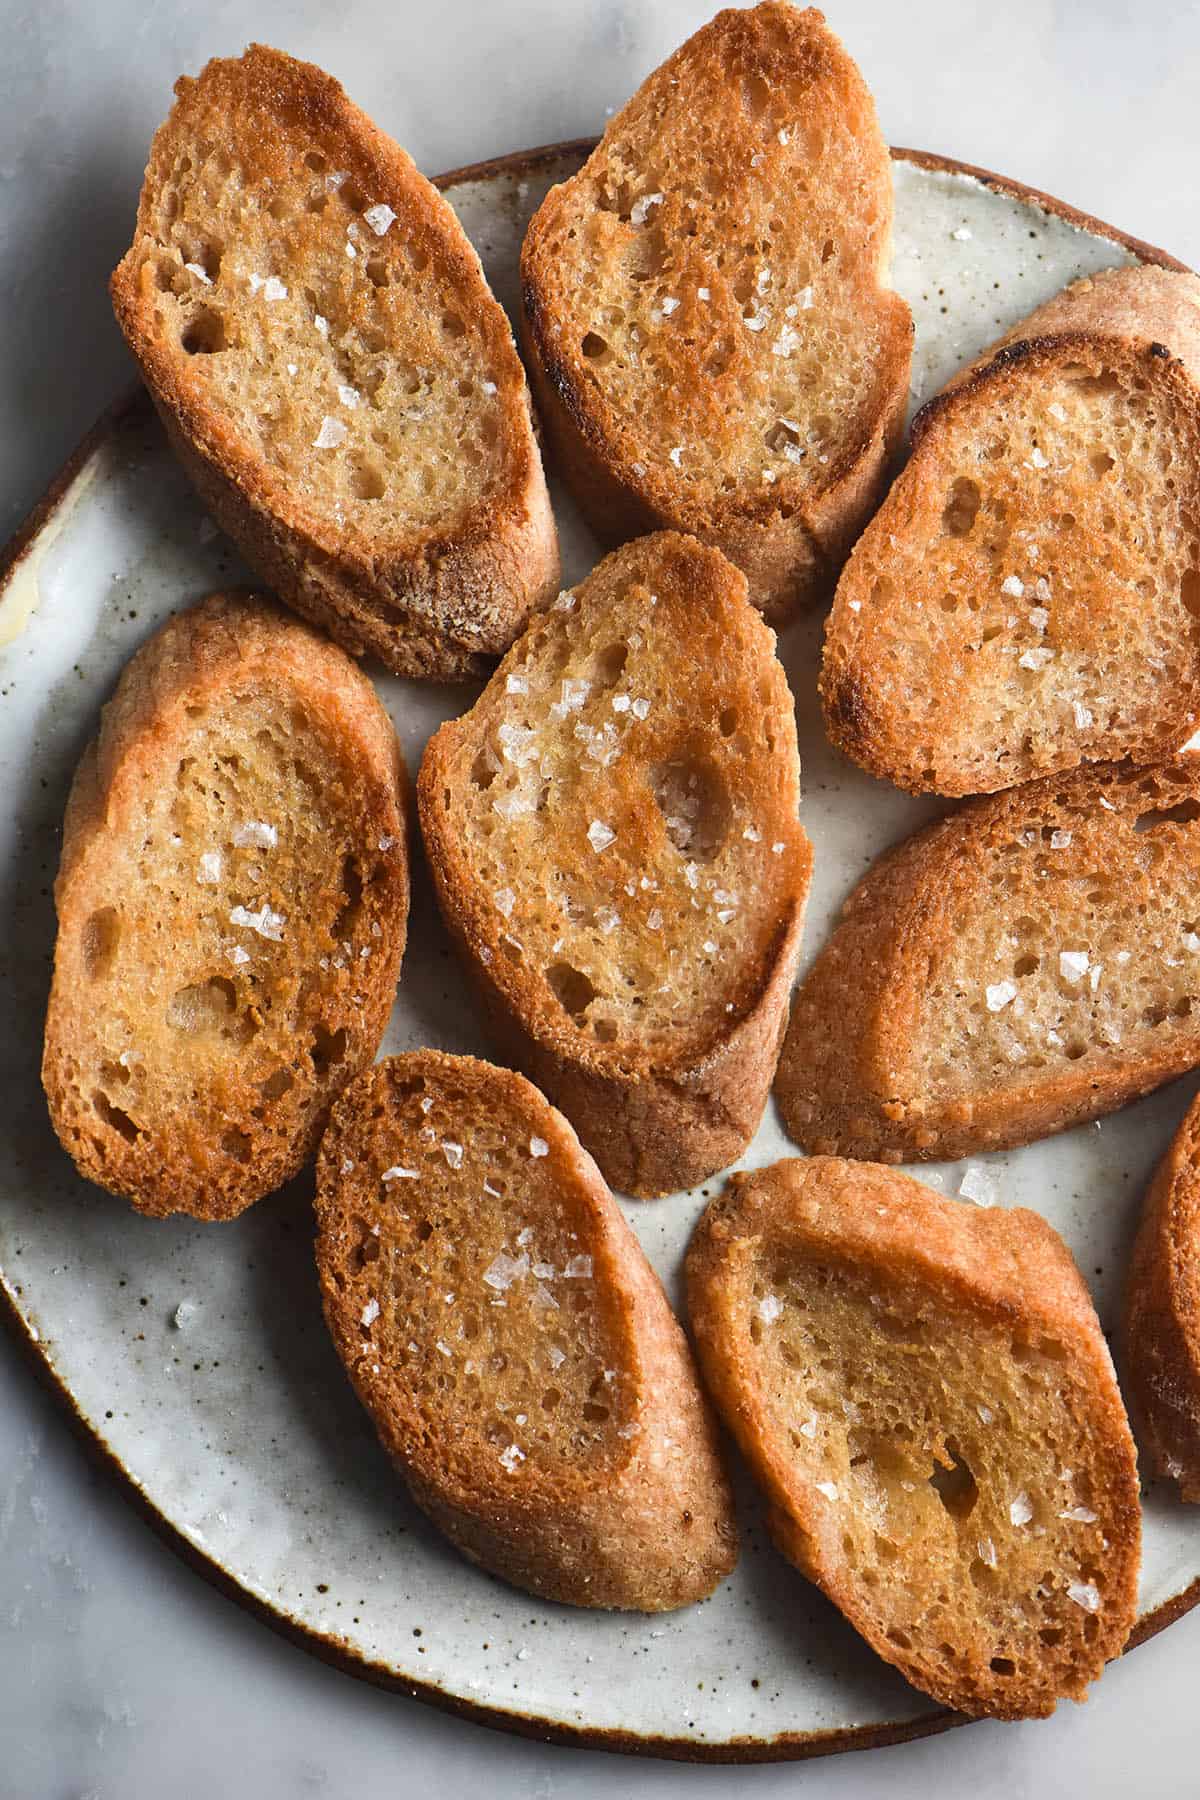
- Take the dough out of the fridge and dump it out onto a clean, dry and floured work surface. Divide the dough into two, then use floured hands to roll each ball out into your preferred shape (batard or baguette). Keep in mind that the loaves will expand in size as it proofs, so you can roll it a little thinner than you’d like. Either way, make sure the loaves have smooth tops as this will impact their appearance once baked.
- Gently place your loaves in your baguette pan or on a long piecesof baking paper on a baking tray, lightly floured. For extra browning, brush the baguettes with melted butter, then sprinkle them with some rice flour. Score your batards with the lame or sharp knife – This creates a weak point to direct the expansion of the dough as it rises. Place them in the oven, standing back as you open it (it will be hot and steamy!)
- Bake the baguettes for 10-15 minutes at the highest setting, then turn the oven down to 200C and bake for an additional 15-20 minutes (for a total of 30-35 minutes baking time) or until golden brown and crisp on top. Remove from the oven and allow to cool for at least 30 minutes before slicing. If you cut into it too early, the bread might be gummy as it hasn’t fully set yet.
- While the baguettes are cooling, place your garlic infuse ghee in a large mixing bowl and allow to soften to just room temperature. Use hand beaters or a stand mixer with a whisk attachment to beat on high until light and fluffy. It melts easily and is quite temperamental so I recommend using borderline too cool ghee. If it begins to melt at at any time, pop it back in the fridge for a bit.
- Spread over the cooled baguettes and serve.
Graininess is about how it’s cooled. Cooling slowly on the counter leads to more graininess, while cooling quickly in the fridge results in more smoothness.
That’s really good to know Maya, thank you! I will try putting it straight in the fridge next time. A great tip!