Dramatic statement. Important cause. How to make the crispiest oven chips of my life has been a question that has plagued me for years, and it ends now. I’ve researched this topic for a number of years, on and off. Every time I make a mediocre batch of oven chips, I vow to myself that I will make a change. And now, I am.
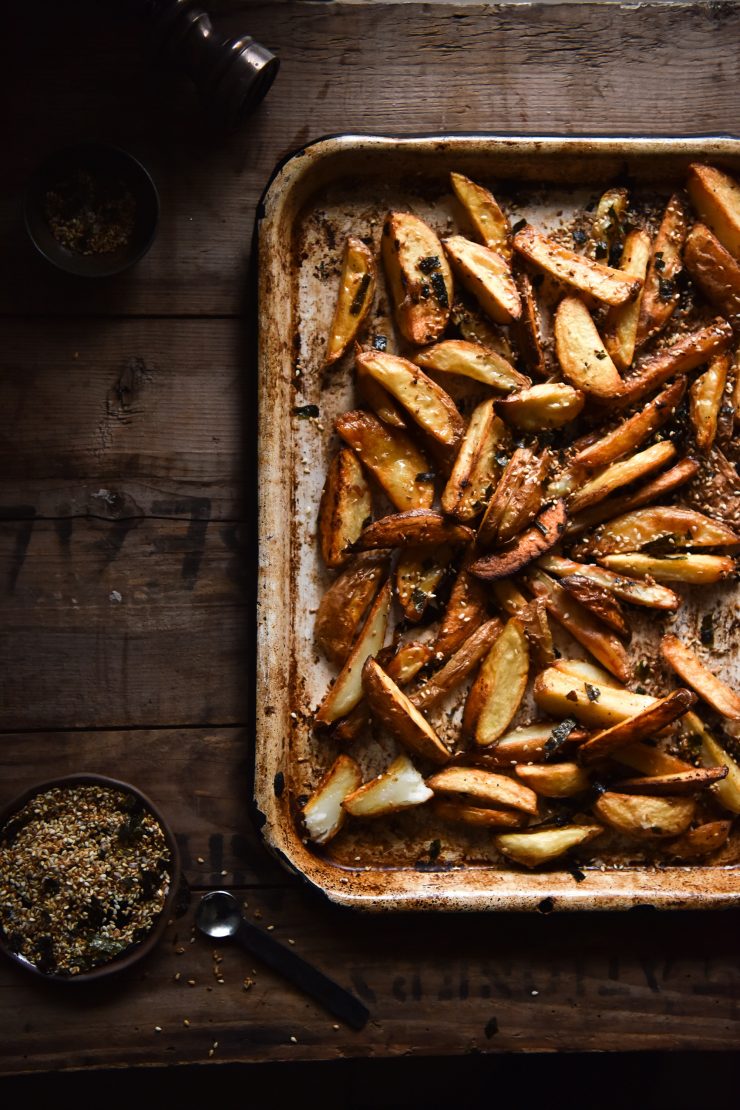
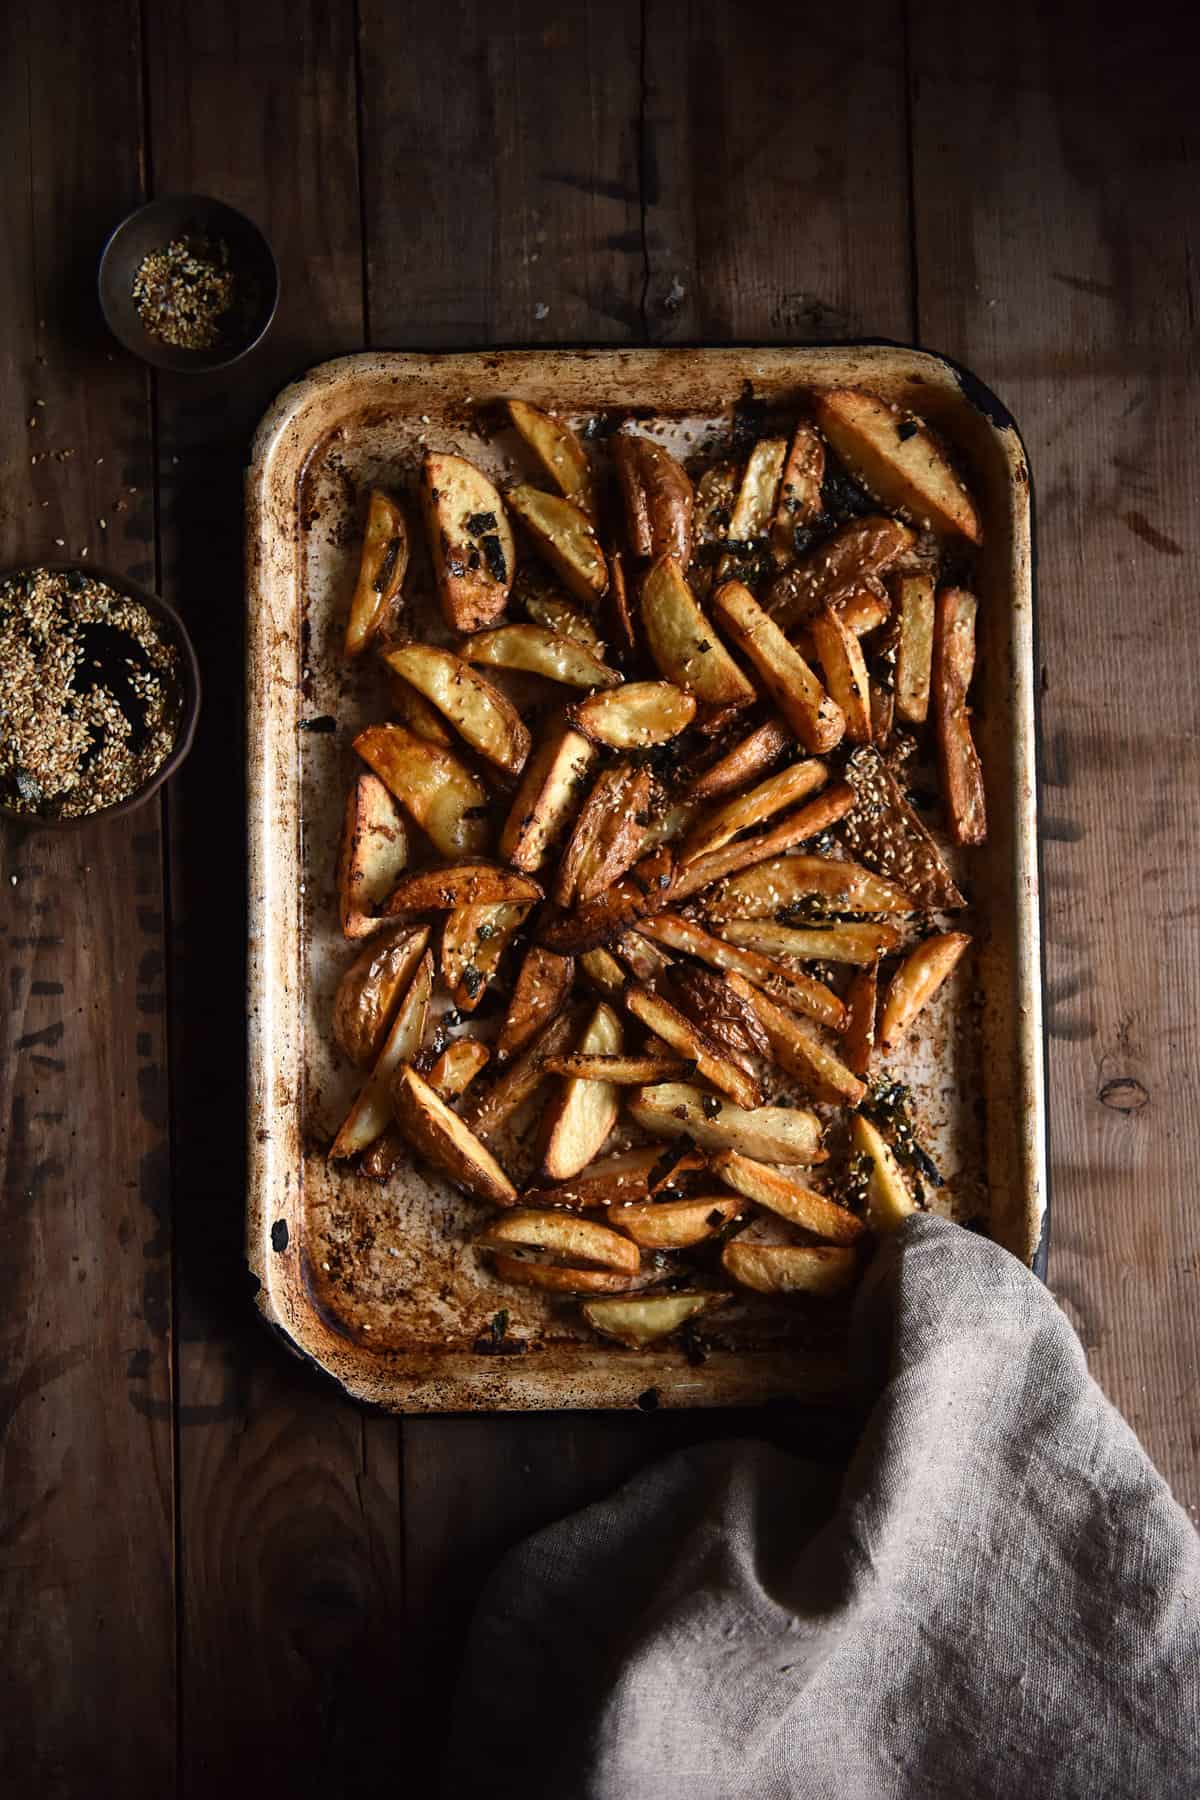
The crispiest oven chips of your life
You can choose to deploy all these tips, or a few, or none. How you deal with this information is up to you. It has important for me to round it all up into one place, however. Too often I read blog posts headings that promise me crispy oven chips, only to omit crucial ‘whys’ and ‘hows’ of the chip process. Why would I soak them? How tangible is the difference? Which potatoes should I buy? What is the best way to cut them for maximum crispiness? These are questions we will answer today. And by me, I mean you and I, because we’re all united in a common quest: how to make the crispiest oven chips you’ve ever encountered.
Which potato varieties make the best oven chips?
Let’s talk potato varieties. Australian supermarket offerings seem to suggest that only white, pink and unbrushed varieties exist. This is not so. There are a multitude of potato varieties (although not as many as in Peru, depressingly) and they all have different applications in which they shine the most. Today we’ll be focusing the best varieties for chips only. Starchy and thus floury potatoes are supposedly ideal for chips, but here’s a quick rundown of the options:
Starchy potatoes
Like the classic Idaho or Russet, these potatoes are (obviously) high in starch and low in moisture. They’re fluffy, making them great for boiling, baking and frying, but they don’t hold their shape well, so they should be avoided in dishes like casseroles, gratins and potato salads.
Waxy potatoes
Like Red Bliss or New Potatoes, these have a low starch content and are often characterized by a creamy, firm and moist flesh that holds its shape well after cooking. They’re typically great for roasting, boiling, casseroles and potato salads. My favourite here in Australia is Dutch cream.
All-purpose potatoes
These potatoes have a medium starch content that fall somewhere in between the starchy and waxy potatoes. They’re a true multi-purpose potato, and therefore can be used for just about any cooking application. A classic example is the Yukon Gold. My favourite here in Australia is Sebago, because I seem to be able to get them quite easily.
Potato characteristics
- Maris Piper – a golden skinned potato with a fluffy white interior
- King Edward – a pale skinned potato with splotches of pink. Also fluffy, which is important for a good chip
- Russet – a golden skinned potato with a dry, floury interior. The skin becomes chewy when cooked.
- Yukon Gold – a golden fleshed, all rounder potato
- Sebago – easily found in Australia and a great all rounder
How to make the crispiest oven chips – our options
Our next steps involve choosing how we will prepare our potatoes. There are many options: you can soak your chips beforehand, you can par boil the potatoes prior to slicing into chips, or you can throw them straight in the oven. I have tested all these methods alongside each other, and photographed them for your convenience.
Soaking your chips
The idea behind soaking chips, as with rice, is that it removes the excess starch prior to cooking. This is said to be produce a crunchier chip surface that is less likely to stick to the pan.
My research has indicated that you can soak your oven chips in a salty solution, although I’m unsure if they would absorb the same amount of salt as the boiled variety.
Par boiling your chips
This works in a similar way to soaking the chips, as some of the starch is removed. I am unsure of the effect par boiling has on the aforementioned chemical formation. However, I do know that it has the added bonus of salting the interior of the potato, which goes a long way in achieving deeply flavoursome oven chips. It also cuts down the amount of time needed to cook chips in the oven. This website suggests placing the potatoes in the water only after it is boiling – apparently this helps give the chips structure. Par boiling is by far my favourite method of cooking oven chips.
My favourite new cookbook, Salt Fat Acid Heat, suggests that water for boiling should taste like the ocean, for optimal salt factor. For a medium sized pot, a tablespoon of salt achieved this salinity for me, although it will depend on the size of the pot and volume of water.
My preference for the boil is to completely cook the potato through. This allows for easier chip shaping, as well as reduced cooking time in the oven. It also seems to make the interior of the chip super fluffy, as compared to roasting raw potato.
Putting your chips straight into the oven
The most time efficient method, but not at all my favourite. It does nothing to reduce the starch or add any flavour. I find it produces those hollow, empty chips that feel as though the potato has just evaporated and left a shell. Boiling the potatoes takes an extra 15-20 minutes, but cuts down the amount of compulsory oven time. Straight in the oven is a no from me.
Next steps
We have a plethora of choices when it comes to the oil and salt used for chips. Let us dissect them for the nerdy love of excellent chips.
Which oil should I use for baking my oven chips?
Generally speaking, a higher smoke point oil is good for frying chips. People suggest oils such as canola, vegetable or peanut. High smoke point oils are those that reach burning point at a higher temperature. Using a high smoke point oil allows the potatoes to be cooked at a high temperature without the oil, and thus the chip, beginning to burn.
Personally, I find peanut has quite a strong taste – one that I enjoy, but reserve for Asian style cooking. My preference out of the high smoke point oils is vegetable oil.
How to prepare the oil? Once the potatoes are boiled and dried or soaked and dried, heat the oil in a 180 degree oven for around 10-15 minutes. It needs to sizzle on contact with the potato, creating a crispy, solid potato edge, and assisting in non-sticking. If the oil doesn’t sizzle when you add a chip, stop and wait until it does.
What sort of salt should I use?
I cannot recommend anything other than fine salt or sea salt flakes. HOWEVER, I kind of can, because I would recommend crushing the sea salt flakes into a fine powder. You can do this with a mortar and pestle. This allows the salt to properly cling to the chips, without leaving all your precious sea salt on the oven tray.
When to salt? I suggest salting the soaking water or the boiling water, and then leaving salt out of the equation until the chips are cooked. As mentioned, fine salt clings to chips better, so I’d recommend crushing up your sea salt flakes, or using a kosher salt. There are internet suggestions that salting beforehand draws the moisture out of the potato and results in a dry, hollow chip.
Oven crowding
An important DO NOT DO THIS. I know it’s super impractical and annoying, particularly when you are cooking for more than one. Or just because you can eat a lot of chips. However, overcrowding the oven tray, or the oven, or both, will steam up the oven. Steam is the worst enemy of crispy oven chips – they stand no chance if the tray is jammed and there are two trays in the oven.
Further than that, overcrowding reduces the temperature of the oil that the chips are a bathin’ in, giving them even less chance to crisp up. Heat is key to crispy chips.
Oven temperatures
Opinions vary on how high to have your oven temperature. Some suggest that you should cook your oven chips at a high heat consistently. Other suggest you should cook it on a regular heat, and then crank the heat for the final 15 or so minutes. Higher temperatures ensure that the chips don’t stick to the pan, which is useful. They also result in you getting to eat chips faster, which is nice.
I like to cook my chips at a consistent temperature of 200 degrees. Using vegetable oil is helpful in this instance – you can heat it to a higher temperature.
Cooking times
This depends on the size of your chips, but as a general rule, I’d suggest 20 minutes on one side, and then an additional 15-20 on the other side.
Quick tips for crispy oven chips
- Choose the right variety of potato – this is super important. Maris Piper seem to be the best variety. I get mine at the farmers market, or at my local organic grocer. Buy unbrushed if you can. Skin on or off is a personal preference, although potato skins can become a bit tough. Chip size is also a matter of preference, although reasonably thin chips stand a better chance of a good crunchy exterior to fluffy interior ratio. Whatever you do, make sure you cut the chips evenly. This will avoid the ‘some burnt and some undercooked’ issue.
- Boil the potatoes in a salt solution akin to that of seawater. Taste it and adjust as you go.
- Don’t put wet potato straight into the oil – water and oil don’t mix. Make sure they’re nice and dry before they go in (the steam from boiled potatoes helps with this – just sit them out in a sieve and they will steam dry)
- Only add the potatoes to the water once the water is boiling. I like to prick the potatoes with a few holes to assist in the interior becoming flavoured by the salt.
- Preheat the oven to 200 degrees, and preheat your oil for 10-15 minutes prior to adding the chips.
- Don’t salt the oil, and don’t overcrowd the pan, or the oven. Steam is the arch nemesis of the crispy chip.
- Cook the chips at a high temperature, and turn them halfway through. You can finish with a blast of the grill for extra crunch.
- Salt the drained chips once cooked, using a finely crushed sea salt, or a kosher salt. Avoid table salt if you can. If you’re not serving straight away, keep the chips on a rack. Allow them to steam up on a plate could result in soggy chips, after all that hard work.
Q and A
The only potatoes I have access to are the ones at the supermarket. Any tips?
Go for a floury or all rounder variety as opposed to a waxy variety, and try to get an unbrushed sort if you can. The white potatoes at the supermarket are generally Nadine (unless marked otherwise) which are an all rounder. The potatoes with red skin are Desireee. I have found my experience with roasting potatoes that both of these varieties scuff up well after being boiled, meaning they have a crispy crunchy surface after roasting.
Should I cut the potatoes into chip form before boiling them, or boil them whole?
The jury seems to be out on this one. I tend to par boil the potatoes whole, but Heston’s supposedly magical thrice cooked (but deep fried) chip recipe simmers the cut potatoes for around half an hour, before freezing them to rid them of excess moisture.
People suggest that cutting the potatoes before boiling them can waterlog them, resulting in soggy chips. They also suggest that the potatoes lose their nutrients and flavour. I might also add that they’ll absorb extra salt from the boiling water than they would if they were whole.
I’m trying to limit my oil intake. Help?
I haven’t tested this theory (I’ll update this post when I do) but I think your best bet would be to boil the chips in salty water, and then cook them on a hot oven tray with baking paper, and maybe a bit of spray oil.
Why unbrushed?
They’re cheaper, they last longer, you know what they’ve been washed in (ie just water) and I think we live in a overly sanitary world and a little dirt is good for the soul and the digestive system. Don’t fact check me on that last one, but fact check me on all the others.
boil the oil! The mystery of crunchy chips is solved. thank you.