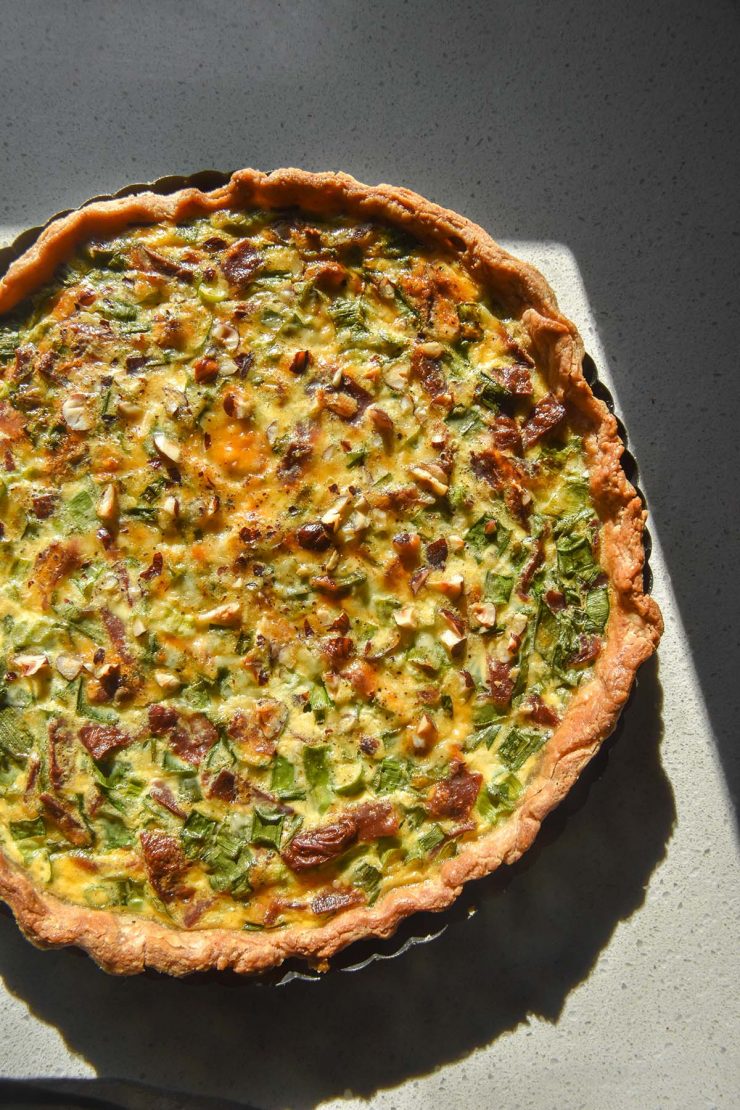
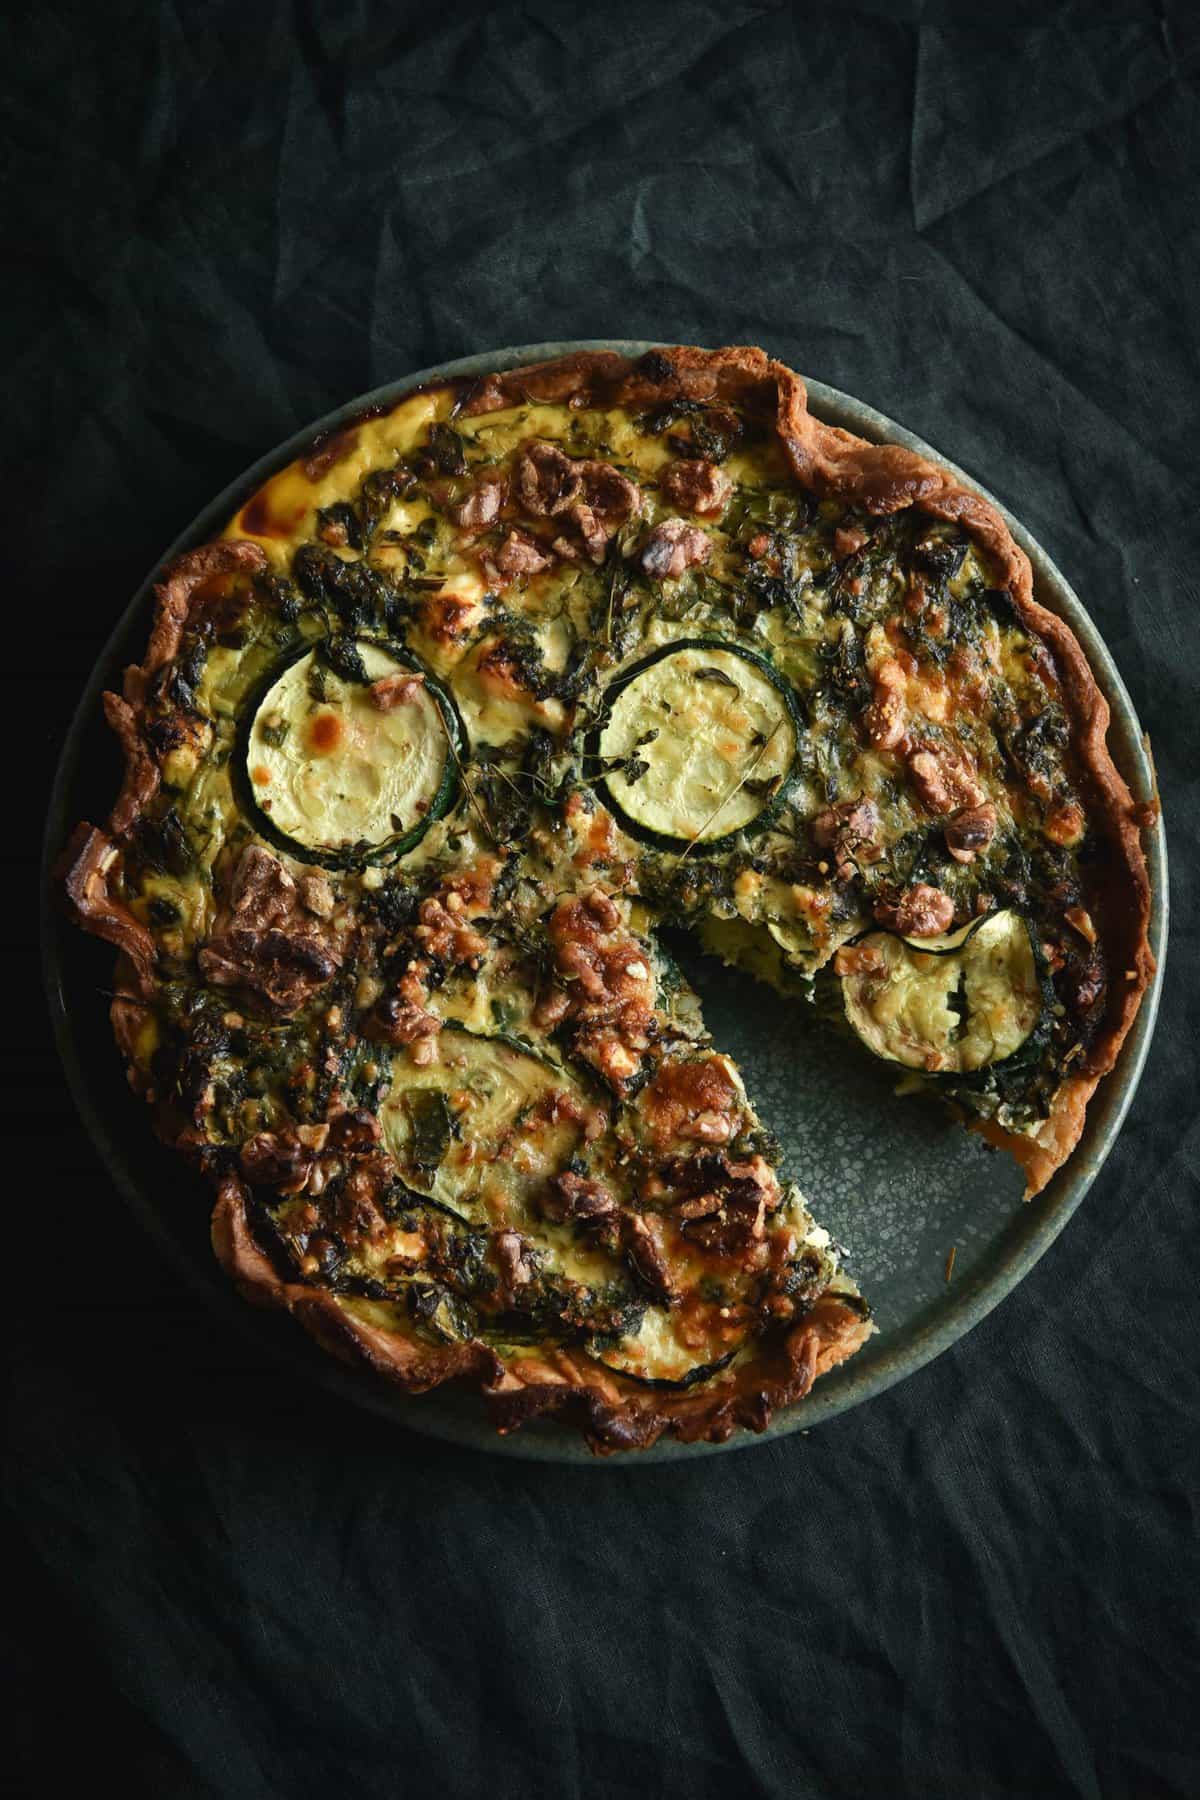
It’s winter and I’m in need of easy comfort food that can be made ahead. Nothing says comfort food like a good quiche to me, so I’m writing up this recipe for an easy gluten free quiche without xanthan gum. It’s low maintenance, super adaptable, nut free and easily low FODMAP. I have included a vegetarian filling here, but you can use whatever works for you.
Gluten free quiche without xanthan gum
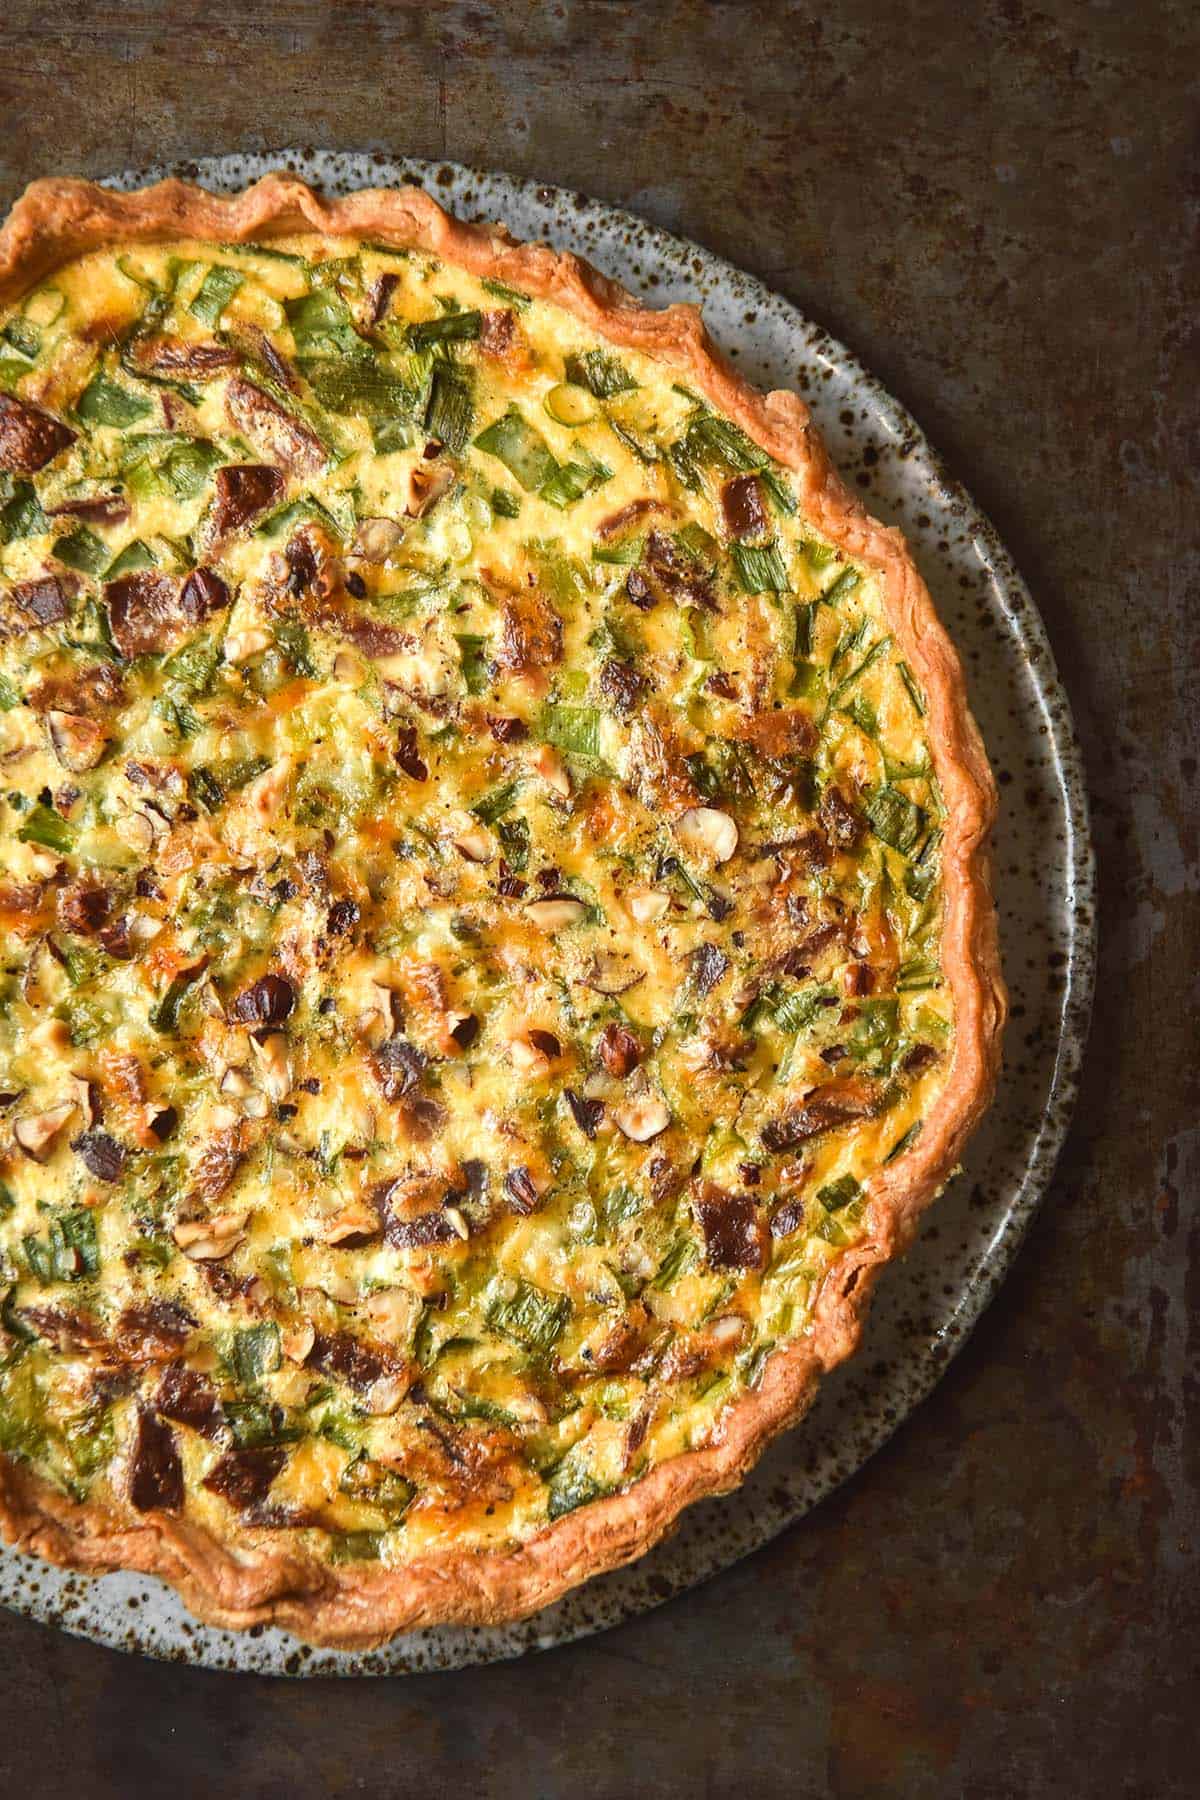
This gluten free quiche is a simple and hearty recipe that uses basic ingredients. You can jazz the filling up with anything you have on hand or keep it classic. Personally, I have been loving the addition of gluten free vegan bacon in my recipes. I am pescatarian, but I’ve always loved bacon (despite the fact I no longer eat it). It’s a great smoky, salty alternative that I really enjoy, but this is entirely optional.
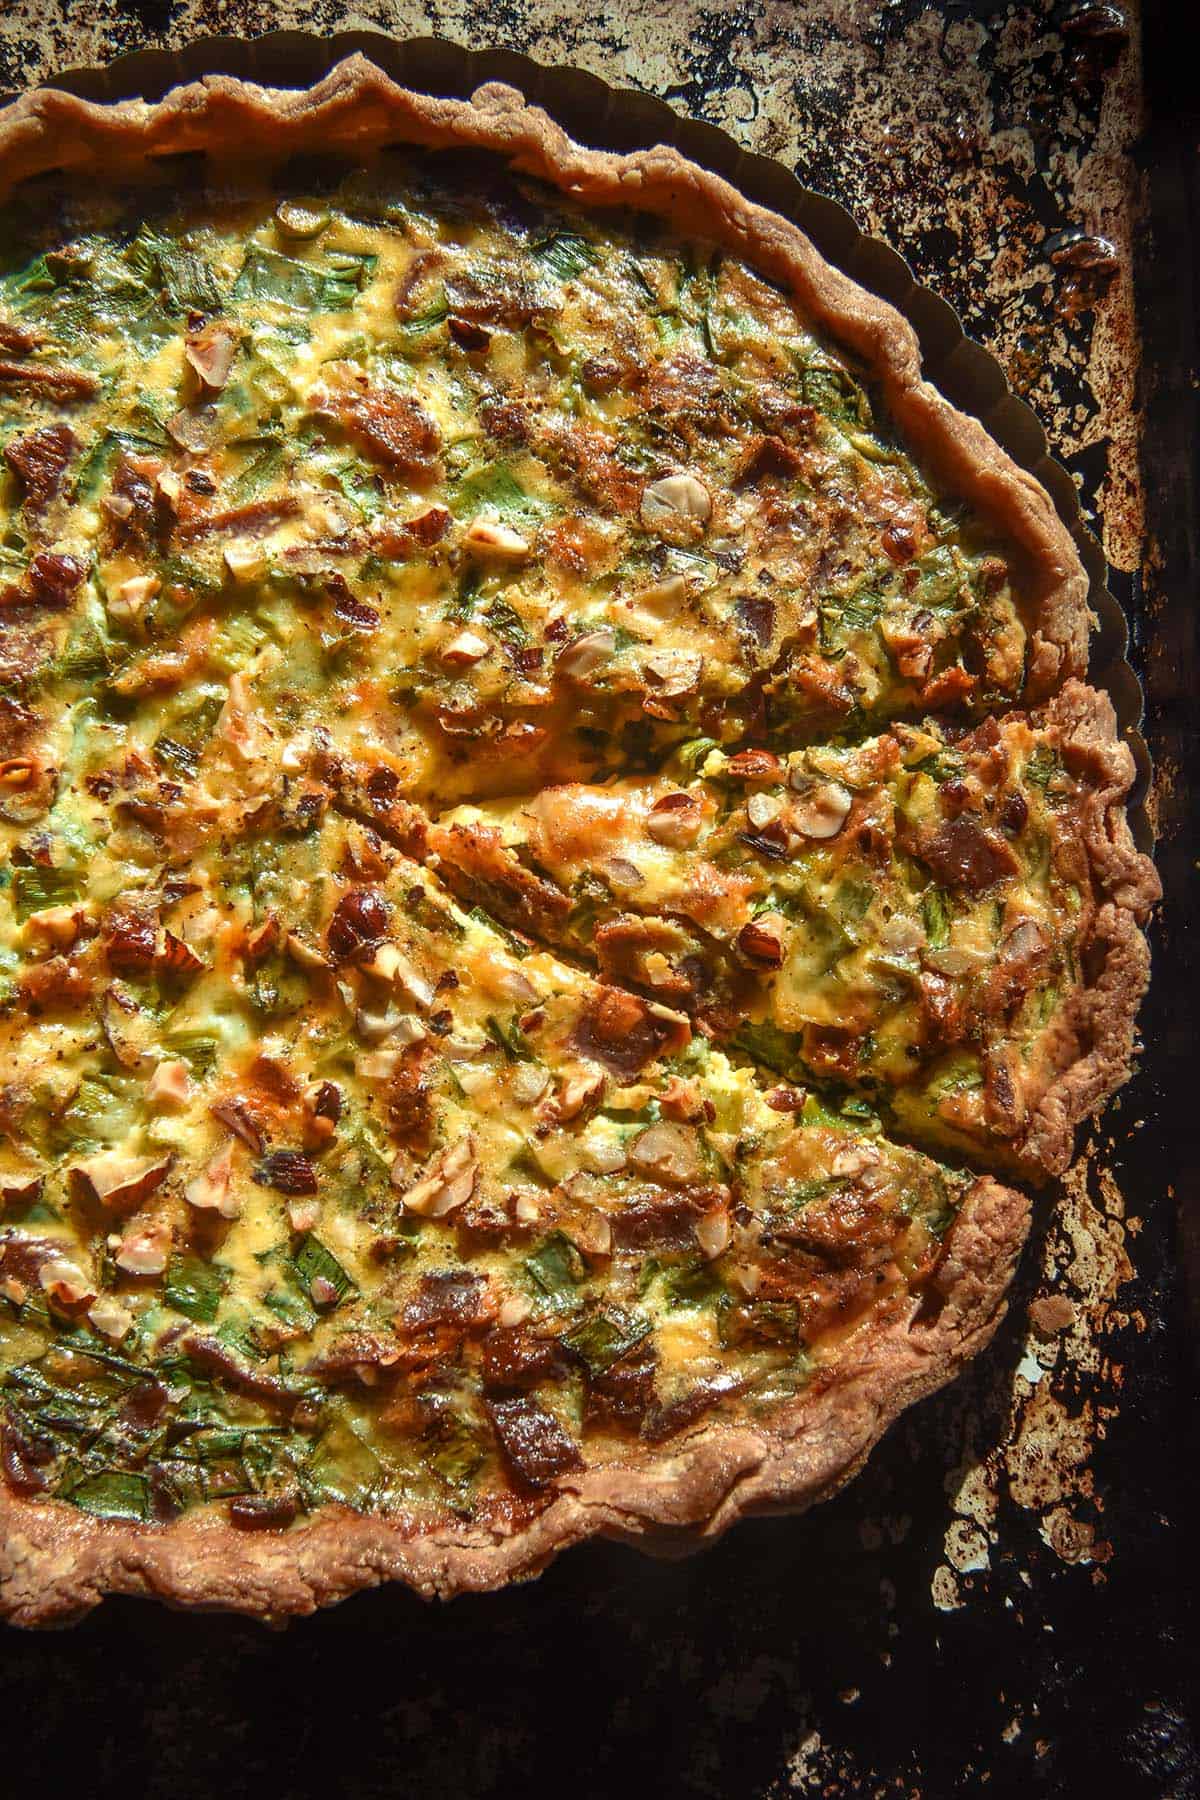
I have used basic fillings for the remainder of the quiche. Eggs (of course!) milk (or more yoghurt) sharp vintage cheese, seasoning and spring onion greens. A simple combination that packs a flavour punch. You can, however, choose the quiche flavours that you enjoy.
The pastry is made with a gluten free wholegrain flour, a gluten free starch, butter and yoghurt. I often use a white rice flour and tapioca flour combination, but I have also used buckwheat and sorghum as the wholegrain component or cassava flour as the starch. You can mix and match as see fit, but I recommend keeping the starch in there for lightness and elasticity.
The final ingredient that brings the pastry component together is the psyllium husk powder. Psyllium husk powder helps bind the pastry together without xanthan gum. It’s a critical ingredient here – the hero of the pastry.
Working with xanthan gum free pastry
Gluten free pastry can be a challenge, and none moreso than the gum free variety. I find that the yoghurt seems to make this a particularly easy pastry to work with, but the psyllium husk plays a crucial role, too. Psyllium husk is a natural fibre and binder in gluten free baking. It’s not included for fun – it helps hold the pastry together.
I have found that psyllium husk powder works best in this recipe. Generally, I buy psyllium husks and then grind them in my spice grinder as necessary. The whole husks work too, but I found the pastry was just a little more prone to cracking as I rolled it out.
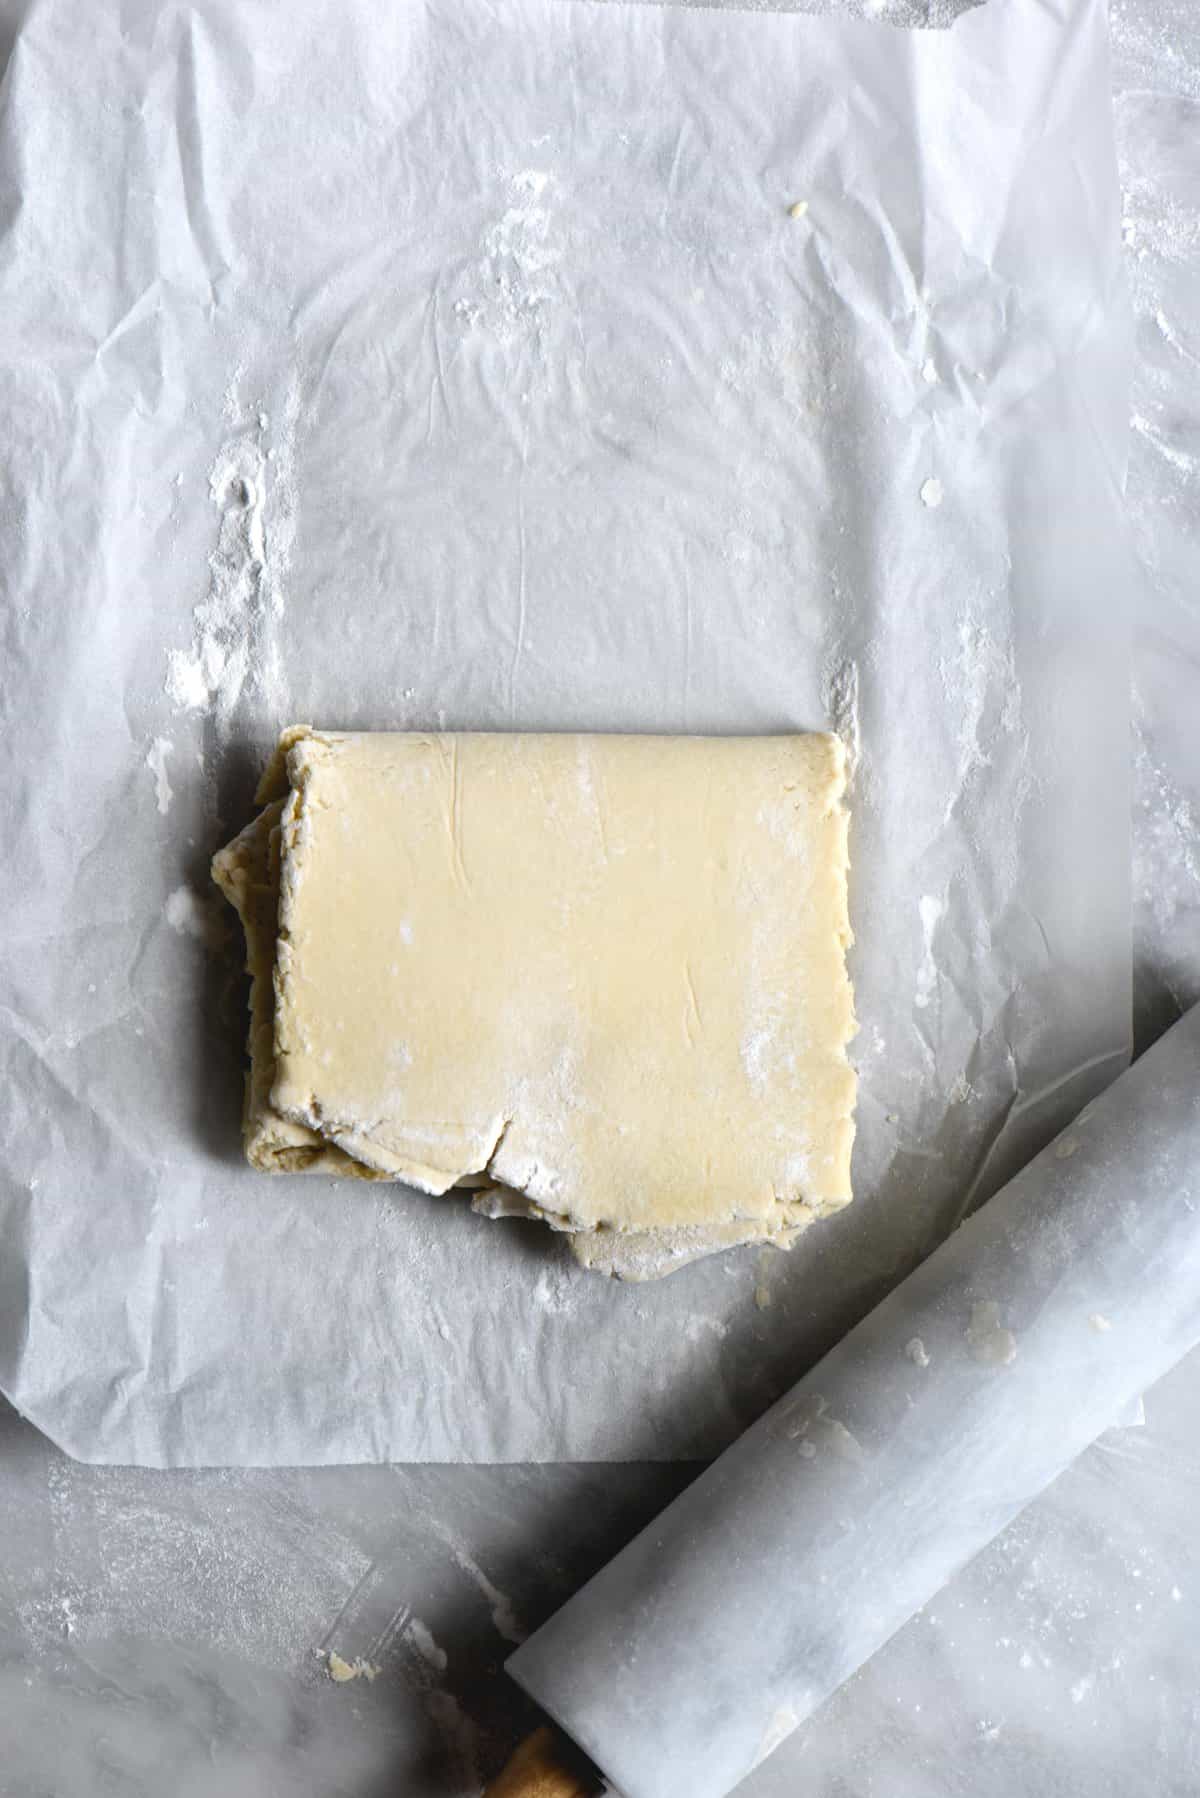
I’d say the most important part of bringing this pastry together is the lamination stage. This sounds complicated but it really isn’t. Basically all you need to do here is roll the pastry out in a rectangle, fold the short ends of the rectangle back over the pastry like you could a letter, then roll it out again. This helps loosen up the chunks of butter and creates a smooth, pliable dough.
Laminating is traditionally done to create sheets of butter in the pastry. When the water evaporates from these sheets of butter in the oven, it creates flaky pastry. We don’t really need super flaky pastry here, so the laminating is done purely to create flexibility in the dough. It takes all of 2 minutes and makes the rest of the process seamless!
Tips for filling your gluten free quiche
You can fill this quiche with whatever works for you, but there are some rules. Firstly, using the same size fluted tart tin (or one that is slightly smaller) is a must. This recipe has been designed for this quantity of ingredients. If you use a larger tin, you likely won’t have enough pastry to finish the edges. Next, you won’t have enough filling to reach the lip of the tin. Fluted tart tins can be bought at the supermarket and have endless uses.
Secondly, try to use roughly the same volume of added ingredients as the recipe. If you use less, you won’t have enough filling and your quiche will look empty. If you use a lot more filling, you might end up with too much.
One trick that can help bulk up the quiche (if you don’t have enough filling) is to add 60ml (1/4 Australian cup) extra milk OR 1 extra egg. This depends on whether you prefer a firmer, eggier quiche or a softer, moister and less eggy quiche. Totally your call.
FODMAP notes for your quiche
There are a few things to note to keep this gluten free quiche low FODMAP, if it needs to be. Firstly, use lactose free yoghurt if lactose is an issue for you. I love Jalna lactose free Greek yoghurt.
Secondly, use low FODMAP fillings (obviously!) I used spring onion greens instead of whites for a low FODMAP onion flavour. Spring onion greens have a low FODMAP threshold of 75g. In serves exceeding 97g, they contain moderate amounts of fructose.
I used Sunfed vegetarian bacon to develop this recipe. Very sadly it has been discontinued – it had a lovely short ingredient list and tasted delicious. If you have a low FODMAP plant based bacon that works for you, by all means use it. If you are not vegetarian, bacon is low FODMAP in serves of up to 500g. Check for any high FODMAP flavours or ingredients, though.
Butter and cheddar cheese are both low FODMAP in serves of up to 500g.
Choose a low FODMAP milk to keep the FODMAP content down. Lactose free milk, macadamia milk and almond milk are good options.
Important tips for this gluten free quiche
- Place the quiche on an oven tray before placing it into the oven. This makes it easier to remove once cooked, but it also stops butter from leaking out of the fluted tart tin. A bit of butter leakage is normal, and it’s easier to clean off a tray than the base of your oven.
- See the above notes on ensuring you have enough filling for your quiche.
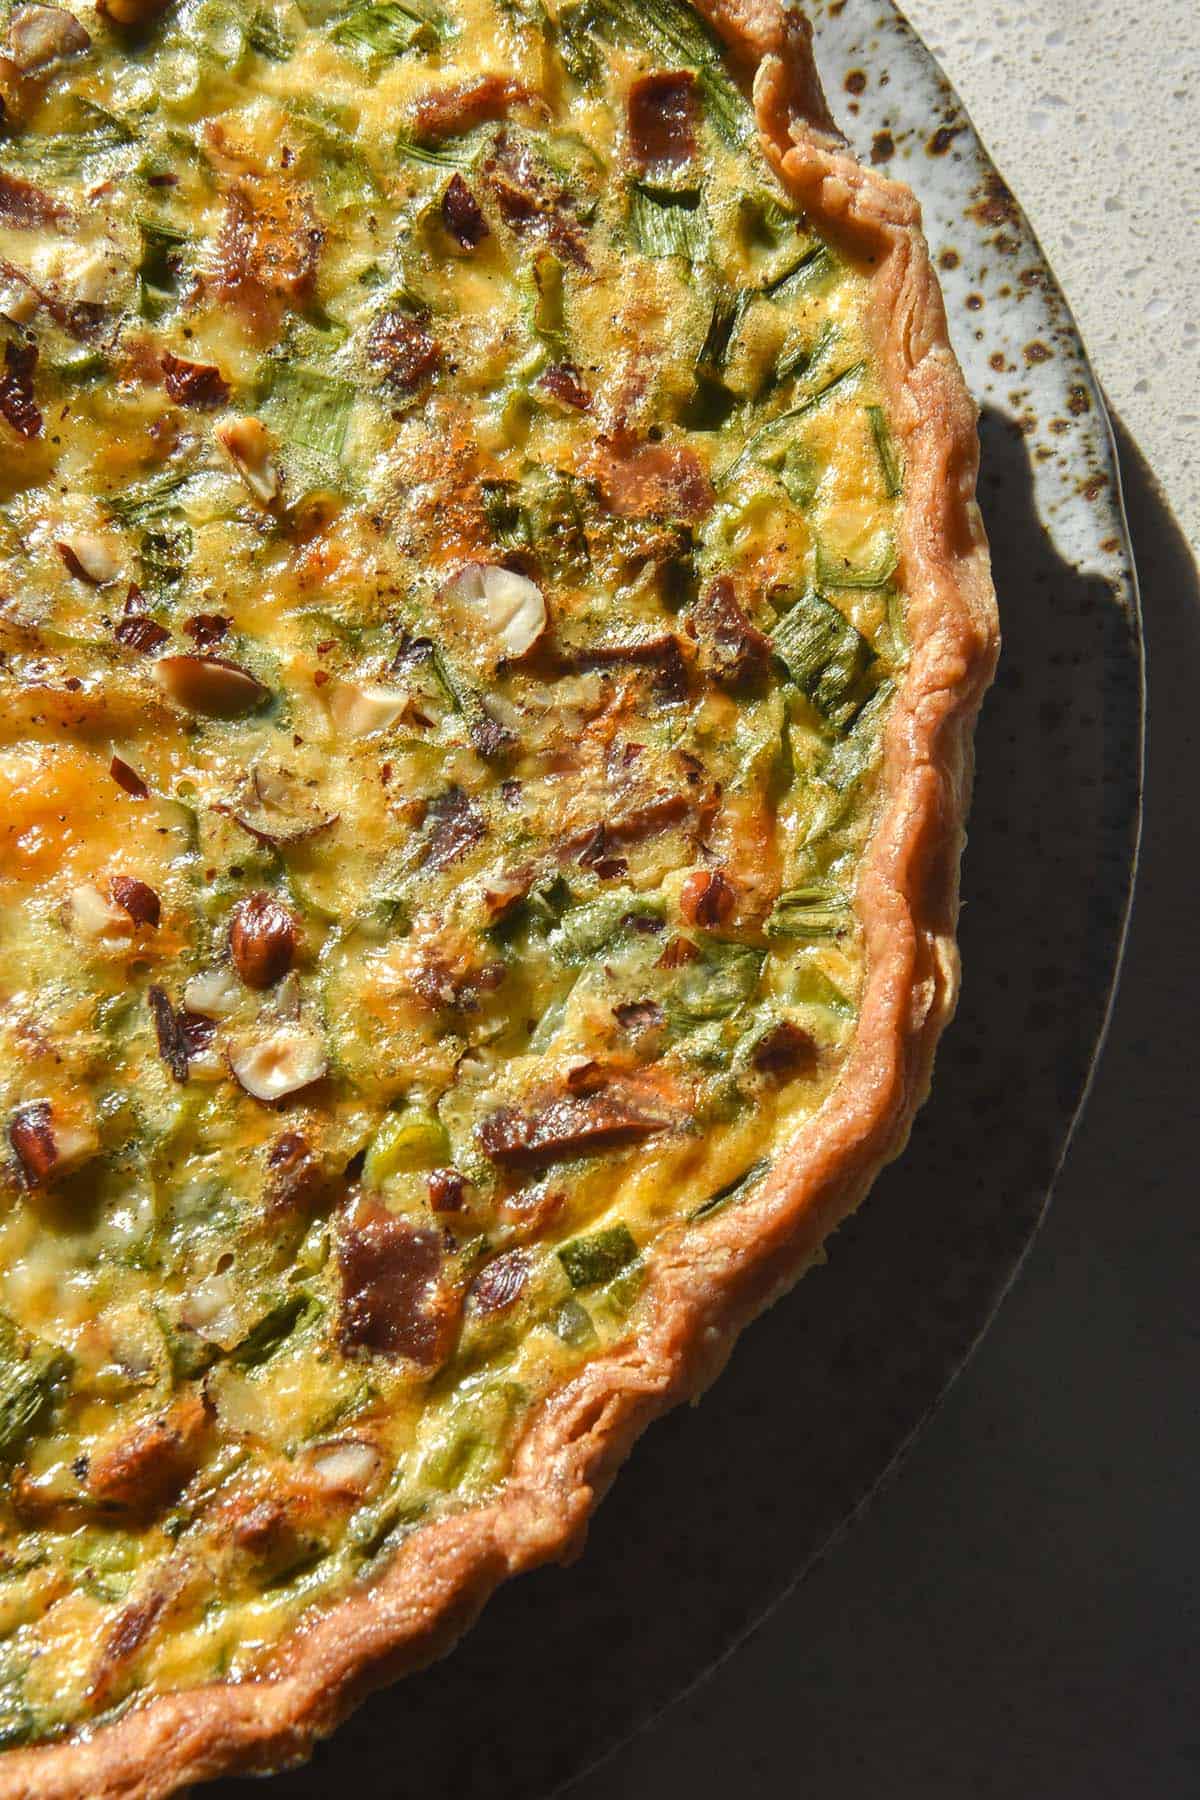
- I highly recommend placing a flat piece of tin foil on a rack at the top of your oven (not touching any elements) when par-baking the crust. This allows the crust to cook through without becoming overly browned or burnt. I also do this when I have put cheese on top of the quiche for the first 10 or so minutes. It allows the cheese to melt thoroughly and not remain as little chunks of cheese on top. An aesthetic difference of course, so totally optional.
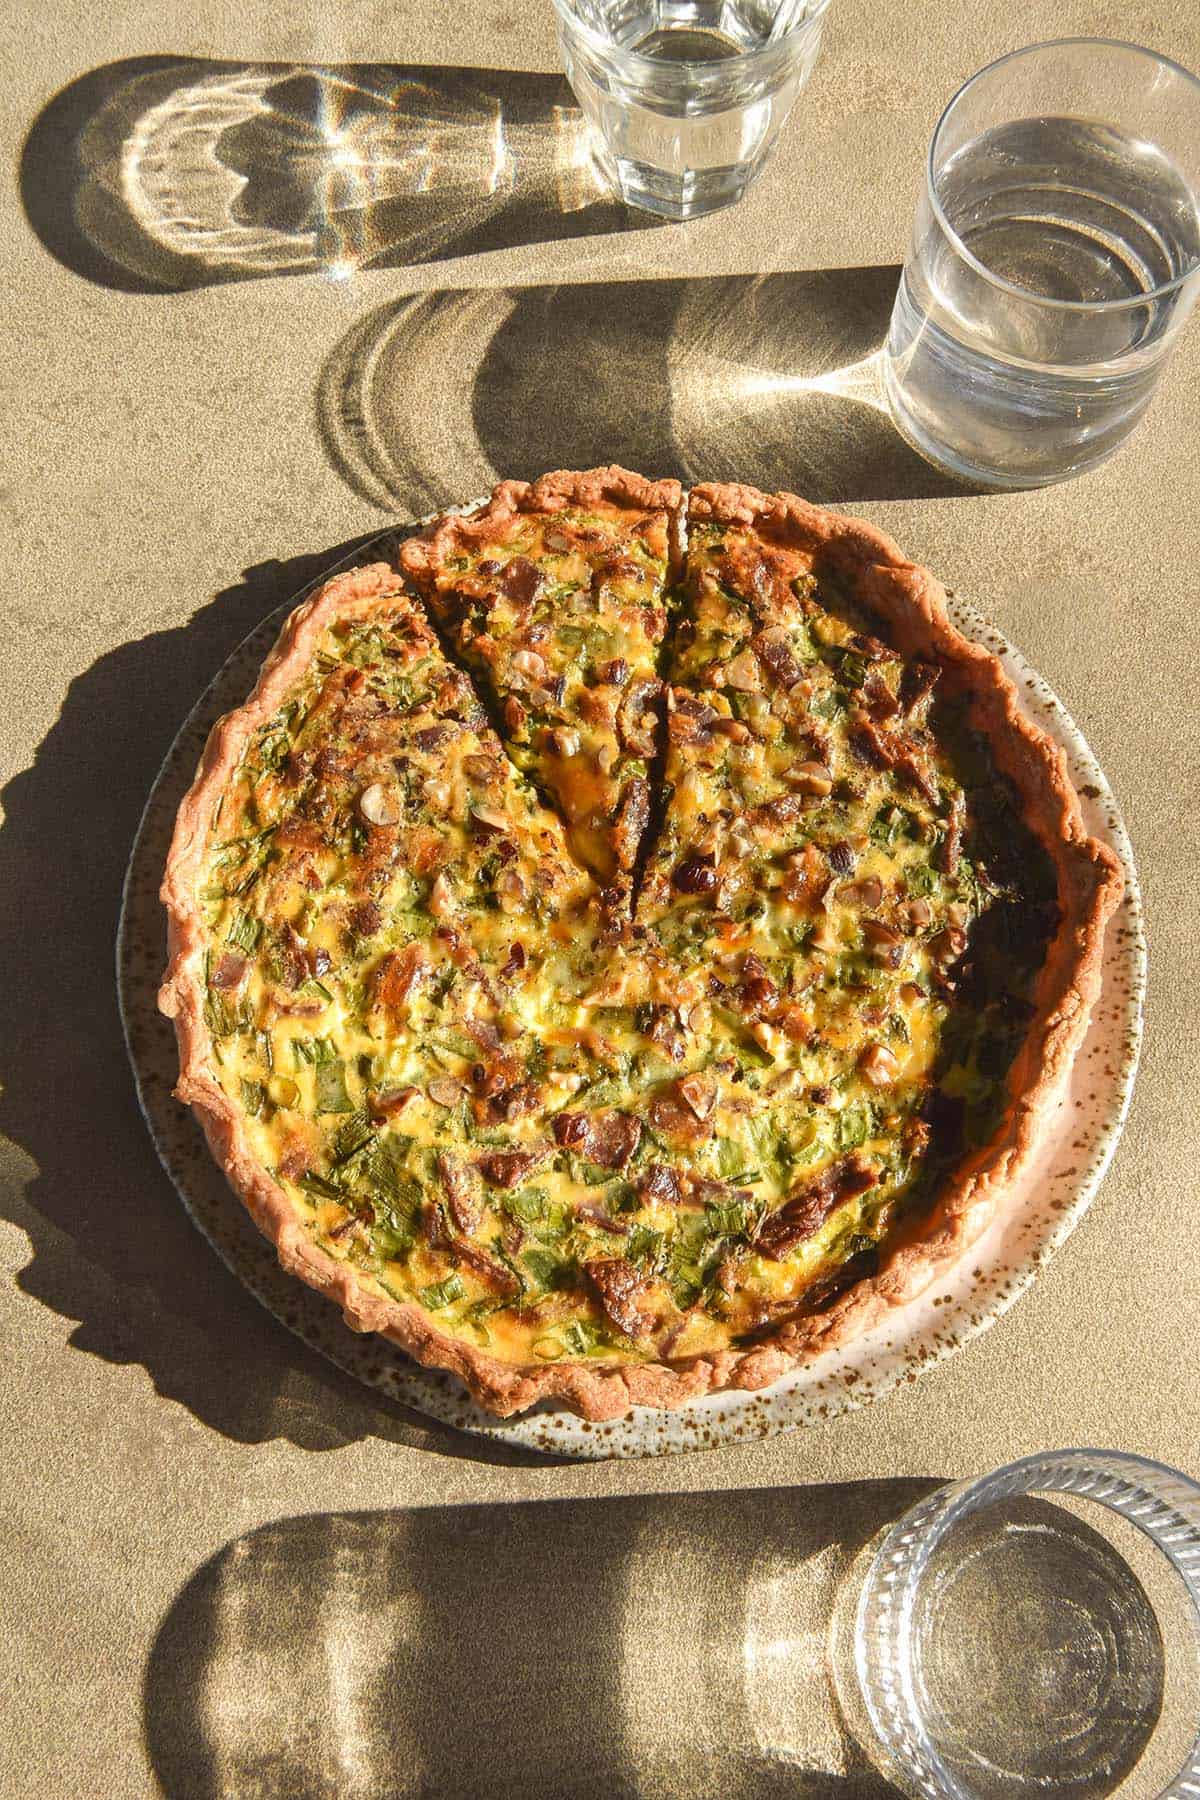
- Another thing I highly recommend is crimping the quiche pastry. This creates a weaker spot in the pastry which means it’s far easier to cut when it’s cooked and crunchy.
More gluten free pastry based recipes
- This pumpkin, sage and goat’s cheese tart that uses the same yoghurt pastry
- FODMAP friendly spinach feta rolls
- Gluten free vegetarian sausage rolls
- Gluten free croissants from Intolerance Friendly Kitchen
- Gluten free buckwheat puff pastry (no xanthan gum or psyllium husk) from my buckwheat e-book
Gluten free quiche
Equipment
- 1 X 26cm fluted tart tin OR
- 1 X 25cm (10 inch) pie dish (25cm top measurement, 20cm base measurement)
Ingredients
For the pastry:
- 160 g (1 cup)* fine white rice flour
- 60 g (1/2 cup)* tapioca flour (see notes)
- 5-7.5g (1 – 1 1/2 teaspoons) fine salt
- 6.5 g (2 teaspoons) psyllium husk powder
- 125 g butter cold and cubed (salted or unsalted)
- 75 g full fat Greek or plain lactose free yoghurt see notes
- Ice water to bring the dough together (I needed 60ml or 1/4 cup)*
To finish the quiche:
- 4-5 extra large eggs see notes (45-55g per egg, weighed out of shell)
- 125 ml (1/2 cup)* milk of choice
- 125 g vegetarian bacon or regular bacon chopped into small pieces and pan fried
- 100-200g spring onion greens washed and finely chopped
- 75-100 g vintage cheddar
- Seasoning to taste
Instructions
To make the tart shell:
- Preheat the oven to 180C/356F. Place one rack in the lower section of the oven and the other in the top section. We will use the top rack to house a piece of foil to stop the crust edges from over-baking, so make sure it’s not too close to the grill.
- Combine the flours, salt and psyllium husk in a large mixing bowl. Add the cold cubes of butter, and use your fingers to rub the butter into the flour until only small bits remain. It should resemble a course meal.
- Stir in the yoghurt then get your hands in and distribute it evenly. Add the water – just enough to form a smooth dough with no dry bits on the bottom of the bowl. Use the least possible amount of water to achieve this – drier pastry equals crispy, flaky pastry. Bring the dough together into a ball. You can chill the pastry for a little while in the fridge, or proceed to rolling out.
- Lightly flour a sheet of baking paper with tapioca flour. Use a rolling pin to smack the dough down into a rollable shape, then roll into a long rectangle. Don't worry if it cracks. Take the top third of the pastry and fold it down onto the middle third of the pastry. Take the bottom third and fold it up onto the middle third of the pastry. Use you rolling pin to smack the dough down to rollable height again, and roll it out. If the pastry isn't smooth and easy to handle, repeat this process once more. It should be easy to roll out with minimal cracking.
- Roll the dough out into a large rectangle – about 3-4 centimetres wider than the lip of the tin. Patch up any cracks as they appear. The dough should be about 1/2 centimetre thick.
- Place your tin in the centre of the dough, upside down. Slide one hand under the baking paper and into the centre of the dish. Use the other hand to hold the dish. Flip the dish over and let the pastry fall into it. Be generous in letting the hanging parts of pastry fall into the dish or it will break.
- Patch up any cracks and press the pastry firm up against the sides of the dish. Trim the overhanging edges with scissors and neaten them up or crimp them as you see fit. Use a fork to poke some air holes in the pie base, then crunch up a piece of baking paper and place it onto the pastry, flush with the sides. Use pie weights (I use old rice and chickpeas as my pie weights) to fill the baking paper and press them flush up against the edges. This will stop the pastry from drooping as it bakes.
To finish:
- Place a large flat piece of foil on the top oven rack and the pie on the lower shelf. Bake the crust for 30 minutes. Very gently remove the baking paper and pie weights – they might be stuck to the pastry and the pie weights will be hot. Place the pie weighs onto something heatproof.
- Whisk up the eggs for the quiche, then paint egg on the base and sides of the pastry. Return the pastry to the oven for 10 or so minutes, or until the base is no longer translucent.
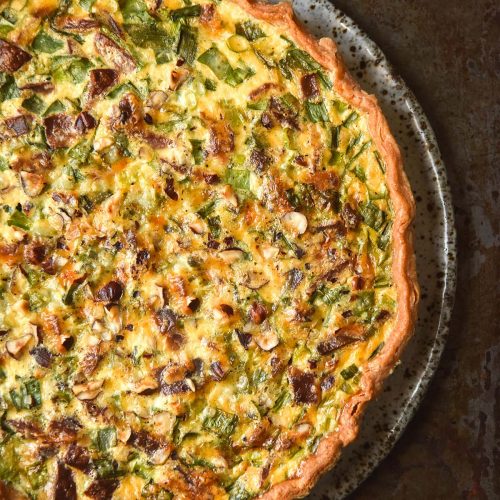
- Mix the remaining filling ingredients into the whisked eggs. When the base is ready, pour the mixture into the base and return to the oven for 30 minutes or until cooked through. I like to keep the foil in the top of the oven for the first 10 minutes to help the cheese melt evenly, but this is optional.
- You can serve warm or cool, and leftovers can be stored in an airtight container in the fridge for a couple of days.
Notes
- Use 5 eggs for a firmer and eggier filling.
- See notes in the body of the post for FODMAP contents.
- See tips and tricks in the body of the post for making the pastry.
No Comments