You asked and I have delivered. Gluten-free, nut-free brownies that are a direct riff on my best-ever brownies made with almond meal. Needless to say, I’m always happy to test another batch of brownies. You know, just to be sure.
Gluten-free nut-free brownies
As I’ve mentioned, these brownies are gluten free, nut free and FODMAP friendly with the right chocolate. These brownies are made without xanthan gum or any flour blends. They are rich, fudgy and deeply chocolate flavoured brownies.
The brownies are made with a simple combination of ingredients:
Butter: You can use salted or unsalted in these gluten free brownies. For an extra flavour boost, there is also the option to brown the butter, as we will go into below.
Dark chocolate: this gives the brownies their rich chocolate depth of flavour. I recommend using 40-50% for a shiny top or up to 70% for a super rich chocolate flavour. Personally, I often use around 125g of 40% and 75g of 70% for a shiny top and a deep chocolate flavour.
Sugar: of course! You can use 1 cup (220g) of white sugar or half white sugar and half light brown sugar. The half and half combination is my favourite for flavour.
Eggs: I use extra large eggs in everything I make, and these brownies are no exception. If you’re looking for a gluten free and vegan brownie recipe, see this one here.
Flours: these brownies use a simple mix of tapioca flour and white rice flour. This creates a sturdy yet fudgy brownie with the perfect amount of structure.
Cocoa powder: Both Dutch processed and regular cocoa powder work in these brownies. Each gives a slightly different but equally delicious look and taste.

Recipe notes for gluten-free nut-free brownies
- Know what sort of brownie you enjoy and want to bake. I am firmly in the fudgy brownie category, as are these brownies.
- The recipe blooms the cocoa in coffee and water. Blooming cocoa brings out a deep and dark chocolate flavour, and is important to making these brownies super chocolatey.
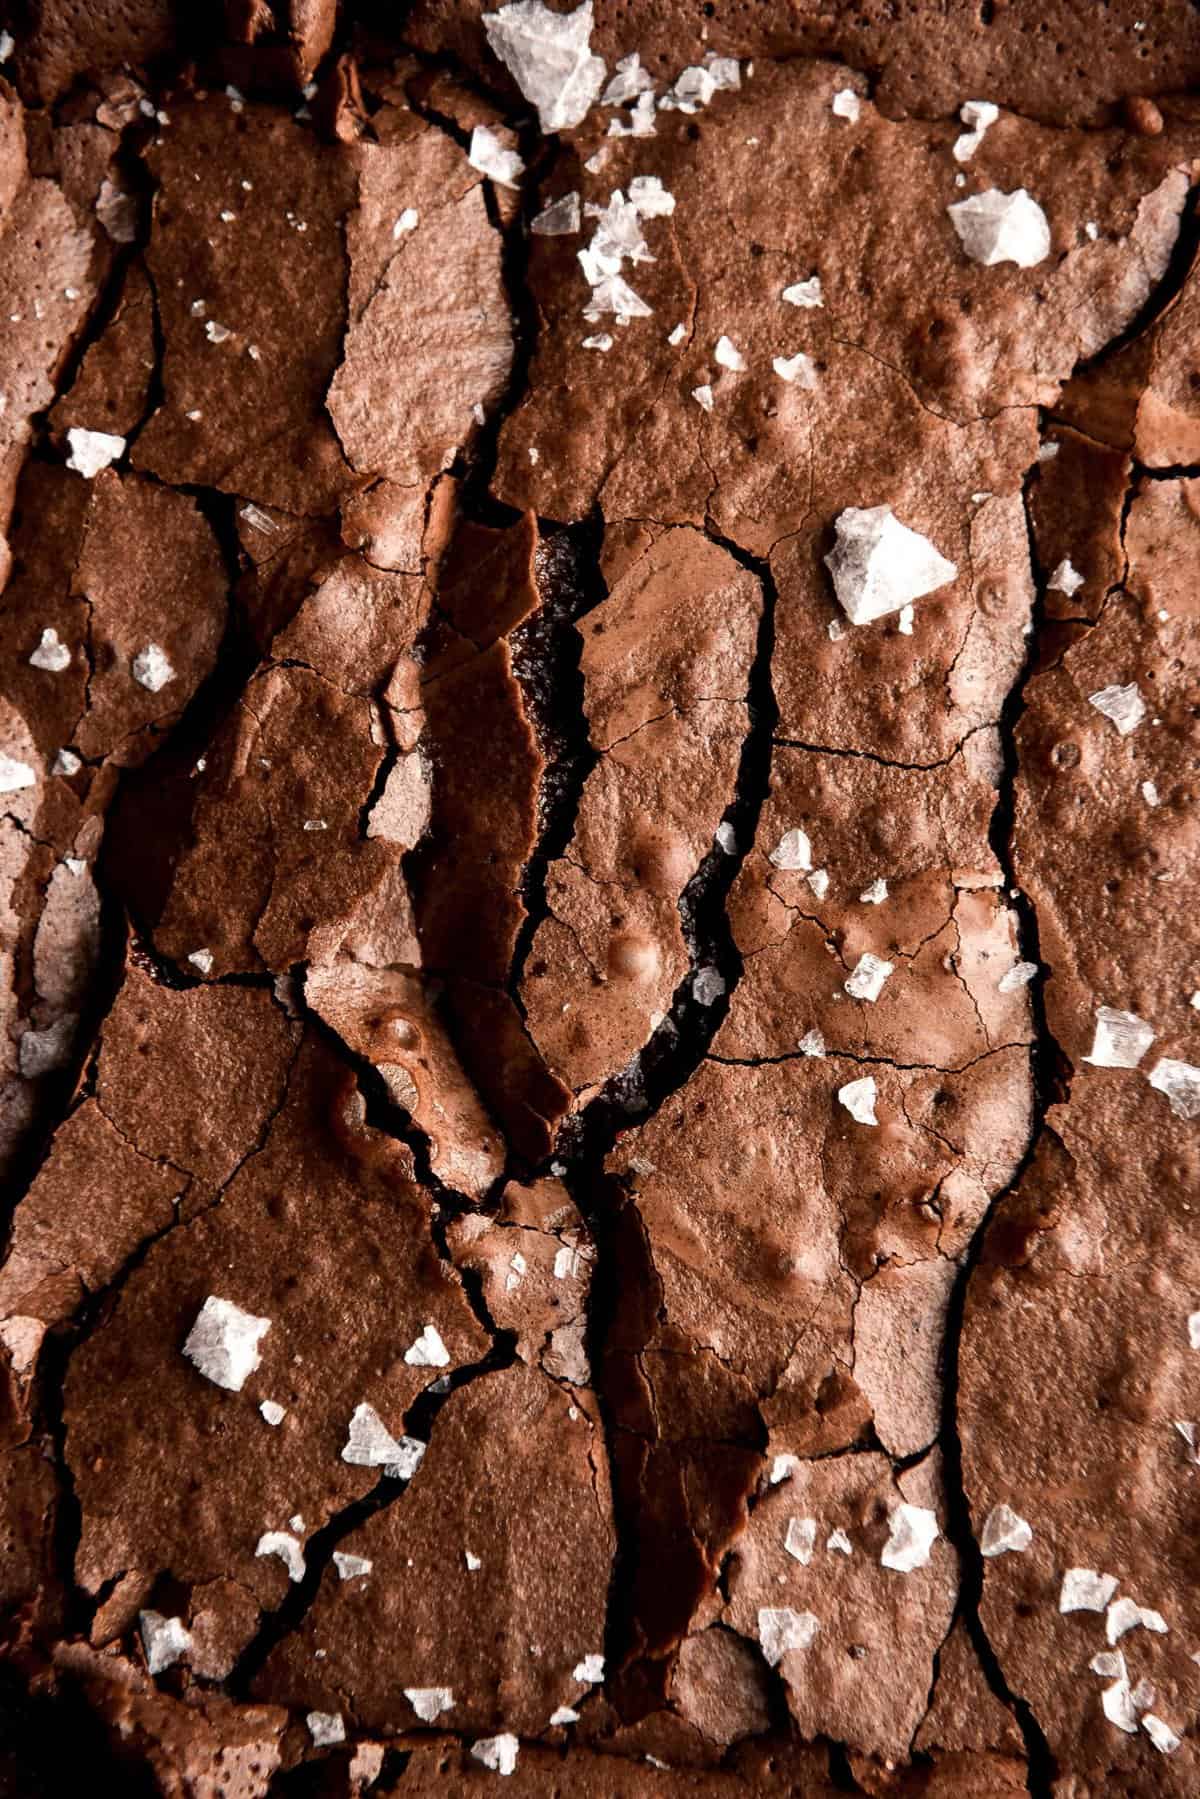
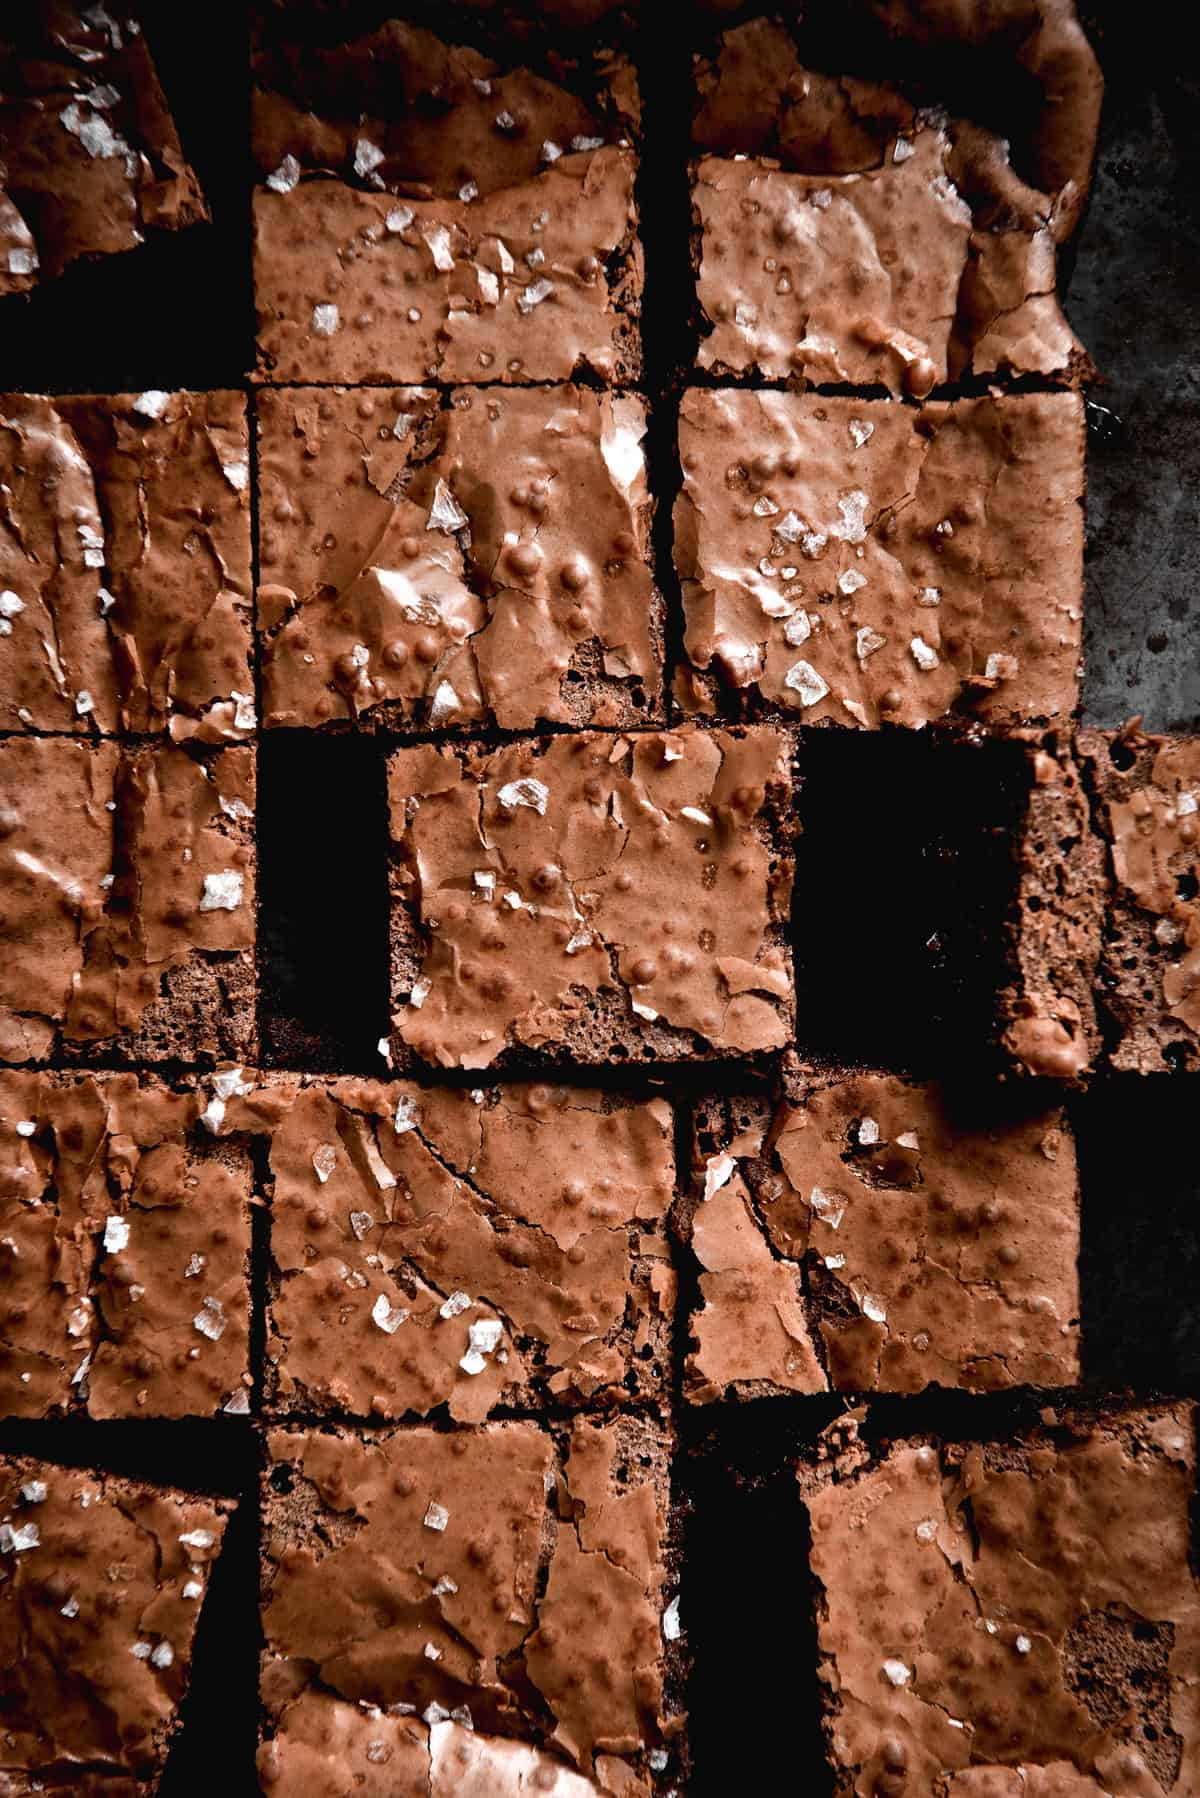
- Beating the eggs and sugar for 5-10 minutes creates a meringue-like crust on the brownies, which is responsible for that smooth, crackly surface we know and love. You can over-beat – it will result on a bubbly (but still crackly) top. The mixture is ready when it’s lighter, thicker and fluffy looking.
- Wait until the brownies are cool before eating. All the flavour will meld together, and you minimise the risk of eating an oily brownie. They are also much easier to slice when cool. This FOOD 52 feed suggests making them the night before, which I’m inclined to agree with. I also recommend keeping them in the fridge.
- If you’re in the mood to delve into more brownie research: this article contains an interesting tip about using some milk chocolate to create a shiny a top.
- Make sure your eggs are room temperature.
Ingredient notes for your gluten free brownies
Start with good quality chocolate, cocoa and butter. These are the primary ingredients, so the quality is extremely important to the end result.
You could use hazelnut meal as a substitute for almond meal, if you like.
On the note of substitutions, you can use a whole cup of caster sugar, as opposed to half light brown and half caster. Light brown sugar brings a depth of caramel flavour that caster doesn’t, but it works in a pinch.
I use extra large eggs. The size of your eggs is quite important in gluten free baking, because it has a tendency to be dry. As previously mentioned, make sure they are room temperature. Cold eggs will ‘shock’ the brownie mixture and may cause the chocolate or butter (or both) to seize up in the batter, effectively ruining it.
The espresso, salt and vanilla bean paste work actual wonders in producing a super rich, flavourful brownie. I don’t recommend omitting any of them.
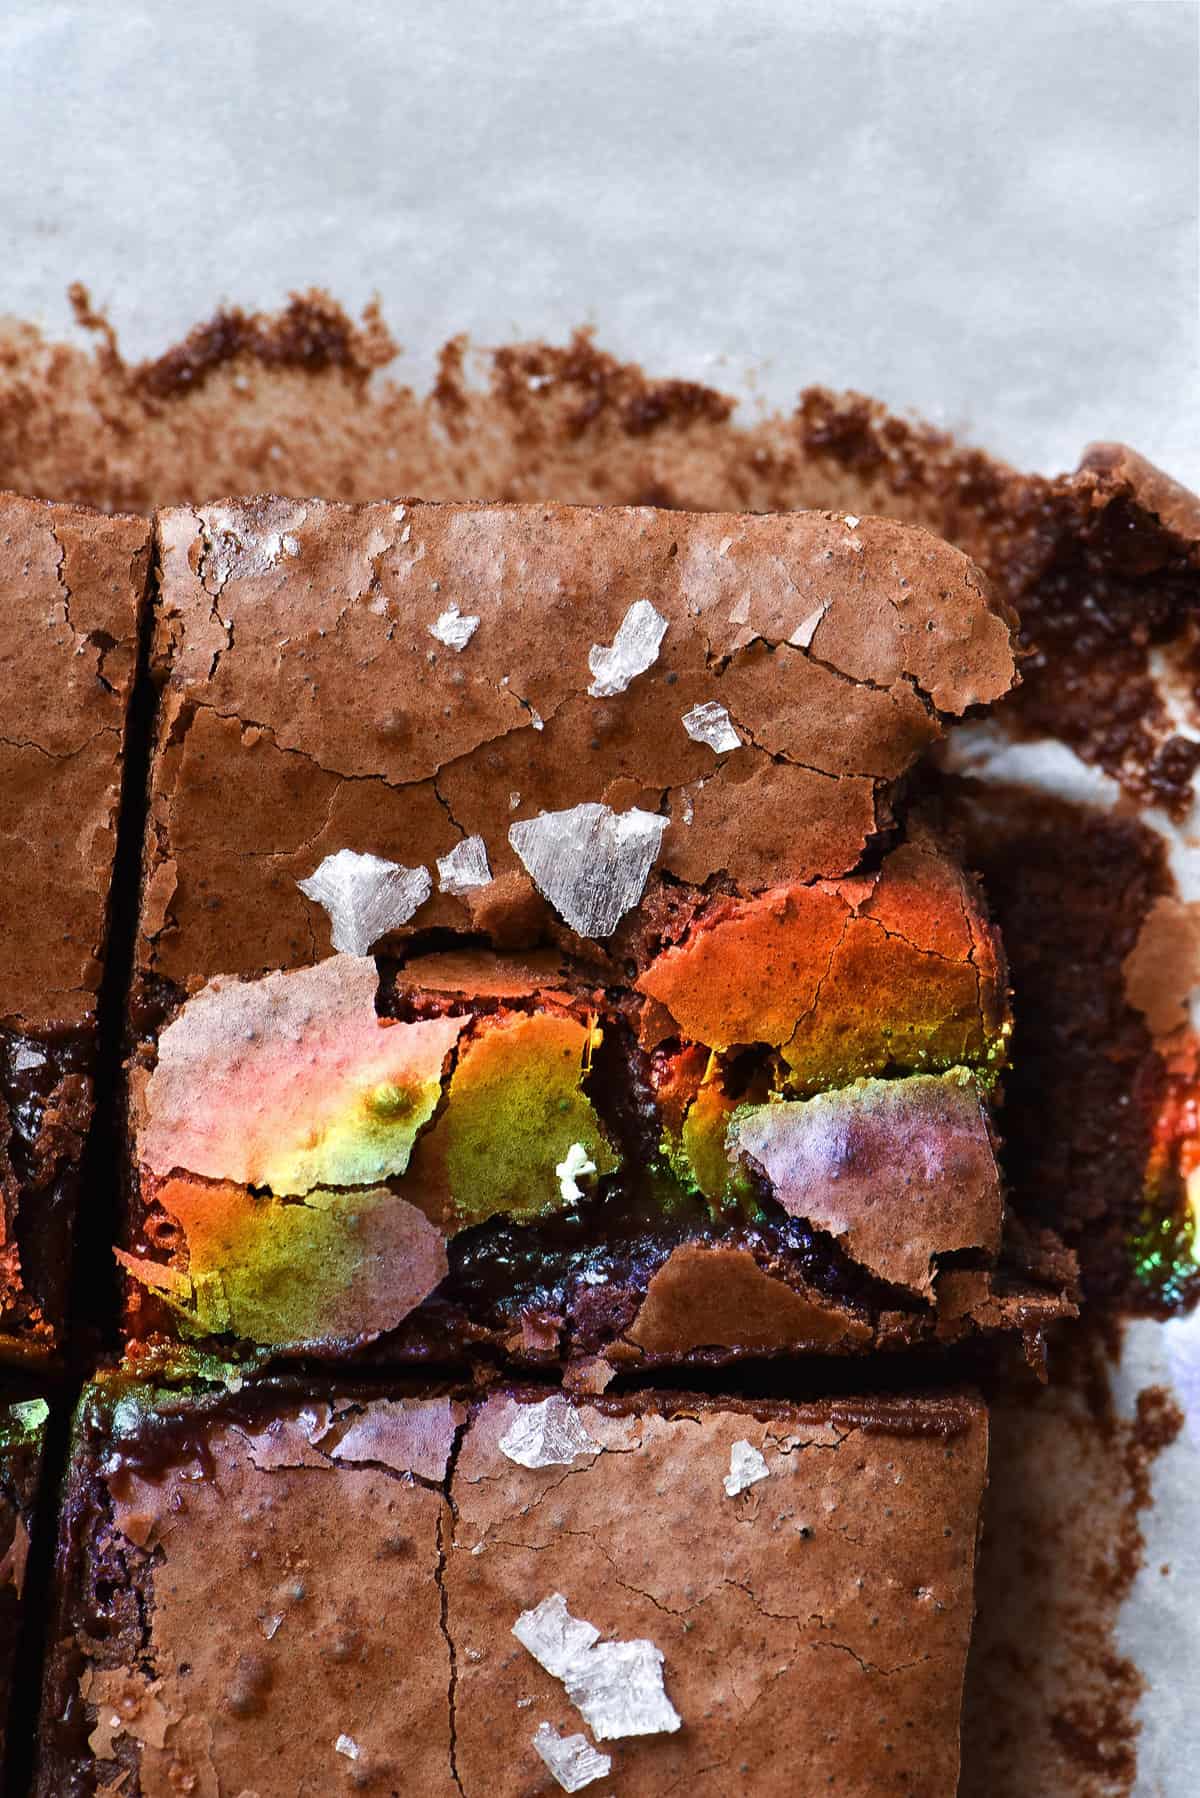
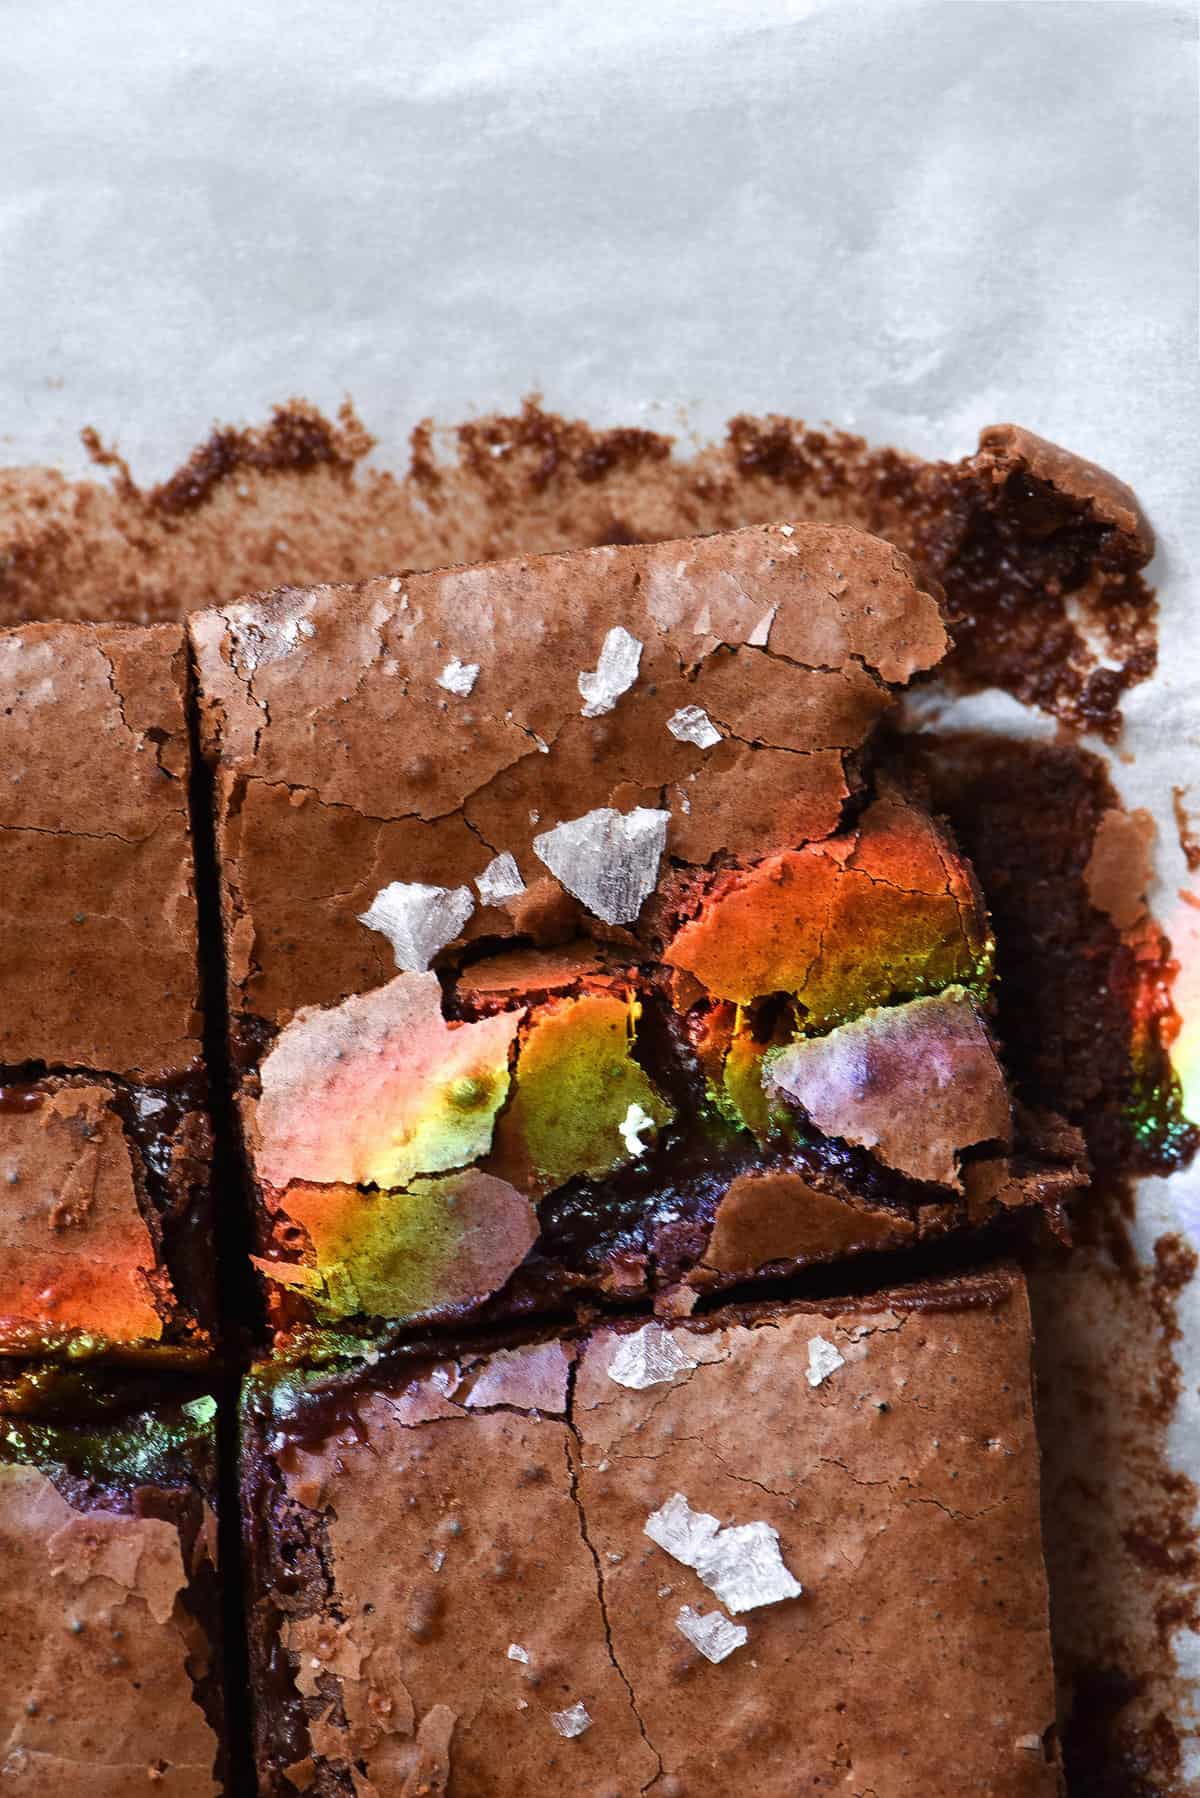
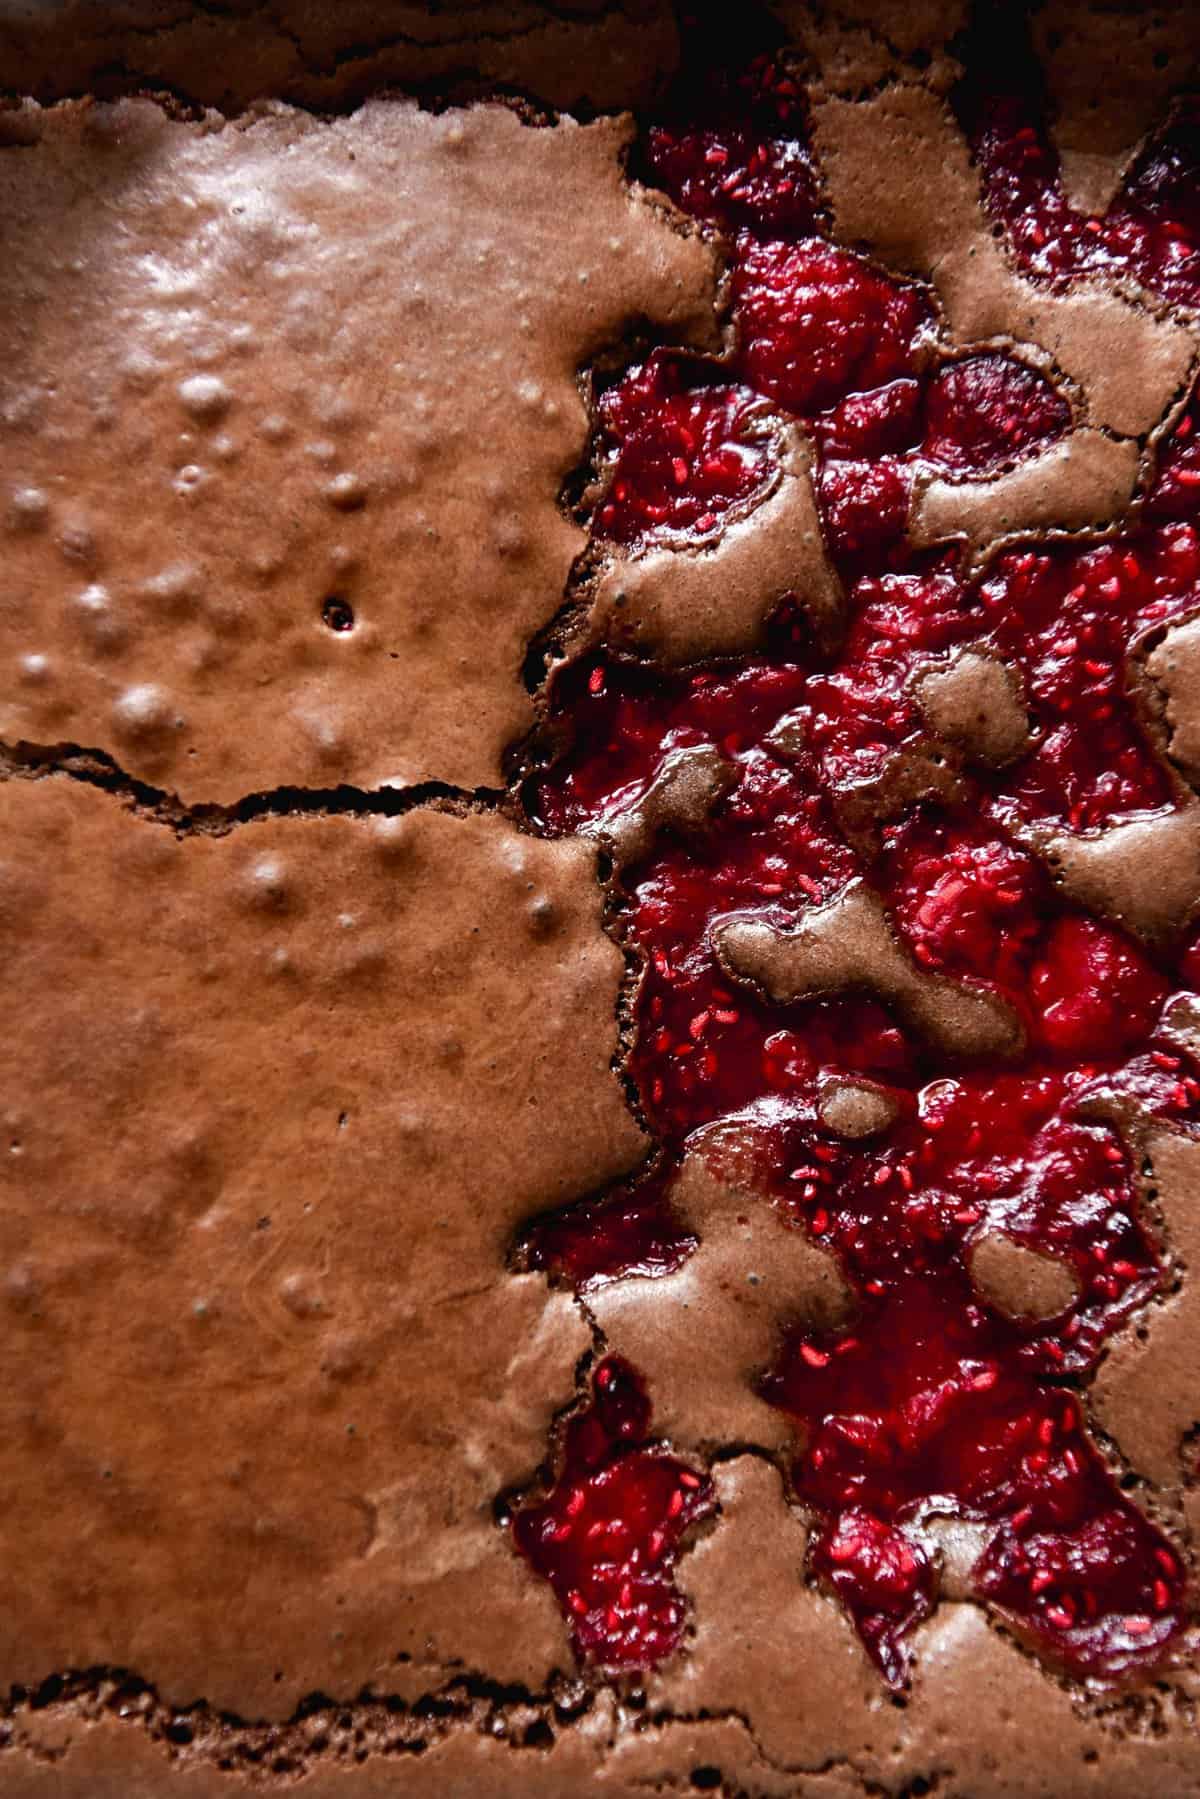
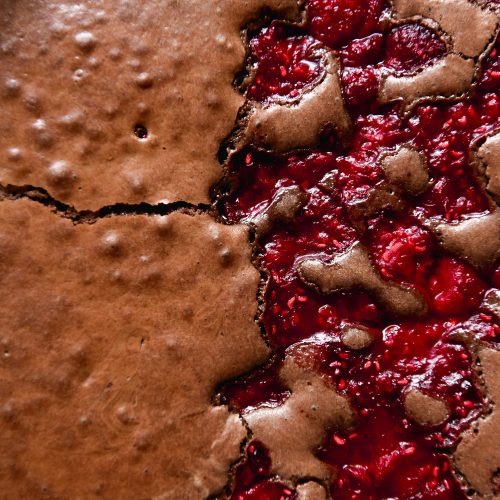
To make these into fruity brownies, simply add 1/2 – 3/4 cup of berries to the mixture after you’ve poured it into the pan. You’ll need to adjust the cooking time to compensate for the extra liquid from the berries. Don’t use too many or your brownies will never cook. If you want to use frozen berries, cook off the extra liquid before using them.
What can I add to these brownies?
There is many an ingredient one can use to fancy up a brownie. My suggestions are:
Raspberries, but cooked ones. I actually find frozen raspberries that are cooked until jammy make a much nicer addition than fresh ones. They look nicer (picture included) and they don’t make the top look as scary as fresh ones.
Peanut butter. Oh, the irony! I realise these are nut free brownies, but it’s an option nonetheless. If you’re the type of person who loves peanut butter not using almond meal for baking, this option is for you.
Chopped up chocolate, chocolate chips, chocolate bars, maybe even white chocolate? Basically anything that goes with chocolate will go well here. Just take care not to stuff the brownies too much.
My recent experiment determined that my gluten free shortbread make an excellent base for these brownies. Simply make a half batch of shortbread and press it into the base of the lined tin. Bake for 15-20 minutes, then pour the brownie over the top and return to the oven.
More gluten free chocolate recipes
- For a vegan version, see my vegan brownie recipe. They use almond meal – I haven’t tested the whole trifecta – gluten free, vegan AND nut free yet, but imma get there.
- For the gluten free almond flour brownie: see here.
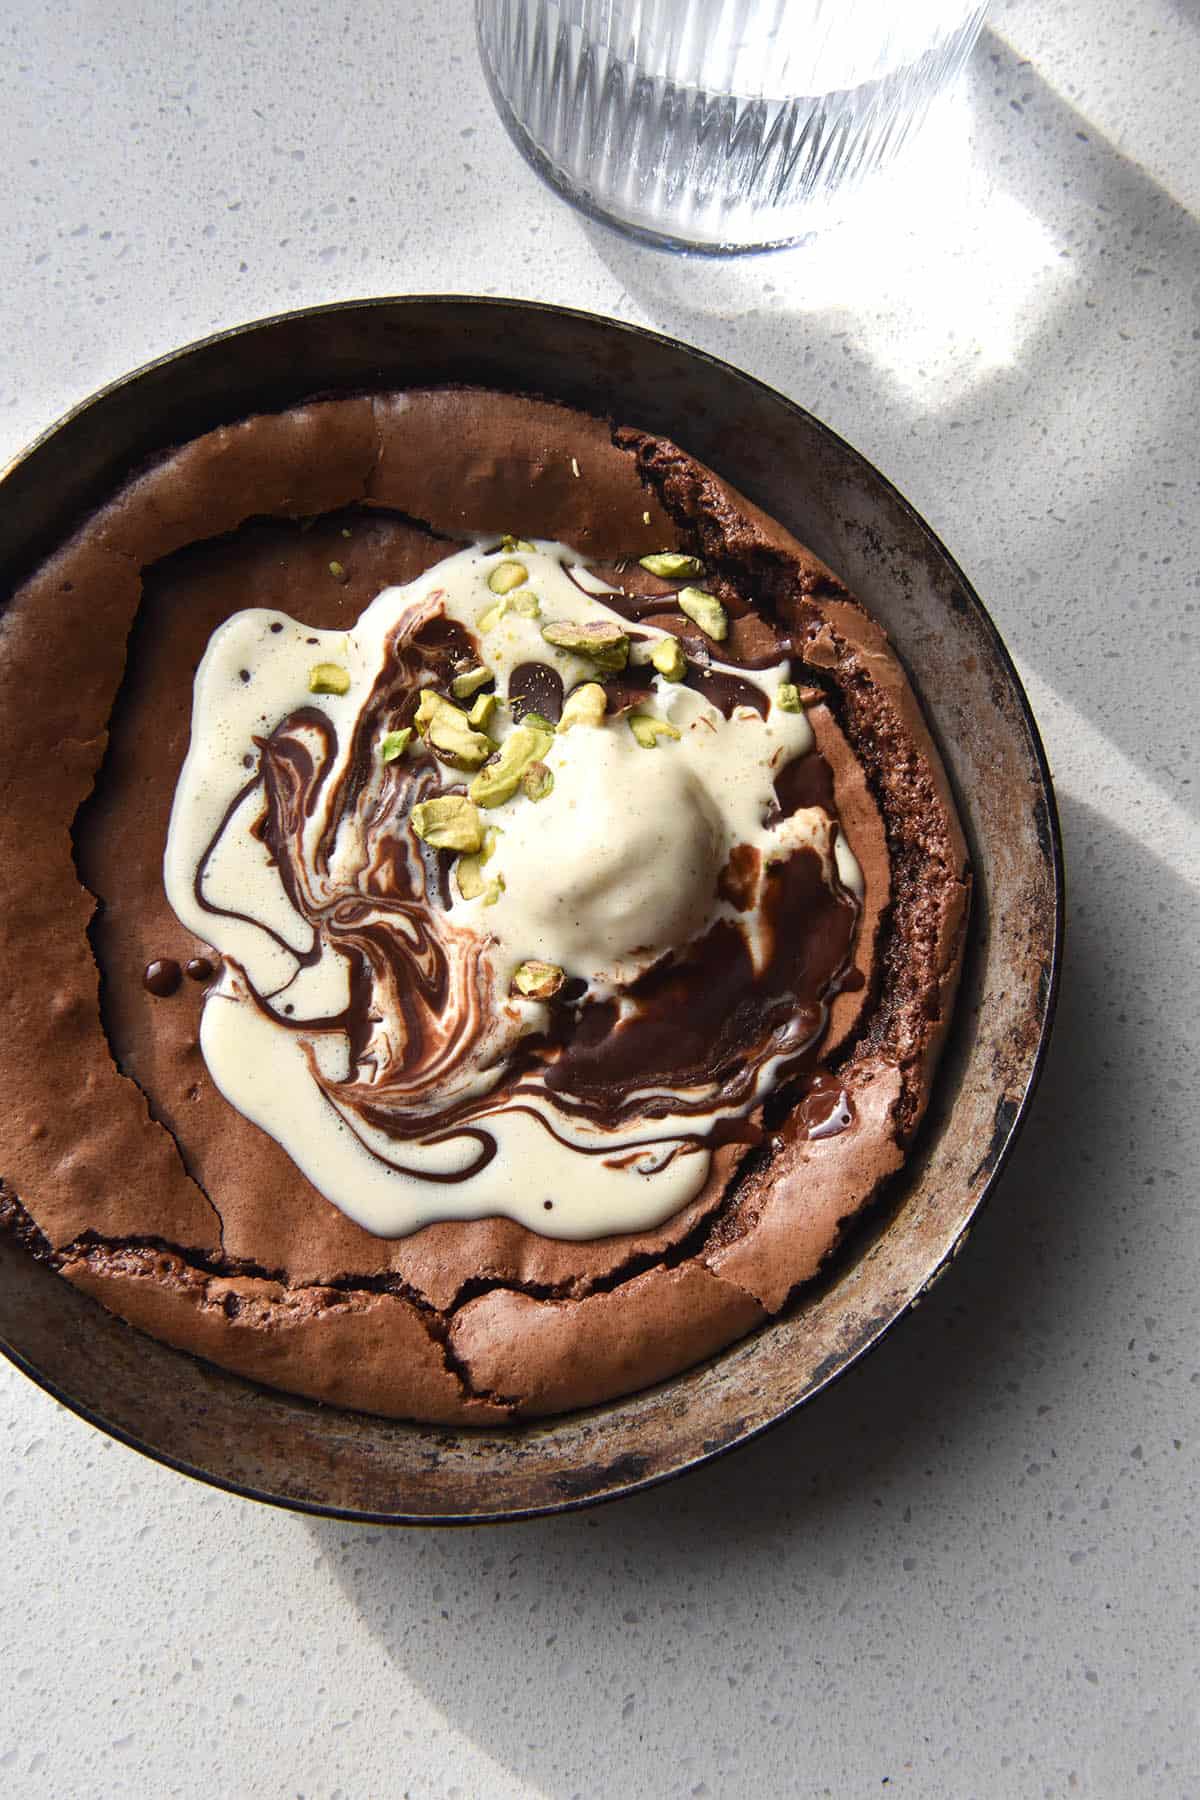
- Halva and pistachio gluten free brownies
- These vegan, gluten free brownie cookies
- My best ever gluten free chocolate cake without xanthan gum
- This gluten free, vegan and xanthan gum free chocolate cake from Intolerance Friendly Kitchen
Gluten free, nut free brownies (the best-ever)
Ingredients
- 150 g butter
- 1 cup (220g) caster sugar or 1/2 light brown and 1/2 caster
- 3 extra large eggs (45-55g per egg, weighed out of shell)
- 200 g dark cooking chocolate I use 40-50%
- 2 tablespoons (20g) Dutch processed cocoa
- 1 tablespoon freshly brewed espresso (or water)
- 1 tablespoon hot water
- pinch of fine salt
- 1/4 cup (40g) fine white rice flour
- 1/4 cup (30g) tapioca flour
Instructions
- Preheat the oven to 180C or 356F, and line the bottom and sides of a 24cm x 24cm square baking pan. I like to put a bit of butter or oil in the bottom so the paper doesn’t slide around.
- Half fill a small saucepan with water and place it in a medium heat. Add the butter and chocolate to a heatproof bowl and place it on the saucepan. Cook until melted.
- Add the eggs and sugar to the bowl of your stand mixer. Use the whisk attachment to beat on a medium-high speed until fluffy and light in colour, 5-7 minutes. This will help create a crackly top on your brownies.
- Once the chocolate and butter are melted, remove from the heat. Add the cocoa, then add the hot water and coffee (or extra water) over the cocoa to 'bloom' it – bring out the depth of the chocolate flavour. Gently stir the mixture until just combined.
- Turn the motor off on the kitchen stand, and add the chocolate mixture to the bowl. Mix on a low speed until just combined. The mixture should be silky, smooth and medium brown in colour.
- Add the flours to the brownie batter and mix until just combined. Pour the mixture into the pre-prepared pan, and place the brownies into the oven for 20-30 minutes, depending on how 'done' you like your brownies.
- Allow to cool before slicing, and for best, most delicious results, allow to cool completely before eating. Brownies are best made the night before – see the introduction for links and tips. I also highly recommend keeping these in the fridge.
- I like to sprinkle my brownies with a little extra sea salt, but you do you.
These were amazing! The best brownies I’ve ever had, gluten or no gluten.
Wondering if you have blondie recipe to share 👀
I’m wondering if I could somewhat reduce the sugar, or would you recommend using chocolate with higher cocoa content? I used 55% and they are not too sweet but I wonder how much I can reduce the sugar without destroying the texture…
Can’t have any rice, unfortunately. Along with gluten. What do you think I could use in place of the rice flour? Thank you.
Hi Alene! This recipe can easily be made using the grain free version (made with almond meal) here: https://georgeats.com/recipes/best-ever-gluten-free-brownies-the-extremely-fudgy-sort/
The grain free version is my preferred one too 🙂
Thank you so much! That’s great. I got arsenic poisoning from the rice I eat. So rice is off the table for me.