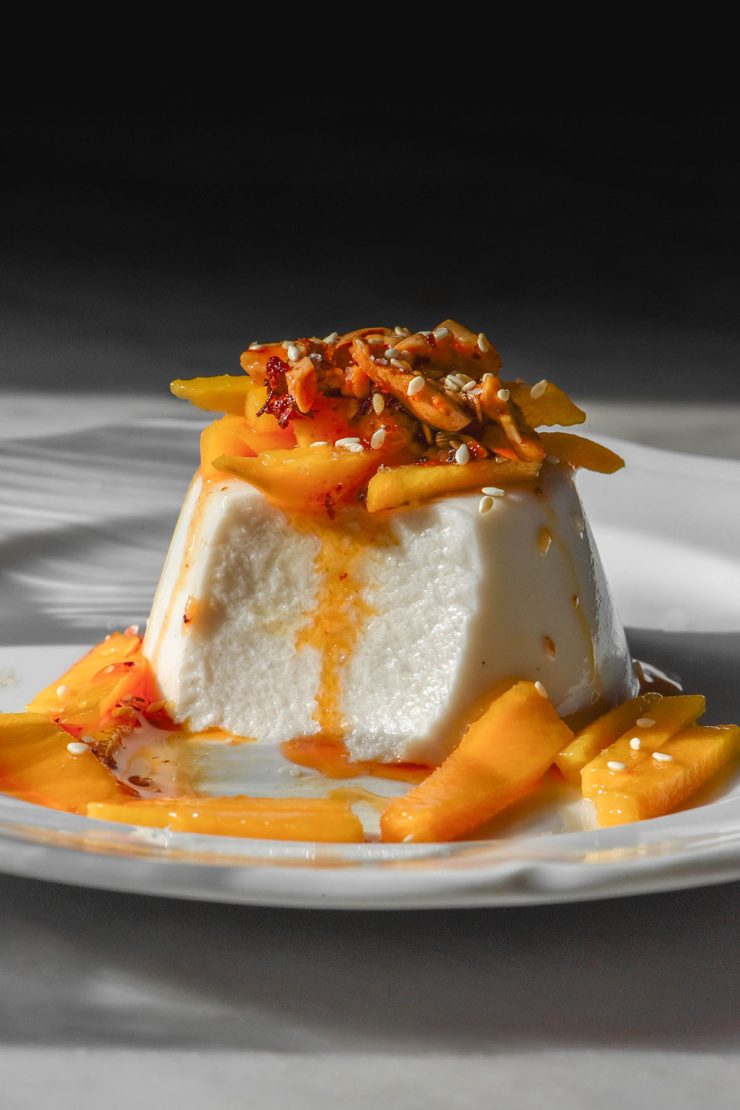
I love a good panna cotta. My site already has a number panna cotta recipes – a traditionally creamy panna cotta with agar agar, a white chocolate with agar agar and a dark chocolate with agar agar, to start. Given that summer is upon us (here in Australia, anyway) I thought I’d share a new version: coconut panna cotta with agar agar.
Coconut panna cotta with agar agar
This panna cotta uses full fat coconut cream, coconut milk, sugar, salt and agar agar. That’s it! Although agar agar has a few quirks, it can easily be tamed with a bit of knowledge. It’s also easily re-cooked if you find that the panna cotta haven’t set, which makes for a foolproof dessert.
Ingredient notes for your coconut panna cotta
First of all, let’s chat coconut cream. Because this is the creamy element of the panna cotta we need the good stuff. Read the ingredient labels – you want pure coconut cream and no other ingredients. It should have that thick, solid layer of cream on top of the can.
With that said, I have found that some brands of pure coconut cream can be a bit chunky or gritty. It’s not a deal breaker at all (I quite like the texture) but it will mean that your panna cotta has a ‘slightly’ textured look and mouthfeel.
I daresay that thickening ingredients in the coconut cream aren’t a dealbreaker here. I can’t be 100% certain, but I do know that cream in Australia contains gums and it still works in my original panna cotta recipe. So, I daresay you can use coconut cream with thickeners added.
Next up, let’s chat agar agar. Agar agar comes in different forms, but I have used powder for this recipe. I have extensive experience using powder and no experience using flakes or other forms. However, I do know that they perform differently and require differing amounts. I can offer no advice on the other forms or how to substitute them in – I recommend the powder for this recipe.
Add sugar according to your preferences and what you’ll be serving your panna cotta with. I highly recommend a good pinch of salt as the contrast works beautifully with these flavours.
Flavour suggestions
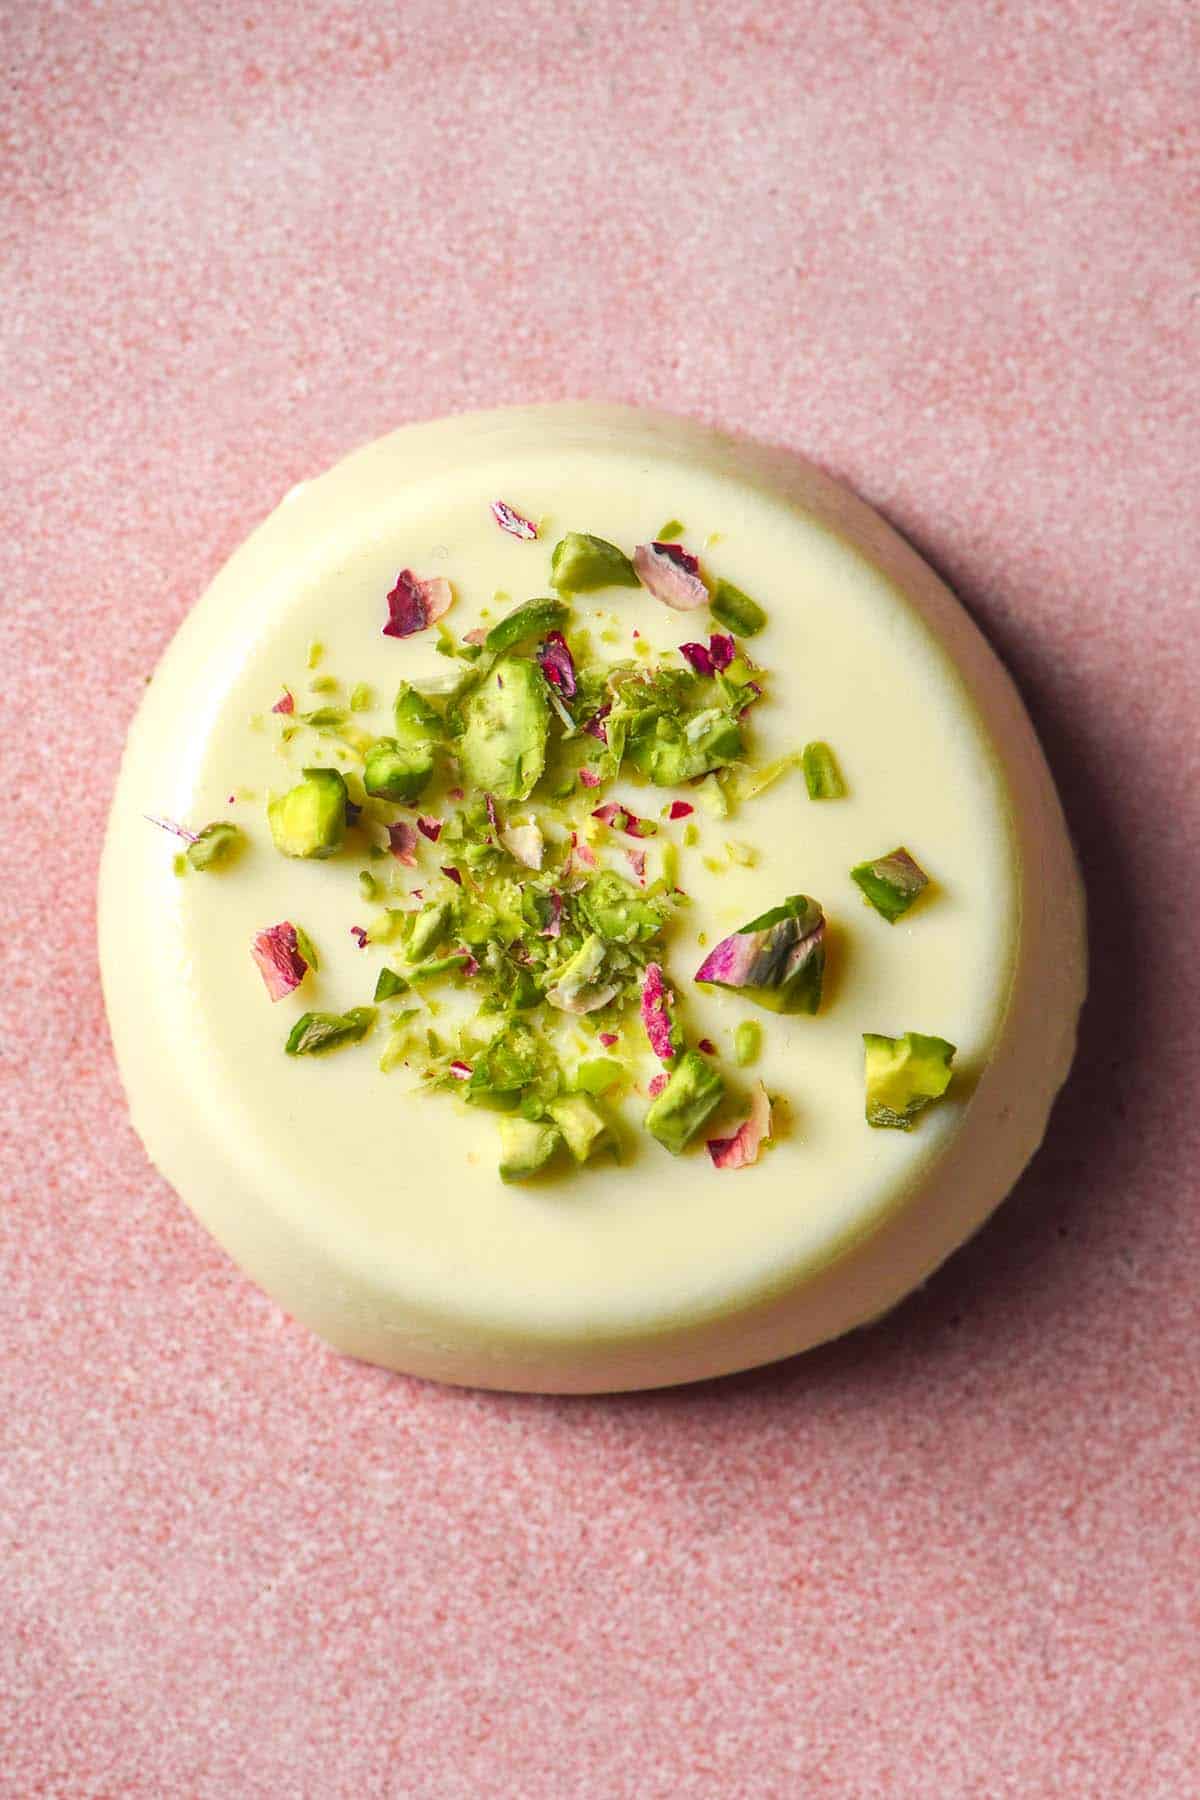
There are plenty of ways to amp up the flavour of this panna cotta. Let’s go into some of my favourites.
- Makrut lime zest or makrut lime leaves added while you cook the mixture
- Pandan leaves added while you cook the mixture
- Vanilla bean paste or vanilla extract
- A dash of almond extract would make an interesting addition
- Plenty of salt for a delicious flavour contrast
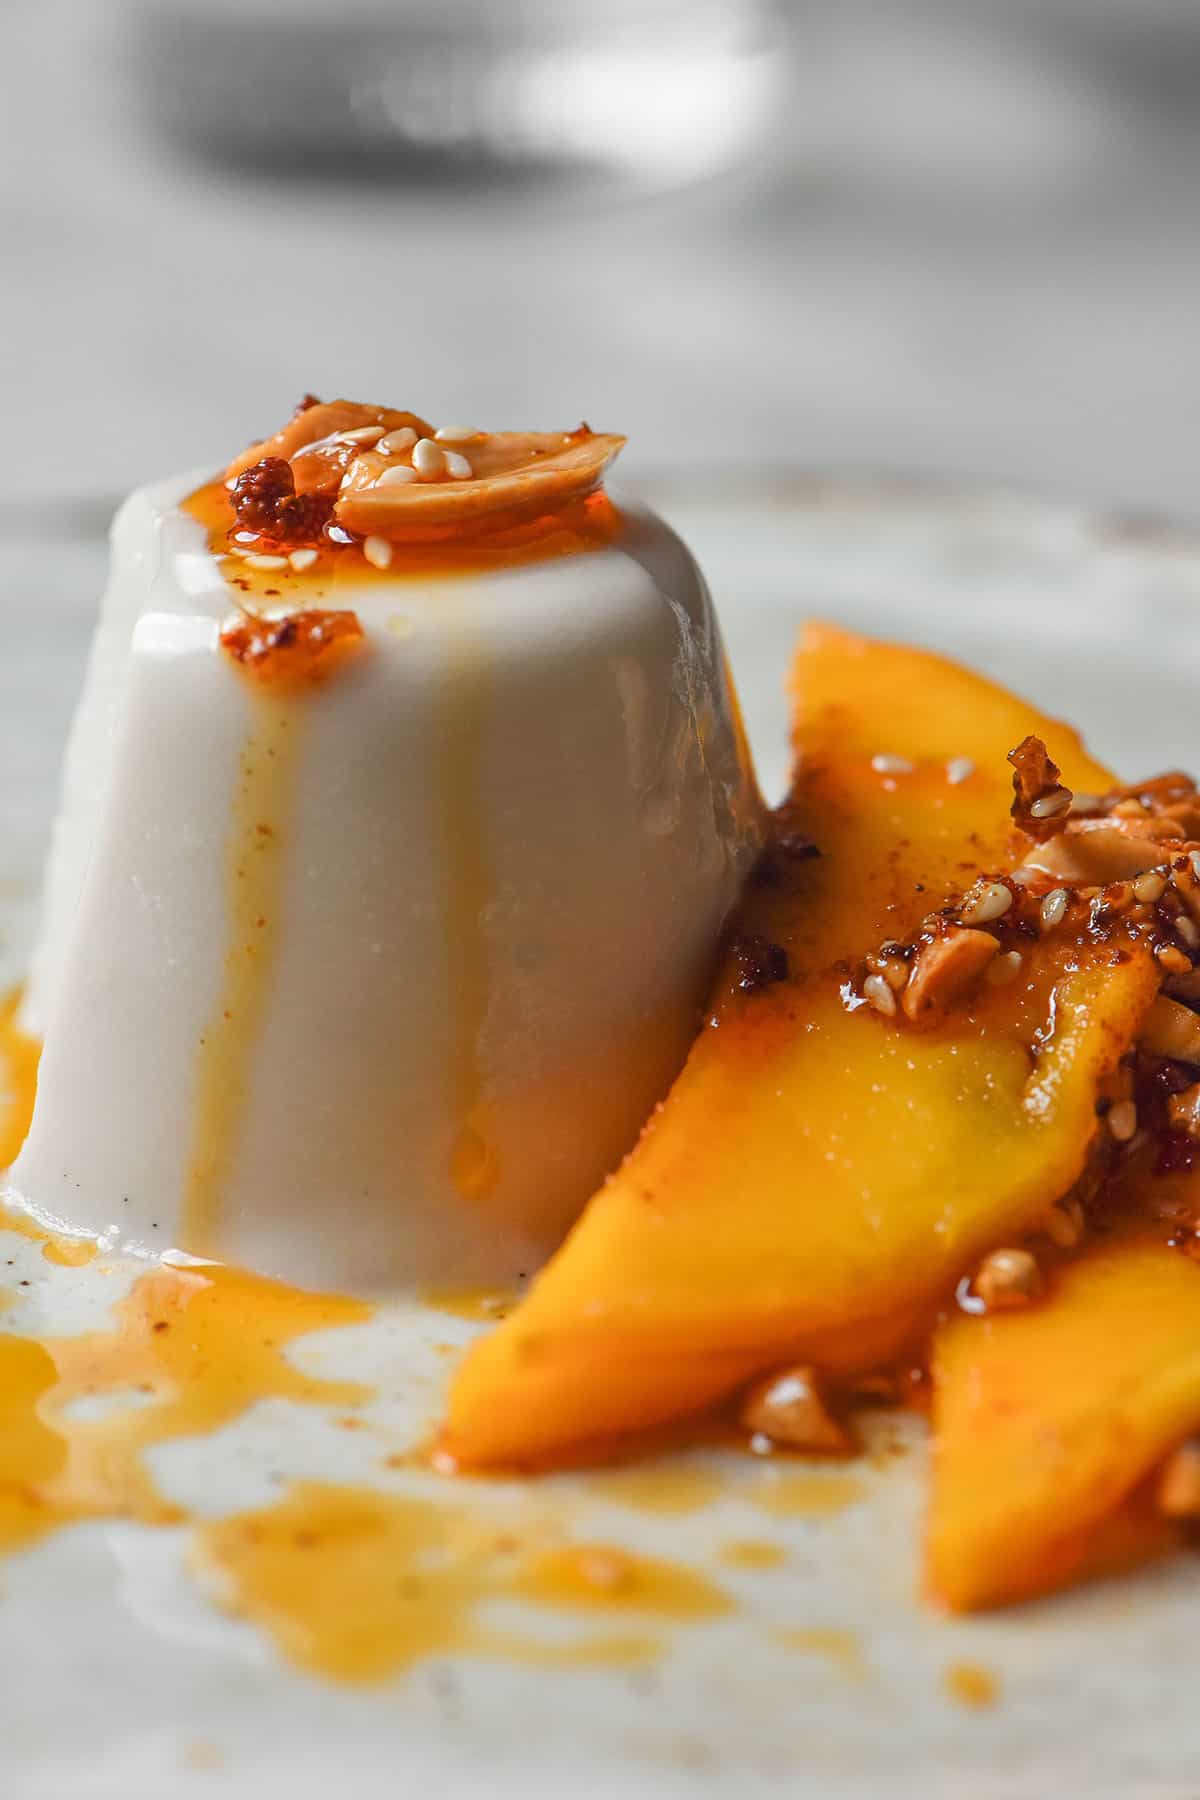
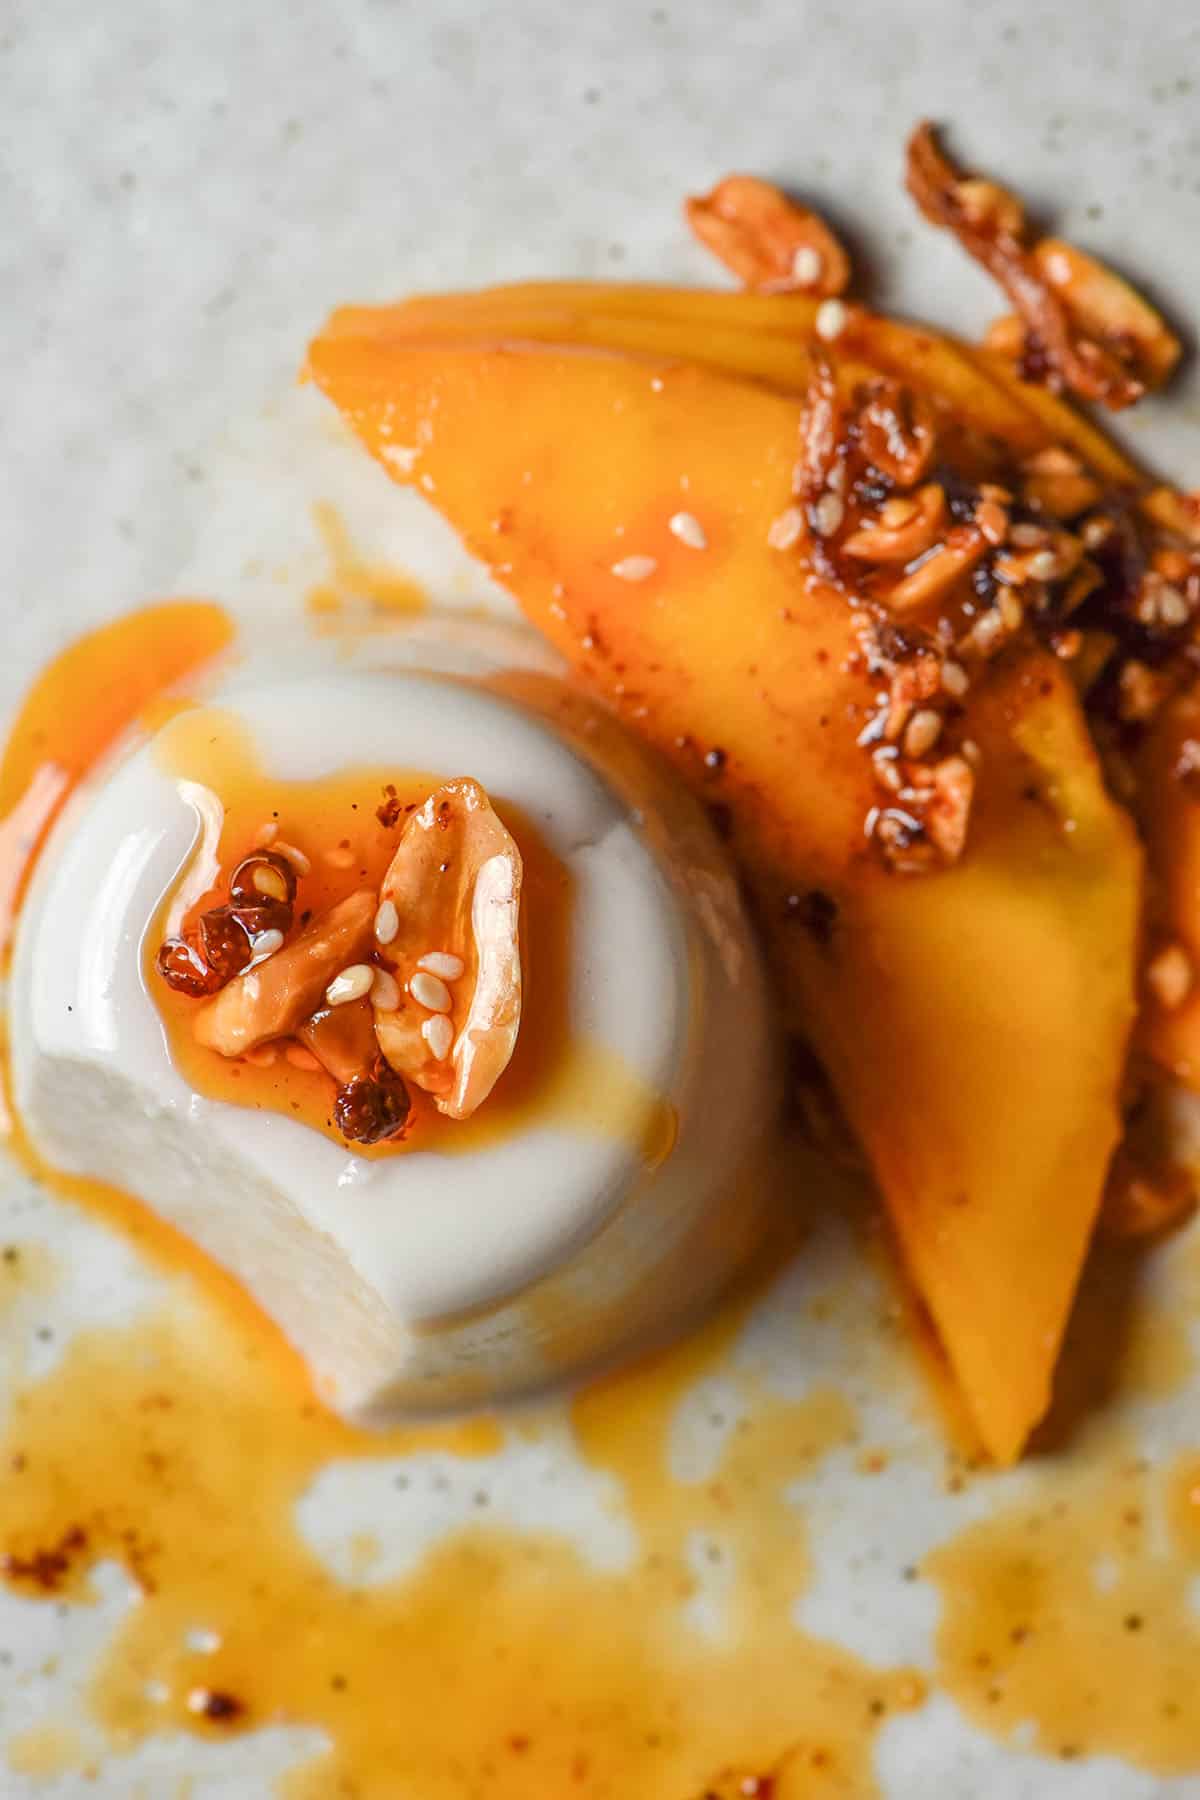
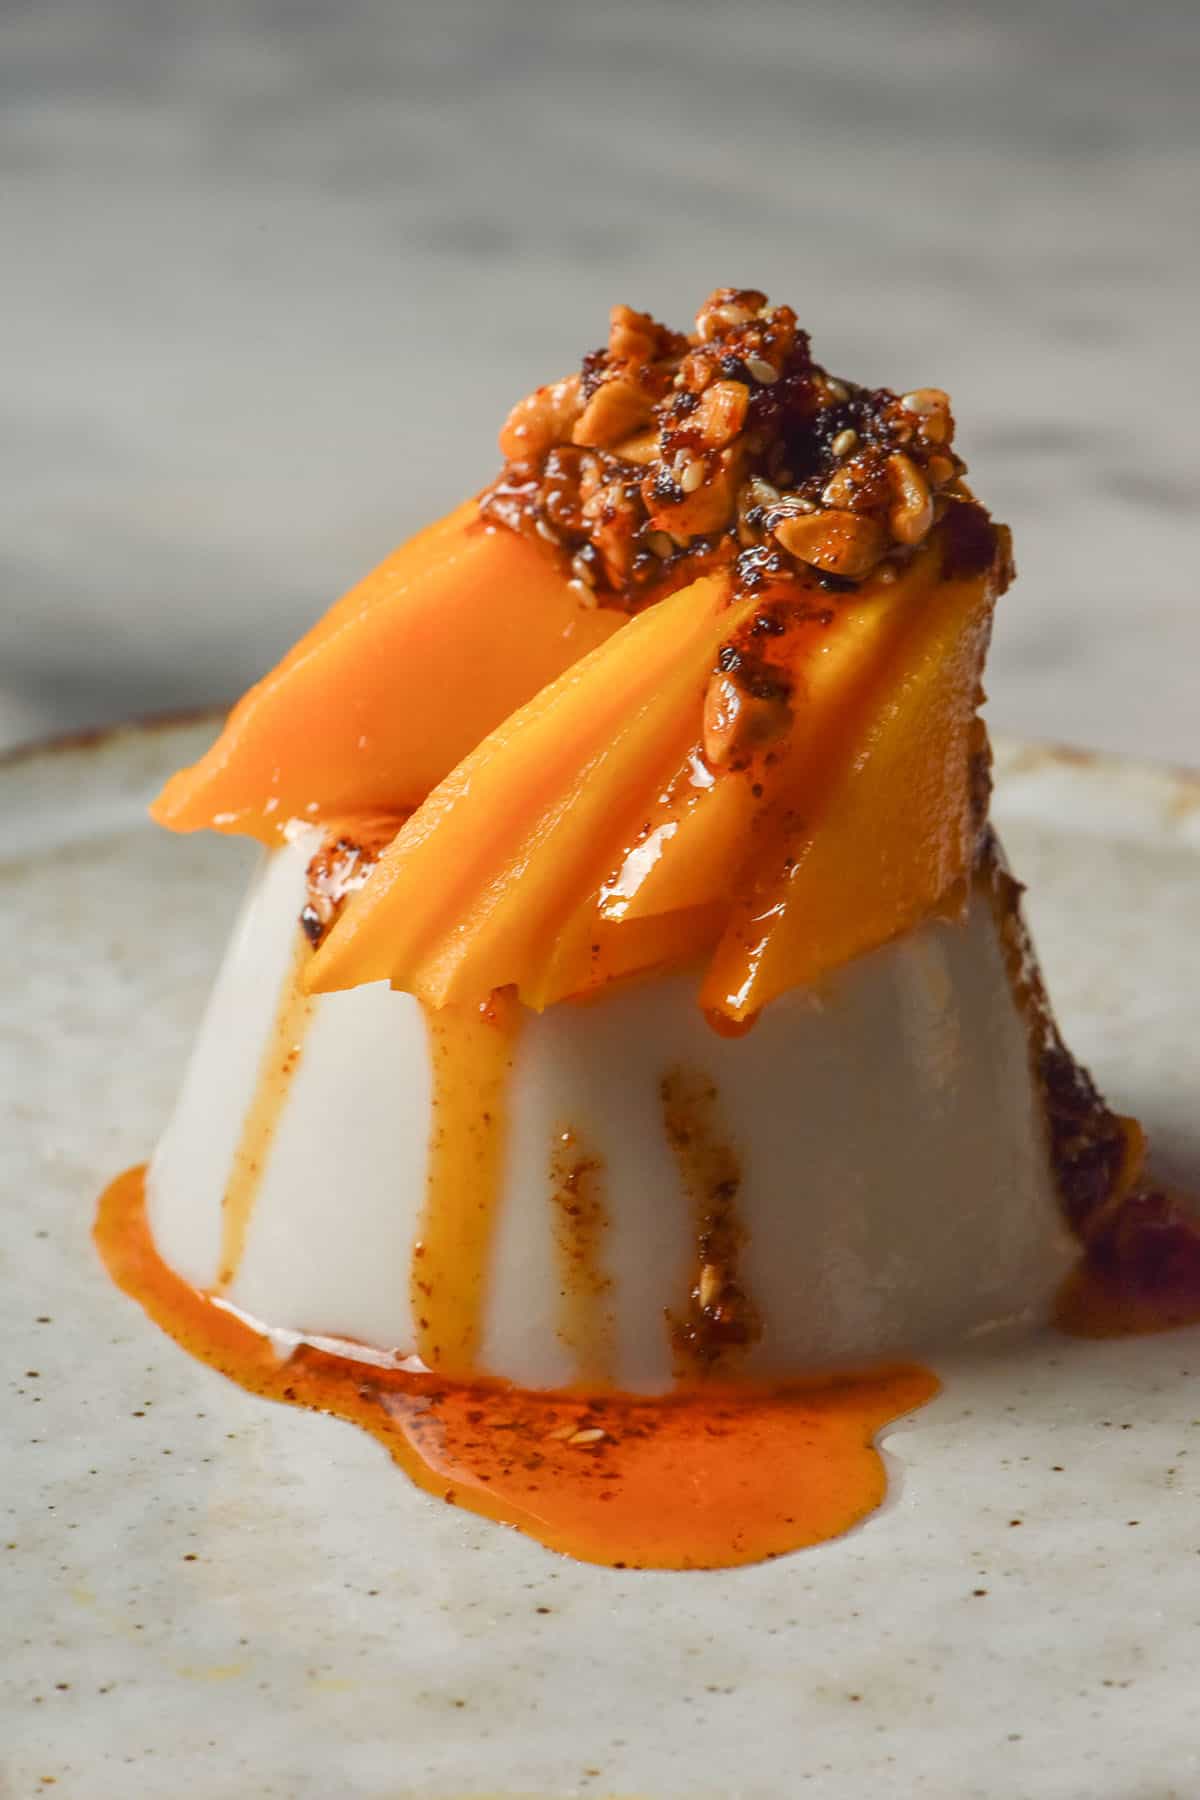
- Top it with mango and low FODMAP chilli crisp for a textural delight (I make it without the spring onion for this purpose)
- Bonus points for toasted coconut flakes on top to amp the coconut flavour up
- Tropical fruits such as passionfruit, lychees or pineapple as a topping
Working with agar agar
I have tested recipes with agar agar many times now (including this low FODMAP vegan mozzarella) so I have a lot to say about working with it. It is fairly straightforward, but it does have some quirks.
- Agar agar powder needs to be added to cold ingredients so it doesn’t clump up when it hits the liquid. Whisk it in thoroughly before turning the heat on.
- It is really beneficial to allow the agar sufficient time to gel up on the heat. I found that allowing this panna cotta mixture to come to the boil over a low-medium heat was the best method to get it to gel.
- Lots of recipes online tend to use quite a bit of agar agar compared to my recipe. I find that less is more when it comes to agar agar. Using more results in quite a firm set panna cotta that doesn’t melt in your mouth like the original does.
- Because we’re using less agar agar, we need to be patient. Allow it to cook over a low medium heat until boiling for best results.
- The tricky part about using agar agar is that there aren’t too many obvious signs that the mixture is ready. My best advice is to slowly get it to boiling point and then keep it there for a minute or two.
- The best part about agar agar is that you can boil it again if something is amiss. In one test, my cream based panna cotta had not set in the fridge after 3 hours. I simply reboiled the liquid and returned it to the silicone muffin tin and it set up almost instantly.
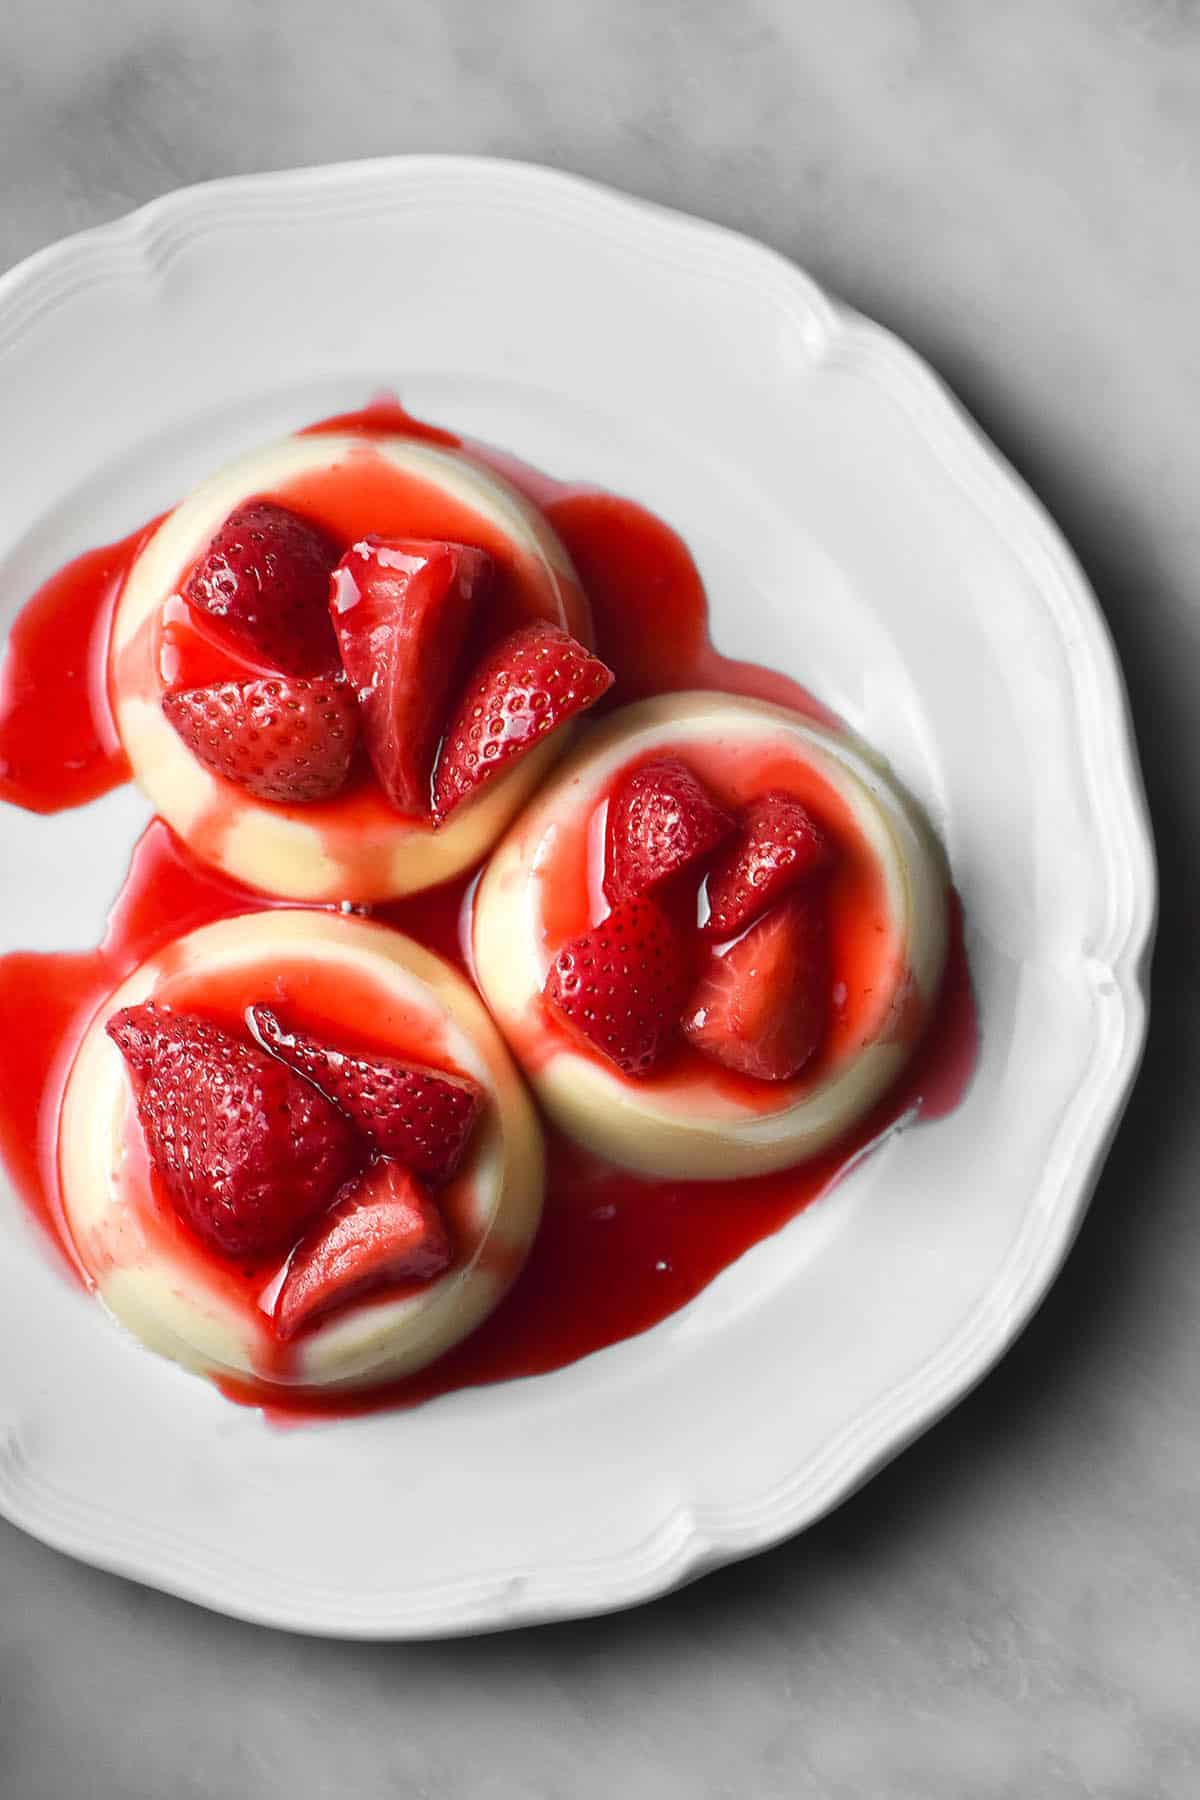
Why does this recipe use so little agar agar?
My recipe for panna cotta with agar agar uses less than other recipes out there. Panna cotta sets differently to gelatin, with more of a firm set than a wobbly set. Using too much agar agar results in a panna cotta that is too firm and not melt in your mouth like regular panna cotta.
So, this recipe uses 1.5-2.5g agar agar powder. This results in a panna cotta that is set without being too firm. Because we’re using less agar agar, though, we need to cook our mixture for longer.
I cooked my mixture on the smallest hob/burner over a low-medium heat. It took 20 minutes to reach a boiling point, after which I cooked the mixture for an additional few minutes.
My advice would be to turn the heat up at the 10 minute mark if there’s no evidence of the mixture boiling. In my experience with agar agar, getting it to boiling point, slowly and steadily, is what ensures it will set.
What mould should I use for this coconut panna cotta?
This recipe is flexible and can really be made in any mould you have. If you plan to flip them out and serve them on plates, I highly recommend silicone muffin tins. They are SO easy to pop out without damaging the edges, so it makes for a nice fuss free dessert that can be made ahead.
However, you can also serve this panna cotta in a glass vessel for a simple yet visual dessert. This removes the (perceived or real) stress of removing them from their moulds.
Finally, making one big panna cotta is also an option. You could use a silicon loaf tin and slice off pieces of the panna cotta like a cake, or a round tin for a flan adjacent aesthetic.
The silicone muffin tins I have are 1/3 cup (80ml) capacity and this makes 7-8 panna cotta. Keep this in mind if you use a different sized vessel.
More vegan desserts
- Gluten free vegan brownie cookies
- Gluten free vegan cinnamon rolls without yeast
- Gluten free vegan sticky date pudding
- Gluten free vegan chocolate cake
- Vegan panna cotta without coconut
Coconut panna cotta with agar agar
Ingredients
- 500-540 ml (2 cups)* coconut cream (see notes)
- 250 ml (1 cup)* full fat coconut milk (see notes for FODMAP)
- 50-65 g caster sugar according to your sweet tooth (see notes)
- 1.5-2.5 g agar agar powder not flakes (see notes)
- 1 teaspoon vanilla bean paste or extract
- Good pinch of salt
Instructions
- Very lightly grease the moulds you’ll be using for your panna cotta.
- Combine all the ingredients except for the vanilla and salt in a medium/large pot. Whisk to combine, then place on the smallest hob/burner over a medium-low heat.
- Stir intermittently and continue to cook your panna cotta mixture. You want it to reach a boiling point (vigorous small bubbles on the surface) without burning the mixture or heating it too quickly.
- If the mixture has not reached this point after 10 minutes, turn the heat up a little. I find this coconut version reaches this point faster than the dairy version, for whatever reason.
- Once the mixture reaches this point, keep it there for another minute or two.
- Add the vanilla and salt and stir to combine.
- Remove the mixture from the heat and carefully decant into a pouring jug.
- Pour the mixture into your prepared moulds and allow them to cool for 10 or so minutes before transferring them to the fridge. Every batch is different, but allow 2-4 hours to cool and set. I recommend making them the night before so you can correct any issues that come up (see the notes below).
- Serve with a sauce of your choosing or plain. I love mango and a bit of chilli crisp for a unique but delicious combination. Best eaten within a few days.
Notes
- In Australia, cans of coconut cream often come in 270ml sizes. This is why the recipe says 500-540ml coconut cream. If you have 250ml cans, that’s fine as well.
- Add sugar according to your sweet tooth and what you’re topping the panna cotta with.
- Agar agar comes in a variety of different forms that are not interchangeable. This recipe uses powder and I have not tested other versions.
- See the body of the post for tips on working with agar agar.
- This recipe uses a lower amount of agar agar to better replicate the wobbliness of gelatin. Using too much agar agar results in quite a rubbery panna cotta.
- If your panna cottas have not set after 4 hours in the fridge (or if they have gritty agar agar bits in the bottom) decant them back into the pot and bring to the boil again. Agar agar is very receptive to being re-cooked if needed. It is likely that you didn’t sufficiently boil the mixture in the beginning.
- Some coconut cream brands are a little gritty and coconut textured. That will translate to your panna cotta, but it’s still delicious.
- To ensure this panna cotta is low FODMAP, use light coconut milk. I’m not entirely sure why but light coconut milk is low FODMAP whereas regular coconut milk has a threshold. Full fat coconut cream is also low FODMAP.
- I have tested this recipe with water in place of the coconut milk. It works, but it’s a more subtle coconut flavour and a lighter texture (which is not what I want in a panna cotta, personally).

I have always wanted to make panacotta but somehow was always apprehensive about getting the texture right. Made panacotta for the first time using your recipe the other day – turned out really good – thanks 🙂 !! Agar agar is really tricky. Even though i added it to the mix when it was at room temp and heated it for 20mins.. but when i strained it at the end.. i could seem sum tiny lumps left in the strainer. Any tips on how can i avoid that next time?
I served it with some strawberry compote & chia seeds soaked in light coconut milk on the side. We also get green (tender) coconuts where I am from.. and fortunately had some at home.. so scooped some fresh coconut cream chunks out, chopped it finely and added it to the panacotta mix.. that added an amazing silky textural element.
Hi Natasha,
Agar can be very tricky! I recommend whisking the agar powder into the sugar to see if that helps stop it clumping.
I also tend to find that heating it extremely slowly and for a longer period can help avoid the lumps.
Fresh coconut in the panna cotta sounds INCREDIBLE!