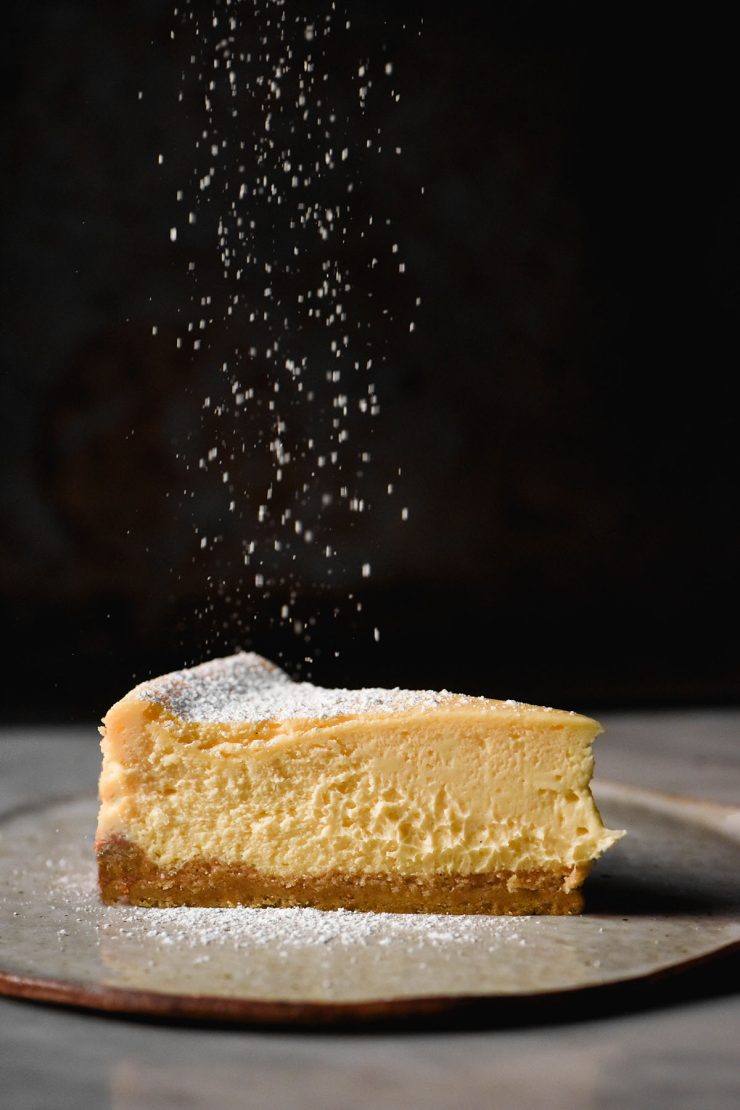
I try not to develop too many cheesecake recipes because I simply cannot stop eating it. I have somehow convinced myself that cream cheese is high protein and thus a slice of cheesecake is a nutritionally balanced breakfast/lunch/dinner/snack. With that said, I wanted to develop a made from scratch gluten free cheesecake base, so here we are.
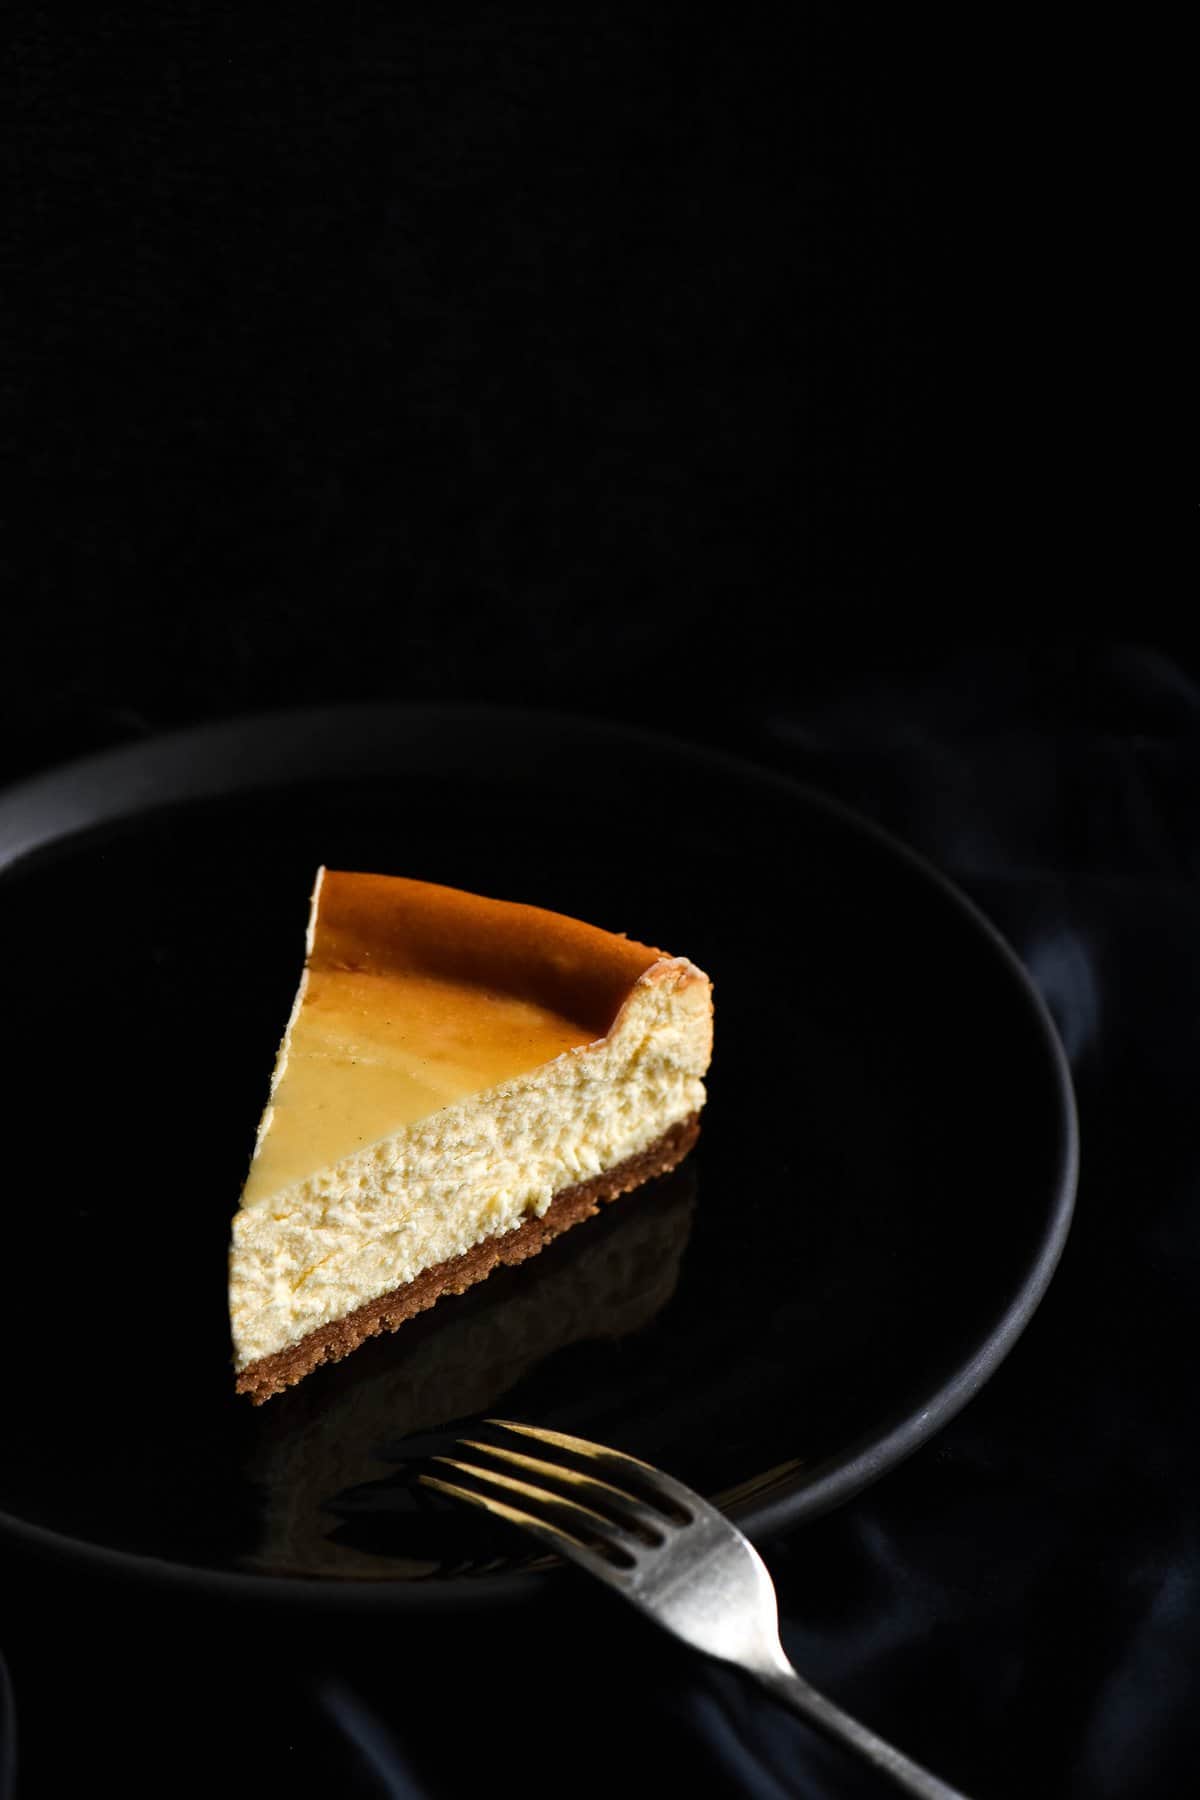
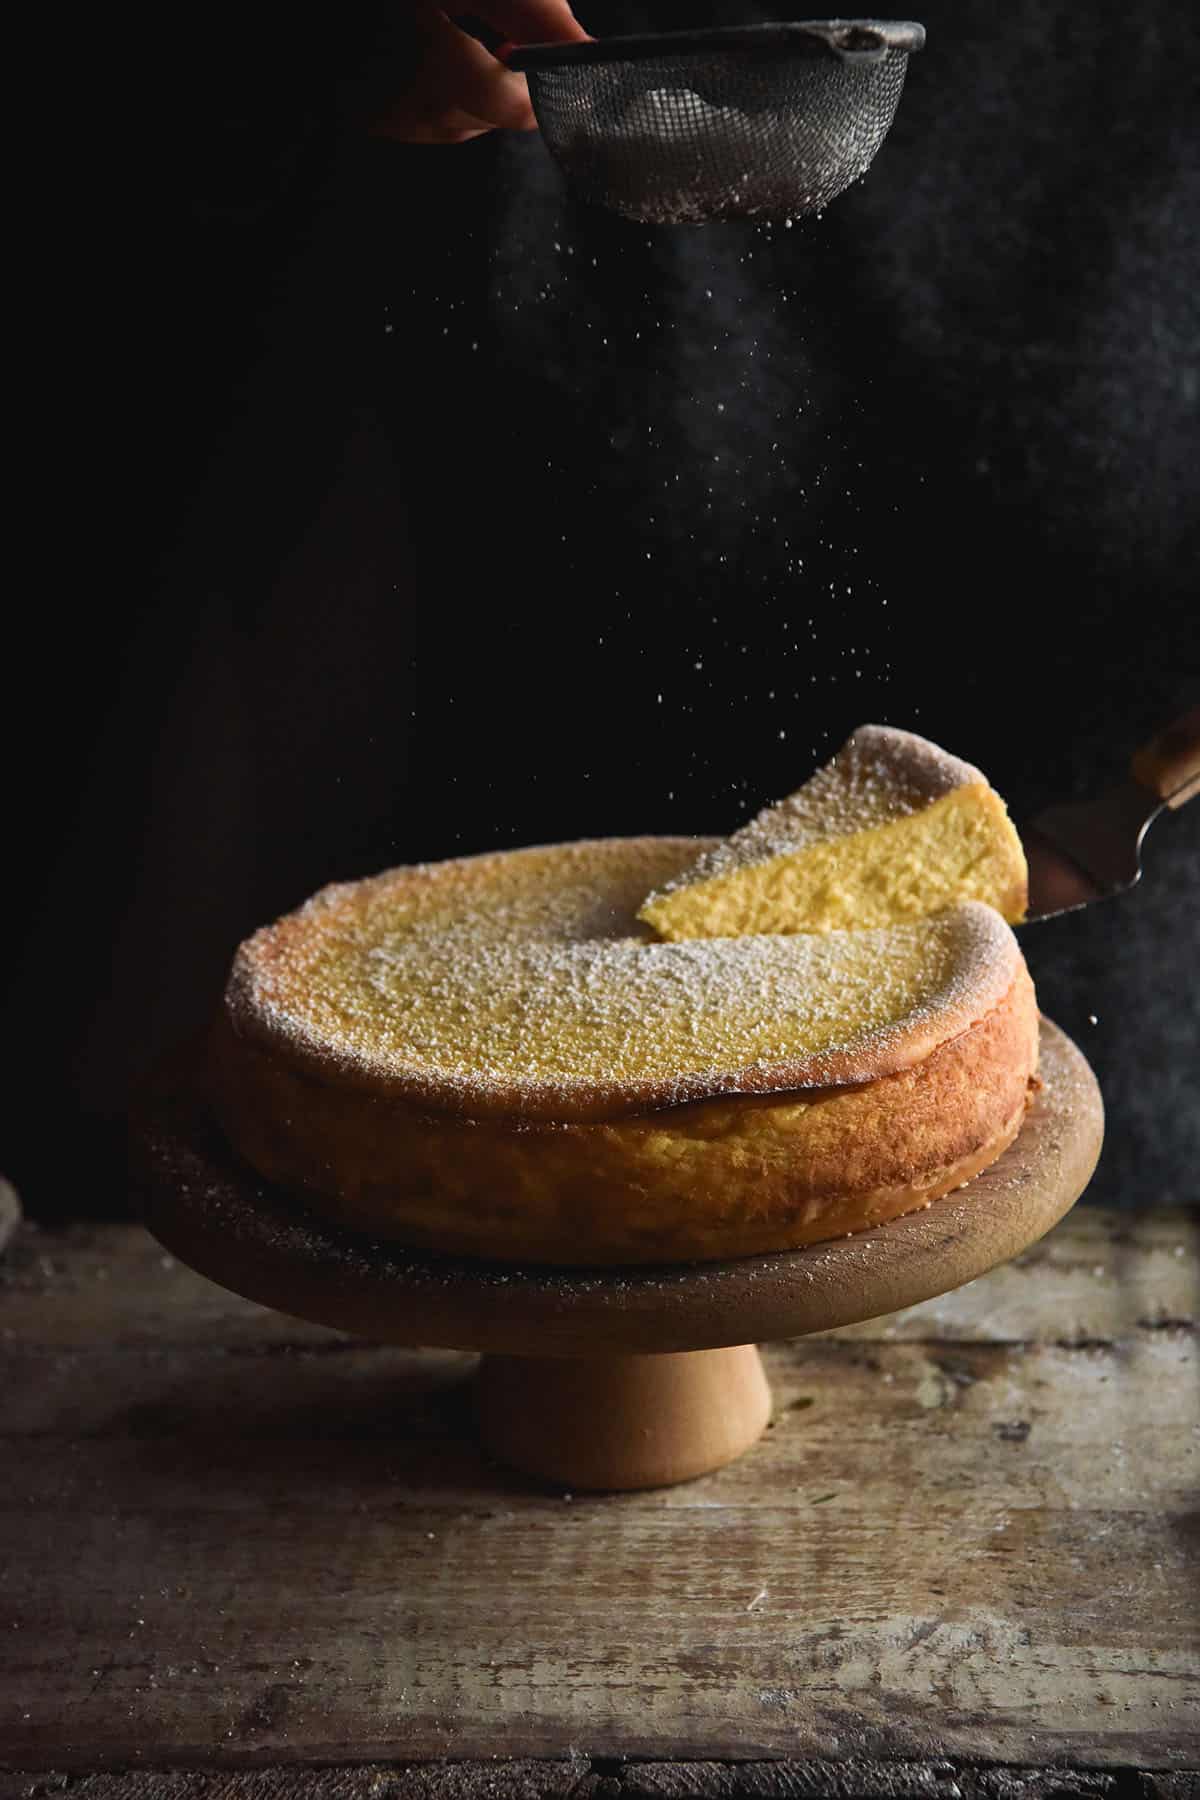
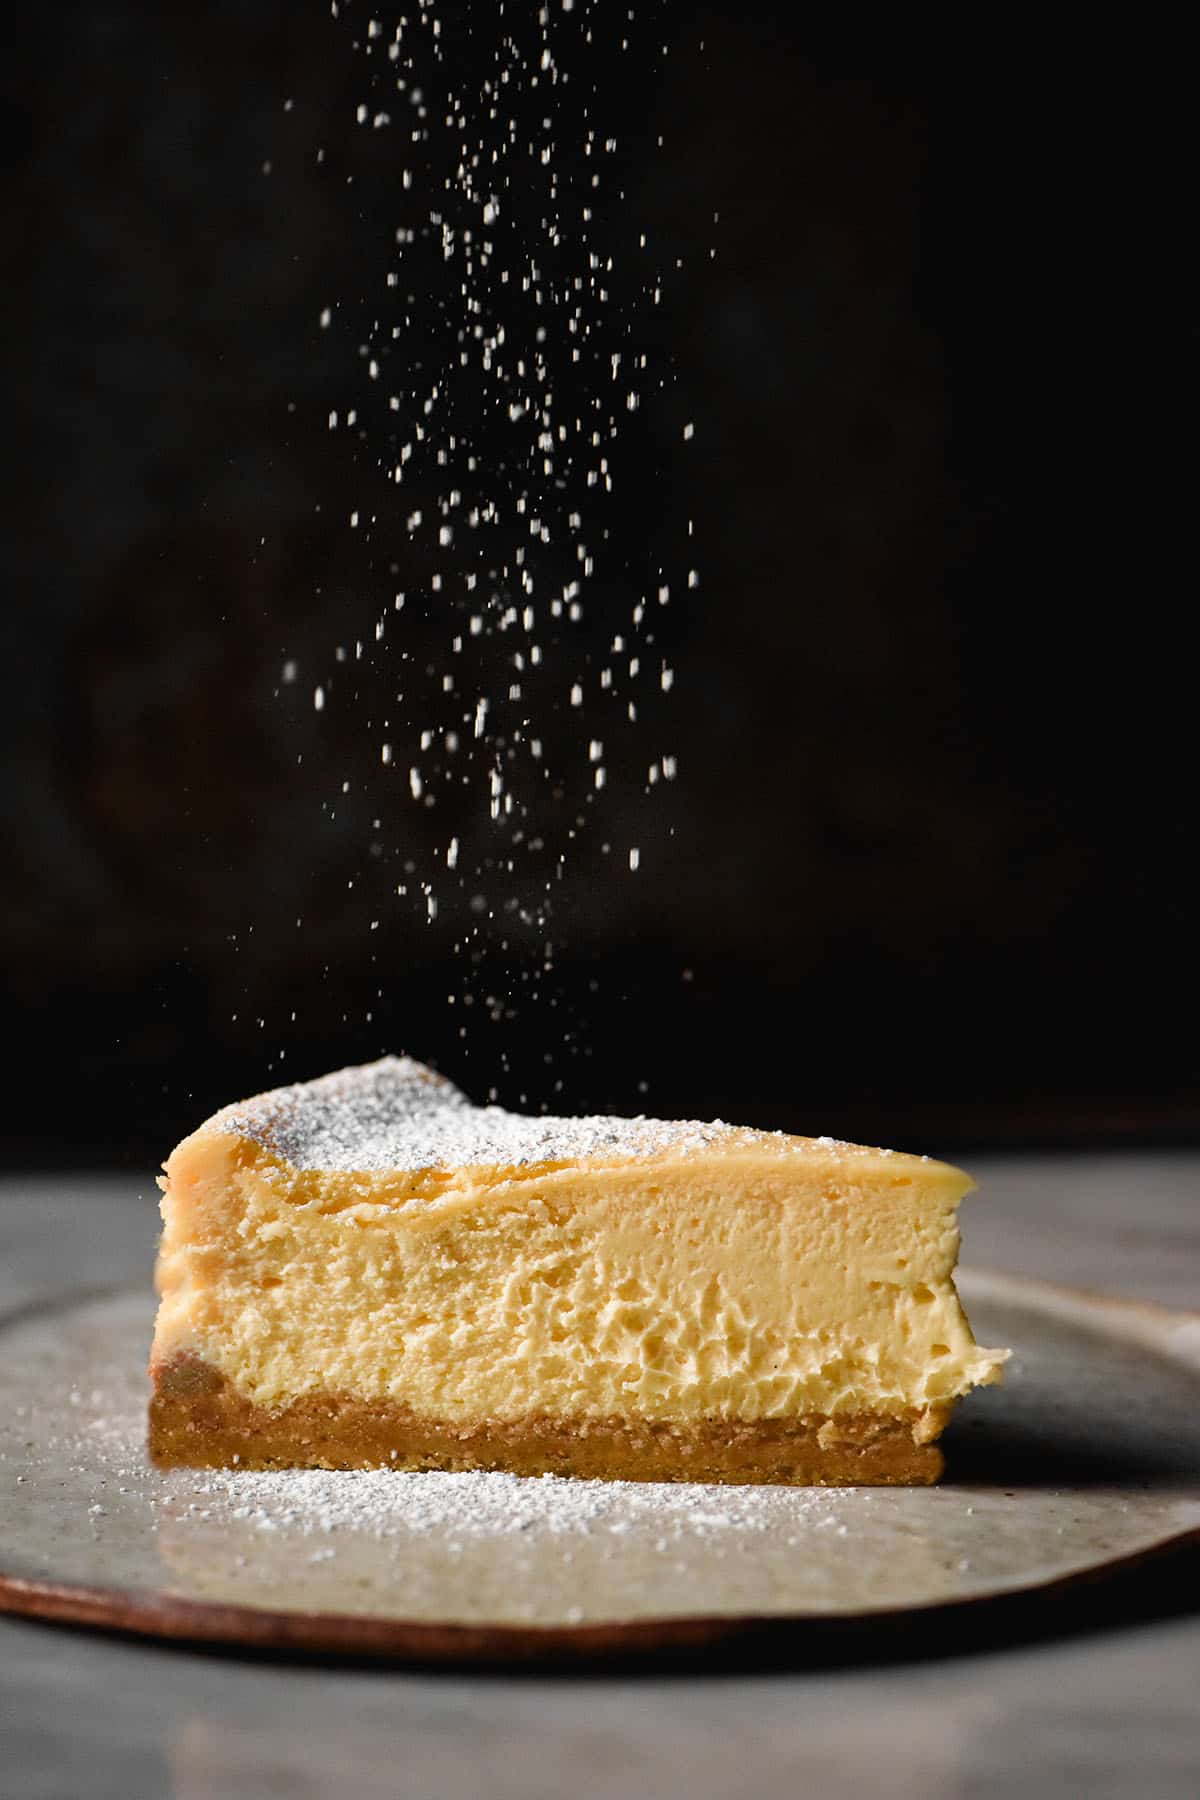
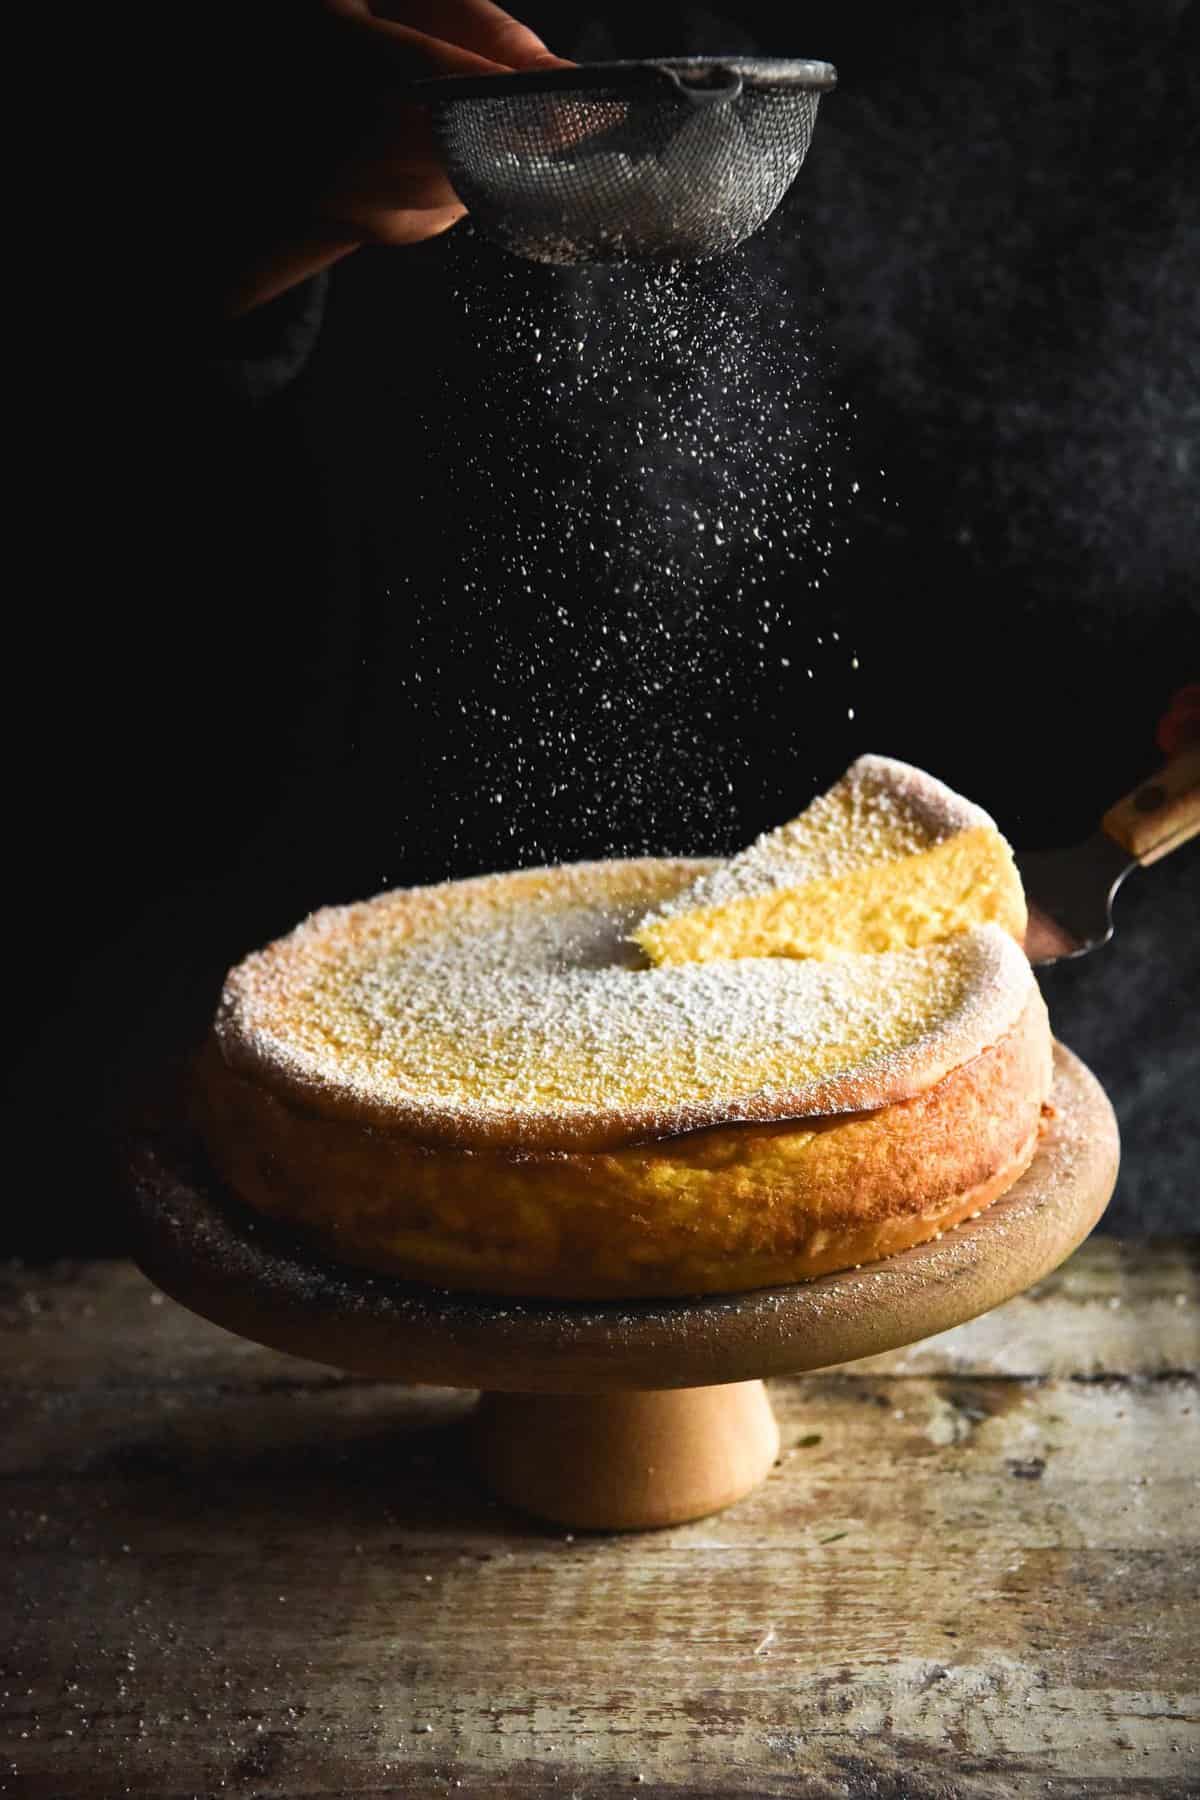
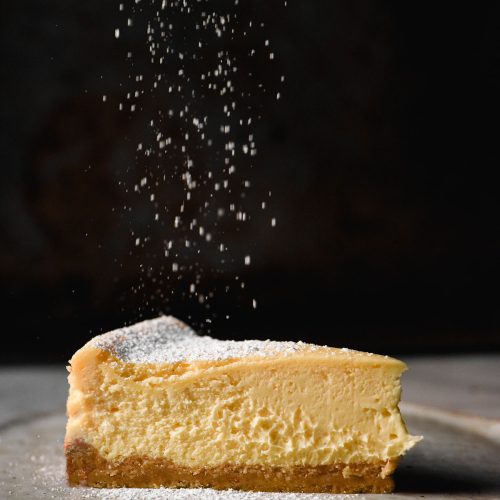
A quick note, before we begin: obviously, some of these photos are from other cheesecakes. I’m at the ‘exhausted and burnt out’ end of the festive season and I couldn’t bear the thought of adding a whole new photoshoot to my calendar. The lead picture above is the colour of the cheesecake you’re looking for! I will update the post with more photos when I regain some energy.
Gluten free cheesecake
This gluten free cheesecake uses a simple and delicious gluten free Graham cracker style crumb. It is made from scratch which means you don’t need to go hunting down expensive gluten free biscuits.
The gluten free cheesecake base is made by combining creamed sugar and butter with white rice flour and toasted quinoa flour. A pinch of cinnamon brings everything together for that classic nutty digestive biscuit like flavour.
The cream cheese filling can easily be lactose free by using lactose free double cream and lactose free cream cheese. Eggs bring everything together and add a lovely richness.
The mixture is perfectly sweetened with optional vanilla and lemon juice to create layers of flavour. Baked on a low heat, this cheesecake is the dream combination of crispy biscuit crumb and soft, creamy cheesecake.
This cheesecake is gluten free, nut free and easily low lactose and low FODMAP. Something for everyone!
Ingredient notes for your gluten free cheesecake
At the moment I have no substitutions for the rice flour in the Graham cracker base. Cream cheese is EXPENSIVE and I am sadly not a millionaire (barely a thousandaire). I hope to test a rice flour free version at some point in the future.
This recipe is lactose free, not dairy free. I think the distinction can be confusing sometimes so it is worth mentioning. I have no dairy free options for this recipe – it uses lactose free dairy, not dairy free products.
Caster/superfine sugar is the best here. It is neutral in flavour and dissolves nicely into the cream cheese filling. I haven’t tested any refined sugar free substitutes or alternative sugars and I don’t intend to.
Unfortunately, there is no substitute for eggs here. They’re very important in a cheesecake recipe. Perhaps one day (when I am an established thousandaire) I will test an egg free version.
I make my quinoa flour by grinding whole white quinoa to a flour using a NutriBullet. I find store bought quinoa is often rancid, so this is the best way to do it. The digestive biscuity graham crackery taste comes from the toasted quinoa flour and a pinch of cinnamon, so the quinoa flour element is important.
Tips for making the gluten free Graham cracker base
I say this in every recipe but please don’t use the box of rice flour at Australian supermarkets. It is gritty, rancid and not suitable for baking. I recommend buying some from a bulk food store or a health food store. It makes all the difference, I promise.
In terms of the quinoa flour, my experience has been that it tends to be rancid when you buy it from the store. I suspect this is why I don’t see it on the shelves as often anymore. There’s an easy solution to this – make your own. I use a NutriBullet and blitz whole white quinoa for 4-ish cycles. I then toast the quinoa flour to get that incredible Graham cracker flavour.
On that note: toasted quinoa flour is critical to the Graham cracker flavour. Nothing else gives the crumb that delicious wholegrain taste.
I have come to the realisation that it’s actually way easier and quicker to cream butter and sugar with a hand mixer. You can get right in there and you don’t have to continually scrape down the bowl. Also, you don’t have to wash everything before making the cream cheese component. If you have both a hand mixer and a stand mixer, I recommend using the hand mixer for the base and the stand mixer for the cream cheese mix.
Tips for the cream cheese filling
My main tip for cream cheese filling is always and forever to use room temperature cream cheese. Cold cream cheese doesn’t become lovely and smooth like room temperature cream cheese does. It will result in a super lumpy and unpleasant texture! You have spent your millions on acquiring the cream cheese, make sure it is the right temperature for a lovely smooth cheesecake.
I find that lemon juice and vanilla extract go such a long way in adding flavour complexity to cheesecake and I don’t recommend omitting them. A pinch of salt also goes a long way.
Something I have found in Australia is that cheaper cream cheese doesn’t do the job as well. I tried one of the big supermarkets generic brands (I can’t remember if it was Coles or Woolworths) and I was severely underwhelmed. I am not sure if Aldi brand is better. To be on the safe side, though, I recommend using Philadelphia. They have a lactose free variety available which is what I use.
I suspect, from looking at many recipes, that people have differing ideas on how sweet a cheesecake should be. I recommend considering your taste when deciding how much sugar to add (within the range specified by the recipe).
Another thing to consider is that lactose free products taste sweeter. So, use less sugar if you are making a lactose free cheesecake.
Dietary requirement notes
As we have discussed, this cheesecake is gluten free and nut free. It can also be low lactose or lactose free and thus low FODMAP.
To make a low lactose cheesecake, simply use lactose free cream cheese and double cream. If you use double cream and you need the cheesecake to be lactose free, add lactase drops to the cream about 48 hours before you make the cheesecake. You can also do this with sour cream. I find they generally only sell light lactose free sour cream, so lactase drops are a good option to ensure your cheesecake is at its creamy best.
Butter is incredibly low lactose and nearly undetectable in small amounts. The cheesecake base uses 125g butter divided between however many slices you decide upon. Using butter shouldn’t be an issue for a lactose intolerance. To make the cheesecake lactose free, you could use dairy free butter and lactose free cream cheese. It will only be lactose free, not dairy free.
Another thing to keep in mind is that lactose free dairy products are sweeter than regular ones. This is because the lactase (enzyme that digests lactose) converts the lactose to sugar. Although I haven’t tried it, you could experiment with using a little less (not too much less) sugar to compensate.
Unfortunately, I don’t currently have an egg free or dairy free cheesecake recipe. I will try and work on one though.
More gluten free dessert recipes
- Lactose free creme caramel
- Gluten free chocolate cake
- Vegan gluten free blueberry muffins
- Gluten free vegan brownie cookies
- Gluten free vanilla cupcakes without xanthan gum
Gluten free cheesecake
Ingredients
For the gluten free base:
- 75 g toasted quinoa flour (see notes)
- 75 g fine white rice flour
- 3-5 g xanthan gum (see notes)
- Pinch of cinnamon
- 125 g softened butter (salted or unsalted)
- 100-125 g caster /superfine sugar
For the cheesecake mixture:
- 1 kg room temperature cream cheese (regular or lactose free, see notes)
- 250 ml (1 Australian cup)* double cream (see notes) (1 Australian cup is 250ml, same as Canada and NZ. Use 1 cup + 1 tablespoon if you are American, 1 cup + 2 teaspoons if you are British,)
- 275-375 g caster/superfine sugar (see notes)
- 4 large eggs 45-55g per egg, weighed out of shell
- 1-2 teaspoons vanilla bean paste to your tastes
- Pinch of salt
- Squeeze of lemon juice (optional, to your tastes)
Instructions
To make the base:
- Preheat the oven to 170C/338F. Line a 24cm (9.5 inch) spring form pan – yes, the size is important. This recipe has been formulated with this size tin in mind.
- Whisk together the dry ingredients in a medium mixing bowl and set aside.
- Add the soft butter and sugar to another medium mixing bowl. Use a hand beater to cream the butter and sugar together until light in colour and fluffy looking. If you scrape a spatula through the butter, there should be no resistance and the butter should feel airy.
- Add the flour and use the beaters to just combine it. You should have a slightly sticky crumbly looking mixture. It will be look too sticky to roll or shape – this is the perfect consistency.
- Press the mixture into your lined spring form pan giving even coverage. Use a fork to poke plenty of holes in the mixture.
- Bake the cheesecake base in the oven for 20 minutes. It should be golden and puffy. Set aside to cool a little while you make the cream cheese component.
To make the cream cheese mixture:
- Place the room temperature cream cheese in your stand mixer with the paddle attachment. Process it on low for a few minutes to ensure it is smooth. Scrape the bowl down and be sure to get the centre of the bowl as it tends to clump up there. Add the cream or sour cream and process until combined.
- Add the sugar and allow to process for a few more minutes to ensure the sugar is dissolved. Scrape down the bowl, then add the eggs, one by one. Scrape down the bowl again to ensure there are no clumps of cream cheese.
- Finally, add the flavourings you are using (vanilla and optional pinch of salt/lemon juice) and process to combine.
- Pour the cheesecake mixture onto the baked base. Gently bang the pan against the counter a few times to smooth out the surface and encourage any air to the top.
- Place the cheesecake on a sturdy baking sheet and into the oven. Turn the oven down to 160C/320F. Bake for 45-50 minutes until puffy and cooked around the outsides but jiggly in the middle. The top should ideally remain pale.
- When the cheesecake is cooked, turn off the oven and leave the door ajar. Allow the cheesecake to sit in the oven for 15-20 minutes like this.
- Take the cheesecake out of the oven and carefully run a knife around the edge. This will help ensure it doesn’t crack as it cools (sometimes the cracking is caused by the edge pieces being stuck to the pan).
- Allow the cheesecake to cool before transferring to the fridge. I always recommend making cheesecake the night before so it has time to properly cool and set. This results in a gorgeously soft and creamy centre that remains easy to slice.
Notes
- Toasted quinoa flour is what creates the Graham cracker like flavour here. It is not optional and can’t be substituted.
- I grind whole quite quinoa to flour in my Nutribullet and then toast it over a low heat, stirring constantly. It should be a medium brown colour and smell deliciously nutty.
- I have added xanthan gum to the base because there is already xanthan gum in store bought cream cheese. I haven’t tested it without xanthan gum, but there is a version of this recipe in Intolerance Friendly Kitchen that is xanthan gum free.
- Make sure you don’t buy gritty or stale white rice flour or you will absolutely taste it. Australians: don’t buy the stuff in the box at the supermarket.
- If you need the cheesecake to be lactose free, I recommend using lactase drops in regular, full fat double cream. The lactose free versions of these products are often ‘light’ and don’t contribute enough richness to a good cheesecake.
- I can’t overstate how much variation in added sugar I have seen when it comes to cheesecake recipes. I’ve seen recipes with similar ingredient ratios to this one have anywhere from 250-400g sugar (and they were all well reviewed). Sugar in a cheesecake seems to be quite subjective and based on where you live. This is why I have given an option for how much to add.
- Lactose free dairy products taste sweeter than regular dairy. This is a result of the lactase enzyme converting the lactose to glucose and galactose. If you use lactose free cream cheese and cream, use a lesser amount of sugar.
- If you’re not sure how much sugar you prefer, taste the mixture before you add the eggs. You can add the flavourings before the eggs to give yourself a sense of the final flavour.

No Comments