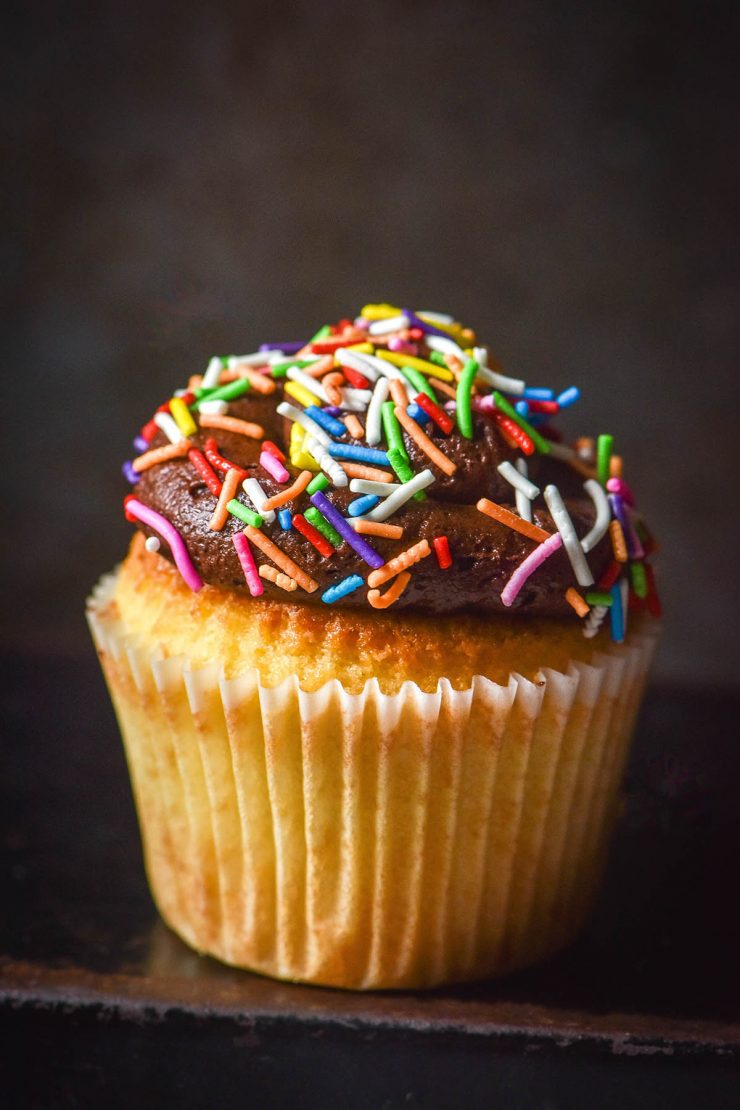
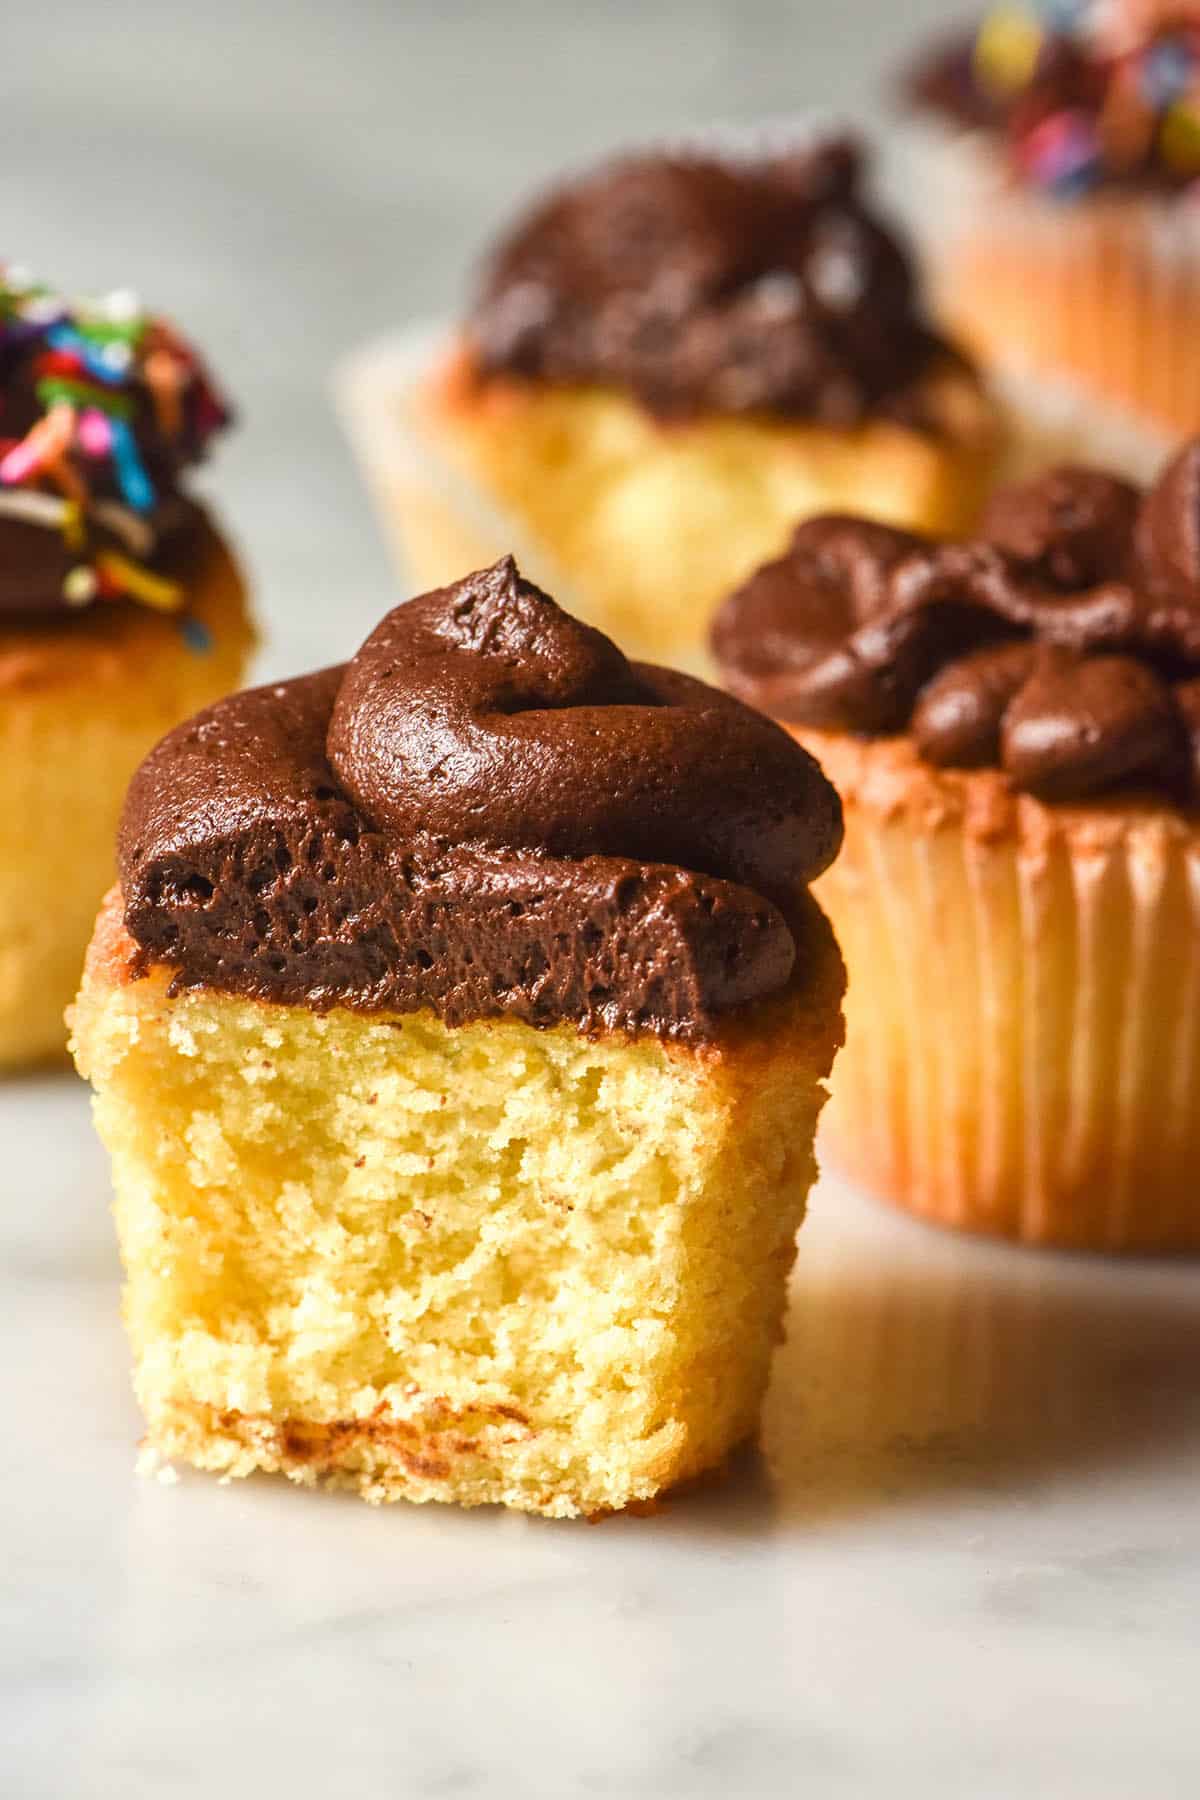
It’s hard to believe I have gone this long without posting a recipe for gluten free vanilla cupcakes without xanthan gum, yet here we are. These cupcakes have been extremely thoroughly tested to ensure they are fluffy, light and perfectly sweet yet made without xanthan gum or nuts. They’re complemented by a rich and sweet chocolate buttercream. It is truly, if you’ll permit me saying this, the icing on the cake.
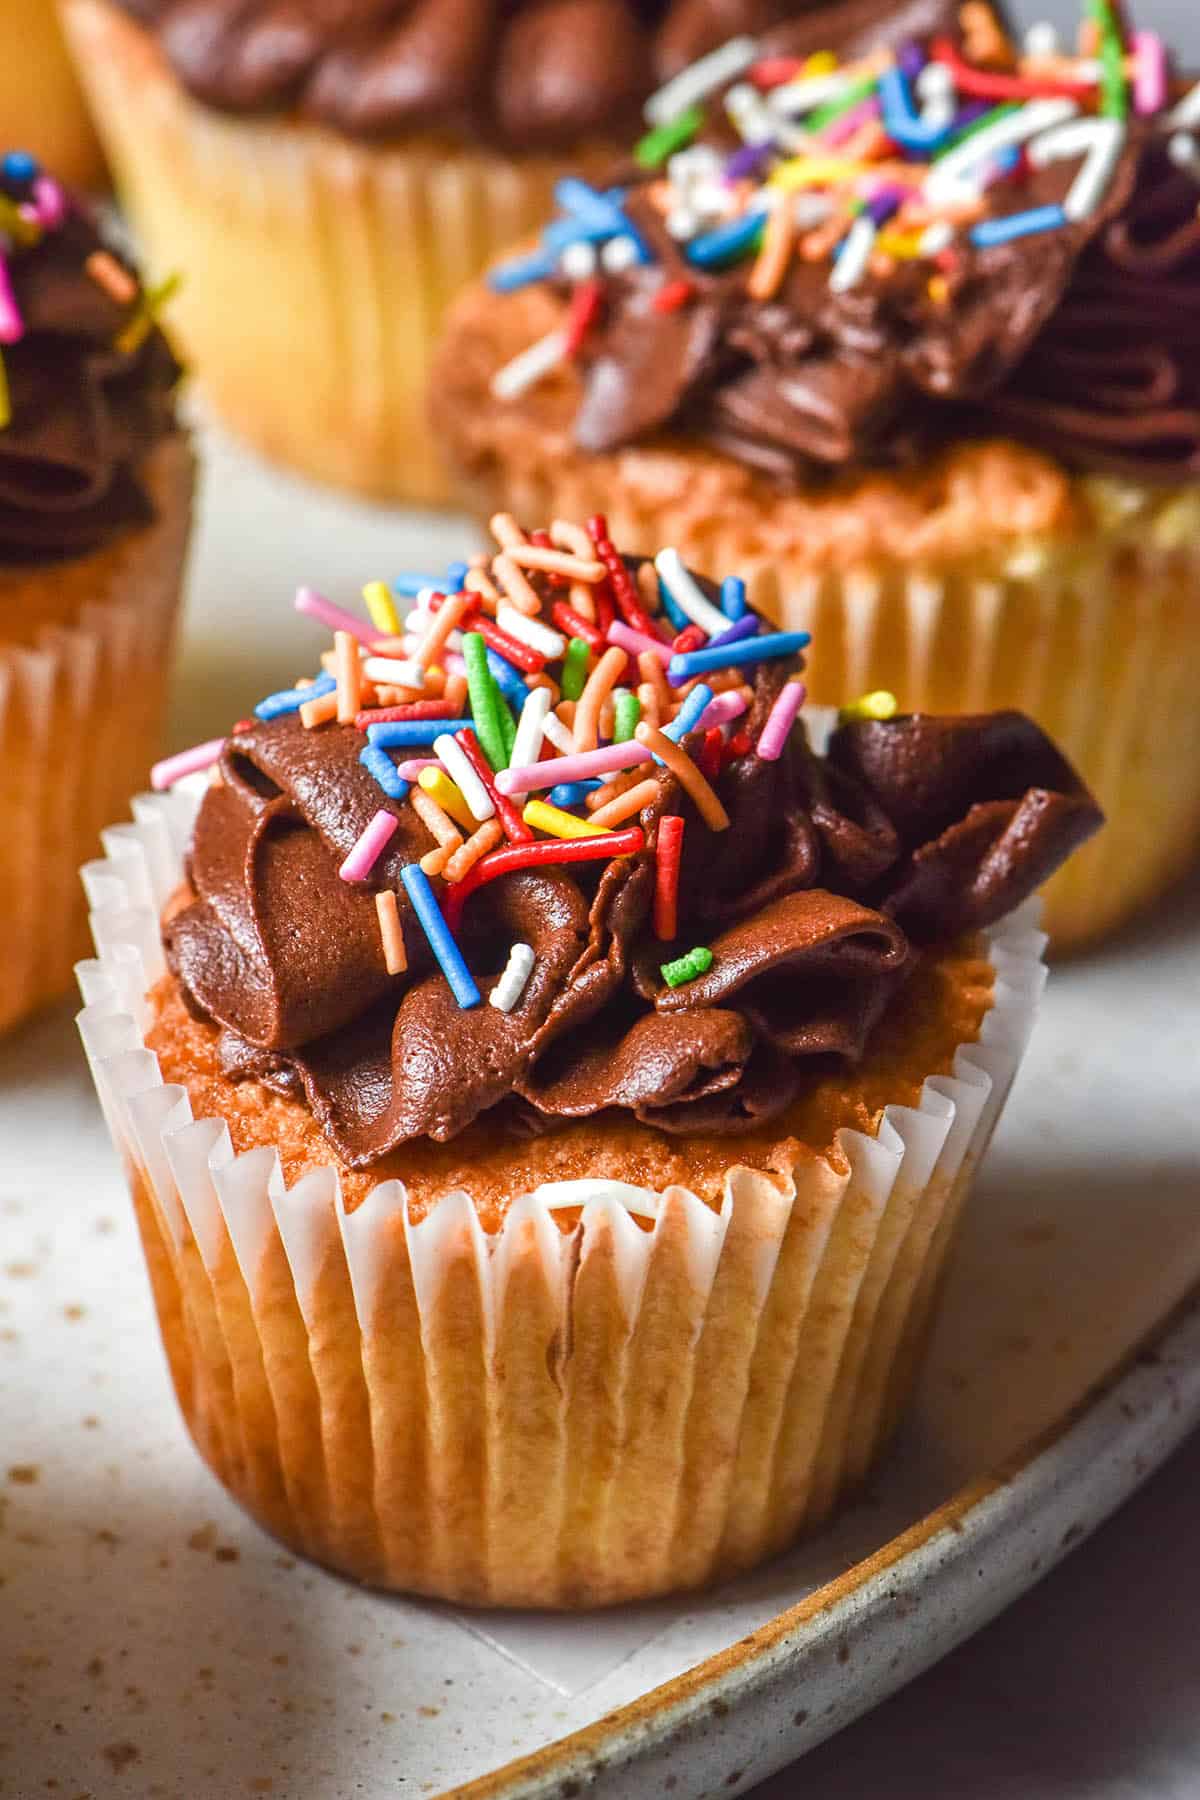
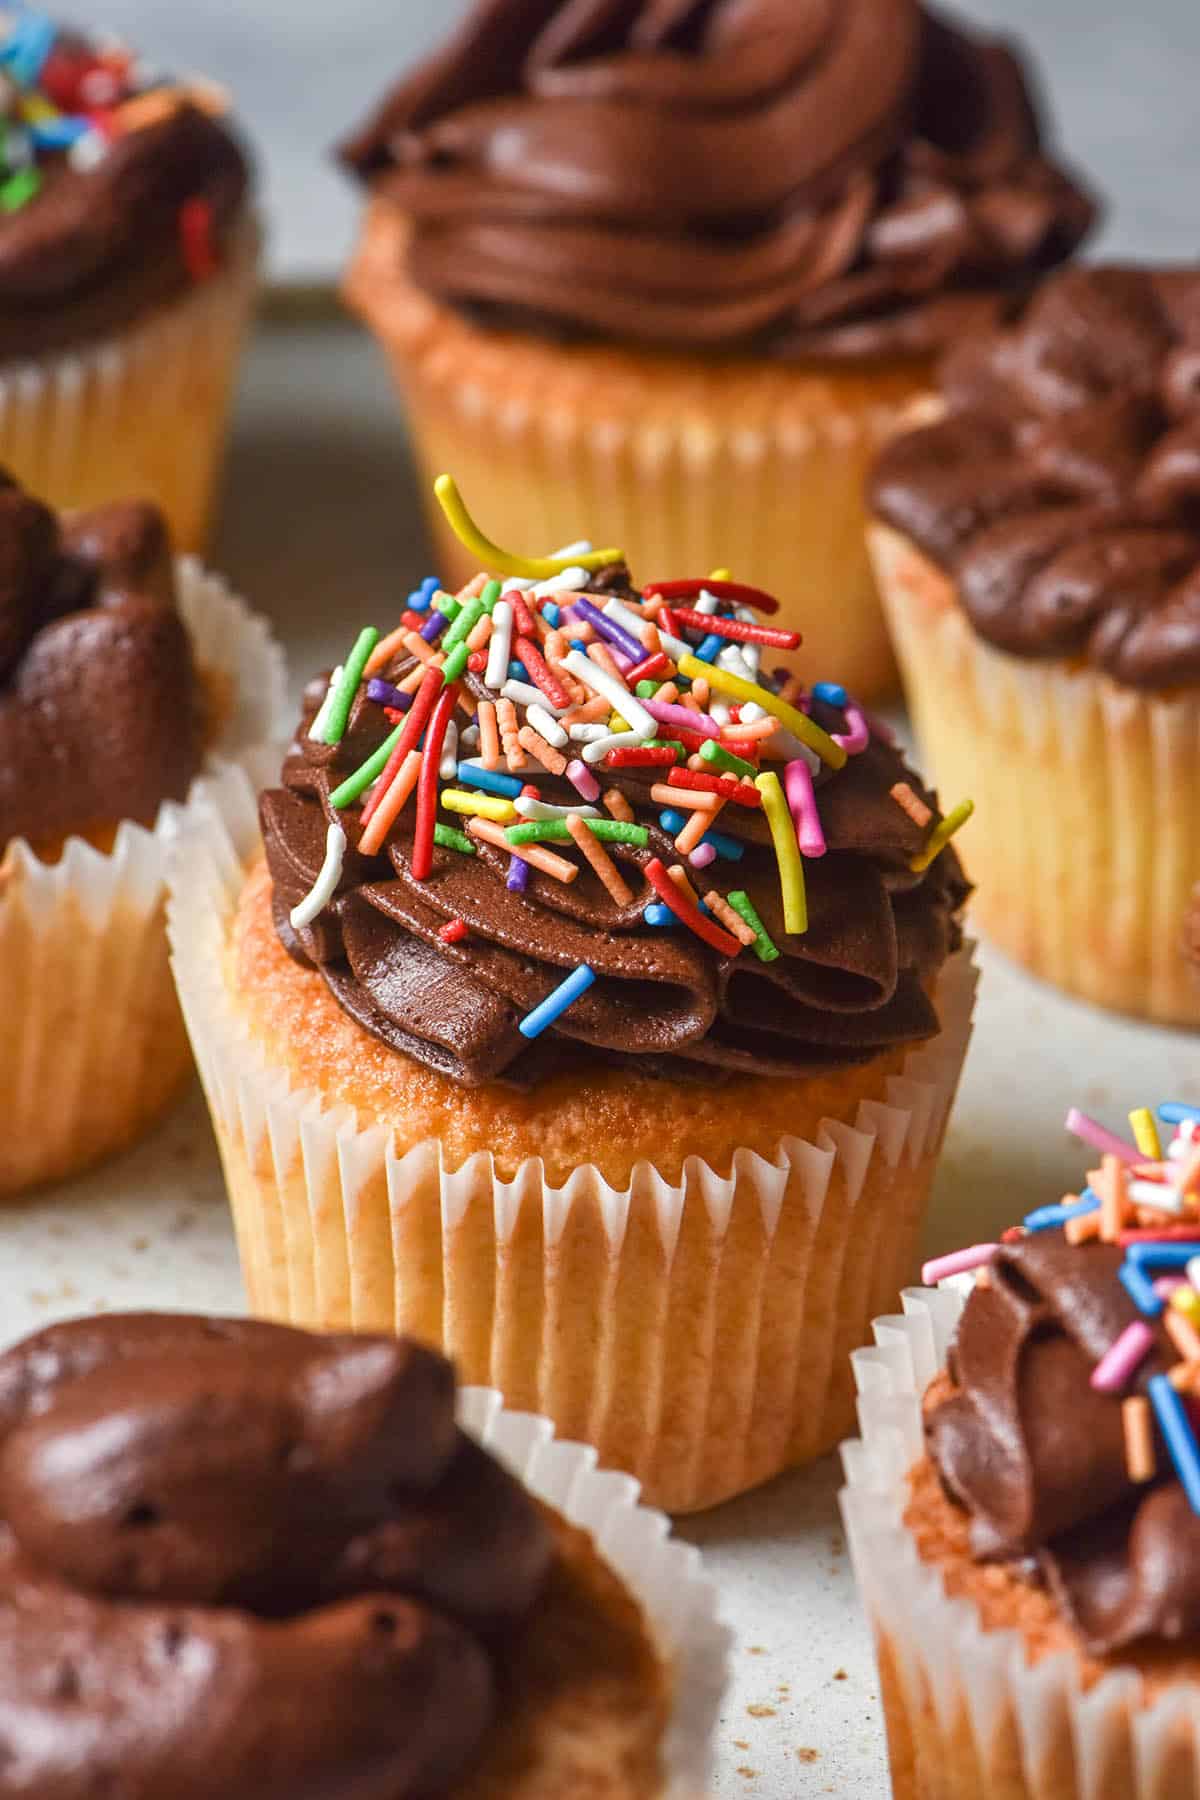
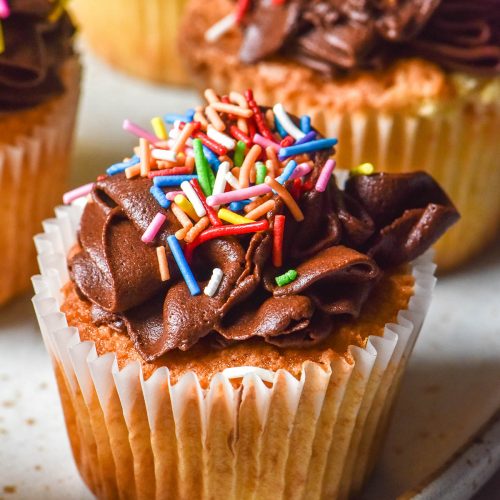
Let’s get this out of the way, before we dive in. Piping buttercream is not my strong suite as you are about to witness.
Gluten free vanilla cupcakes without xanthan gum
These cupcakes are made from a simple mix of gluten free flours – white rice flour and tapioca flour. White rice flour provides a neutral wholegrain component, while a small amount of tapioca flour provides lightness and elasticity.
The cupcakes use creamed butter and sugar to form a sweet and light crumb. They contain three different fat sources – butter, sour cream and a small amount of oil. These fat sources work together to create a soft crumb that stays moist for days.
Eggs and milk bring everything together and vanilla extract brings the flavour. The recipe is fairly straightforward, utterly delicious and all without any xanthan gum or nuts.
Substitution notes
At the moment, I don’t have many! I developed this recipe to replicate a traditional vanilla cupcake, so the aim is for it to taste as regular as possible. This is why I have chosen the flour combination, the fat sources and so on.
So, there is currently no substitution for the white rice flour, eggs or sour cream. They have all been purposely chosen. I don’t want anyone to miss out, though, so I am in the process of developing a vegan version as well. Stay tuned for that.
Although I haven’t tried it, you could likely use lactose free sour cream in place of the full fat regular sour cream. Store bought lactose free sour general is generally light in Australia, so I have a recipe to make your own full fat lactose free sour cream.
I have tested both baking powder (1/2 Australian teaspoon or 2.5g) and baking soda (1/4 Australian teaspoon or 1.5g). Both work nicely. If I had to differentiate, I would say the baking powder version creates a more tightly knitted crumb with a golden brown top. The baking soda version produces a slightly more aerated crumb with a darker brown top. Both bake for the same amount of time.
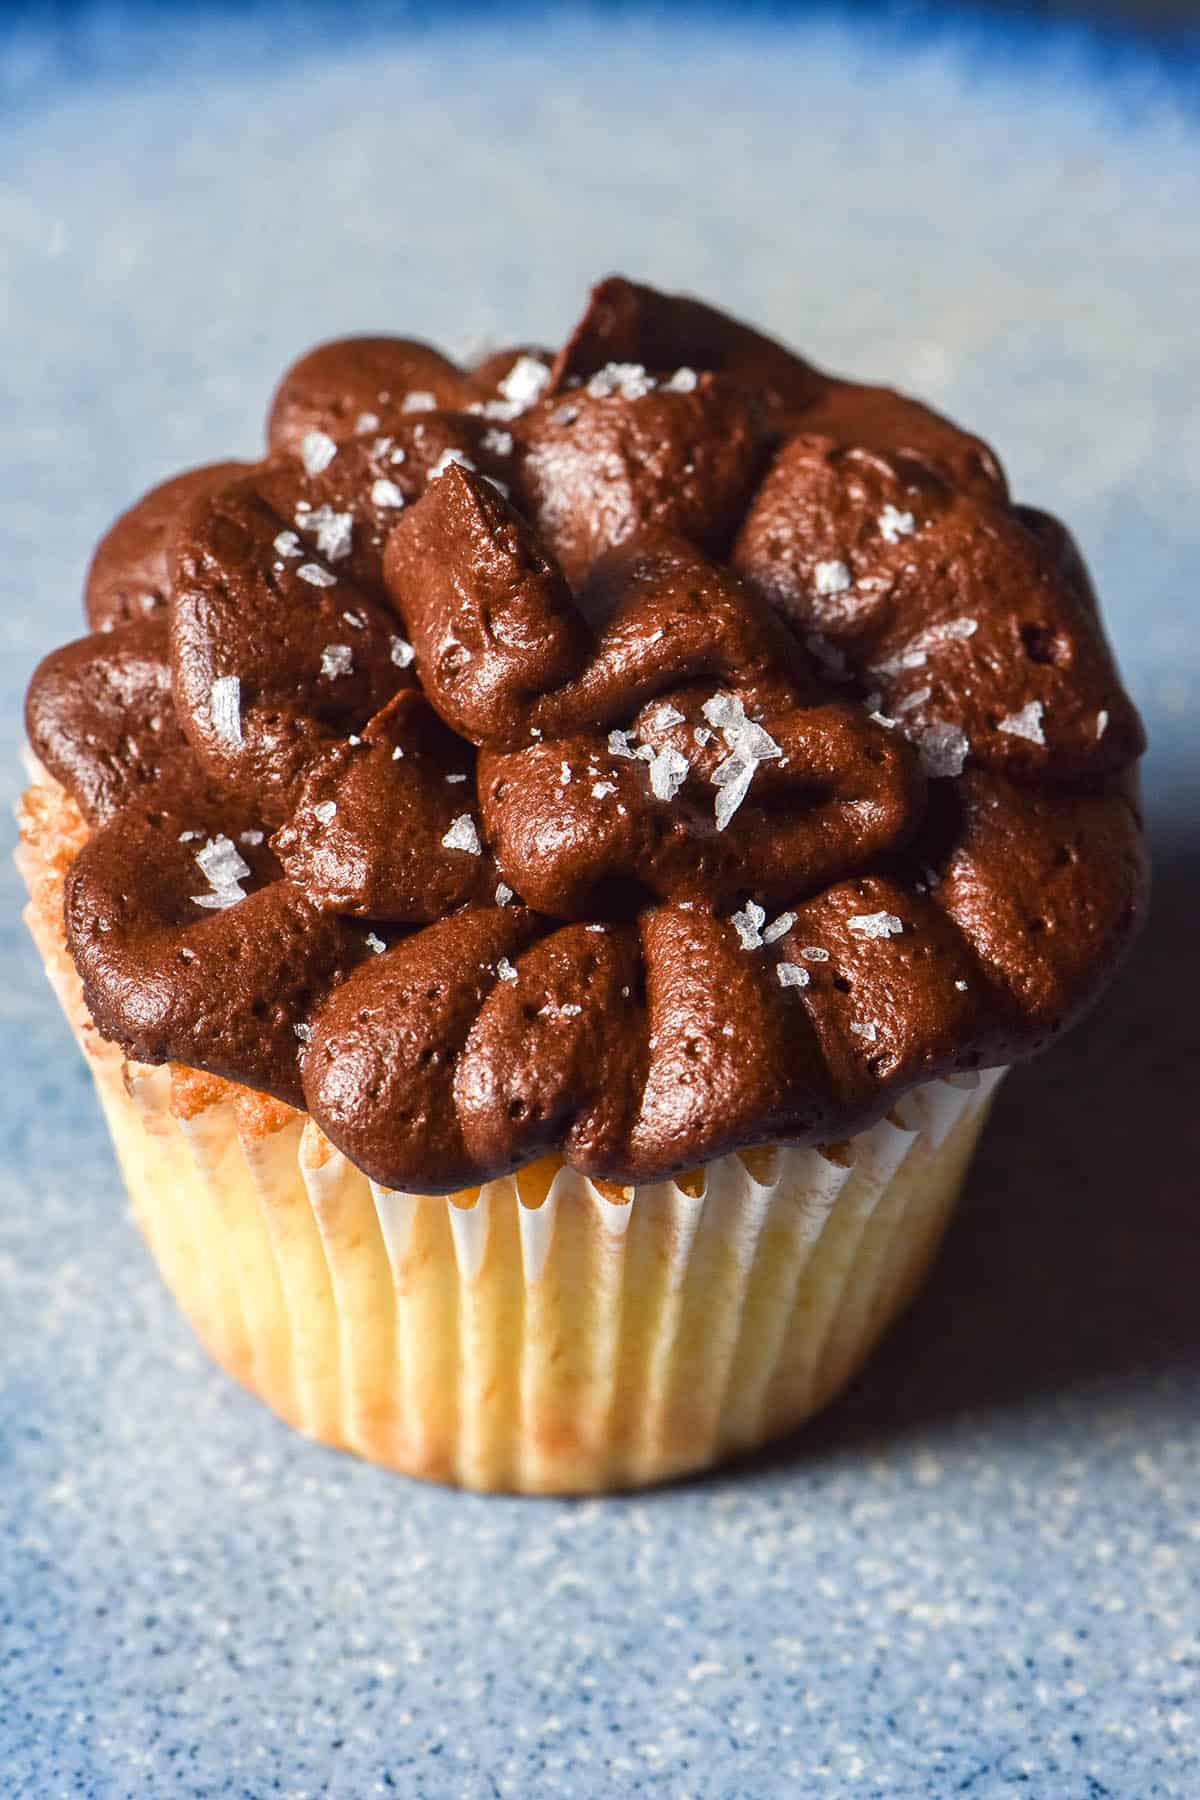
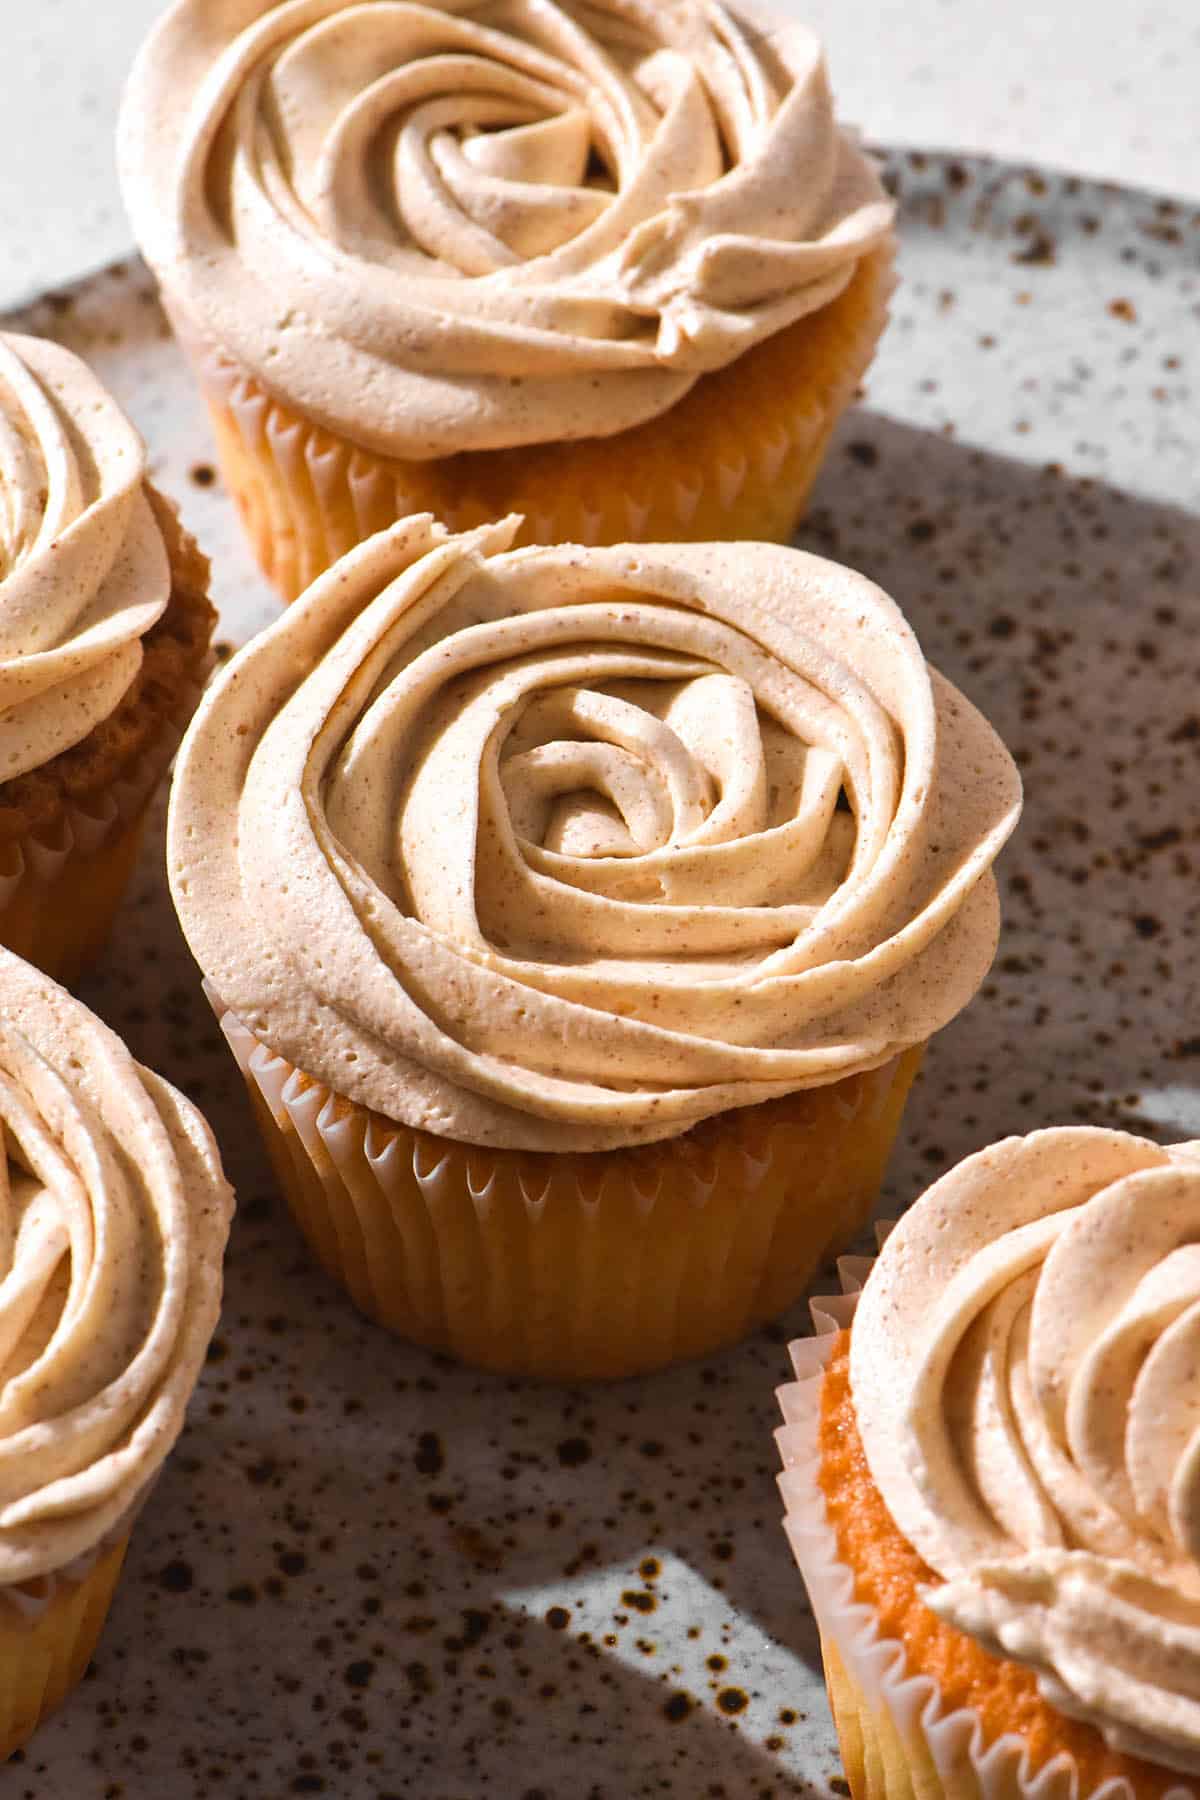
One finishing substitution I can condone is using my brown butter chocolate buttercream instead of a regular version, if you like.
Creaming butter and sugar
This recipe is straightforward but it relies on properly creamed butter and sugar. Creaming butter and sugar creates small air bubbles which give the cupcake batter an aerated texture and lovely crumb. Insufficiently creamed butter and sugar is responsible for a whole host of maladies, including oily cupcakes and flat cupcakes.
Getting the technique of creaming right is critical to cupcake success.
In my experience, how long it takes to cream butter and sugar varies wildly. Many recipes say 3 minutes but I have rarely found this to be the case (summer is the exception, which we will discuss below).
Creaming butter and sugar will probably take longer in using hand beaters, for starters. Stand mixers are very powerful machines and can work quickly, encompassing the whole bowl. An exception to this is if you have a small volume to cream, in which case it’s quicker to use hand beaters. This is because you can use a small bowl and concentrate on beating the mixture. In a bigger bowl it becomes harder for the beaters to reach the butter.
Secondly, the season and temperature of your butter matter enormously. Cold butter in a cold kitchen takes infinitely longer to cream than room temperature butter in a warm kitchen.
Temperature matters
Just like the temperature of your kitchen matters, so too does the temperature of the butter. Because the ultimate aim of creaming butter is to incorporate air into the mix, it cannot be too hard or too soft.
If your butter is too hard (cold) it will simply not incorporate into the sugar. If your butter is too warm, is it too liquid to incorporate any air. It is very important to use soft butter that still holds form and is not on the verge of melting for best results.
In colder months I generally get my butter out of the fridge the night before. In summer, retrieving it from the fridge an hour or two before should be sufficient.
One last tip in regards to this is something I have noticed over the years. As someone who does a lot of recipe testing, I often buy no-name brand butter to save money. However, I have noticed that the more expensive, name brand butter I buy seems to stay solid longer when compared the no-name brand butter. It holds up better to warmer temperatures in summer and holds firmer in winter, too. All in all, quality butter seems to be more reliable.
Whether this is (years of) anomalies or something to do with quality, I can’t be sure. All this to say, though, that I recommend decent quality butter here (particularly if you are a beginner).
Tips for properly creamed butter and sugar
The first tip to ensure that the butter is the proper temperature for creaming. It shouldn’t be melting or runny, nor should it be a solid, frigid block. Most people say 18C/65F is the ideal temperature for butter when it comes to creaming.
Next, use a kitchen mixer or stand mixer. I have never tried creaming butter and sugar by hand and I never intend to. Machine power is the way to go here.
When creaming butter and sugar, it is important to continually scrape down the sides of the bowl as you work. This incorporated all the mixture and ensures there are no under-creamed parts.
Expect the process to take longer in winter, in a cold kitchen, with cooler butter or all of the above. Expect the process to be much quicker in summer, a warm kitchen, with warmer butter or all of the above.
Every resource on creamed butter and sugar that I’ve looked at says that the mixture will no longer be grainy. Particularly with this recipe (but likely with others) this isn’t the case. You can expect some sugar granules – a light and airy textured butter that offers no resistance if you mix it with a spatula is what you are looking for, most of all.
Tips for your gluten free vanilla cupcakes
- Weigh everything! This is key to success in gluten free baking.
- Lots of my tests of this recipe exploded in the oven because I added too much leavening agent (baking powder or baking soda). This is yet another reason why it is critical to weigh ingredients instead of eyeballing.
- Get everything out and measured before you start. This makes the process of baking much easier.
- Read through the section on creaming butter and sugar if you are new to the process. It is absolute key to success in this recipe. Any flat, oily or underwhelming cupcakes can almost always be traced back to improper creaming of butter and sugar.
- Check on your cupcakes at the 15-20 minute mark. Ovens vary wildly in temperature and the guide on the front is often not accurate. Pull them out whenever they are cooked through and browned on top.
- Don’t overfill. This recipe makes 10 cupcakes in an 80ml (1/3 Australian cup) muffin hole tin. Don’t be tempted to add more batter and make bigger cupcakes because they fill overflow.
Troubleshooting your gluten free vanilla cupcakes
As we have discussed, almost all issues can be traced back to the creaming of butter and sugar.
- If your cupcakes are flat and oily, this is an issue with the creaming. You have not incorporated enough air to suspend the butter in the dough with the bubbles you have created. This can happen when you haven’t creamed the mixture for long enough, for too long, or your butter was the wrong temperature (too warm or too cold) when you tried to cream the mixture. Read the section above and watch the videos to ensure you are creaming properly. I am also working on some gluten free vanilla cupcakes that don’t require creaming.
- If your cupcakes have spilled over the tin, this is an issue with either the weighing of the baking powder or over filling the muffin holes.
- If your cupcakes are burnt or too browned, your oven is too hot. I recommend getting an oven thermometer to see what the real temperature of your oven is. Next time, cook them on a lower temperature.
- If the bottoms of your cupcakes are browned, make sure you put a sturdy tray underneath them next time. This should help protect them from browning on the bottoms.
More gluten free dessert recipes without xanthan gum
- Easy gluten free chocolate cake
- Gluten free vegan chocolate cake
- Gluten free vegan cinnamon rolls without yeast
- Easy gluten free chocolate mug cake (vegan)
- Gluten free olive oil cake
Gluten free vanilla cupcakes without xanthan gum
Equipment
- Stand mixer with beater attachment or hand beaters
- 12 hole 80ml (1/3 Australian cup) capacity muffin tin
Ingredients
For the vanilla cupcakes:
- 120 g (3/4 cup)* white rice flour
- 40 g (1/3 cup)* tapioca flour
- 2.5 g (1/2 teaspoon)* baking powder OR 1.5g (1/4 teaspoon)* baking soda (see notes)
- 60 ml (1/4 cup)* milk of choice
- 100 g full fat sour cream
- 100 g room temperature butter, salted or unsalted (see body of post for tips )
- 20 ml (1 tablespoon)* oil
- 200 g white sugar
- 2 extra large eggs (45-55g per egg, weighed out of shell)
- 1 teaspoon vanilla bean paste
- 10-12 cupcake liners
For the buttercream:
- 200 g icing sugar, sifted
- 50 g Dutch processed cocoa powder, sifted
- 125 g butter, room temperature (I like salted here)
- 40-60 ml (2-3 tablespoons)* milk or cream to thin to your desired consistency
- Pinch of salt if you haven’t used salted butter
Instructions
To make the cupcakes:
- Preheat the oven to 180C/356F. Place cupcake liners in 10-11 X 80ml capacity muffin tray holes.
- Whisk the flours and baking powder or baking soda in a medium mixing bowl.
- In a smaller bowl, whisk together the milk and sour cream and set aside.
- Add the butter, oil and sugar to your stand mixer with the beater attachment (you can also use a hand beater) and beat until light, fluffy and aerated. See the body of the post for extensive tips on creaming butter and sugar – this is crucial to a successful, non-oily cupcake.
- Scrape down the bowl as often as necessary.
- Once the butter and sugar are properly creamed, add one egg and beat on low until incorporated. Add the remaining egg and repeat, scraping down the bowl in between.
- With the mixer on low, add about 1/3 of the flour and allow it to incorporate. Add ½ of the sour cream milk mixture, then repeat. Scrape down the bowl then finish with the last 1/3 of the flour. Add the vanilla extract/paste and a pinch of salt if you’re using unsalted butter.
- Divide the mixture evenly between 10-11 lined muffin holes. I find the baking powder version makes 10 muffins, while the baking soda version makes 11.
- Be sure not to over-fill the muffin liners – 2/3 – ¾ full is perfect.
- Bake the cupcakes for 20-25 minutes or until golden brown and cooked through. They should be flat on top and not domed, but light and fluffy. See troubleshooting notes for any cupcake explosions, flat cupcakes or oily cupcakes.
- Allow to cool completely before icing.
To make the buttercream:
- Sift the icing sugar and cocoa together in a medium mixing bowl.
- In another medium mixing bowl, beat the butter with your hand beaters until softened and lightened.
- Add the icing sugar mixture in increments, beating the mixture as you go. It will be quite thick and might not process all the way so add 1 tablespoon of milk at a time until you reach your desired consistency.
- In my experience, it’s best to work quickly with buttercream. Don’t spend too long beating it and don’t add too much milk or it will begin to split.
- Ice the cupcakes once completely cooled. Buttercream is best fresh, in my opinion, so try to ice them on the day you are serving them.
Notes
- See body of post for extensive tips on creaming butter. This is the most important element of the recipe so it’s worth the read.
- There aren’t many substitution options, but see the body of the post for the few that exist.
Hi
Please tell me if this recipe can be used to make a big cake. If so, will anything need to be done differently?
Thank You
Hello,
I am testing a cake version at the moment and it does need slightly different ingredients/baking times from my experience.
I can’t offer any concrete advice yet but the cake version will be posted as soon as I finish testing it 🙂
these look amazing!
the paragaph about butter is a bit confusing – do you mean to say “no name brand” butter rather than “name brand” when comparing? Because it says “name brand” and “name brand”.
Oh my god that was so confusing! Even I couldn’t make sense of it haha, must have written that one a bit late in the evening.
Thanks for letting me know, I have amended the copy 🙂