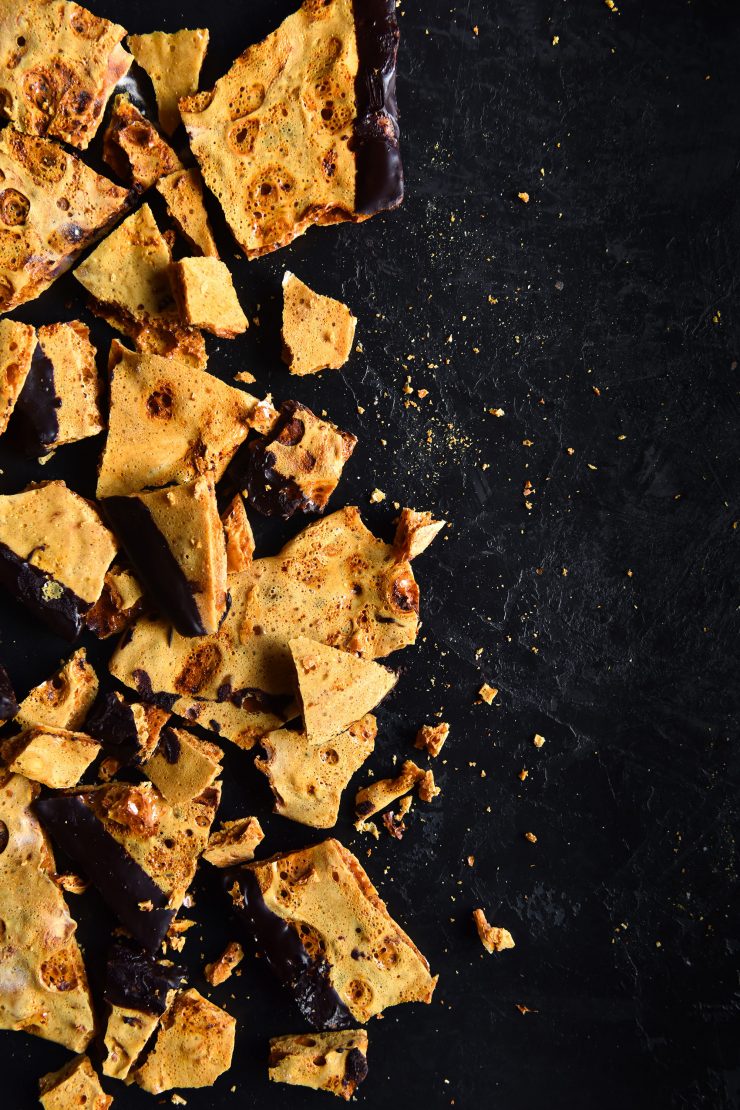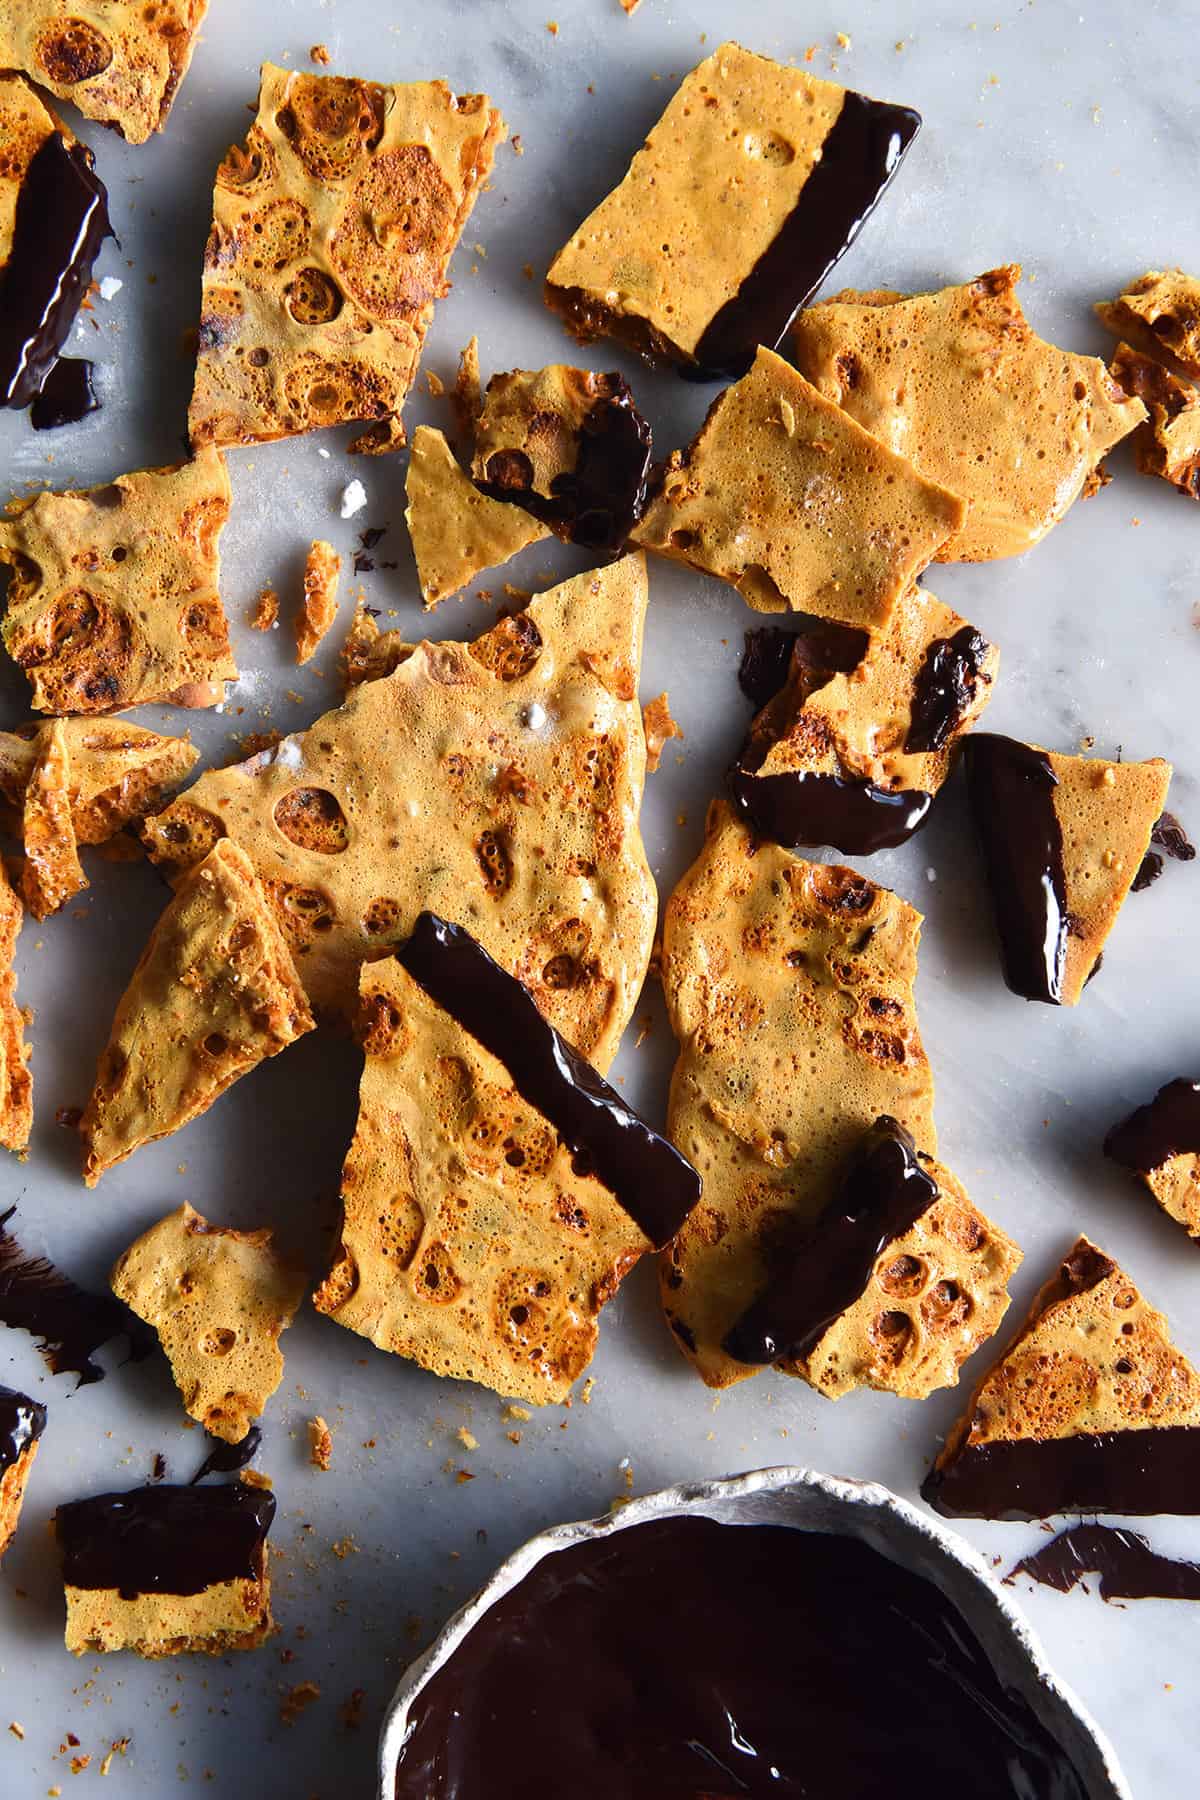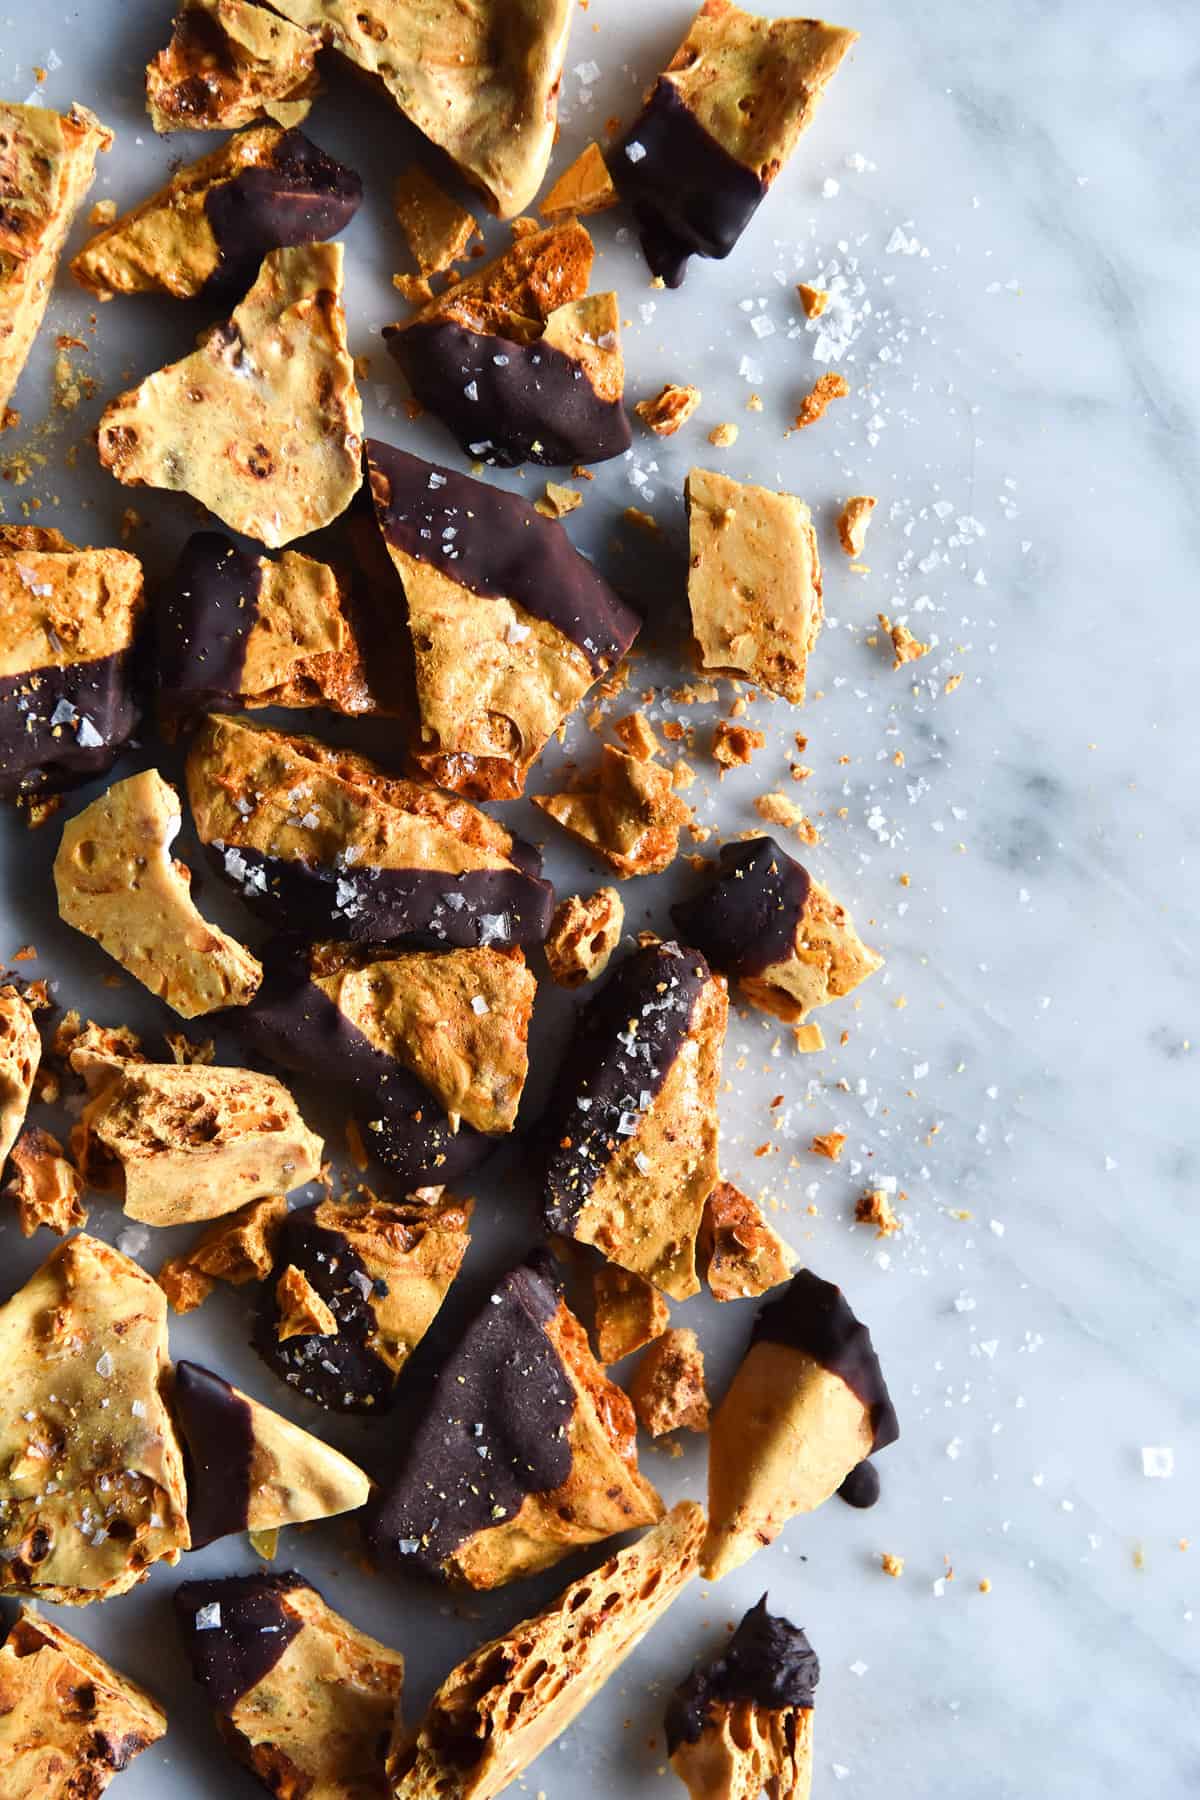
As with most recipes I develop, this one came to me while I was smack bang in the middle of something else. A sugary, crunchy substance coated in chocolate is surely to a person what a shiny object is to a magpie, and I dropped all other pursuits immediately.

Vegan honeycomb
Honeycomb is surely one of the easiest and most fun desserts to make. While the name suggests anything but vegan (as someone kindly pointed out to me on Instagram) this honeycomb is made with plain ol’ caster sugar and rice malt syrup. In all honesty, like the Crunchie and the Violet Crumble of my youth, I prefer honeycomb without any taste of honey. Whether I’m stuck in the past or whether my fructose malabsorption is flaring it’s delightful head remains to be seen. Either way, this honeycomb is vegan, gluten free, and FODMAP friendly to boot.
You can use your preferred brand of vegan chocolate if you’d like, but I’ve given instructions on how to make an easy, low sugar chocolate using cacao butter, which is the MVP of vegan chocolate. Seriously, you’ll never go back to coconut oil chocolate again. Sorry coconut oil. Word has it, as a tenuous link, that the vegan chocolate goes down a treat when drizzled on a roasted banana and quinoa crumble.

More vegan dessert recipes
- Gluten free vegan sticky toffee pudding
- Vegan, gluten free banana bread
- Gluten free cinnamon rolls without yeast
- Gluten free vegan blueberry muffin (single serve)
- Vegan, gluten free chocolate cake

Vegan honeycomb
Ingredients
For the honeycomb:
- 1 1/4 cups caster sugar
- 1/4 cup rice malt syrup
- 1 teaspoon vanilla bean paste
- 2 1/2 teaspoons baking soda also known as bi-carb soda
For the vegan chocolate:
- 75 g cacao butter
- 1/2 cup cocoa
- 1-2 tablespoons maple syrup
- Pinch of sea salt flakes to decorate
Instructions
For the honeycomb:
- Lay a large piece of baking paper on a flat clean surface, measure out your baking soda, and get your sieve ready.
- Heat a large saucepan over a medium heat, and add the sugar and rice malt syrup.
- Stir gently and intermittently until the sugar has dissolved.
- Add the vanilla bean paste, stir through to combine, and put that spoon away because you’re done using it for now.
- Monitor the sugar mixture and use your wrist to swirl the pan if one section is more brown than others. You can adjust the heat as you see fit. You’re looking for a golden brown colour, but best undercook than overcook, so err on the side of caution.Once the candy aspect is cooked to your liking, turn off and remove from the heat, and sift in the baking soda. DO NOT skip sifting like I normally do because I’m lazy. When you bite into a solid lump of baking soda, as I did, you will regret not sifting, as I did.
- Picking the spoon back up, gently but quickly stir in the sifted baking soda. You don’t want to squash the bubbles, but you do want to make sure you’re not shaking baking soda out of the sides of your honeycomb, so make sure you do it right.Working quickly (and carefully because !HOT!) now the soda is incorporated, pour the mixture onto the baking paper. Fight the urge to touch anything or smooth anything over with a spoon. It’s still bloody hot and you will squash it in your attempts to make it aesthetically pleasing.Allow your honeycomb to cool and completely harden – anywhere from 20 minutes to an hour. If you’re in a particularly temperate climate, stick it in the fridge.
For the vegan chocolate:
- Once your honeycomb is set and hardened, make your chocolate.. Simply add the cacao butter to a metal bowl, and place it over a saucepan, quarter filled with water, over a medium heat. The gentlest way to ensure you don’t end up with lumpy chocolate. Once the cacao butter has melted, sift in the cocoa powder and stir to combine, before adding the maple syrup to taste.
To finish:
- Crack the honeycomb into bite sized pieces, and dip or drizzle each piece of honeycomb in/with the vegan chocolate. The quantity of chocolate makes enough to half cover each piece of honeycomb. Allow the chocolate to mostly set (you might need to place it in the fridge during summer) before sprinkling a little bit of sea salt on it, if you fancy. If the sea salt absorbs into the chocolate, you’re too early, and you’ll end up with the saltiest honeycomb alive.Store in an airtight container for a couple of days – it tends to become sticky and start melting after that.

No Comments