


It has been a few years since I published my mini cheesecake recipe. Unfortunately for my doctor and my pant buttons, I am still easily convinced that cheesecake is high protein and thus a suitable breakfast. Mini cheesecake is the perfect compromise for me (and yes, I will continue to eat it for breakfast). Today I thought we’d make a mini pumpkin cheesecakes.
The recipe uses cream cheese (lactose free or regular) sugar, pumpkin spice, gluten free starch, sour cream, pumpkin puree and an egg.
Ingredient notes
I have tested this recipe quite a few times now and found it to be quite flexible. However, there are prerequisites. Firstly, choose a good quality cream cheese. I hate to favourite a brand but I have found Philadelphia to be far superior to other brands – namely supermarket brands. I recommend Philadelphia here – regular and lactose free both work.
You can use caster sugar or light brown sugar depending on what you prefer in a cheesecake. Personally, I prefer caster sugar or white sugar here. I have not tested allulose, coconut sugar or any other sugar varieties. You are welcome to try but I cannot guarantee the result.
I have tested homemade pumpkin puree (I use my microwave recipe) and Libby’s canned pumpkin puree. Both work, but the homemade the puree tastes infinitely better to me. I also find Libby’s a bit watery. If you do use Libby’s, I’d recommend straining off the excess liquid and adding 1/4 teaspoon extra pumpkin spice. I would also recommend using the higher quantity of sugar listed.
Although I use full fat sour cream in this recipe, I suspect you could also use full fat cream. The original mini cheesecake recipe doesn’t use cream at all. Here, I do find it necessary because pumpkin puree can have a watery, thin texture. But I do think that full fat cream or even mascarpone would work depending on what you have on hand.
In terms of the dry ingredients, I use Sally’s Baking Addiction’s recipe for pumpkin spice. It isn’t common in Australia which is why I make my own. I have tested gluten free cornstarch and sticky rice flour (also known as glutinous rice flour, which is sticky rather than containing gluten) and both work really nicely. I don’t recommend omitting the flour as it helps address any texture issues from the pumpkin.
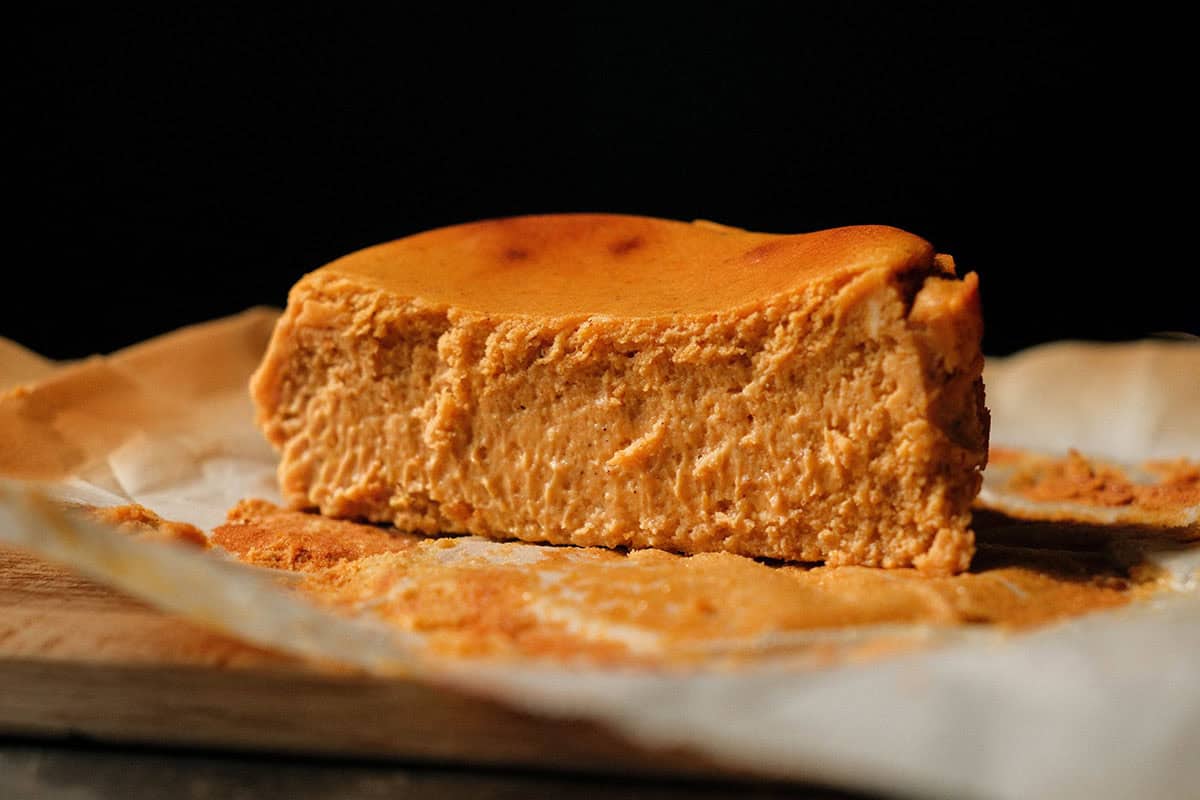
A note on the mini cake tin
As I’ve mentioned in the original recipe, my mini springform cake tin is 11cm/4.3inches in circumference. It’s C&D brand, which is the inexpensive one you generally find at supermarkets or bargain shops.
This recipe requires 2 X 11cm cake tins. Alternatively, you can bake them one at a time. The cooking times are for an 11cm cake tin. If you don’t have one, you will need to adjust the cooking times to match.
I do not recommend going any larger than a 12cm cake tin as the result will be a flat and dry cheesecake. Personally, I would recommend using a silicon muffin tin and making little single serve cheesecakes if you don’t have a mini tin. I’d bake them for 5 minutes and then assess. We want a browned top, wobbly centre and set sides.
In Australia, I have bought/seen mini cake tins in Coles, Kmart, Big W, House and other specialty cooking stores. If you have a ramekins you could potentially also use those.
A note on the cooking times
I have tested this recipe a number of different ways and settled on two (similar) methods. The first is to turn your oven up to 250C/482F and switch it to grill/broiler. Bake the cheesecakes for 15-17 minutes until the tops are light to medium golden brown but the centre is still wobbly. Remove from the oven, chill completely in the fridge (I leave mine overnight, as hard as it is) and slice the next day. If your oven doesn’t go that high, preheat to the highest possible temperature and bake the cheesecakes a little longer if needed.
This method will give you that classic Basque molten inner cheesecake with set sides and a caramelised top.
All ovens are slightly different and run to different temperatures. Check your cheesecake at 5-10 minutes to make sure it isn’t burning. Your oven might be hotter than mine!
The second method is to use the oven at the same heat and bake it for the same amount of time but not on the grill setting. This seems to get quite a similar result in terms of a browned top and molten centre.
If you prefer a cheesecake that is baked through, you can lower the heat and bake the cheesecake for 20-25 minutes. I still recommend thoroughly chilling it before you eat it as that improves the texture. With that said, I am guilty of eating a slice straight out of the oven.
Tips for your mini pumpkin cheesecakes
- The order of adding the ingredients to the mixer matters. This is particularly important if you are using a stand mixer. This is a small batch recipe which means it is harder for the paddles to process the cream cheese. Adding the ingredients in any old order runs the risk of a super lumpy cheesecake batter.
- If you have one, I find a hand beater much easier for this reason. You can be thorough in working out all the lumps of cream cheesecake before you continue.
- On that note: make sure the cream cheese is really soft before you start. I put mine in a warm sunny spot a few hours before I start baking.
- I find that fresh pumpkin puree tastes better and sweeter and needs less sugar. In the versions where I used fresh Japanese pumpkin puree, I only used 75g sugar. I found 100g sugar better in the canned pumpkin version.
- Take your time and add ingredients gradually. Use a silicone spatula to scrape the bowl and paddle very regularly. This is the best way to ensure the mixture is smooth and there are no big lumps of cream cheese.
- Unfortunately, fully chilling the cheesecake before eating it does drastically improve the texture. I wish things were different but alas.
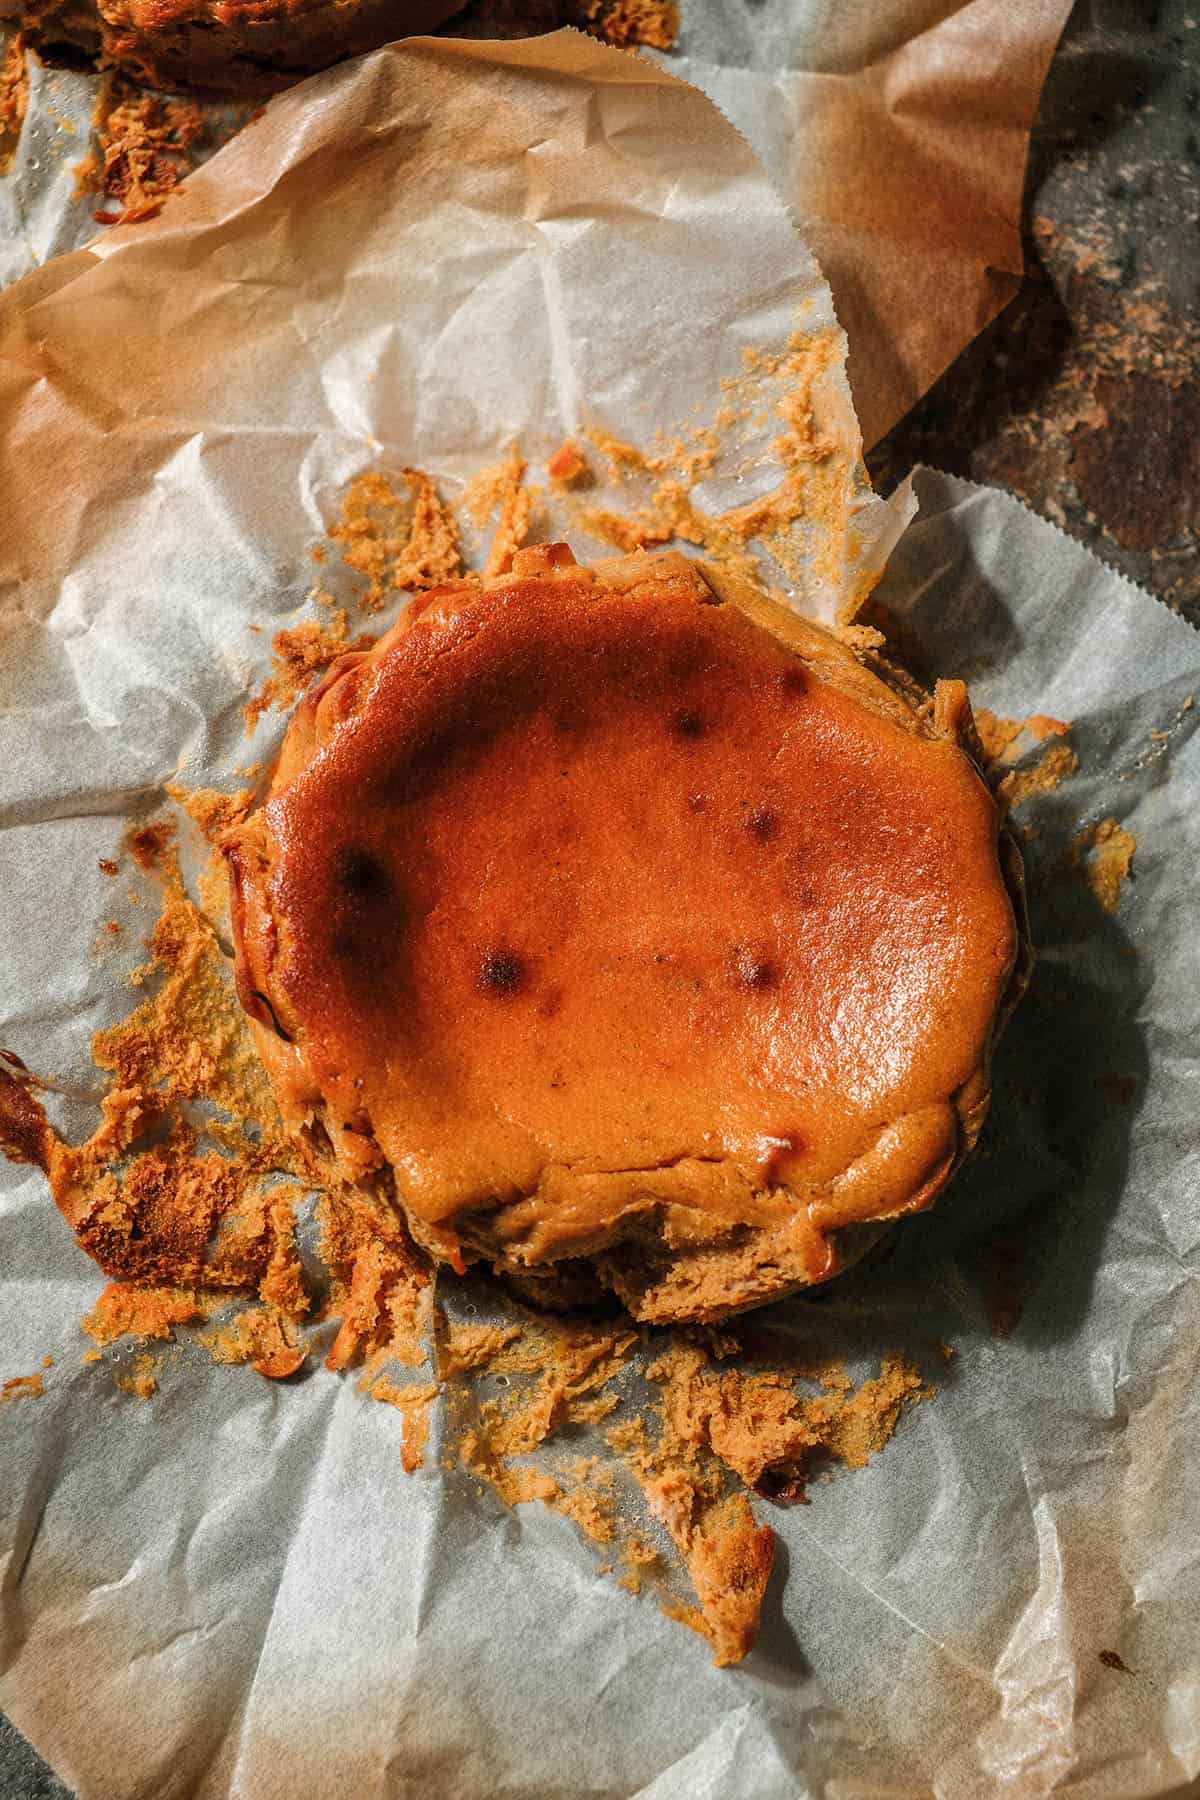
More small batch gluten free desserts
- Small batch gluten free brownies
- Small batch gluten free brownie cookies
- Brown butter hot fudge sauce
- Gluten free vegan blueberry muffins
- Mini gluten free chocolate cake (egg free, vegan option)
Mini pumpkin cheesecakes
Ingredients
- 250 g cream cheese softened
- 75-100 g caster sugar or brown sugar see notes
- 5 g (2 teaspoons) cornstarch or glutinous rice flour
- 3 g (1 teaspoon) pumpkin spice see notes
- Pinch fine salt
- 20 g full fat sour cream
- 100 g pumpkin puree homemade or canned (see notes)
- 1 extra large egg 50-60g weighed out of shell
Instructions
- Make sure your cream cheese is truly soft before you start. I put mine in a sunny spot 1-2 hours before I start.
- Preheat the oven to 250C/482F. If your oven doesn’t go that high, preheat it to the highest temperature your oven will go. You can bake the cheesecakes on the grill/broil setting or the oven setting.
- Line two 11cm mini cake tins with overhanging baking paper as per the photos. Be generous with the baking paper so that it fully lines all sides of the tin – you can trim it after.
- Place your soft cream cheese in the bowl of your stand mixer or in a mixing bowl. I personally think using hand beaters is quicker and easier with this small quantity of cream cheese, but use what you have. If you are using a stand mixer, use the paddle attachment.
- Process the cream cheese on a low-medium speed until smooth. Scrape down the bowl and beaters or paddle regularly to ensure all the cream cheese lumps are gone.
- Combine your sugar, starch or flour, pumpkin spice and salt. Turn off the mixers to add them to the bowl, then continue processing on low-medium.
- Again, scrape down the bowl and beater regularly to ensure a smooth cheesecake mix. Once they have been incorporated, repeat the process with the pumpkin puree and sour cream. Process again and scrape down again until smooth.
- Finally, add the egg. When I am using my stand mixer, I like to whisk the egg and add it in 3 batches. Otherwise it runs the risk of creating globs of cream cheese mixture which can turn into the lumps in the batter. If you are using a hand beater, this shouldn’t be an issue.
- When you have a lovely smooth batter, pour it into your 11cm mini cake tins. Place them on a baking tray and bake for 15-17 minutes. The top should be light to medium golden brown and the centre wobbly but the sides baked.
- Remove the tins from the baking tray and place them on a rack to cool. Once the cheesecakes are cool, you can transfer them to an airtight container in the fridge (in the cake tins or out of the cake tins).
- Once thoroughly chilled, they are ready to enjoy!
- Leftovers keep well for 3-4 days. I find homemade pumpkin puree tends to have a shorter shelf life so I am erring on the side of caution with the 2-3 day timeframe. Leftover cheesecake can also be frozen and defrosted. Personally I don't think the texture is quite as good but it is an option.
Notes
- See ingredient notes and substitution options in the body of the post.
- See tips in the body of the post.
- For best results, use Philadelphia cream cheese. I have not had success with generic brands but feel free to use one if there is a brand you know and trust.
- When using homemade pumpkin puree from a sweet pumpkin, I preferred 75g sugar. When using Libby’s canned pumpkin (which is not sweet to me) I preferred 100g sugar.
- When using canned pumpkin, I also preferred 1 ¼ teaspoons pumpkin spice. I use Sally’s Baking Addiction pumpkin spice recipe.
- Salt rounds everything out and makes the cheesecake flavour more complex. I do not recommend omitting it, even though cream cheese contains salt.
- For a lactose free and/or low FODMAP option, use lactose free Philadelphia.
- As of November 2026, Monash says that canned pumpkin puree is low FODMAP in serves of up to 105g. In larger serves, it contains moderate fructan.
- I like to use homemade pumpkin puree made from Japanese or Kent pumpkin. As of November 2026, Japanese/Kent pumpkin is low FODMAP in serves of up to 162g. In larger serves, it contains moderate amounts of fructans. So, either way the pumpkin in this recipe constitutes a low FODMAP serve. You could eat both cheesecakes, in fact (if you use lactose free cream cheese).

No Comments