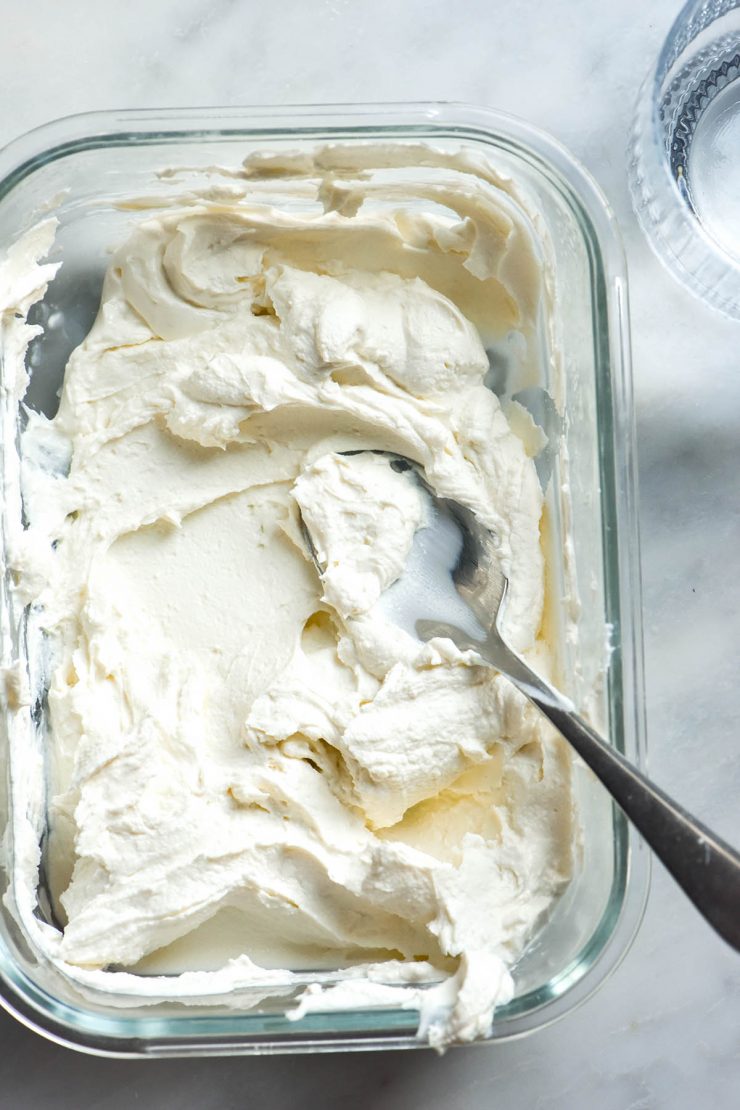
A lot of vegetarian low FODMAP recipes depend on lactose free dairy products for success. Low FODMAP dips, low FODMAP bagels and cream cheese iced cakes all depend on access to lactose free cream cheese. While this product is available in Australia (albeit at a cost) it isn’t available in other countries, so I have been told. With that in mind, I wanted to publish a recipe for lactose free cream cheese.
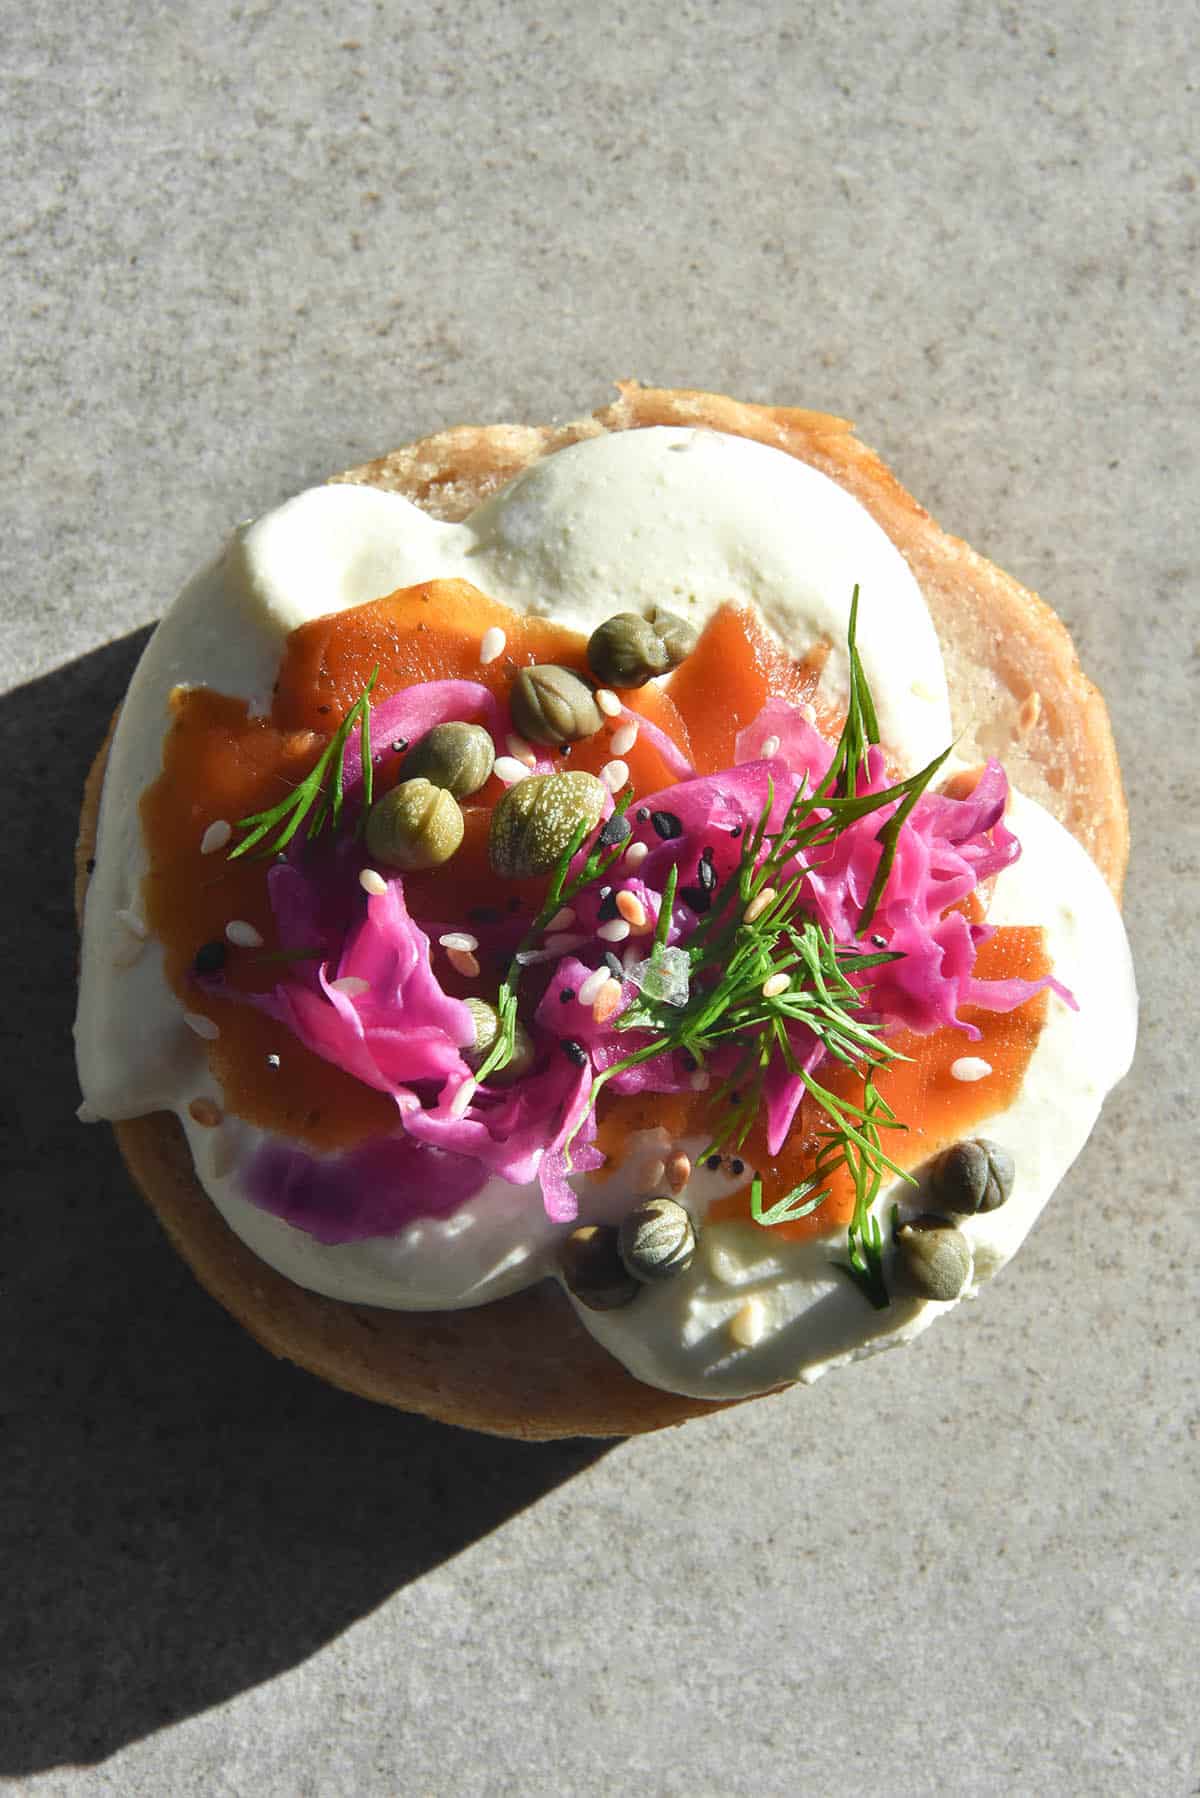
Lactose free cream cheese
The process of making lactose free cream cheese is actually incredibly simple. First, you need to acquire some full fat lactose free milk. If lactose free milk is not available where you live, you can make your own using my guide here. Cream cheese requires full fat dairy in order to work, in my experience.
Once the milk has been cooked over a very low temperature, an acid is added to separate the curds and whey. I like using white vinegar as it has a neutral taste and can’t be detected much in the final product. However, you can also use lemon juice.
Next, the curd (white fluffy part of the mixture) is drained of most excess whey (the opaque yellow liquid). The curd is then whipped with an immersion blender or food processor until it forms a smooth cream cheese.
Benefits of making your own lactose free cream cheese
- It is a great option if lactose free cream cheese is not available where you live.
- There are no stabilisers or other ingredients added. This is handy if you need to be corn free and cannot have xanthan gum, which is often corn derived.
- You can control the quality of the milk being used to make the cream cheese.
- You can also control how much salt (if any) is added. 100g of cream cheese can contain up to 13% of your sodium intake for the day, so this is helpful if you need to limit your intake.
- It can be cheaper (more on that below).
- Freshly blended cream cheese can be used straight away – it doesn’t have to come to room temperature like a block does.
What is lactose free milk?
Generally, we produce lactase in our small intestine to digest any dairy we consume. Some people don’t produce enough lactase to cope with dairy consumption which results in symptoms of lactose intolerance.
Lactose free milk is regular dairy based milk that has had an enzyme called lactase added. Lactase is the enzyme responsible for breaking down lactose which makes it more easily digested.
Lactase is added to milk or other dairy products at least 24 hours before they are consumed in order for the lactase to digest the lactose.
Store bought lactose free milk makes no guarantees as to how much lactose has been removed from the product. It is also quite expensive when compared to traditional milk and there are less options in terms of added Vitamin D, A2 protein, etc.
This is why I like to make my own lactose free milk – it’s cheaper and I have more control over the initial product and the end result. I am also responsible for how much lactase to add and how long to leave it. When you buy from a company, their aim is to make the most money with the least amount of effort and time.
An interesting fact about lactose free milk is that it is sweeter than regular milk. Lactose is a sugar, so when it is broken down it produces a sweeter tasting milk. Just something to be aware of!
What is the difference between homemade and store bought cream cheese?
The main difference between the two products is that store bought cream cheese containers stabilisers. Some contain up to 3 stabilisers – locust gum, xanthan gum and guar gum. Google says that the purpose of food stabilisers is to preserve structure, enhance texture and to make the product more appealing to consumers.
While omitting these stabilisers doesn’t mean much for smearing on bagels, I am loathe to admit that homemade cream cheese produces a lacklustre cheesecake. I have tested both mini cheesecakes and a whole cheesecake. I found the mixture had that wet, wrung out cloth texture that nobody likes in a cheesecake. My belief is that this has something to do with the stabilisers in the store bought version and perhaps the fat content being higher.
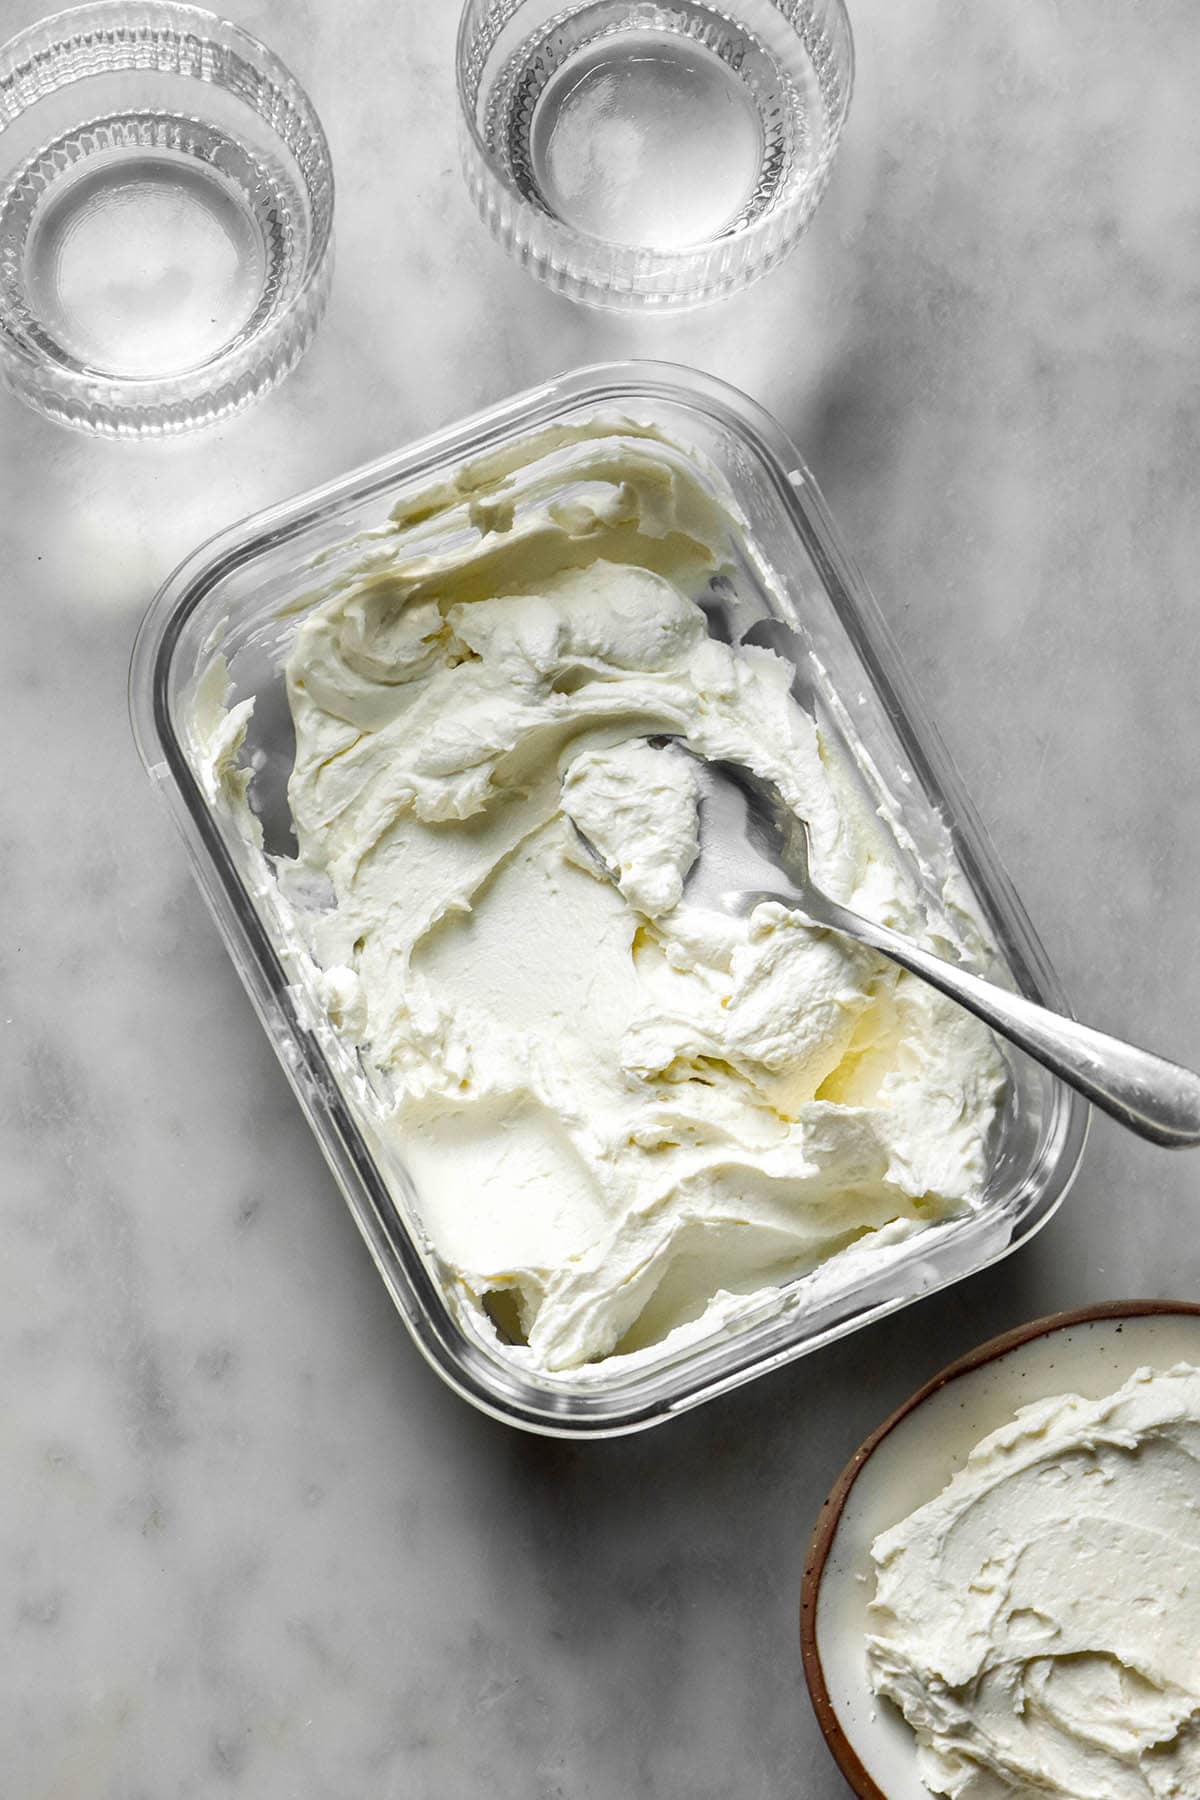
Is it cheaper to make your own lactose free cream cheese?
It can be. Because companies charge ludicrous amounts for lactose free milk, making lactose free cream cheese is more expensive than making regular cream cheese.
In Australia, Pauls Zymil brand is (at the time of writing) $8.90 Australian dollars for 3 litres. To make 1kg or more of lactose free cream cheese, we need roughly 6 litres of milk. This equates to $17.80 Australian dollars. Lactose free cream cheese is currently $4.50 per 250g, which equates to $18.00 Australian dollars. Not much in it.
However! There are options. Firstly, Aldi lactose free milk comes out a little cheaper. You can also wait for lactose free milk to be on special (although with Australian supermarkets, you might be waiting a while :))
Secondly (and more significantly) is the option to make your own lactose free milk.
Full cream generic brand milk is around $4.50 Australian dollars for 3 litres. This equates to $9.00 Australian for 6 litres of milk.
You will need to purchase lactase drops, which will initially set you back around $26+ dollars for 15ml. However, a drop is approximately 0.05ml which means you will get around 280 drops per bottle. Each litre of milk requires 7-10 drops of lactose to digest the lactose. As such, you will have used 42-60 drops out of 280. This is around 1/5th of the bottle, which means the cost is around $5.40 Australian dollars.
So! The total for having made your own lactose free milk is $14.40. However, you still have 4/5ths of a bottle of lactase leftover to make more milk.

How much cream cheese does this recipe make?
The annoying part: it’s hard to say. While there are rough ratios, it depends a lot on the temperature you cook it, the milk itself, how you strain it, how much whey you strain off, luck, etc.
As a very general guide, I have found that 4 litres of milk makes about 750g curd. Once you take into account the loss from blending, you are left with about 700g of cream cheese.
This rate means that each litre (1000ml) of milk makes about 187.5g curd. Of course, this is an estimate and I wouldn’t recommend relying on it without considering variables.
If you’re just making cream cheese to eat, no worries! But if you have a specific quantity you need, it is a bit more stressful. That said, I do have a few tips to get the most out of your milk.
- The lower and slower you cook the milk, the more curd you’ll get (in my experience). It should take at least 30-40 minutes for the milk to get up to temperature.
- Choose full fat, good quality milk. I daresay this also makes a difference in the volume of curds you end up with.
- The volume of cream cheese you will end up with depends heavily on how much liquid you wring out as well. That’s not to say you shouldn’t wring out the liquid (as below, you must for the ideal consistency) but it will impact the final volume.
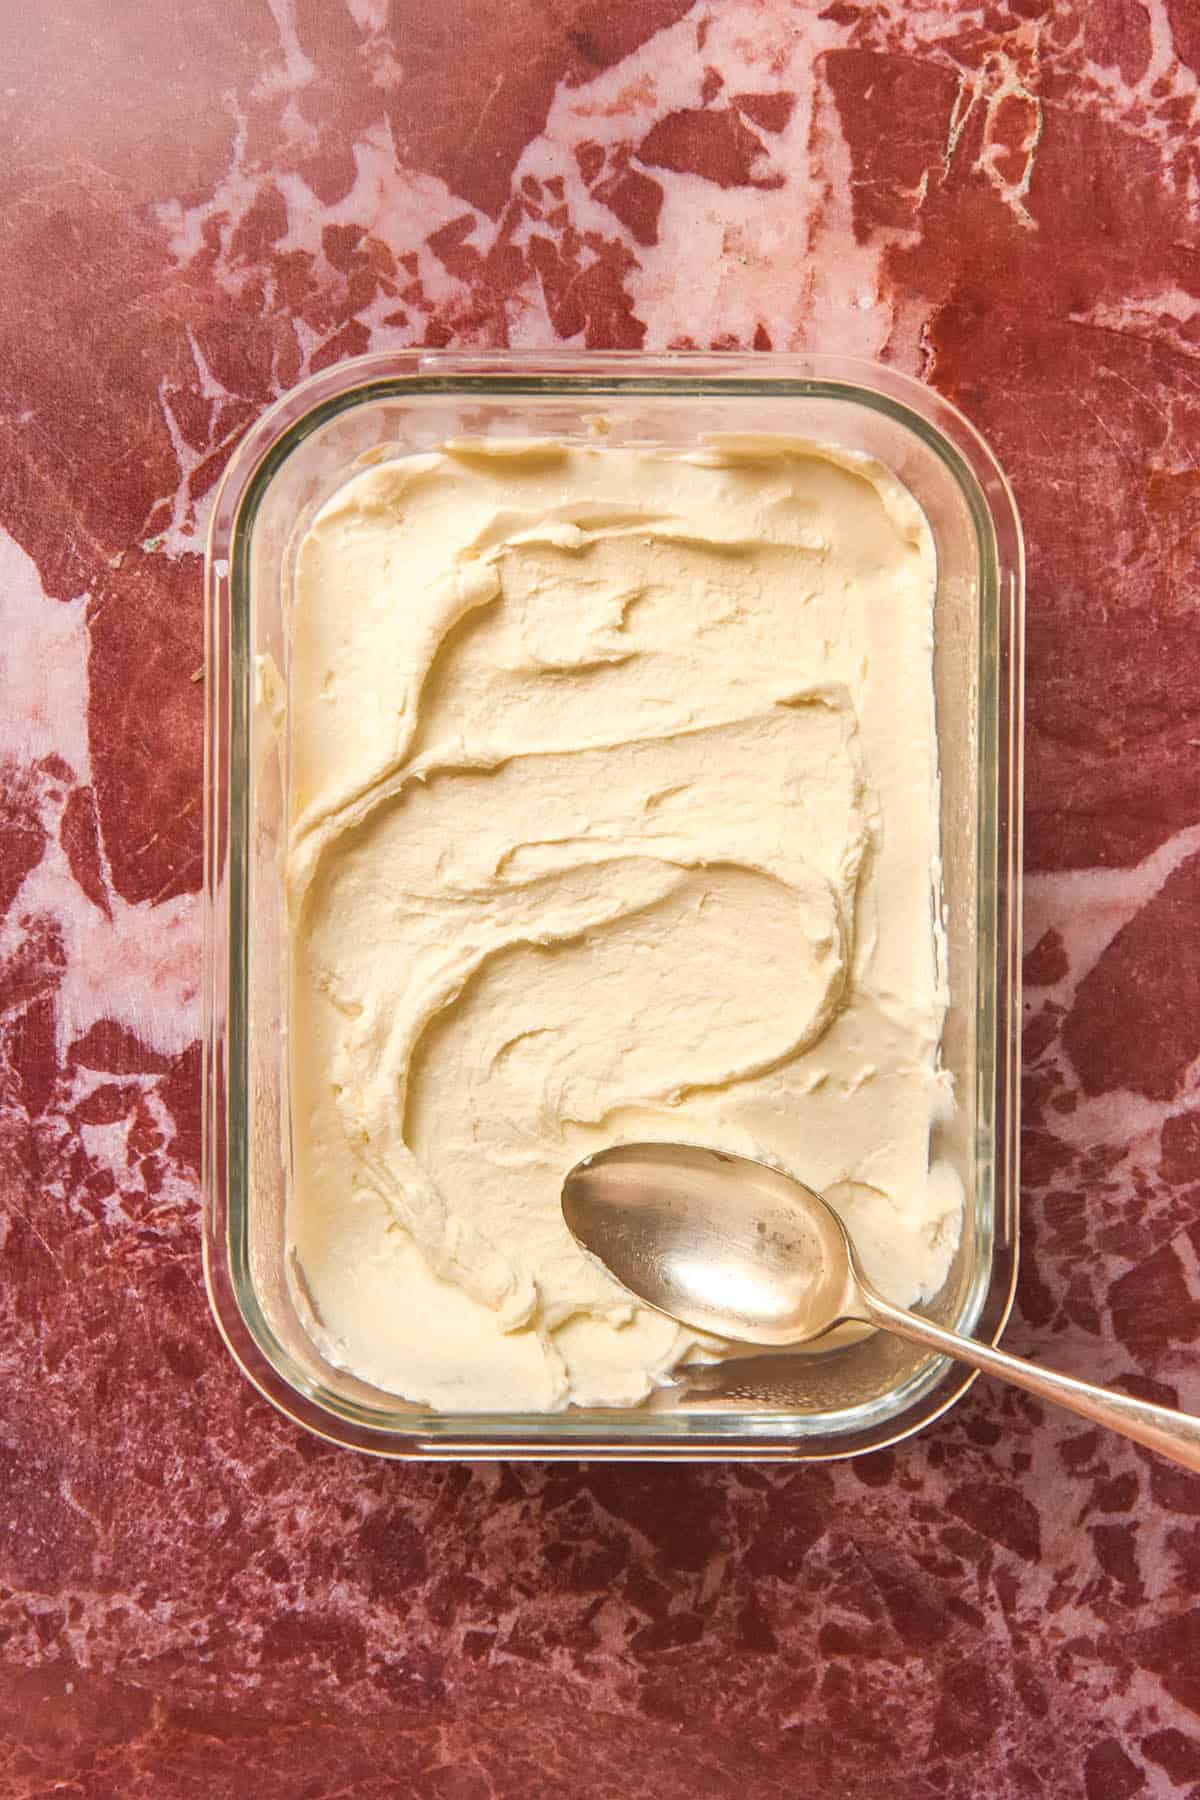
What is the right consistency for my curds to make good cream cheese?
This part of the recipe is the only part which is slightly difficult. It can be hard to tell how much liquid to drain from your curds before blending them.
This is one of the main reasons why we set aside some whey. If the curd is too dry we can simply add some of the liquid back in. You can also do this with full cream milk (and perhaps even cream).
Before blending, your curds should be able to hold form if you pick a ball up and squeeze out the excess liquid. They shouldn’t be bone dry but they also shouldn’t be bleeding liquid and unable to hold form. If in doubt, I recommend over-draining the curds as you can add liquid back in during the blending stage.
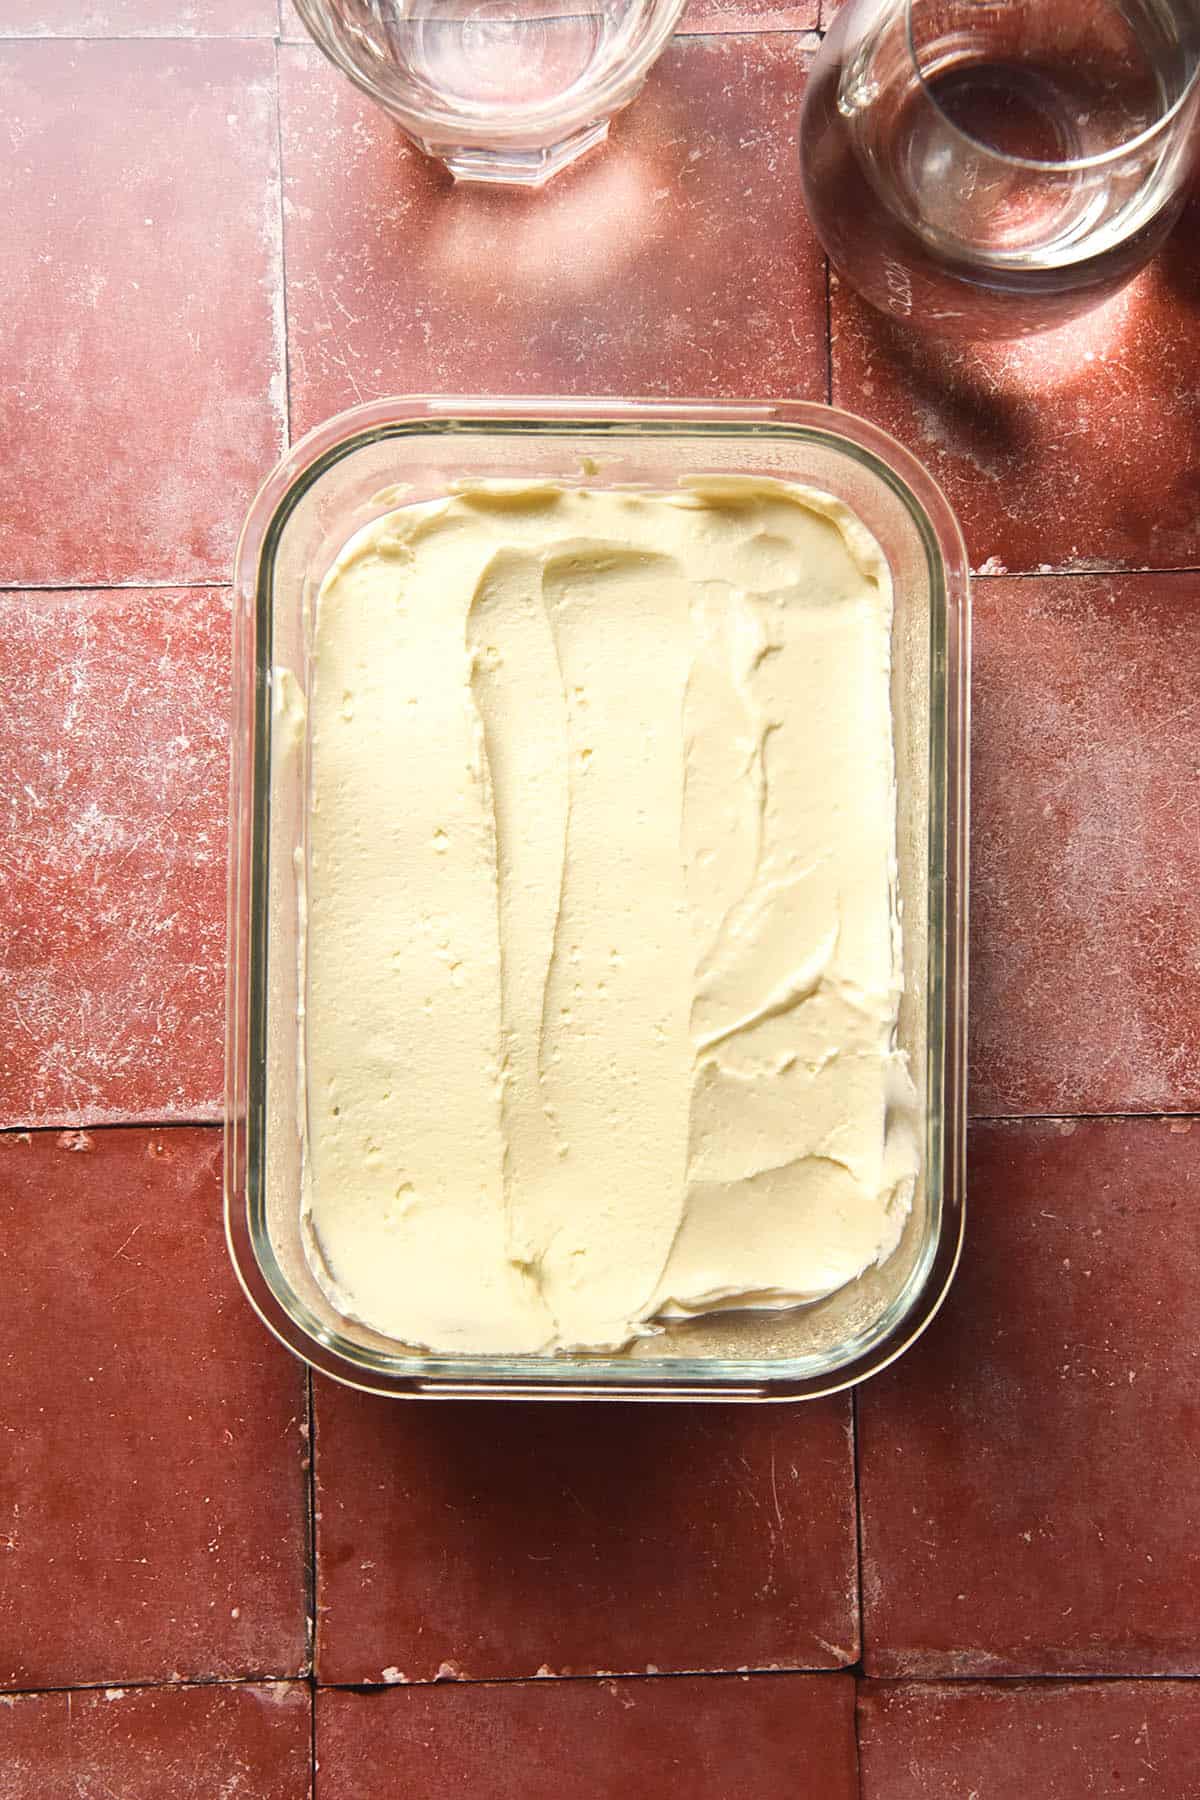
After blending, the cream cheese should look like room temperature cream cheese or sour cream. It should be smooth and creamy with no lumps and no grainy sections. It also shouldn’t look dry or form cubes (you’ll know it when you see it) as you blend. These are both indications that not enough liquid remains. Add the whey, some milk or cream back in until the consistency is smooth and glossy. It should look like cream cheese that has been blended prior to adding cheesecake ingredients.
Recipe tips
- Cooking the milk on a low and slow temperature ensures you don’t burn it and that you don’t scorch the bottom of your pot. Anecdotally, I found that the slower you bring the milk to temperature, the more curd you’ll get.
- Anecdotally, I found that rubbing a tiny amount of oil on the base of my pot before adding the milk helped with cleanup at the end.
- Muslin cloth or a nut milk bag is helpful but not essential. If you are just using a sieve, spoon the mixture in instead of pouring it in. This will stop the pressure from pushing milk curds through the sieve (which ultimately means less cream cheese).
- I like to drain the curds for 15-20 minutes, then pick up balls of curd and squeeze them out with my hands. When they return to the sieve, they should sort of hold shape. The curds shouldn’t feel like they are super wet or sloppy – this will make a cream cheese that is too runny. See the section above on the right consistency for tips.
- Keep in mind that lactose free milk (and thus lactose free cream cheese) is sweeter than regular. This is because the broken down lactose becomes sugar.

Where can I use this lactose free cream cheese?
As discussed above, I don’t recommend this in cheesecake at the moment. Although that was my initial intention with the recipe, I have found it produces a wet and spongy cheesecake. I intend to play around and make a version that is cheesecake friendly, so stay tuned for that.
Other applications:
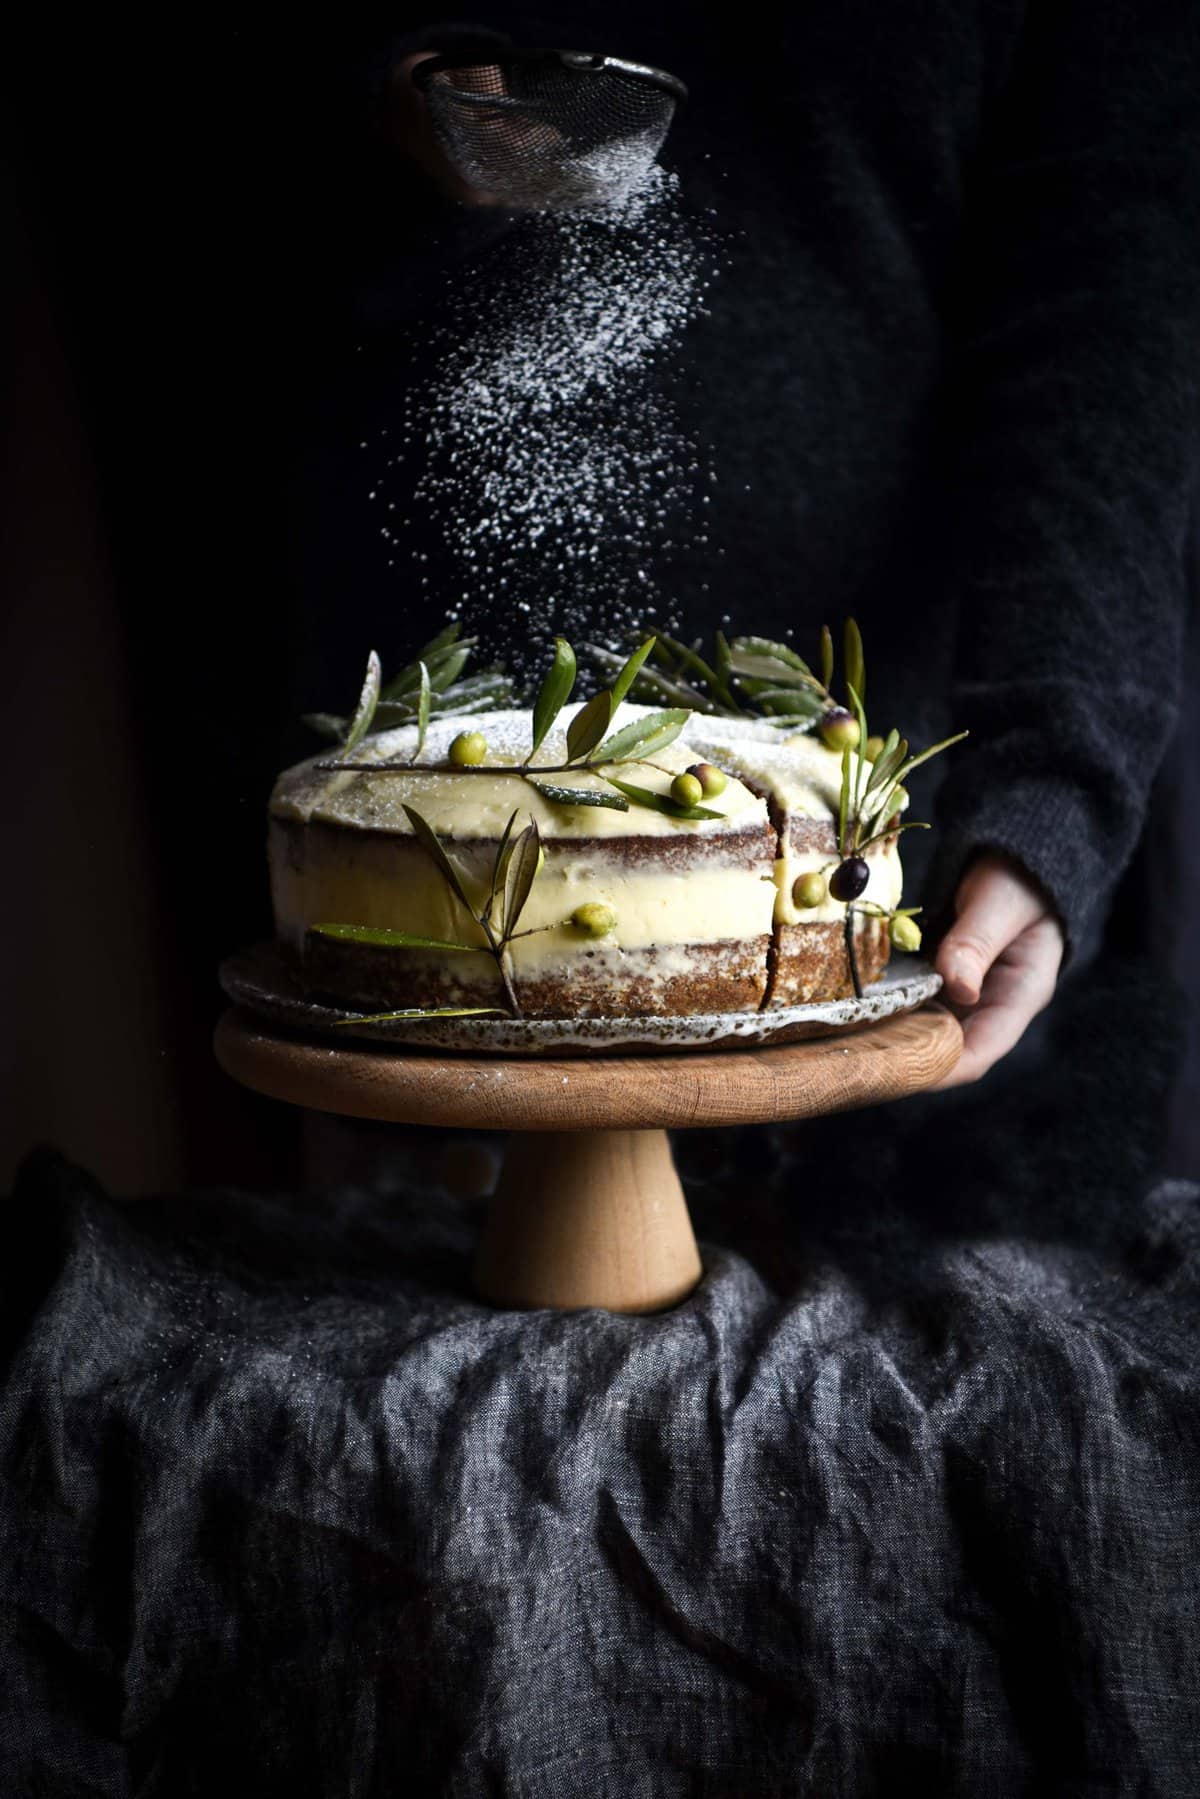
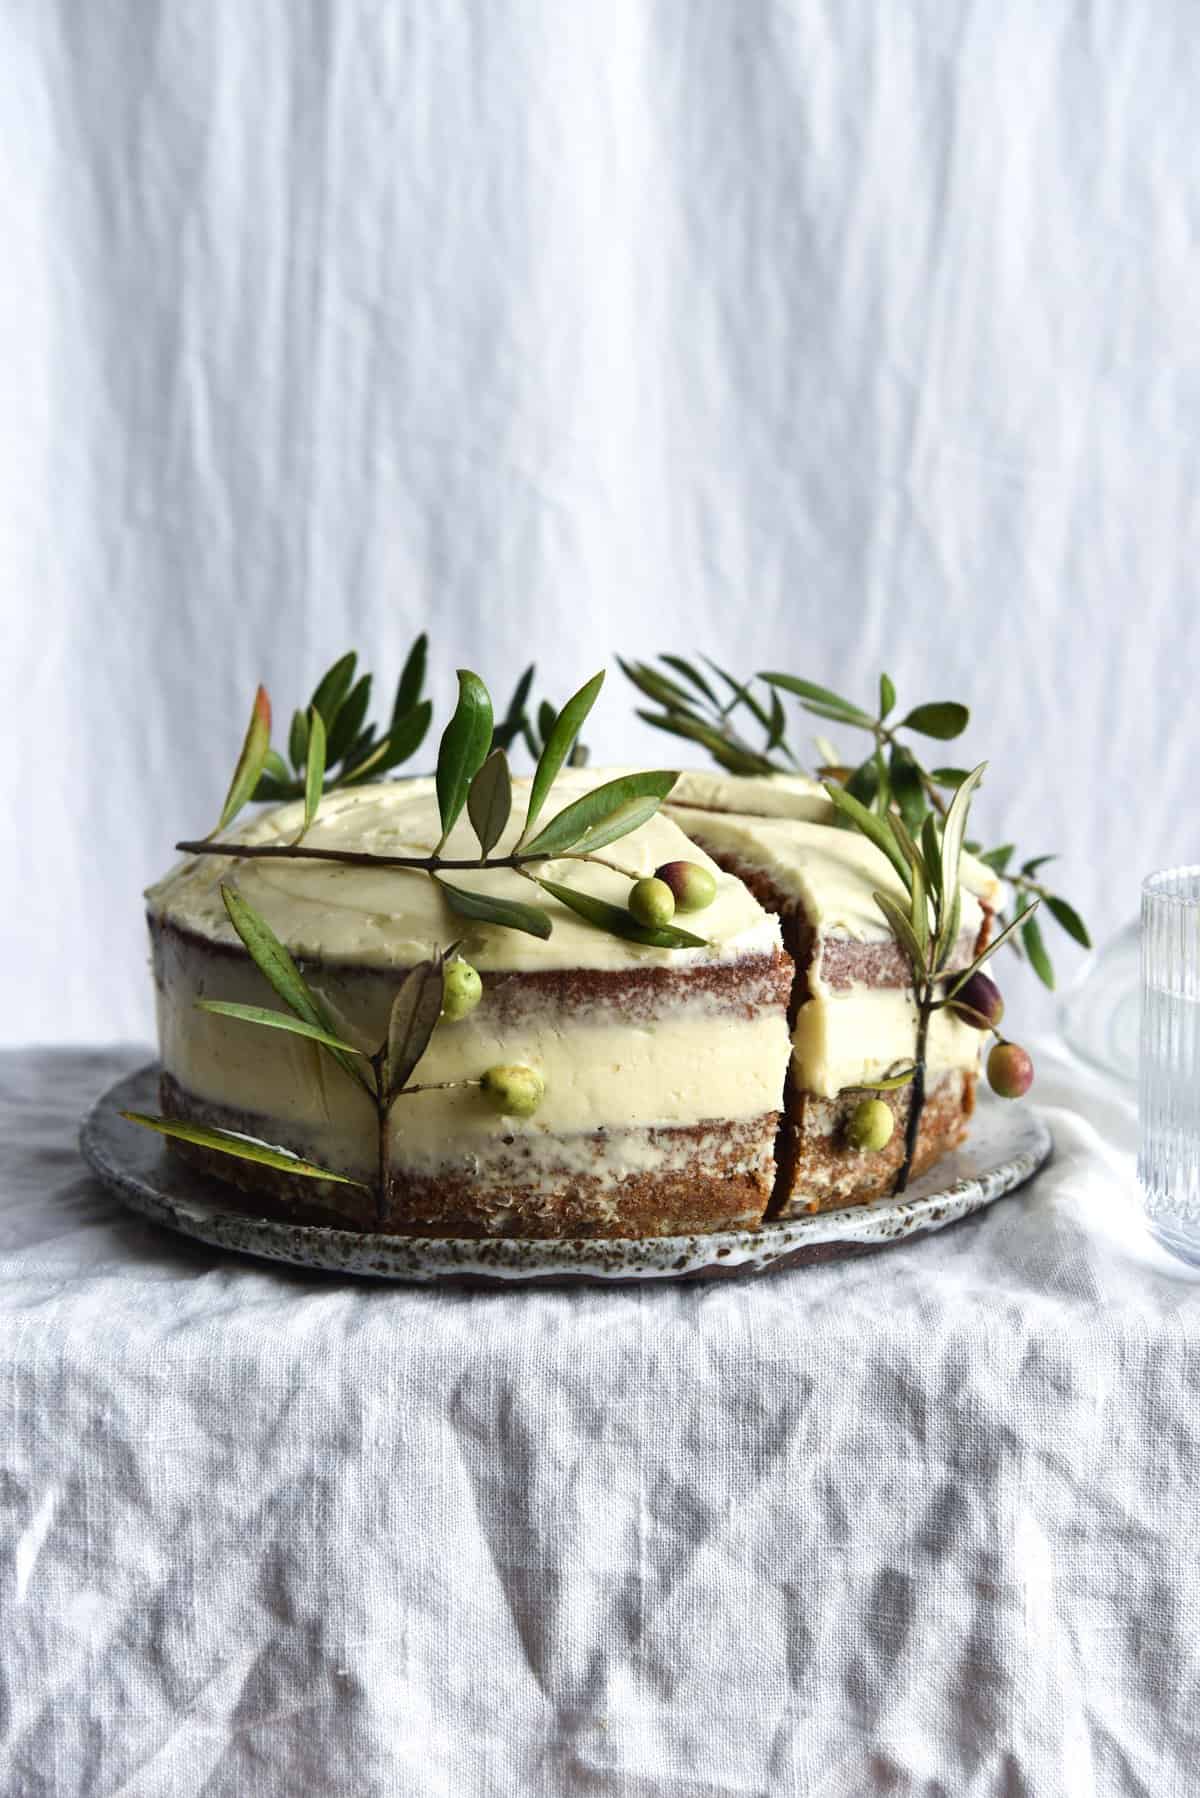
- As a cream cheese icing on gluten free courgette cake or carrot muffins
- Smeared on a gluten free bagel or in a sandwich
- Atop gluten free cinnamon rolls
More lactose free dairy recipes
- Lactose free ricotta
- Lactose free paneer
- How to make your own lactose free milk
- Lactose free mascarpone
- Lactose free cottage cheese
- Lactose free condensed milk
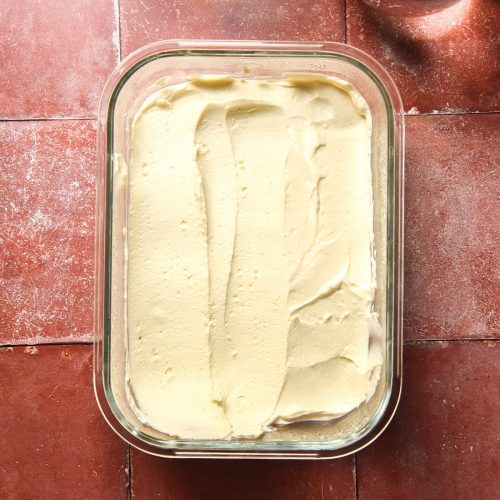
Lactose free cream cheese
Ingredients
- 6 litres (6000ml) lactose free full cream milk
- 375 ml (1 ½ cups)* white vinegar
- Salt to taste
Instructions
- Place the milk in a very large soup pot over a very low heat. Cook for 30-40 minutes, stirring intermittently, until it reaches 70C or is just simmering.
- Pour in the vinegar and stir to combine. Quite quickly, the mixture should separate into fluffy white curd and an opaque yellow liquid – whey. The liquid should have no areas of milky white – it should all be opaque yellow. If it does, continue to cook until the curds and whey have fully separated.
- Allow the mixture to sit and cool a little for about 10 minutes. Scoop a few cups of whey out and reserve them for the next steps.
- Gently drain the whey off the curds using a nut milk bag or a fine meshed sieve. Be gentle in pouring out the whey as the pressure of dumping it all through a sieve might push some of your curds through the sieve and down the sink.
- Allow the curds to continue draining off until they are a hand comfortable temperature. From here, apply gentle pressure to expel the excess liquid from the curds. I like to gently press down then pick up balls of curd and gently squeeze them with my hands.
- This step is the only one that is mildly tricky because it’s hard to know how much water to expel. If in doubt, it is better to wring out too much liquid as we can add it back in in the next steps.
- Transfer your drained curd to a tall glass jar if you are using an immersion blender (soup stick) or to your high-speed food processor. If you are using a processor without a steam valve, you’ll need the curds to be fully or mostly cool before blending.
- Blend the cream cheese until it is smooth, glossy and velvety like room temperature cream cheese or sour cream. If your mixture is dry, crumbly or forms cubes as you blend (you’ll notice this if you use an immersion blender) add more whey, milk or cream into the mix until you reach the described consistency.
- Decant the cream cheese into a glass container and salt according to your tastes.
- Keeps well in the fridge for up to a week.
Notes
- How much cream cheese you get is luck of the draw – the amount varies every time I make it. For best results, ensure you cook the milk low and slow (30-40 minutes) and use a good quality lactose free milk.
- I highly recommend reading the notes for best results.
- At the moment, I don’t recommend using this recipe for cheesecake. I have found it produces a wet and spongy cheesecake which is not good. Stay tuned for a cheesecake amendment.
- You can scale this recipe up or down as you see fit. For a small amount of cream cheese, use 1 litre lactose free milk and 60ml (1/4 Australian cup) white vinegar. Use double that for a larger batch and so on.

No Comments