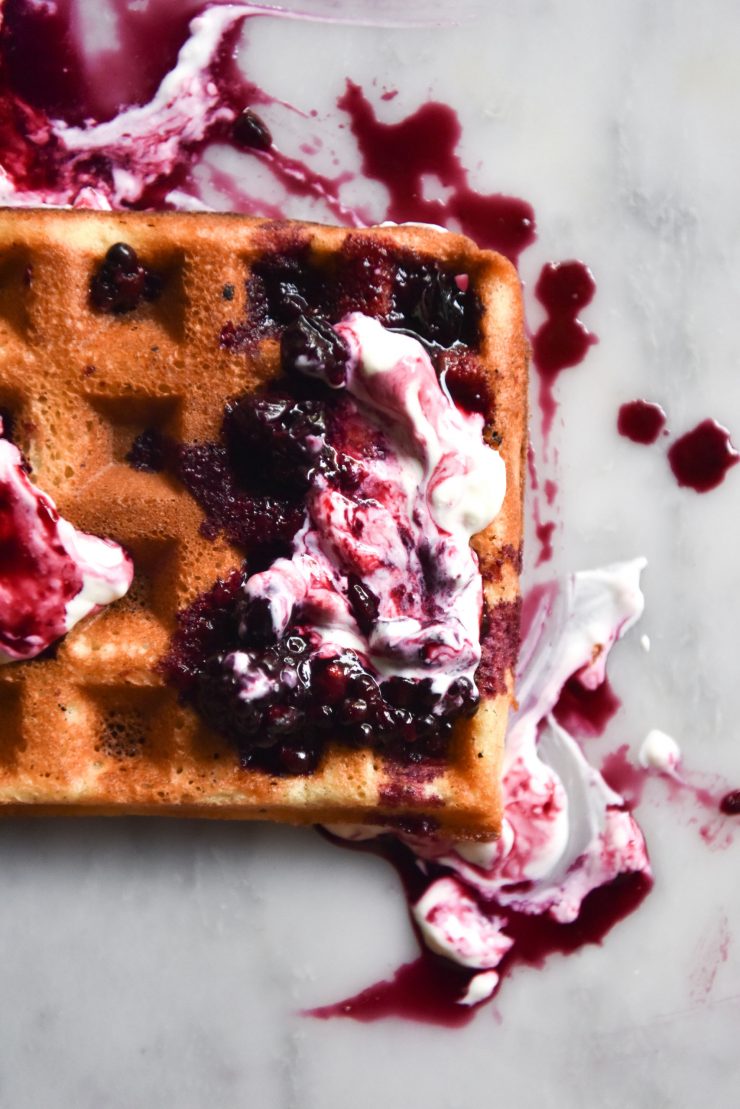
Sometimes, you don’t want avocado on toast for breakfast. Sometimes you want waffles for breakfast. Gluten free waffles.
I have a fascination with all things a little bit fancy, but I realised recently that simple recipes are so important. I’ve made gluten free banana pancakes, oat and polenta waffles (in the cookbook) but never just ‘plain old’ gluten free waffles. So, here we are.
Perusing the internet for gluten free waffle recipes, it struck me that they generally rely on prepackaged flour blends. I have nothing against these blends, per se. However, as I was reading up on the ingredients of an ‘all purpose flour’ blend, I noticed that the primary ingredient was chickpea flour. As a legume intolerant gluten free flour user, little could be more disappointing than biting into a ‘safe’ waffle, only to taste a hidden legume. The disappointment! The waste! I can’t stand for it. Sweet bean waffles: it’s a no from me.
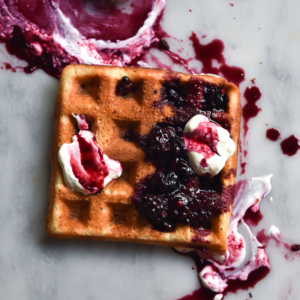
These waffles are slightly sweet. They’re not Pancake Parlour sweet (please be aware I’m not even sure they make waffles.) They are crispy and crunchy, yet also light and airy. Whipping egg whites is sometimes somewhat of a hassle, but they’re honestly very straightforward, and yield 8 delicious, crispy and light gluten free waffles. WHAT COULD BE BETTER.
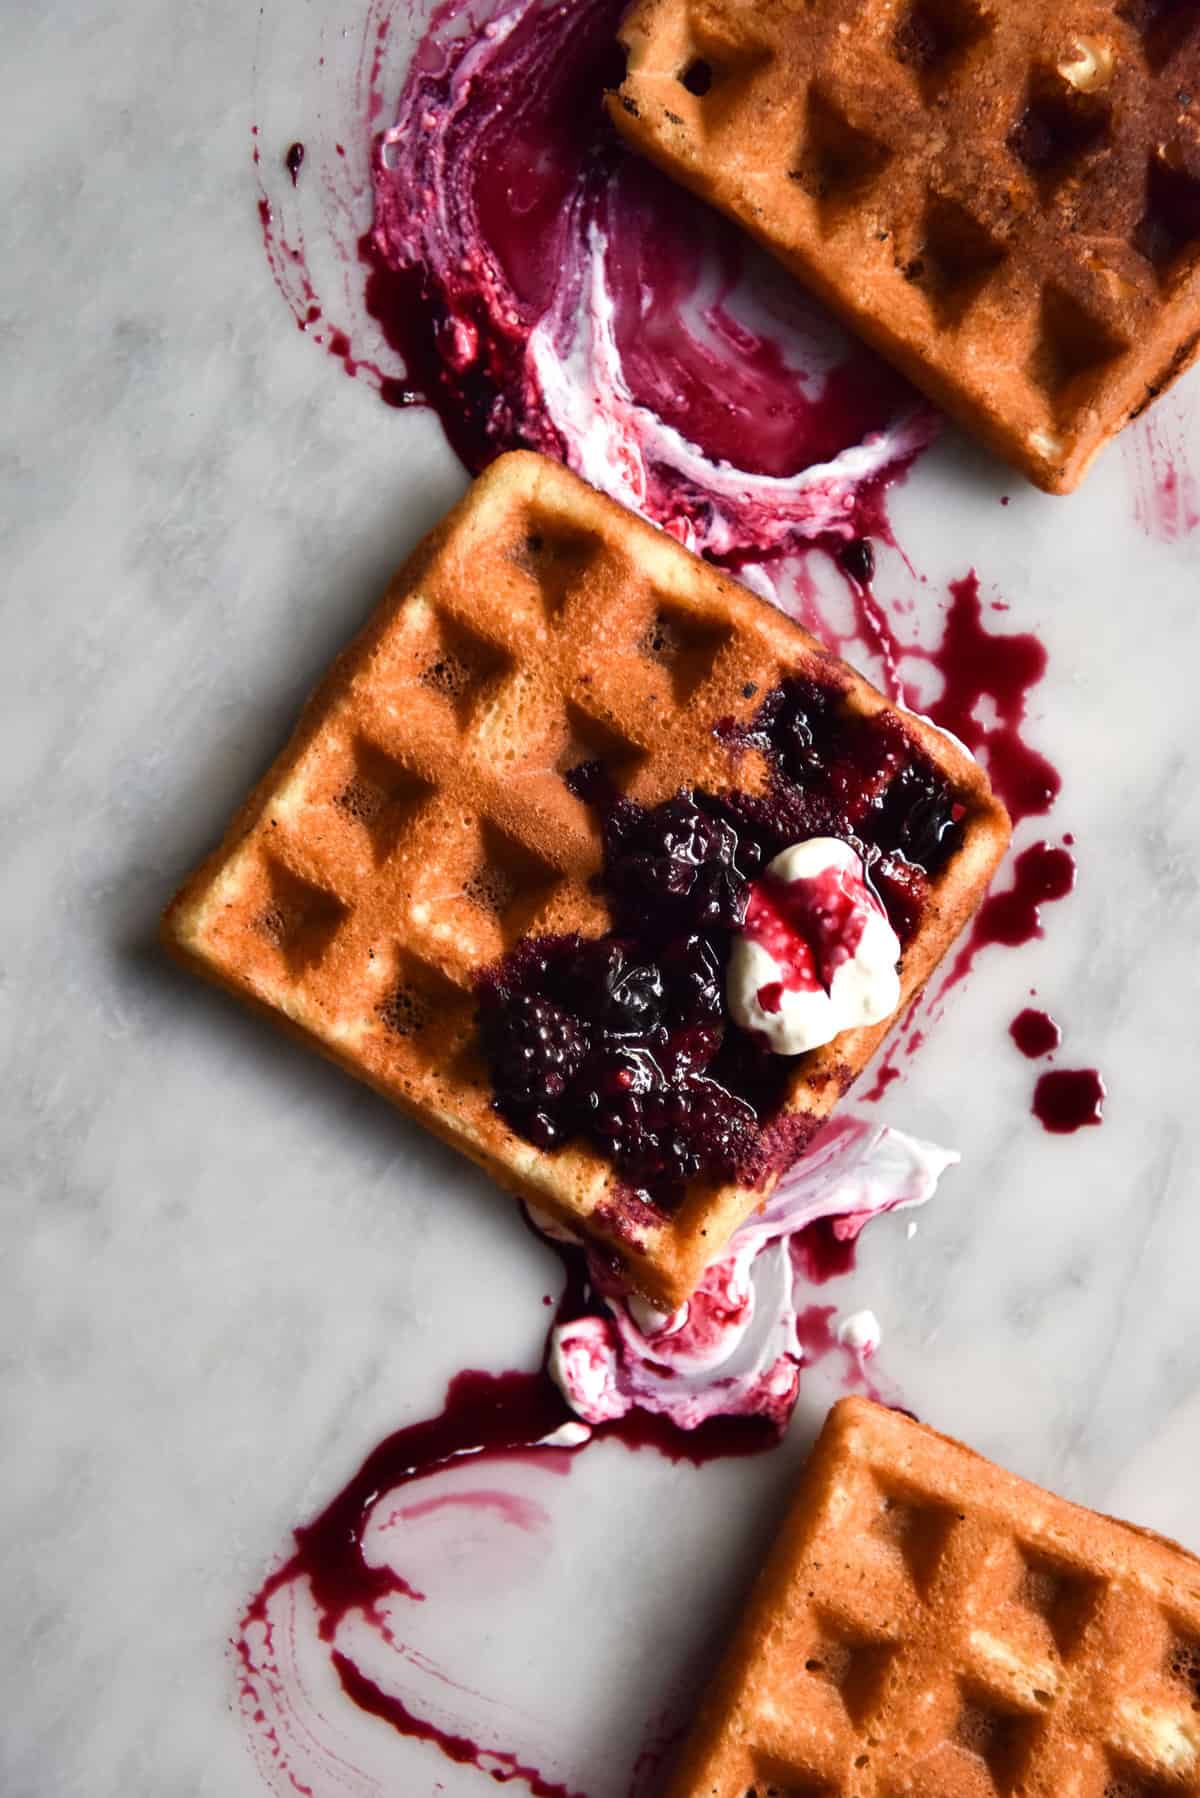
Gluten free waffles without xanthan gum
There is basically nothing in these waffles that should be of any concern to you as FODMAP follower. The gluten free waffles are gluten free (surprise!) FODMAP friendly, lactose free, and can be adapted to be refined sugar free. They are lactose free, and low in added sugar. You could potentially experiment with coconut or maple sugar as a replacement for caster, but I find caster to be the master (lol) at the quick browning and structural integrity that waffles necessitate.
These gluten free waffles use ingredients that you, as someone who has (hopefully) read one of my recipes before, will have in the cupboard. Using rice flour, tapioca flour, eggs and soy milk, they skirt most common allergens, and should be suitable for anyone who can eat eggs.
FODMAP appropriate toppings include maple syrup (the real stuff!) a bit of lactose free or coconut yoghurt, or a good ol’ berry coulis. I generally make berry coulis by defrosting frozen berries over a low heat, and adding a little bit of maple syrup. You can also add a bit of water, if you feel the berries are sticking.
I use soy milk in this recipe because I find it the thickest, creamiest and fattiest of plant milks. I haven’t tried it with any other milks – if you do, you might consider adding a little oil to the batter to compensate. In terms of FODMAPs, buy a soy milk that is made from soy bean protein rather than the actual soy bean. This is easy to identify by reading the label. In Australia, So Good by Sanitarium is a known brand that uses soy bean protein.
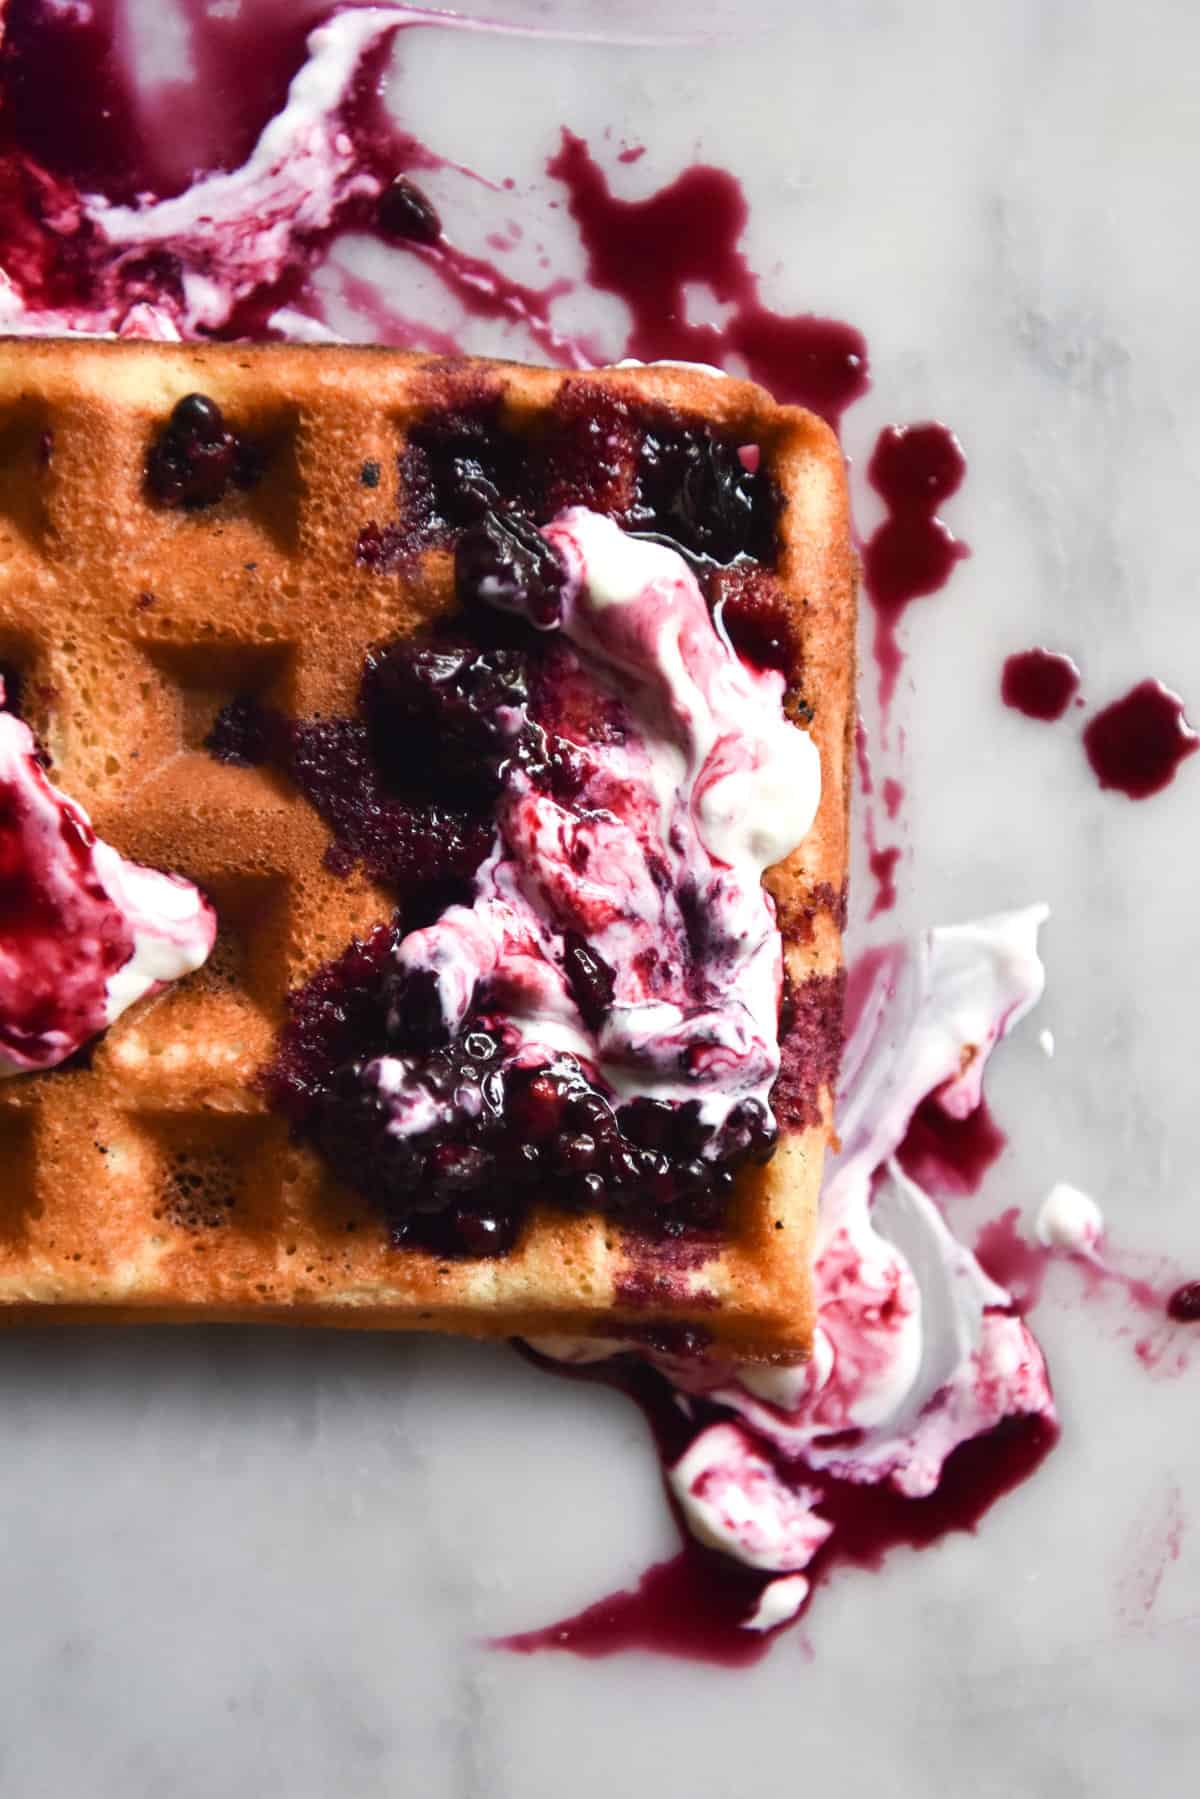
Tips for super crispy gluten free waffles
Whip your egg whites well, in a clean, dry bowl. They need to be very firm – they are responsible for some of the fluffy rise.
Another thing responsible for structure: the sugar. Don’t omit it. Sugar adds structure, browning, and also deliciousness.
Make sure your baking powder isn’t five years old and from the back of Nan’s cupboard.
As you pull each waffle from the waffle maker, make sure it is well ventilated on both sides. This might mean tossing it lightly between your hands as you transfer it to a baking rack to cool. Giving the steam a place to escape prevents a soggy waffle bottom.
Keeping the waffles warm in the oven helps with crispiness. This batch makes 8 waffles which takes a while to get through, so if you’re in a cold climate and/or want to eat waffles all together, this is a good idea. I would say 180 degrees Celsius max. Preheat it before you start making the batter.
I have used both olive oil and butter to grease the waffle iron. I actually prefer olive oil in this instance.
Make sure the iron is as hot as possible! This helps crispiness immensely. Never put batter in an iron that hasn’t been well preheated.
Don’t check the waffles too often. It helps if you know your waffle maker well, so you don’t open the machine more than necessary. As you’re probably aware, opening the waffle machine before the waffles are done is a structural disaster.
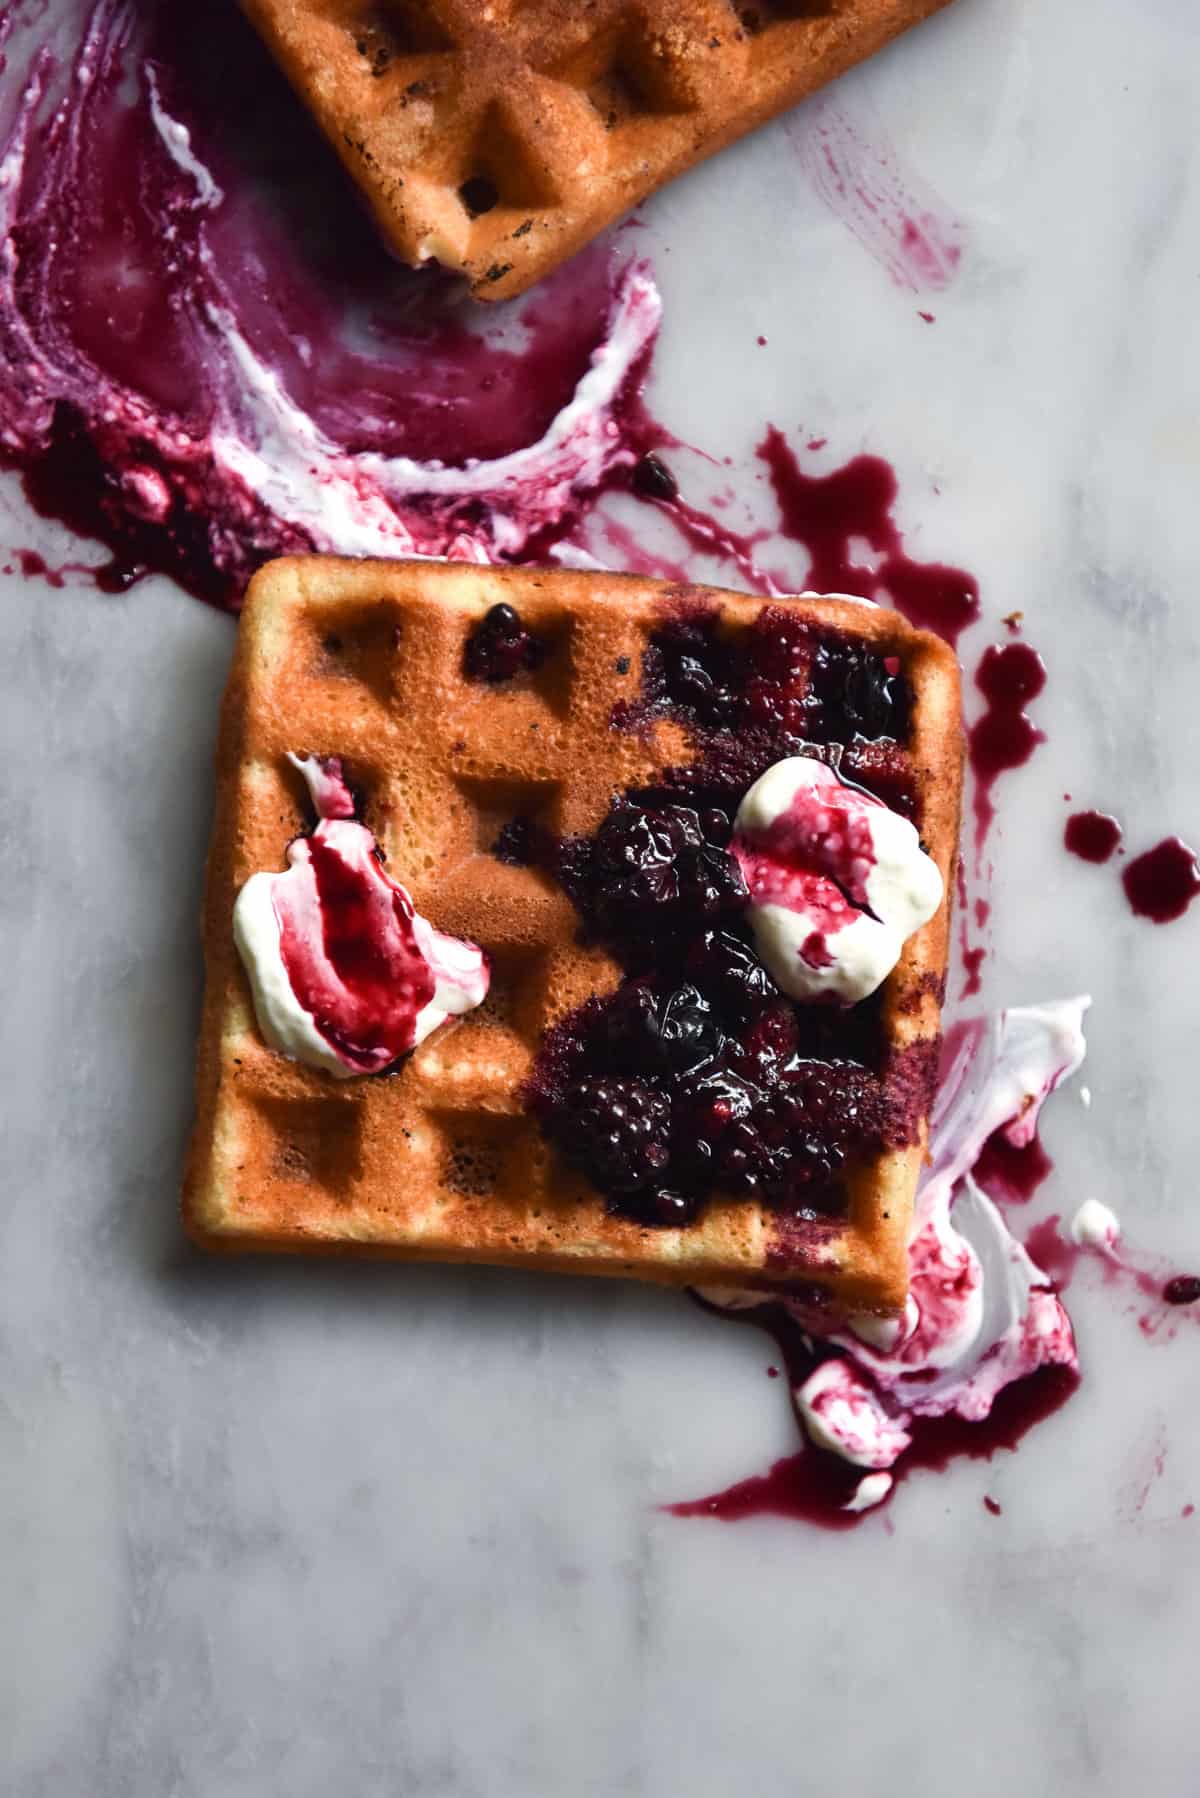
More gluten free waffle tips
- Stacking waffles on top of each other, particularly when hot or warm, is a no no for crispiness. DON’T DO IT. Except for your Instagram photos.
- Underdone waffles don’t crisp up as well as ‘done ones.’ I assume this is something to do with the sugar caramelising but don’t quote me. If you have super blond waffles that have ‘fallen’, they might just be underdone. Some time in the oven on the rack (not stacked and not on a tray) might help.
- My research has thrown up the suggestion of beating the sugar with the egg whites, to form a kind of meringue. I haven’t tried it, but I definitely will.
- GREASE THE IRON really well. You will thank yourself for it.
- You can add a little instant polenta for a super crunchy crunch. It is also gluten free and FODMAP friendly.
- Once you’ve got the basics down pat, you can try adding spices, nuts, even chocolate chips! Anything is possible.
But what if you’re not into sweet breakfasts? Try the three ingredient sweet potato waffles, pictured below and linked for your convenience:
More gluten free breakfast recipes
- Three ingredient potato waffles
- Buckwheat flour pancakes from my buckwheat e-book
- Gluten free porridge
- 100% buckwheat wraps
- Gluten free vegan sausages
Gluten free waffles without xanthan gum
Ingredients
INGREDIENTS
- 3/4 cup white rice flour 110g
- 3/4 cup tapioca flour 90g
- 1 teaspoon baking powder
- 3-4 tablespoons caster sugar
- Good pinch of table salt
- 250ml (1 cup) soy milk see notes
- 1 tablespoon lemon juice apple cider vinegar would also work
- 3 extra large eggs (45-55 per egg, weighed out of shell)
- 2 teaspoons vanilla bean paste
- Olive oil spray to grease the waffle iron
Instructions
- In a large mixing bowl, combine the dry ingredients, and stir well.
- In a small bowl, mix together the soy milk and lemon juice. This will form buttermilk, which will help the waffles rise and stay crispy.
- Separate the eggs carefully. Keep the yolks in a small bowl, and pour the whites into a very clean dry bowl. Whip them until they are stiff, about 5-10 minutes. You should be able to invert the bowl without them sliding out. I like to do this in my KitchenAid so I have my hands free to keep cooking, but a hand mixer is great too.
- Add the egg yolks and buttermilk to the flour mixture, and mix or whisk until there are no lumps remaining.
- Gradually, bit my bit, add the whipped egg whites into the batter, and use a spatula to fold them in. Press the lumps of egg white gently against the bowl as you fold, so the batter becomes smooth without deflating the bubbles.
- Prepare your waffle iron as per the instructions, making sure it’s on a hot setting. When it’s ready, spray the iron with a bit of olive oil (I tried both butter and olive oil, and found olive oil actually worked better.)
- Add the batter and cook per the instructions. If you add the 4 tablespoons of sugar, keep an eye on the waffles, as they tend to caramelize/burn quicker. See the introduction for keeping the waffles crispy, but basically transfer them to a cooling rack immediately, so the steam from underneath isn’t trapped.
- Serve immediately with toppings of your choice. They aren’t quite as fluffy and fresh, but these waffles can be frozen.

1 Comment