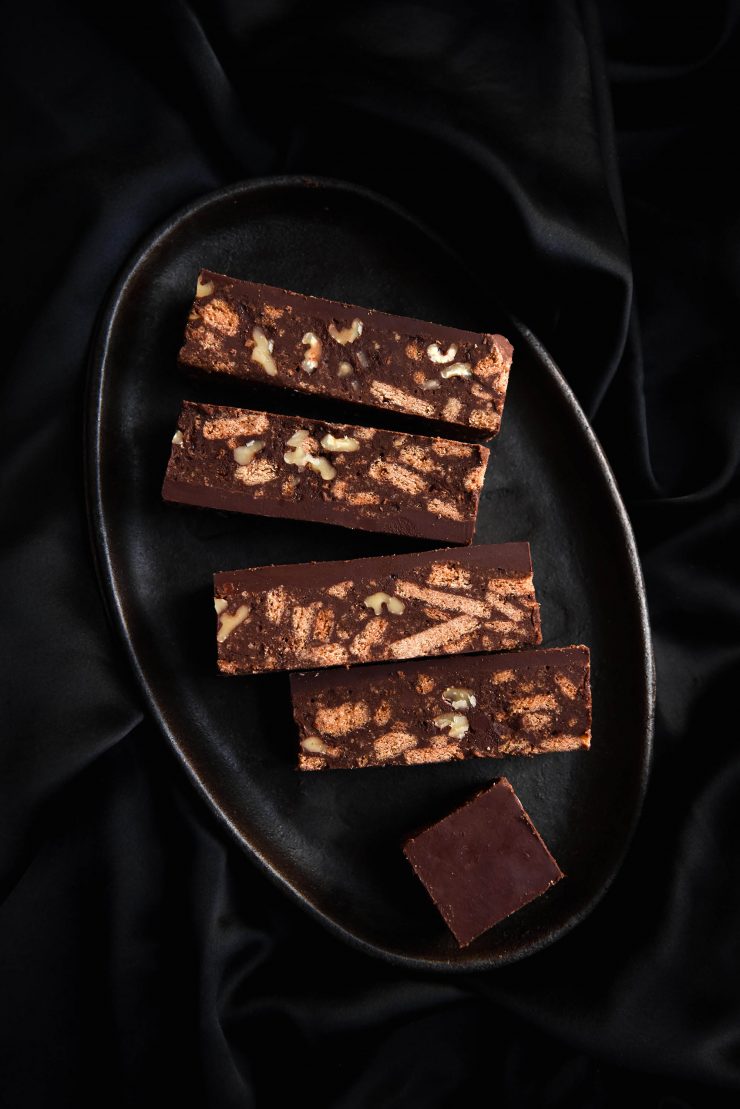
Just like with the gluten free sourdough, I was planning to save this gluten free Hedgehog Slice recipe for a cookbook and/or a rainy day. What do we do on a rainy day? We bake!
Although the name Hedgehog Slice is uniquely Australian, this dessert exists in many countries in various forms. For those unfamiliar: it’s a chocolate slice filled with sweet biscuits, walnuts and other good things. The slice is subsequently topped with more chocolate, making it a particularly decadent dessert.
I haven’t dabbled with a gluten free Hedgehog Slice previously, for a few reasons. Firstly, they generally utilise condensed milk, which is very high in lactose. Secondly, a good quality gluten free biscuit is required. Sure, there are some decent store bought varieties out there, but I don’t particularly want to pay eleventy hundred dollars for ONE ASPECT of a dessert.
So what has changed? I’ve developed a recipe for lactose free condensed milk and one for DELICIOUS gluten free Graham crackers. Also known as: everything you need for a cracking old gluten free Hedgehog slice – one that is low lactose (from the butter and chocolate) and adaptable to be nut free.
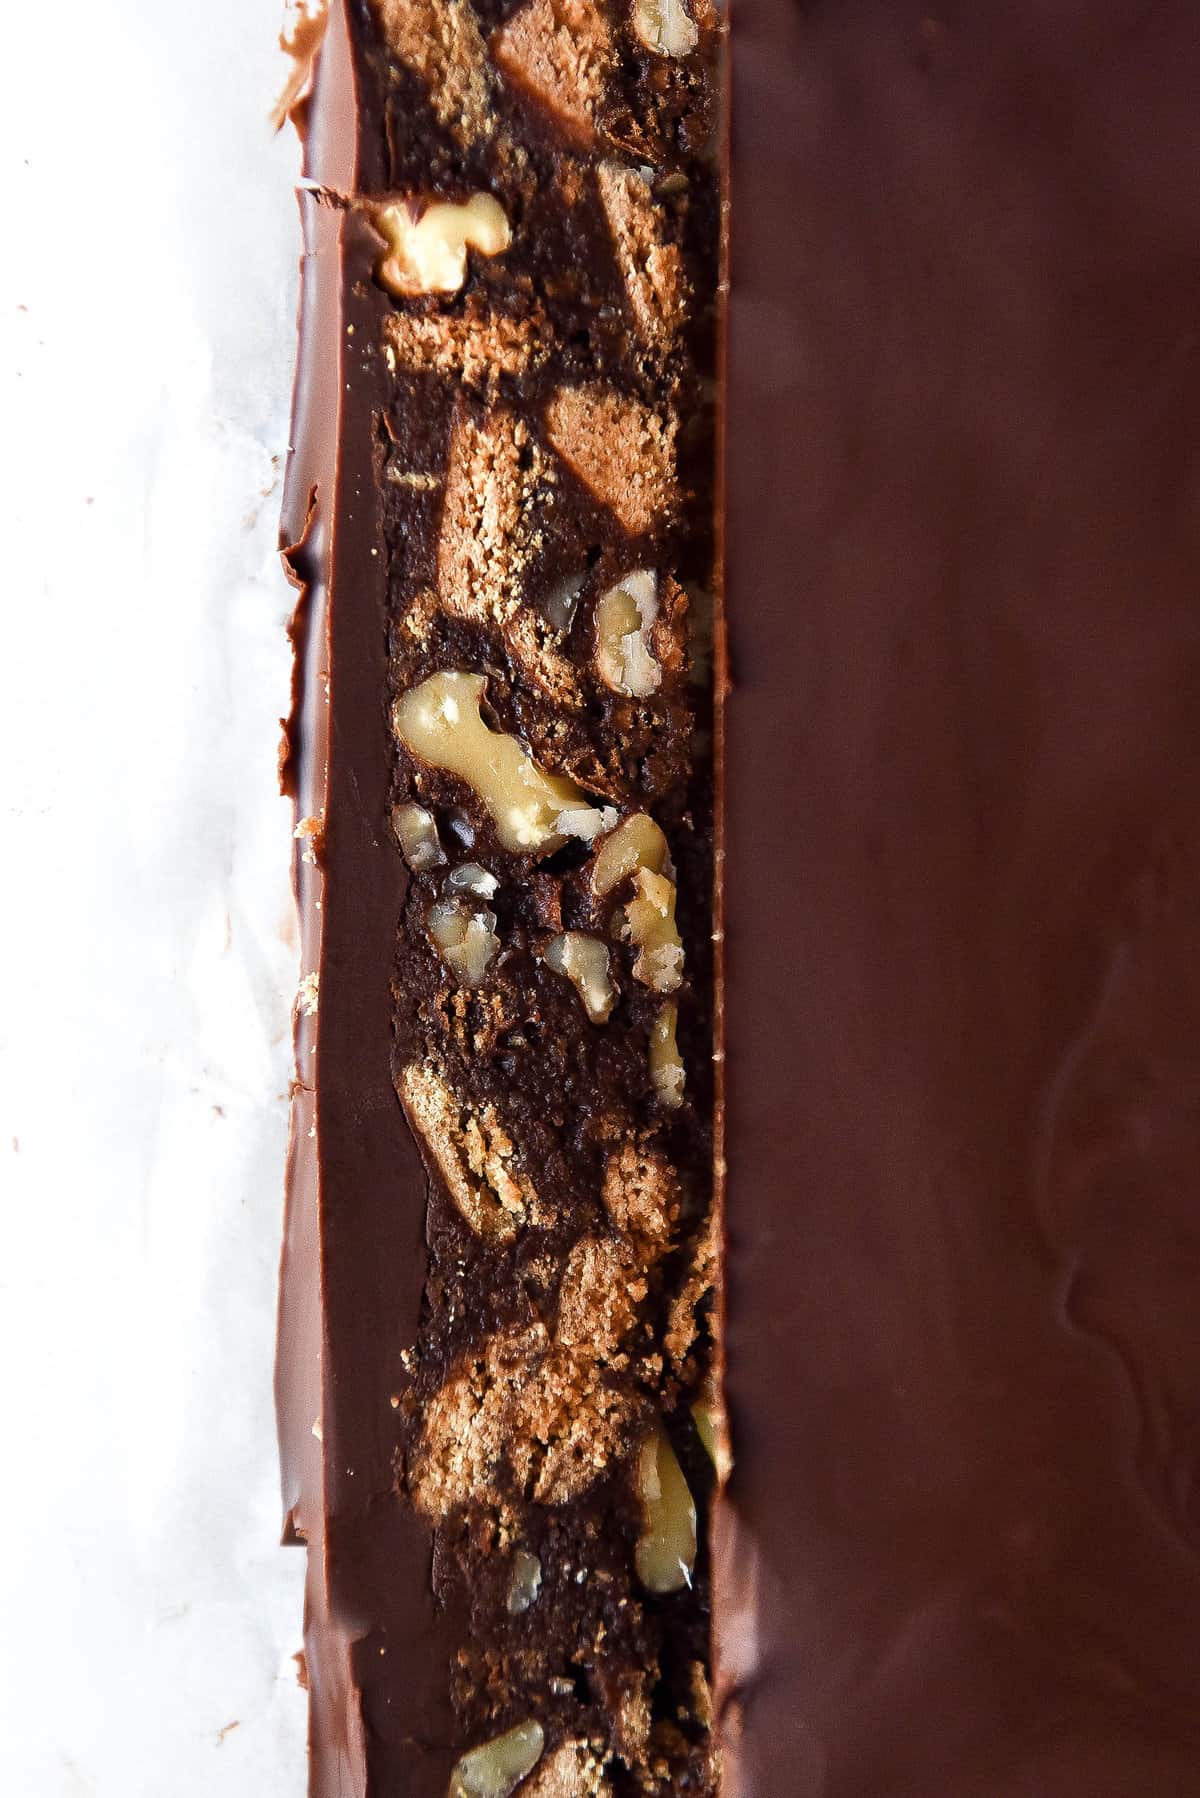
Gluten free Hedgehog slice recipe notes
I used 45% and 70% cooking chocolate for my tests. I do this because it’s generally easily accessible to everyone, and a pretty uniform product.
One batch of the gluten free Graham crackers makes around 320g worth of crackers, so this recipe uses 1 and a bit batches. You can either scale the crackers back and add more nuts (or leave as is) or make two batches. Always worth having Graham crackers in the house, in my humble opinion.
I have not tried this recipe with coconut oil based chocolate or butter substitutes, nor do I have a vegan option.
Although I haven’t tried it, you could easily use store bought gluten free biscuits to speed things up. You could also buy some coconut condensed milk (sold in cans) although it’s pretty hard to come by.
The oil in the top layer of chocolate is necessary for easy slicing at the end. Without it, the chocolate will most likely fracture when you go to slice it.
As always, the salt and vanilla bean paste are NOT WORTH OMITTING. They add a depth of flavour to the chocolate.
You could potentially add a tablespoon or two of fresh espresso, if that’s your thing.
Best made the night before, in my opinion. You want to give everything time to set.
Finally: most hedgehog slice recipes contain coconut. I have absolutely no time for coconut in this instance – I want it to be mostly biscuit. For that reason, I have not included coconut in this recipe. You can if you’d like.
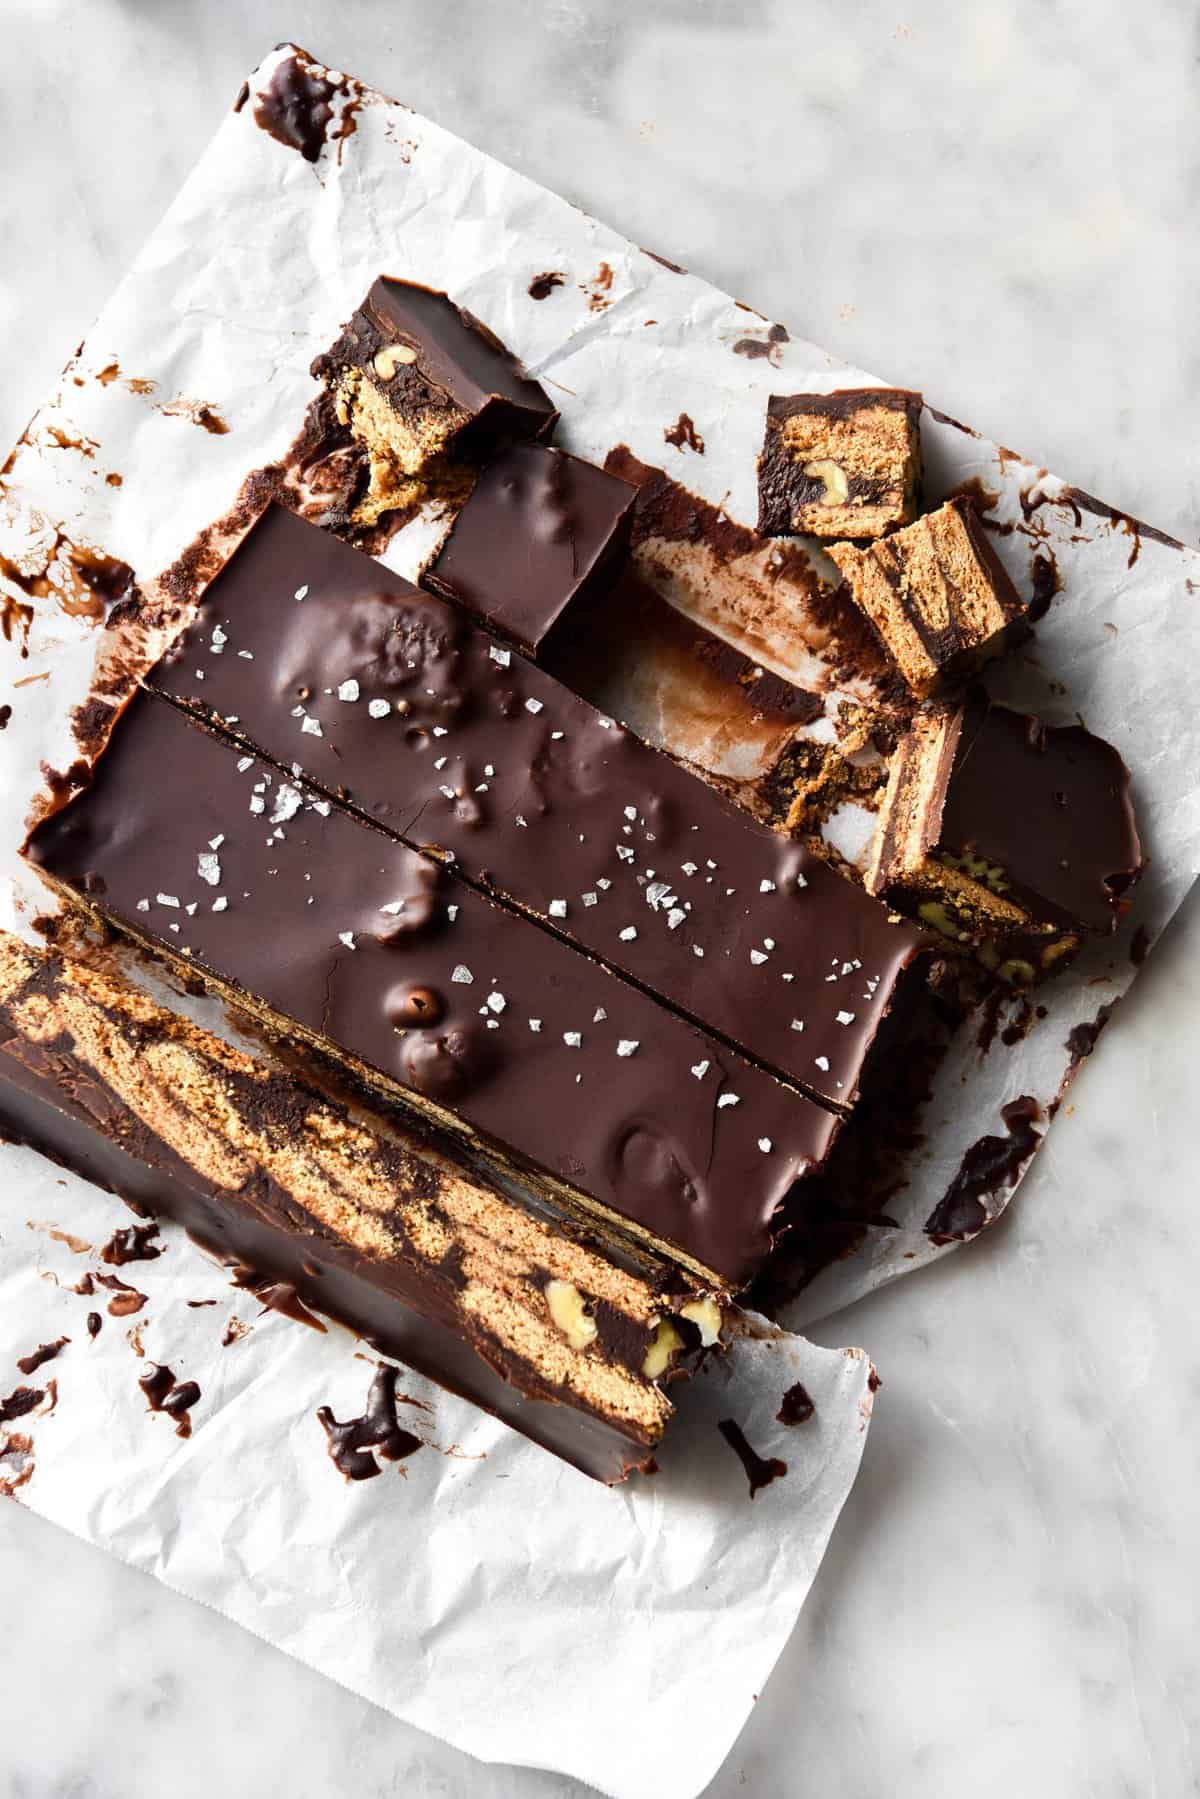
Gluten free Hedgehog slice FODMAP notes
Hedgehog slice contains a lot of chocolate. There’s no getting around that, it is what it is. Maybe, if you’re enraged with the quantity of chocolate, consider making something else.
You could use a lactose free chocolate like Lindt 70%, although it would take a lot of bars and would likely be quite rich. Otherwise, just don’t eat the whole slice and you’ll be fine.
You can find the respective FODMAP notes for the homemade aspects of the Hedgehog slice on each of the recipe pages.
Butter is very low lactose, it barely even deserves a mention here.
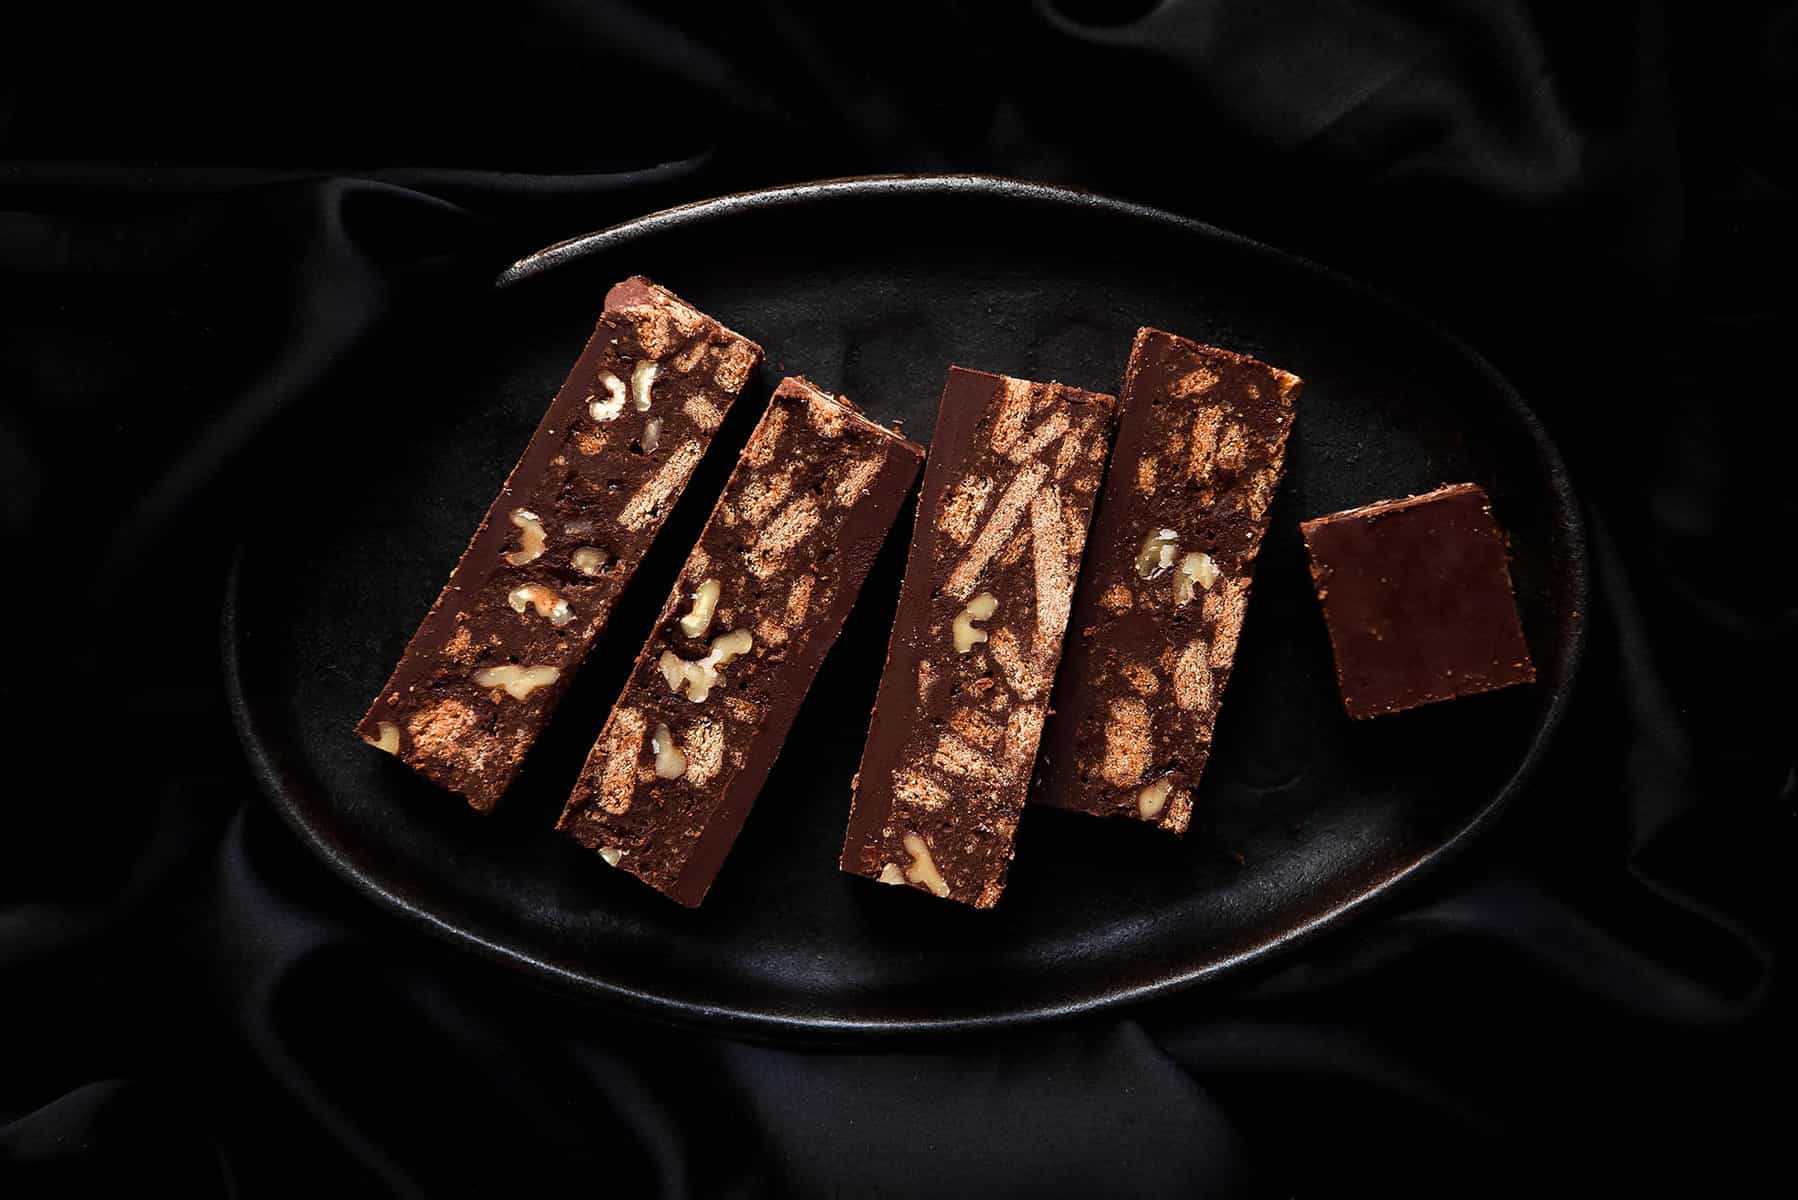
You will need:
- 1/2 batch of my lactose free condensed milk recipe. Condensed milk is a lot easier to make in bigger proportions and keeps well in the fridge, so I always make a full batch.
- 1-2 batches of my gluten free Graham Crackers. As noted, you could also get away with a good quality store bought version if you’re pressed for time.
- One 24cm x 24cm square baking tin, greased a little and lined. You might be able to use a different sized tin but it will change the proportions and aesthetic of the slice. The tin is lightly greased so that it doesn’t slide around while you’re pouring the mixture in.
- Obviously, the remaining ingredients. So let’s get into them.
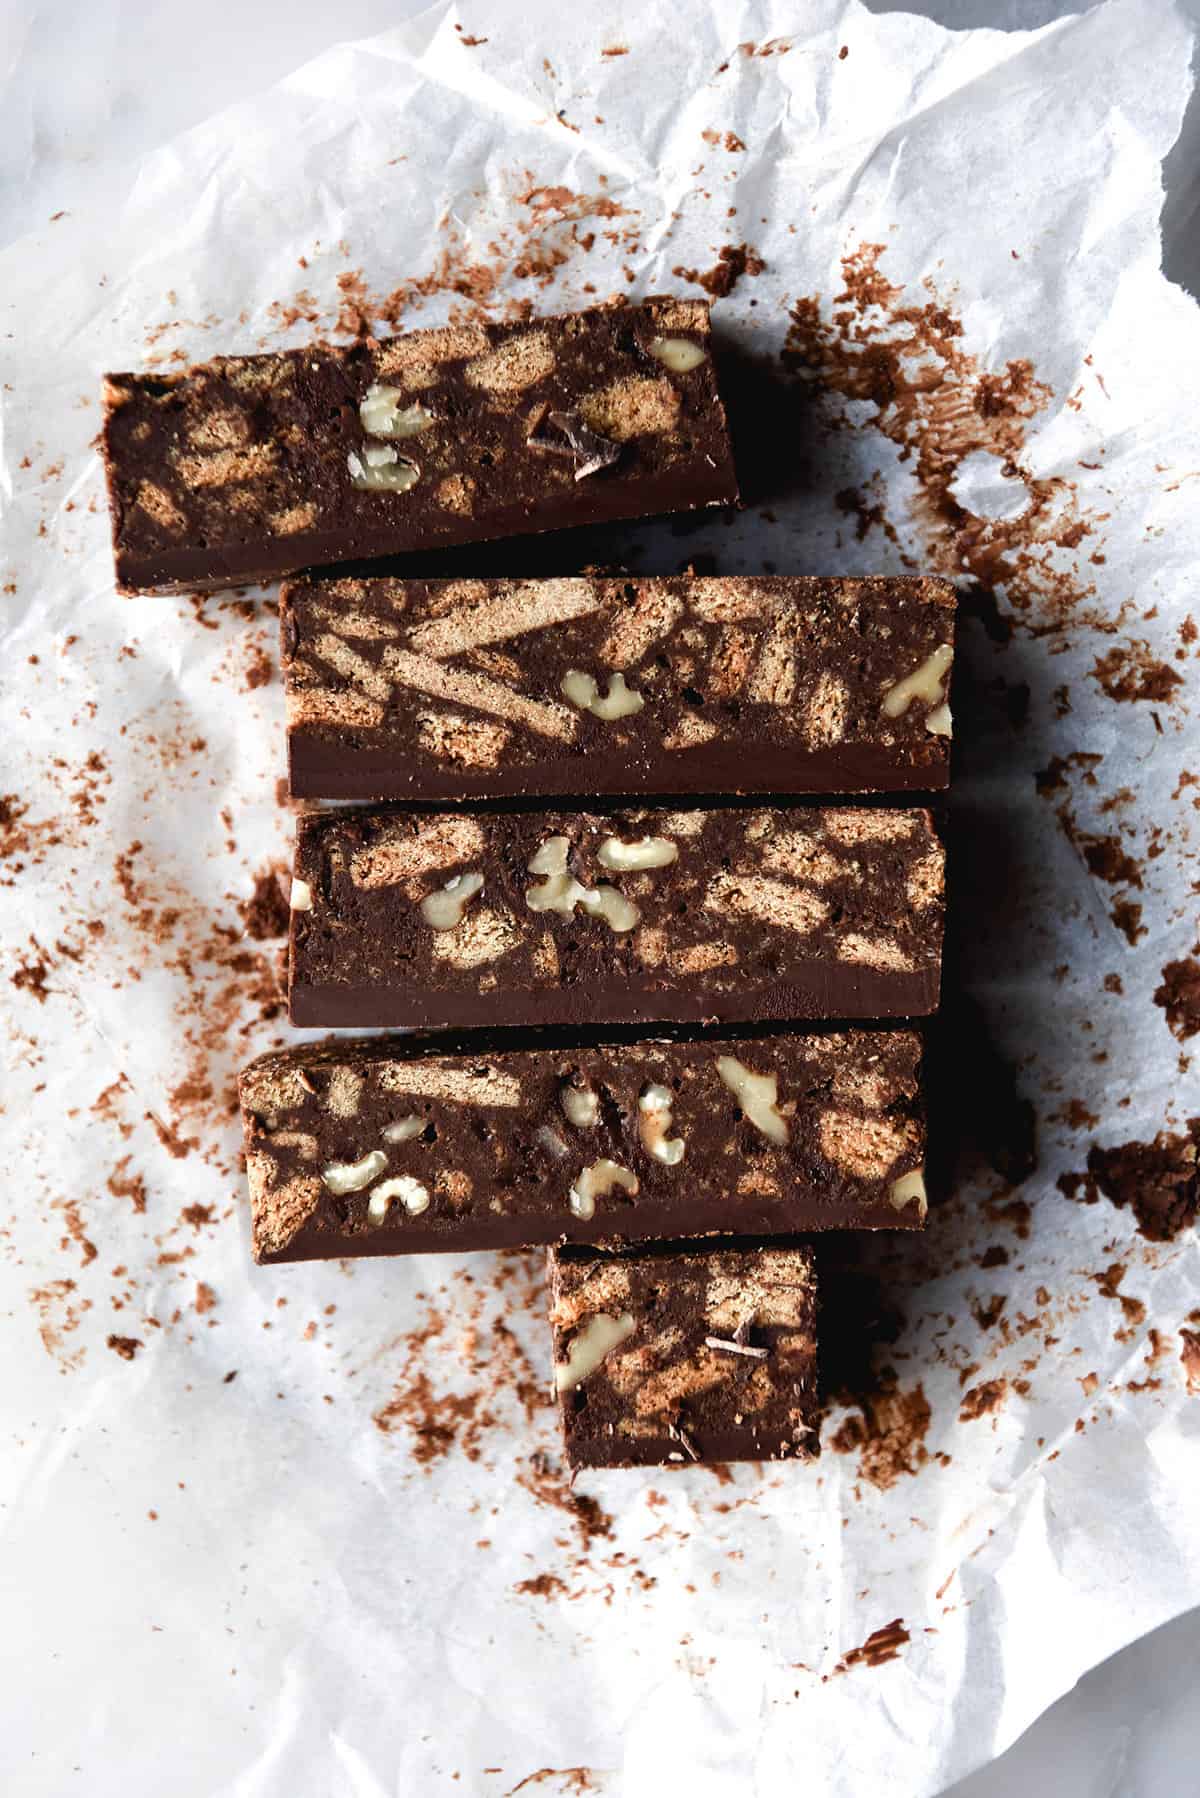
More gluten free dessert recipes
- Vegan, gluten free Hedgehog slice
- Chocolate cake without xanthan gum
- Croissants from Intolerance Friendly Kitchen
- Flourless brownie cookies
- Choc chip cookies without xanthan gum
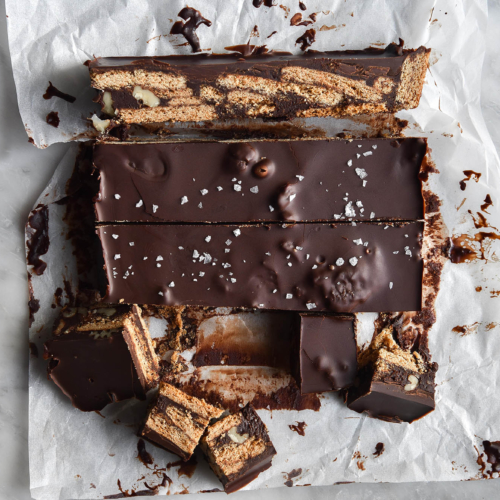
Gluten free Hedgehog slice
Ingredients
For the slice:
- 200 g dark chocolate snapped into smaller pieces (see notes)
- 100 g butter chopped (salted or unsalted, I always use salted)
- 295 g lactose free condensed milk (see notes)
- 300-350 g gluten free Graham Crackers (see notes)
- 2 tablespoons cocoa powder Dutch processed or regular
- 1/2 cup 50-75g walnuts
- 1 teaspoon sea salt flakes (use less if you’re using fine salt)
- 1-2 teaspoons vanilla bean paste (extract is fine too)
For the chocolate topping:
- 200 g dark chocolate (see notes)
- 2 tablespoons oil of choice (I used olive)
Instructions
To make the slice:
- Grease and line a 24cm x 24cm baking tin with baking paper. Try to get the baking paper as flush up against the tin as possible by folding in some edges of the paper.
- Place the chocolate, butter and condensed milk in a medium sized heatproof bowl. Half fill a small saucepan with water and place the bowl on top, ensuring the water doesn’t touch the bowl. Turn the heat to low-medium and allow the mixture to melt. Stir intermittently until it is completely melted and combined. It should be chocolate in colour and have a thick, shiny appearance.
- While the chocolate mixture is melting, crush the biscuits roughly in a large bowl. You can use your hands to break them up or the end of a rolling pin. I prefer to keep lots of bigger chunks because they tend to continue breaking down as you stir the chocolate through.
- Add the cocoa powder and walnuts to the crushed biscuits and stir.
- When the chocolate is done, add the sea salt and vanilla bean paste, stirring to combine. Pour the chocolate mixture over the biscuits and use a large spoon to completely incorporate.
- When the mixture is well combined, pour it into the lined container and use a spatula to get the top as flat as possible, taking it right to the edges. This is important so that the chocolate topping has an even surface to spread over.
- Place the slice in the fridge for at least two hours or until completely set.
To make the chocolate topping:
- Melt the chocolate in the same double boiler method you use before. Once melted, add the oil and stir well to combine.
- While hot, pour over the refrigerated slice. Work quickly to spread the chocolate evenly or it will begin to harden.
- Return to the fridge for an additional hour or so, or until the chocolate has totally hardened.
To serve:
- Allow the slice to sit on the bench for 15-20 minutes (weather dependent) before slicing. This will allow the chocolate to soften and lessen the likelihood of the chocolate cracking. Store in the fridge or freezer. Keeps well in an airtight container for a number of days.
Notes
- You will need 1/2 batch of my lactose free condensed milk recipe. Condensed milk is a lot easier to make in bigger proportions and keeps well in the fridge, so I always make a full batch.
- You will also need 1-2 batches of my gluten free Graham Crackers. As noted, you could also get away with a good quality store bought version if you’re pressed for time.
- Finally, one 24cm x 24cm square baking tin, greased a little and lined. You might be able to use a different sized tin but it will change the proportions and aesthetic of the slice. The tin is lightly greased so that it doesn’t slide around while you’re pouring the mixture in.


Is there something I could use instead of walnuts to make this nut free?
Hi Ali! You can use whatever you like instead of walnuts. I use extra biscuit, but you could also use coconut or pepitas 🙂