
Last year I added a choc chip option to my gluten free shortbread recipe. It’s in a section mid-way down the post so it is easily missed. I recently decided (on a whim) to whip up some gluten free white chocolate and pistachio shortbread, so I figured I would write up a post for gluten free choc chip shortbread generally.
Gluten free choc chip shortbread
These shortbread are deliciously light and airy yet xanthan gum free and egg free. Australia doesn’t have too many quality vegan butter brands, but they may also work with a good quality vegan stick butter (making them dairy free/vegan with the right chocolate).
The base of the shortbread begins with fine, good quality rice flour. A starch of choice is added for elasticity, lightness of crumb and binding. We will go into the options below – I have tested them all.
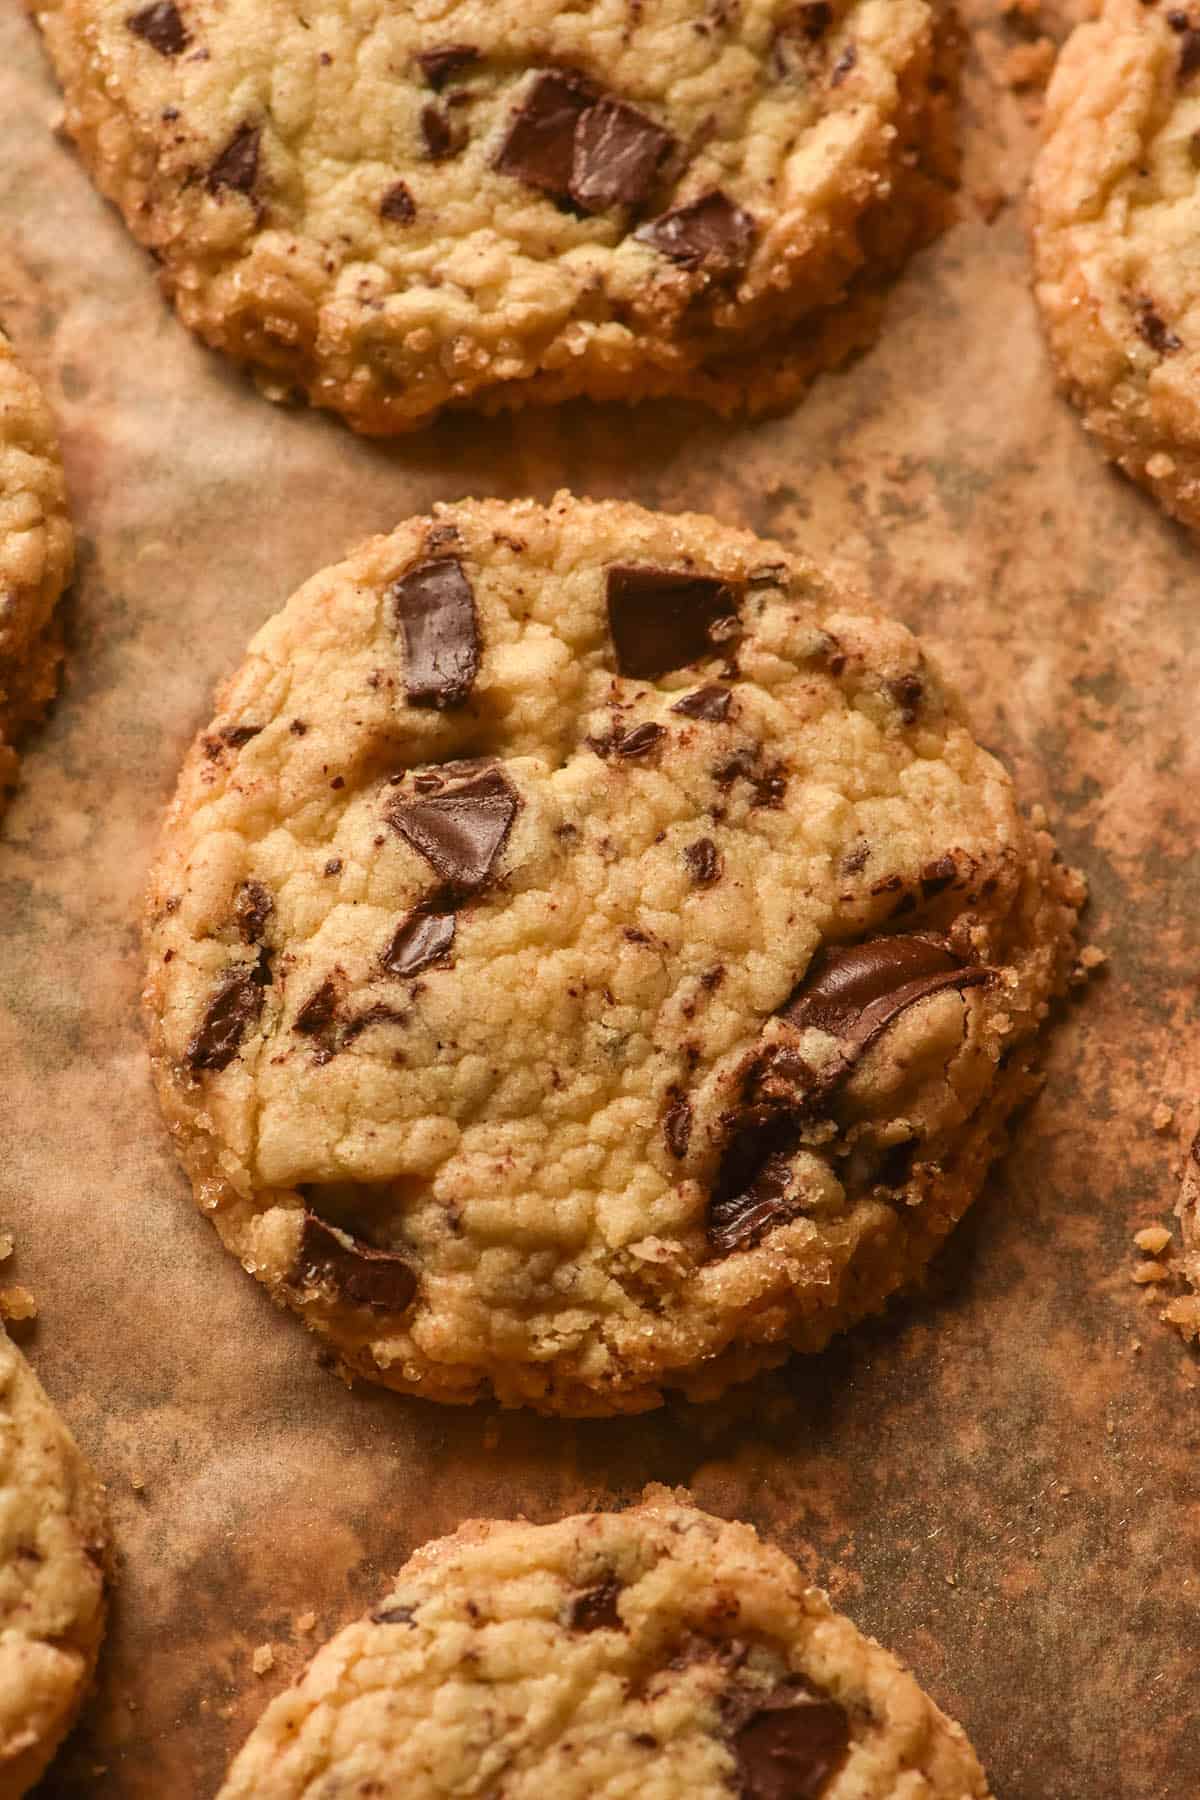
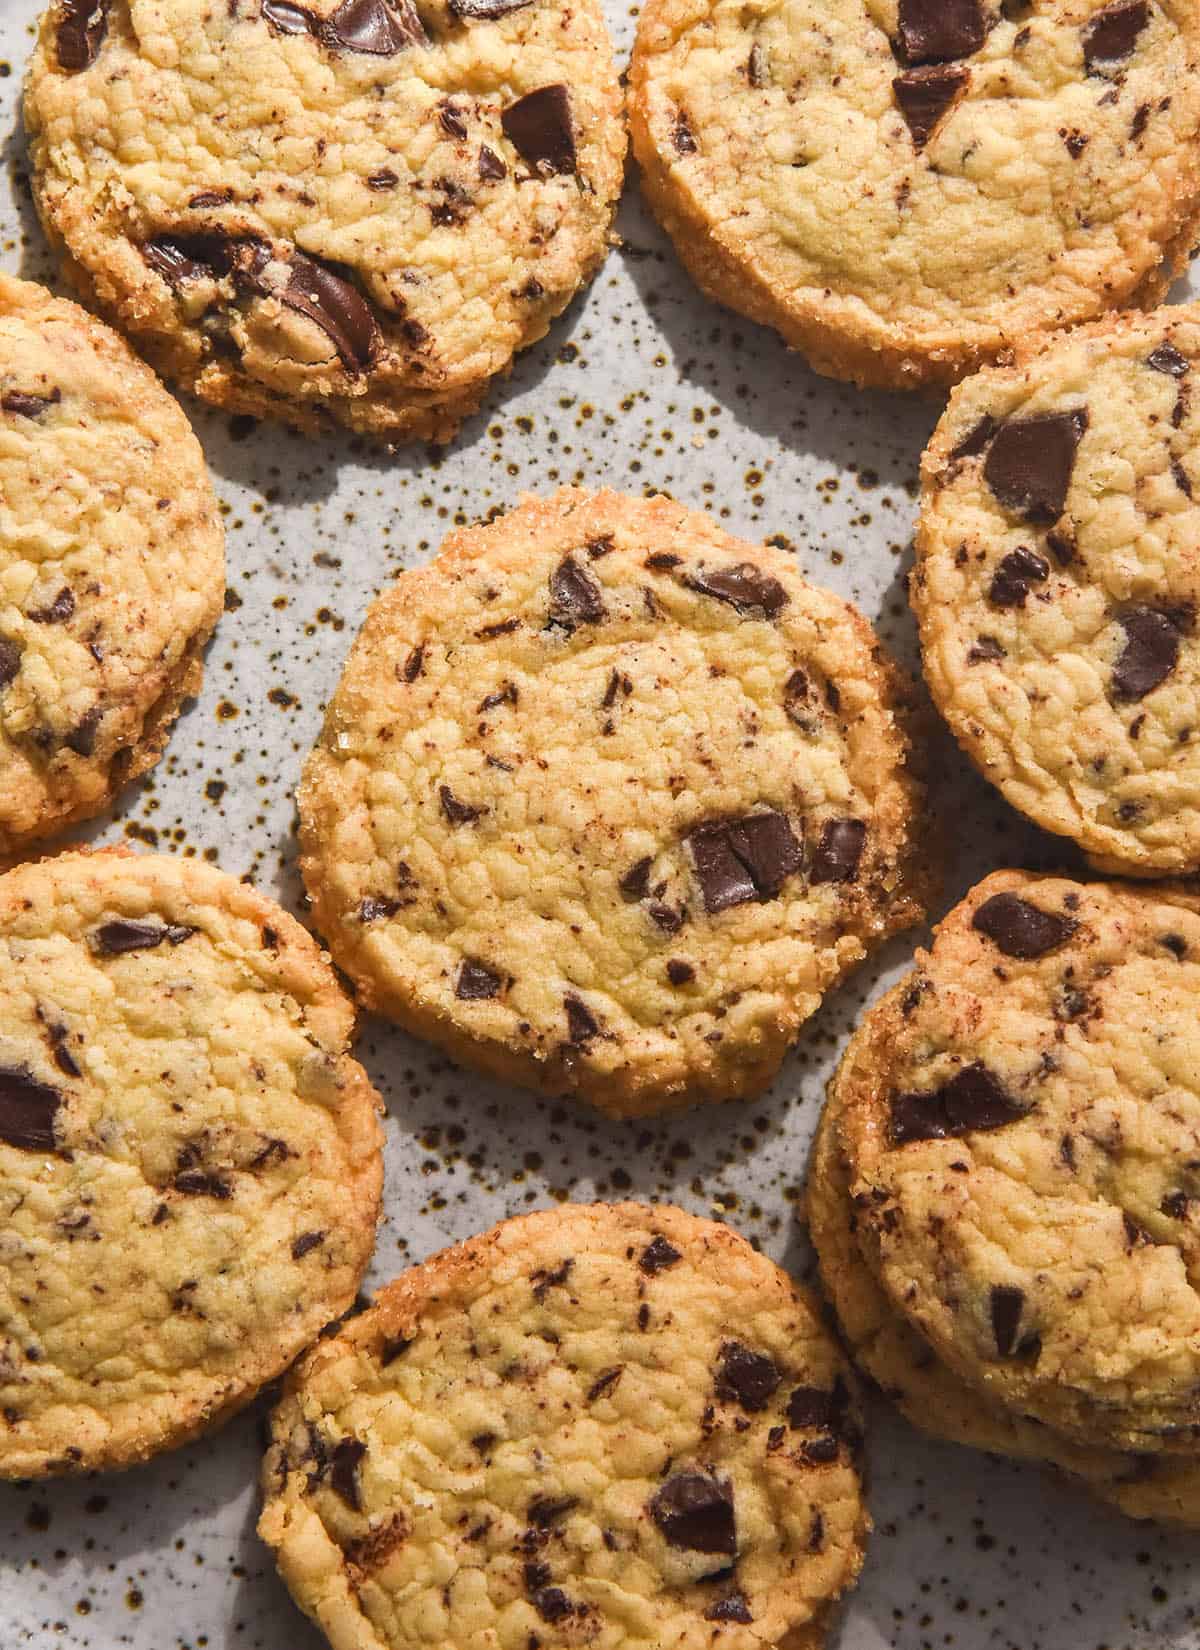
After adding finely chopped chocolate, the dough is rolled into a block or log, cut or sliced and baked to crispy, golden perfection.
Which starch can I use in these gluten free shortbread?
I figured I would quote my original shortbread recipe here because I was obsessed with testing different starches at the time. The notes are more thorough than my memory, so these will be the most helpful in choosing a starch that is right for you.
Glutinous rice flour
Glutinous rice flour or sticky rice flour is made with sticky rice – the variety that makes mochi. It is can be purchased at the supermarket in Australia in the Asian section. It is generally always Erawan brand in a clear package with green writing. Normally it is located on a lower shelf.
Glutinous rice flour has that extra binding capacity that makes it really helpful for gluten free shortbread cookies xanthan gum. It is still light and airy, but holds everything together. I found that glutinous rice flour made for a lovely shortbread that didn’t spread.
Tapioca flour
Tapioca flour is one of the more common starchy based flours. I found shortbreads made with tapioca flour were a real mixed bag. Some of them worked without incident and others spread. Not astronomically, but more than the glutinous rice version and more than I wanted. I would say you could try tapioca if you’re desperate, but you should expect them to spread. Texturally, they’re also not my first choice.
Cornstarch/cornflour
This starch is called cornstarch in some countries, cornflour in others. It is that squeaky, white starch that is often used to thicken gravy. The batches I tested with all cornflour had an ethereal melt in your mouth quality around the edges that I loved. However, I found that the innards of each cookie were weirdly crunchy and almost honeycomb like in texture and structure. For people with corn allergies, these gluten free shortbread can absolutely be made without cornstarch.
Cassava flour
I have tested a batch using cassava flour as the starch and I found they worked really well. They’re easy enough to roll out, hold together nicely and only spread a little bit. These would probably be my go-to moving forward. This is for the ease, but also the fact that they’re less starchy (my SIBO appreciates that).
With that said, I made another batch in winter (after developing the original recipe in Australian summer). I found that the version I made in winter required much less cassava flour than the version I made in summer – 100g vs 160g. Both were from the same bulk food store, although buying bulk means you never know the brand.
Previously, I have noted differences in fermented cassava flour vs unfermented cassava flour. Ottos brand (fermented) absorbed a lot of extra liquid when compared to an unfermented variety.
Potato starch
I have tried using potato starch in these gluten free shortbread without xanthan gum. While they were beautifully light and airy, they had some issues. Firstly, they needed 220g of potato starch, which is nearly double what the recipe specifies. Secondly, the dough was wet even after adding all the potato starch, and needed 3+ hours chilling before I could work with it. Finally, they spread. So the taste was gorgeous, but they were hard to work with. There is definitely some potential with potato starch, but probably not in this particular recipe (unless you are keen to experiment).
Tips for your gluten free choc chip shortbread
- I cannot overstate how important properly creamed butter and sugar are to shortbreads. If you don’t cream them properly, you are not incorporating sufficient air bubbles into the dough. The air bubbles are responsible for the light, ethereal texture of shortbread. What’s worse, under creamed shortbread are likely to ooze butter and become oily. No thank you! Make sure you cream the butter properly for a good result.
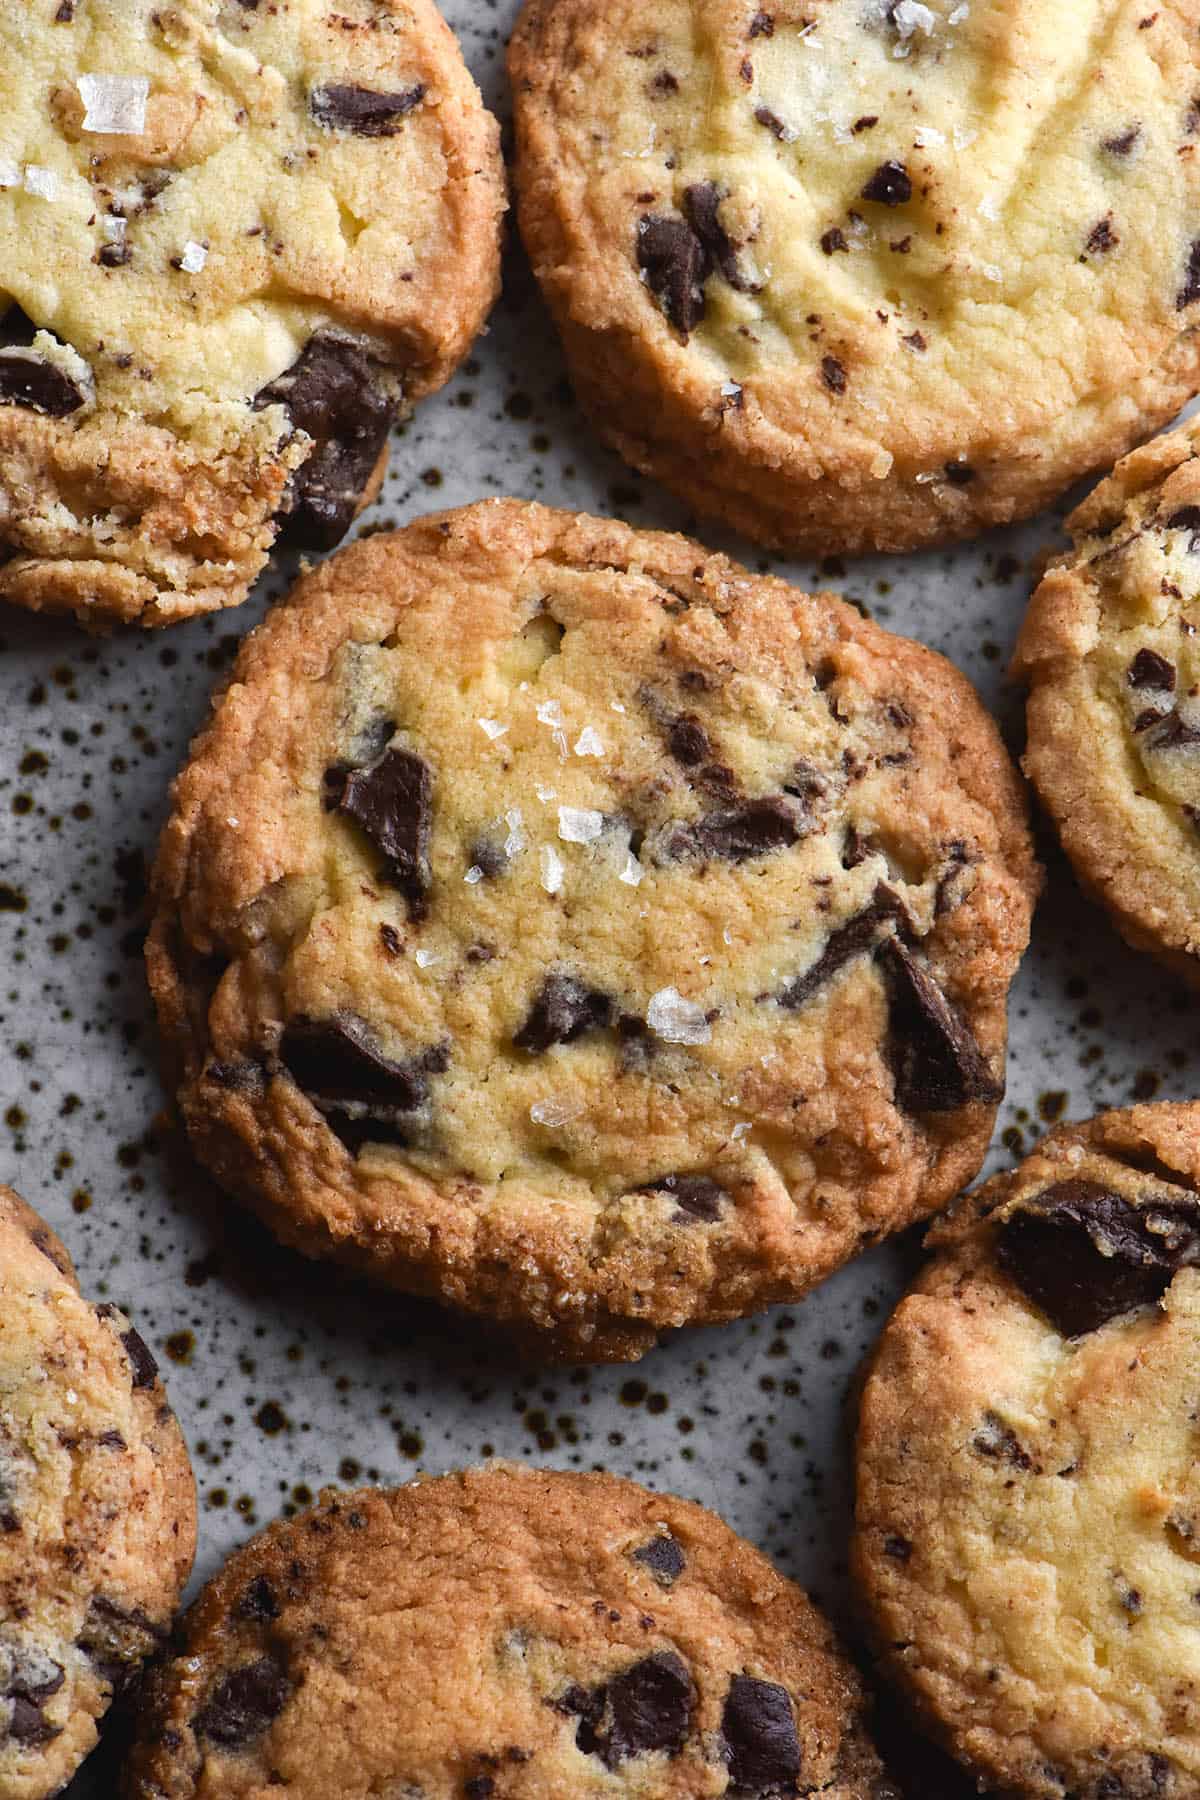
- However! Over creamed butter and sugar will result in shortbread spreading and uneven shortbread tops. So, make sure the mixture is creamed, but don’t take it too far. This is an art – I am still learning as you can see from some of the photos (uneven tops). They will still taste delicious, so this is mostly an aesthetic thing.
- On the spreading issue? You can use a larger cutter to shape them back into smaller cookies if they do spread. It’s helpful to bake on large trays with plenty of space for this reason. Not only will any spreading shortbread not fuse together, but you will also have more room to re-shape the shortbreads.
- Finely chopped chocolate (or nuts) are critical to success as well. Slicing a log of shortbread with large chunks of chocolate is a disaster waiting to happen. Chilled shortbread cracks extremely easily, so you will end up having to cobble shortbreads back together with your hands.
- I have found that the season you make these in matters. The butter tends to be softer in summer, which I have found means that the shortbread need a little more flour to stabilise. Conversely, the batches I have made in winter seemed to need a little less flour.
- With that in mind, I recommend setting aside 20-60g starch from the main flour bowl. Keep it alongside the mixer and add it only if you need it. This should counter correct for the changes in different seasons.
Should I roll the shortbread into a log or roll it out?
These two methods have different aesthetic results, so it depends a little on what you want to achieve and if you care about the way they look.
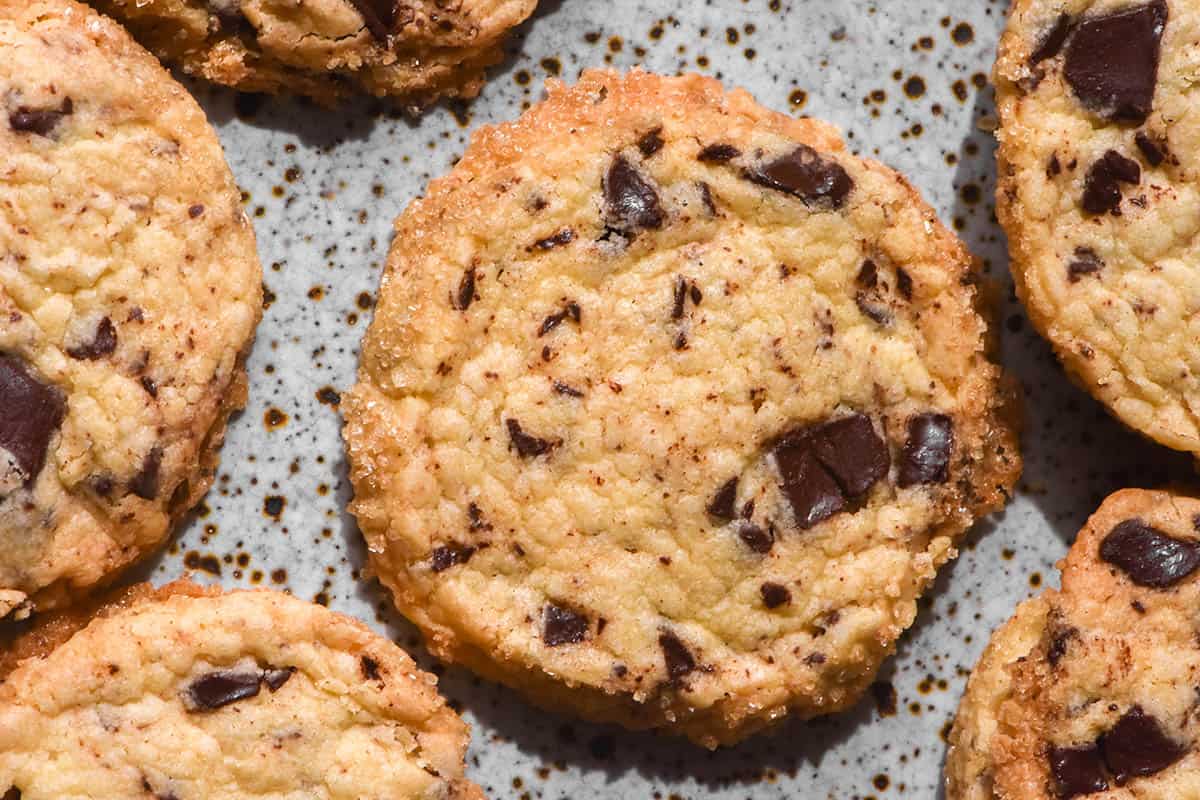
Rolling the shortbread into a log before chilling and then slicing the log looks better, in my opinion. It exposes shards of chopped chocolate atop each shortbread, which gives them a more obviously choc-chip appearance.
However, depending on the size of your chopped chocolate and weather conditions, they can be trickier to slice into shortbread. Big chunks of chocolate are hard to cut while maintaining the integrity of a circular shortbread. The result is that some shortbread crack and need to be cobbled back together with your hands. Chopping the chocolate into small chunks is particularly important if you go this route.
Chilling the shortbread as a block, rolling it out and using a cutter to cut your shortbreads is the second option. I don’t think it looks quite as good because the shortbread don’t have those exposed pieces of chocolate.
Although it doesn’t look quite as good, it is easier to do. Using a sharp cutter to press down will easily cut through chocolate chunks. This is harder to do with a knife when you are slicing sideways.
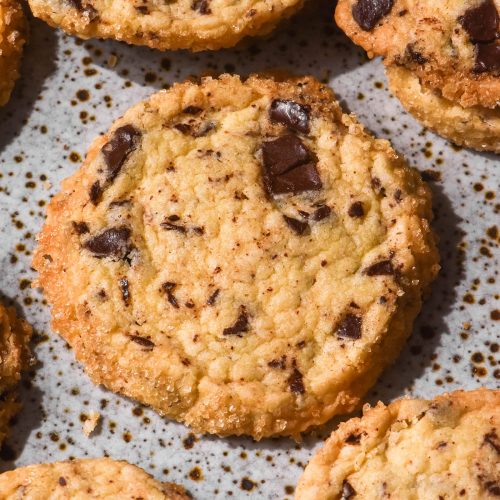
If you are not a confident gluten free baker or shortbread maker, I recommend the latter option. They might not look quite as good but they will still taste delicious. There is a photo above this section (block version) and photo below (log version) so you can see the difference.
Troubleshooting
- If your shortbread were oily and flat, you didn’t cream the butter and sugar for long enough. It could also be that your butter was too soft to cream. Butter that is too soft and melty lacks the structure to incorporate the necessary air into the creamed mixture.
- If your shortbread were dry, you likely needed to add some milk to the dough. Gluten free flours vary quite wildly in their absorbency (particularly rice flour) so you need to assess your own dough and make the call. The dough should never look dry and overly crumbly before you refrigerate it. You should be able to pick it up and it should feel firm but without dry patches or spiky bits. In summer or depending on the starch you use, it might even feel a little too wet.
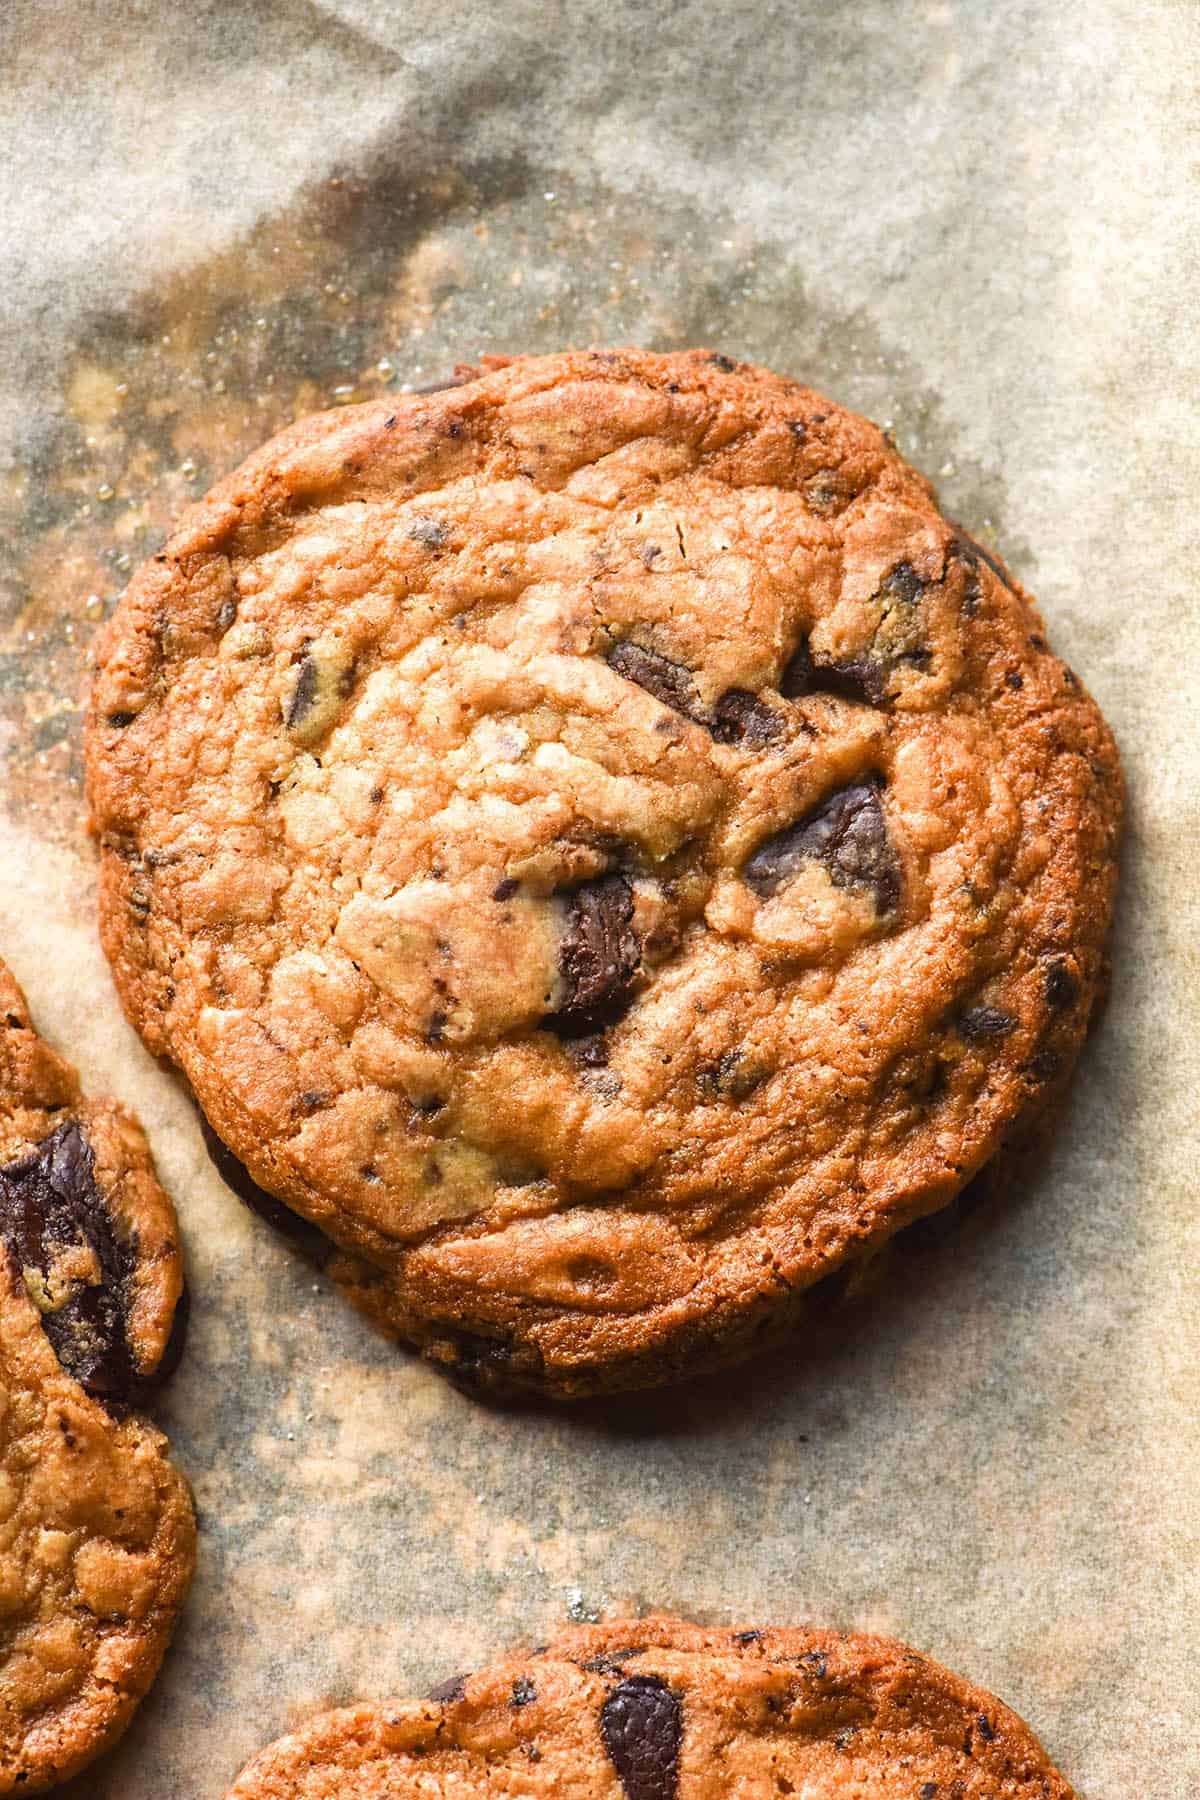
- If your shortbreads spread, there could be a few issues. First, you might have over creamed the butter and sugar. Doing so incorporates too much air into the dough, which pushes the cookies outward as they bake. Cream the mixture for less time next time. Second, your oven temperature might be too low. You want the cookie edges to set quick quickly so that the shortbread doesn’t spread outwards. A low oven temperature allows the cookies to spread before they set. Finally, you might have added too much milk or not enough flour. Always add milk just to form a solid dough and never if you don’t need it. Always weigh the flours to ensure accuracy.
- Spread cookies can easily be rectified by using a larger cutter to reshape the cookies fresh out of the oven. You need to do this while the sugar is hot and pliable, though.
More gluten free cookie and biscuit recipes
- Gluten free brownie cookies
- Gluten free vegan brownie cookies
- 100% buckwheat flour choc-chip cookies from my first buckwheat flour e-book
- 3 ingredient tahini cookies
- Gluten free ANZAC style biscuits
Gluten free choc chip shortbread
Equipment
- 6cm (2.3 inch) circular cutter
Ingredients
For the choc chip shortbreads:
- 250 g salted butter at room temperature
- 125 g pure icing sugar, sieved (soft icing sugar contains tapioca flour, while pure is 100% sugar)
- 160 g fine white rice flour
- 120 g glutinous rice flour OR 60g glutinous rice flour and 60g gluten free cornflour OR 100g-160g cassava flour (see body of post and notes)
- Pinch of salt
- 1 teaspoon vanilla bean paste optional
- 5-20ml milk, only as necessary
- 100-150 g finely chopped chocolate
To finish (optional):
- 10-20ml (1-2 tablespoons) milk of choice, to roll the shortbread edges in
- 2-3 tablespoons finishing or granulated sugar, to roll the shortbread edges in
Instructions
- Preheat the oven to 170C/338F. Line two large baking trays with baking paper.
- Place the room temperature butter in the bowl of your stand mixer with the paddle attachment. Add the sieved icing sugar and beat on a medium high speed until pale, light and creamy. This can take as few as 3 minutes or as long as 20. Persist until you have the right texture – creamed butter is critical for airy, light shortbread. Scrape down the bowl as often as necessary. Keep in mind that you can also over cream here, which will cause your shortbread to spread. Not the end of the world, just something to keep in mind.
- Once the mixture is creamed to your liking, add the flours, salt and vanilla. Process on a slow speed to fully incorporate, then scrape down the sides and turn the mixer to high. If the mixture comes together in large balls without any liquid, don’t add any more. If it doesn’t, add a teaspoon at a time until it does.
- Take a small ball of mixture and roll it in your hands. If the balls crumbles and falls apart, you need to add more liquid. If it’s easy to roll, you’re good to go.
- Add the chocolate chips and place the mixer on low just to evenly distribute them.
- Scrape the dough into a rectangular piece of cling film and wrap. Press the dough down into a rectangle and chill for 30-60 minutes. Pressing the dough into a thinner rectangle helps it chill faster. NB: you can also divide the dough into two logs and refrigerate them this way if you would prefer to cut your shortbread from a log. See the body of the post for notes and comparisons of both methods.
- Choose which sort of shortbread you want to make: rolled out or cut from a log.
- To roll the shortbread out once chilled, cut half the dough and place it on a clean, dry and floured bench. I use tapioca flour for this purpose. Gently thump the dough down with your rolling pin to flatten it, then begin to roll. Keep picking the dough up as you roll to ensure it doesn't stick.
- Roll the dough to about 1/2 centimetre (0.19 inches or 1/5th of an inch) and use a circular cutter to cut out your shortbreads. How many you get will depend on the cutter you use. I get around 25 with a 6cm (2.3 inch) circular cutter.
- To cut the shortbread from logs, you will have refrigerated the two in two logs wrapped in cling film. Use a sharp, non-serrated knife to cut cookies about 1/2 centimetre (0.19 or 1/5th of an inch) thick.
- If you like, roll the edges of the shortbread in 10ml (1/2 tablespoon) milk and then in finishing sugar. This will give your shortbread sugary crusted edges which caramelise beautifully.
- Gently transfer the cut shortbread onto the lined baking tray. If you haven’t floured the bench enough you might need to use a thin spatula to pick them up off the counter. If you’re working in hot weather, refrigerate the dough as necessary and keep the cut shortbreads on their tray in the fridge as you work.
- Re-roll any extra pieces until you have used all the dough.
- Bake each tray for 20 minutes or until just lightly golden. They are more fragile as they cool so leave them on the tray to cool completely. Store leftovers in an airtight container.
Notes
- Gluten free flours can vary quite dramatically in their absorbency levels. I like to add 100g total starch to the bowl and go from there. I add the remainder if I need it and leave it out if I don’t.
- I recommend making these ahead of time in case they need to chill longer.
- I have found some variation in the need for liquid with these shortbread. Some need liquid, and don’t need liquid – in fact, they need to chill and firm up in the fridge. I’m testing whether this has anything to do with the butter type/brand or just the absorbency of the flours.
- Either way, be lead by your dough. If you need to add liquid, add it. If your dough is soft and batter like, spread it into a piece of cling film and refrigerate until hardened, 1-2 hours+ (weather dependent)
- I have found that the version with cassava flour has a bit of variance. In summer, I found it needs chilling – the dough is softer than other versions. It also needs 160+ cassava flour as opposed to 120g with other starch varieties. In winter, I found it didn’t really need chilling and only required 100g of cassava flour. I recommend weighing the extra 60g and keeping it in a separate bowl to add to your dough as necessary. A slightly too soft dough is better than a dough that is too dry.
- You can easily make a half batch of this recipe if you don’t need this many shortbread. Simply halve all the ingredient quantities.
I’ve made these twice now to share over Christmas with gluten and non gluten eaters and everyone loves them. I used the cutting logs method and took them out the oven when the edges just started to colour. Thanks for the wonderful recipe!