
Up there with croissants, gluten free scones have been a PROCESS. If you have followed me on Instagram for a few years, you’ll know that I have made many rocks and many pancakes in the search for the perfect scone. After hundreds of tests of a vegan, gum free version for my cookbook, I have finally cracked the code. Today we’re talking gluten free blueberry scones.
Gluten free blueberry scones without xanthan gum
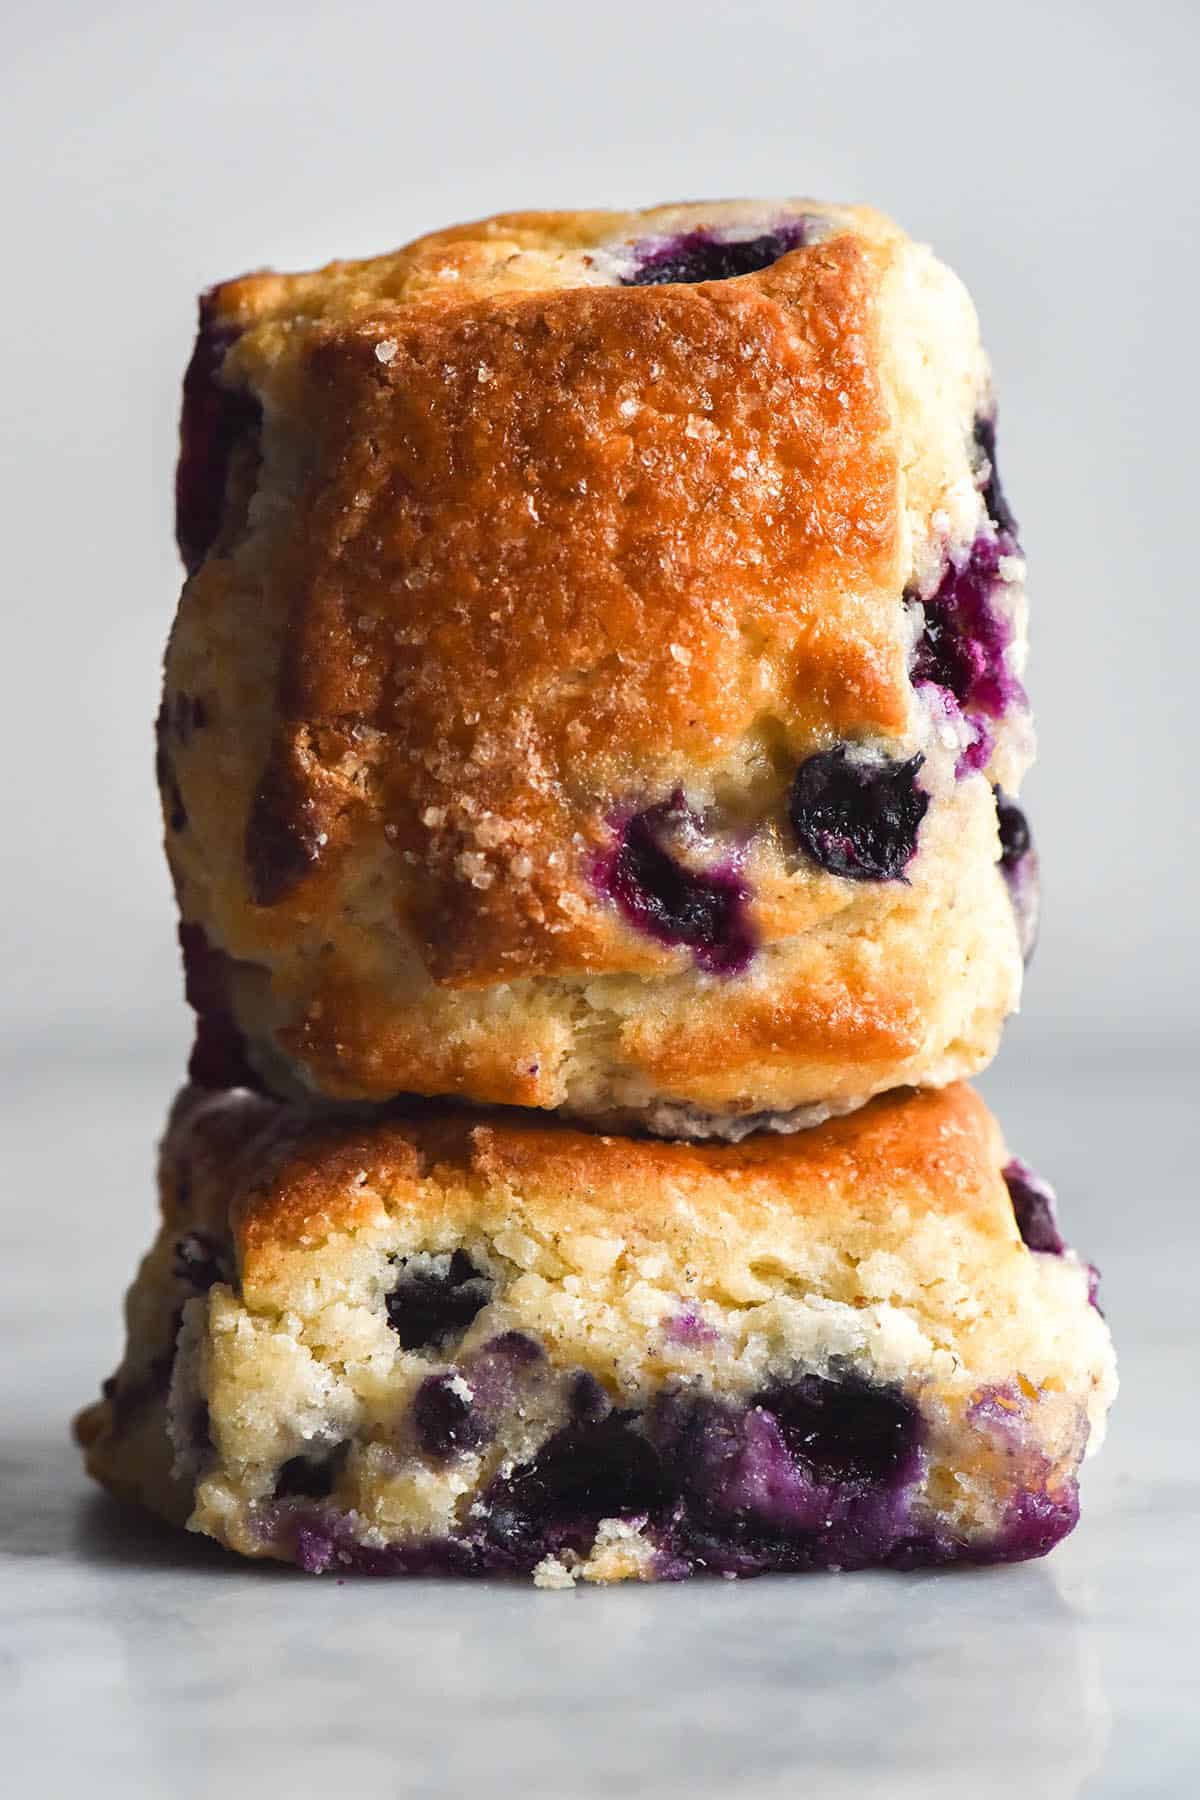
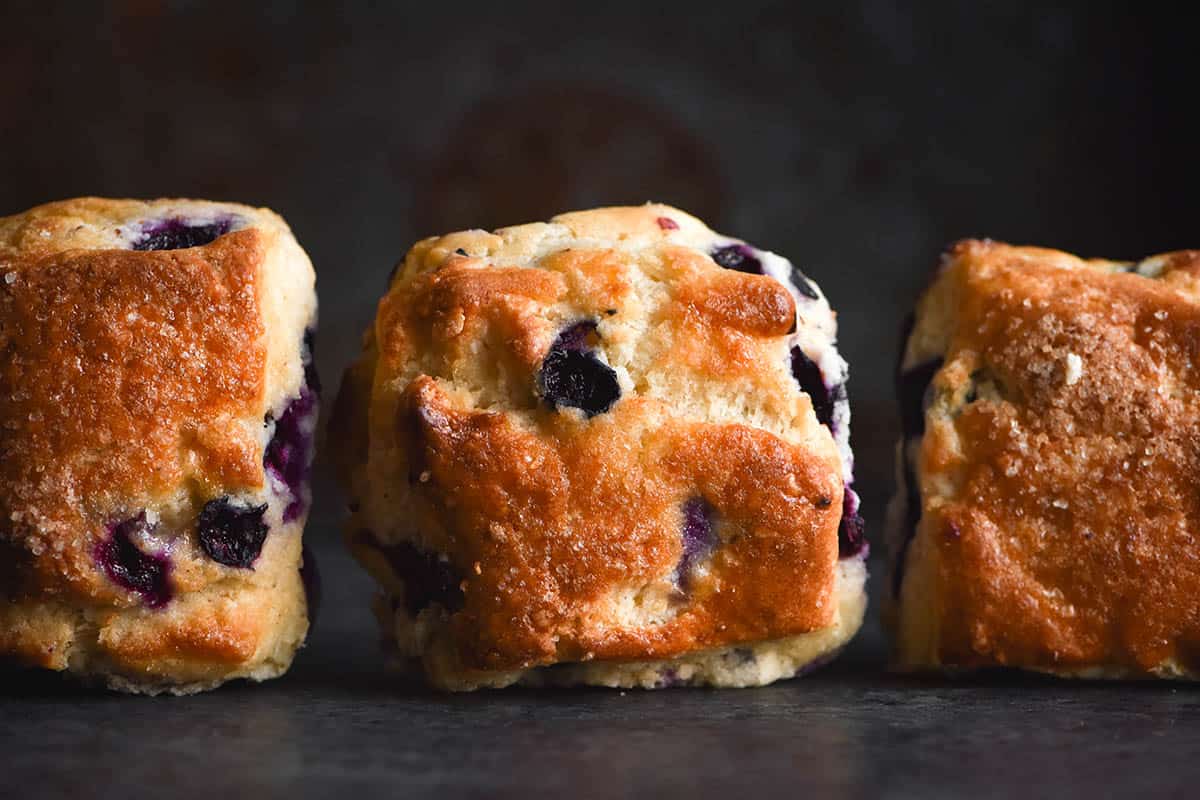
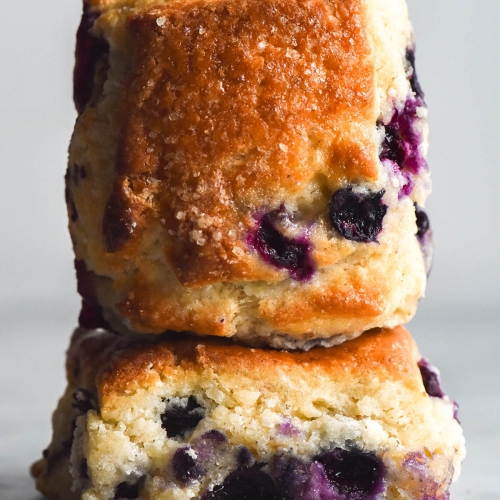
These scones are gluten free and made without xanthan gum and without eggs. They are also nut free. They use butter and lactose free yoghurt, meaning they are low lactose, too. Delicious, rich and lightly crumbly scones, just the way scones are intended to be.
Important note for your gluten free blueberry scones
These scones are designed to be sweet, fruit filled scones. If you’d like plain scones, see my flaky gluten free scone recipe or the vegan, gluten free recipe in my cookbook.
Sugar is a wet ingredient, so altering the sugar content of these scones will also necessitate adding some liquid to compensate. You will do have to do a bit of experimenting to see what works for you in that regard.
Psyllium husk and a thick thick yoghurt are not optional in this recipe. They are critical for structure and moisture. I have found that lots of lactose free yoghurts are thin and borderline runny. This will not help your scones remain scone shaped. I highly recommend using Jalna lactose free Greek yoghurt if it’s available near you. It’s super thick, FODMAP friendly and works like a charm in these scones.
If you can only access a thinner yoghurt, you will need to bake your scones in a snug tray. This will ensure they expand upwards instead of outwards as they bake. As a result of their close quarters, however, they will probably need to be baked a little longer – maybe 5-10 minutes.
A note on the yoghurt
The thinner your yoghurt the more your scones will spread. Period. I don’t make rules. If you buy a lactose free yoghurt you haven’t tried before and it is runny, your scones will spread more. Likewise if you use lactose free cream, which is normally a pourable consistency.
You can help counteract this by baking the scones in a snug container. They will take any opportunity to spread, so if you bake them in a large dish, chances are they will. Don’t say I didn’t warn you!
A note on xanthan gum
I designed this recipe to be made without xanthan gum. However, I tried some on a whim towards the end of the development process. I added 1/4 teaspoon, which is a scant amount, but I could tell the difference. The scones with xanthan gum held their shape more, were neater, and could get away with 1 tablespoon less milk. They also staled less quickly and I might perhaps have slightly preferred the taste, which is rare for me (normally I find xanthan gum detectably slimy).
So! The xanthan gum is an optional addition that absolutely does not need to be added if you don’t want to. For a slightly neater, perkier scone with a slightly longer shelf life, you can use xanthan gum.
Either way, these scones heat up nicely in a microwave or a steamy oven. A steam based heat restores them to their former moist glory. If you only have an oven, simply add a small oven-proof dish to the base of your oven as you preheat.

Ingredient notes
I have currently only tested the flours outlined in the recipe. I hope to be able to test different varieties in the future, but I haven’t yet. Let me know if you try a new variety that works!
Unsalted butter contains more fat and less liquid than regular butter, as a general rule. Anecdotally, I found that salted butter tended to seep out of the scones after baking in this recipe, which is why I recommend unsalted butter here.
Psyllium husk powder is more absorbent than psyllium husk flakes. It also has less of an impact on the aesthetics of the baked good. You can make your own psyllium husk powder by grinding the flakes in a spice grinder. Psyllium husk powder is a critical ingredient in this recipe – you can’t make these scones without it.
I have not tried a vegan yoghurt here. Vegan yoghurts tend to be runnier and there is a lot of variation in consistencies. There is an egg free (vegan) scone recipe in my cookbook, Intolerance Friendly Kitchen.
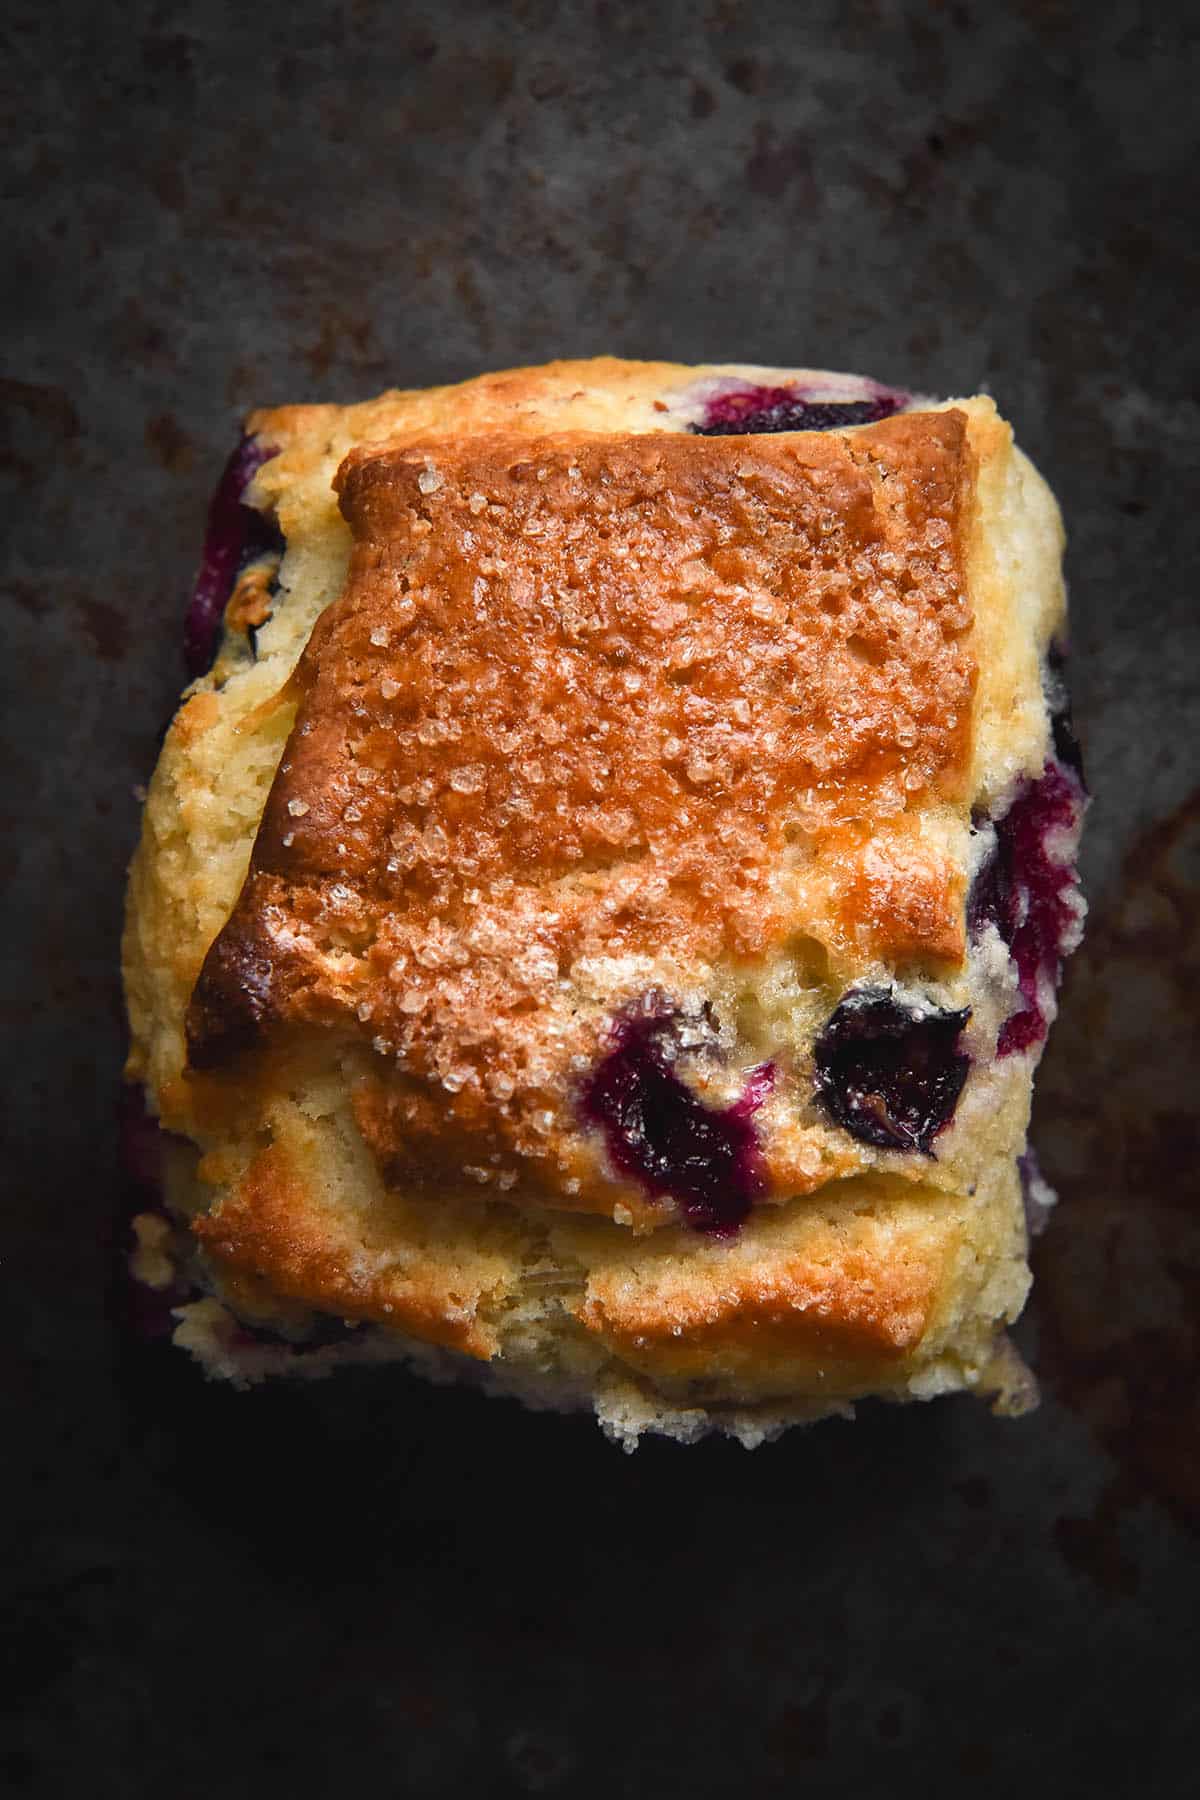
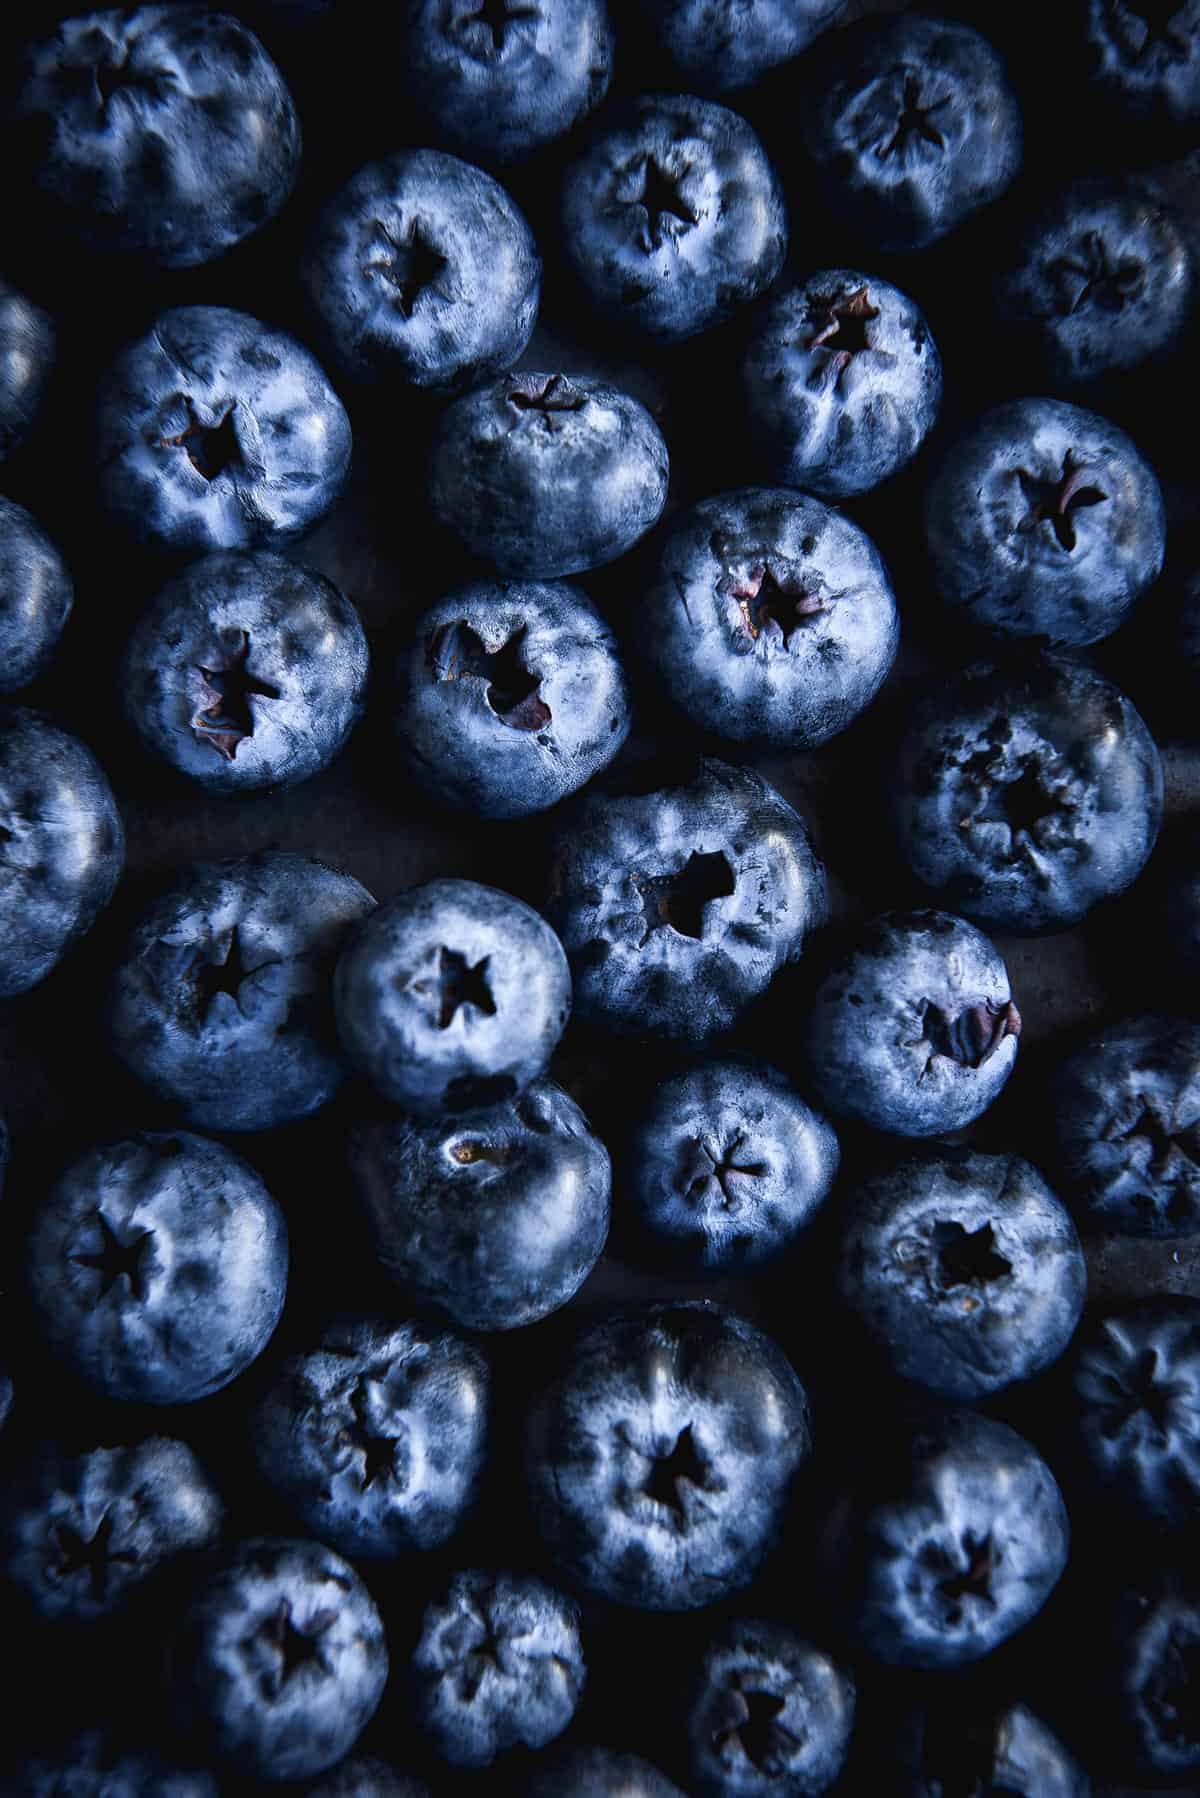
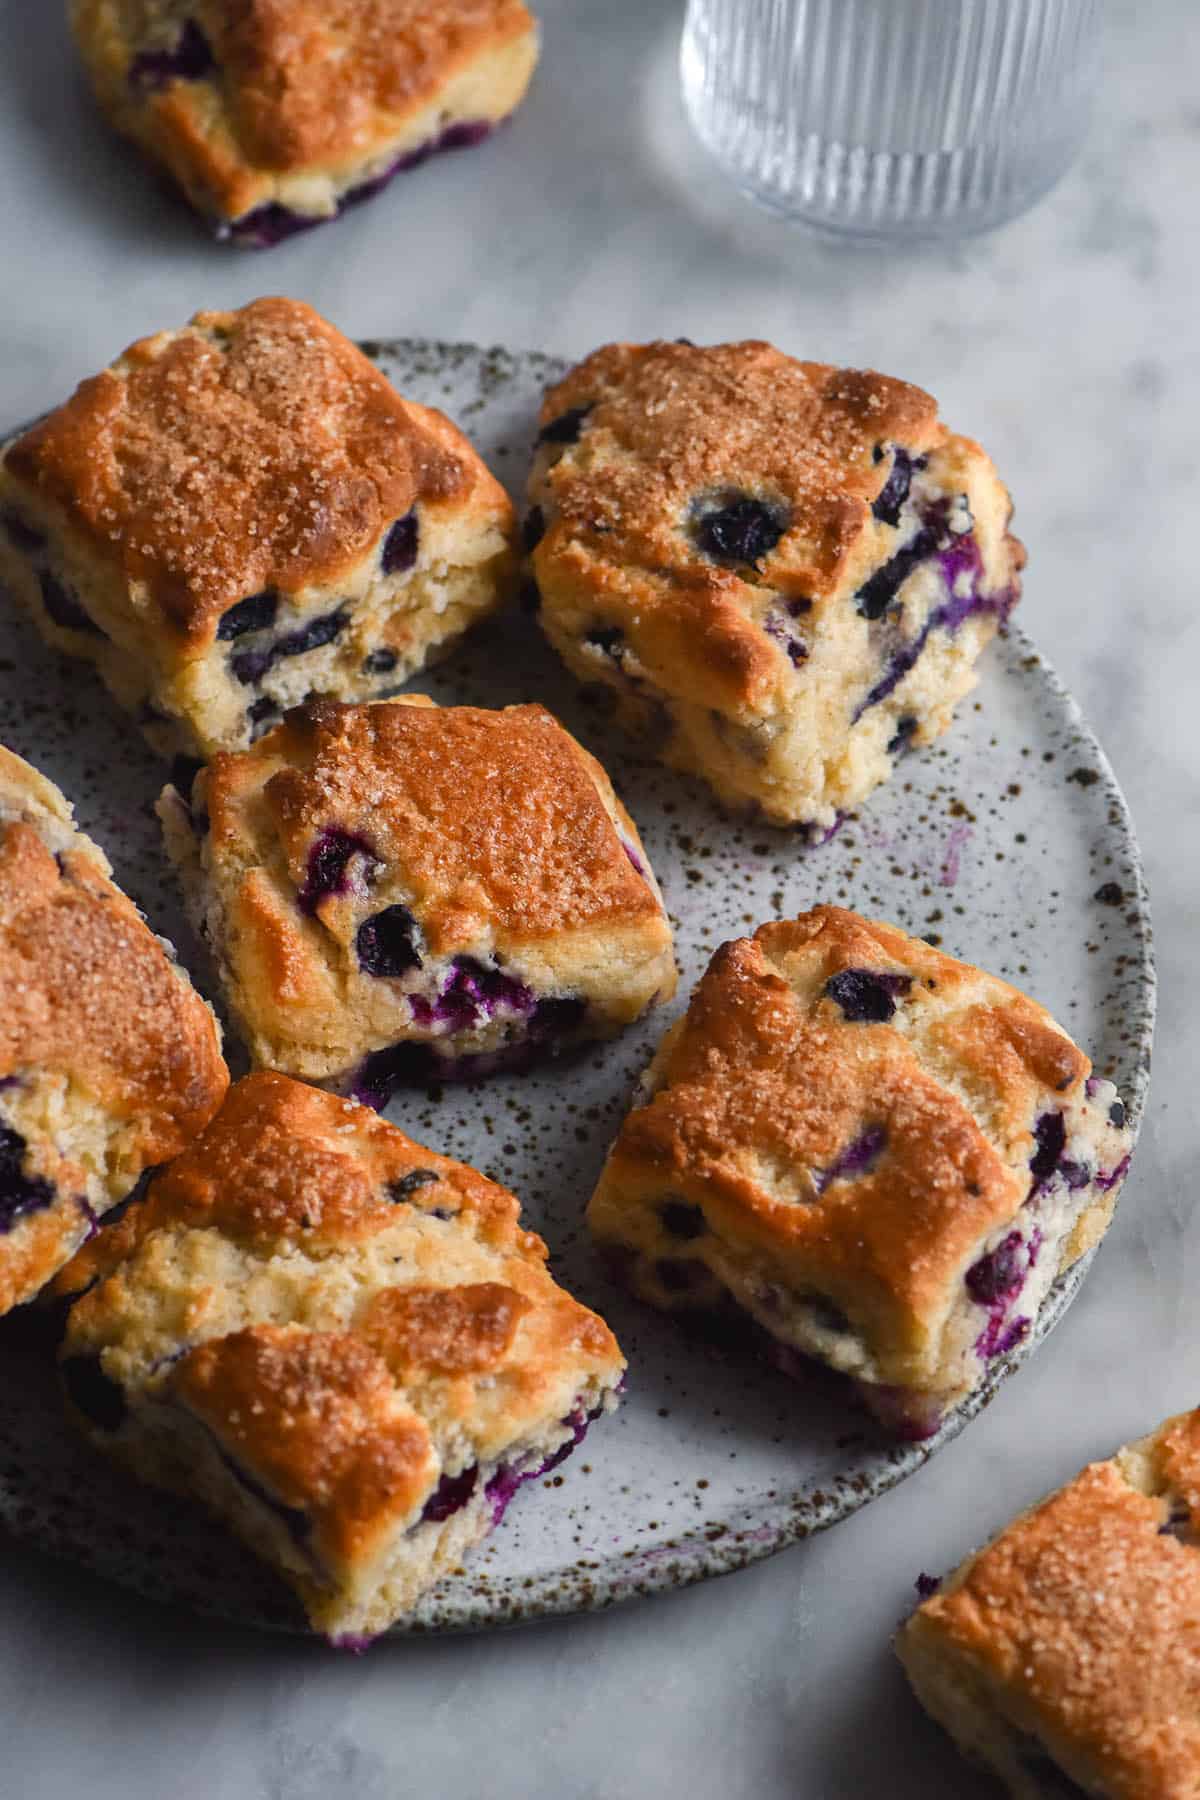
A note on blueberries
Blueberries are a bit of a wildcard in gluten free blueberry scones. They vary hugely in their water content, which makes them a trickier ingredient to work with. If at all possible, I recommend using fresh blueberries in these scones. Gluten free scones can very easily turn into gluten free pancakes with too much liquid. You might be able to get away with adding frozen ones in something that is less of a delicate balance, but not so much in scones.
If blueberries aren’t in season where you live, try my regular scone recipe instead. It is designed specifically to be a no fruit, less sweet recipe. This recipe has been designed around the fruit, so if you’re taking it out, it might not work as well. Best to use the purpose designed recipe when it comes to gluten free.
General tips for your gluten free scones
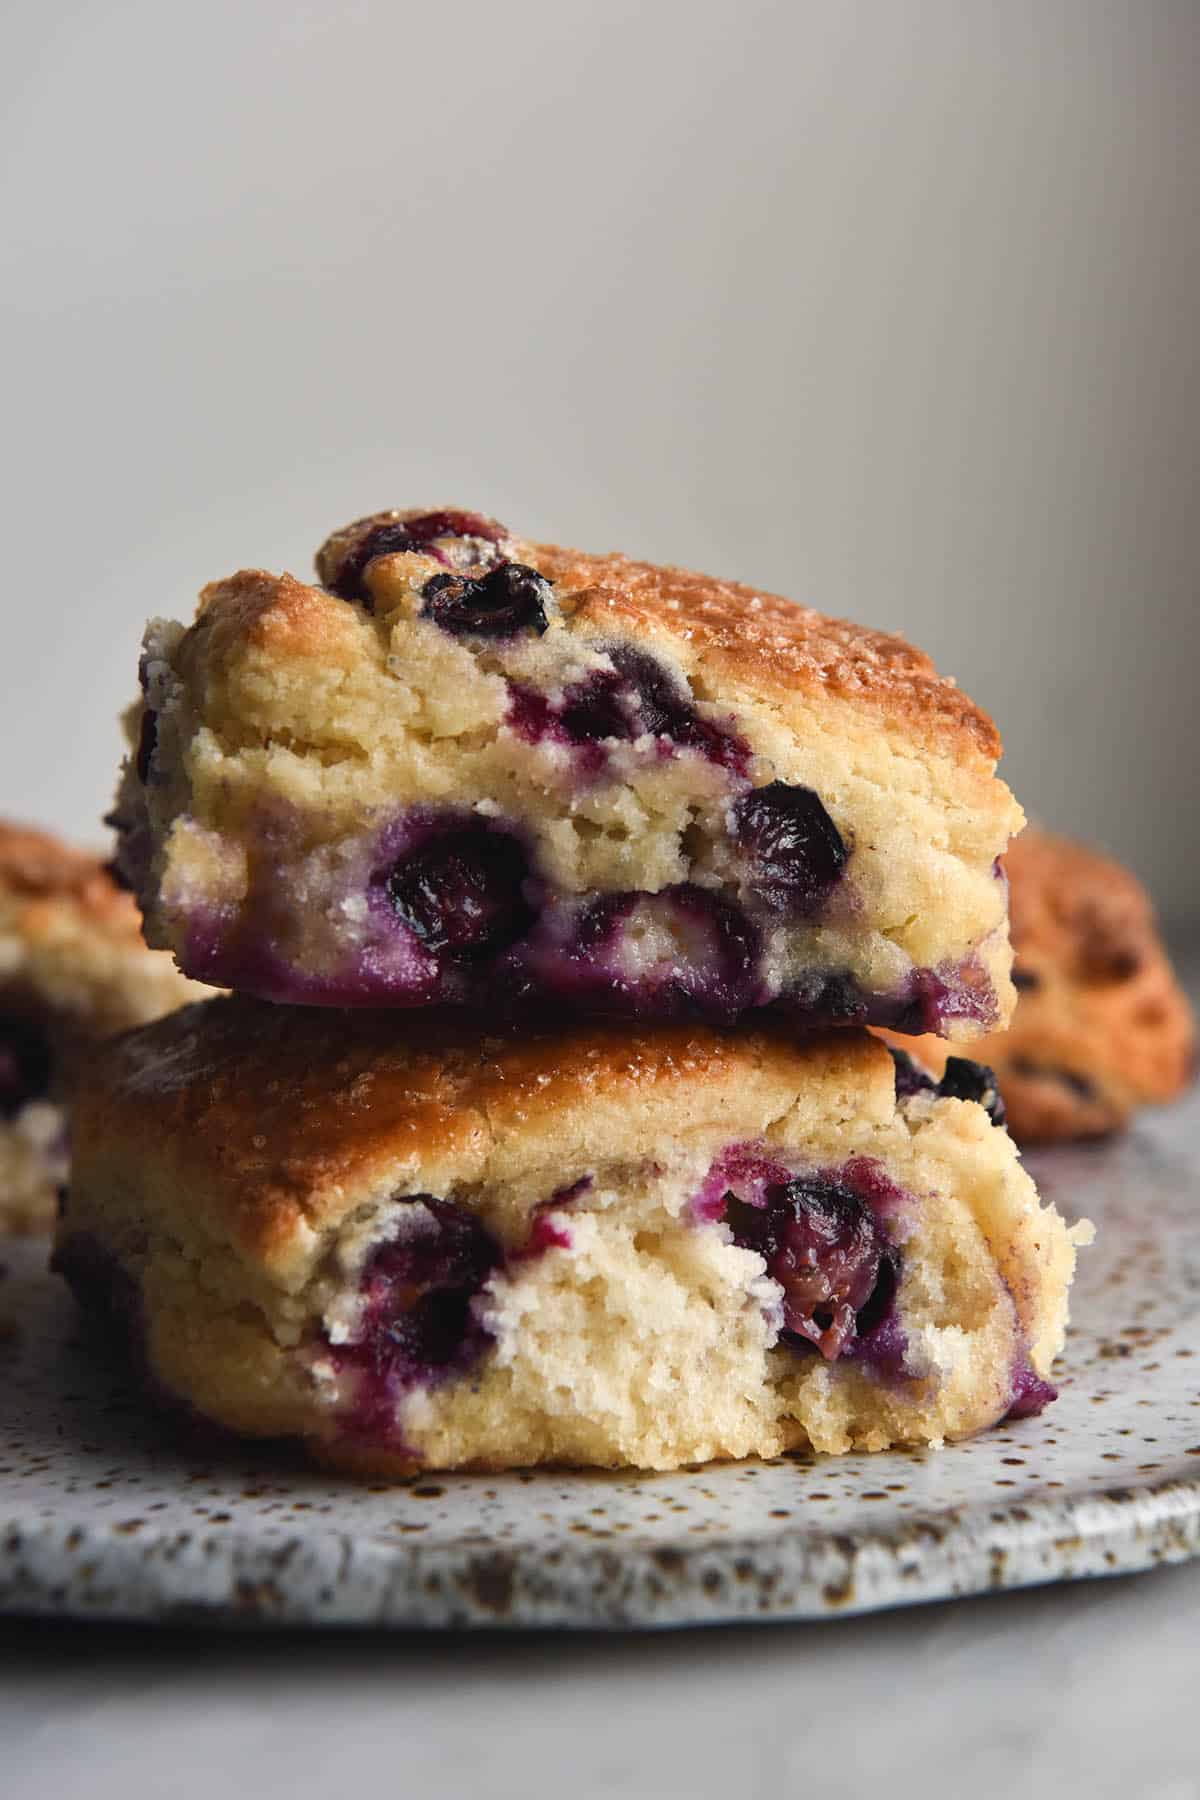
Generally I find that the best indicator of this dough being at the right hydration is that it looks borderline dry but feels wet. It should be able to hold shape in the bowl, just. It should feel like it’s just holding together, as opposed to being a wet dough. Only add as much liquid as is strictly necessary to bring the dough together.
When stirring the liquid ingredients into the dough and bringing it together, try not to crush the chunks of butter. These will create lift and flakiness as the liquid evaporates in the oven. If you mash the butter completely into the dough, you will have flat and oily scones.
Use as much tapioca flour as you need to roll out the dough, without overdoing it. Scant but regular flourings will help shape the dough without adding too much.
More gluten free baked goods
- My gluten free scones
- American style sweet biscuits
- Vegan blueberry muffins
- My best ever grain free fudgy brownies
Gluten free scones
Equipment
- 20cm cake tin
Ingredients
- 100 g cold unsalted butter cubed and frozen for 10 minutes
- 200 g (1 1/4 cup) white rice flour
- 90 g (3/4 cup) tapioca flour
- 125 g caster sugar see notes
- 3 teaspoons gluten free baking powder
- pinch of fine salt
- 10 g (3 teaspoons) psyllium husk powder
- 150 g thick lactose free full cream yoghurt see notes
- 2-6 tablespoons milk of choice
- 125g fresh blueberries
- Additional tapioca flour to roll out the scones
- egg whisked, for the tops of the scones
Instructions
- Cube the butter and pop it in the freezer for 10-15 minutes (you want it to be solid but not rock solid, so go by howcold the butter was when you sliced it). Combine the dry ingredients in a medium-large mixing bowl.
- Rub the butter into the flour using your fingertips. You want fine small pieces of butter distributed throughout the dough – they will create lift in the oven. Make sure the chunks are all small – they should look like a fine meal.
- Pour the yoghurt over the flour and use a spoon to combine. Add the milk as necessary to form a dough that looks dry but feels wet. There should be no dry spots flour on the bottom of the bowl, but the dough should only just hold together. Add the blueberries and gently use your hands to distribute them. Once all the flour has been picked up off the bowl and the mixture is combined, cover it and place in the fridge for 30 minutes.
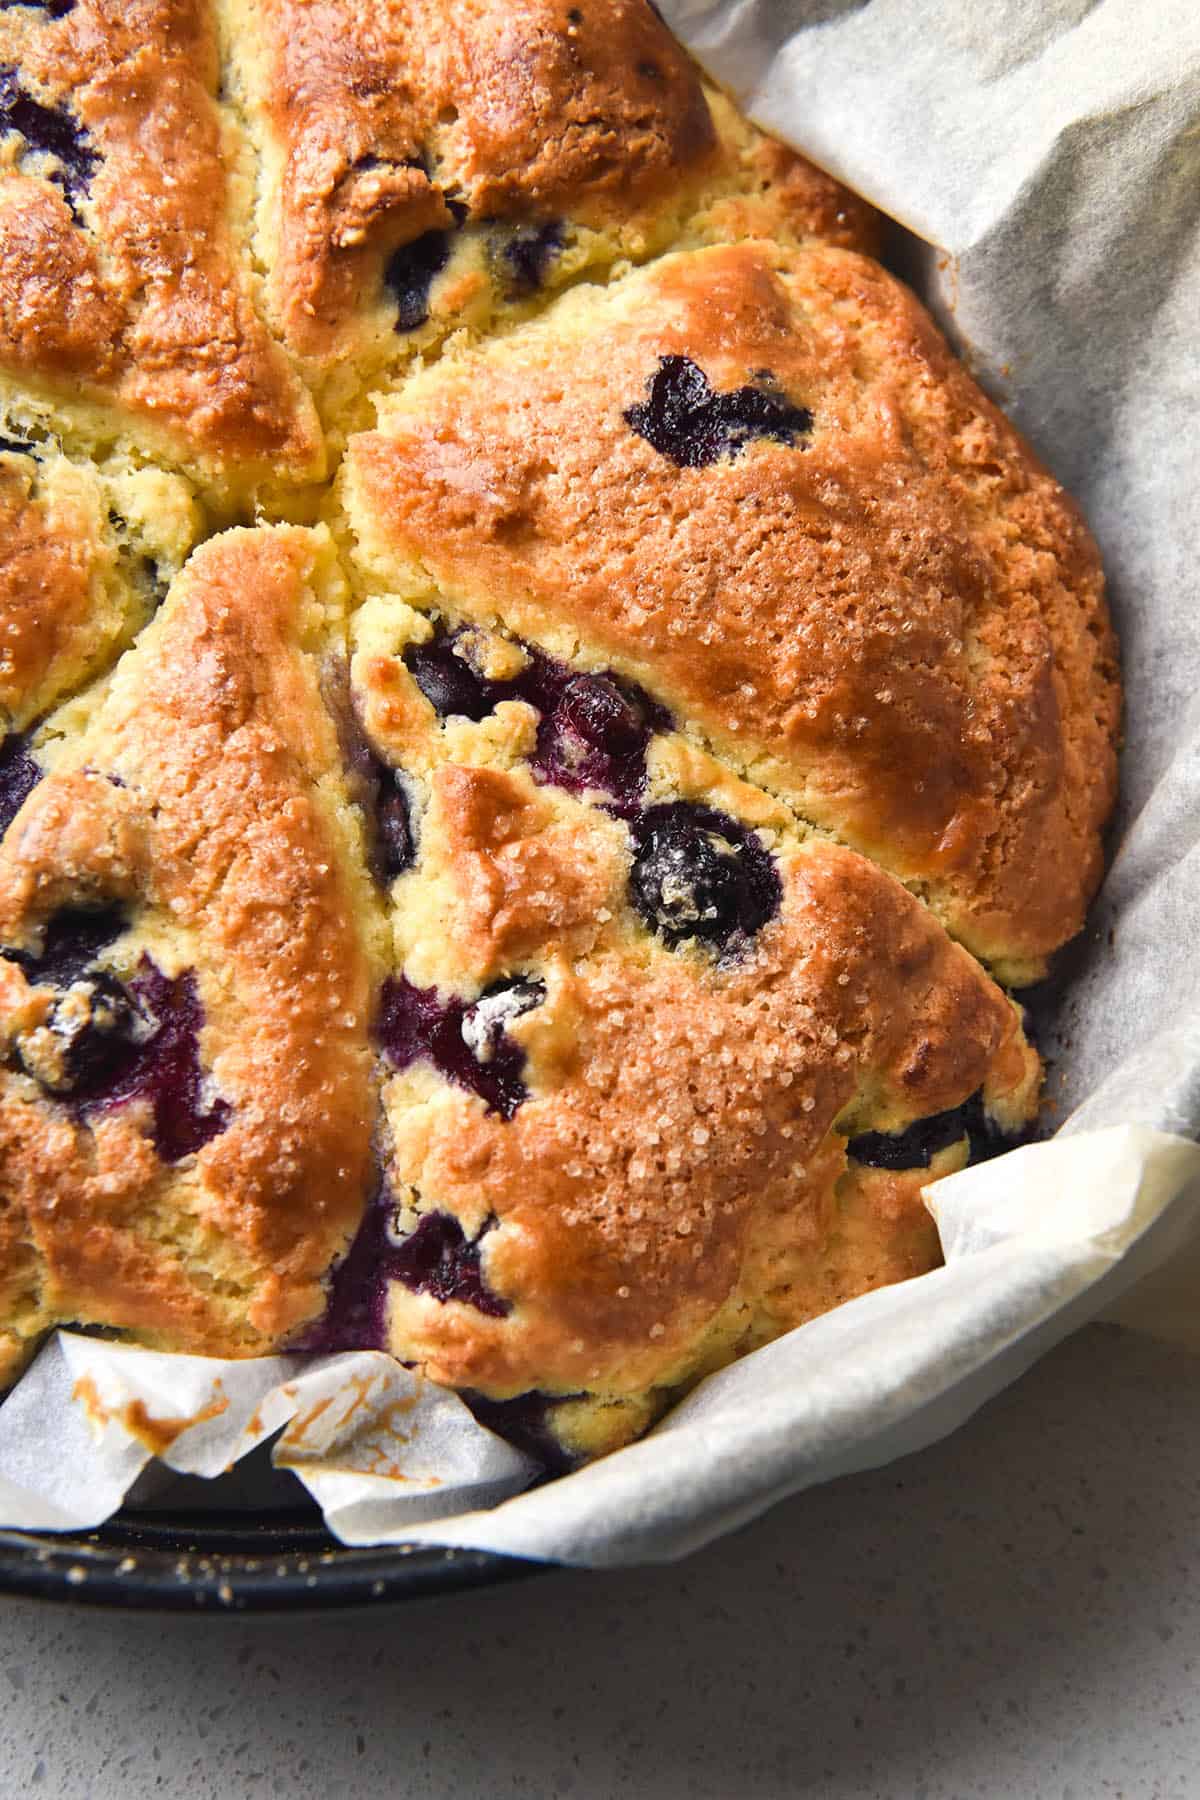
- Flour a clean, dry surface with tapioca flour. Sprinkle some flour onto the dough, then tip it out onto the bench. Flour any sticky surfaces of the dough, then use your hands to form it into a rectangle shape. Slice the rectangle into quarters, then stack each piece on top of the first until you have a little tower. Use a floured rolling pin to gently flatten the dough into a rectangle about 20cm long and 5-6cm thick. A tall dough will create taller scone, and smooth, flat dough surface will create flat scone tops.
- Create 5-6 large scones. I find it far easier to simply cut these scones with a sharp knife (in slices or squares) than to use a cutter. They don’t grow much in the oven, so they should be nice and tall as you cut them. Don’t twist the cutter as you dip it into the dough – this has the potential to tear up those chunks of butter we made. Gently place the scones in a lined cake tin. I use a 20cm one. Keeping the scones snug will encourage them to grow upward instead of spread. Place them back into the fridge for at least 30 minutes or longer if you have the time. You can also put them in the freezer for 15 minutes.
- When you’re ready to bake, preheat the oven to 200C. Brush the scones with the egg wash, then place them in the oven for 25-30 minutes, or until they are cooked through and the tops are golden. Serve with jam and lactose free whipped cream, or whatever else you’re into. Microwave or steam bake leftover scones to restore them to their former glory.
Notes
- Make sure you read the body of the post before you begin. It contains all the information you need to be successful here, with no fluff.
- I use Jalna pot set lactose free Greek yoghurt. Make sure your yoghurt is super thick and full fat.
- Baking the scones in a small dish is important. This gives them less room to spread. Because there’s no gluten, they are far more likely to spread without support.
- I have only tested fresh (not frozen) blueberries in these scones. I will update the post as I test more varieties.
No Comments