I am in the midst of working on a yuzu recipe for a client. In order to perfect the recipe, I have to perfect yuzu curd. Turns out it is truly so good that I had to post a recipe here. This curd is easy to make, fresh and bright and completely dairy free.
Yuzu curd (dairy free)
This simple yuzu curd uses yuzu juice and white sugar as the base. You can use store bought juice if fresh yuzu aren’t readily available to you.
Next, the curd uses extra large eggs as with any curd recipe. They add richness, thickening capacity and flavour. Finally, our dairy free curd uses coconut oil in place of butter.
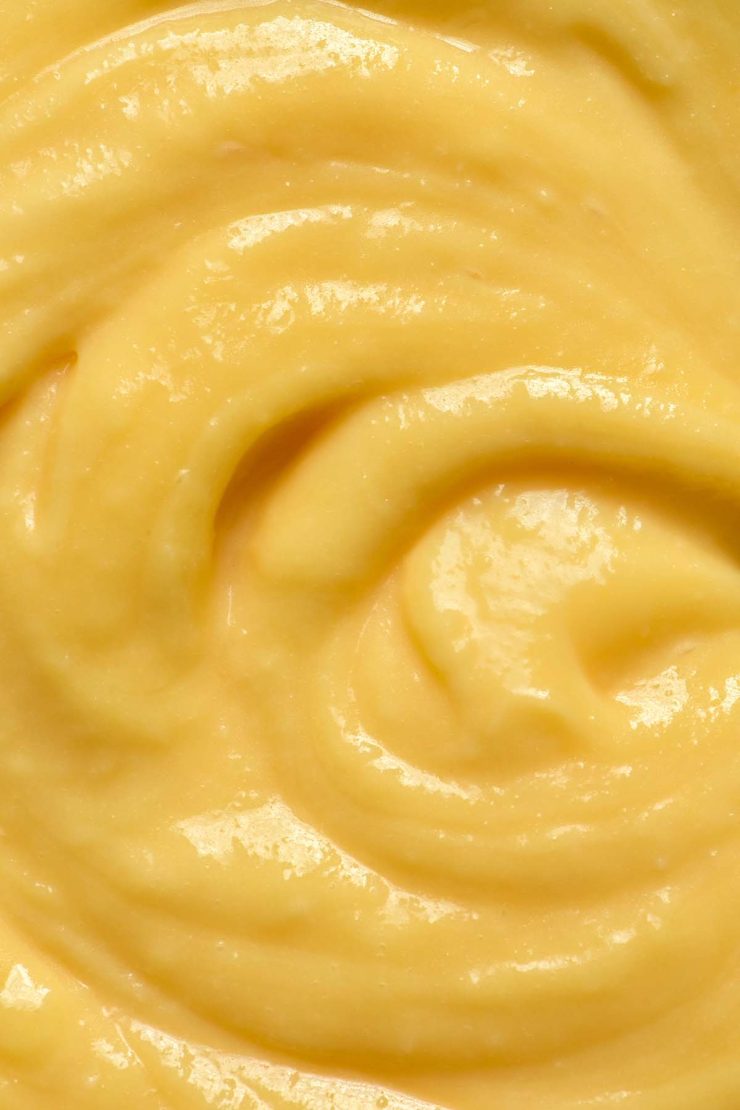
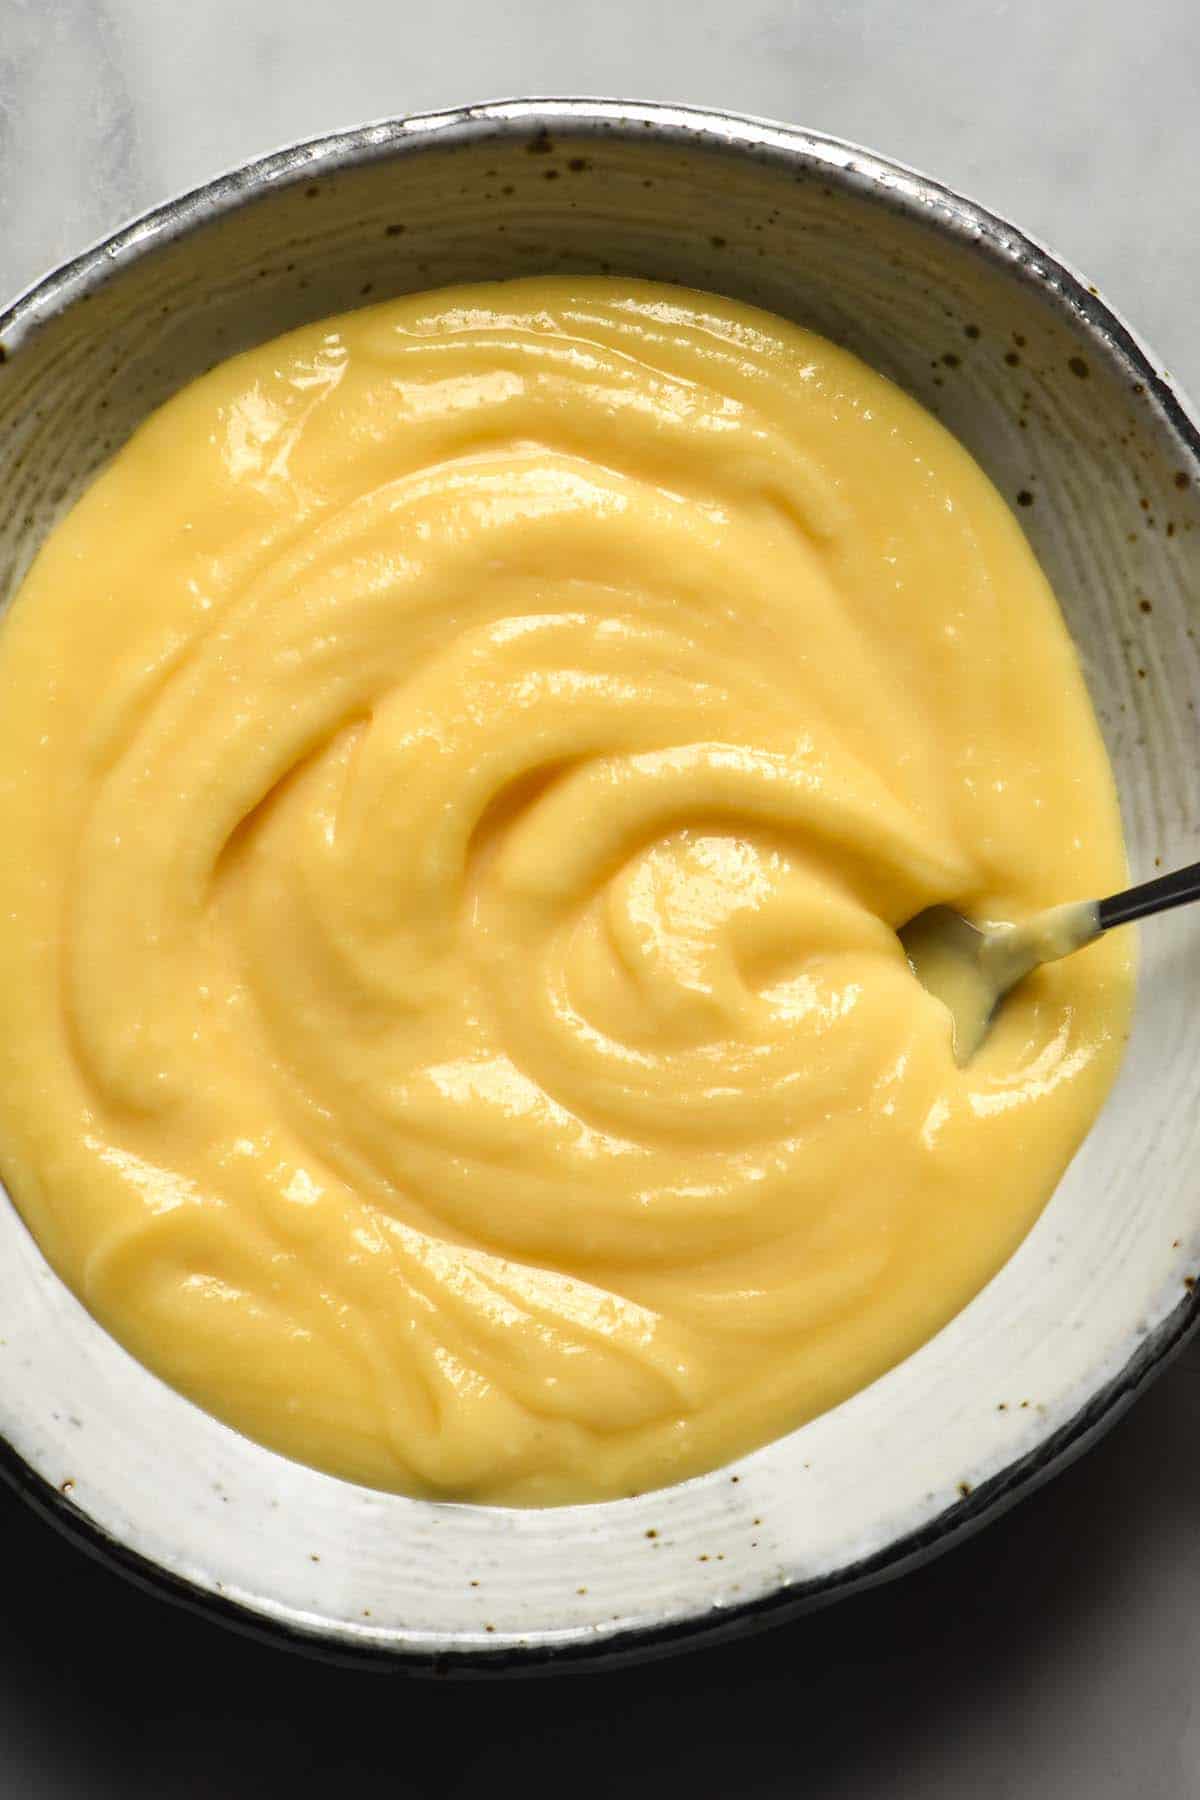
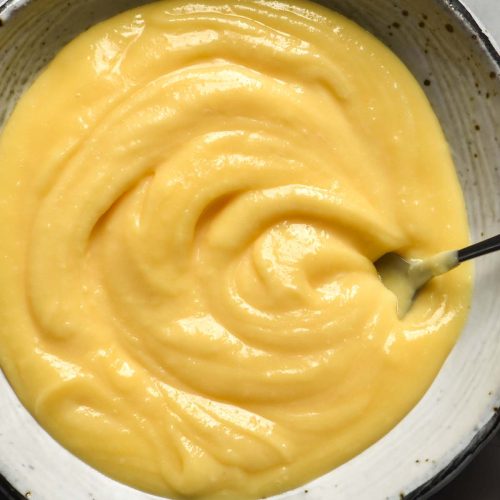
The result is a super vibrant, bright and fresh zingy curd that is perfectly sweet and perfectly tangy.
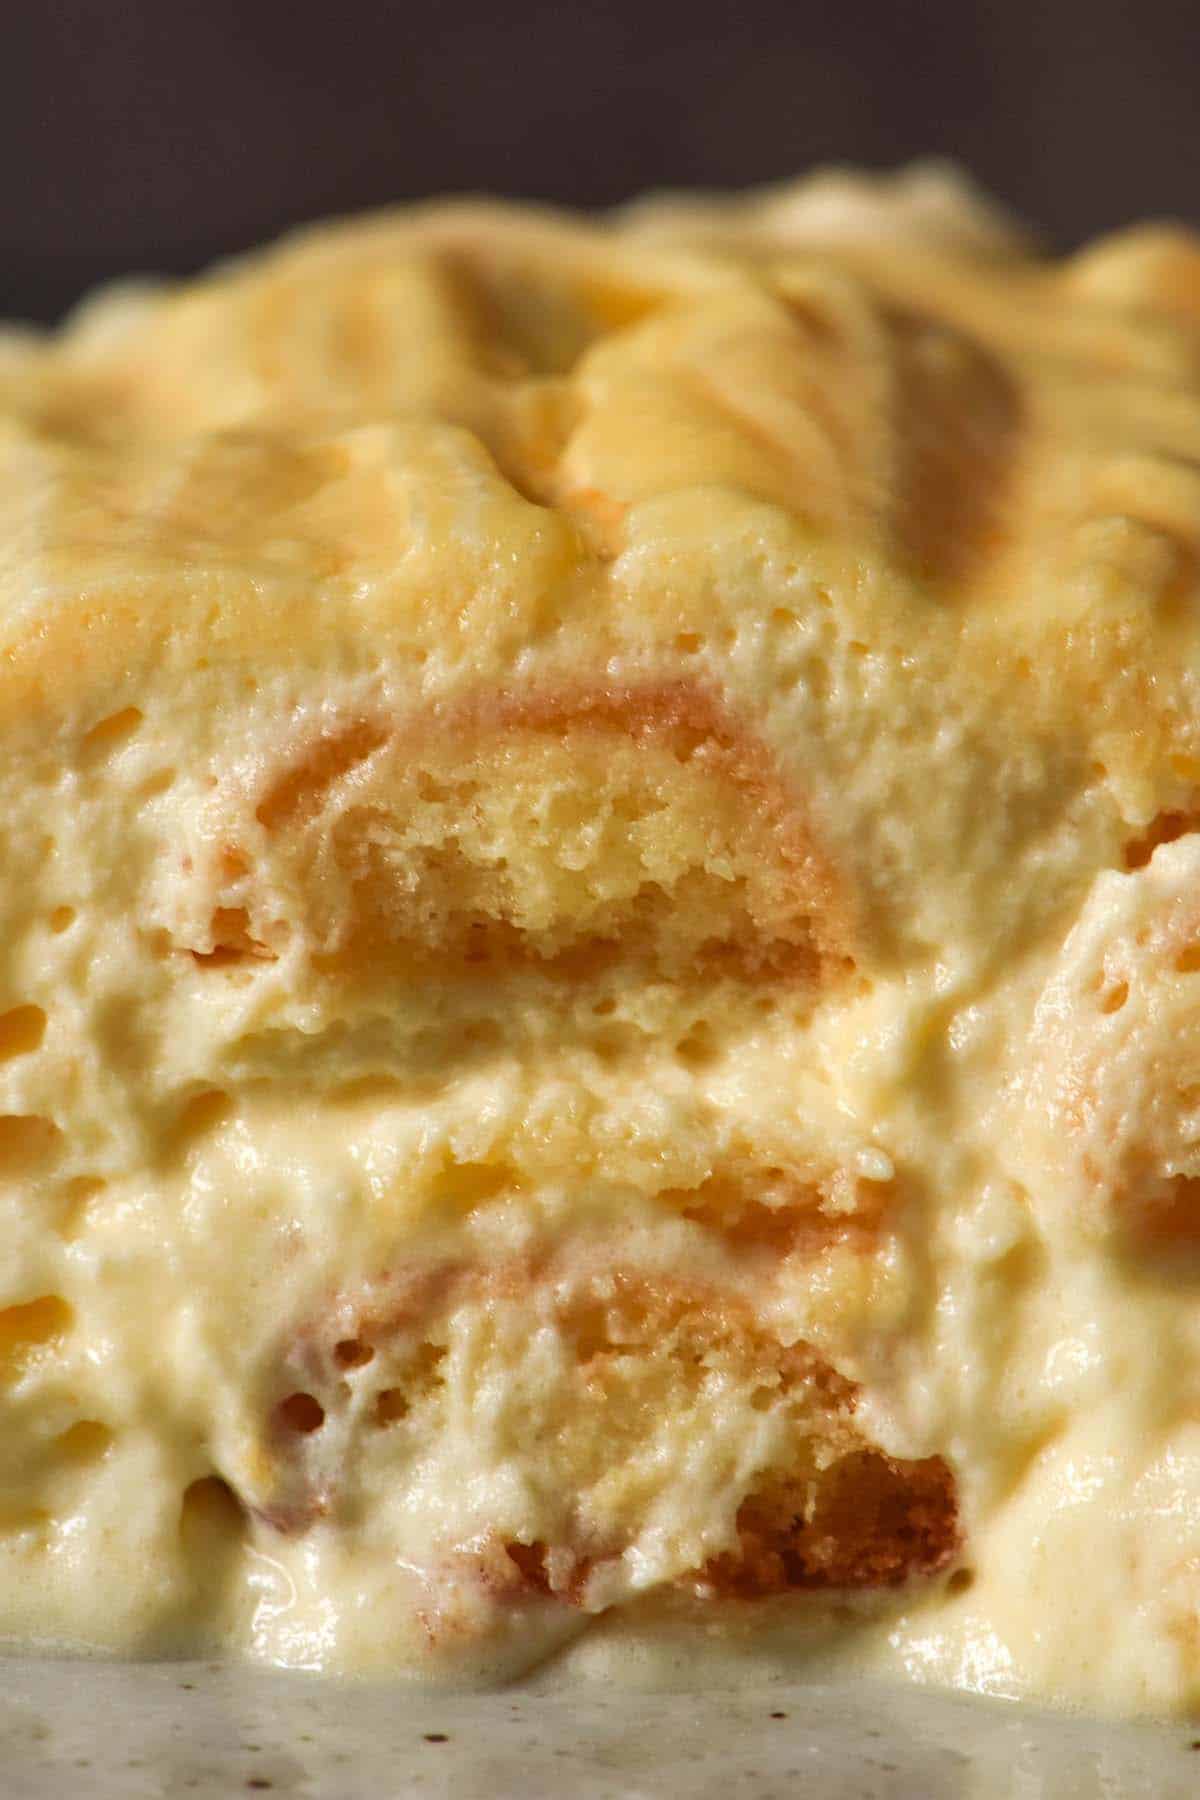
A delicious citrus curd has so many uses. You can swirl it through homemade ice cream (or make ice cream with it) or use it to top store bought ice cream. It goes brilliantly on scones, toast, pancakes, crepes and waffles. You can use it in between cakes (like my gluten free version of Nigella’s courgette cake) or add it to a frosting recipe.
When is yuzu season in Australia?
Yuzu trees are starting to become more common in Australia, so it is possible to get the fruit for a short period of time. Sources differ a little, but by all accounts it is possible to buy yuzu fruit in Australia from late Autumn until early winter. This is the same for the Northern hemisphere, including Japan.
If you can get your hands on even one yuzu, zest adds so much flavour to a curd. My lemon curd recipe recommends rubbing the zest into the sugar before starting. This infuses the sugar with the zest flavour and adds another dimension to your curd.
If you can’t find any fresh yuzu, you can absolutely use pure bottled yuzu juice for this recipe. The only ingredient should be yuzu juice – nothing else will work in this recipe. I used Japanese yuzu juice sold by Mountain yuzu. It is fresh, delicious and comes in 150ml bottles which is the perfect amount for this recipe.
If you are not based in Australia, an internet search for yuzu juice should yield a result closer to you. Again, make sure it is pure yuzu juice with no sugar or other ingredients added.
A note on the coconut oil
I use coconut oil instead of butter in all my curd recipes now. I tested it as a dairy free alternative in curd years ago and found that I actually much prefer it. Comparing both styles of curd, I find that butter mutes the bright and tangy citrus flavour and creates a more buttery flavour (obviously). Coconut oil allows the citrus to shine and results in a bright, crisp and clean citrus flavour that I adore.
A question people often ask is: but can you taste the coconut oil? I don’t think you can personally and I am very against tasting unexpected coconut. I will never willingly use coconut cream in a tiramisu, for example. In this instance, though, I really don’t think you get even a hint of coconut.
However, there is an option for avid coconut haters – use deodorised/purified coconut oil. Somewhat of a miracle product, deodorised coconut oil tastes like practically nothing. There is no coconut flavour – just a nice easy fat source that solidifies when cold (like butter).
You can buy deodorised/purified coconut oil online and in health food stores. I generally find it isn’t available at mainstream supermarkets in Australia, but I might be wrong there.
I don’t have an alternative for coconut oil at the moment. You can experiment with other fat sources if you like, but I haven’t tested any. I would probably recommend following a recipe that uses the fat source you intend to use specifically.
Ingredient notes
- Use pure yuzu juice with no sugar or other additives.
- I used caster/superfine sugar but regular white sugar will also work. I have not tested any sugar alternatives.
- As discussed above, I haven’t tested any fat sources other than coconut oil. I personally can’t taste any coconut but you can use deoderised/purified coconut oil if you’re a true hater – please read the section above.
- I don’t have any alternatives for eggs at the moment.
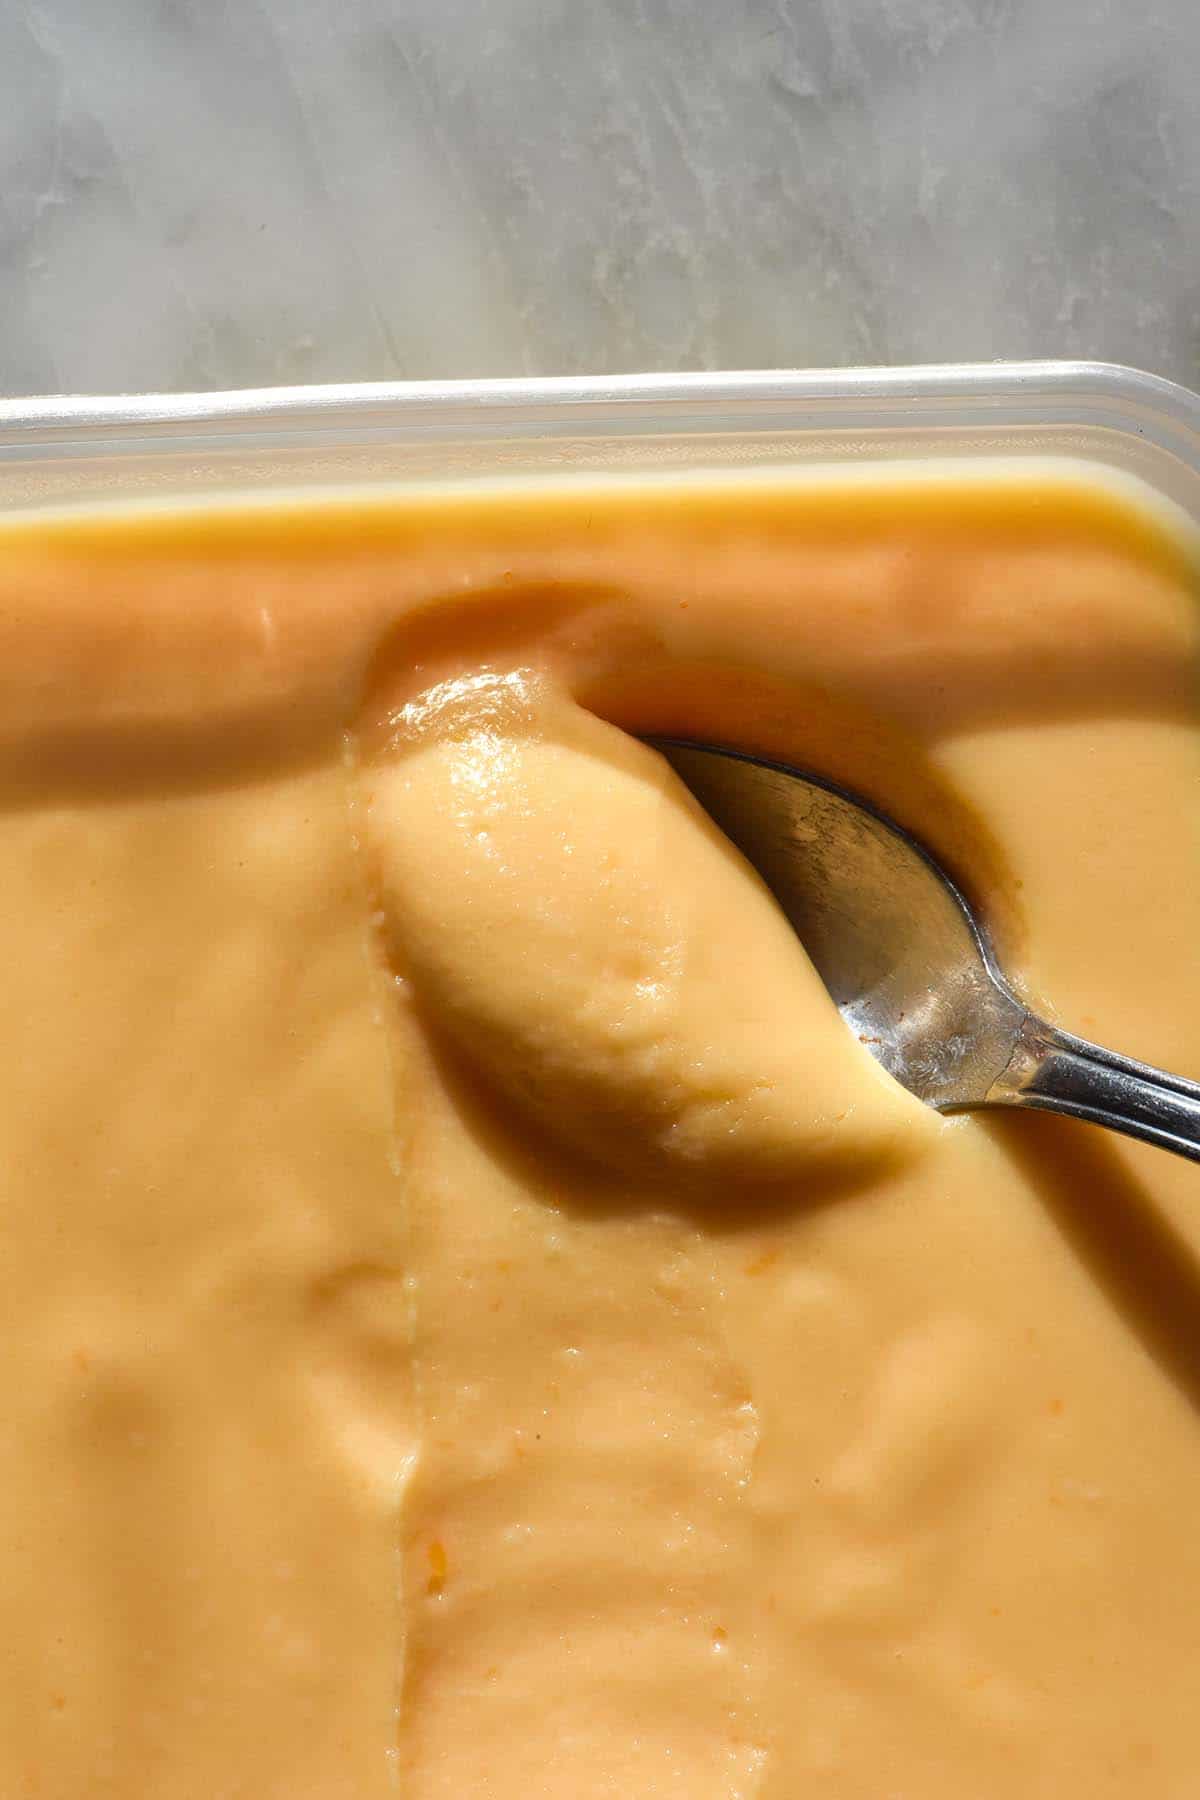
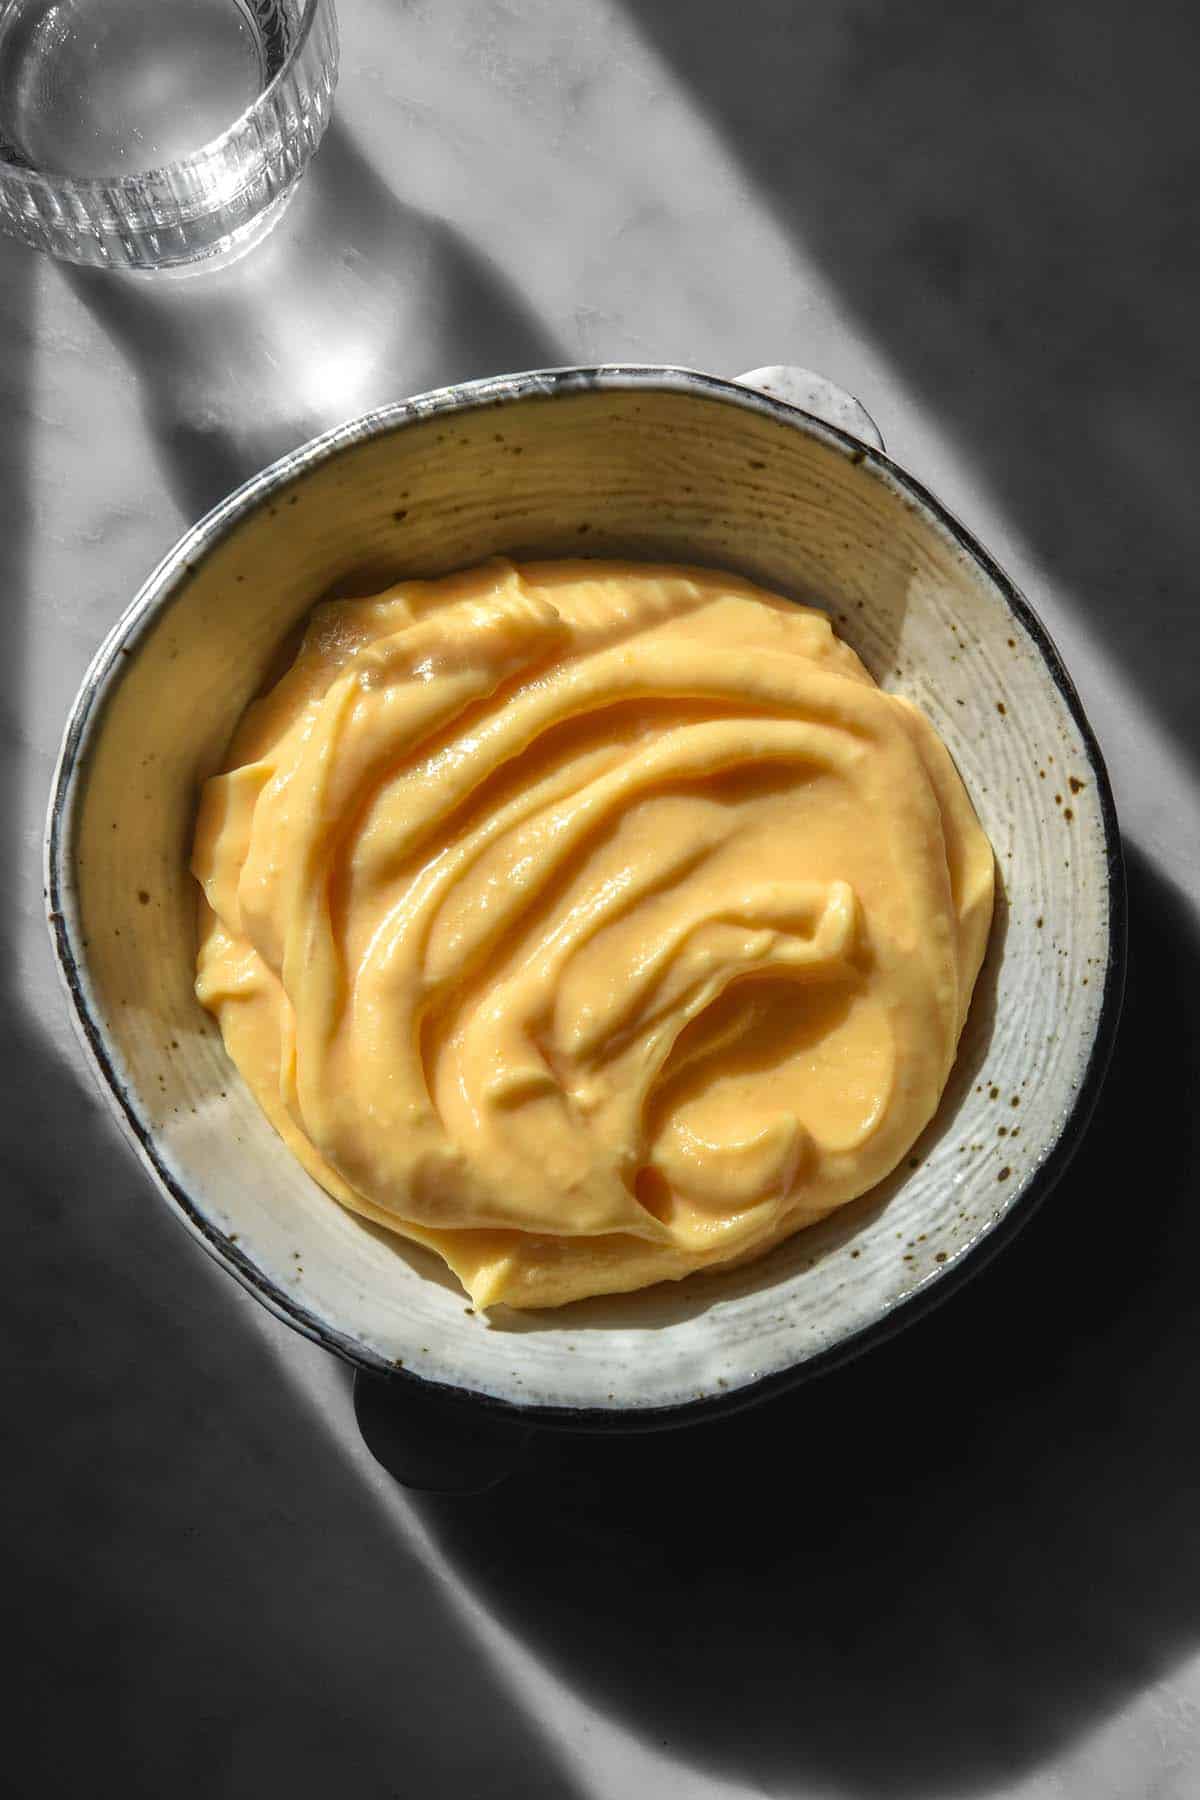
- The colour and vibrancy of your curd depends mainly on your egg yolks. Free range, good quality eggs generally have deeper orange yolks than factory farmed, inexpensive eggs. That is just the way it is. If your egg yolks are a very pale yellow, your curd will be a pale yellow. If your yolks are vibrant orange, your curd will be a bright yellow/orange colour that is more attractive. It will also be richer in flavour. I always buy local, free range and organic eggs where I can. Yes it is more expensive, but you get what you pay for.
Tips for your yuzu curd
As discussed, egg yolks make a big difference in how your curd looks. Note the difference between the more orange curd and the more yellow curd – this is all to do with different egg yolks.
The key to getting your curd nice and thick but also smooth is to cook it low and slow and whisk it often. A low and slow heat will set the eggs nicely without overcooking them.
If you do have little flecks of cooked egg white in your curd, don’t stress. Simply allow it to cool completely and then pass it through a fine mesh sieve. This should get rid of all the little lumps and create a lovely smooth curd.
I recommend making this curd the day before. This allows it to set, gives the flavours time to meld and ensures it isn’t hot if you are making, say, a yuzu tiramisu.
More dairy free curd recipes
- Dairy free lemon curd
- Dairy free lemon curd ice cream
- Dairy free passionfruit curd
- Dairy free lime curd tart (gluten free)
- Pavlova with no waste berry curd (uses all the whites and yolks)
Yuzu curd (dairy free)
Ingredients
- 110 g (1/2 cup)* caster or white sugar
- Yuzu zest if you have it (optional)
- 150 ml pure yuzu juice no additives
- 125 ml (1/2 cup)* melted coconut oil (125ml melted coconut oil weighs 125g)
- 4 extra large eggs (45-55g per egg, weighed out of shell)
Instructions
- Place the sugar and yuzu zest (if you have any, if you are using store bought yuzu juice proceed to the next step) in a medium heat proof bowl. Use your fingers to rub the yuzu zest into the sugar.
- Set the bowl over a small saucepan 1/4 filled with water over a low heat. Ensure the water won’t touch the bowl.
- Add all the curd ingredients to the heat proof bowl and whisk to combine. Place the bowl over the heat.
- It will take a few minutes for the ingredients to emulsify together so keep whisking until they do. Once they do, continue whisking for 5-10 minutes, or until the curd has thickened and coats the back of a spoon. As soon as it does, remove it from the heat. If you’re cautious, you can plunge the bowl base into an ice or cold water bath to stop the curd from cooking.
- If you hear the water bubbling at any point during cooking, turn the heat down. Low and slow temperatures create a lovely thick curd.
- Cover the curd with plastic wrap, flush to the curd itself so it doesn’t develop a skin. Place in the fridge and allow to cool completely (if you’re not using it straight away) before decanting into a clean, airtight container. Use it within a week or freeze it to preserve it for longer.
- If you find your curd has little white lumps (cooked egg white) simply pass it through a fine mesh sieve once the curd is cool.
Notes
- See the body of the post for notes, tips and tricks.
- I used Mountain Yuzu store bought juice in Australia.
- I don’t think you can taste coconut here but if you really dislike coconut, use deodorised/purified coconut oil from a health food store (it has no flavour).
- I have no substitute for coconut oil at the moment.
No Comments