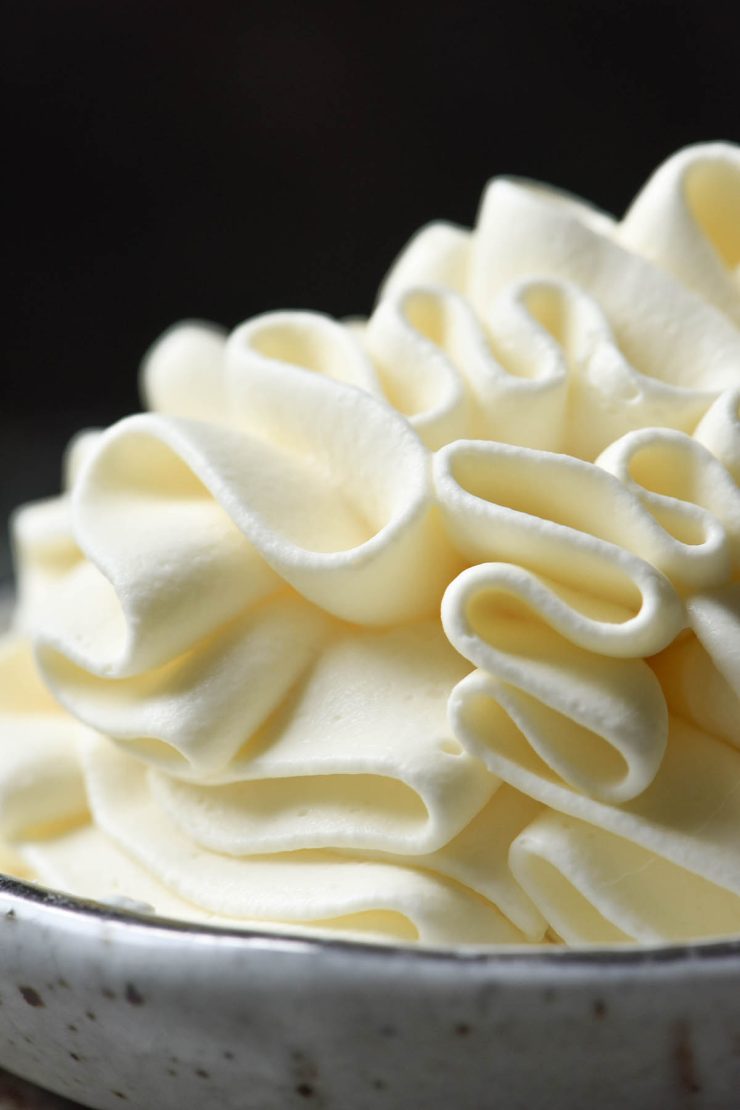
I have been working on a lot of lactose free dairy recipes recently. I added lactose free cream cheese and lactose free sour cream to my little collection. Today we’re back with this easy recipe for lactose free whipping cream.
Lactose free whipping cream
This lactose free whipping cream requires only three ingredients: whipping cream, lactase drops and sugar (which is optional). Lactase is the digestive enzyme that breaks down lactose into more digestible sugars. People with lactose intolerance don’t produce enough of this enzyme to break down lactose that has been eaten.
So! To counteract our own digestive systems, we add the lactase directly to the dairy product. The enzyme gets to work breaking down the lactose into two sugars: sucrose and galactose. This is how lactose free dairy products are made, and this is how we are making homemade lactose free cream.
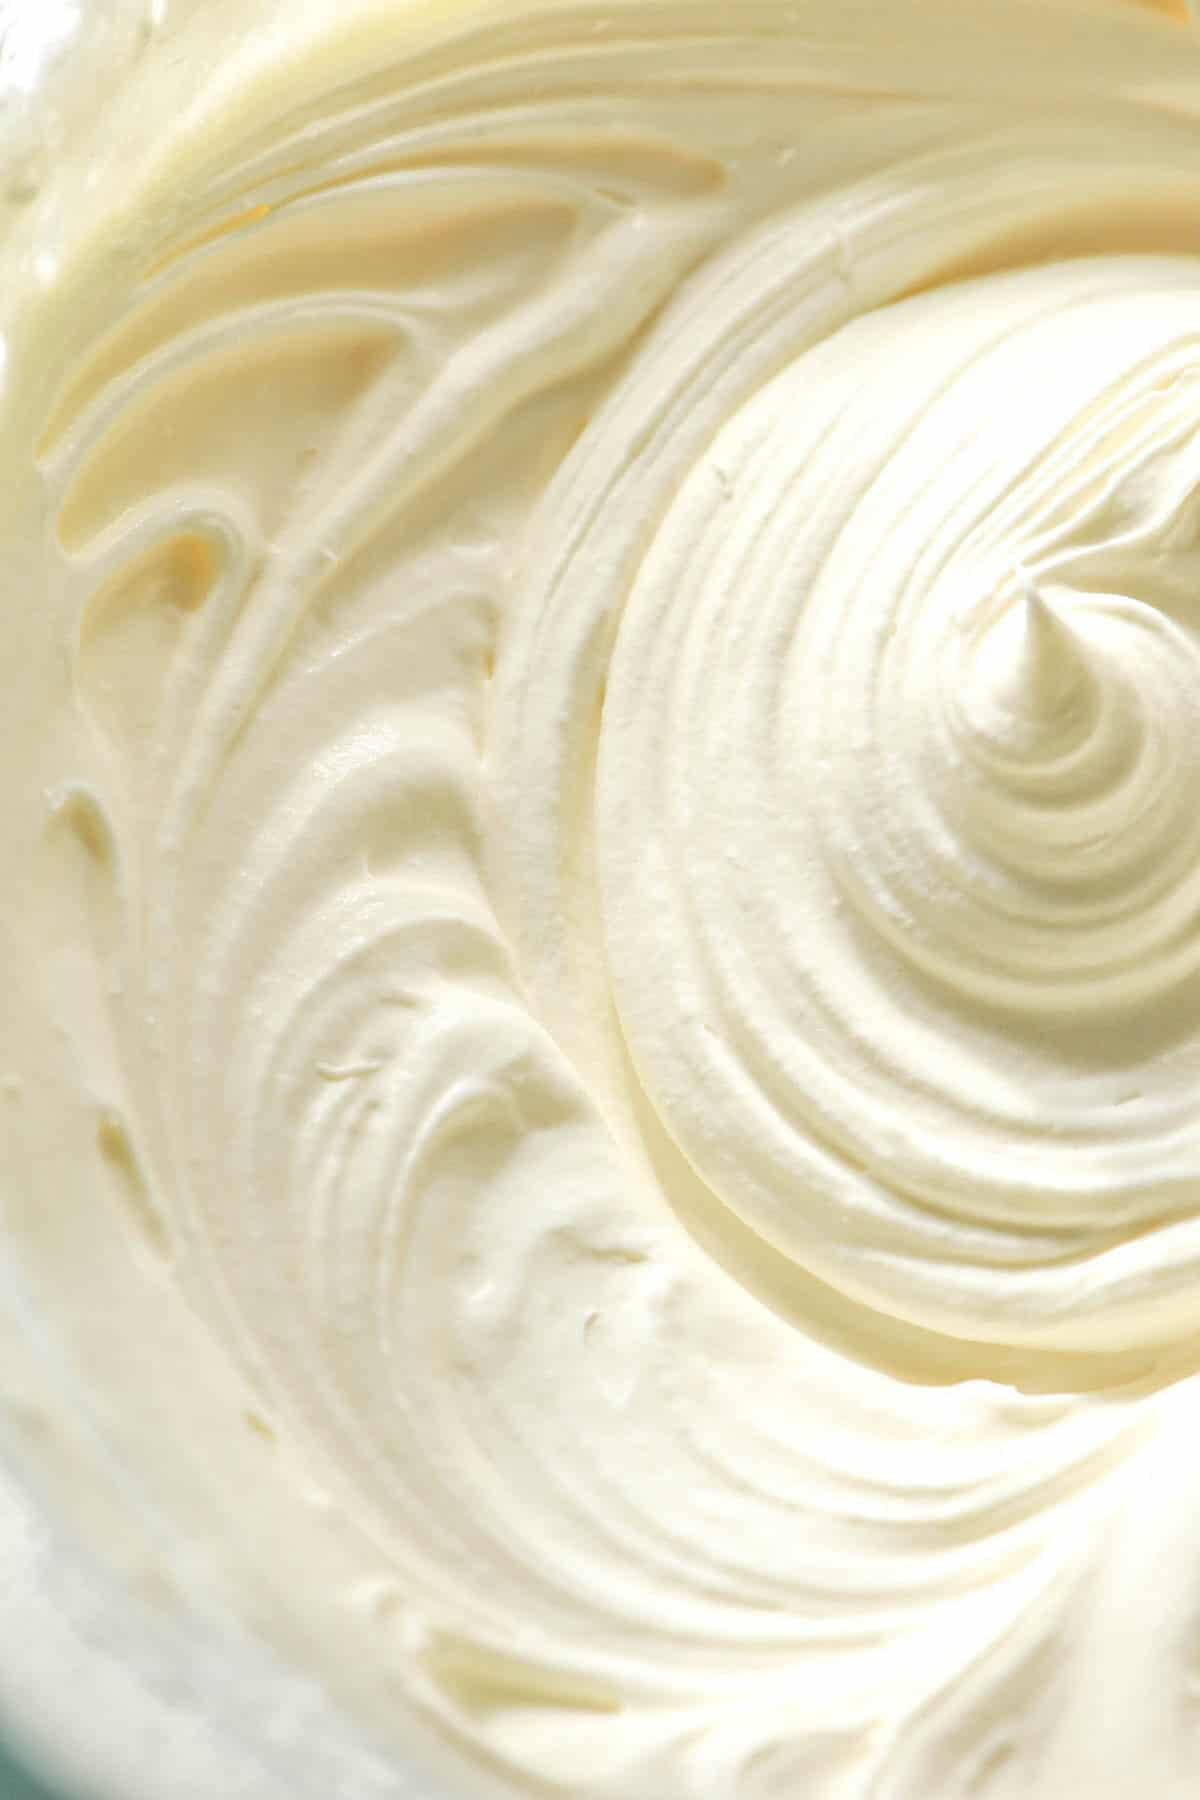
What is whipping cream?
First and foremost, whipping cream is cream to be whipped, not cream that has already been whipped. We need to add the lactose to the cream prior to whipping, so store bought whipped cream in a can is not what we are discussing today.
I live in Australia, where we have light thickened which contains 18% fat, thickened cream which contains 35% fat and double cream which contains 45% fat. Not every brand contains this exactly the same amount, but these are averages.
In the USA, according to my research, whipping cream contains 30% fat. Heavy cream is slightly higher at 35% fat. Double cream is not super common in the US, as far as I can tell.
In the UK, whipping cream contains 35% fat and double cream contains 48% fat. They also have a number of other sorts of creams on the market, but we won’t get bogged down in that.
If you are based elsewhere in the world, I found this Wikipedia article on the different fat percentages of creams in different countries to be incredibly helpful.

Why does the fat percentage matter?
This article from The Kitchn puts this more succinctly than I ever could: ‘When you first begin whipping cream, millions of tiny air bubbles get whisked into the liquid. The cream becomes frothy and lightens. If you stopped whisking now, the bubbles would eventually work their way out and the cream would become a uniform liquid again.
But if you keep whipping, something more happens. Bubbles are still getting whisked into the liquid, but now the action of the whisk also starts stripping away the protective outer membranes on the fat globules. This allows the fat to join together and gradually form protective bubbles around the tiny pockets of air.
Technically this is an emulsion – air suspended in liquid and held stable by fat – and is also why you need cream with a relatively high fat content (at least 30%) in order to whip cream. The less fat, the more those globules are stretched thin and the harder it becomes to make a stable emulsion.’
Lactose free vs dairy free
I always like to cover this in my lactose free dairy posts because people seem to misunderstand the premise on occasion.
Lactose free dairy, as we have discussed above, is dairy that has had lactase enzyme added. Most of the lactose is broken down, making it a ‘lactose free’ product. Lactose free products are still dairy products.
Dairy free, on the other hand, is a recipe made without any dairy at all. No milk, no cream, and thus inherently no lactose. Examples of dairy free products include soy milk and oat milk.
This recipe contains dairy but it is lactose free. If you have a dairy allergy or intolerance as opposed to lactose intolerance, this recipe is not right for you. You will need to use a completely dairy free alternative. Google has many brilliant recipes for dairy free whipped cream – this one looks incredible.
How much lactose does lactase remove?
There’s no agreed upon rule as to how much lactose can remain in a lactose free product after the enzyme has been added. Store bought lactose free products have lactase added, but they don’t have to test that no lactose remains.
It is estimated that around 70-80% of the lactose is generally removed, but this is just an estimate.
This is one of the benefits of making your own lactose free whipping cream – you can control how much lactase is added and how long the lactose is left to do it’s job – more on that in the next section.
How do I use lactase drops to make lactose free whipping cream?
Lactose drops are the lactose product of choice for this recipe. This is because they are liquid (of course) and will easily dissolve into dairy products. You can also buy tablets but they are harder to dissolve in a liquid like cream.
A number of different companies sell lactase drops, and I assume there might be some variation in how strong they are. I am Australian based and I used Intoleran lactase drops which I ordered online. They recommend around 10 drops per litre. Yours might be stronger so be sure to read the bottle.
To make lactose free cream, simply mix the lactose drops into the cream. Return it to the fridge for 24-48 hours before use. The longer the mixture sits, the more lactose will be removed. If you are hyper intolerant, leave the mixture for the full 48 hours before use.
And that’s it! A simple way to make whipping cream that will work for everyone.
Does lactose free whipping cream differ from regular whipping cream?
Lactose free whipping cream only differs from regular whipping cream in its sweetness. When lactase breaks down lactose, it breaks it into two sugars – sucrose and galactose. These sugars are sweeter than lactose alone, so lactose free dairy often tastes sweeter.
This means that you might need to add a little less sugar to your lactose free cream. Other than that, though, the whipping cream works in exactly the same way.
Is whipped cream gluten free?
Whipped cream is generally gluten free and this recipe for lactose free whipped cream is gluten free. However, be sure to double check your cream for any gluten containing ingredients. When dining out, ask if the whipped cream is gluten free. Whipped cream in stores and cafes can be stabilised with other ingredients to allow it to hold form for a longer period of time. There are a number of different ways to stabilise whipped cream, so it is always best to check what, if anything, has been added.
As an aside, I have noticed that more and more store bought creams (in Australia, at least) are made without gelatin. This is great for vegetarians and anyone who doesn’t consume gelatin. Again, though, be sure to read the labels.
Tips for making whipped cream
- First and foremost, ensure you have the right cream. Whipping cream contains a gum or thickener to help trap air, make whipping easier and to prevent the cream from curdling. Apparently you can make it without but I haven’t even able to find a gum free cream thus far.
- Read the pack of your cream carefully and don’t be tempted to try light thickened cream or any cream with a fat percentage below 30%. Personally, I think 35% is the ideal number here but I know some cream in the USA is sold at 30% for whipping purposes.
- Make sure the cream is cold. It can also help to have a cold bowl and beaters.
- Watch your whipped cream like a hawk! I prefer to use hand beaters to make whipped cream because stand mixers are very powerful. They’re also easy to walk off on, leaving your cream to over whip in your absence.
- Whipped cream becomes over whipped in the blink of an eye. One second it’s light and fluffy with stiff peaks and the next it is oily, deflated and starting to turn into butter. The absolute second you think your cream is done, stop whipping. This article gives advice on how to fix whipped cream, but you would have to have made another batch of lactose free cream to have on hand case in case.
Stabilised lactose free whipping cream
There are a number of different methods to stabilise whipping cream. Unfortunately for us, though, many of them involve dairy/lactose.
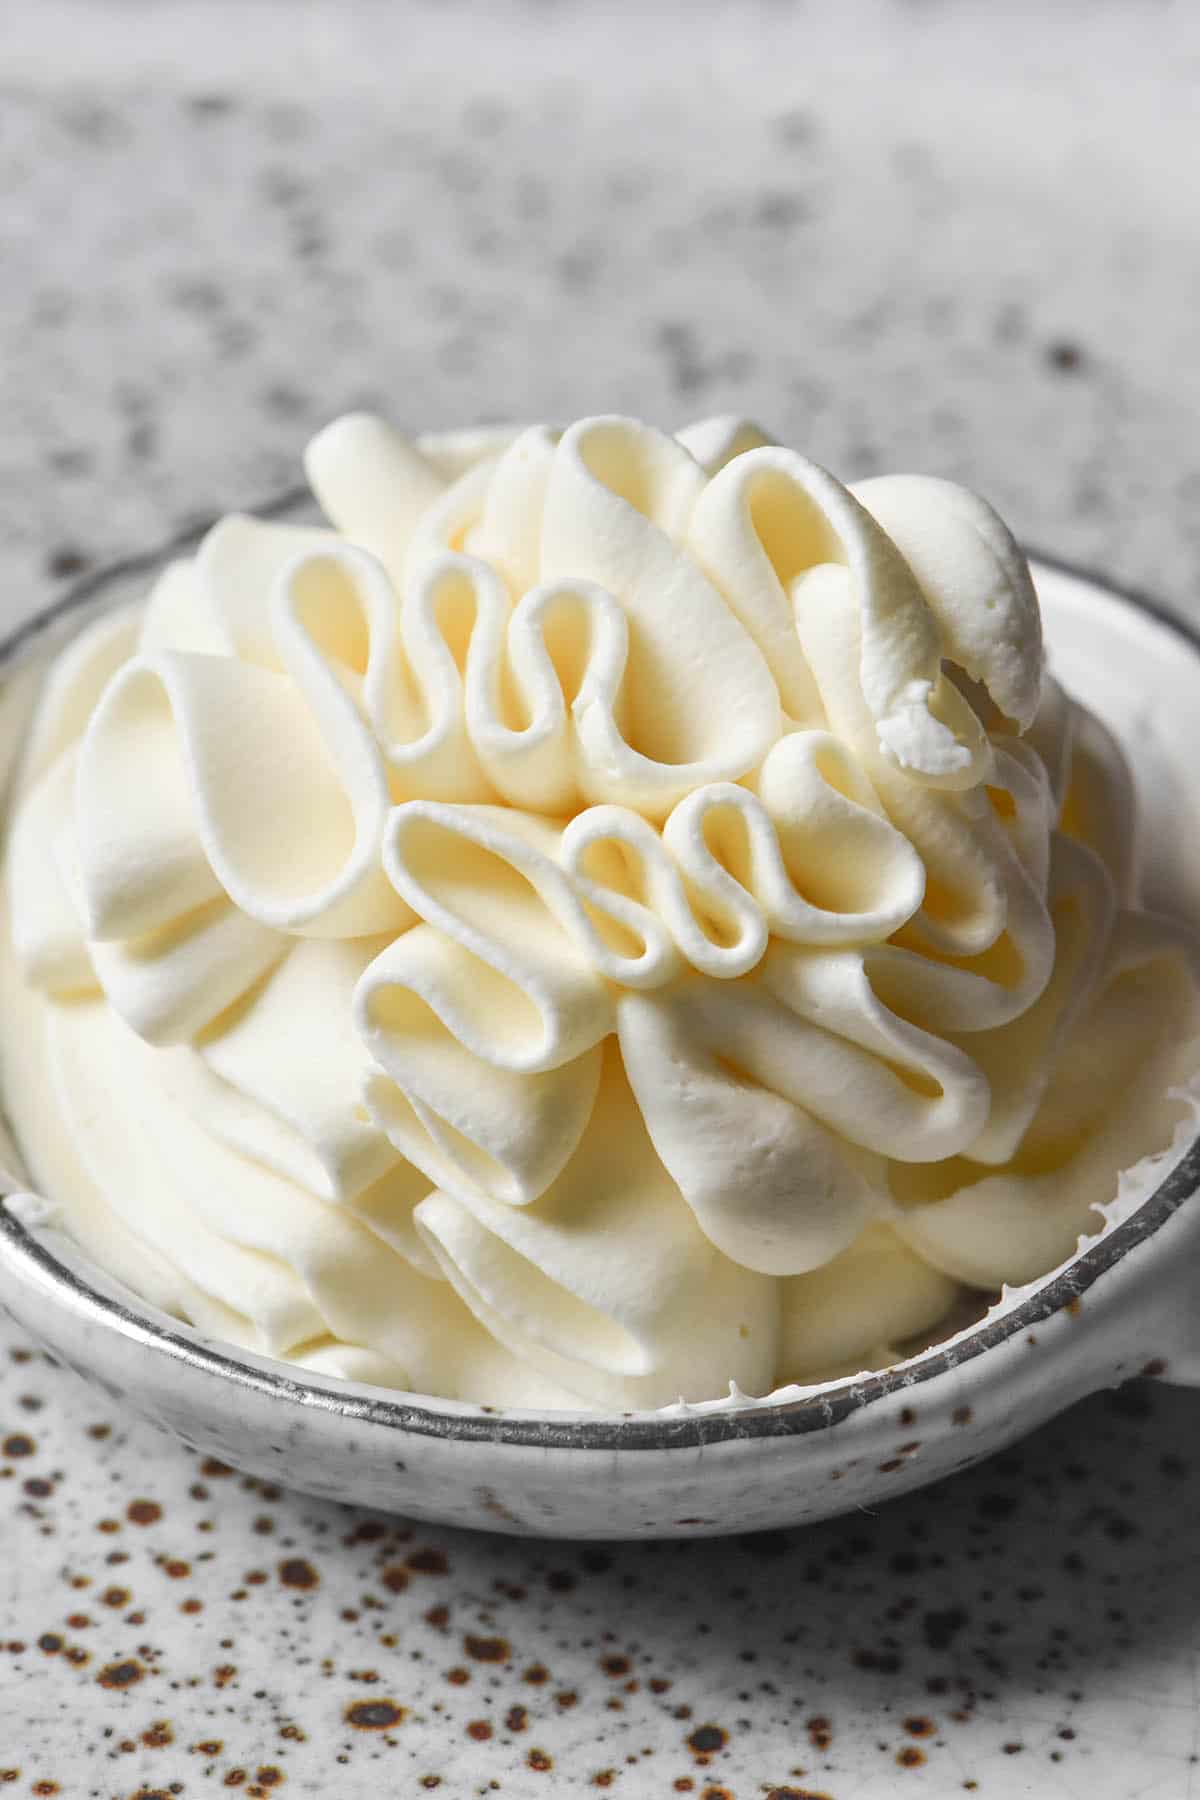
By all accounts, the top stabilisers for whipping cream are ClearJel instant (be sure to get instant) pudding mix, mascarpone or milk powder. One that I have seen less often but use myself (because I already have it on hand) is xanthan gum.
ClearJel is a modified corn starch. While it is lactose free (and apparently very good at stabilising whipped cream) it does contain corn. If you’d like to use ClearJel to stabilise your whipped cream, see this post. You can either make more lactose free cream or use slightly less ClearJel – I’d recommend 1- 1 1/2 teaspoons.
Next up, we have pudding mix. Australia doesn’t have a huge variety of pudding mix but I did research as best I could. Some pudding mixes seem to contain lactose, so be sure to read the labels. They also bring flavour and extra sweetener to the mix.
Mascarpone and milk powder are grouped into the same category because it can be hard to find lactose free versions. I won’t dive into them here because they are not straightforward solutions when making lactose free whipping cream.
Finally, xanthan gum. I normally try not to use xanthan gum because it disagrees with me, but I will concede it is very useful and accessible. I have a recipe here for making stabilised lactose free whipped cream.
Places to use your lactose free whipped cream
- Pavlova with dairy free berry curd
- Gluten free, dairy free lime curd tart
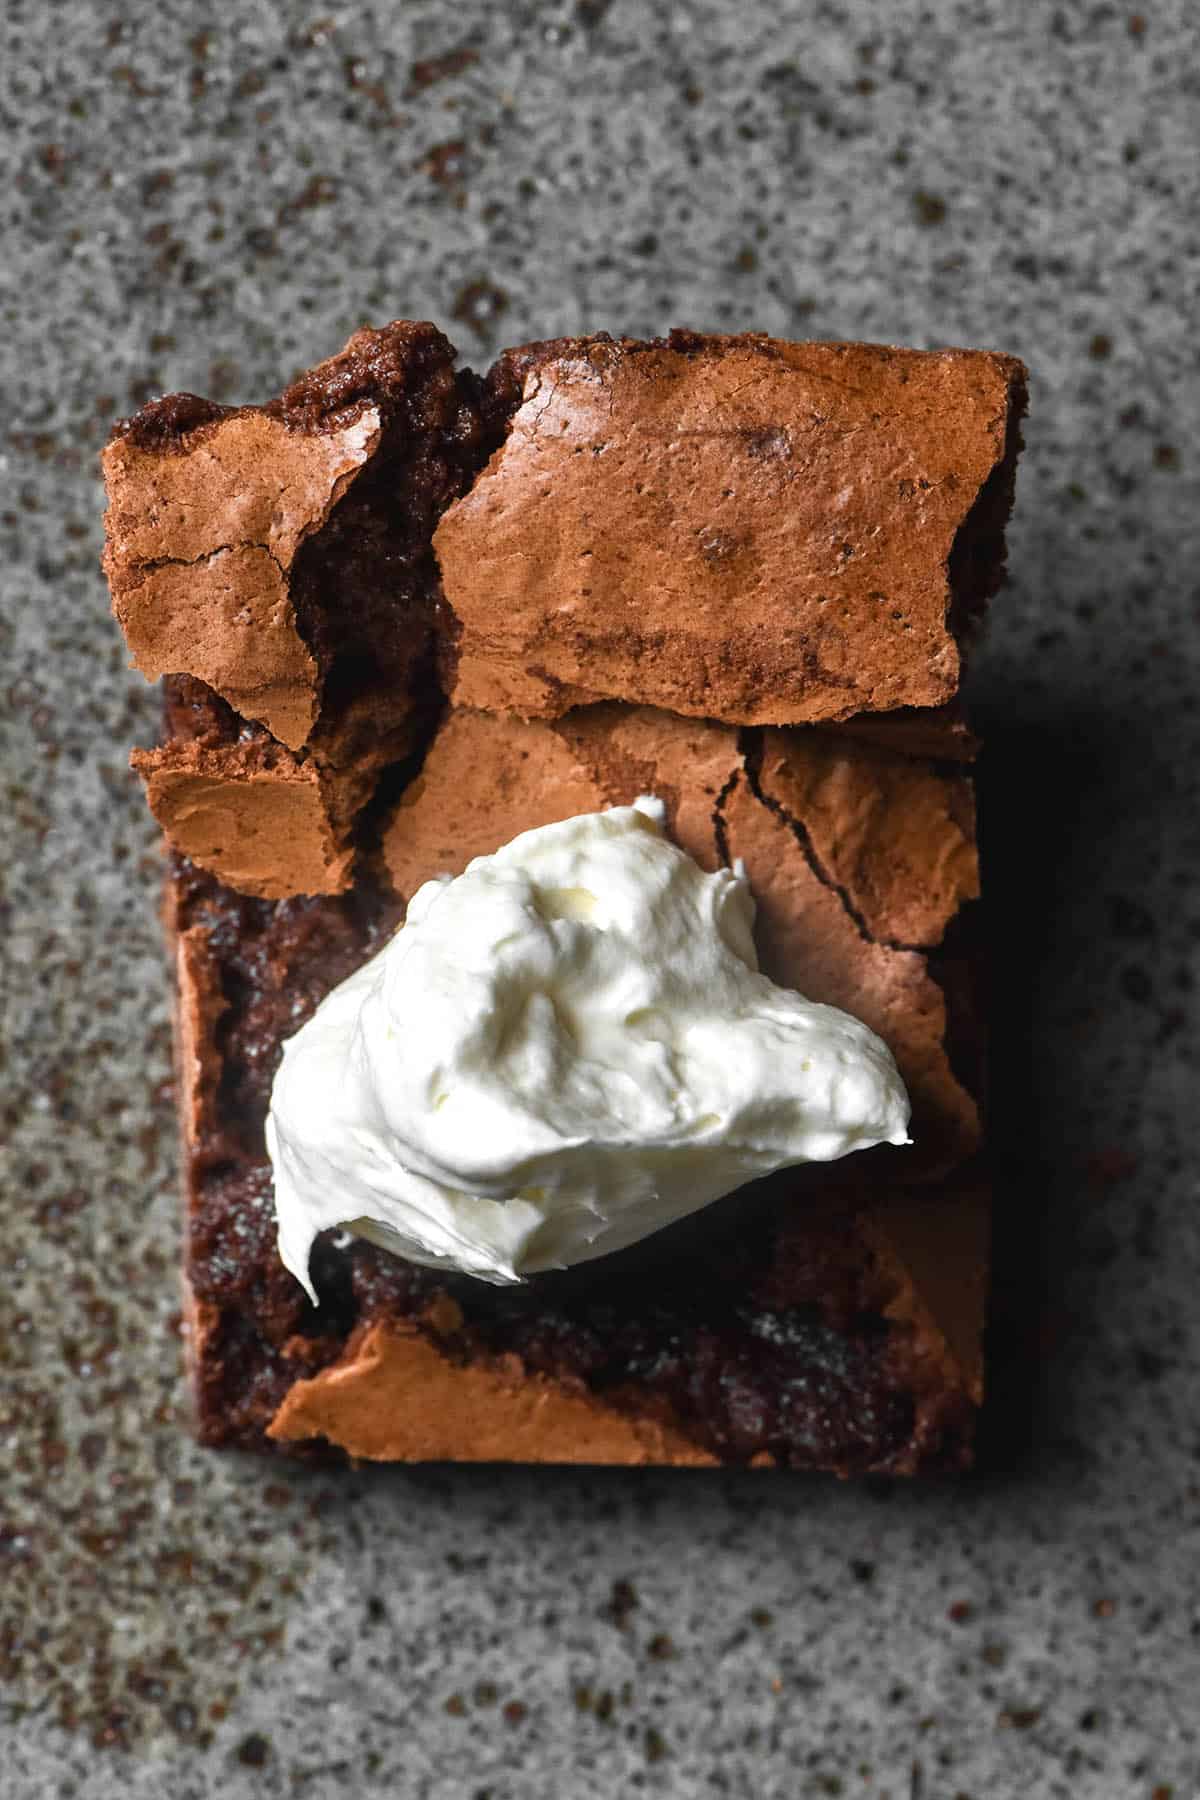
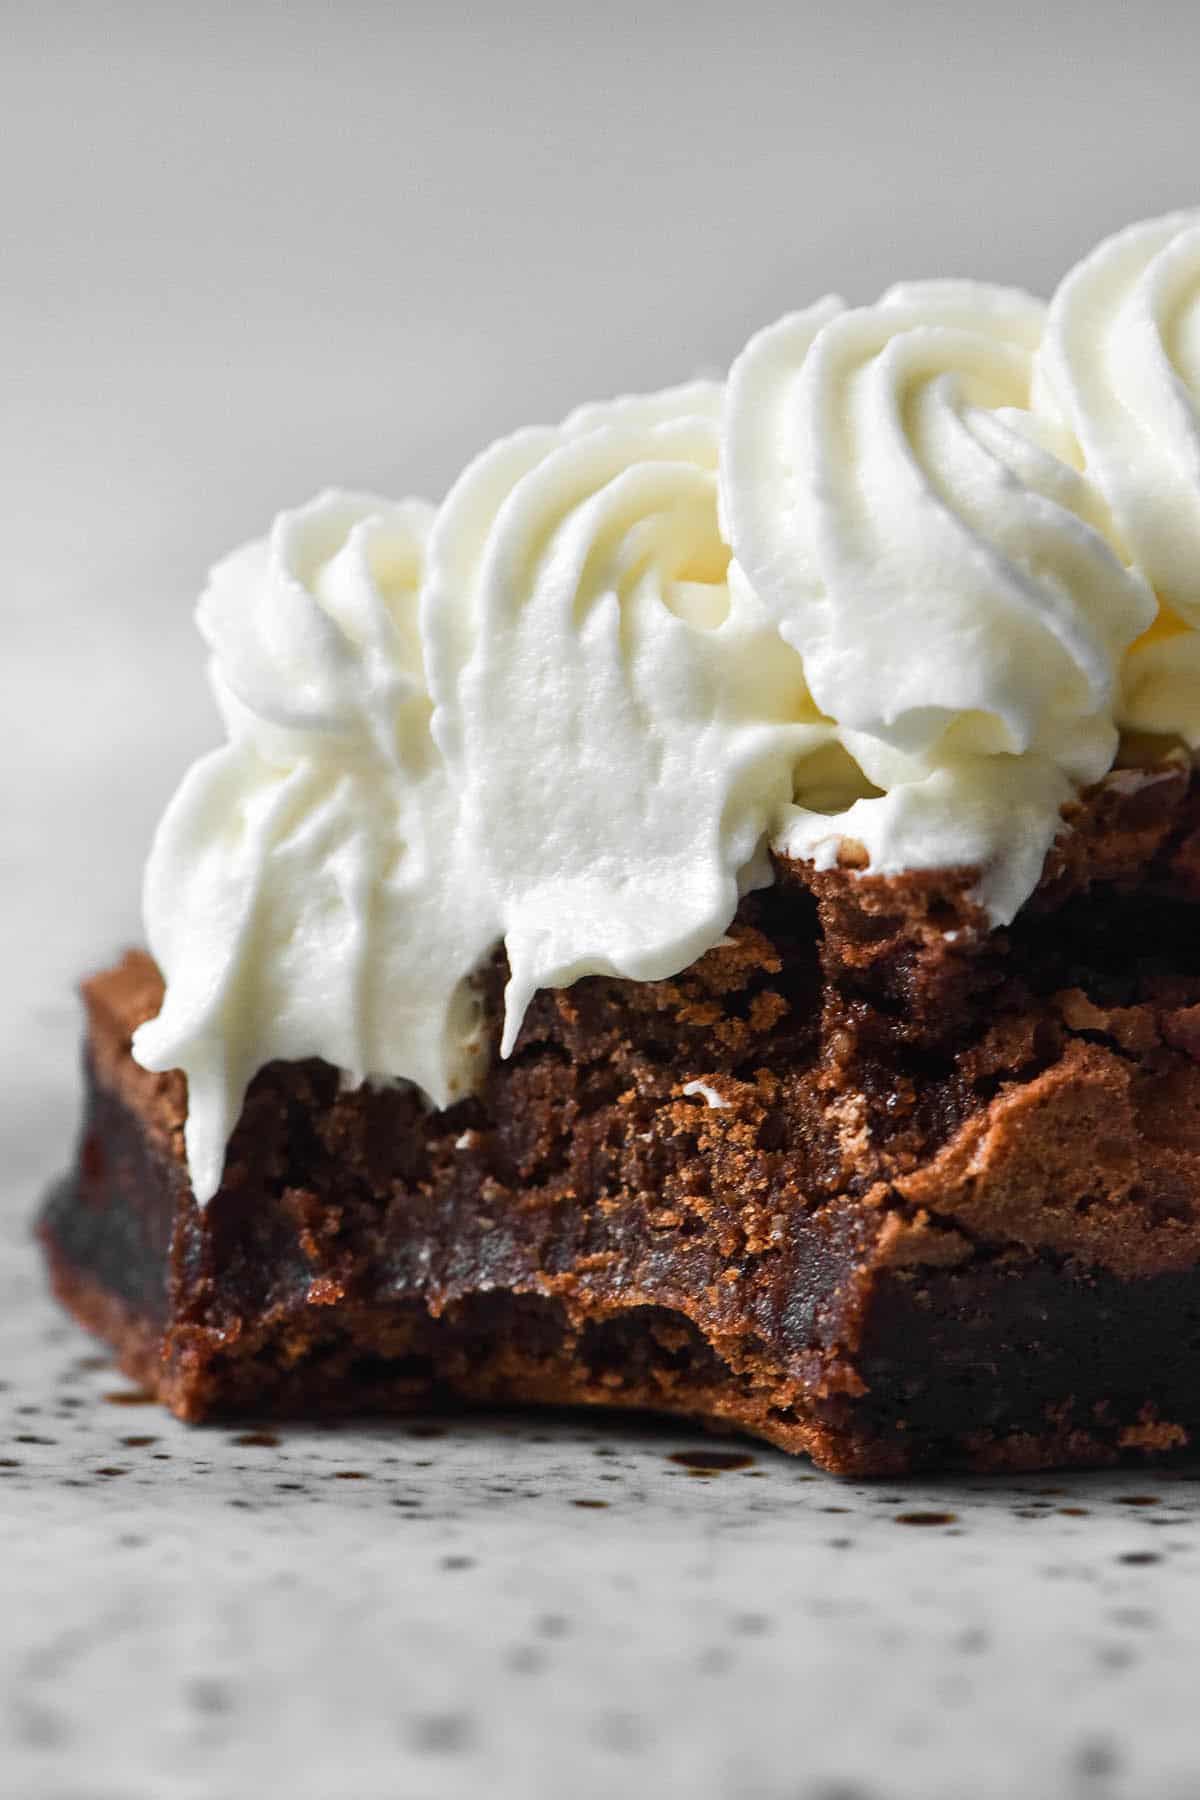
- Grain free brownies for brownie sundaes
- Gluten free cream puffs in Intolerance Friendly Kitchen
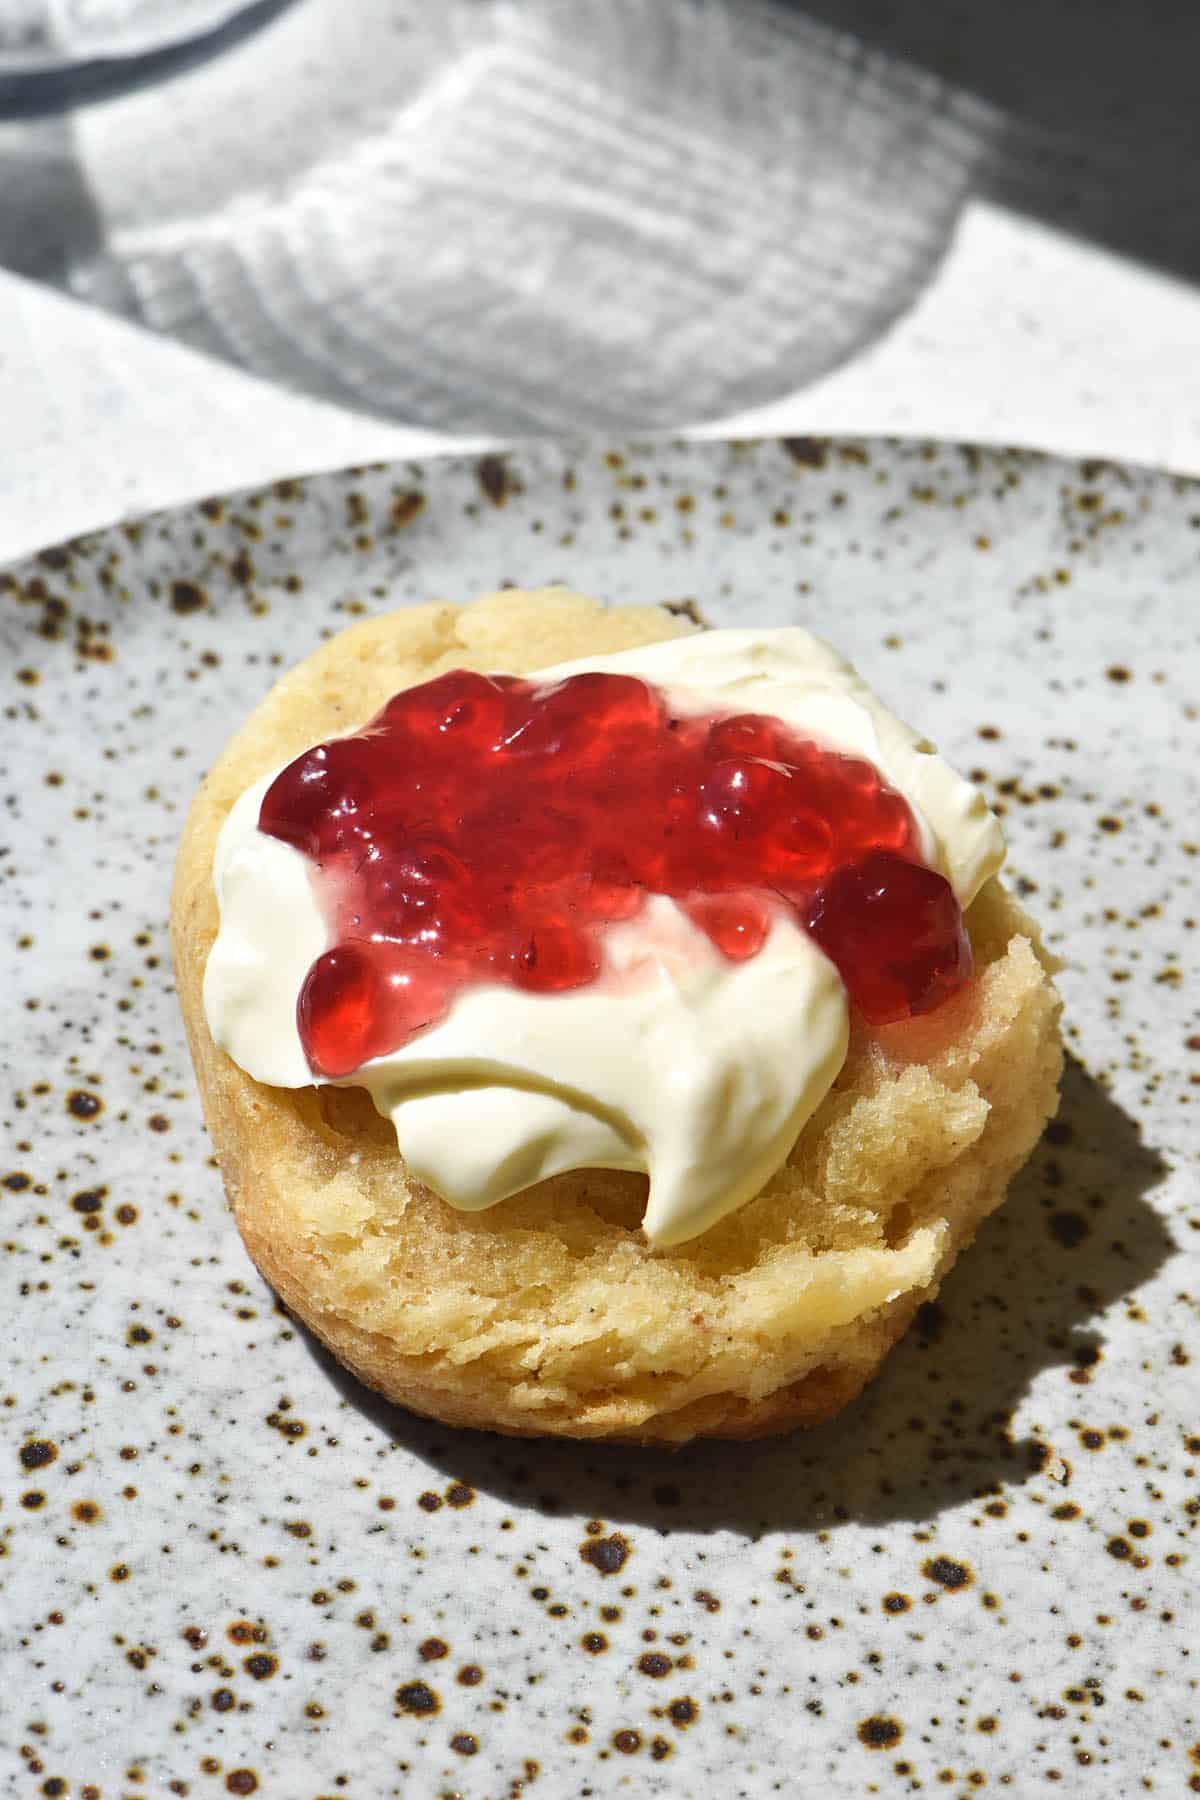
- Atop my gluten free scones or gluten free biscuits (with American measurements)
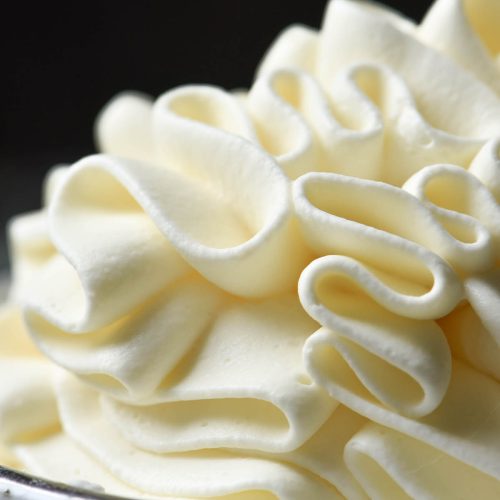
Lactose free whipping cream
Ingredients
- 300 ml thickened/heavy/whipping cream with 30-35% fat content (read the label to ensure your cream is 30-35%+ fat, otherwise it will not work)
- 10 drops of lactase
- 10-30 g+ (1-3 tablespoons) soft or pure icing sugar (confectioner’s sugar or powdered sugar) to your tastes, sieved (see notes)
Instructions
- Mix the lactase drops into your cream while still in the container. Return the cream to the fridge for 24-48 hours. The longer you leave it (within reason) the more lactase will be broken down.
- If you’re working on a hot climate, place a medium glass or metal bowl in the fridge about half an hour before you intend to whip your cream.
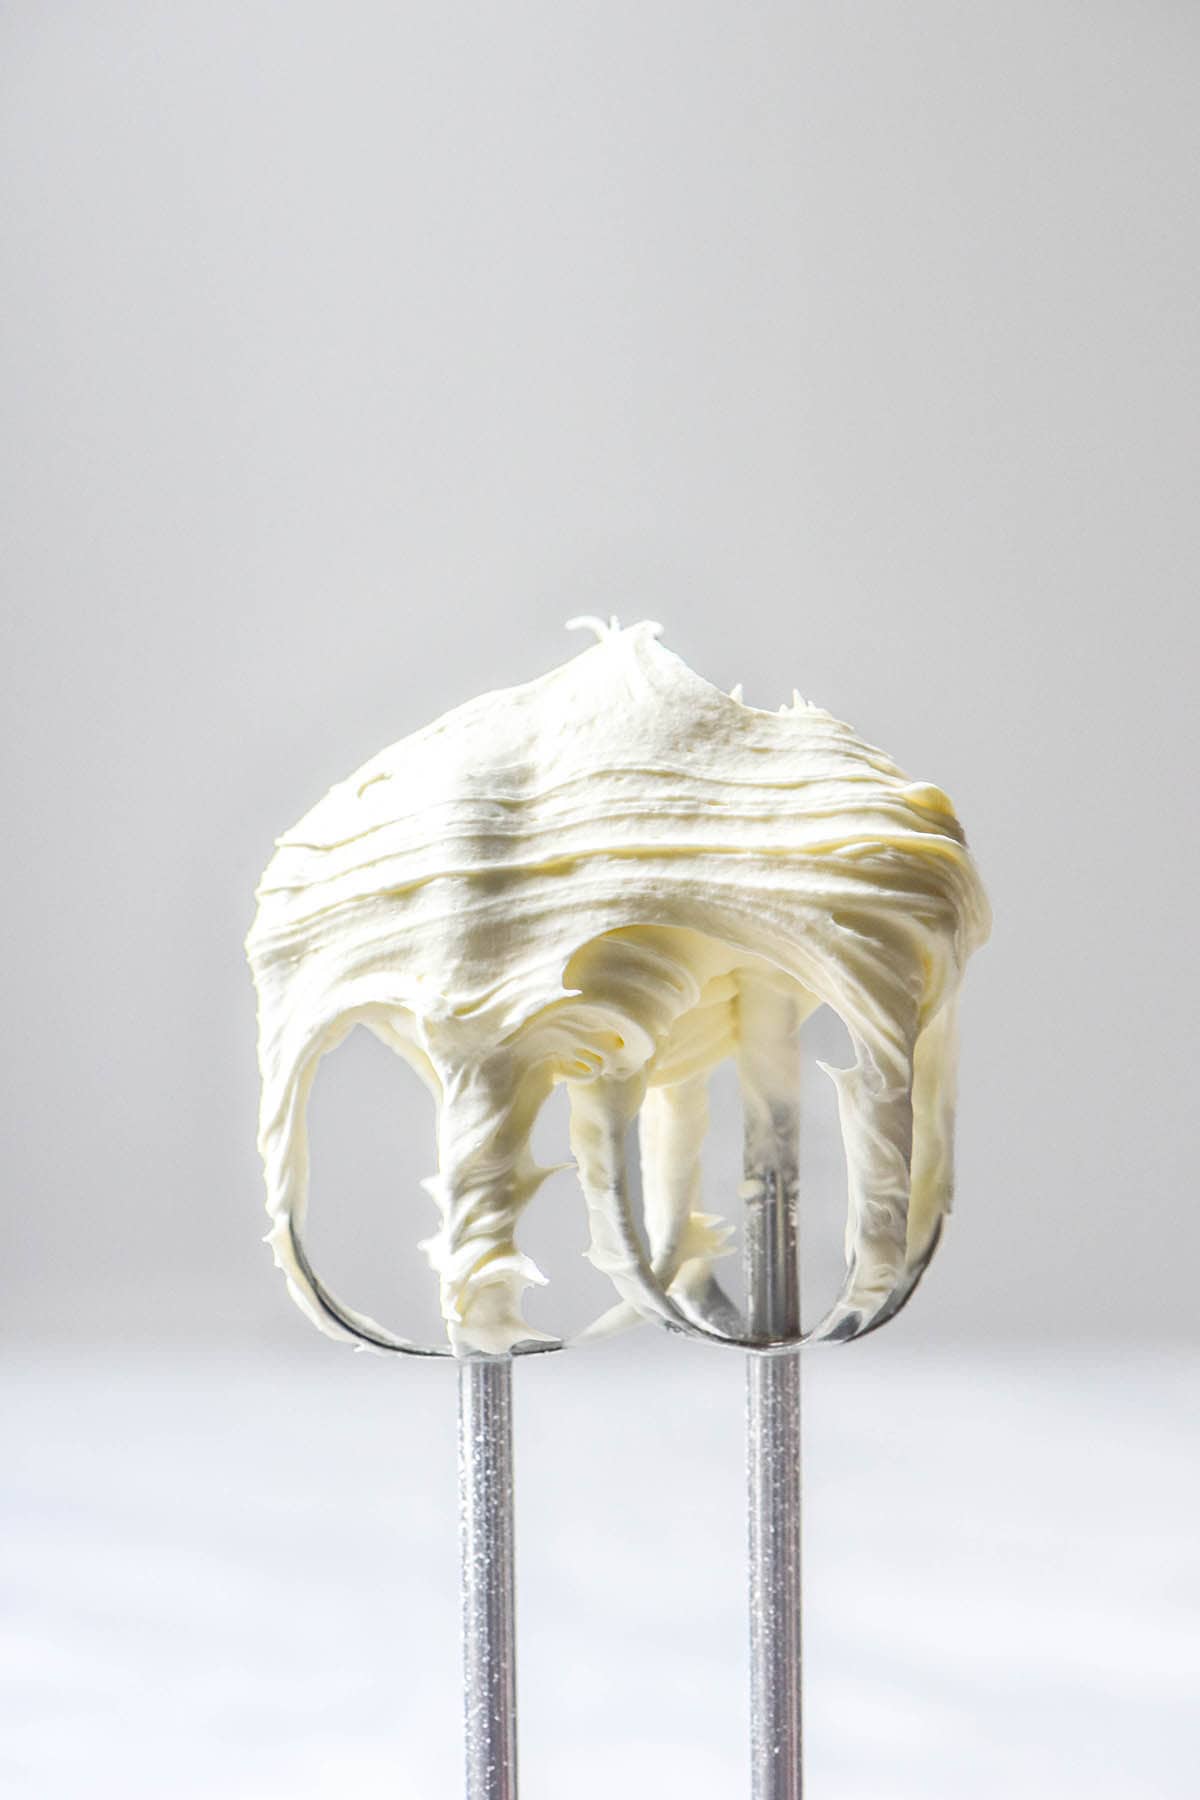
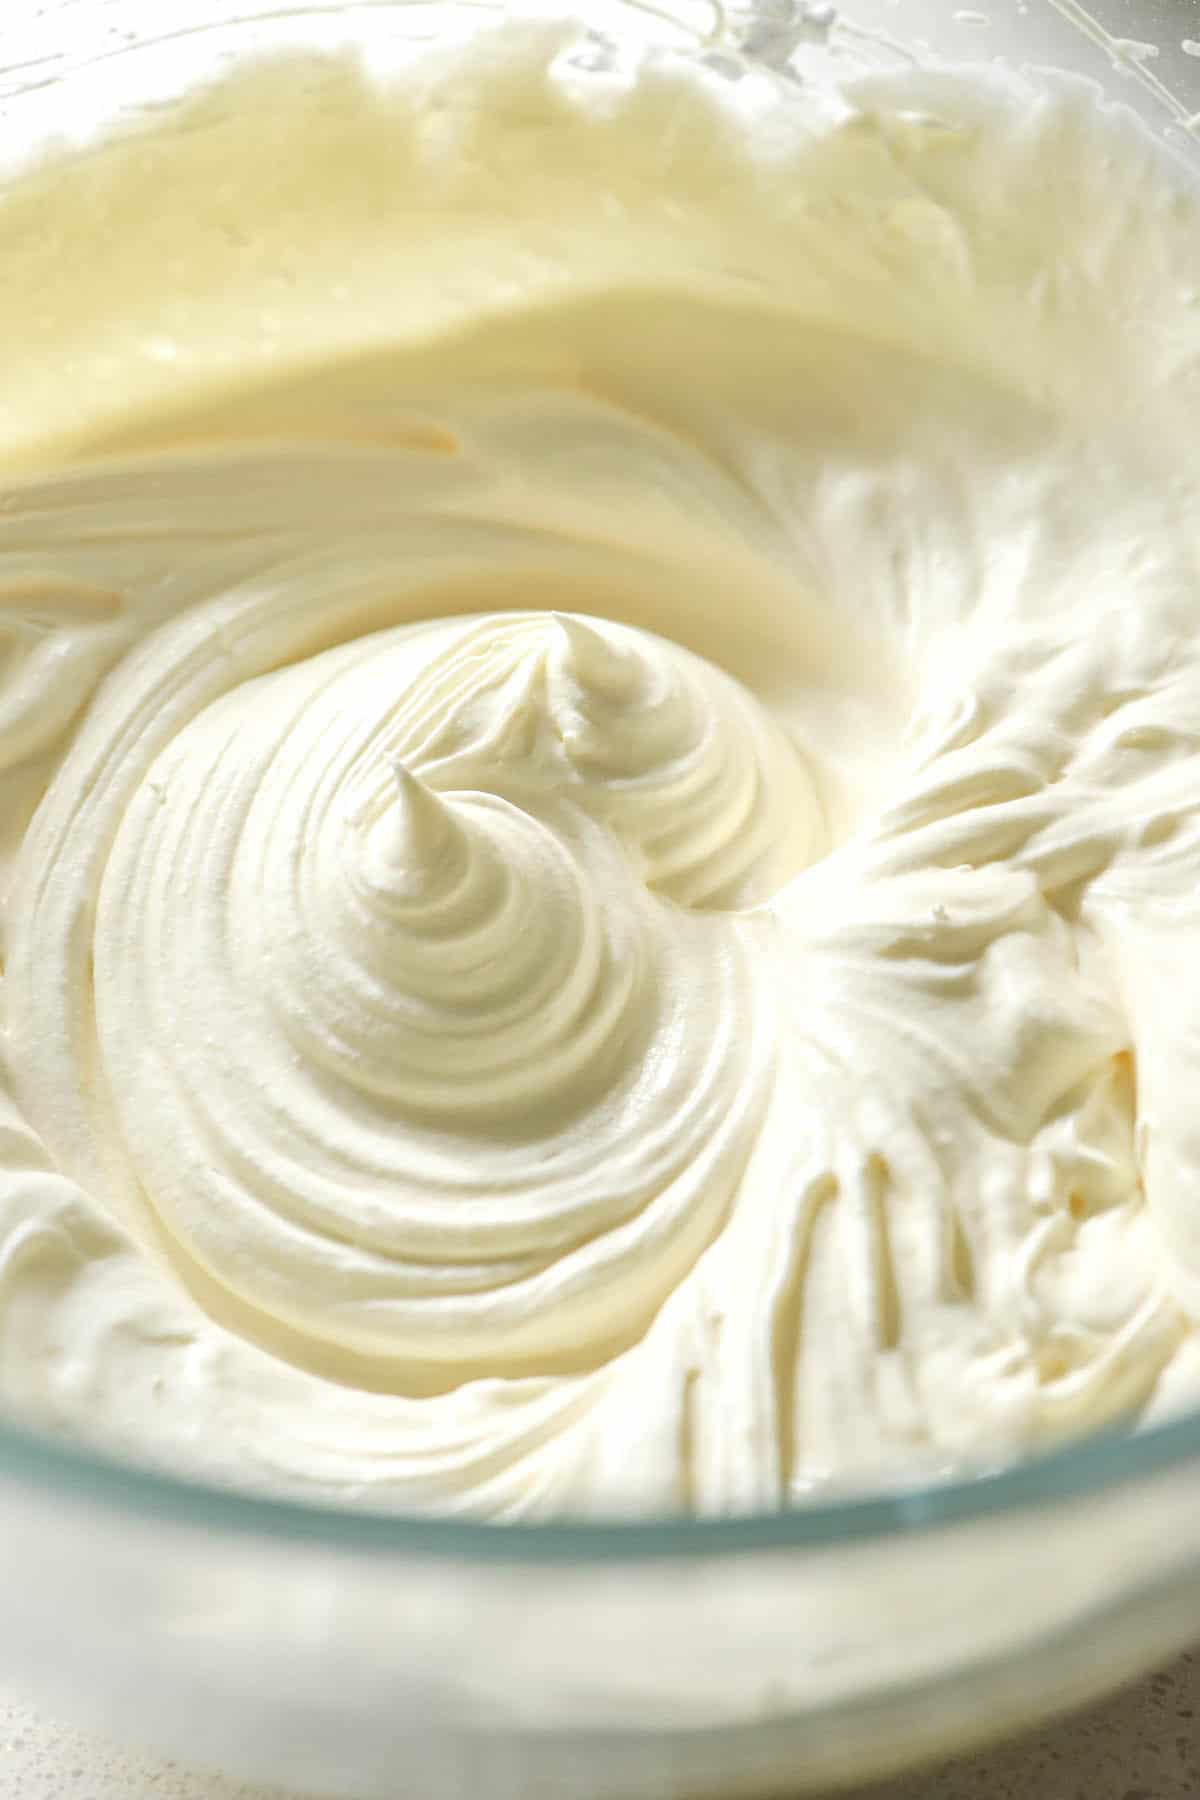
- When you are ready to whip your cream, pour it into the cold bowl. Use hand beaters to whip the cream on a medium speed. It will start with large bubbles and the bubbles will start to dissipate. After that, you should feel the cream thickening under the beaters. Finally, you should see tracks from the beaters in the cream.
- Add the sieved sugar and continue to beat on medium until soft peaks form in the cream. If you intend to add vanilla or another liquid flavouring, add it here. You can whip the cream for a very short amount of extra time until medium to stiff peaks form.
- If in doubt, stop beating – cream can easily be over-whipped and start to form butter.
- Use your whipped cream promptly and store any leftovers in the fridge. You can also freeze and defrost whipped cream leftovers.
Notes
- Recipes differ as to whether you should add the sugar before whipping or after the cream starts to thicken. You can do what works for you.
- If you intend to use a stabiliser like xanthan gum, add the sugar after the cream has thickened. I have recipe for stabilised lactose free cream here.
- Add sugar according to what you are serving your whipped cream with. For a more tart dish like fresh fruit, use 30g sugar (or more, depending on your sweet tooth). For a very sweet dish, use less sugar.
- You can also use no sugar, if that’s your thing.
- I have not tested sugar substitutes in this recipe. By all accounts it does work; I just haven’t tried it.
- 300ml = 1 1/4 American cups. Most American whipped cream recipes use 1 cup of cream, so you can scale the recipe down slightly if that fits with the amount of cream you have.
- In researching this recipe, I did see some people say that confectioner’s sugar (which has added cornstarch) can sometimes taste a bit pasty. This volume of sugar shouldn’t be enough to make a difference, but you can use powdered sugar if you are concerned (and if you need the recipe to be corn free).

I have a gluten intolerance as well as lactose.
I can only find thickened cream at Coles or Woolies.
Do you mind sharing where you buy your whipping cream please?
Hi John,
Whipping cream is the same thing as our thickened cream – just a different name for it 🙂 Some people use the term in the UK and US. If you look on the label of a thickened cream tub here in Aus it often says ‘for whipping.’
I just buy whatever suits my purposes from Coles. Zymil is the lactose free brand but you can also just buy regular thickened cream and add lactase to make it lactose free.
I hope this answers your question!