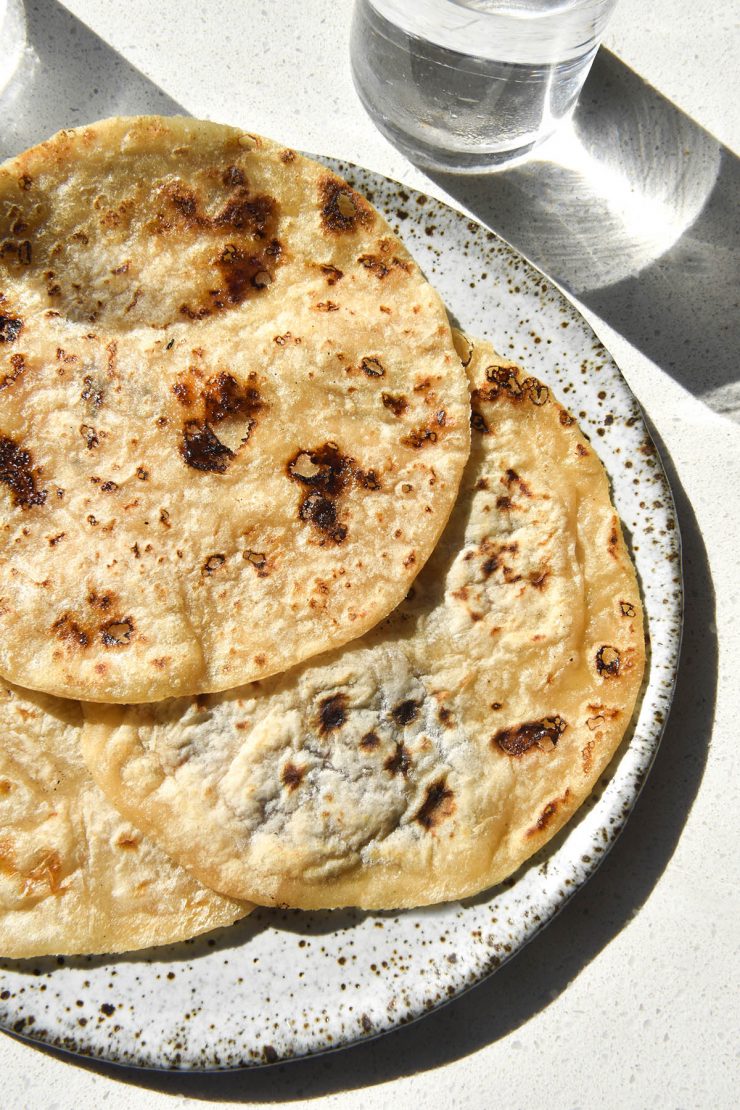
These gluten free wraps without xanthan gum are inspired by the tortillas from my second cookbook, Intolerance Friendly Kitchen. They’re of of my favourite simple and delicious recipes that is gluten free, egg free and has a dairy free/vegan option too.
Gluten free wraps, although easier to find these days, are often loaded with a bunch of unpronounceable ingredients. My version contains very simple ingredients that can be substituted based on your needs. They are an easy, delicious and inexpensive gluten free bread that can be used anywhere you would a regular wrap.
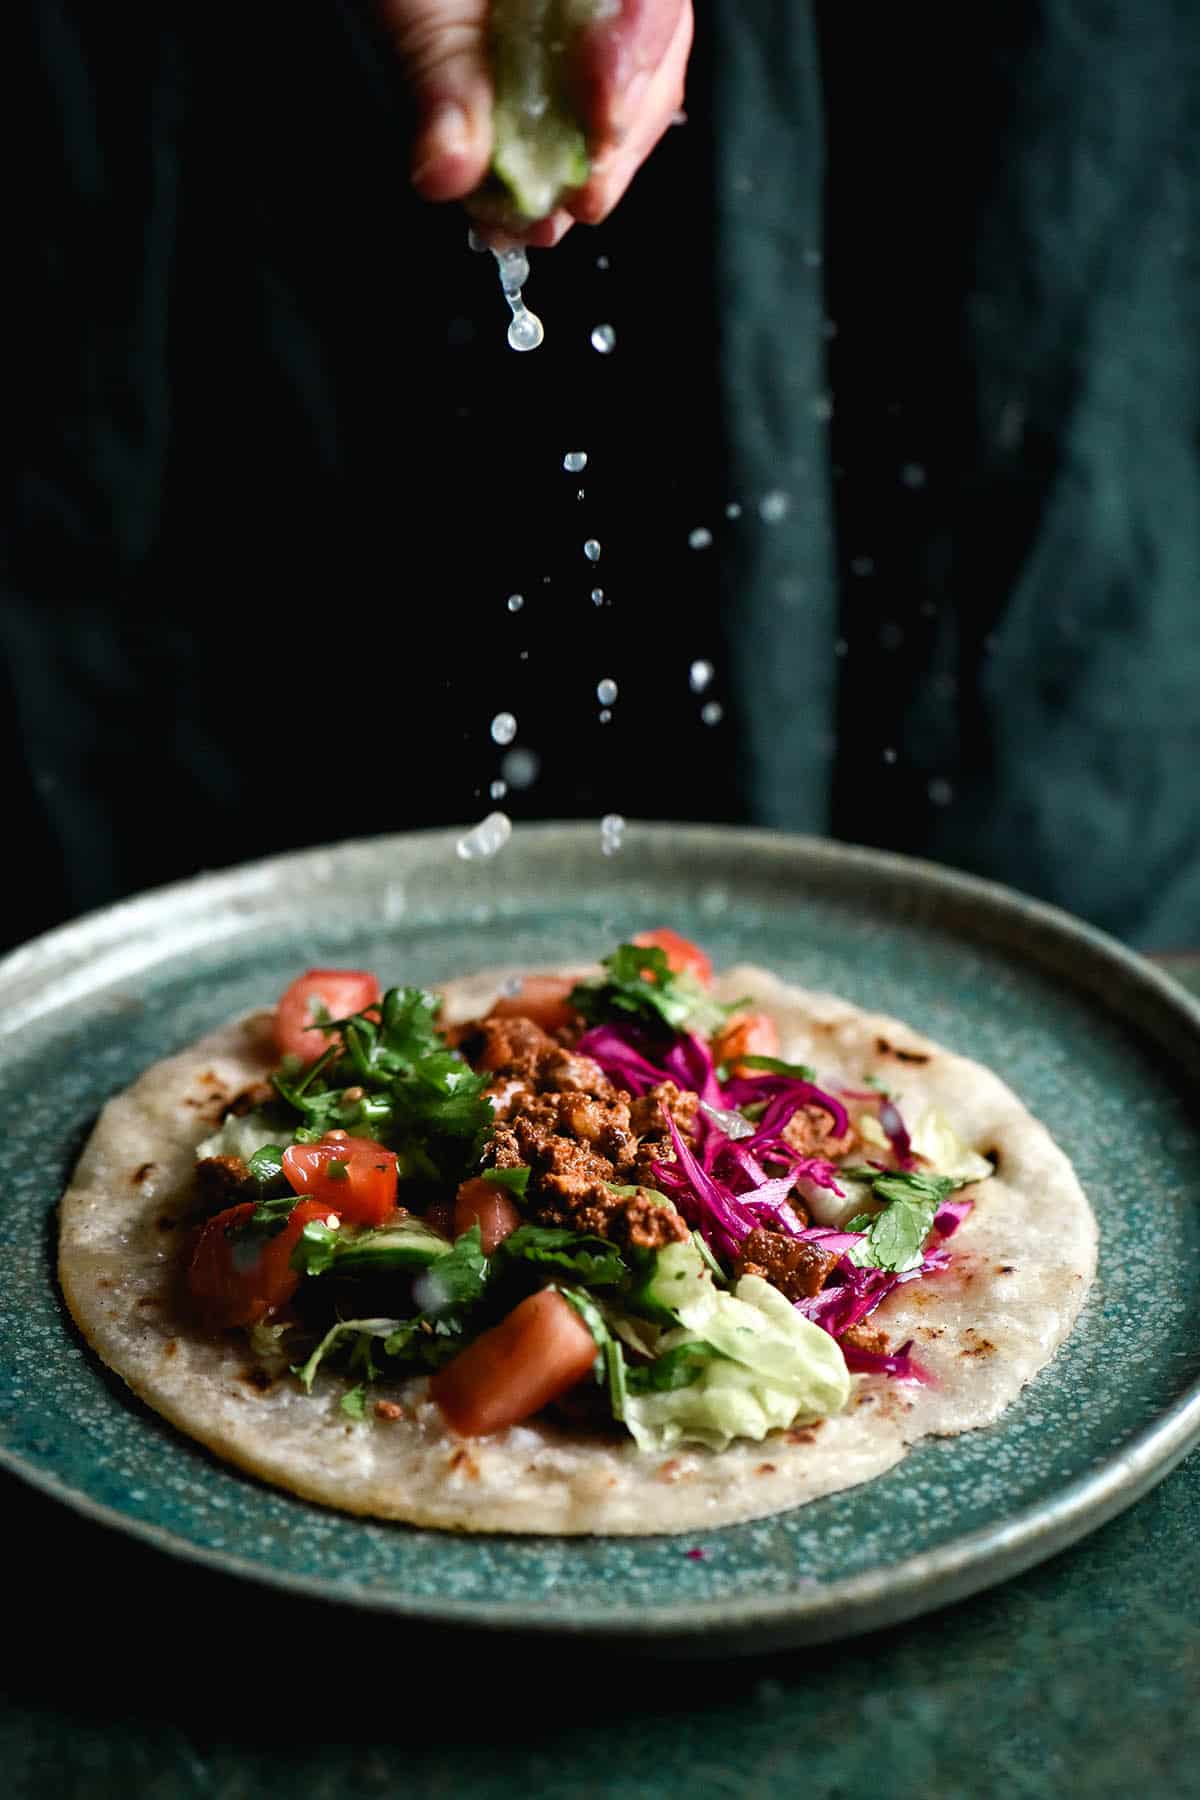
I love using these wraps to make burritos, salad wraps, egg wraps and simply as a snack. If you have a corn allergy, I daresay they would also fry up nicely into little tortilla chips, too.
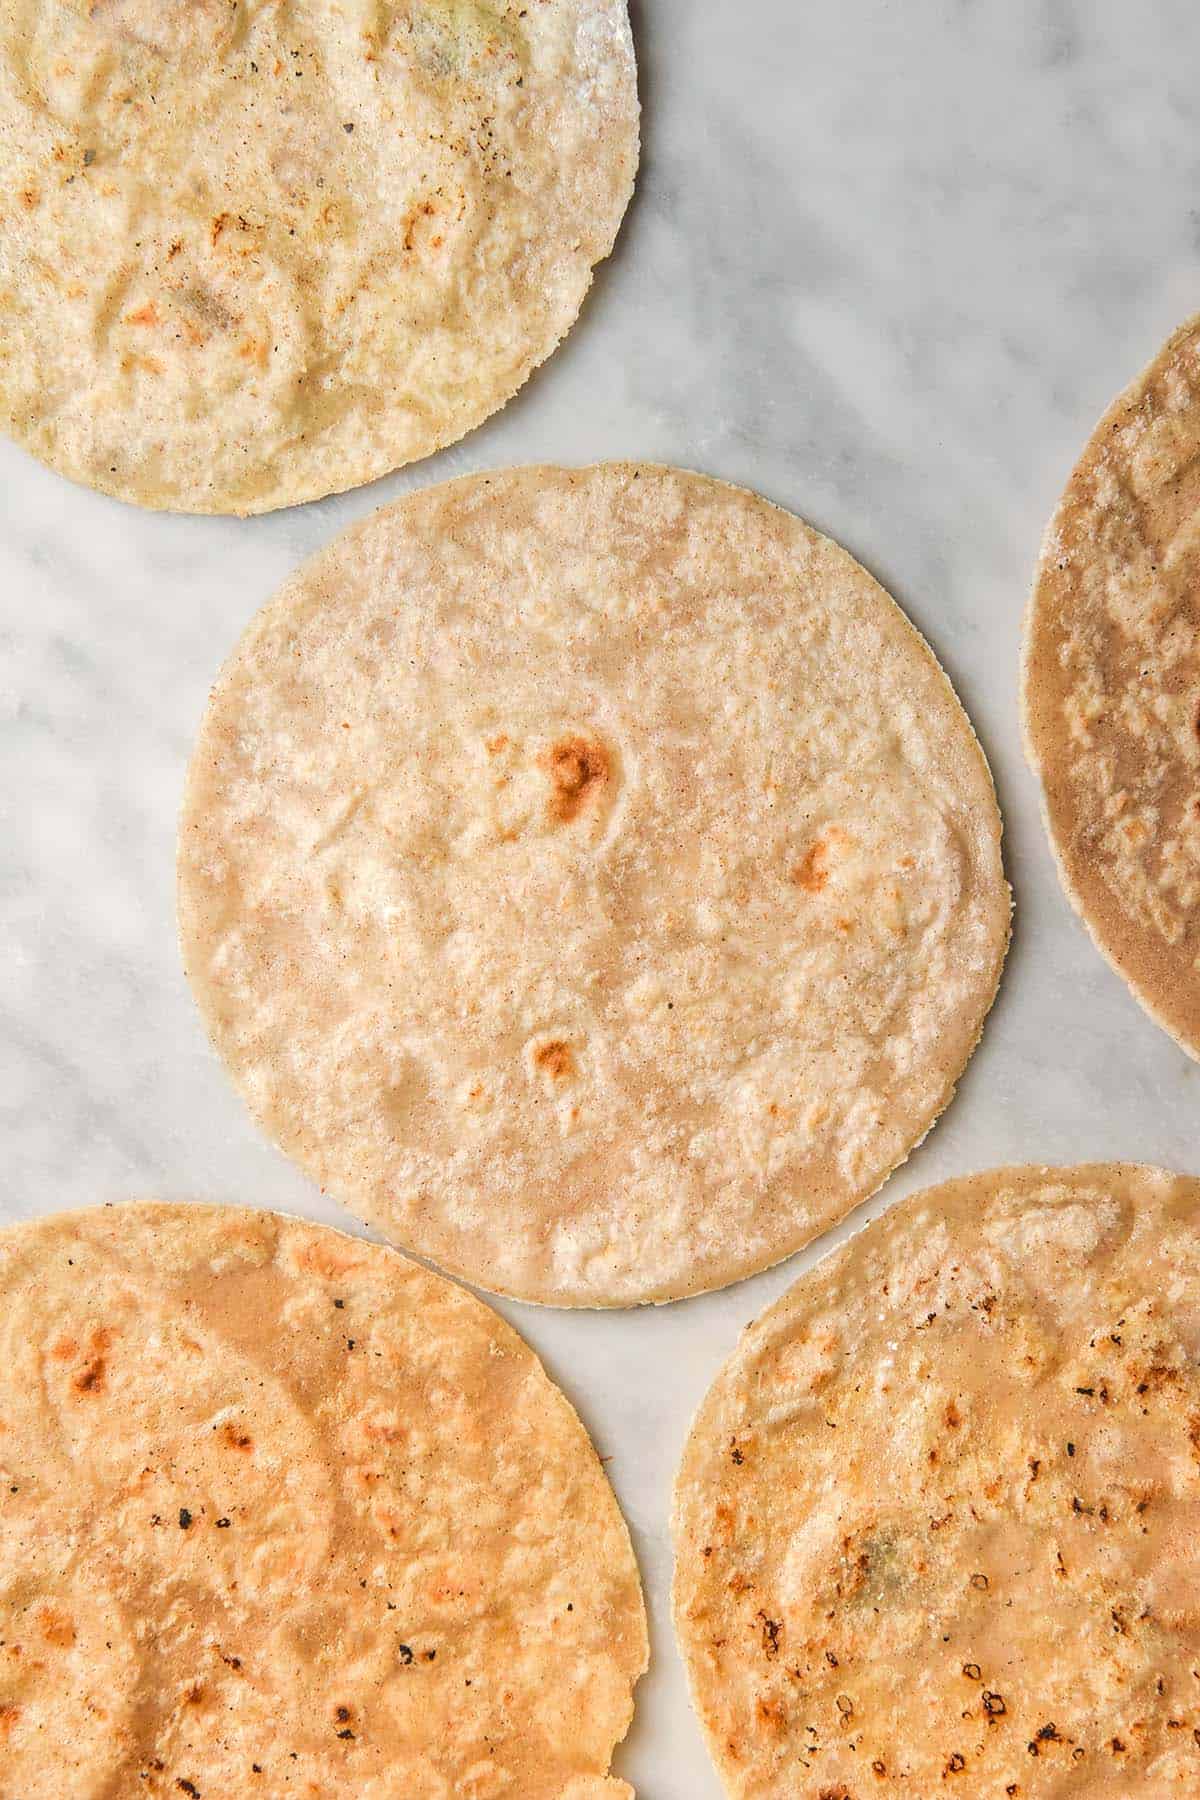
Gluten free wraps without xanthan gum
These gluten free wraps use a simple mix of flours with endless option for substituting, which we will go into below. They’re held together with a scald and a small amount of psyllium husk powder – that’s it. Combining a scald and psyllium husk results in wraps that are incredibly durable and flexible, all without the need for eggs or xanthan gum.
The wraps contain a simple mix of gluten free flours, salt and sugar, psyllium husk, optional yoghurt, oil and boiling water. That’s it! They are quick to make and freeze well, too.
Better yet? The recipe is easily doubled for bigger households. Simply add the boiling water conservatively at first to suit the batch.
What is a scald and what does it do in gluten free baking?
A scald is simply flour that has boiling water added to it. Although easy to do, a scald provides a whole host of benefits in gluten free baking (and baking generally).
First and foremost, a scald gelatinises the starches in the flour. This creates elasticity and flexibility, which is much needed in gluten free baking.
Secondly, it enables you to add more water to the dough than you could ordinarily, without it becoming too moist. This is very handy in gluten free baking which has a history of being overly dry.
Finally, although not relevant here, scalded flour is a great food source for yeast. Using a portion of scalded flour in your baked goods can yield a better rise on yeasted doughs.
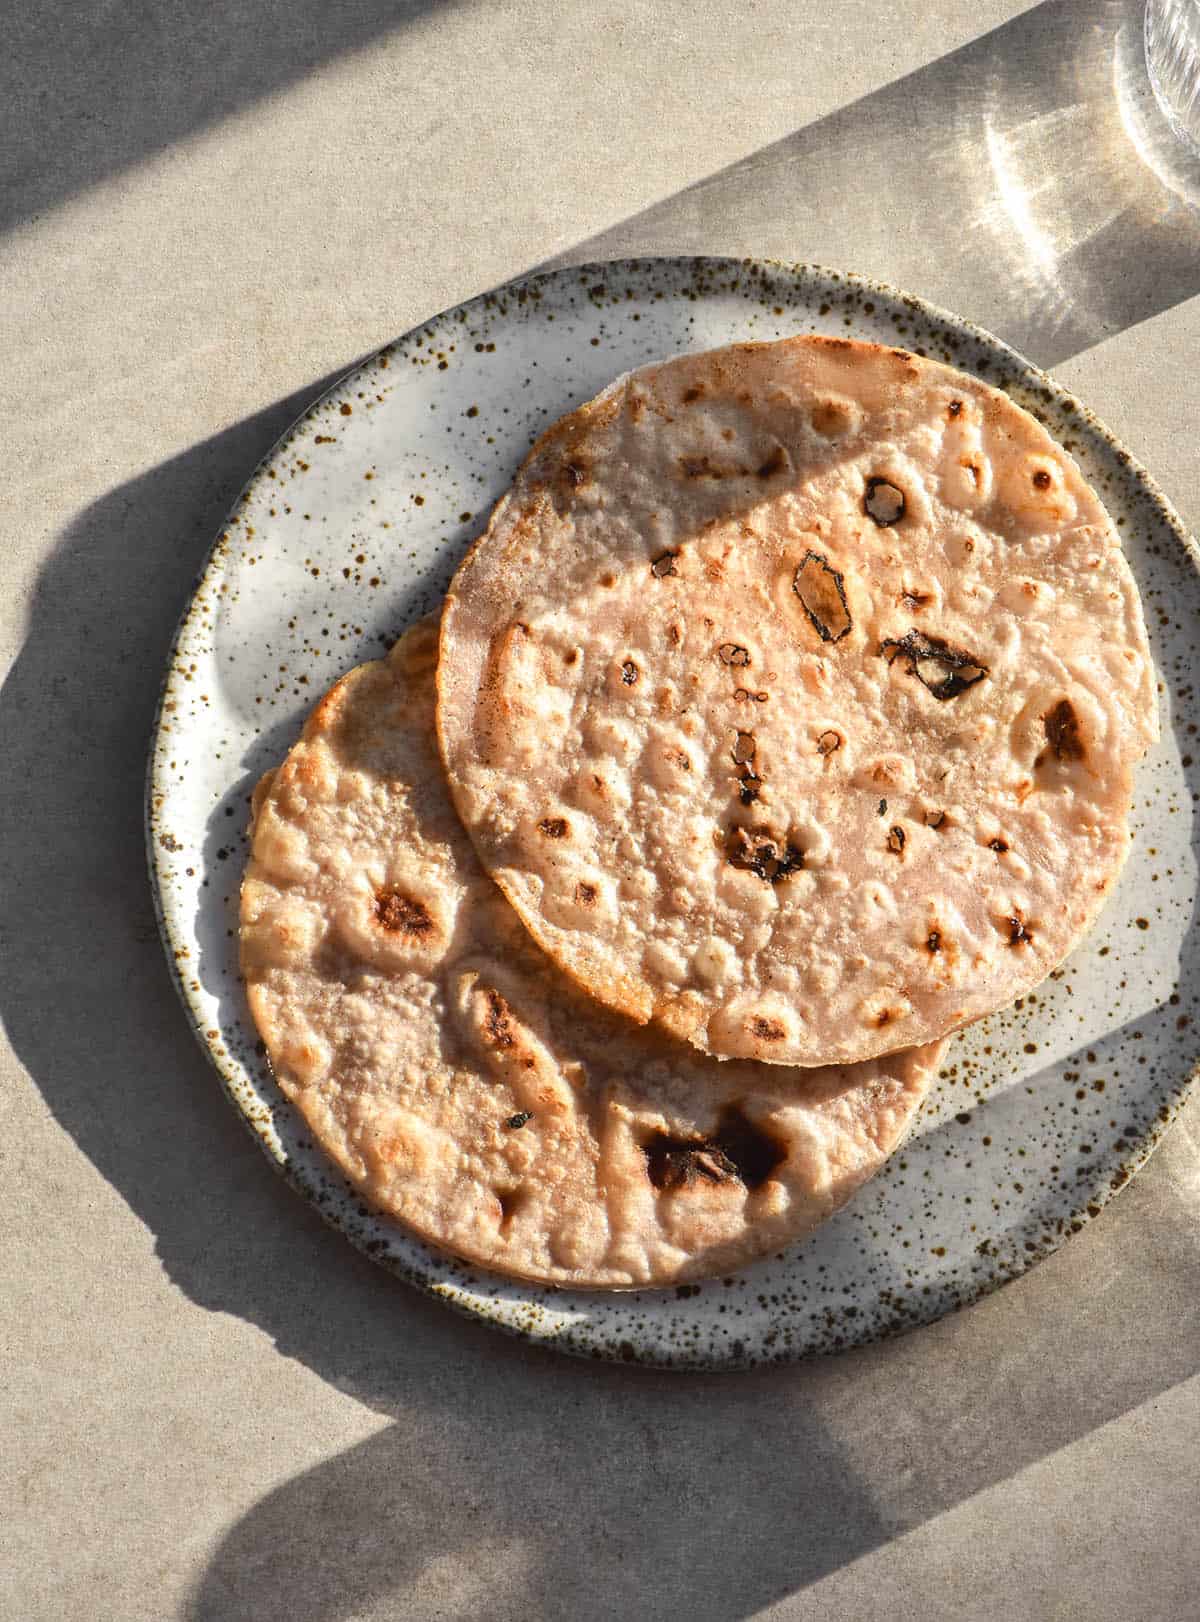
Which gluten free flours can I use?
I have tested a number of different combinations here. I can only speak to what I have tried, but I will update the post as I try more combinations.
- I have an 100% buckwheat flour wrap recipe here.
- I have successfully used all white rice flour for a starch free wrap.
- If you’re looking for a ‘traditional’ flavoured wrap, I recommend sticking with the recipe. The combination of fresh white rice flour and tapioca flour makes for the best neutral wheat-like taste.
- For a grain free option, use my cassava tortilla recipe here.
- For a 100% quinoa flour version, see this recipe.
- For a 100% teff flour version, see this recipe.
Notes on using yoghurt in these gluten free wraps
Initially I intended for these wraps to be made without yoghurt. They absolutely work without it, and you can easily make them this way. One thing I noticed, however, was that the yoghurt version stays softer for longer at room temperature. The wraps soften up again nicely when heated either way, but this isn’t always possible at school, uni or at work.
So, adding yoghurt (I used lactose free Greek) helps keep the wraps soft at room temperature. You can use all boiling water, 50g of yoghurt and around 125-180ml (1/2 – 3/4 Australian cup) water or 100g yoghurt and around 80-125ml (1/3 – 1/2 Australian cup) water. Make sure the dough forms a ball but isn’t overly soft or wet. This means adding water conservatively to begin with and adding a splash more if needed.
Recipe notes for your gluten free wraps without xanthan gum
This recipe uses psyllium husk powder, not psyllium husk flakes. The powder is more absorbent than the flakes so it’s not a direct substitute to simply use flakes.
In Australia, I have found that a lot of powder available at the supermarket turns baked goods grey or purple. I generally buy whole psyllium husk flakes and grind them to a powder myself to avoid this.
I have not tested this recipe with a store bought gluten free flour blend. Because they contain a lot of starch (and often xanthan gum) I don’t think it would work here.
In the past I have tested using a scald on starches (tapioca flour and potato starch) and found that it didn’t work well at all. Scalded starch tends to ball up into little gloopy clumps, whereas wholegrain flours respond more positively. Make sure you scald a wholegrain flour (white rice flour, sorghum flour etc).
The sugar adds flavour but it also creates lovely browned spots (which add more flavour!) once the wraps are cooked. Personally, I highly recommend using it.
I haven’t tested a dairy free yoghurt yet, but I successfully use it in my buckwheat wrap recipe often.
I have tested omitting the yoghurt altogether, which is an option in the recipe card.
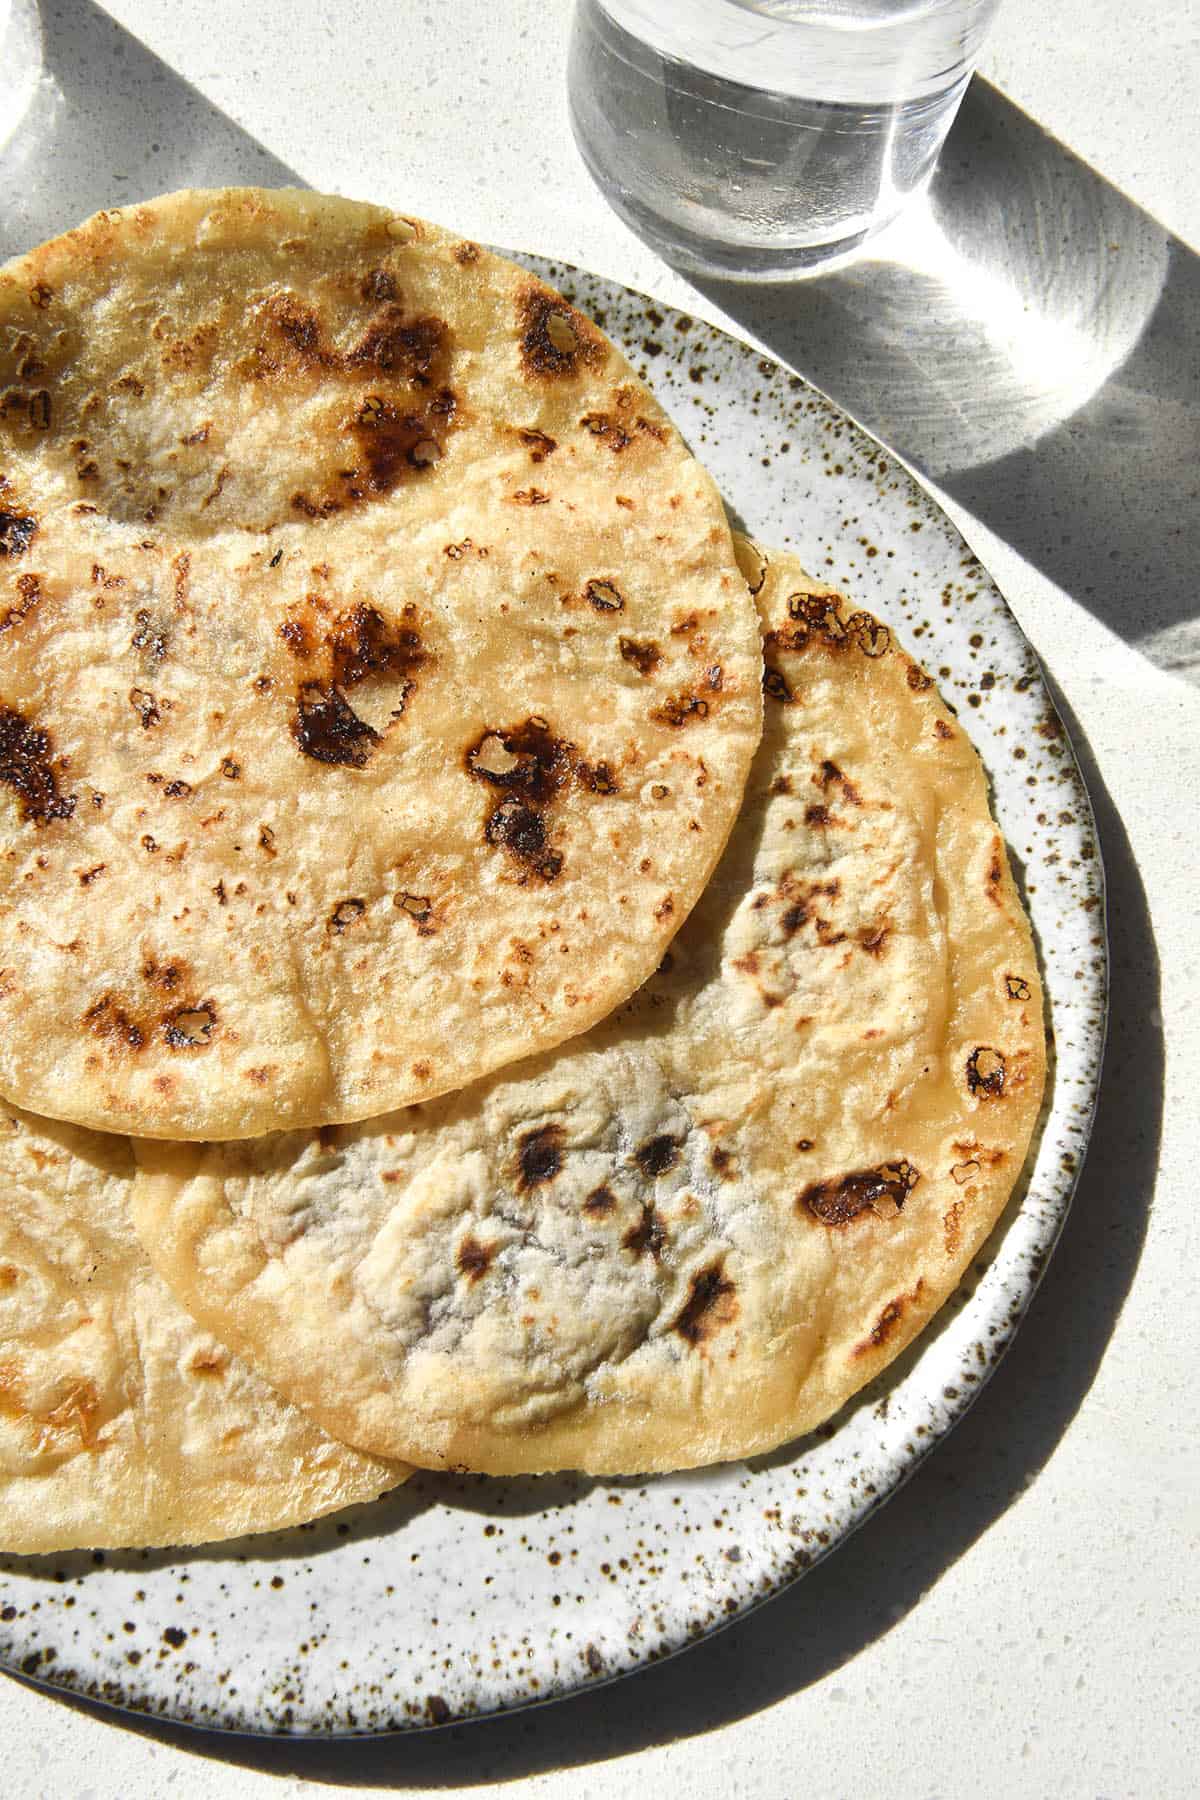
Tips for your gluten free wraps
I have a few easy little tips for these wraps that will help you on your way to wrap success.
Immediately after you pour the boiling water onto the flour, the dough will be HOT. Be careful and give it a bit of time before you start to knead the dough. Don’t wait too long or it might not come together. If you want to get started immediately, use gloves.
It really helps to tip the shaggy dough out onto a clean kitchen top. This will give the dough a chance to cool. It also makes it really easy to knead the dough into a ball and incorporate all of the dry spots into the dough ball.
Have plenty of flour on hand for rolling the wraps out. The dough can be rolled incredibly thinly, but it does need a well floured surface in order not to stick. I like to use tapioca flour here because it’s soft and inexpensive.
If a wrap is rolled too thin and it breaks, simply ball it up and roll it out again. Easy.
I use a sharp rimmed metal bowl or the rim of a spring form cake tin to cut my wraps out from the dough. You can leave them freeform, if you like, but I prefer them to be circular for ease and aesthetics.
If your wrap is a little too crunchy after cooking it, pop it in the microwave for 15-20 seconds. The steamy heat will restore it to it’s flexible glory.
Can I store leftover wraps in the fridge or freezer?
Yes, you can. I recommend cooking the wraps first (not storing them raw), then placing them in an airtight container. To reuse, I recommend microwaving them or heating them in a pan/oven with a small amount of water. Steamy heat will soften the wraps and restore them to their former glory.
More gluten free bread recipes without xanthan gum
- This entire roundup of gluten free bread recipes without xanthan gum
- Gluten free flatbreads
- Grain free tortillas
- The entire bread section of my cookbook, Intolerance Friendly Kitchen
- My forever favourite, these gluten free vegan bagels
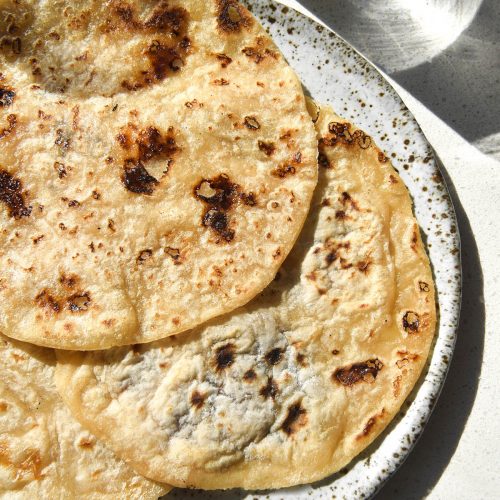
Gluten free wraps without xanthan gum
Equipment
- 22cm bowl with sharp lip or springform cake tin (to cut the wraps) (8.5 inch)
Ingredients
- 160g (1 cup)* white rice flour
- 60g (1/2 cup)* tapioca flour
- 10g psyllium husk powder
- 5-7.5g fine salt
- 8-10g white sugar
- 20ml (1 tablespoon)* neutral oil
- 50-100g plain yoghurt (I used full fat Greek) (optional, see notes)
- 80-250ml (1/3 – 1 cup)* boiling water (see notes)
- extra tapioca flour, for rolling the wraps
- ghee or oil, for cooking the wraps (optional)
Instructions
- Whisk together all the dry ingredients in a large bowl.
- Add the oil, yoghurt if you're using it (see notes) and boiling water and use a spoon to quickly stir the dough together. Quite quickly, it should become a moist but cohesive dough that you can pick up (be careful though, it will be hot!). Add the boiling water conservatively to begin with.
- Allow the dough to sit for a minute or so, then place onto a dry clean benchtop. Knead for a minute or just until it forms a smooth, moist ball of dough. It should feel juicy and elastic – there should be no dry flour clumps in the dough or the bowl. Add more hot water, a tablespoon at a time, if necessary to reach this cobsistency. When you are happy, cover with the bowl you mixed it in for 2-3 minutes.
- Flour a bench top with tapioca flour. Divide the dough into 5-6 balls.
- Take the first piece of dough and roll it out as thin and wide as you can. I aim for 2-3mm. Use a 22cm mixing bowl with a sharp lid or the rim of a springform cake tin to cut a circular wrap out of your dough. Make sure the dough is larger than the bowl before you cut. Press down and wriggle gently to ensure a clean cut.
- Gather the scraps back into the dough and repeat with the remaining dough until you have all your wraps.
- Preheat a large skillet or frypan over a medium heat. Once hot, add a scant amount of ghee or oil if you're using it. Add the first wrap and cook for 1-2 minutes before flipping to cook on the other side. The wrap should look cooked and perhaps have some lightly browned spots. Repeat with the remaining wraps.
- Store leftovers in an airtight container in the fridge. To use, simply microwave or heat in a steamy oven to restore their flexibility.
Notes
- Adding yoghurt (I used lactose free Greek yoghurt) helps keep the wraps soft at room temperature. It is, however, optional.
- You can use all boiling water, 50g of yoghurt and around 125-180ml (1/2 – 3/4 Australian cup) water or 100g yoghurt and around 80-125ml (1/3 – 1/2 Australian cup) water.
- Make sure the dough forms a ball but isn’t overly soft or wet. This means adding water conservatively to begin with, and adding a splash more if needed.

I can’t tell you how excited I am to have come across this recipe for gluten free tortillas – it actually works! They were so easy to make, and wrap beautifully around fillings without cracking, breaking or falling apart! I tried a different recipe yesterday (an unmitigated disaster), and didn’t want to get my hopes up when trying yours, but they turned out great… and the fact that you’re Australian means that there are no foreign or hard-to-find ingredients. Thanks so much!!
So good to find gf recipes without (for me) the dreaded xanthan gum and all the other strange additives that give me pain for days.
I’ll try some of your recipes and report back. Maybe a while as we’re having a spell of brilliant weather!
Thank you Georgia for posting helpful recipes online
Tricia x
It’s obviously me but this was my first time making these and they ended up quite crispy, the first few anyway. I think I cooked them for too long, as I got used to doing them I didn’t let them get too dark. What I liked the most is they didn’t have that floury taste, they won’t get wasted, thanks ????