Granola bars took me a long time to perfect. I had initially intended to include them in my second cookbook, Intolerance Friendly Kitchen, but couldn’t perfect them in time. Lucky for you really, because now I have taken all the time in the world to nail this recipe down. These gluten free granola bars are oat free, easily vegan and perfectly chewy.
Gluten free granola bars (0at free)
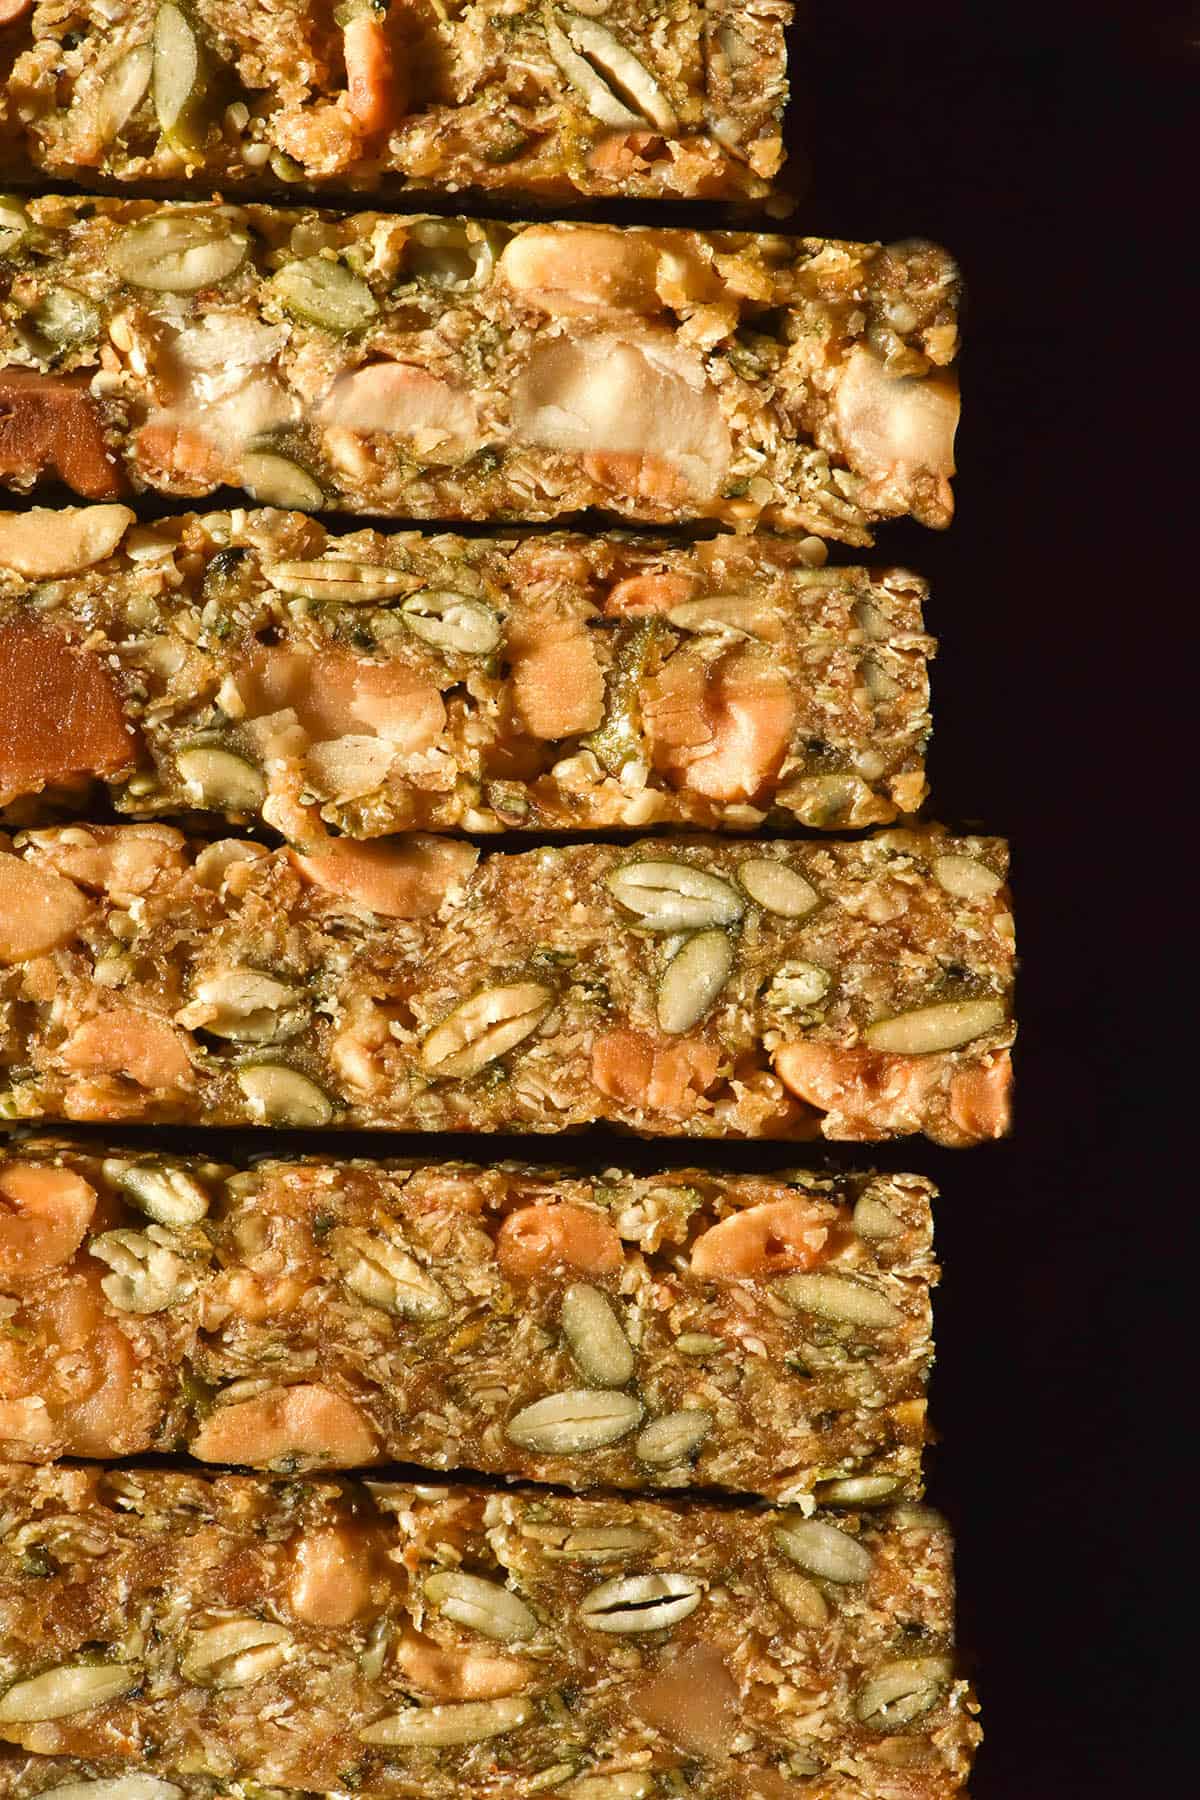
So, what do these gluten free granola bars use if not oats? Quinoa flakes. I know that quinoa flakes aren’t always the most popular (I’m not normally a fan myself) but I promise they are perfect here. Quinoa flakes add a delicious nuttiness and chew. They are also gluten free irrespective of where you are based.
Aren’t oats gluten free, you ask? Well, it kind of depends on where you live. Oats processed in gluten free factories can be considered gluten free in many countries. In Australia (where I live) however, they are only considered wheat free.
Oats contain a protein that is similar to gluten called avenin. Coeliac Australia says more testing needs to be done to determine whether coeliacs react to oats in the same way as gluten. As such, they are not considered gluten free in Australia.
If oats work for you – fantastic! Lucky you. There are plenty of oat based granola bar recipes out there for you. I wanted to make this recipe for gluten free granola bars without oats for those who can’t tolerate oats.
Ingredient notes
Because this recipe is very similar to it’s cousin, my low FODMAP granola bars, I have tested a wealth of different options for you.
You can use honey, maple syrup or a combination or maple syrup and rice malt syrup in these granola bars. I don’t recommend all rice malt syrup as its not sweet enough on its own.
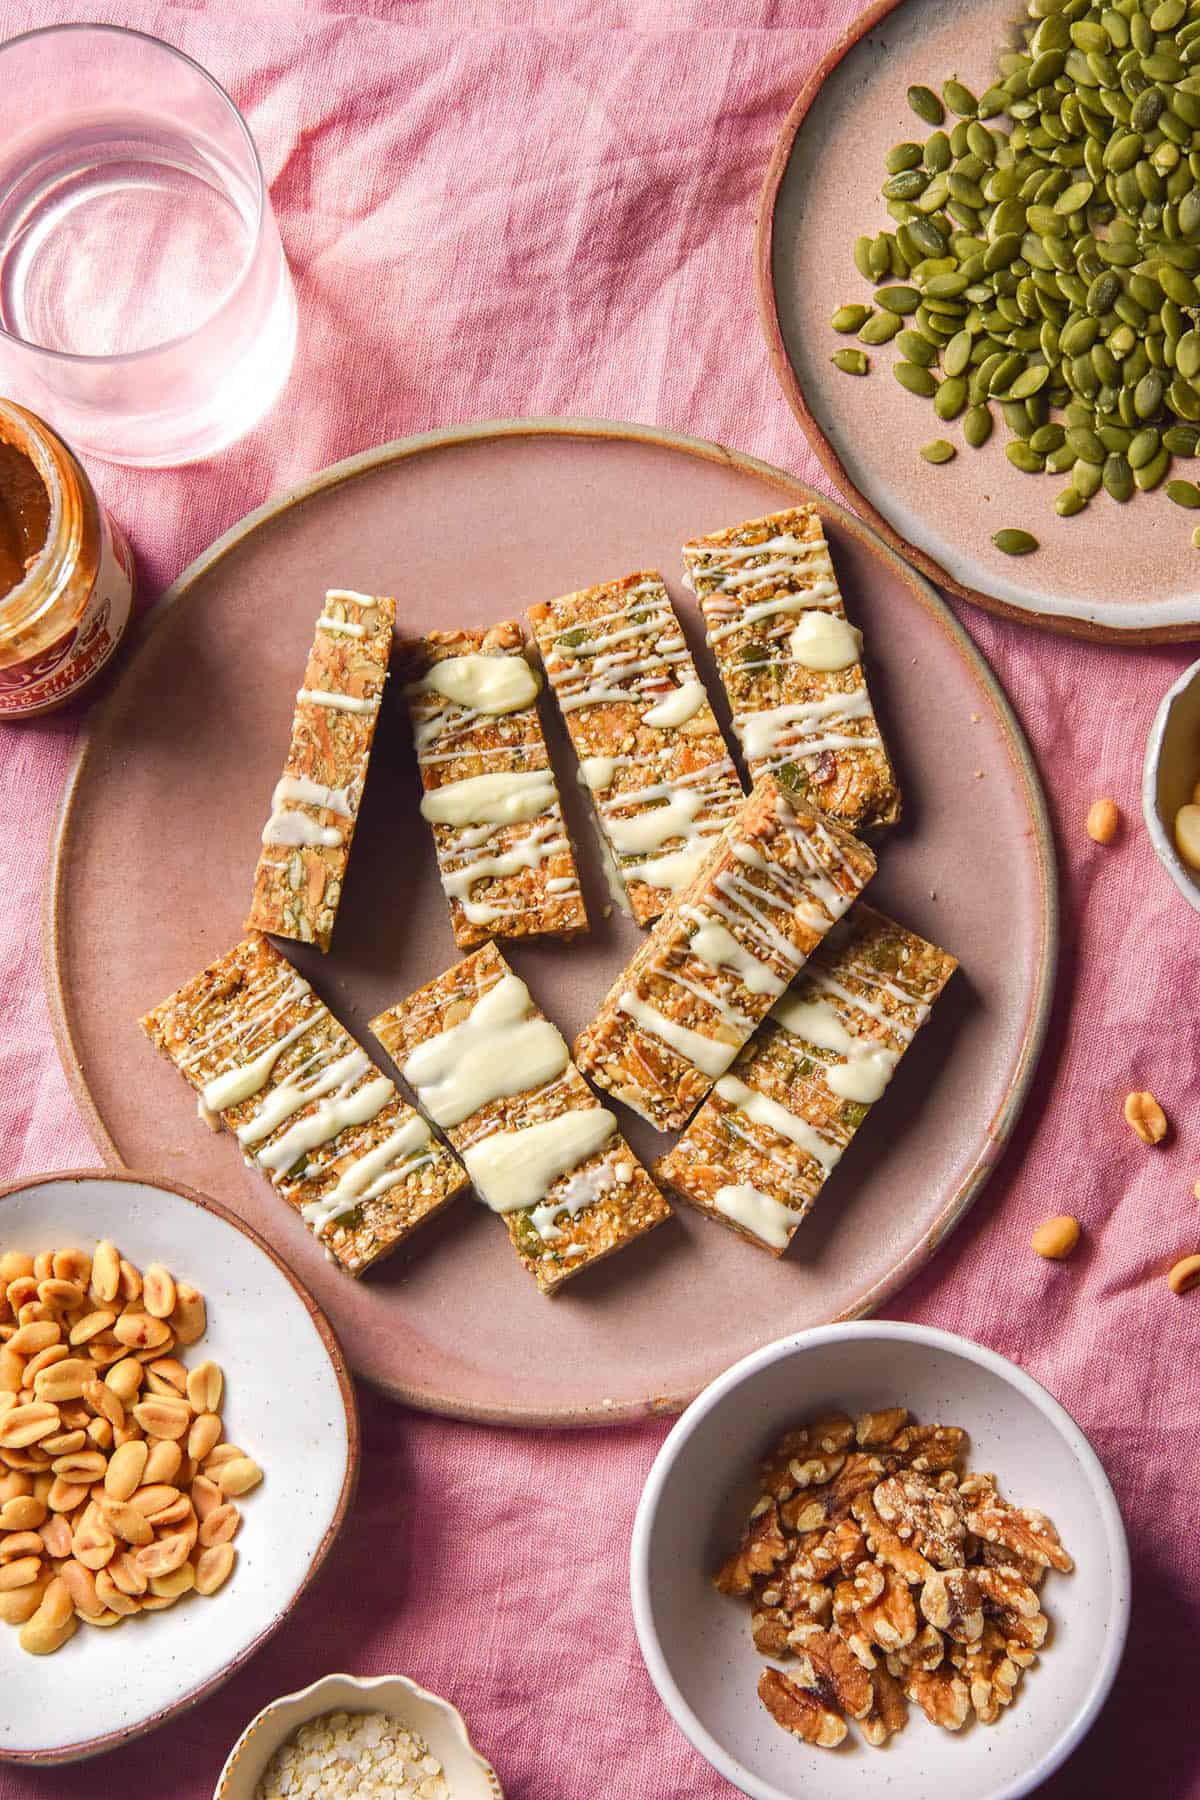
As long as you stick to the guide of nuts (2 Australian cups or a 250ml size cup) you can use whichever nuts you would prefer. I like to use a mix of nuts and seeds, but you can also made a completely seeded version.
Although I have only tested peanut butter here, I daresay other nut butters would work. Peanut is the cheapest to buy in large quantities and it also happens to be low FODMAP, which is why I chose it. I would recommend tahini as a nut free alternative.
I tested this recipe with rice flakes instead of quinoa flakes but found them far too tough. They are much better suited in a gluten free granola. In terms of the quinoa flakes – I promise you can’t taste them.
Recipe tips
My first tip is to ensure you don’t use a crumbly or dry nut butter. A spoonable, borderline oily consistency makes for deliciously chewy granola bars.
The second tip is in relation to the peanut butter and sweetener mixture. Getting this right is crucial to a pleasant consistency for your muesli bars. If you cook it too long and they will be brittle. If you don’t cook it long enough, your bars will not hold shape.
Make sure you take the time to cook the mixture properly. I found the sweet spot was about 2-4 minutes on the stove, depending on the sweetener you choose. First, the mixture will look grainy and the peanut butter will be separate from the sweetener. Next, they will come together and create a smooth looking caramel. The mixture should become thicker and your spatula should leave a fleeting mark in the mixture as you stir it. As soon as the mixture begins to develop little clumps of peanut butter, take it off the heat.
In my experience, honey needed less cooking time than maple syrup. I suspect this is because it is more viscous, but it could also just have been luck of the draw. Watch your mixture carefully.
I find that the fridge tends to firm the bars up. If your granola bars are borderline too soft, keep them in the fridge. If they are too brittle, store them on the counter.
A note on the baking tin: this recipe has been designed with a tin that is an 18.5cm (base measurement) square. Using a larger tin will result in thinner granola bars. If you only have a larger tin, block off one edge of the tin with a smaller tin or whatever fits. Nobody likes thin granola bars.
One last tip: chopped nuts are more pleasant to eat in a muesli bar. This is particularly important for macadamias, in my opinion. I recommend chopped into relatively small pieces or pulsing in a food processor.
Nut suggestions for your gluten free granola bars
Of course, you can use any sort of nut you like here. Given that I have made many of these bars now, though, I thought I’d give you my opinion on what worked best.
- Peanuts are easy and delicious and make the granola bars taste like a dessert.
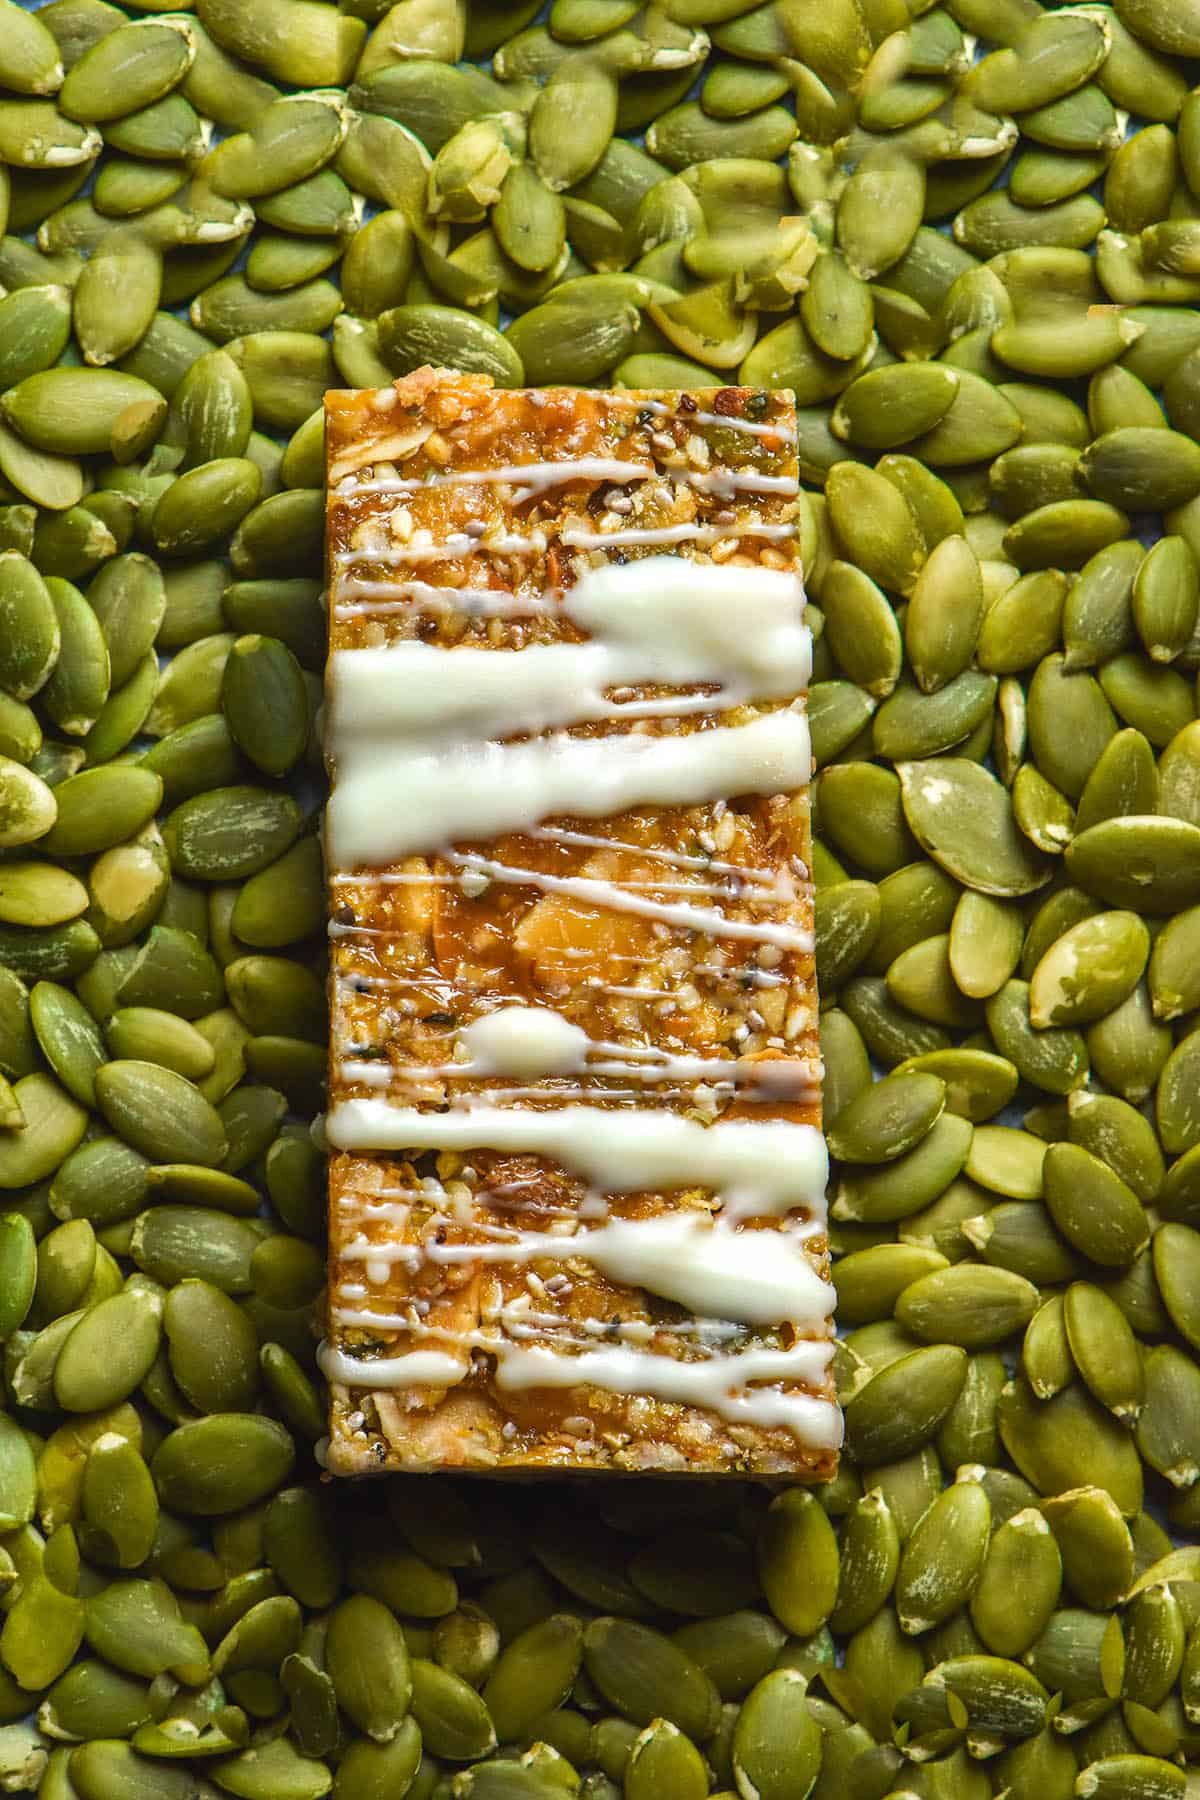
- Pumpkin seeds are easy, delicious and look visually interesting.
- Macadamias make a rich addition, but be sure to chop them a little as they make for big mouthfuls.
- Walnuts are also delicious, but be sure to chop them as above.
- I love adding hemp seeds for a bit of protein. I would recommend 1/2 cup total.
- A small amount of sesame seeds (1/4 – 1/2 cup) makes a lovely addition.
Combinations I have tried:
- ½ cup (75g) hemp seeds, ½ cup (90g) pumpkin seeds, ½ cup (80g) peanuts, ½ cup (80g) macadamias
- 1 cup (160g) macadamias and 1 cup (160g) peanuts
- 1/2 cup (60g) walnuts, 1/2 cup (60g) flaked almonds, 1/4 cup (45g) pumpkin seeds, 1/4 cup (40g) peanuts and 1/2 cup mixed seeds (I used mostly hemp with some sesame and a small amount of chia seeds)
Can I make these gluten free granola bars low FODMAP, peanut free or nut free?
Yes, you can. See my low FODMAP granola bar recipe for the specifics on Low FODMAP granola bars. I have also written up my suggestions for nut free, gluten free granola bars and/or peanut free granola bars.
More gluten free snack recipes
- Gluten free buckwheat muffins
- Gluten free zucchini fritters
- Vegan, gluten free blueberry muffins
- Gluten free bagels without xanthan gum
- Gluten free oat free granola
Gluten free granola bars
Equipment
- 18.5cm (7 inch) square baking tin
Ingredients
- 100 g quinoa flakes
- 2 Australian cups (which are 250ml in size) 250-300g nuts and seeds of choice (see body of post for combinations I have used)
- 150 g natural oily peanut butter or tahini
- 175 g (1/2 cup)* honey or 150g (1/2 cup)* cup maple syrup
- Pinch of fine salt
- Vanilla extract or any spices optional
Instructions
- Preheat the oven to 180C/356F.
- Line an 18.5cm (7 inch) square brownie tin with a large piece of cling film with enough overhang to fold over the granola bars.
- Combine the dry ingredients in a heat safe mixing bowl. Pour the combined mixture onto an oven tray and bake for 10-15 minutes. Baking is both to warm up the ingredients (so the peanut butter mixture won’t seize up when it hits cold nuts) and to toast the ingredients. You can toast them for longer if you’d like, but keep an eye on the quinoa flakes as they are prone to burning.
- 5 minutes before the nut mixture has finished cooking, combine the peanut butter and honey or maple syrup in a small pot over a low medium heat. Use a heatproof silicon spatula to stir the mixture and ensure none is catching on the bottom of the pot.
- Cook the mixture for around 2-4 minutes. I find honey needs less cooking time and maple syrup needs a bit more.
- First, it will look grainy and like the peanut butter is separated from the syrup. Next, it will come together and look glossy. If you draw a line in the mixture with your spatula, it should take a second for the mixture to melt back together.
- As soon as (or just before) little bits of cooked peanut butter start to form (they will look like little clumps) take the mixture off the heat.
- Carefully decant the hot nut mixture back into the heat safe bowl, then pour over the hot peanut butter mixture. Work quickly to coat all the mixture in the peanut butter – this is what will hold your muesli bars together, so everything needs to be coated and combined.
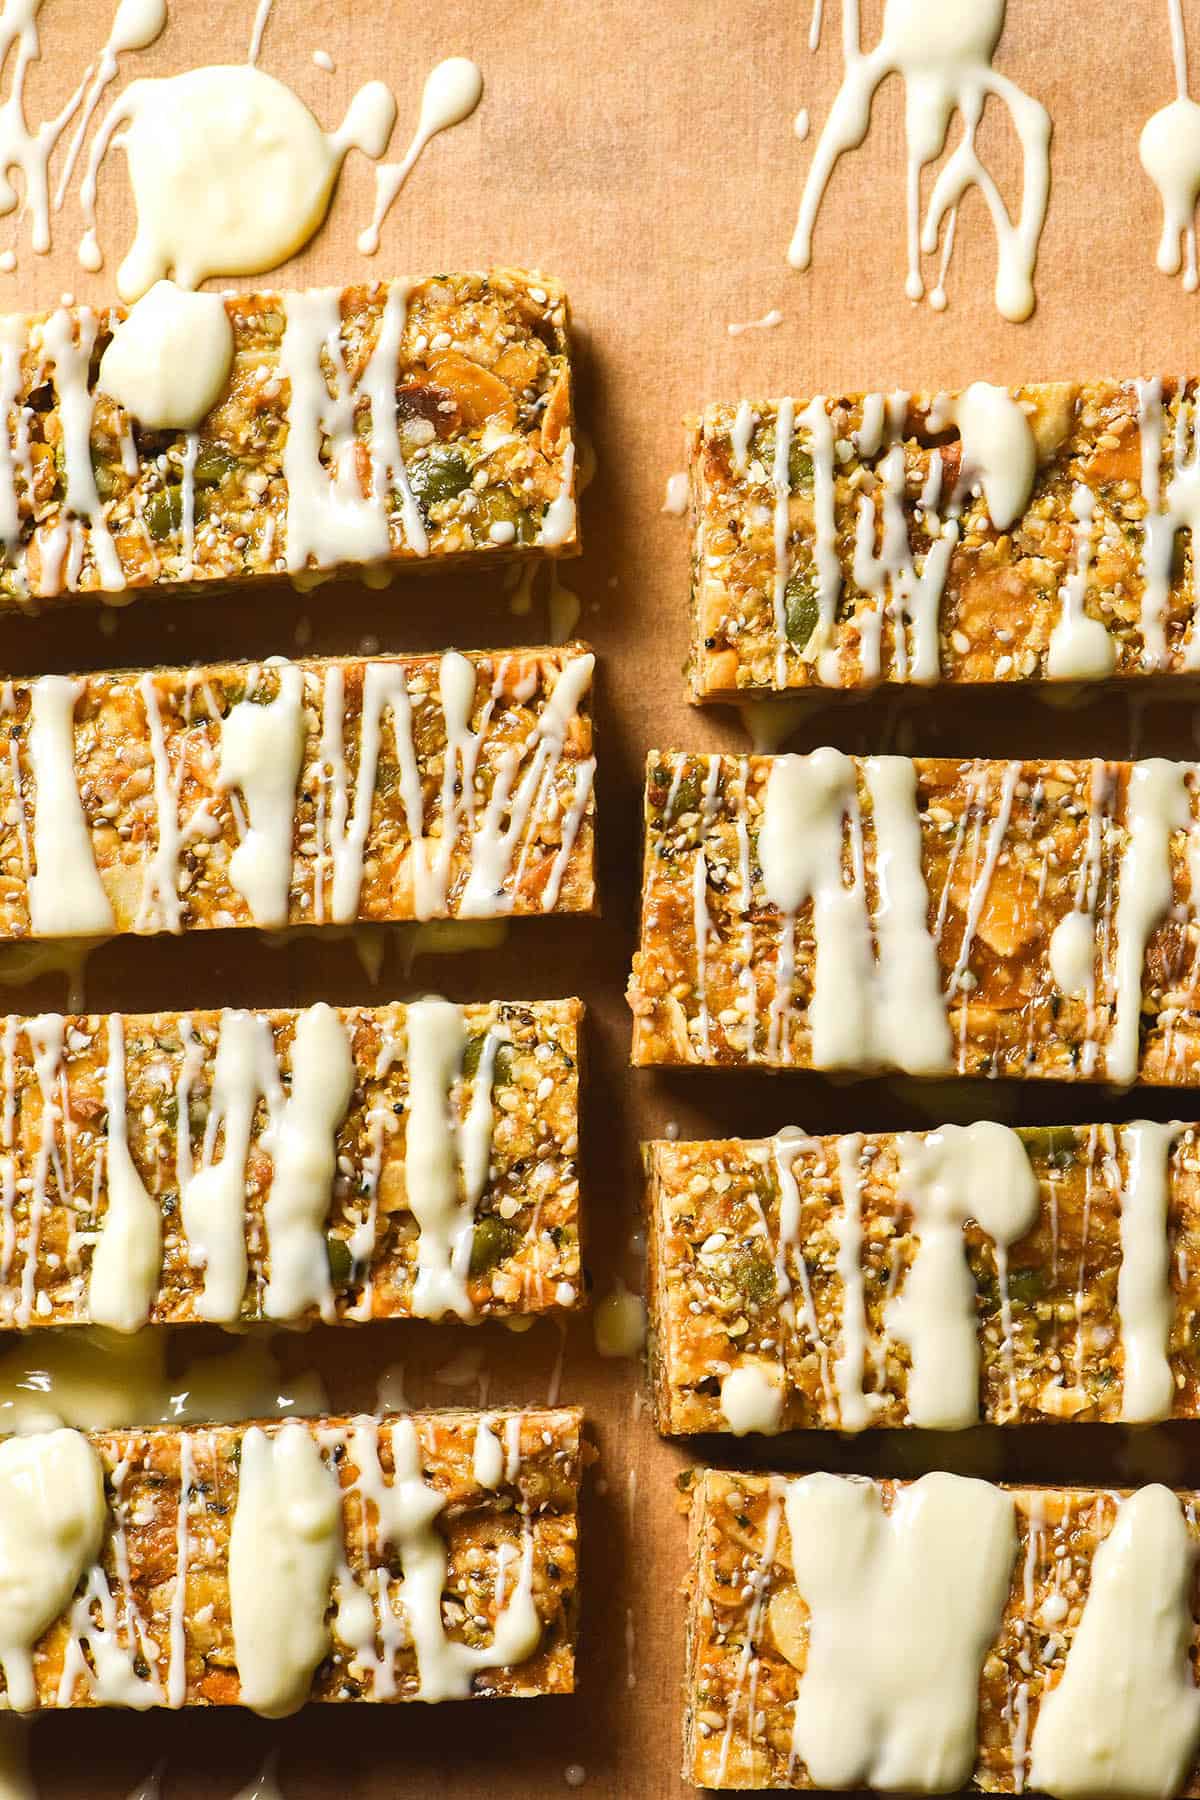
- Once you’re happy, pour the mixture into the lined tin. Place the overhanging pieces of film down over the granola bars, then use the base of a smaller container (I use a square Tupperware) to press the bars down firmly and evenly into the tray. You need to use pressure so that the bars stay together in bar form once cooled.
- Carefully remove the cling film cover so that the bars don’t sweat and allow them to cool. You can store the bars as a slice in the fridge or cut them up and store them in individual containers.
Notes
- Read the notes in the body of the post for tips and tricks to ensure your peanut sweetener mix is the right consistency.
- Weights are more important than cups in this recipe. This recipe, like all my recipes, is in Australian cups which are slightly larger than most.
- You need to use a tin the same size as mine (or a little smaller) for best results. Using a larger tin will result in thin granola bars and nobody likes that. See notes in the body of the post if you don’t have a tin the same size as mine.
- This recipe needs oily, smooth peanut butter as opposed to dry or homemade peanut butter. The oil helps create a nice consistency to the bars and the instructions for the peanut butter mixture will only work with an oily peanut butter.
- Getting the consistency of the peanut butter mixture right is crucial to success. Too soft and the bars won’t stick together. Too firm and you have essentially made nut brittle – it will be extremely chewy and crispy (trust me, been there).
- If your bars don’t hold together, you have either not cooked the peanut mixture for long enough or you haven’t pressed them down firmly enough (or both). Fixing one or both of these should result in a better consistency next time.
- If your bars are too chewy or even brittle like in consistency, you have cooked the peanut mixture too long. Cook it for less time next time.
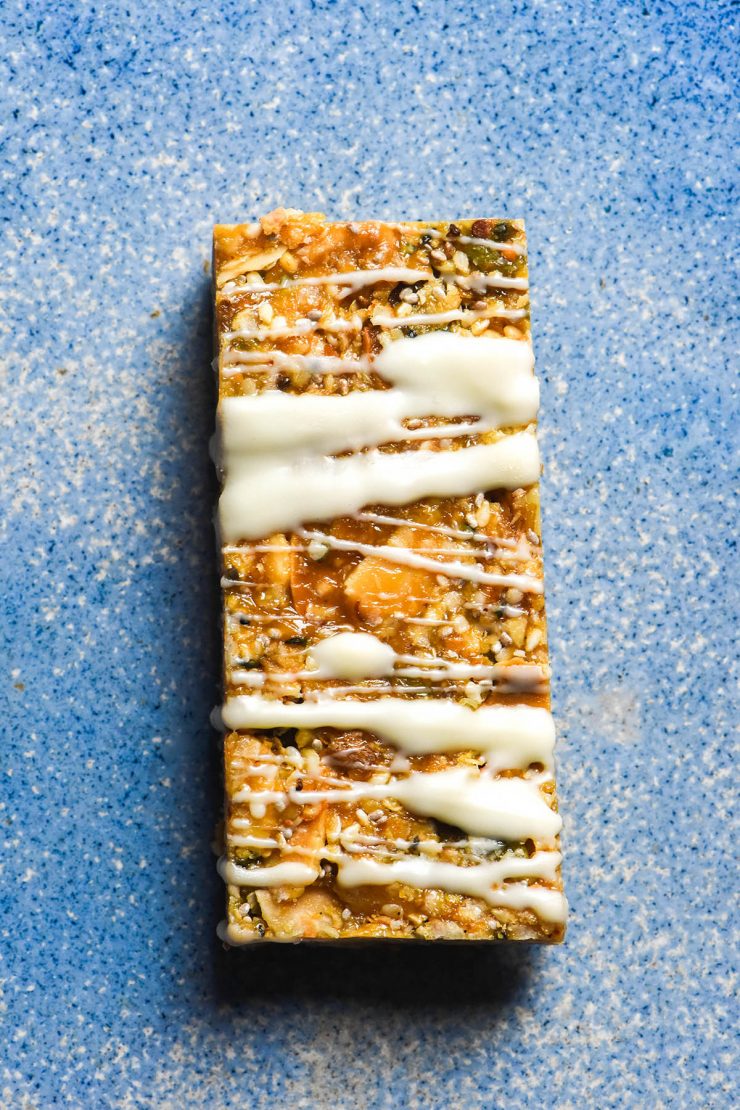
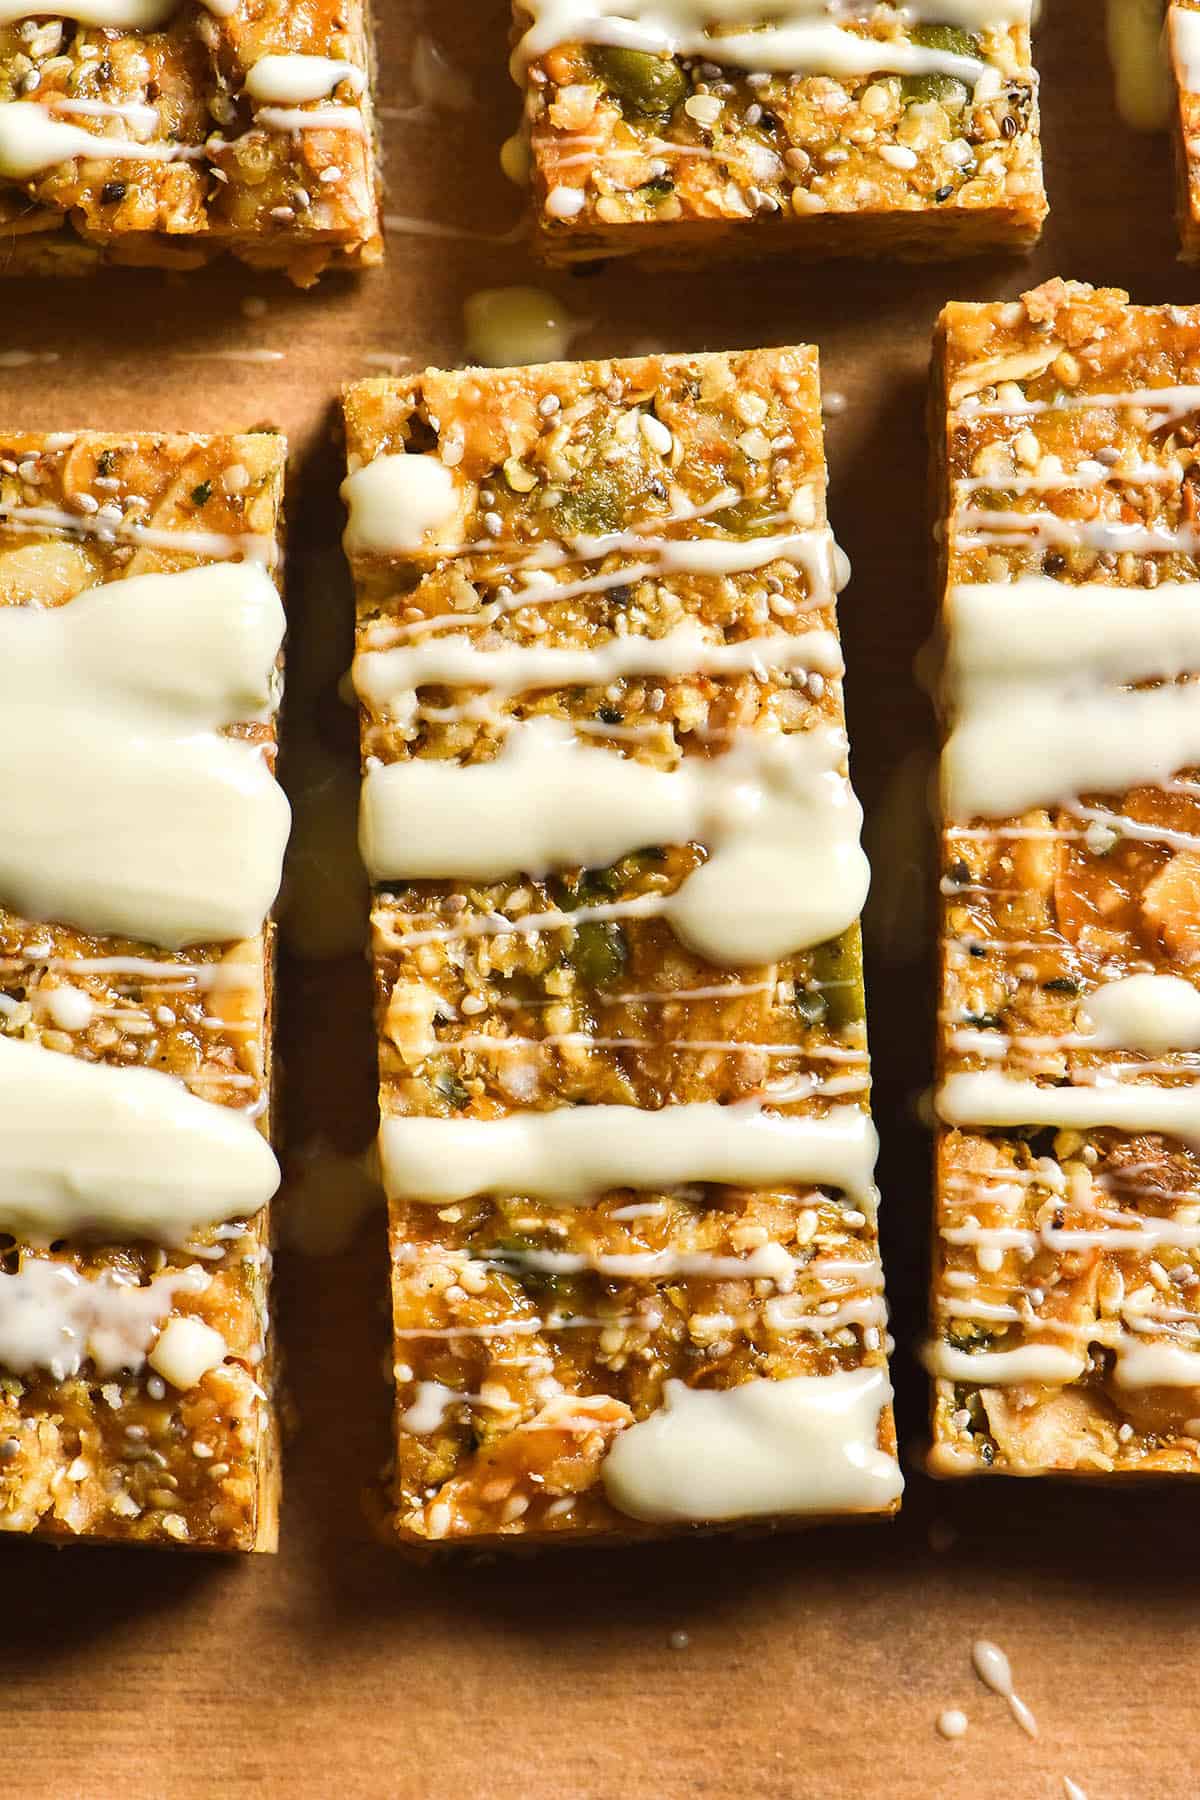
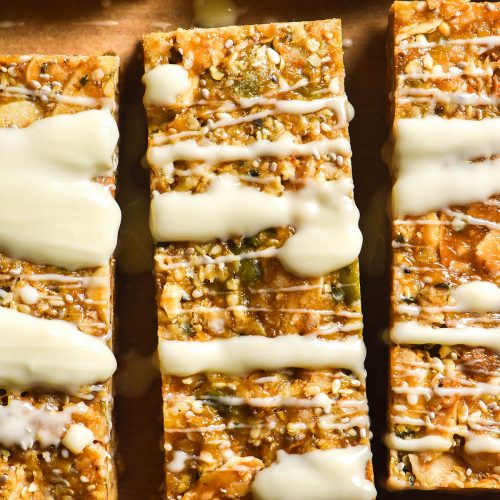
This looks like a great recipe, I will give it a try. What is the lovely looking drizzle over the top of the bars?
Hi Elaine! It was just some white chocolate I needed to use up haha. You can also use a dairy free version to keep them dairy free/vegan 🙂
Great! thanks for your reply, I look forward to making them! ????