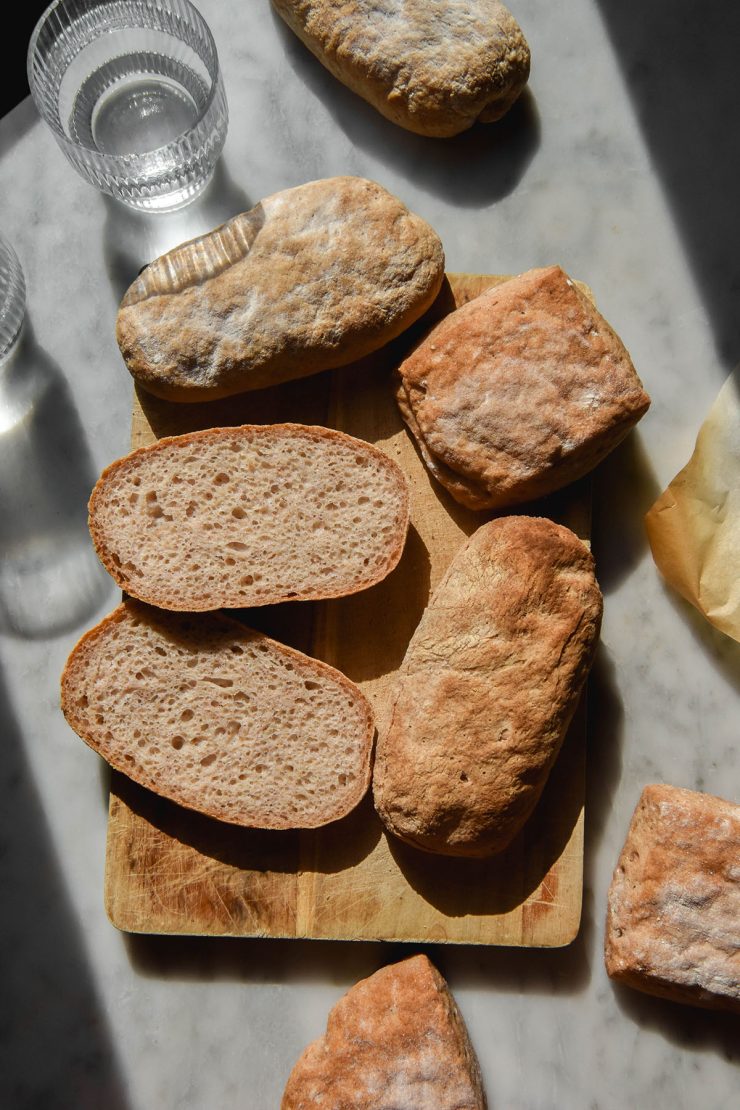
I recently returned from a stunning trip to Mallorca. While I was there, I noticed that a lot of Spanish tapas restaurants served a ciabatta style bread. This was often the bread of choice for pan con tomate as well as other snacky dishes that looked delicious. Because I’m gluten free (and low FODMAP and mostly vegetarian) I didn’t get to eat many tapas. I’ve decided to change that now that I’m home by developing this gluten free ciabatta recipe.
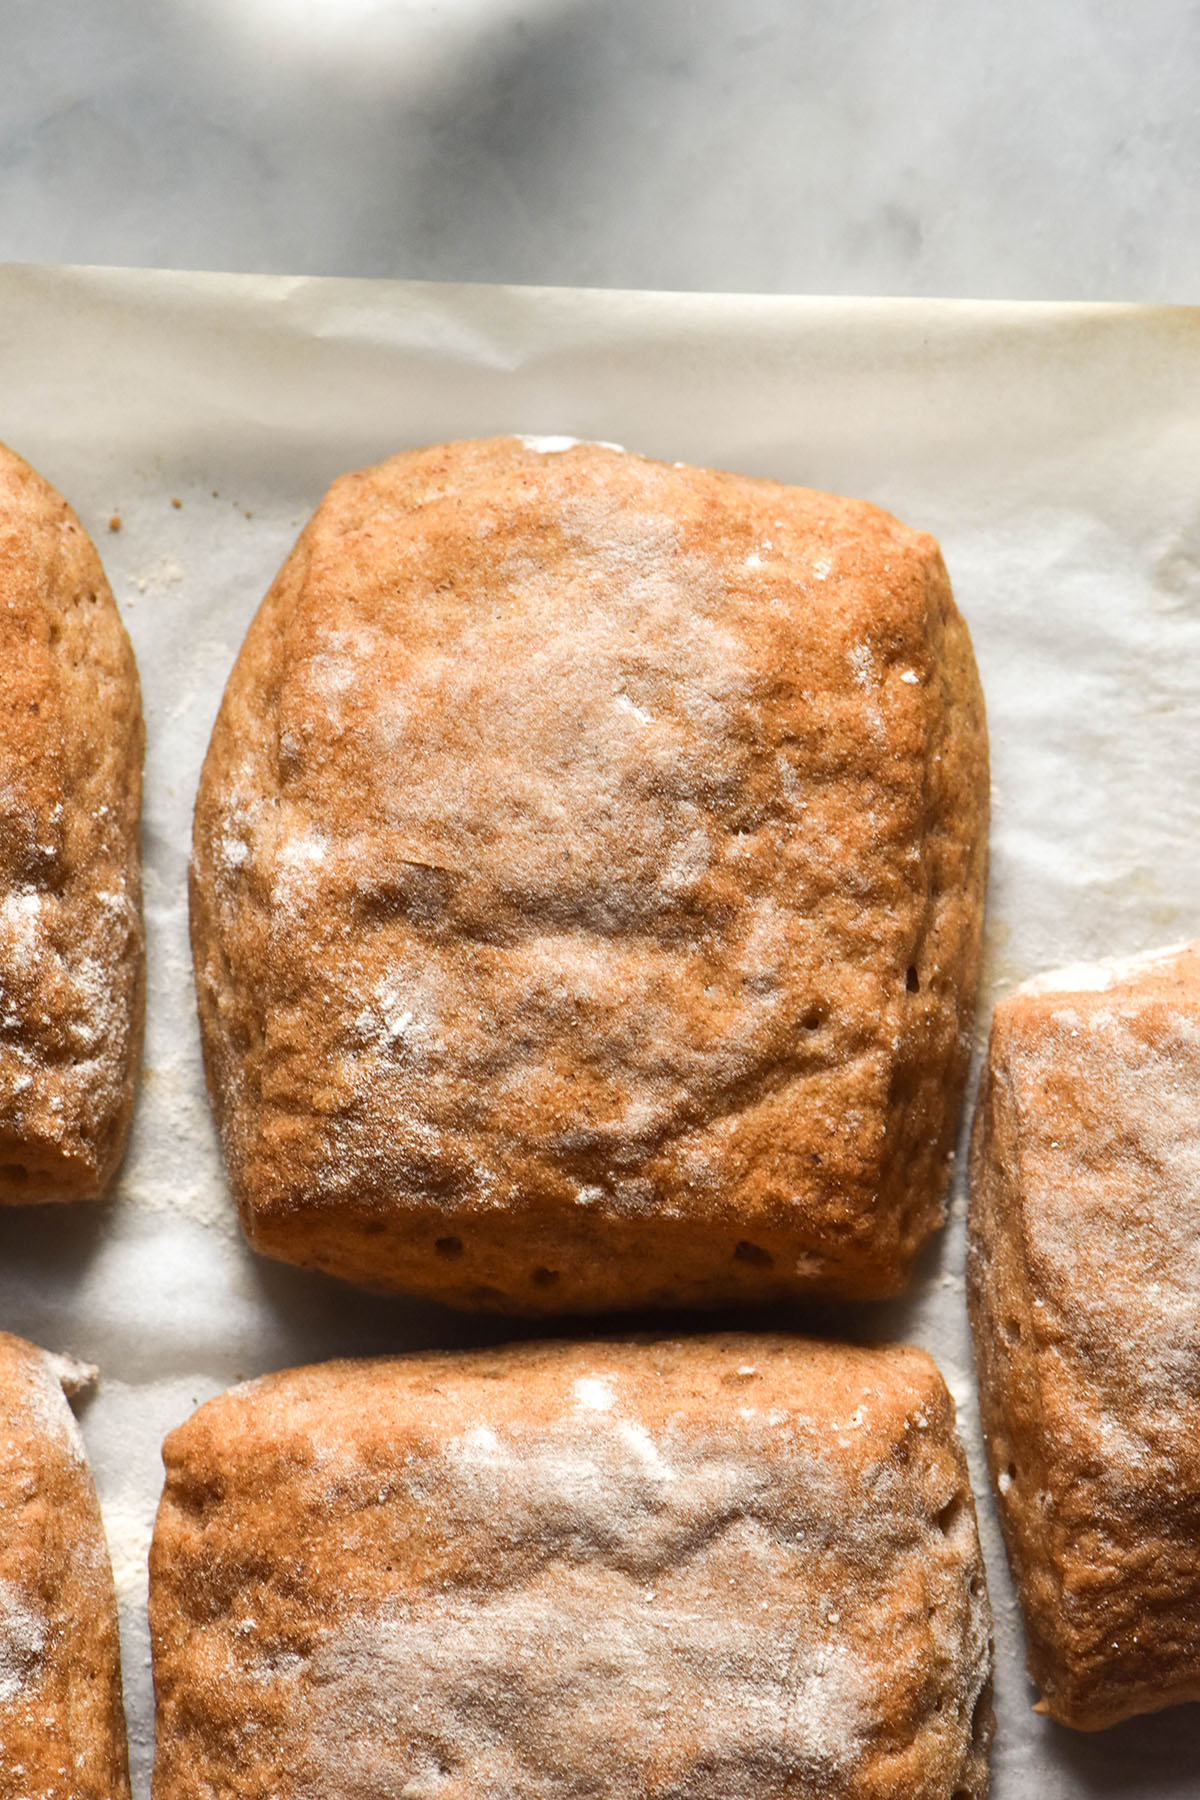
Gluten free ciabatta recipe
This recipe is gluten free, nut free, xanthan gum free, low FODAP, egg free and vegan. It is similar to my gluten free bagel recipe but made into ciabatta. That recipe is so easy to use and shape so I figured it would make the perfect ciabatta dough.
The dough uses white rice flour, sorghum flour and tapioca flour. These work together to create a recipe that has chew, elasticity and a nice wheaty taste. The dough is high hydration to create a nice open crumb. Psyllium husk powder helps hold all that hydration in.
The ciabatta have two proofing stages: one in bowl and again after shaping the ciabatta.
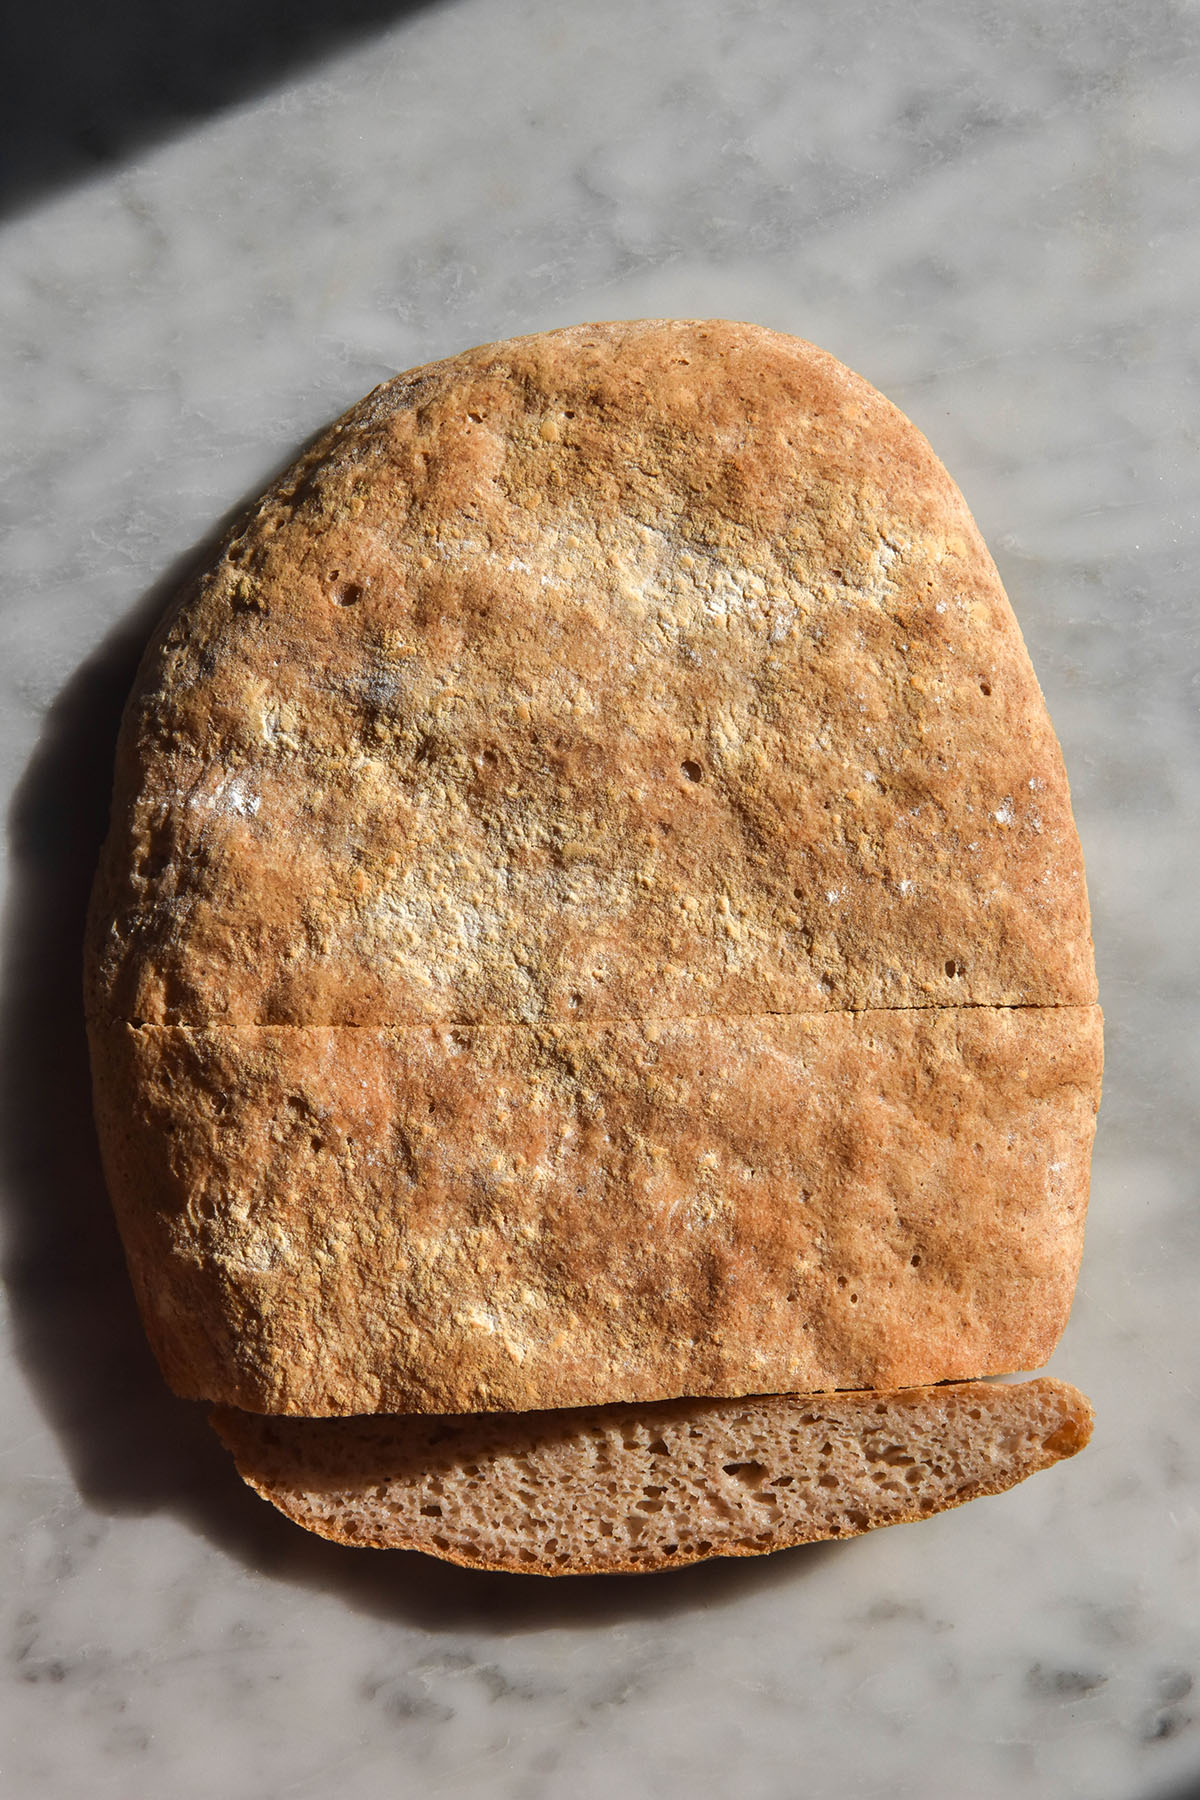
This recipe can be used to make rolls, baguette style ciabatta or a whole large ciabatta for slicing.
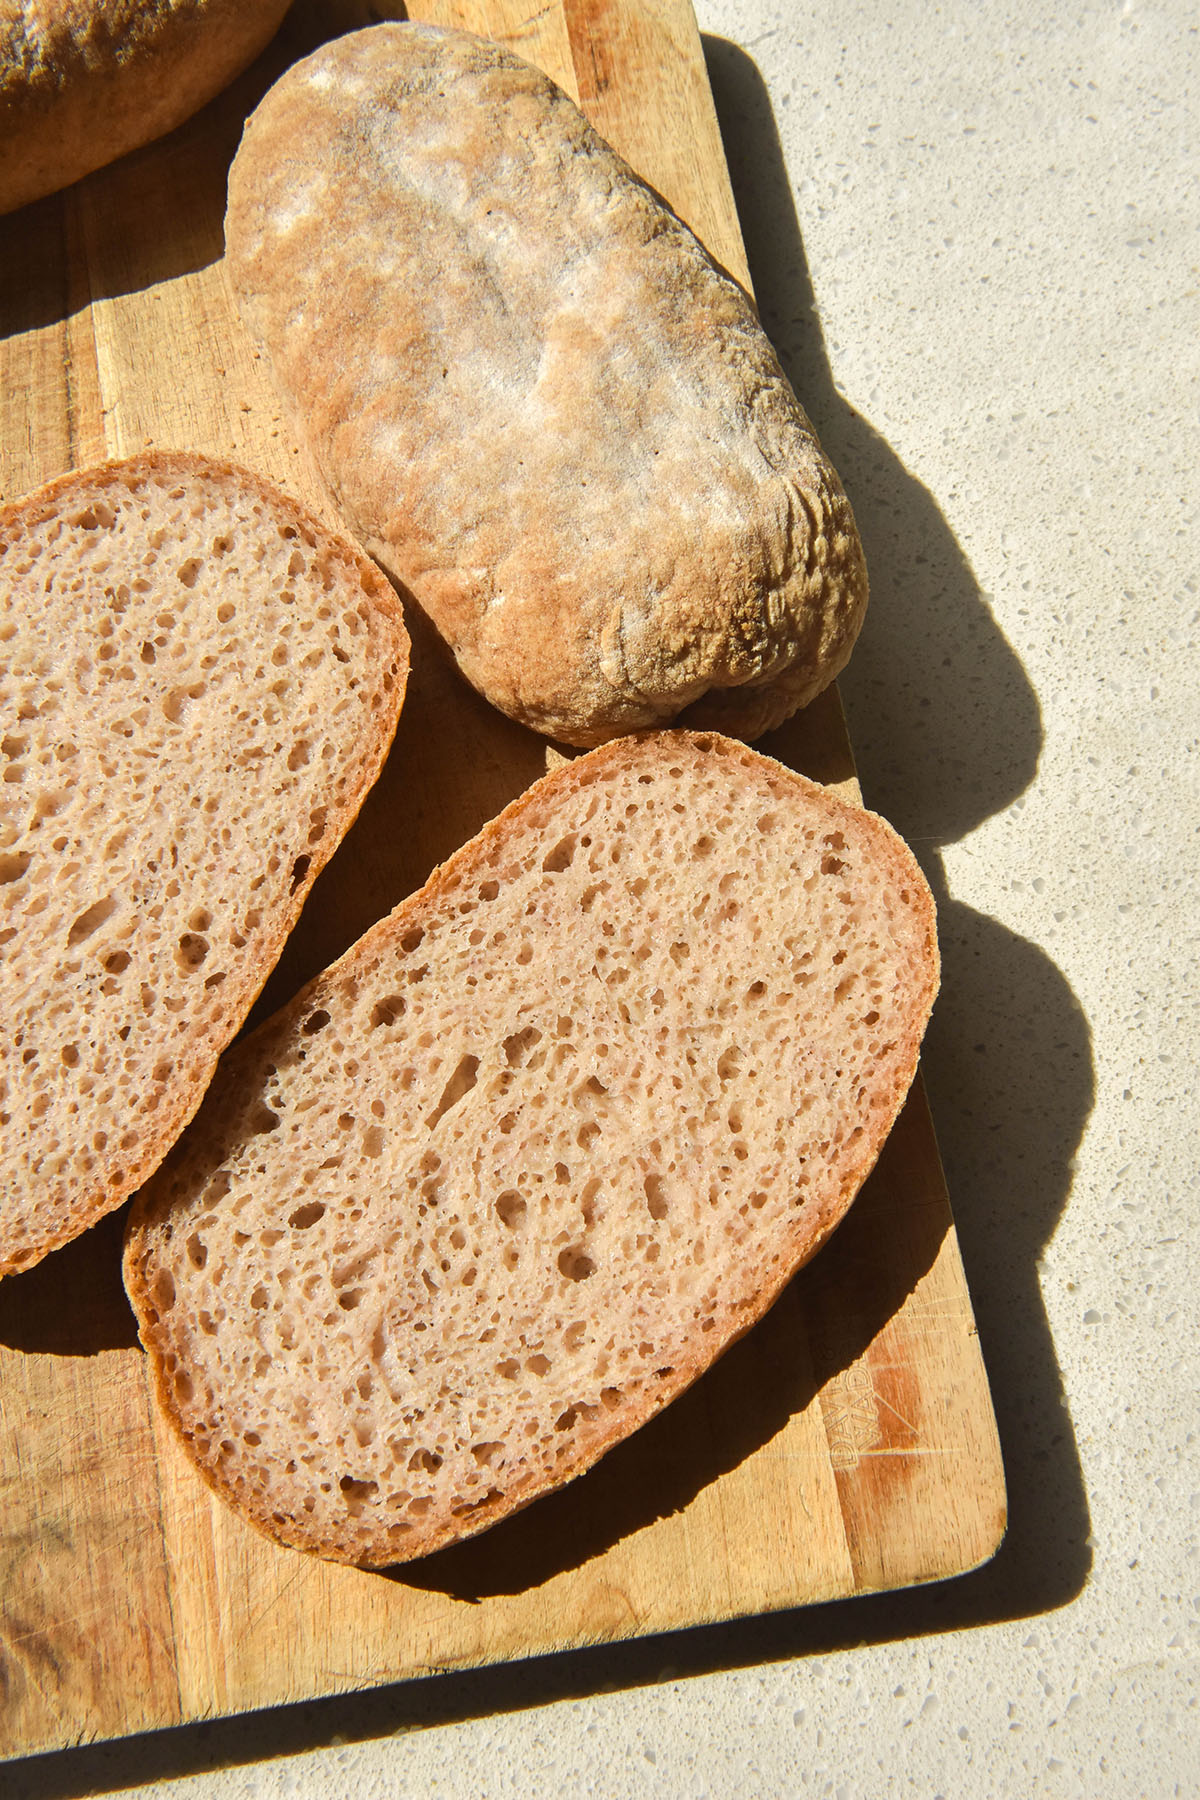
I will say that gluten free ciabatta are not super open crumbed like regular ciabatta. In terms of comparison, I’d say this recipe makes something closer to a bread roll than a regular, wheat based ciabatta. With that said, they are still delicious and still work perfectly in recipes that use ciabatta.
Ingredient notes
I have not tested any variations on this recipe. My bagel recipe can successfully use cassava flour instead of tapioca starch, but I haven’t tried it here.
Similarly, I have successfully used buckwheat flour in place of the sorghum flour in my bagel recipe. I haven’t tested that here.
There is no substitution for the white rice flour (in either recipe). It is a sturdy neutral base that is great for gluten free bread making.
There is no substitute for yeast. I am working on a yeast free bread recipe, but it’s a very complex thing to do well.
I use psyllium husk powder for all my recipes these days. However, I choose to buy the whole flakes and grind them to a powder myself in a Breville spice grinder. In my experience, store bought psyllium husk powder is way too fine and clumps together. It also has a high propensity for turning baked goods purple or grey. Even the whole husks have that propensity, so choose your brand wisely. I like Bonvit brand in Australia at the moment. I ran out of it and had to uses Coles brand which does turn a bit grey.
Tips for your ciabatta
The great thing about these sorts of breads is that you don’t have to shape them into anything complex. This makes it much easier to shape a high hydration dough. See the notes below for shaping options.
Yeasted breads won’t proof in a dry environment. The skin of the dough dries out and restricts the dough from proofing further. This is why it is so important to gently and fully cover your ciabatta as they proof. I use a sheet of cling wrap and then a light (weight wise) and slightly moistened clean tea towel over the top. I place it in a warm spot in the kitchen and make 100% sure no edges of any dough are exposed.
Proofing takes longer in winter and less time in summer. Humid climates are also much quicker to proof yeasted products – the moist air is ideal for proofing. Keep this in mind when you are proofing your own ciabatta. Keep an eye on the dough and bake it when it looks like the recipe describes, rather than the exact time the recipe says. In summer, you might only need 30 minutes for the second proof. In winter, you might need 90 minutes.
Because ciabatta is an open crumbed bread, we need a high hydration dough. The more liquid you add (to an extent) the more open the crumb of your ciabatta will be. However, this comes at the expense of shaping your dough.
Gluten free bread has no inherent strength to hold itself together like gluten based bread does. Ciabatta dough needs to hold shape on its own (it’s not baked in a vessel with sides to support it and hold it in). This is why hydration is a balancing act: it needs to be a wet enough dough to proof nicely and create a bread with an open crumb. It also needs to be a firm enough dough that it can hold shape as it proofs and bakes.
How much water should I add?
As always with gluten free baking, this depends! Different bags of flour will have different absorbency levels so hydration is always a moving target. This will differ again from country to country, brand to brand.
Immediately after mixing, the dough should look and feel liquid. Quite quickly, though, it should start to resemble more of a runny dough. At this point, cover the bowl and set it aside for 10 minutes.
When you return, have a look at your dough. Is it doughy in consistency but still too wet to roll out without issue? If you pick up some dough, does it naturally droop back into the bowl because it’s a little too wet to hold firm? If so, great. This dough should be hydrated enough for a good proof and a nice open crumb.
If your dough is stiff and dry and you can easily hold it in your hand, it’s too dry. Add 25-50g more water.
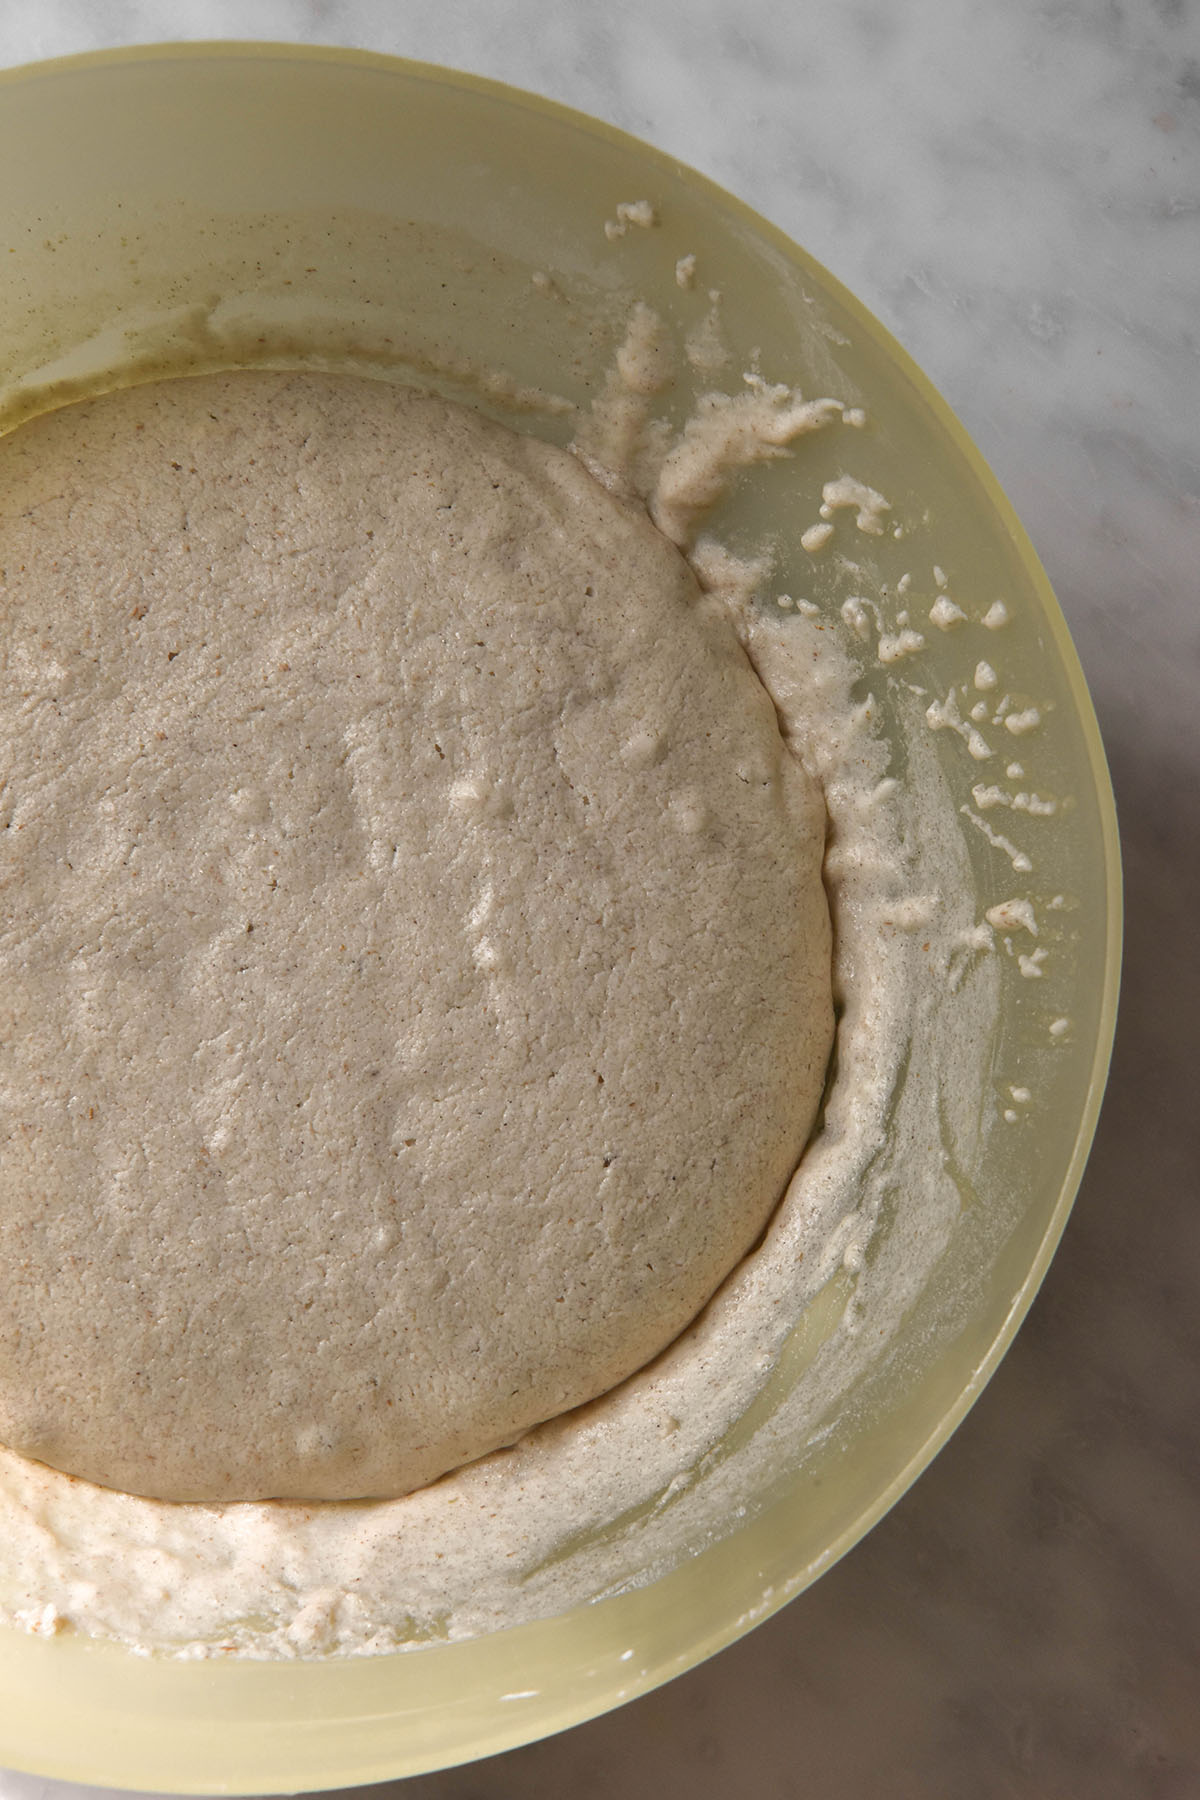
After proofing, your dough should look like the photo below. You should be able to pick it up after flouring, but it will be soft. More like a soft cinnamon roll dough than a traditional, wheat based bread dough. The smooth domed top of a proofed ciabatta dough indicates that is has enough liquid to bake up with an open crumb.
Shaping your gluten free ciabatta
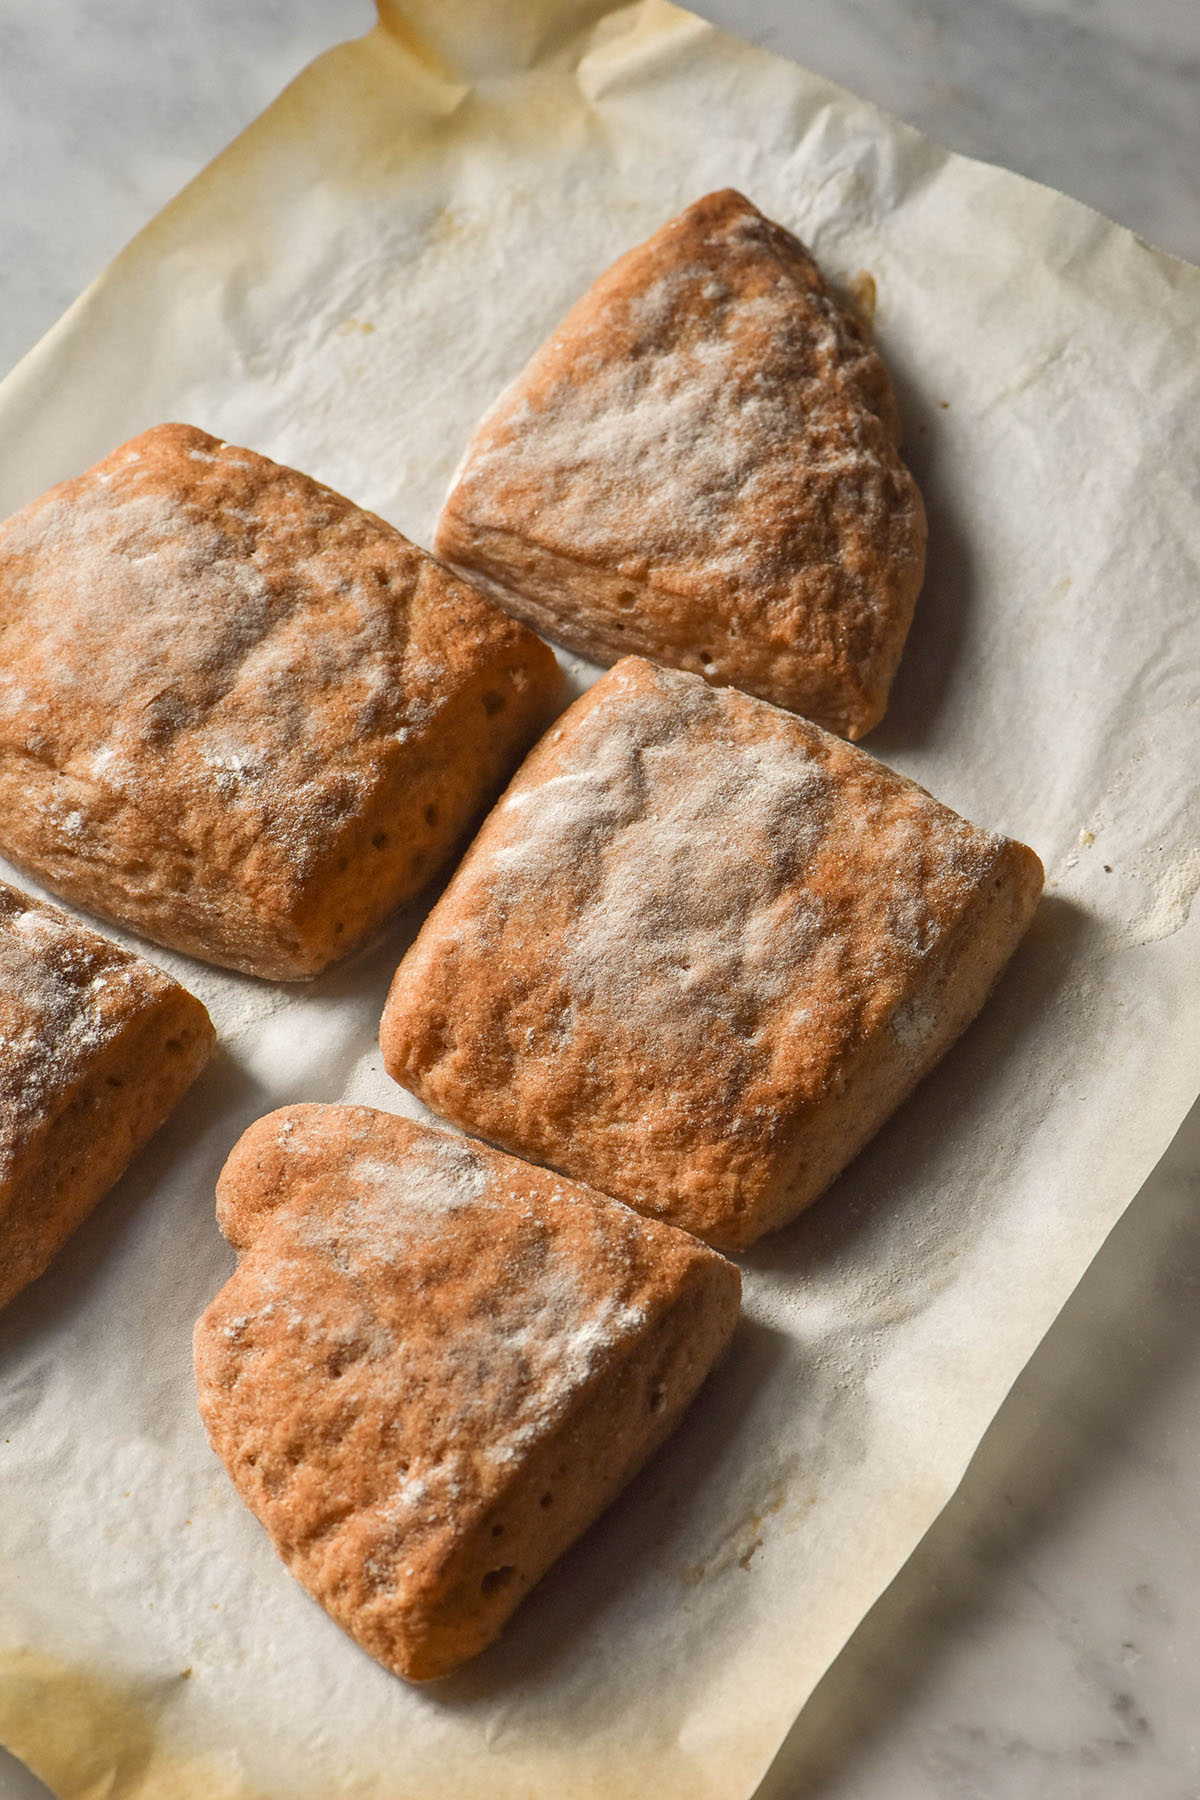
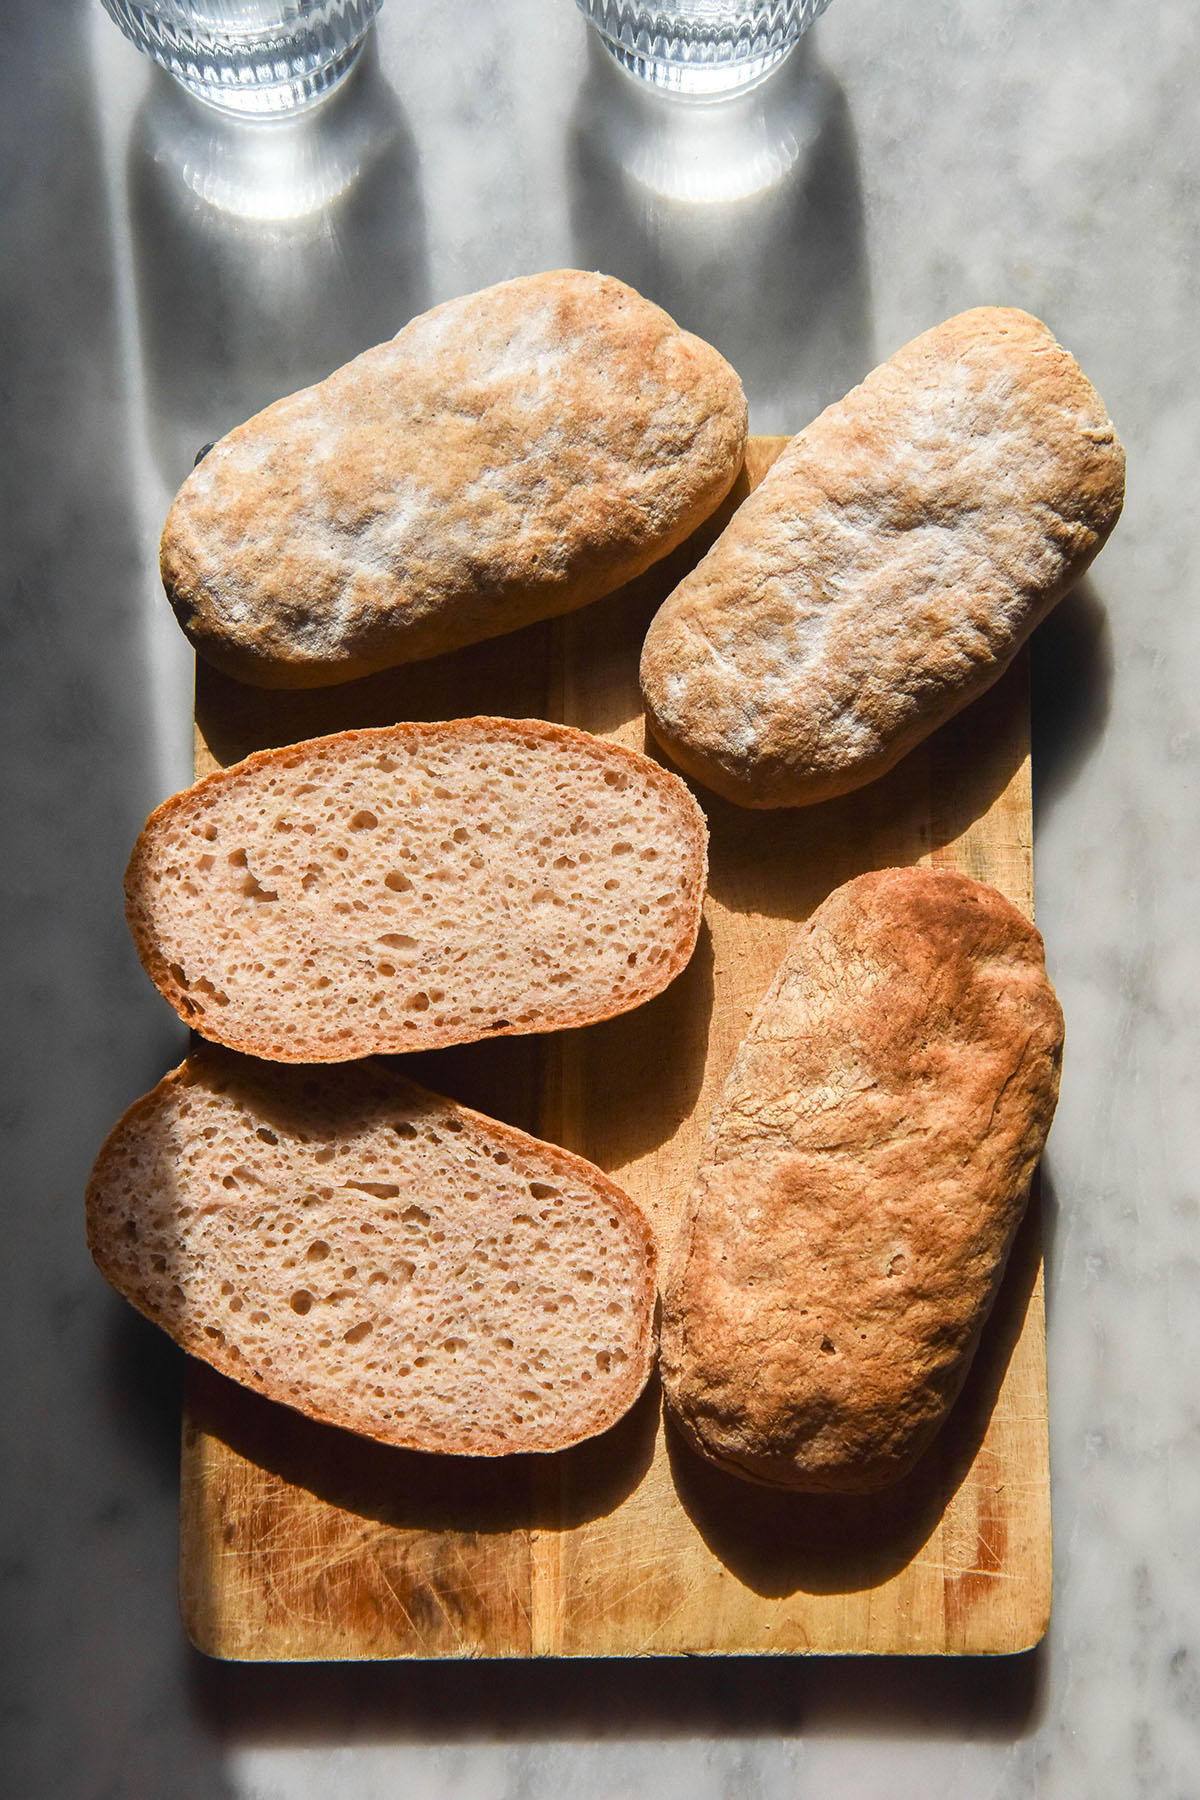
This ciabatta couldn’t be easier to shape. We have options, too. Firstly, you can roll the dough into a rectangle and cut six bread rolls out of the rectangle. Secondly, you can shape four pieces of dough into hot dog style buns. Finally, you can simply proof the rectangle of ciabatta dough straight on the tray.
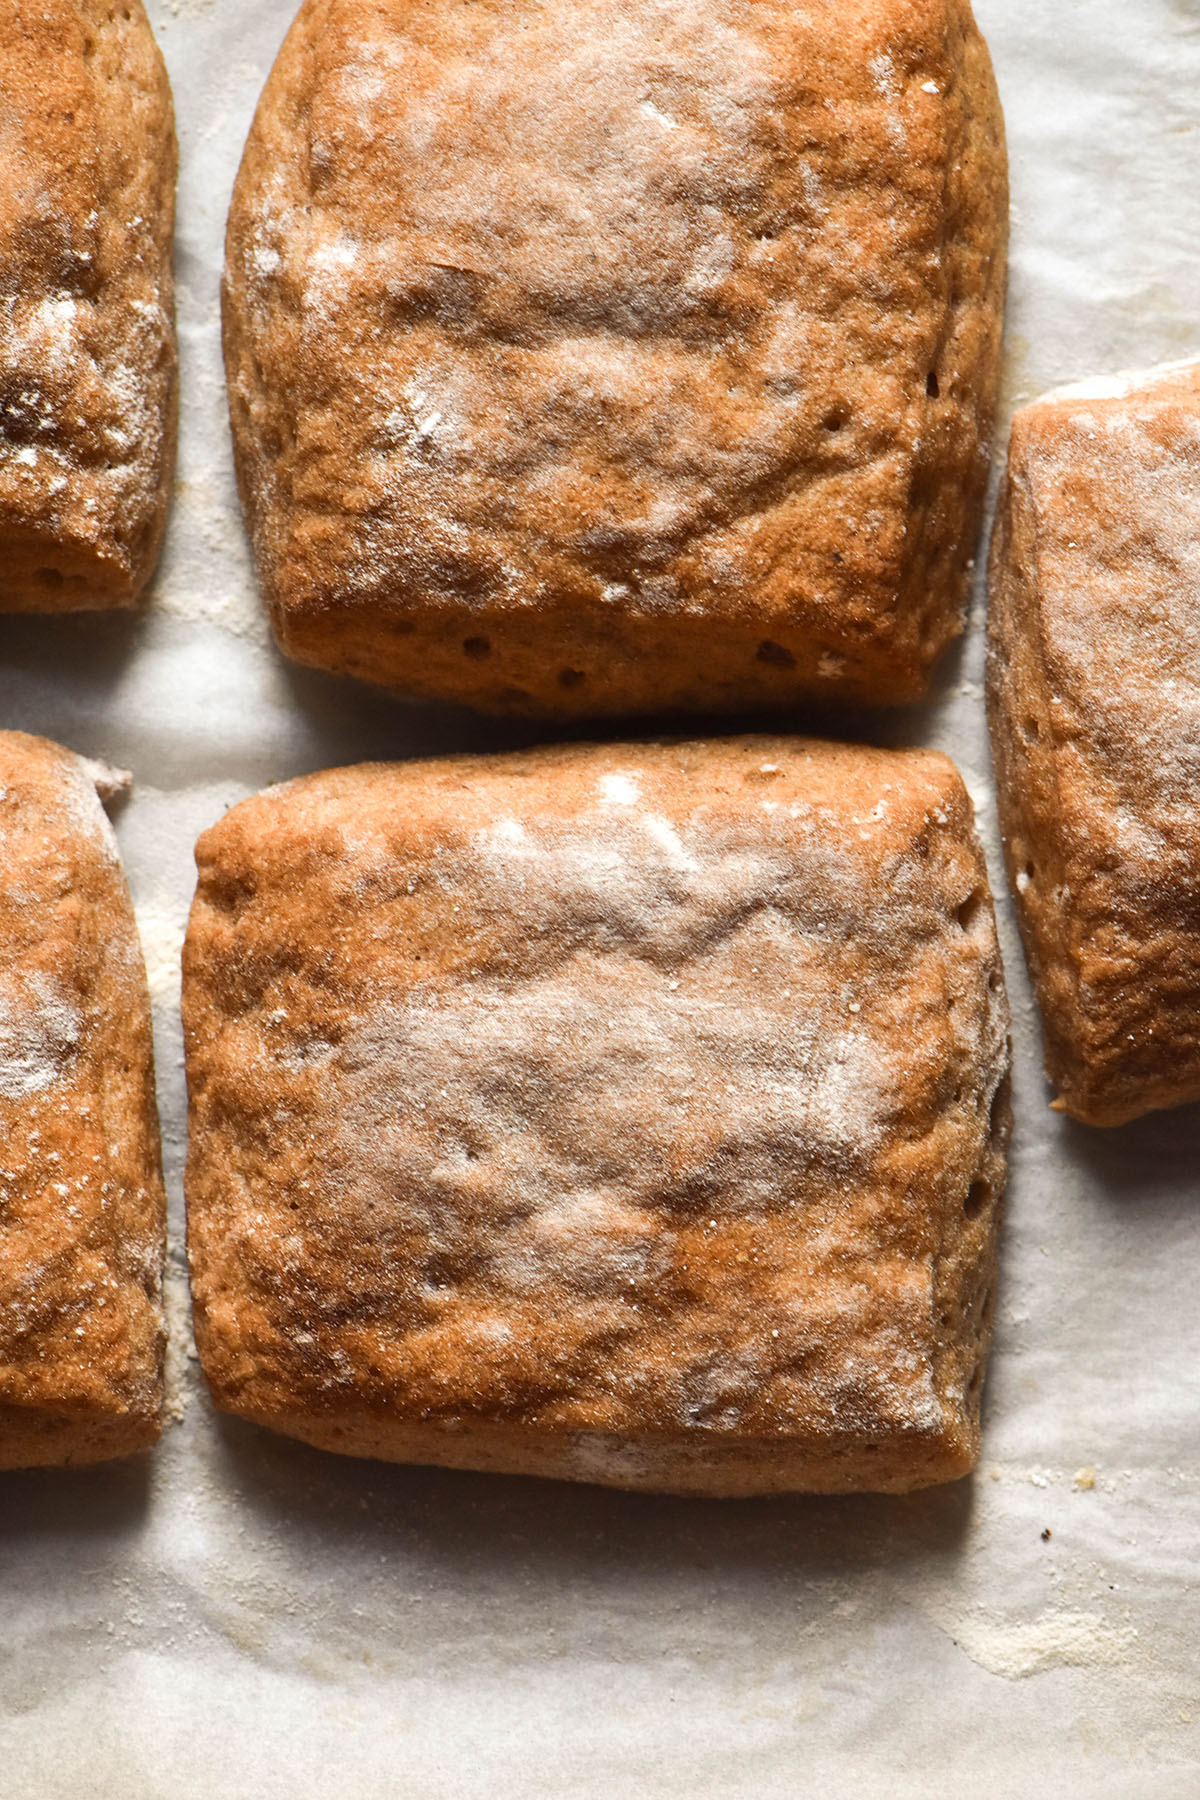
Because ciabatta have that naturally floury surface, I recommend shaping with white rice flour. It gets the job done shaping wise and gives your gluten free ciabatta that classic white crust. You can sprinkle the flour atop the ciabatta before baking, then use a pastry brush to spread it out nicely once the ciabatta are baked.
Whatever option you choose, make sure you use an extra large baking tray with plenty of room for spread. I tested this recipe in a warm spring kitchen and the dough PROOFED. I got lots of really puffy, really spread ciabatta.
Baking your ciabatta
If you’re a regular gluten free baker, you might have heard of a thing called oven spring. When yeasted bread hits a hot oven, it goes through one last push with the yeast expanding upwards before the crust of the ciabatta sets.
To maximise oven spring, we want a lovely hot oven. Home ovens are notorious for being inaccurate and inefficient compared to commercial ovens, so we need reinforcements. If you don’t have a baking stone, baking steel or cast iron skillet, you can still make this ciabatta. However, I like to heat my oven with the cast iron skillet inside. It seems to help the bottoms of the ciabattas set and brown well and keeps the oven temperature from fluctuating too much.
I have done all my tests with a cast iron inside the oven. I can’t see why you couldn’t do it without but I wanted to point this out.
Once the oven is thoroughly heated to its highest setting (get it going at least half an hour before you bake) we’re ready to bake.
The ciabattas should already be on a sturdy large oven tray with plenty of space to proof outwards. Bake them for 10 minutes and then briefly check on them. If they’re already very well browned, turn the heat down to 200C/400F. If they’re not, continue cooking them at the high heat and checking on them intermittently.
More gluten free vegan bread recipes without xanthan gum
- Gluten free vegan buckwheat bread
- Gluten free vegan focaccia
- Gluten free vegan bagels
- Gluten free vegan sourdough bread
- Gluten free seeded bread
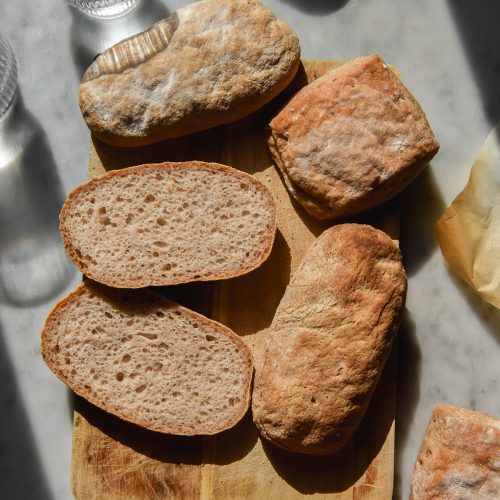
Gluten free ciabatta
Ingredients
- 220 g fine white rice flour
- 80 g light sorghum flour
- 120 g tapioca flour
- 15 g psyllium husk powder see notes
- 7.5 g instant yeast
- 10 g fine salt
- 10 g white sugar
- 40 g olive oil or neutral oil of choice
- 450-475 g water see notes
Instructions
To make the dough:
- Place the dry ingredients in a large non-reactive (glass or plastic) mixing bowl and whisk to combine. Add the wet ingredients and whisk until a thin batter forms. It should be very liquid initially, but quite quickly it should start to thicken to a runny dough.
- Cover the bowl and set aside for 10 minutes. When you return, assess the dough. If it is dough like in consistency but too sticky and moist to roll out without difficulty, it’s perfect. If it is stiff, breaks apart in dough chunks and can easily be held in your hand, add more water to reach the consistency described above.
- When you’re happy with the dough consistency, cover the bowl and set in a warm place for 1 hour.
- When you return, the dough should be smooth and domed on top.
To shape your ciabatta:
- Choose the style of ciabatta you want and the way you want to roll it. If you’re making a simple rectangle of ciabatta, simply plop the dough (smooth side upwards) onto an extra large baking sheet lined with baking paper. Use white rice flour to press the ciabatta into a rectangle shape. If your dough isn’t smooth on top before proofing, it won’t be smooth on top after baking.
- If you want to make ciabatta rolls, place the ciabatta dough onto a well floured surface and press or roll it out into a smooth rectangle shape. Use a sharp knife to cut the rectangle into 6 square pieces, then carefully place those on the lined baking sheet with space between them.
- To make the hot dog bun style ciabatta, divide the dough into 4 balls. Flatten and press them out into an oval shape, then fold in the short sides and roll the dough over itself like you are rolling cinnamon roll dough. Pinch the seams together to seal and place the seam side down on a lined baking tray.
- Whichever option you choose, sprinkle the tops with some rice flour before they proof. We will brush it off a bit later, so it doesn’t have to look perfect.
- Gently cover your ciabattas, making sure no part of them is exposed to air. I use a large sheet of cling film and then a slightly damp tea towel made of light material to tuck in the cling film. Yeasted goods can’t proof if they have dry skins and air will dry the skins out. This is why they need to be completely covered.
- Set the ciabatta aside to proof for 30 minutes to 1 hour. This depends on how much liquid you ultimately added to your dough (higher hydration = faster proof) and how warm or humid it is in your kitchen (yeast thrives in heat and humidity but struggles in the cold).
To bake:
- As soon as you have set your ciabatta aside to proof, preheat your oven to 250C/480F or your highest setting. I like to put my cast iron in the bottom of the oven to prevent temperature fluctuations but this is optional.
- When the ciabattas are ready, place them in the oven. Allow them to cook at the highest heat for 10 minutes. After this, check on them briefly. If they’re still pale, allow them to continue cooking on the highest heat for another 5-10 minutes. All up, the baking time should be 20-25 minutes.
- Once they’re browned and solid if you knock on the crust, remove the ciabatta from the oven. Carefully transfer them to a cooling rack and allow to cool completely. Ideally, make these the night before you need them. The high hydration means they need time to set and you might consider them too ‘wet’ inside if you cut them too early. Use a pastry brush to brush off any excess rice flour or to spread the rice flour out nicely.
- Store leftovers in an airtight container in the fridge. You will need to microwave or steam heat (oven with hot water in a container in the base) the ciabatta to soften it. It becomes very after a few days but can easily be softened. You can also freeze leftovers – I recommend slicing them prior to freezing.
Notes
- I grind my own psyllium husk powder these days as I find the store bought stuff too fine. It tends to clump together and often results in grey baked goods. I use a Breville spice grinder for mine and I recommend BonVit brand psyllium husk flakes in Australia. At the moment they haven’t been turning my baked goods grey.
- Side note: them being purple or grey isn’t a food hazard, just an aesthetic hazard.
- How much water you add depends heavily on where you live, the humidity and your flours. Absorbency varies hugely. See the consistency described in the recipe and the extensive tips in the body of the post.
- Read the post for all of my tips and tricks.

No Comments