
Today’s recipe is for gluten free chocolate muffins, a lovechild of my newfound interest in muffin recipes and my easy gluten free chocolate cake. Much like the cake they descend from, these muffins are incredibly easy to make. Assembled in one bowl, they take 5 minutes to mix and 20 minutes to bake. A deeply chocolatey gluten free treat, ready in under 30 minutes.
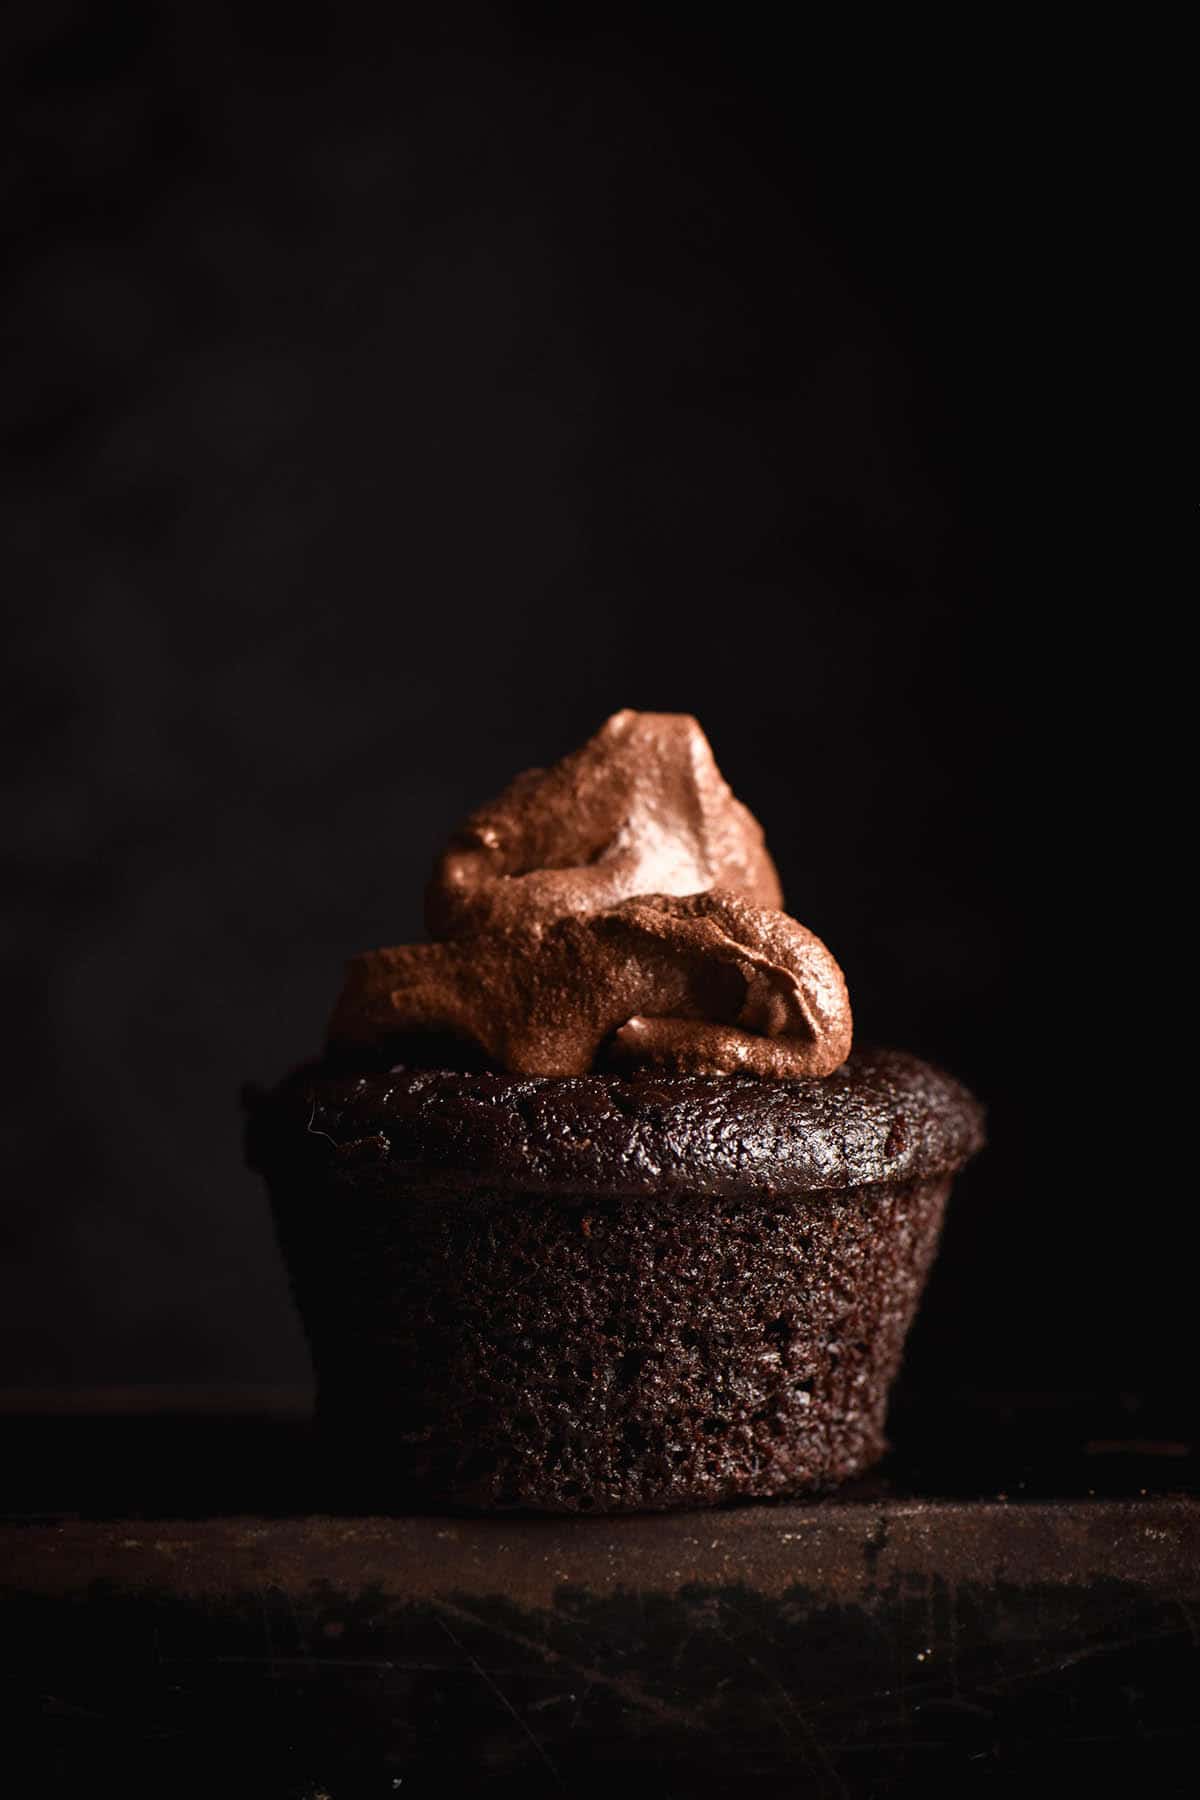
Gluten free chocolate muffins
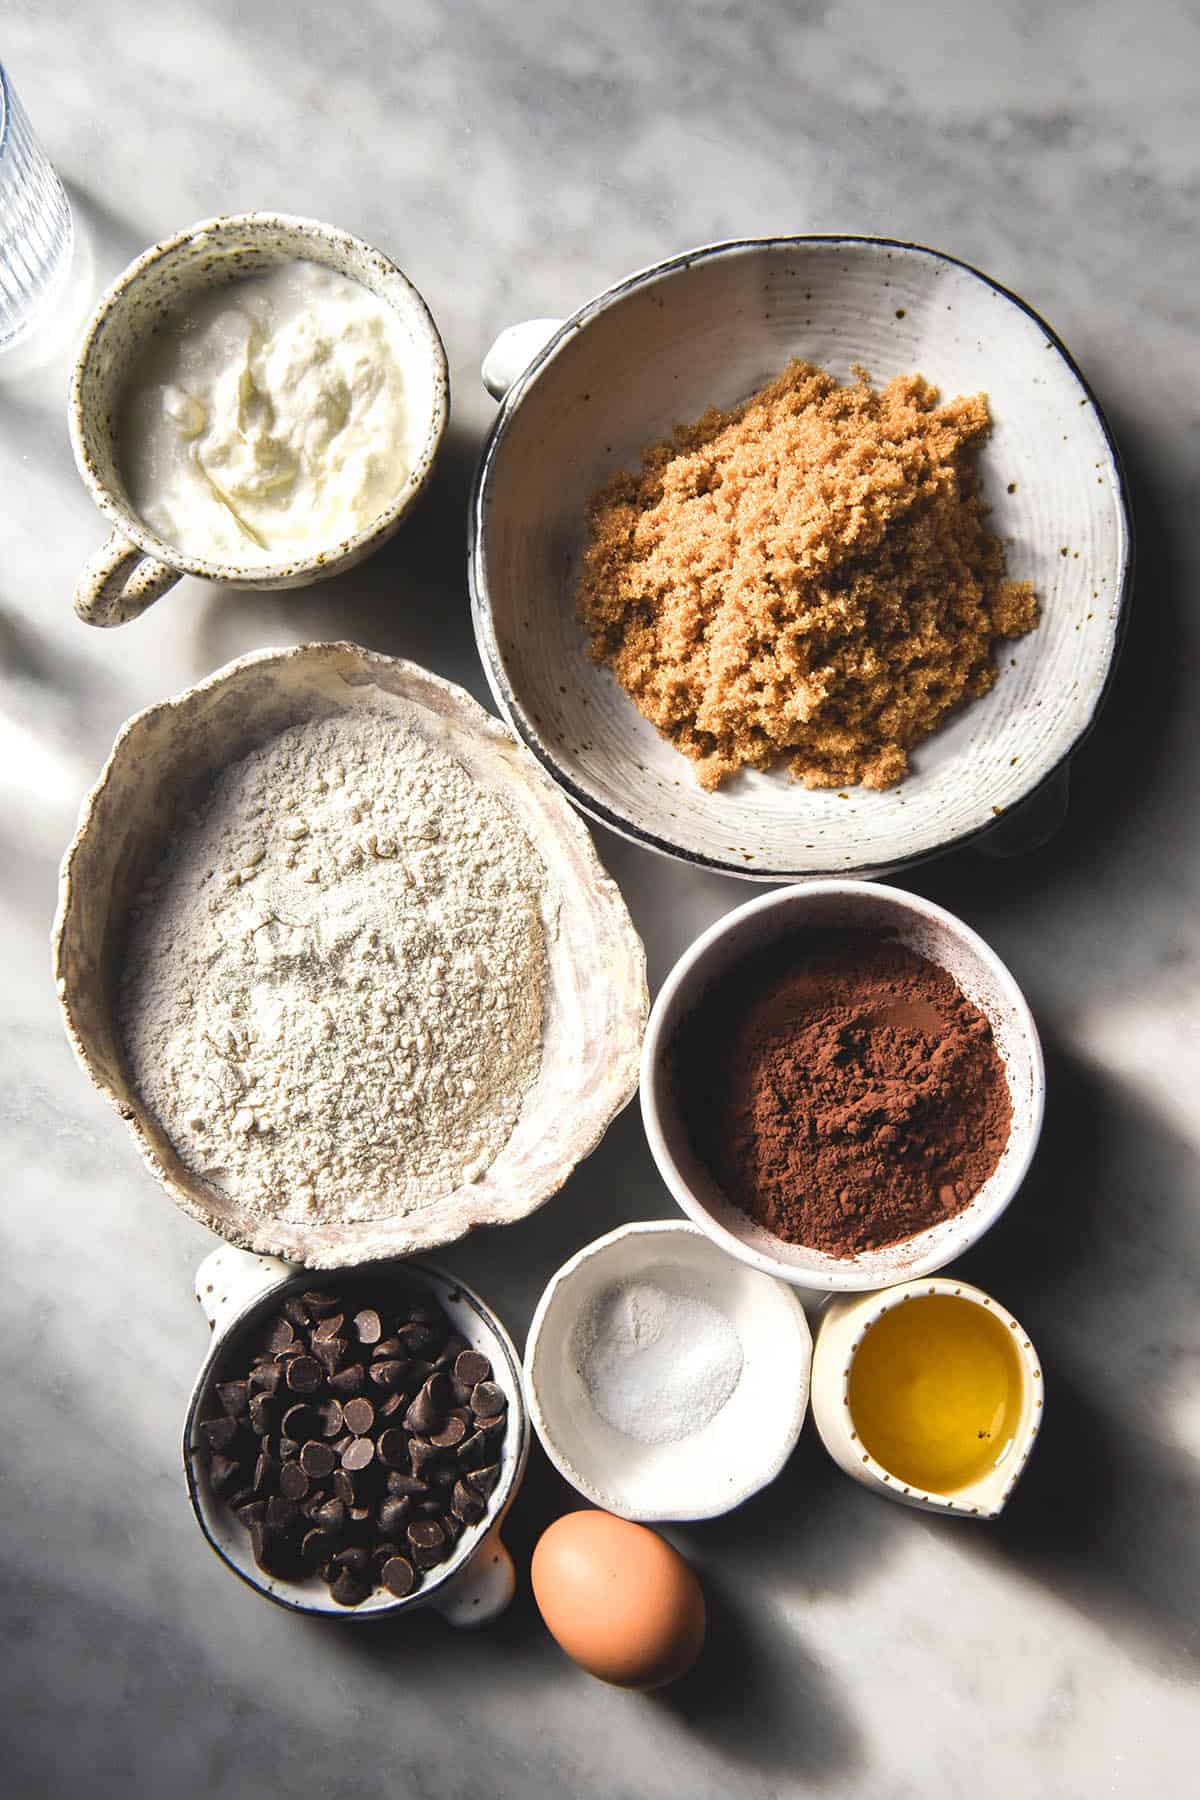
These muffins are xanthan gum free, nut free and easily made dairy free. They use a simple mix of white rice flour and buckwheat flour for a neutral yet light and elastic crumb. There is opportunity for experimentation with flours, which we will discuss below. Cocoa provides a rich chocolate flavour, which is bloomed with boiling water. This makes the muffins extra rich and chocolatey, and also creates extra elasticity by scalding the flour.
I use light brown sugar to maximise the nuance and flavour in these gluten free chocolate muffins. Light brown sugar adds a caramel like depth of flavour, which creates complexity in the final muffin.
The muffins use any milk of choice (a plant based option for dairy free, and/or a nut free option for nut free). A neutral flavoured oil combined with Greek yogurt adds fat and binding, flavour and richness, while an egg helps hold everything together.
What does blooming cocoa mean?
Blooming cocoa powder is a simple and speedy process that involves cocoa and hot or boiling water (or fat). Blooming cocoa transforms both the taste and appearance of the cocoa in your baked good.
In terms of taste, the chocolate flavour is amplified and more evenly distributed. It results in a deeper, more chocolate like flavour without the need for more cocoa. Basically, you get bang for your buck. You’re using the cocoa powder to it’s full potential.
In terms of colour, bloomed cocoa often results in more deeply dark and chocolatey looking baked goods. Muffins without bloomed cocoa can be lighter in colour, almost like a medium brown. Bloomed cocoa results in dark chocolate coloured muffins.
A little bonus for this recipe; adding boiling water gelatinises starches in flour, in a process known as scalding. The benefit for these gluten free chocolate muffins is that the flours get a little bit of extra elasticity and stretch at the same time as the cocoa blooms. This means you’ll get a perfect crumb and a delicious chocolate muffin all at once.

Tips for your gluten free chocolate muffins
My recipes use Australian cups and measures. Use the gram weights and ml for international accuracy.
I promise, the salt brings out the chocolate flavour. They don’t taste salty!
There are options to play around with the flour used in these muffins. See below.
Dark cocoa will produce a dark muffin. I used to find that Dutch processed would produce a darker muffin and regular cocoa a lighter, orange toned muffin. However, in recent times I have used Coles cocoa (not Dutch processed, as far as the package says) which produces a very dark muffin. Similarly, I have used a Dutch processed cocoa from my local bulk food store with orange hues.
Generally speaking, Dutch processed cocoa produces a deeper chocolate flavour, while regular produces a more light and fruity chocolate flavour. Dutch processed cocoa is more acidic, so it is often used to offset baking soda in recipes.
You can use either regular or Dutch processed cocoa in these muffins. The brown sugar and yoghurt are acidic, so it doesn’t matter either way.
Use a thick Greek Yoghurt for these muffins (particularly if you are experimenting with less absorbent gluten free flours). I love Jalna in Australia. Even better, they make a lactose free Greek yoghurt which is just as thick as the original. This makes it perfect for these gluten free chocolate muffins if have lactose issues.

Notes on using chocolate chips in these muffins
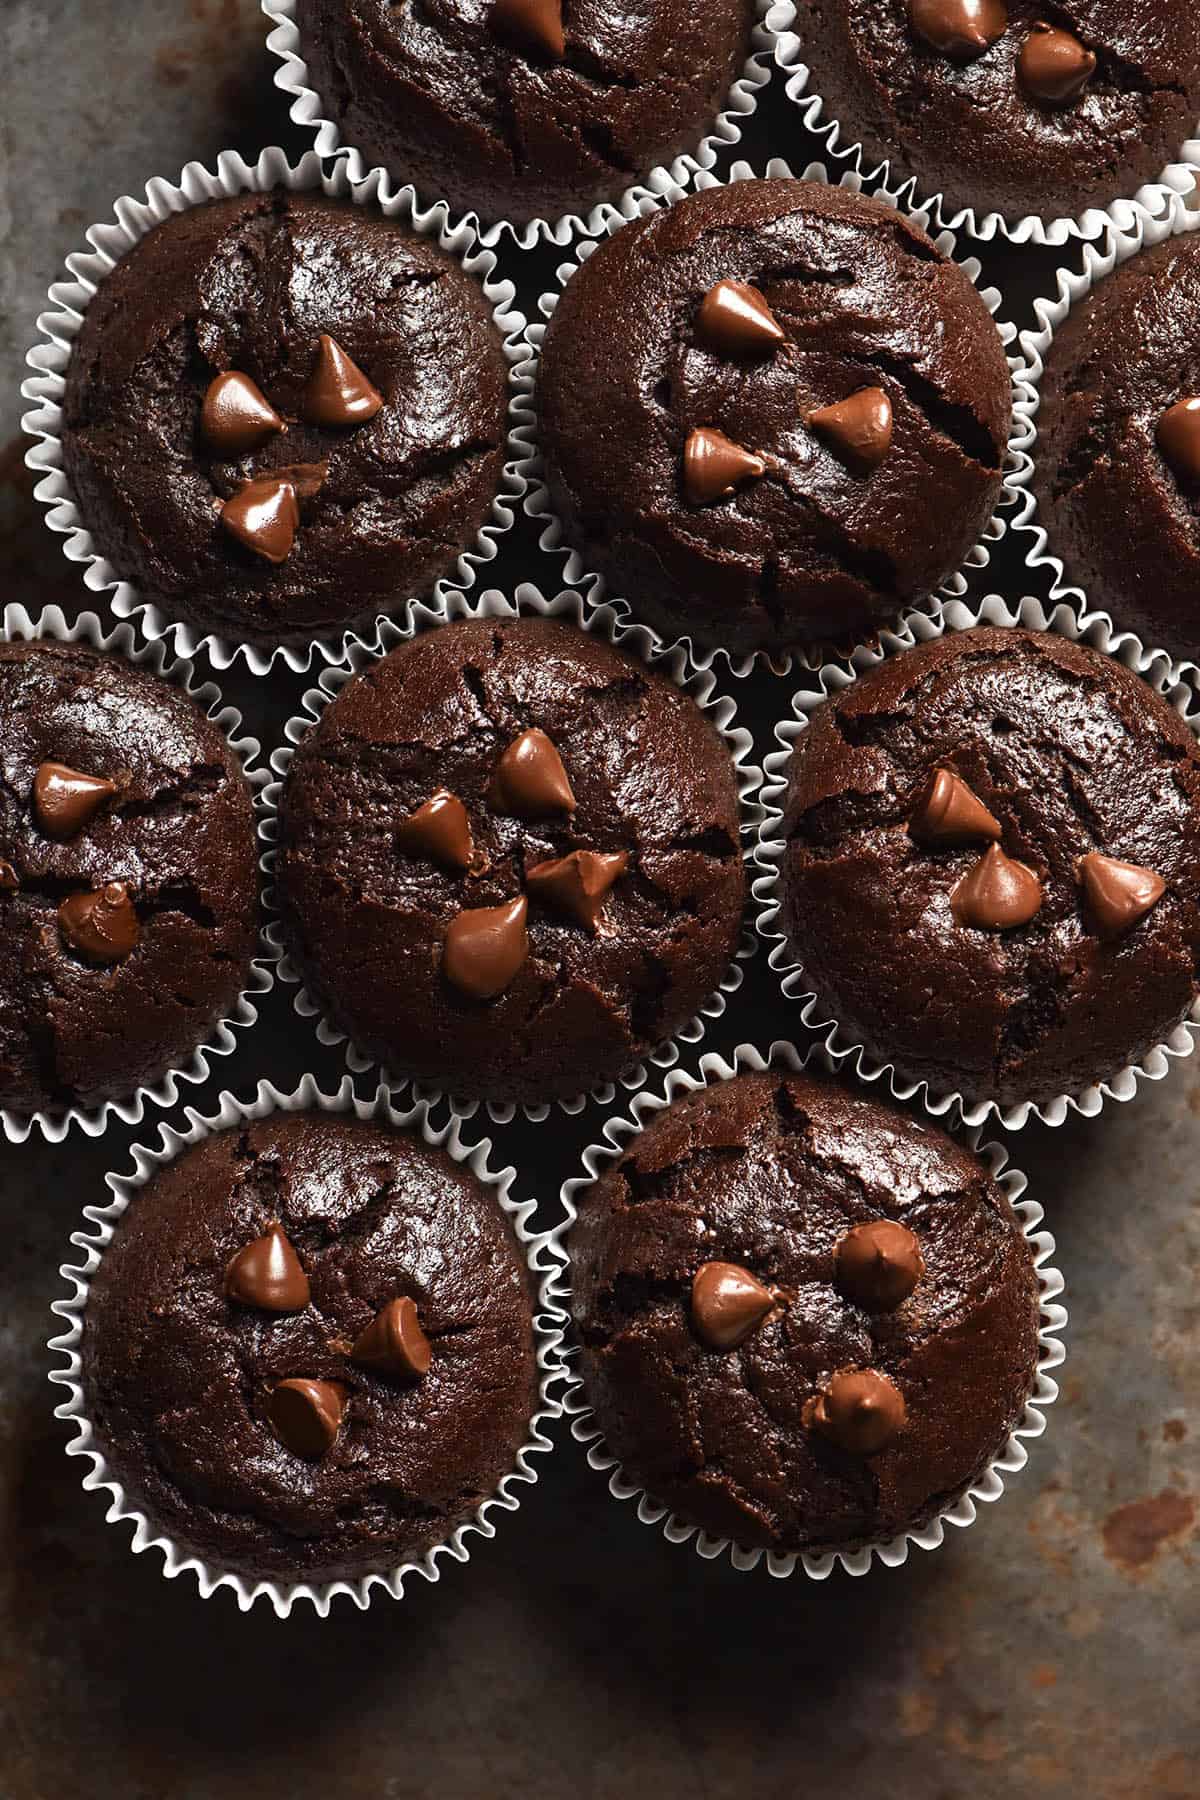
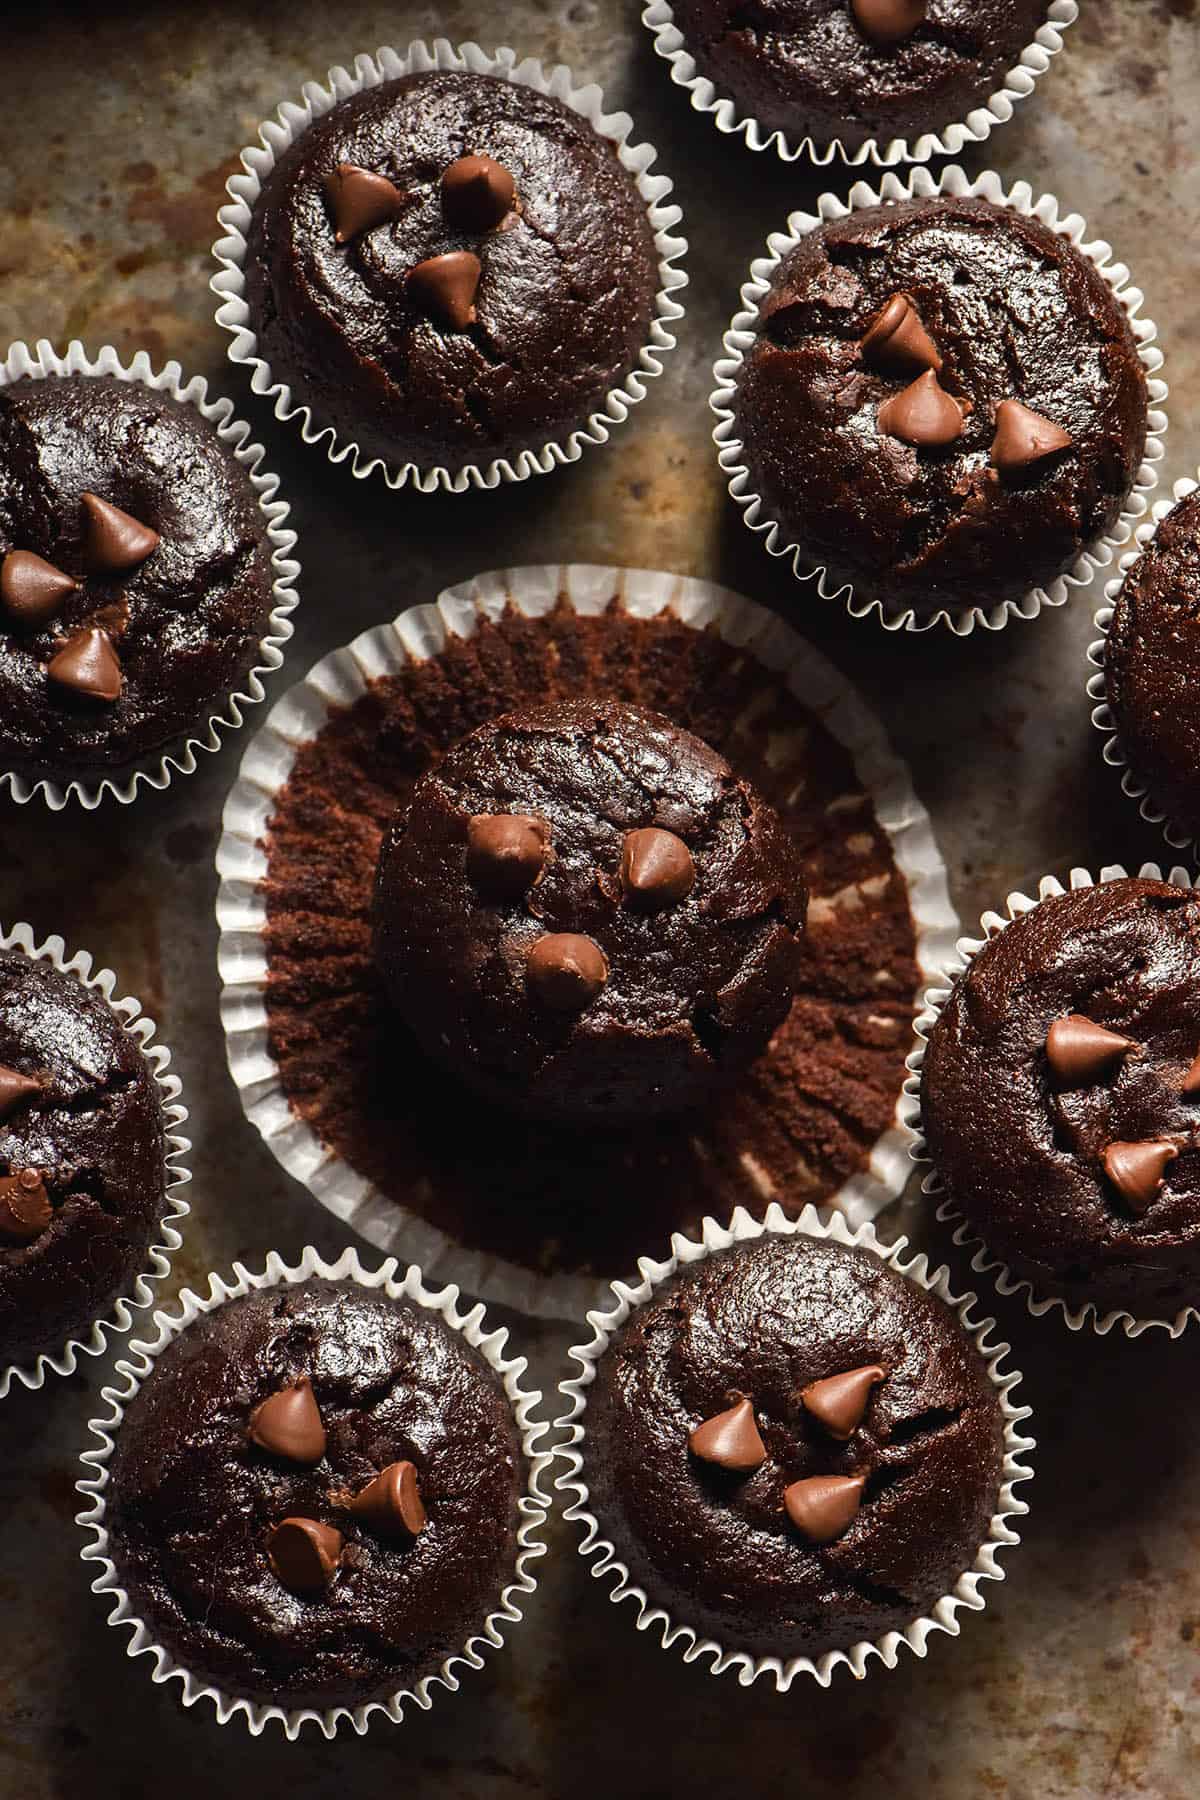
Because these muffins don’t contain xanthan gum, they don’t hold up chocolate chips very well. The chips sink to the bottom of the muffins, even if you place them on top of the muffin just before baking.
I really strongly recommend using muffin liners if you intend to add chocolate chips. In the batches I tested without muffin liners, the chocolate chips got stuck to the muffin tin and I lost the bottom halves of the muffins. Another tip is to add the choc chips to the top of each muffin before baking, in the hopes that some of them will stay midway through the muffin as it bakes.
If having chocolate chips on top of your muffins is as important to you as it is to me, I recommend pressing them into the muffin after baking.
What flour substitutions can I make in these gluten free chocolate muffins?
This recipe uses one flour with elasticity (buckwheat) and a scald to help hold these muffins together.
If you’re planning to use other flours (not a blend) then I have a few tips. First and foremost, I recommend a muffin liner. Gluten free muffins can be fragile, and a muffin liner ensures you’re able to get the muffin out of the tin.
Secondly, I recommend using one flour with elasticity. That might be buckwheat, cassava or tapioca flour. Because there isn’t any gluten or binders, some elasticity is crucial.
However, I found that using half wholegrain and half starch led to a gummy muffin. As such, I would suggest using 2/3 wholegrain and 1/3 starch, or even 3/4 wholegrain and 1/4 starch.
So, what combinations have I tried thus far?
- Buckwheat and white rice
- Buckwheat and sorghum
More gluten free muffin recipes
- Chocolate chip muffins
- Vegan blueberry muffins
- Classic blueberry muffins
- Egg free muffins
- White chocolate and raspberry muffins
- Chocolate sourdough muffins from Intolerance Friendly Kitchen

Gluten free chocolate muffins
Ingredients
- 60 g (just over 1/3 cup)* white rice flour (see notes)
- 60 g (1/2 cup)* buckwheat flour see notes
- 50 g cocoa Dutch processed or regular
- 200 g light brown sugar
- 1/4 teaspoon baking powder
- 1/4 teaspoon baking soda
- 1/2 teaspoon fine salt
- 200 g Greek yoghurt see notes
- 80 ml (1/3 cup)* oil
- 1 extra large egg (45-55g weighed out of shell)
- 160 ml (2/3 cup)* hot water
Instructions
- Preheat the oven to 180C/356F. Line or grease 9-12 muffin holes.
- Whisk together the flours, cocoa, sugar, baking powder, baking soda and salt.
- Add the yoghurt, oil and egg and whisk to combine. It will likely be too thick to whisk fully. Add the boiling water and whisk until a smooth batter forms. It should be about the consistency of a thinner custard.
- Pour the batter into the prepared muffin holes. Bake for 22-25 minutes or until the muffins are cooked through.
- Allow to cool on a muffin rack before serving. Stud the muffins with some chocolate chips, if you fancy it. Leftovers keep well in an airtight container in the fridge.
Notes
- See the body of the post for flour substitution options.
- Use a thick Greek yoghurt for these muffins. I recommend Jalna in Australia – they also make a lactose free Greek yoghurt for any lactose concerns (which is what I use).

I like to avoid complicated mixes simply because it’s easier, and gums since they’re not the best for my digestion. (I tend to go with psyillium, though i’m experimenting with other things too). I also eat lower fodmap. So your website has been a FIND! I find that, no matter what, whether i’ve used gums or not (though, definitely, it’s muuuuuch more noticeable when i’ve used no binder) gluten free baked goods tend to be dry and gritty. They simply do not have the same texture as wheat. They’re much denser, too. So when I tried your bagel recipe and it was DELICIOUS- I mean, not gritty at ALL, finally the feeling that i’m not eating something sandy, really delicious texture- i was like, whoa, scalding is magic!!! However, i tried this recipe the other day, and because i was scared adding boiling water to the yogurt and egg mixture would cause the yog to separate/the egg to curdle and cook, i added the boiling water to the flour+cocoa mix first instead, and then added the egg+yog+oil mixture. However, this resulted in mochi-style muffins. They were not gritty at ALL and the taste was delicious, i ate them with glee, but they texture was just like mochi, which i’m assuming is not what they’re supposed to come out like. I wanna try again doing it in the correct order so i get a muffin-like texture this time, so my question is, how do you get the yog+egg to behave while adding in boiling water? Little at a time? Why do you think it resulted in such a mochi style texture just to subvert the order? I ask because after the success of your bagels, i’ve been searching for more info on scalding and finding very little, esp. for gluten free! It’s super interesting. I’ll try again and hopefully they’ll be a much more faithful adaptation, but to anyone wondering if they should try these, DEFINITELY do! The taste is amazing, and finally no grit!!