I am a digestive biscuit GIRL. There aren’t too many sweet things I could eat a whole packet of, but I could polish off a pack of choc coated digestives with no issues. As I was working on my gluten free quinoa wrap recipe, I remembered that toasted quinoa flour tasted reminiscent of a digestive biscuit in the right circumstances. So thanks, quinoa wraps, for helping me develop these gluten free digestive biscuits (no oats required).
A quick note, before we begin. Oats are not considered gluten free in Australia, as they contain a protein very similar to gluten. Coeliac Australia has determined that they are not safe for coeliacs at this point in time. Oats are thus wheat free but not gluten free.
With this in mind, these gluten free digestive biscuits are oat free. There are plenty of other recipes on the internet that use oats, so I wanted to develop some gluten free digestive biscuits without oats.
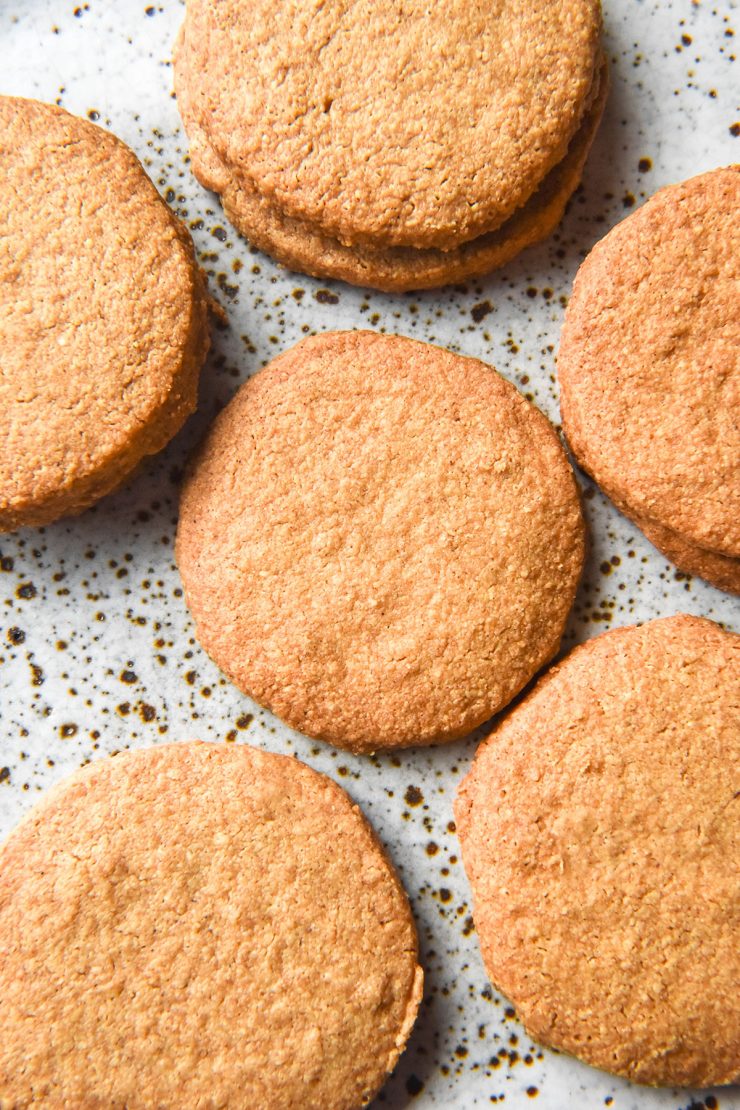
Gluten free digestive biscuits without oats
These gluten free digestive biscuits have taken me FOREVER to develop. They are up there with my gluten free croissants in terms of how long it has taken – I’d estimate 75-100 batches. I have tested adding eggs, using a scald, xanthan gum free, nut free – everything. This version has emerged victorious and I currently have no substitutes for any of the ingredients (although I will eventually work on some).
The biscuits are made with a combination of toasted quinoa flour, almond meal, tapioca flour and xanthan gum. I tried everything I could possibly to make these xanthan gum free, but unfortunately it wasn’t to be. Quinoa flour is what gives these digestive biscuits a deliciously nutty taste, but it is also an incredibly fickle flour to work with.
A small amount of light brown sugar adds sweetness and complexity. The leavening agent is baking powder, which helps give them that crisp texture without spreading too much.
Butter (I like salted here) is rubbed into the flour until it is completely assimilated. Finally, milk is added if necessary to bring the dough together in a smooth, cohesive ball.
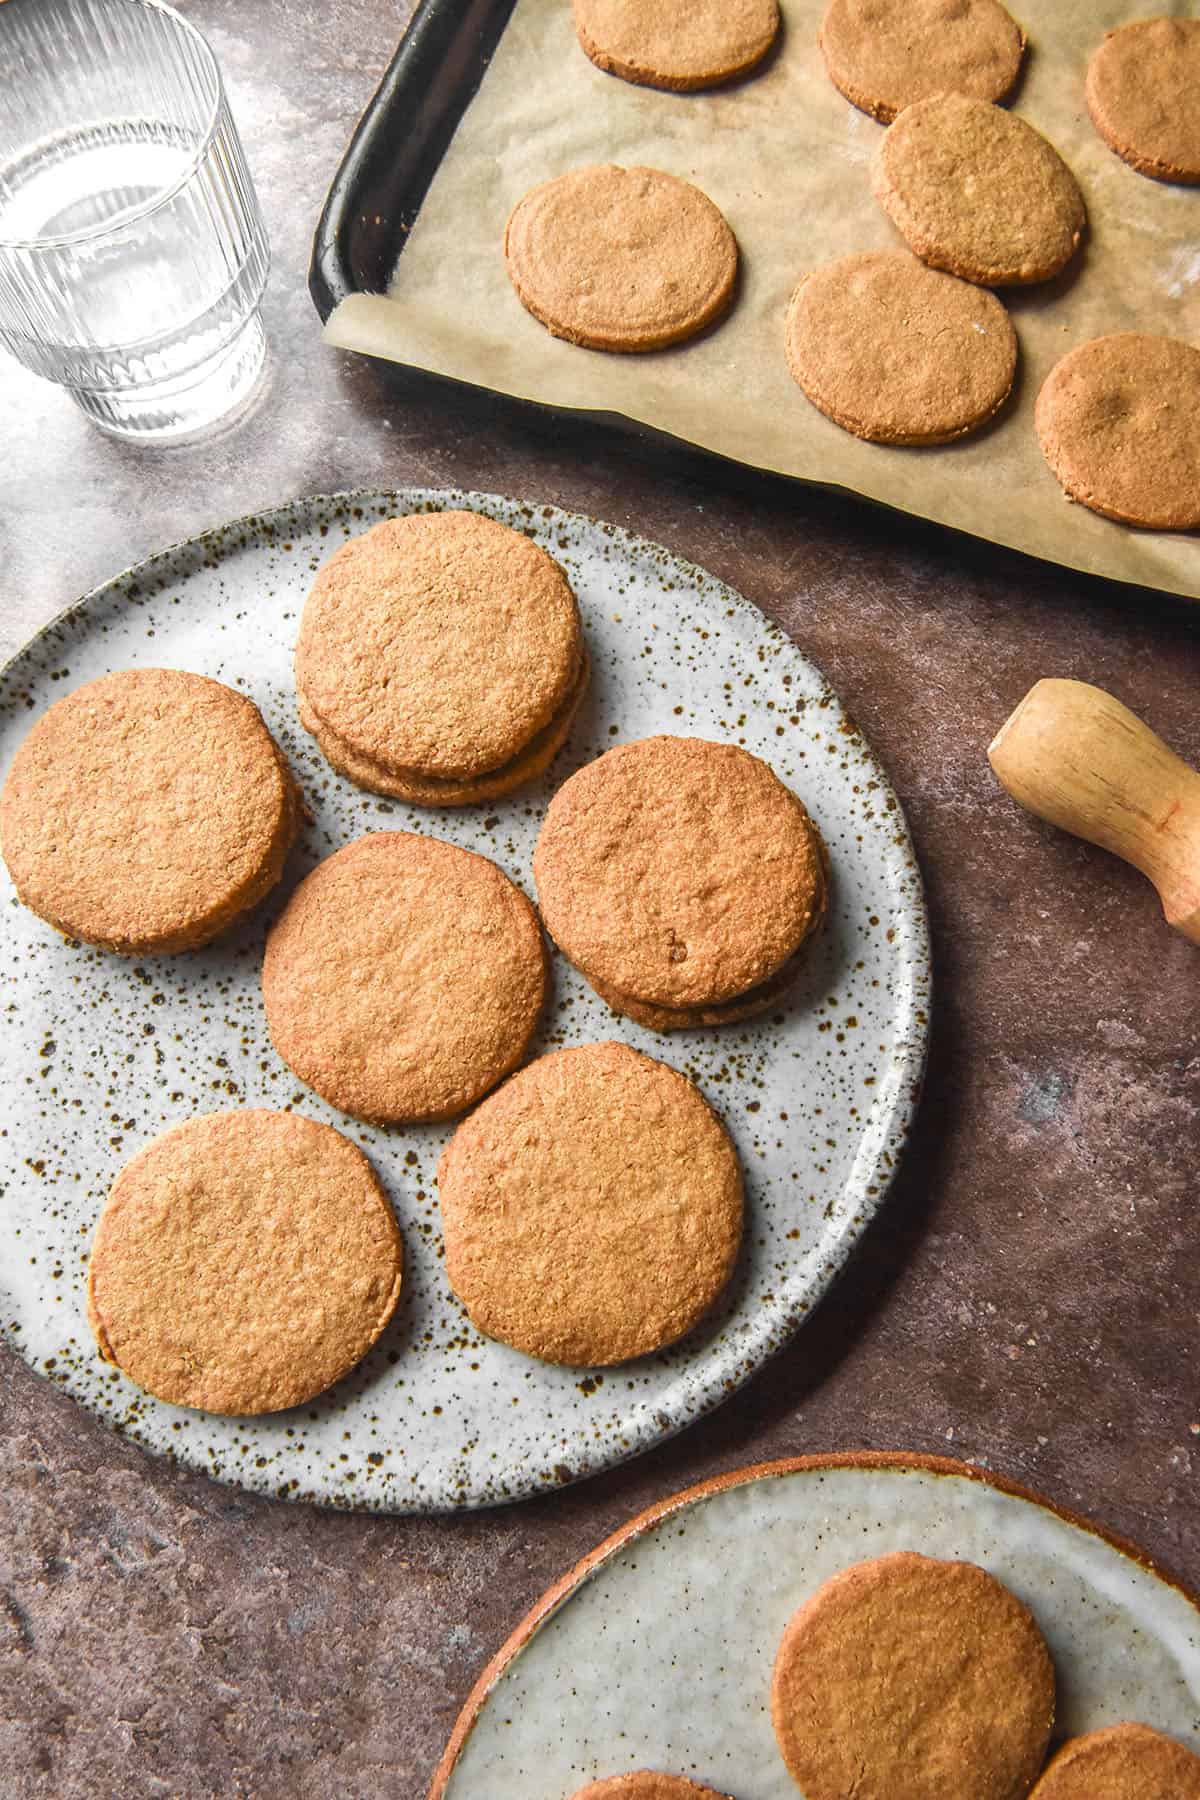
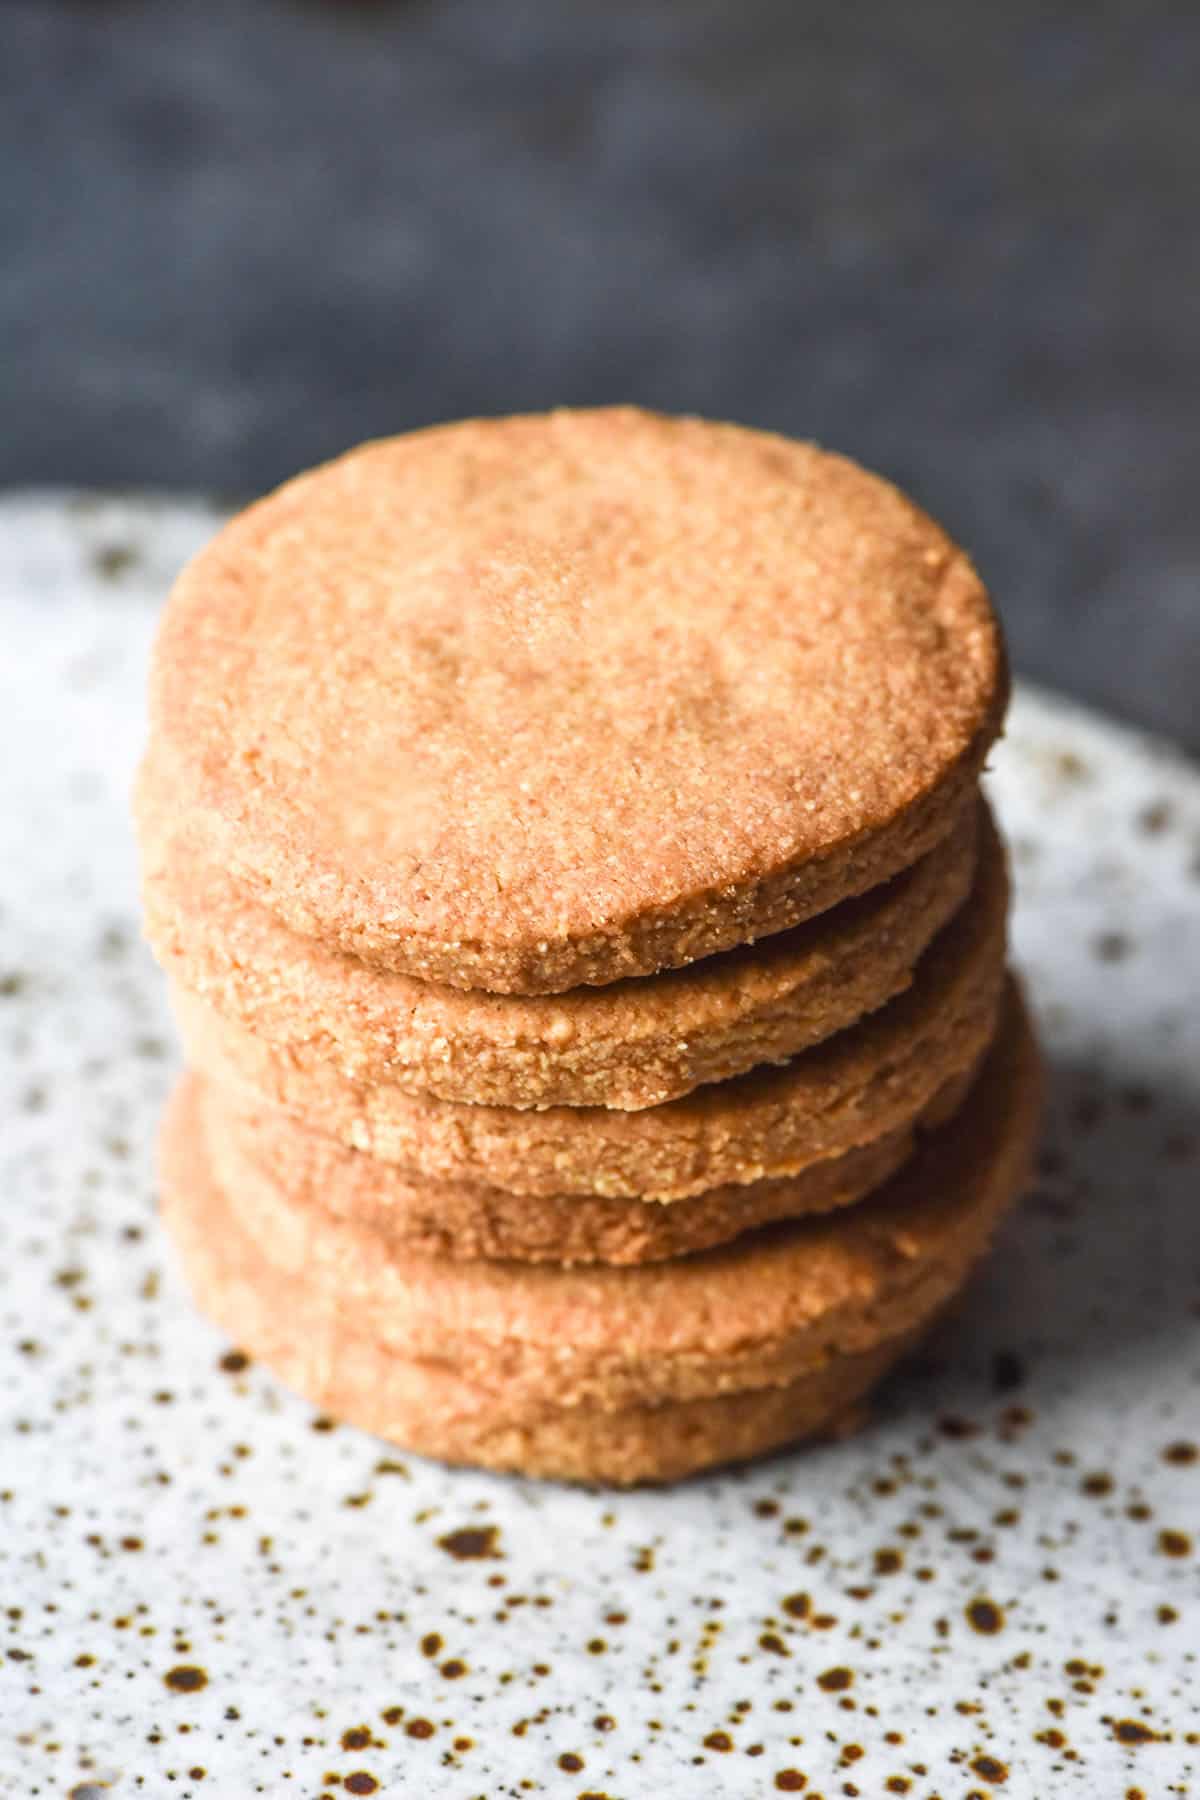
Once the dough has firmed up in the fridge, your gluten free digestive biscuits are ready to cut and bake.
All in all, these digestive biscuits are easy to make, require no equipment, and are made from easy to find ingredients.
Quinoa flour notes
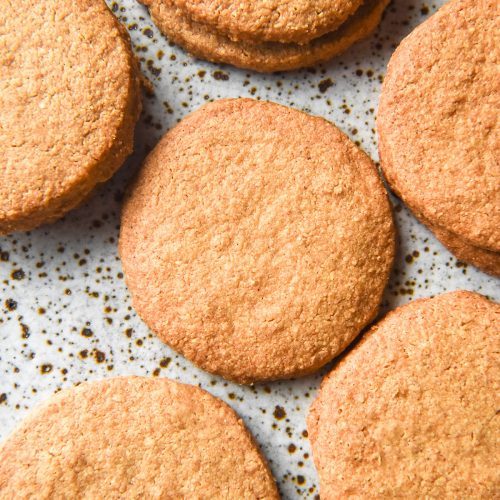
Quinoa flour has a nutty, wholegrain flavour that is reminiscent of a traditional digestive biscuit. I don’t have a substitute for it, but you can see my other cookie recipes below.
Personally, I think the key element to this nutty flavour, though, is the toasting of the quinoa flour. This really amplifies the nutty flavour and mimics the wholegrain flour.
Quinoa flour used to be quite accessible in supermarkets here in Australia. These days, I am seeing it less and less. I have found that store bought versions tend to go rancid very quickly or are already rancid. My suspicion is that quinoa grains have a very short shelf life once milled, which is why it is always rancid by the time I buy it.
Easy solution: make your own. I buy whole quite quinoa and grind it to flour in my old NutriBullet. Nothing fancy or expensive. I let the grains go through one blend cycle, open the lid to allow build up heat and steam to escape, then blend it again. Finally, I allow it to cool a little between blends to ensure it doesn’t get too steamy or damp.
I have a guide to making toasted quinoa flour here. It’s not difficult and can easily be done on the stove or in the oven. The stovetop method is much quicker, but you need to watch it very closely. The oven version, conversely, takes longer but is less subject to uneven toasting or burning.
On the note of burning: make sure your quinoa flour is light golden brown. A burnt or overly browned quinoa flour will result in a burnt tasting digestive biscuit.
Do I need to wash whole quinoa to make quinoa flour?
I have previously been asked whether using un-rinsed quinoa for this purpose is safe. My research indicated that most store bought quinoa is pre-washed, but I’m not sure if this is predominantly American brands.
Articles suggested that brands will generally specify if they have been pre-washed on the packet. Honest to Goodness in Australia seems to be pre-washed (and it’s Australian grown quinoa, too).
There is conflicting evidence online as to whether the saponins on quinoa are toxic or bitter (and toxic intravenously or in large amounts).
I’m not a doctor or scientist and I’m not qualified to speak on this. However, I have tested thoroughly washing and then oven drying quinoa grains and it worked well. I dried them at 160C/320F and from memory it took around an hour.
I have found (for whatever reason) that quinoa flour tastes way better if you toast it after grinding it. So, even if you plan to wash and dry your quinoa, I recommend grinding it prior to toasting it for the nuttiest, most digestive like result.
Tips your gluten free digestive biscuits
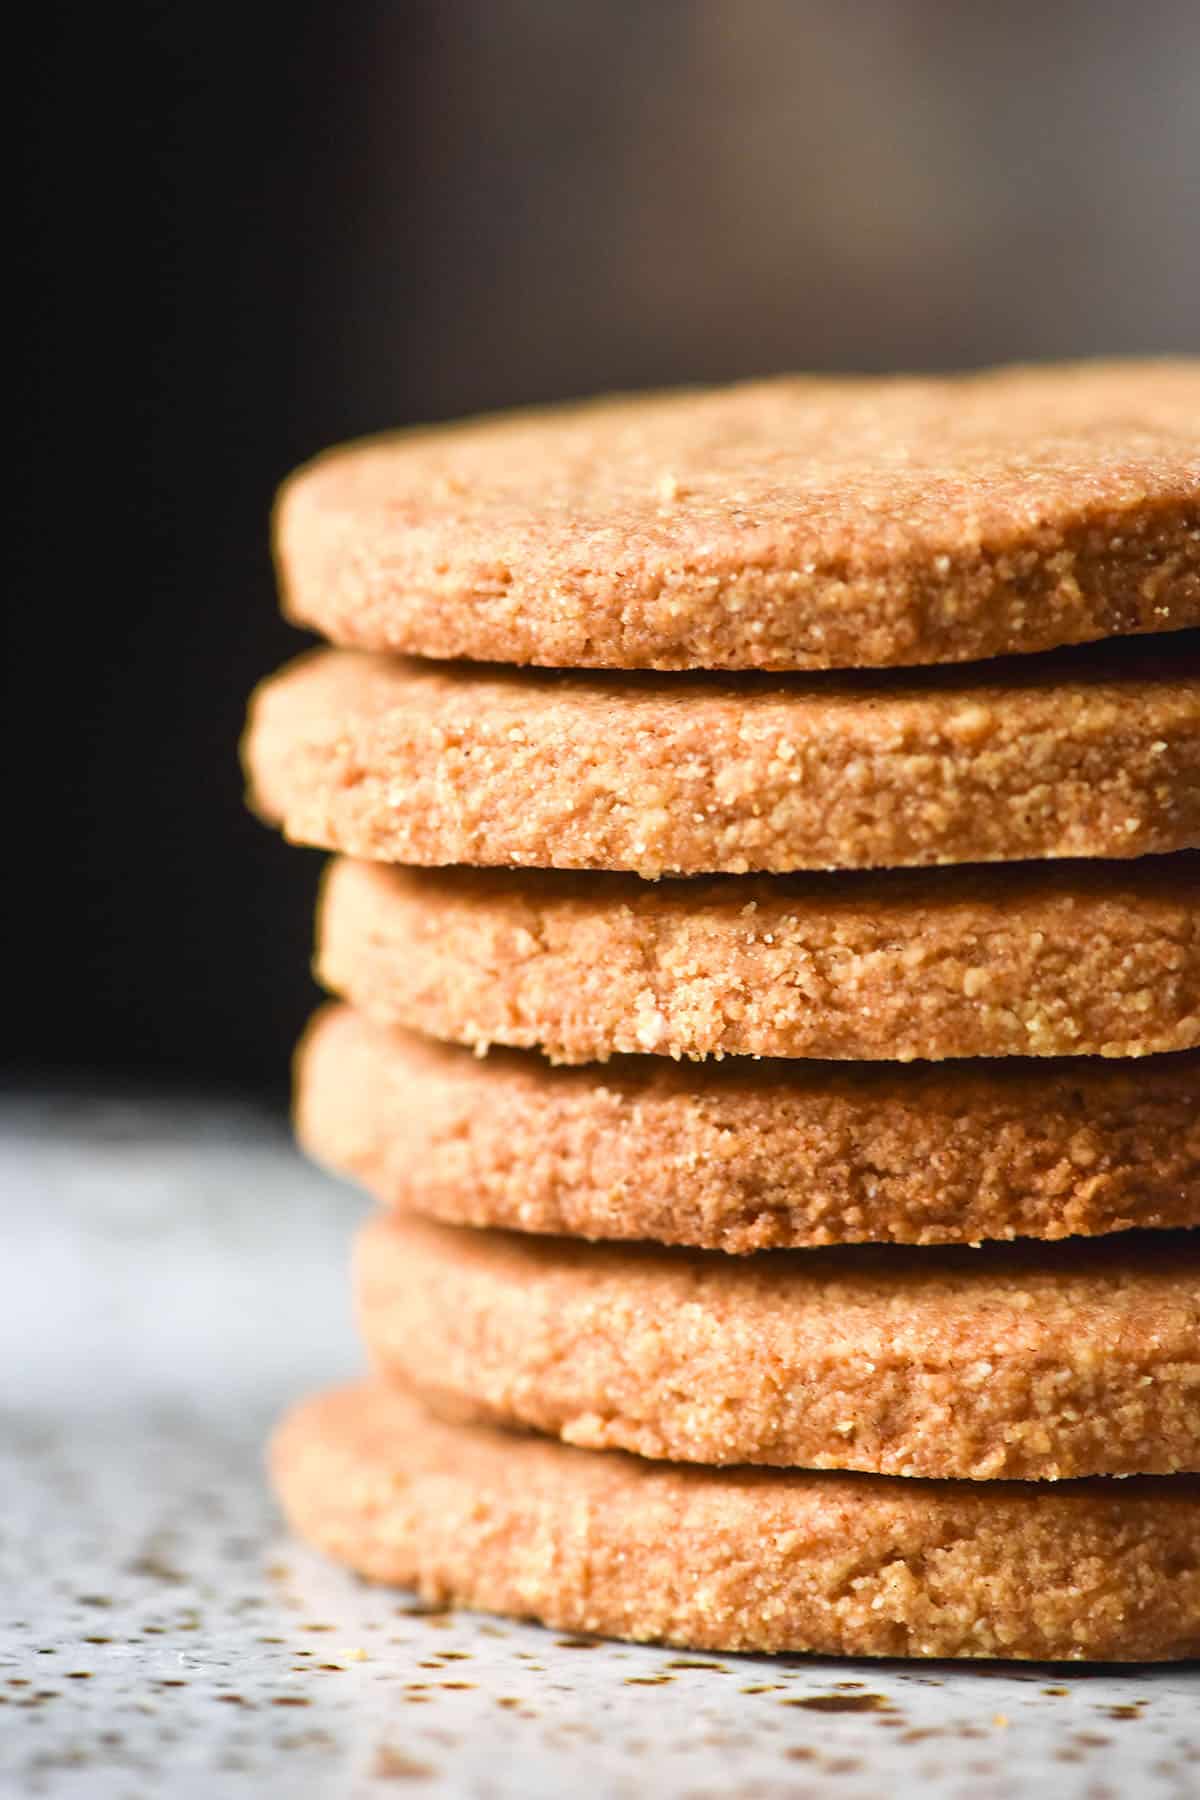
Rubbing the butter between your fingers to create a wet sand like texture is key to achieving biscuits that rise. Butter that is too liquid doesn’t trap any air in the dough like solid butter does. Butter is mostly fat but also contains water, so chunks of butter in the dough create airy biscuits as the water evaporates in the oven. Without this process, you will have flat and unpleasant biscuits.
With that said, you want every single piece of butter to be fully incorporated. I like to knead my dough in the bowl to ensure there are no streaks of butter. Streaks of butter in your dough will melt and create little landslide edges for your biscuits.
There is variation in how much butter to add here. I found the perfect amount for me was 115g. However, different flours, different preferences, different kitchen temperatures all add up. The perfect amount of butter will be different for everybody. If in doubt, add the upper amount.
I’ve said this once and I will say it 1000 more times – add liquid according to your dough. What your dough looks and feels like is so much more important than the number outlined in the recipe. If something is dry, fix it. If something is too wet, fix it. Every bag of flour will have a different level of absorbency, even before accounting for the difference that humidity, location, season, etc, can bring.
Any baking requires intuition and this is even more true of gluten free baking.
Achieving the right dough texture for your gluten free digestive biscuits
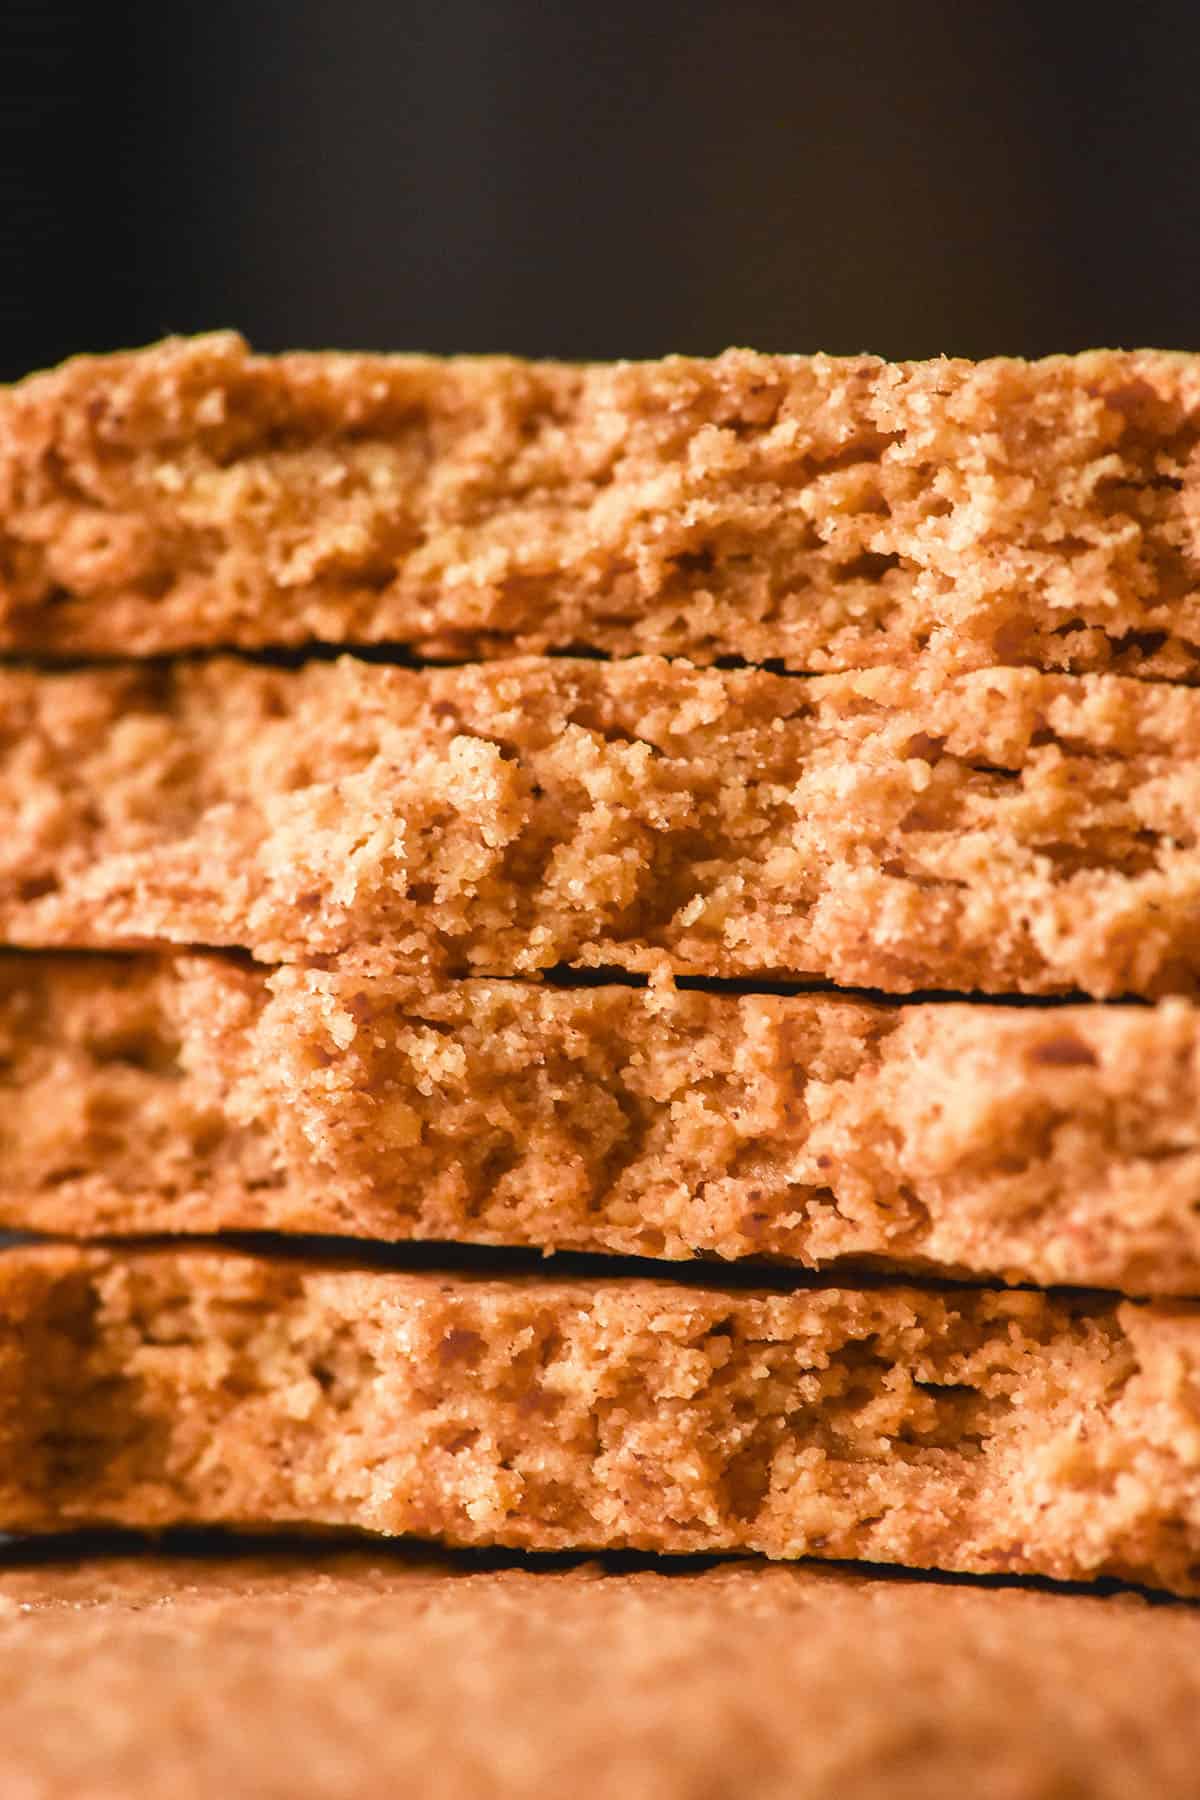
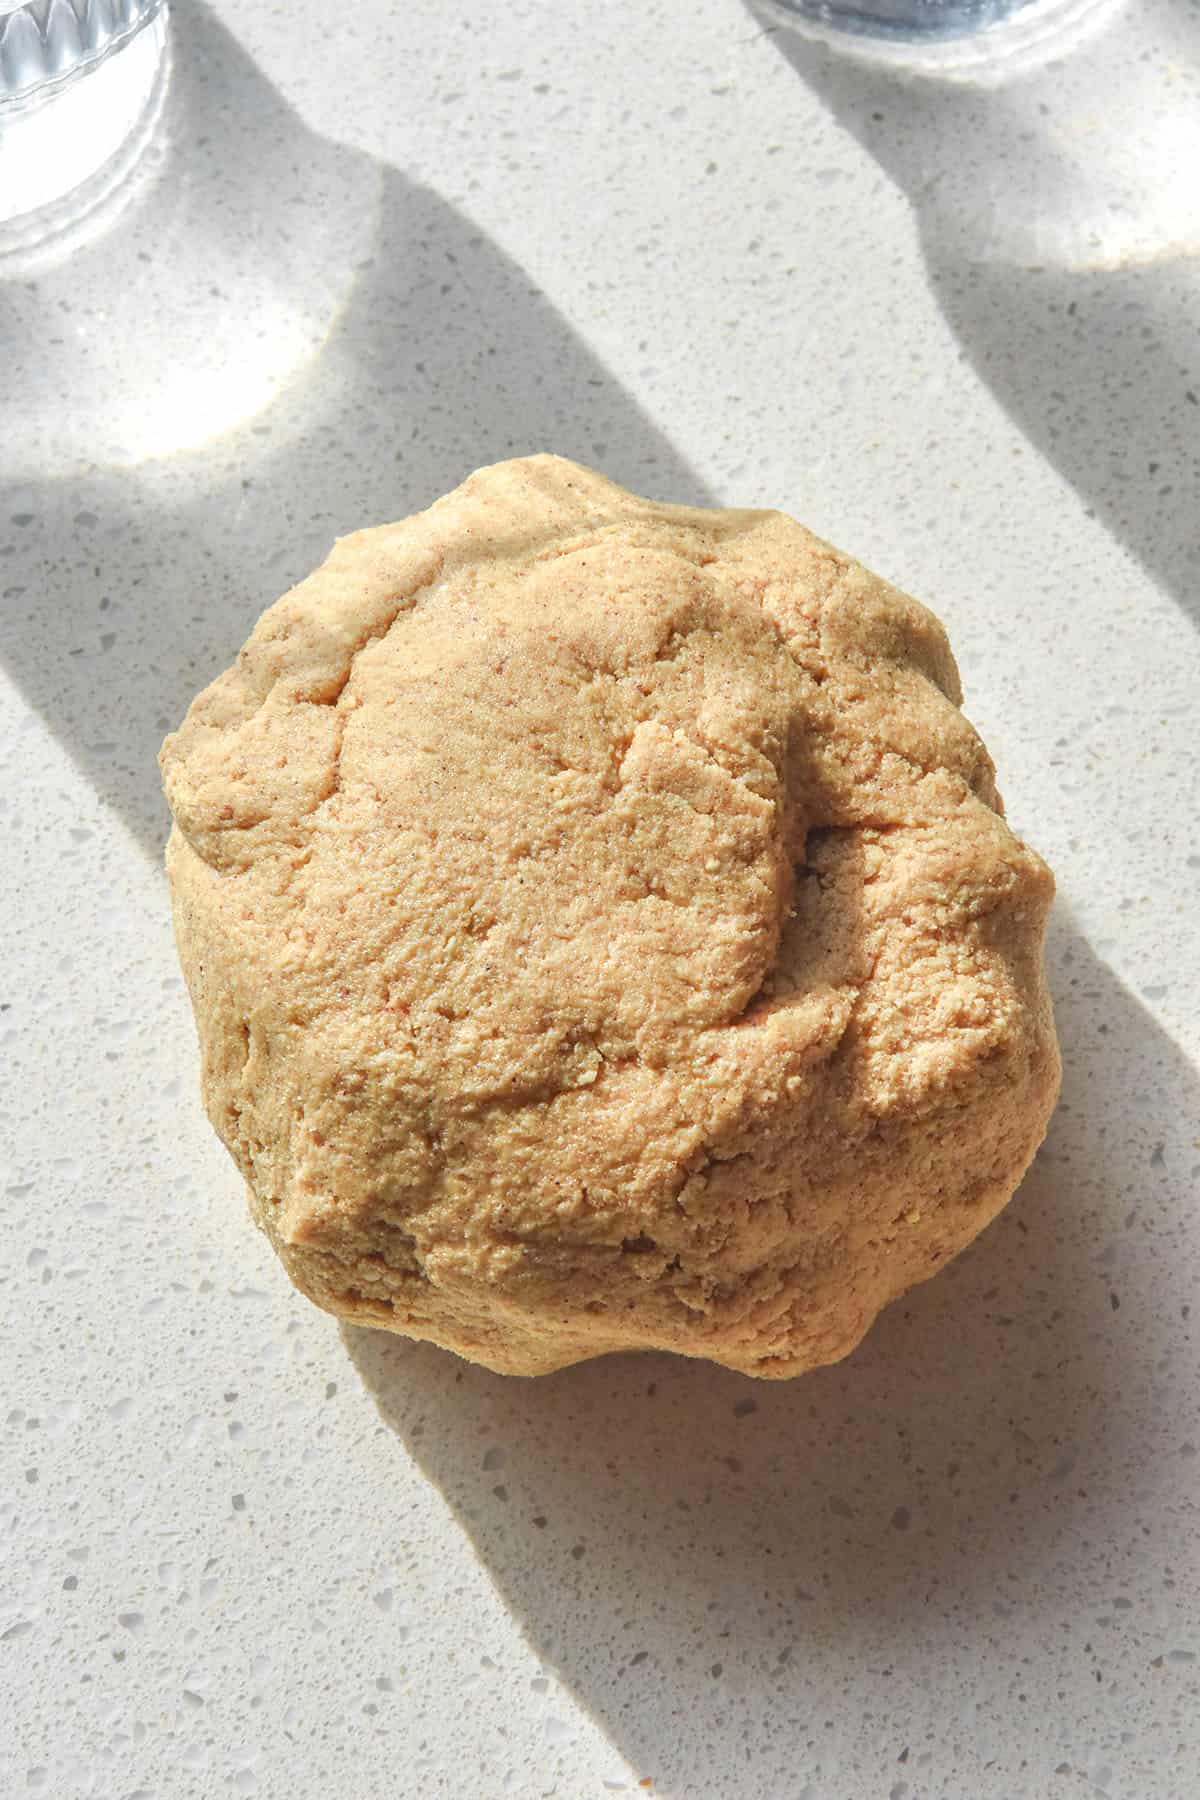
The perfect texture for this dough is a smooth, cohesive ball that is just slightly too moist to roll out prior to refrigeration. It should be sturdy enough that you hypothetically could roll it out (with the help of lots of flour) if you really needed to. Refrigerating the dough is important to set the butter (so I’m not recommending you roll the dough out without refrigerating) but this is just to give you an idea of the consistency.
There should be no dry pieces of dough and no errant flour in the bowl. You should be able to bring the dough into a ball with ease and hold it with ease in one hand. If you squish it in your hand, it should feel like it has moisture and elasticity as opposed to crumbling. It should be more of a play dough texture than a cheesecake biscuit base texture.
Adjusting the digestive biscuits for your preferences
There are a few different ways to adjust these digestive biscuits for your own needs and preferences. They will work slightly differently for everyone based on kitchen humidity, flour absorbency, etc, but they are worth discussing. If nothing else, this will hopefully give you options if you are struggling to achieve the right consistency.
- You can use 110-125g butter for slightly varying results. The lower amount gives a less buttery, slightly drier digestive biscuit, while the upper amount gives a more buttery digestive biscuit. Both are delicious; it’s a matter of personal preference.
- 50g light brown sugar creates a ‘just sweet’ digestive biscuit, whereas 75g is a little bit sweeter. 75g sugar will be more prone to spread, so you will need to chill the biscuit dough before cutting them and after cutting them.
- 5-6g xanthan gum was the perfect amount for these digestive biscuits in my tests. They were not too gummy or slimy but held together nicely. Xanthan gum is the glue that holds these biscuits together, so it cannot be omitted. However, you can use 5g or 6g depending on your preferences and tastes. I recommend 6g if you are using both 75g sugar and 125g butter, as these are the cookies that are most prone to spread.
Substitution notes
Sorry to be this person, but I have included this as a heading to make it clear that there currently are no substitution options. This recipe has been so extensively tested – I have tried every single combination I could think of.
I know that nuts and xanthan gum are often ingredients that people want to avoid, but unfortunately they are super important here. All the versions I tested without almond meal were super dry, as were the xanthan gum free versions.
I definitely plan to keep playing around to see if I can find alternatives. I will look at using tiger nut flour (which is a tuber, not a nut) and psyllium husk powder at some point. For now, though, I desperately need a break from making hundreds and hundreds of digestive biscuits.
More gluten free cookie and biscuit recipes without xanthan gum
- Gluten free ANZAC biscuits
- Vegan, gluten free brownie cookies
- 100% buckwheat flour choc chip cookies
- 3 ingredient tahini cookies
- Vegan gluten free choc chip cookies
Gluten free digestive biscuits without oats
Ingredients
- 100 g toasted quinoa flour (see notes)
- 50 g tapioca flour
- 50 g almond meal
- 50-75 g light brown sugar (see notes)
- 5 g baking powder
- 5-6 g xanthan gum
- 110-125 g slightly softened butter, cubed (I like salted butter here but both work) (see notes)
- milk of choice, only if desperately needed
Instructions
- Whisk together the flours, almond meal, sugar, baking powder and xanthan gum in a medium mixing bowl.
- Use your fingers to rub the cold butter into the flour until it has completely incorporated into the dough – not a streak of butter in sight. You can also do this in a food processor, but I tested it without one to ensure it is accessible for everyone.
- The dough should come together in a smooth and pliable ball that is just slightly too moist to roll out. You should be able to pick it up in one hand with absolute ease. There should be no dry flour in the bowl, but it should not be so wet that it's closer to a batter or that it is hard to hold in one hand.
- If your dough is significantly drier than described, add a teaspoon of milk at a time until you reach the described consistency.
- When you are happy with the dough consistency, place it in a piece of food wrap. Press the dough down into an even, thin rectangle and wrap it up in an airtight manner. Place the dough in the fridge for 30-45 minutes or until it feels firm but not rock hard.
- Preheat the oven to 180C/356F about 15 minutes before you are ready to bake. Line a large baking tray.
- Place the dough on a piece of baking paper lightly coated with tapioca flour. Lightly coat both sides and all edges of the dough with tapioca flour so it doesn't stick.
- Gently roll it out to about 1/2 – 3/4cm thick. Thinner biscuits cook more quickly, so have the thickness of your biscuits in mind when you go to bake.
- A few little cracks on the edges of the dough are fine, but if it's cracking in the centre or dramatically, it is too cold. Stop and wait for the dough to soften a little more before continuing.
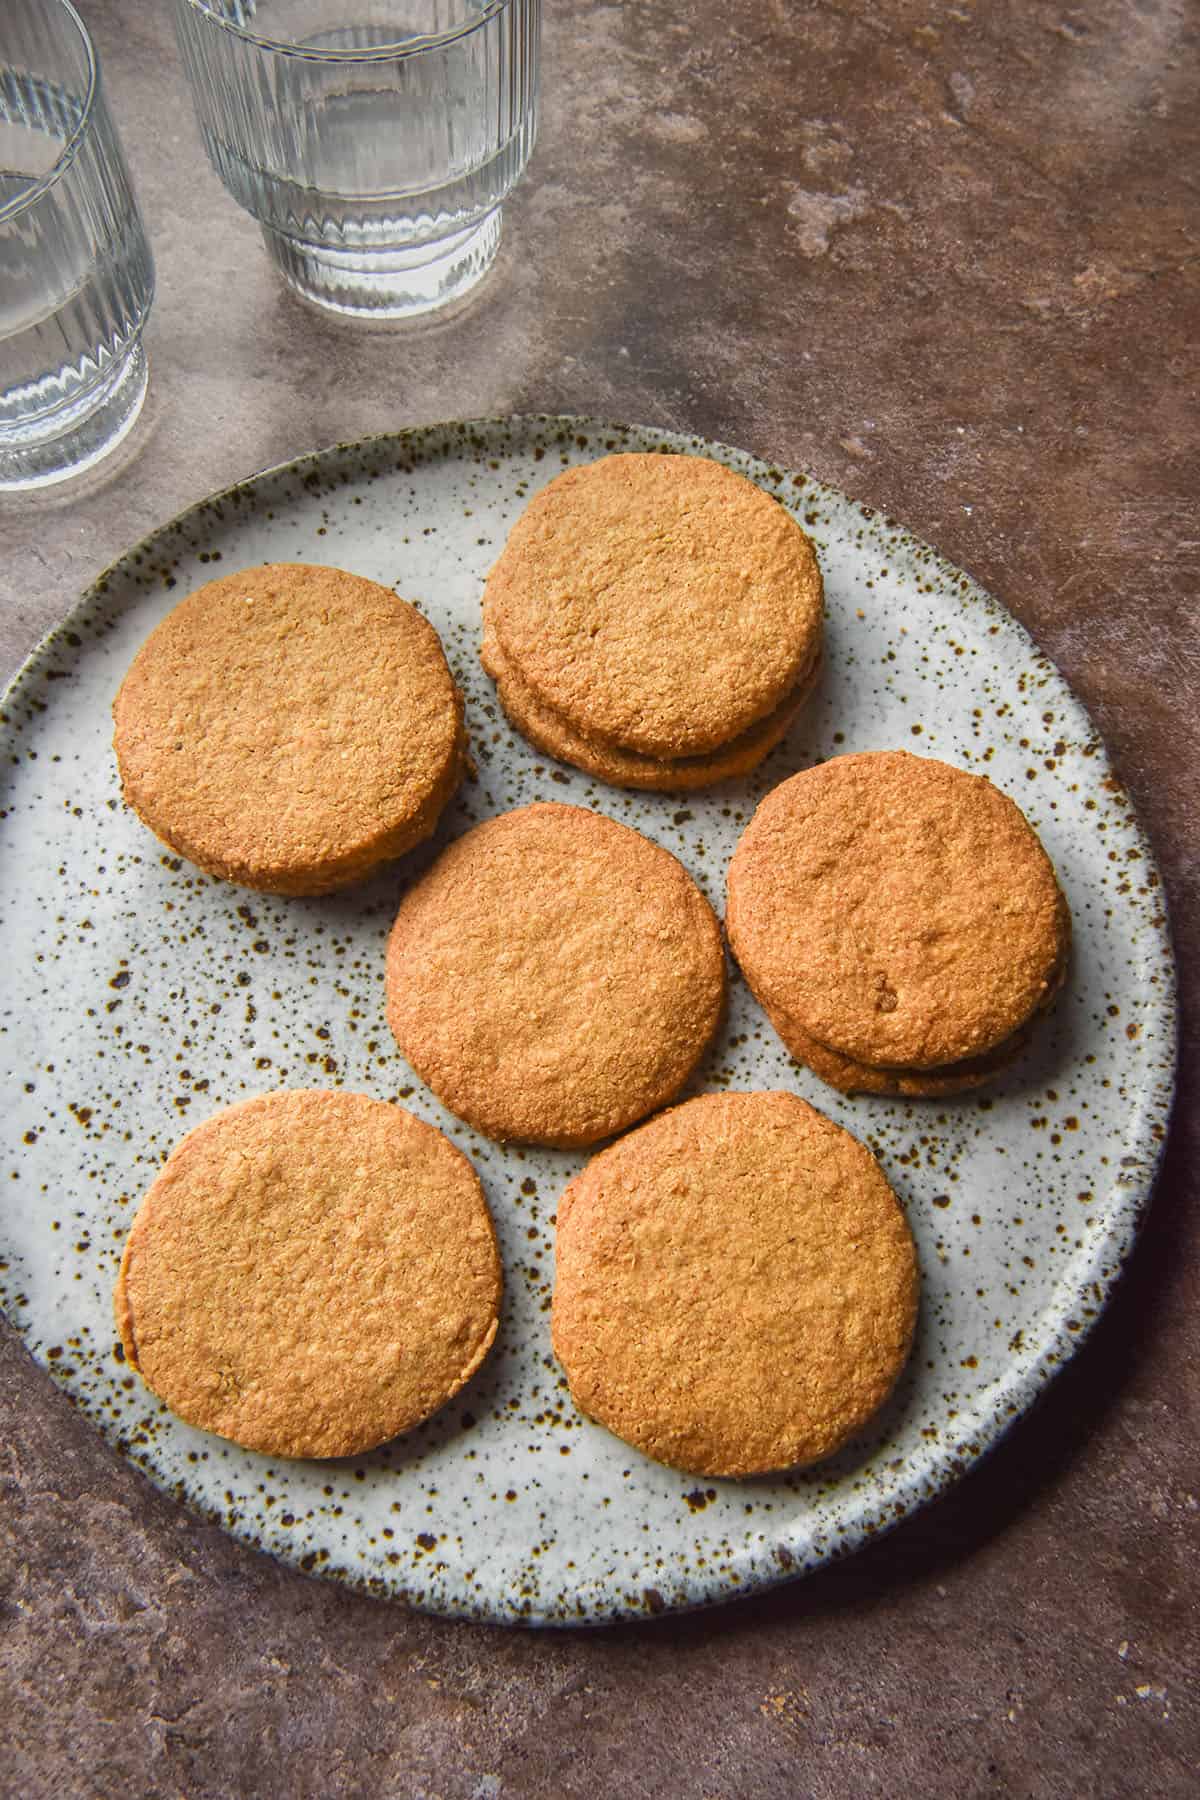
- Cut out your biscuits using a 7cm cutter, re-rolling dough scraps as necessary until you have used all the dough. Place each cut biscuit on the lined baking tray, leaving room for spread. Depending on the size of your tray and oven, you might need to bake in two batches.
- Bake for 10-13 minutes until the biscuits are cooked through and golden brown. They might feel a little soft but will firm up as they cool.
- Allow to cool completely on the tray before eating or transferring to an airtight container on the bench.
Notes
- See the body of the post for substitutions (spoiler alert: there currently aren’t any).
- See the body of the post for notes on making your own quinoa flour and then toasting it.
- You can make these digestive biscuits with 50-75g light brown sugar. 50g results in a light sweet biscuit. 75g will result in a sweeter (but not too sweet) biscuit.
- If you use 75g sugar and 125g butter, you will need to chill the biscuits again after you cut them out. Sugar and butter both encourage spread in biscuits, so biscuits with 75g sugar will be the most prone to spreading. If they come out of the oven more spread than you would like, use a large glass or cookie cutter to neaten them up. They are only pliable while hot, so make sure you do it straight after they come out of the oven.
- How much butter you add depends on your preference for a slightly drier digestive or a more buttery one. It also depends on the flours you use and where you live. You might need to experiment to see which you prefer.
- McVities digestive biscuits are 7cm in diameter. If you don’t have a 7cm cutter, most cans of beans or tomatoes are 7cm diameter. Use it as a stamp, then use a sharp, non-serrated knife to cut out the biscuits.
- You can also use any size cookie cutter if you are not fussed on sizing. How many cookies you get from a batch will depend on the size of your cookie cutter.
These sound fantastic! Do you think the recipe would make a good cheesecake base?
Kepp up the fantastic work!
I haven’t tested the theory yet! I have tested cheesecake bases in the past where the tapioca in the recipe ended up creating a pasty layer between the crust and cheesecake so I’m not 100^ sure yet.
I definitely plan to test the theory and nail down a recipe soon though 🙂