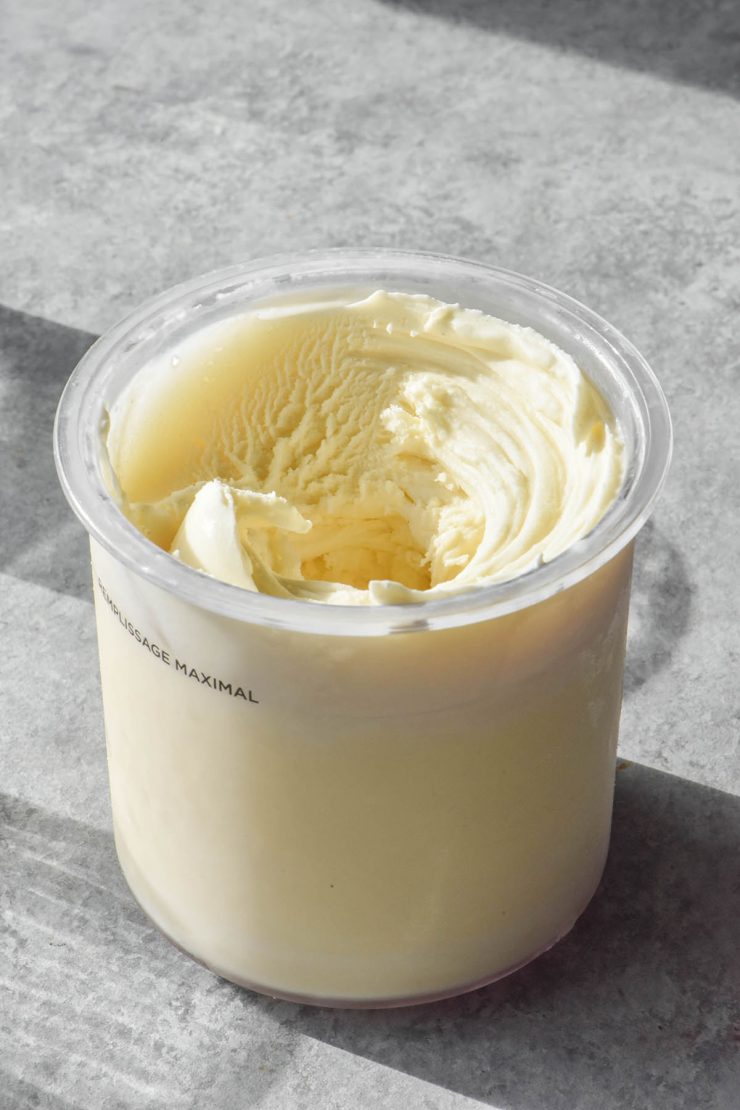
I am a vanilla girl at heart – always have been, always will be. A lot of the store bought vanilla ice creams these days, however are made with a suspiciously long list of ingredients and unpronounceable additives. Less of a fan of that. After I bought my Ninja Creami and got on Creami TikTok, I realised I could make an easy vanilla ice cream at home. So, without further ado: my Ninja Creami vanilla ice cream recipe. This recipe is incredibly simple but makes an amazing vanilla ice cream – it’s thick and creamy and rivals any store bought ice cream I have had.
Ninja Creami vanilla ice cream recipe
This recipe uses four ingredients – sweetened condensed milk, thickened cream (heavy cream) milk and vanilla bean paste or extract. From here, you can add whatever mix ins you like (or eat it plain for a delicious vanilla ice cream Ninja Creami). As we will go into below, you can use lactose free dairy here. This makes it suitable for those with lactose intolerance or those on a low FODMAP diet. And for our vegan friends? Their own dedicated vegan vanilla Ninja creami ice cream recipe.
My inspiration for this recipe comes from TikTok. I saw the idea for condensed milk there, and tweaked the recipe to make it according to my preferences. I am not 100% sure who the original creator is, but I have tagged the TikTok I saw and was inspired by.
Honestly, this is my new go-to vanilla ice cream. Incredibly easy, no weird ingredients, no cooking required and no eggs.
Recipes to serve with your Ninja Creami vanilla ice cream
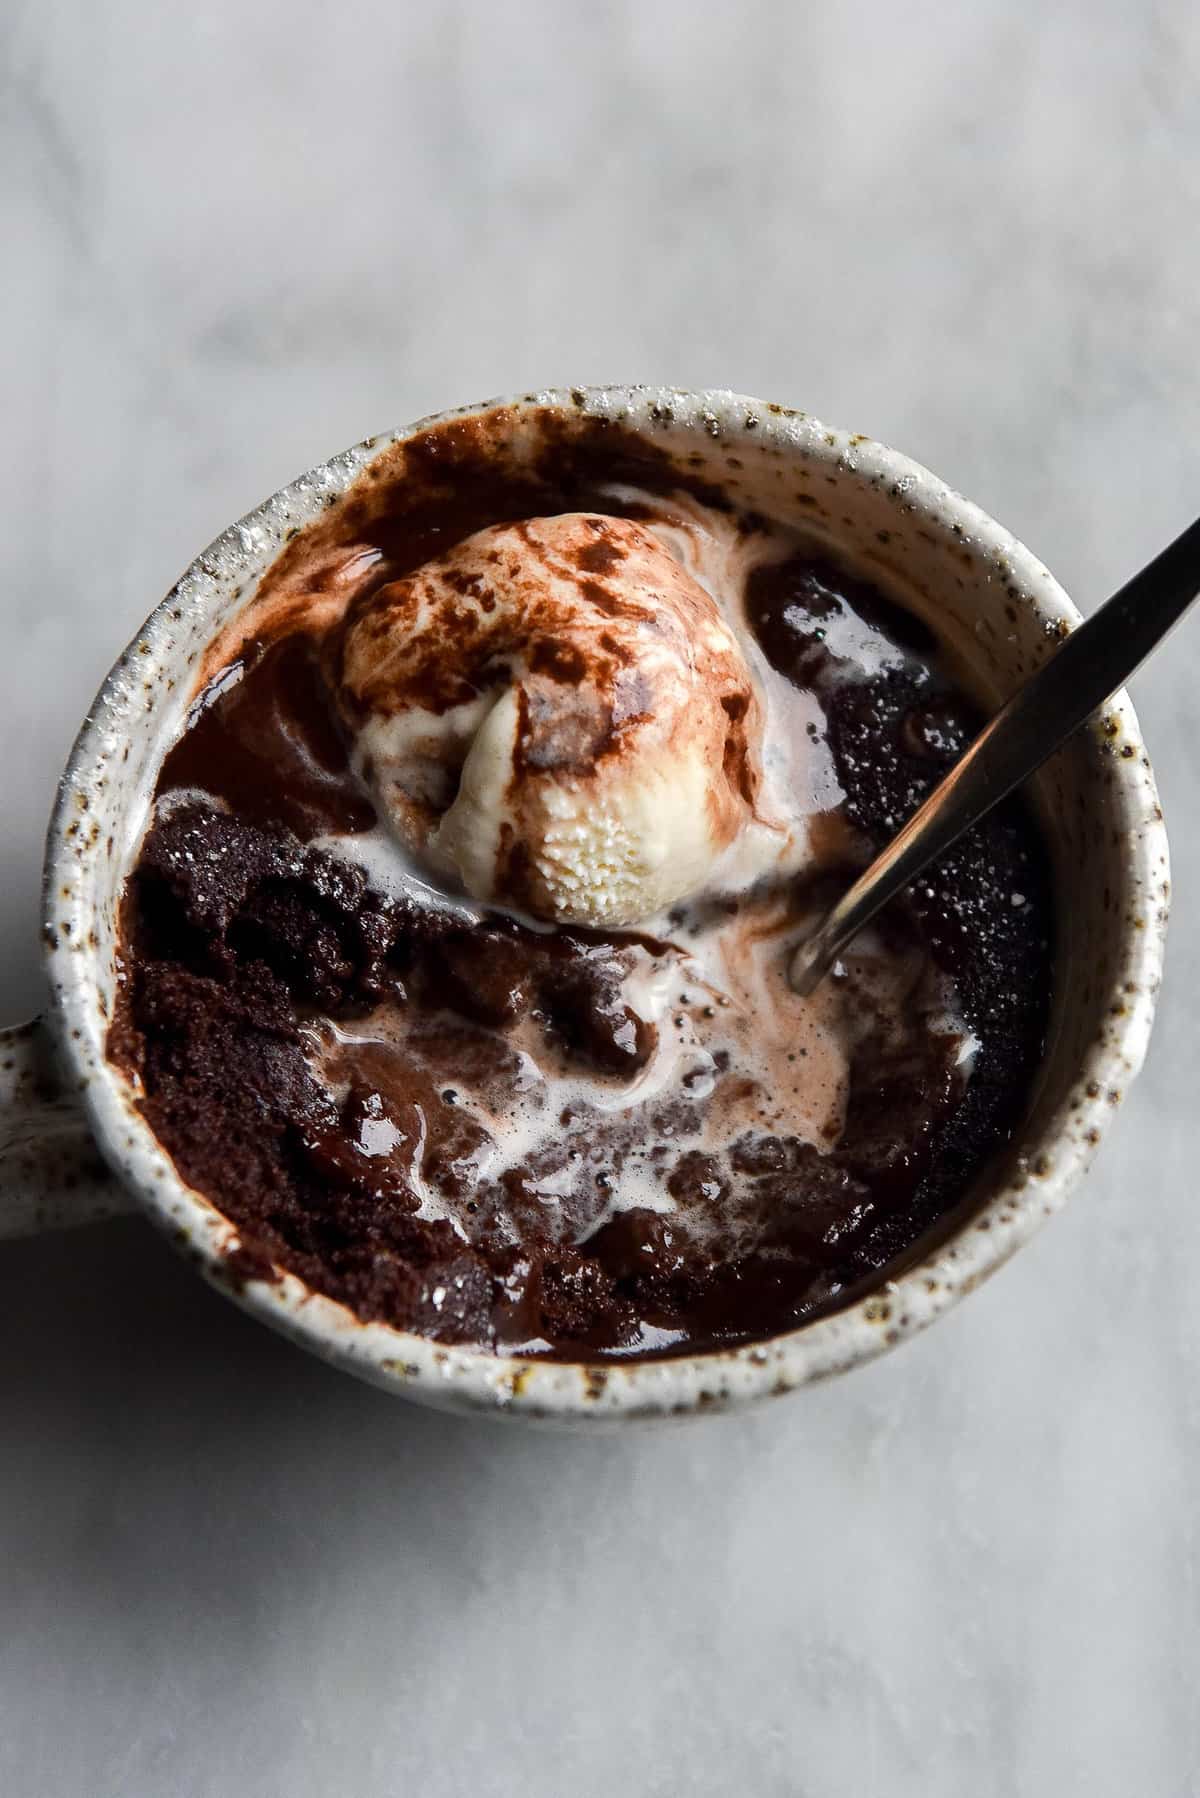
- Easy gluten free mug cake
- Gluten free fruit crumble
- Gluten free sticky date pudding
- Low FODMAP, gluten free ‘apple’ pie
- Gluten free blueberry cobbler
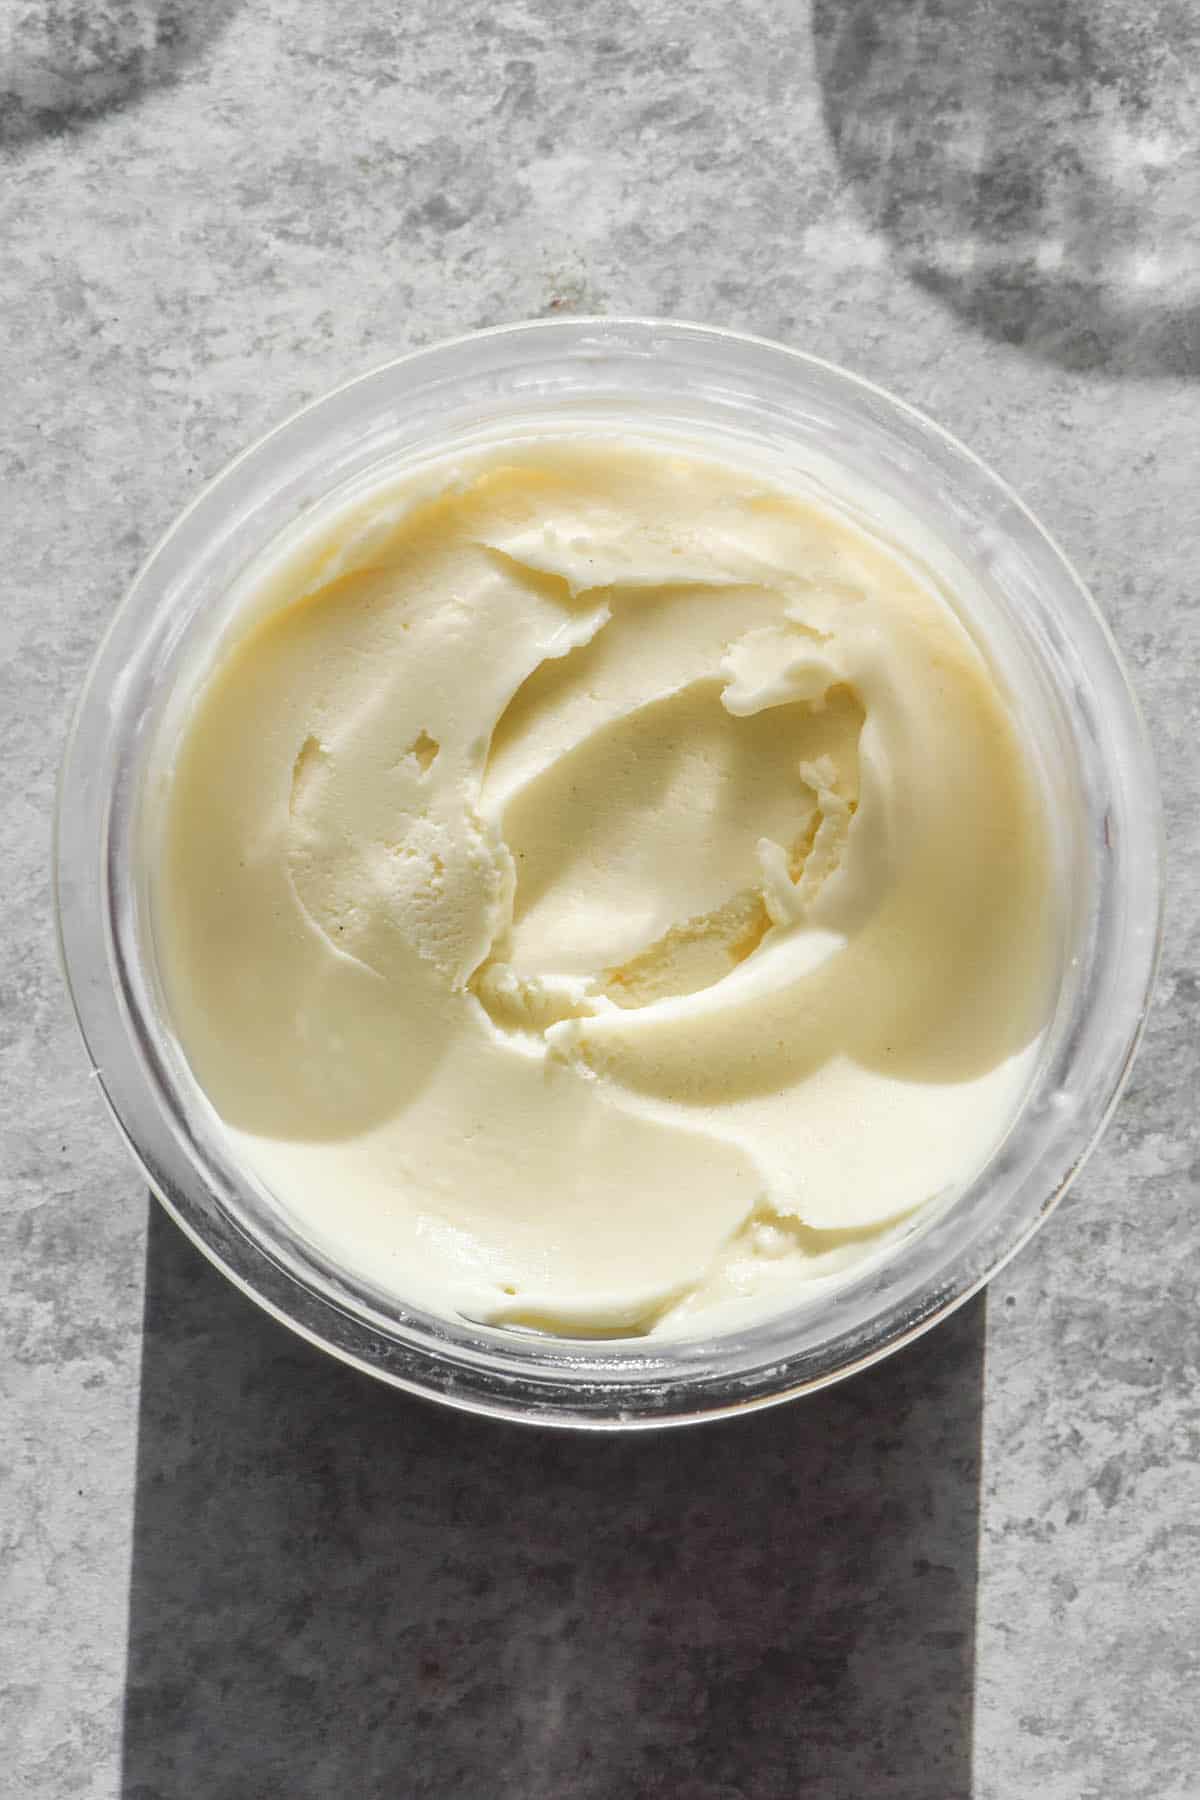
Ingredient notes
The most important one is to ensure you buy sweetened condensed milk. This is the only source of sweetener in our vanilla Ninja Creami, so you need to ensure it actually contains sugar. Evaporated milk is not suitable, nor is any condensed milk without sugar.
If you don’t have a particularly sweet tooth, I recommend using 150g sweetened condensed milk. 200g makes for quite a sweet vanilla ice cream.
For those who don’t want to use sweetened condensed milk, see my Ninja Creami cookies and cream recipe. It uses white sugar instead.
Thickened cream contains around 35% fat here in Australia. The equivalent in America is heavy cream. The UK equivalent is whipping cream.
I don’t know about other countries but in Australia most creams have thickeners added. Very annoying for sure. With that said, a lot of Ninja Creami recipes use xanthan gum to improve consistency, so using a cream with thickener might have a slight benefit.
I don’t currently have any dairy free substitutes for any ingredients. This recipe is designed to taste like rich and delicious classic vanilla ice cream. I have a vegan version here.
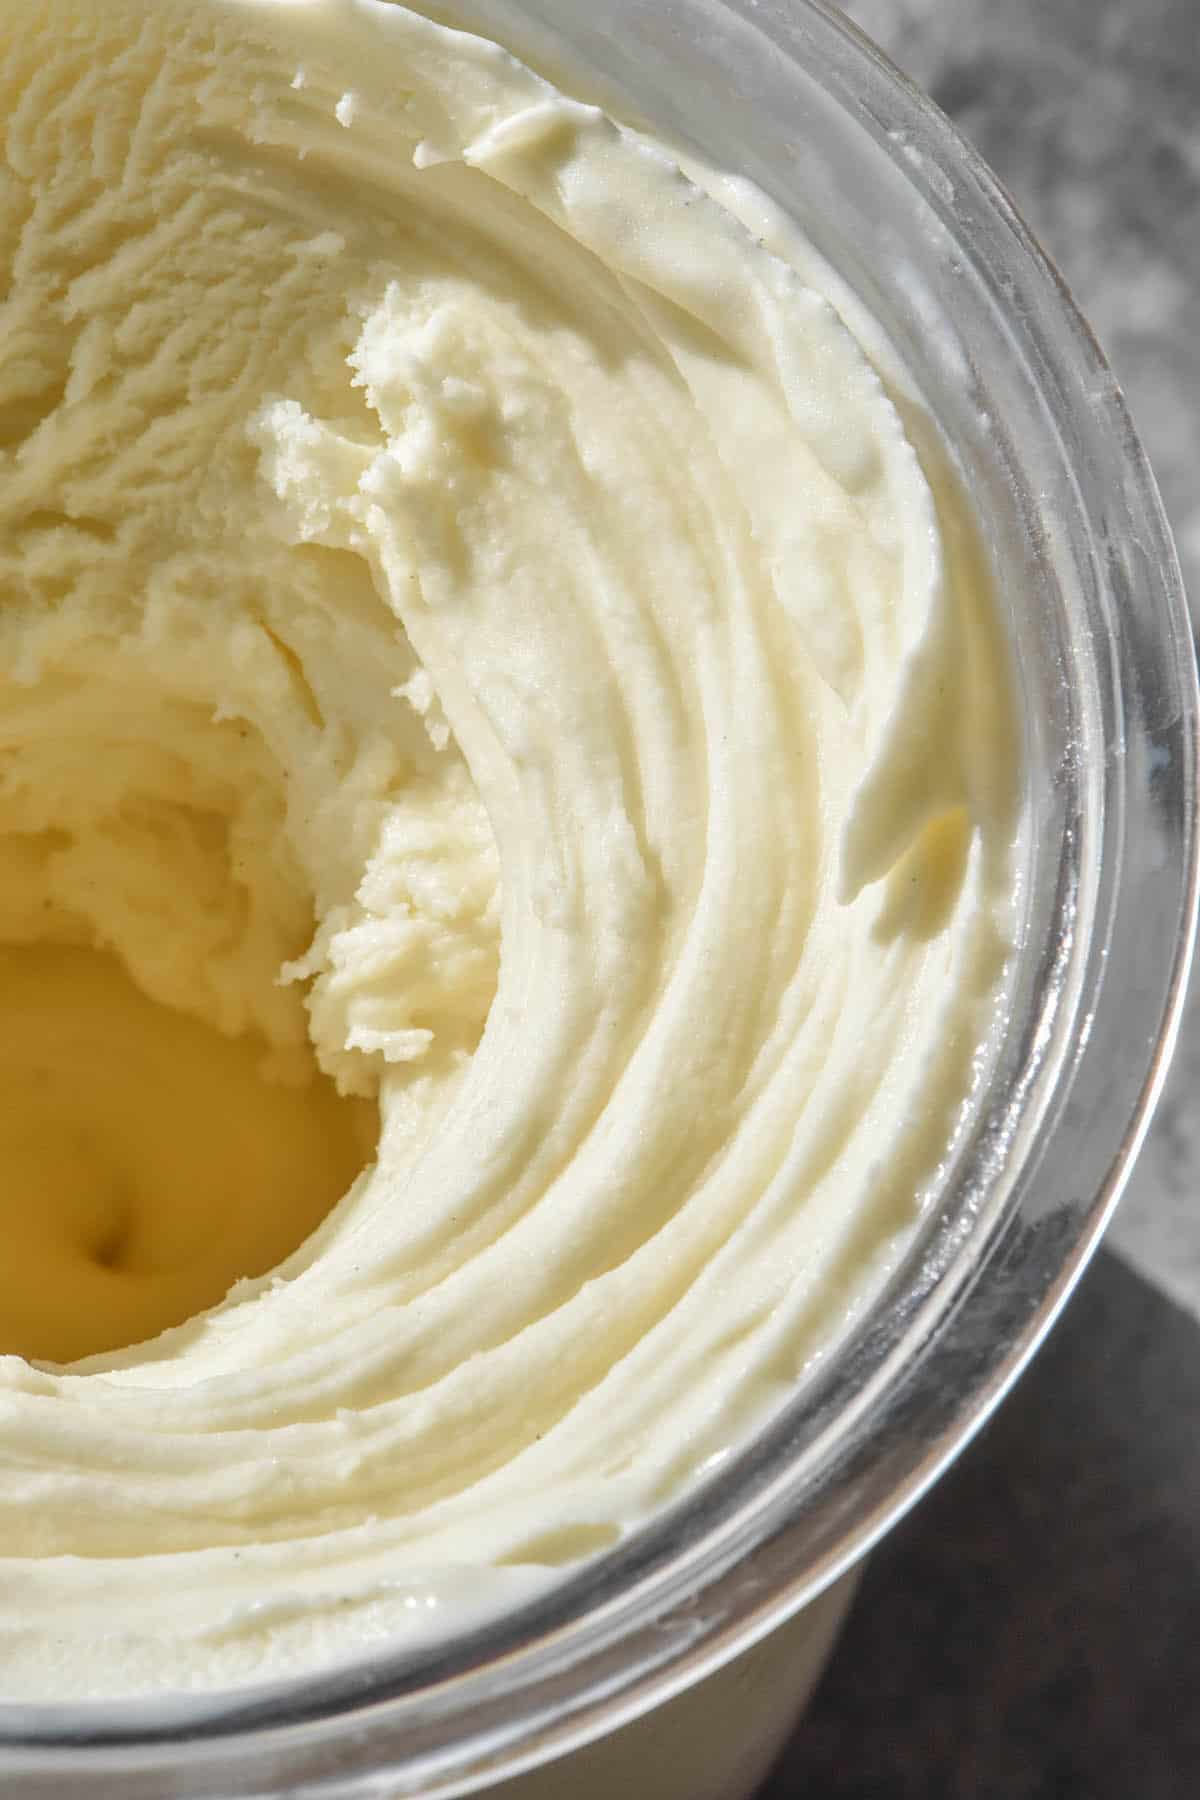
Lactose free and low FODMAP Ninja Creami vanilla ice cream
When I first published my lactose free condensed milk recipe, I figured a company would bring one out at any minute. The demand for ‘free from’ has grown, so I assumed it was a matter of time.
Unfortunately that doesn’t seem to be the case here in Australia. Condensed milk is literally milk that is condensed by having the water component of the milk cooked off. As such, it is condensed lactose and very high lactose.
However, my lactose intolerant friends still have options! Firstly, you can simply add lactase drops to your sweetened condensed milk around 24-48 hours before you use it. The lactase enzyme will consume most of the lactose, making the lactose content much lower. Intoleran, where I bought my drops, recommend 10 drops per 250ml.
If you don’t have lactase drops, I have a recipe for lactose free condensed milk. It starts with lactose free milk which you will condense and caramelise yourself along with sugar.
You can also use the vanilla ice cream base of my Ninja Creami cookies and cream. It uses sugar instead of sweetened condensed milk.
Next, you’ll need to decide how to make the other elements lactose free. You can use either store bought lactose free thickened cream and milk or make your own with lactase drops. Lactose free thickened cream will require about 10 drops per 250ml. I have a guide to making your own lactose free milk here.
The last thing to keep in mind is any mix ins. Use lactose free mix ins to keep the ice cream lactose free.
Can I use light products for a lower fat vanilla ice cream?
Yes, you can (with a caveat). I have successfully used light condensed milk, light thickened cream and light milk in this recipe. However, I found that it came out of the machine quite soft – more like soft serve.
If you want to make light ice cream with a firm texture, I recommend processing it an hour or so before you intend to eat it. After time in the freezer it will firm up to become a traditional ice cream consistency. You can also experiment with dropping the sugar content (from the sweetened condensed milk) back. Too much sugar prevents ice cream from freezing, so this may help in the case of a light ice cream.
I personally process most of my ice cream on the ice cream setting. I haven’t been able to find any concrete evidence on what the different functions do. However, I am sure you would get similar results by processing it on the light ice cream function.
Can I make a vegan version?
I haven’t tested this recipe with vegan counterparts, but I do have a recipe for Ninja Creami vegan vanilla ice cream here.
McFlurry Ninja Creami
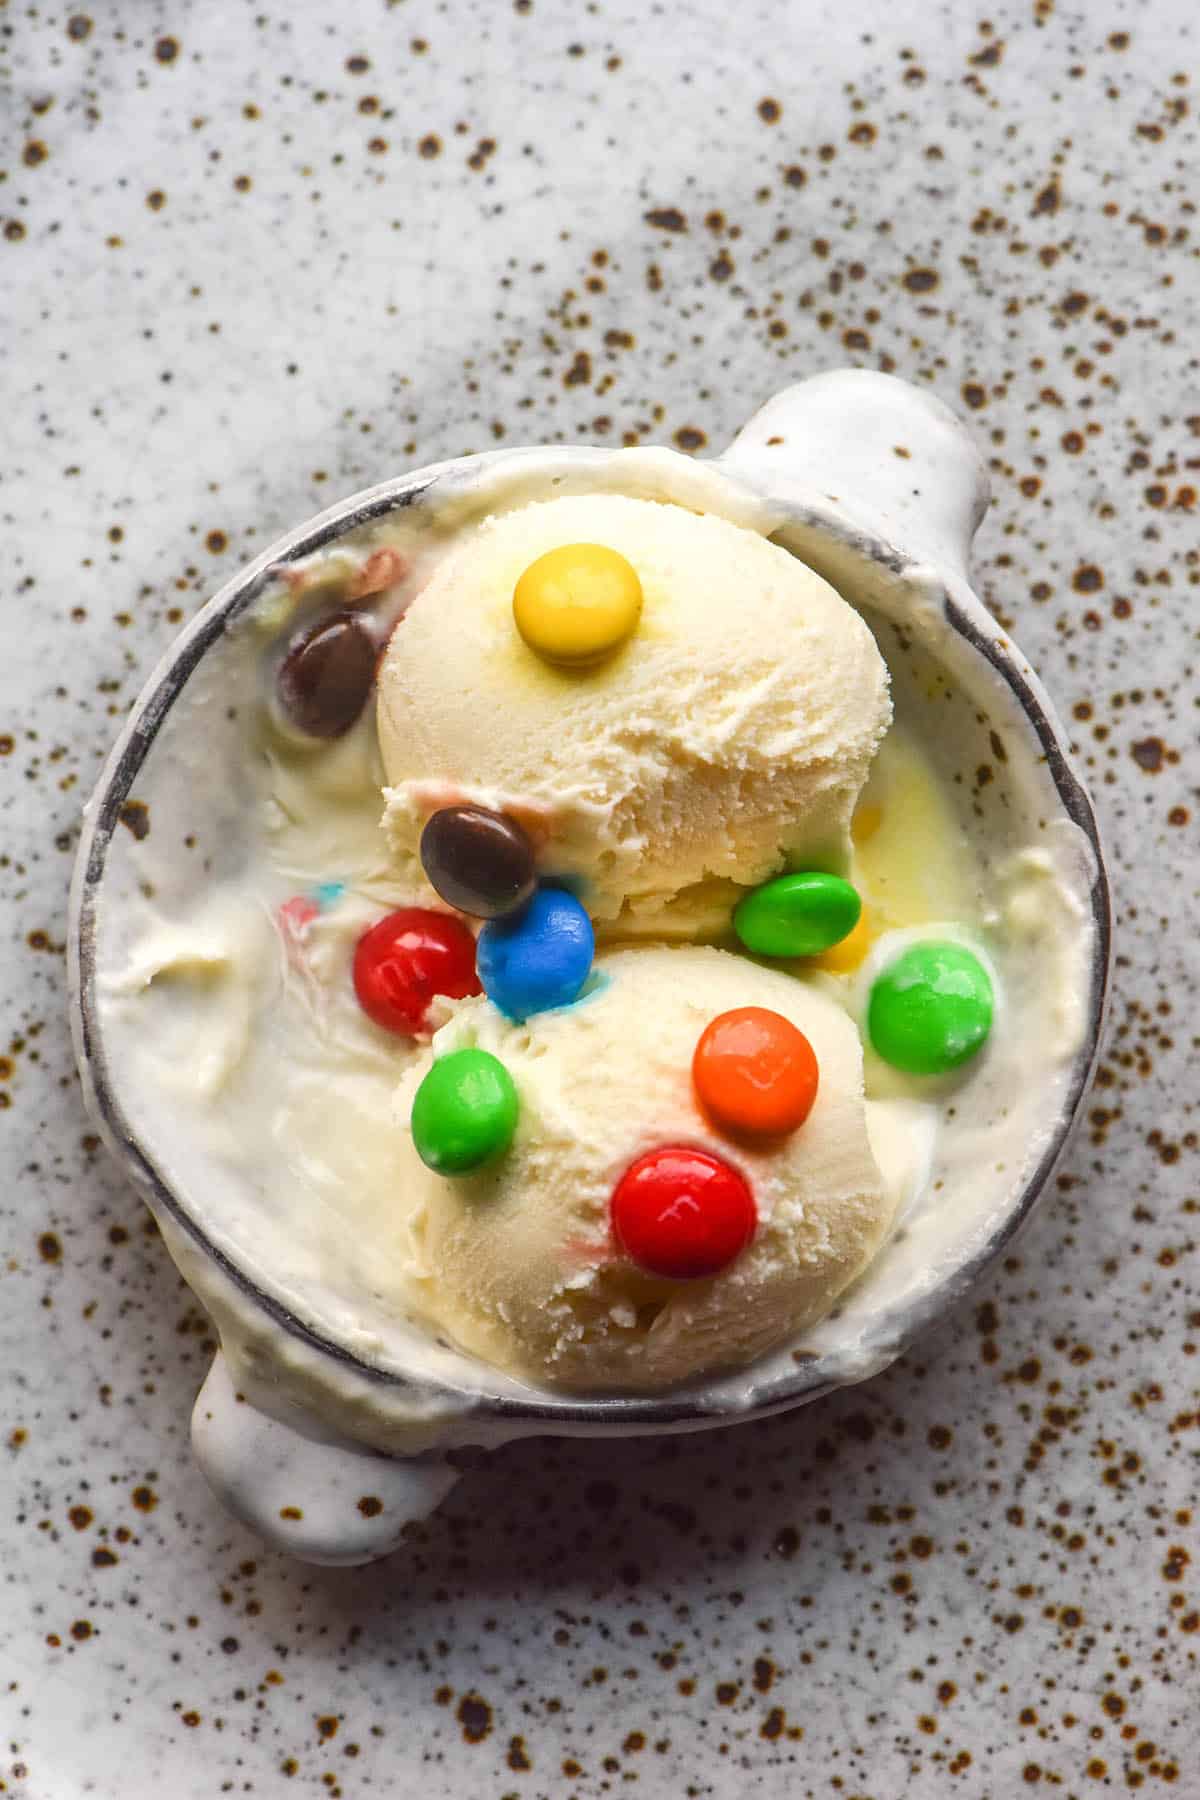
This recipe for Ninja Creami vanilla ice cream just so happens to make an excellent McFlurry inspired ice cream. Personally, m’n’ms were always my McFlurry add in of choice. Of course, you can also use Oreos (gluten free or regular) or any mix in you fancy. You could also top your ice cream with fudge sauce instead.
In my limited experience of using the machine, I find chocolate mix ins get too cold when added for a respin. You can’t really taste the chocolate anymore because they are so cold. As such, I prefer to add them to a bowl of the ice cream after I scoop it. I daresay Oreos or crumbled biscuits would fare better as I assume you can still taste them when they are cold.
Tips for your Ninja Creami
- After a while, you’ll get a sense of how cold your freezer is and how long you need to freeze a Creami tub for. Overnight seems to be fine for me for most recipes, although we are currently in winter in Australia.
- I have found that higher fat ice creams need less processing than low fat ones.
- Lots of people say that xanthan gum has a positive impact on Ninja Creami ice cream texture. Most store bought cream in Australia already contains xanthan gum, so I don’t add any. If your cream doesn’t have any added, you could experiment with a tiny pinch.
- This particular ice cream makes a fair bit of noise when processing. I’m not sure why, but it really rattles around. If you are a nervy cook, I recommend leaving the room haha. I promise it’s worth it and it shouldn’t damage your machine. I suspect it might just be the viscous nature of sweetened condensed milk.
- Personally, I find that adding chocolate for a respin just makes for cold and tasteless chocolate. I would prefer to scoop out the ice cream and serve it sprinkled with fresh chocolate chips (or whatever else you plan to use).
More Ninja Creami recipes
- Ninja Creami cookies and cream ice cream
- Ninja Creami strawberry ice cream
- Ninja Creami chocolate ice cream
- 10 new Ninja Creami ice cream recipes, including pistachio ice cream, sticky date ice cream and real dark chocolate ice cream (no cocoa required)
Ninja Creami vanilla ice cream recipe
Equipment
- NC300 Ninja Creami machine with 470ml size tubs
Ingredients
- 200g thickened cream (heavy/whipping in US/UK)
- 150-200g sweetened condensed milk (NOT evaporated milk or any other product)
- 100g full fat milk
- 1 tsp vanilla bean paste or vanilla bean extract
Instructions
- Weigh the ingredients directly into your Ninja Creami tub. My machine uses 470ml tubs and this recipe fits perfectly in one of these tubs. See notes for other machines.
- Mix thoroughly to combine, ensuring you have incorporated all the condensed milk.
- Place the mixture into the freezer without the lid for up to 24 hours. I find around 15-16 hours is enough for me, but your freezer might be warmer or colder.
- When you are ready to use it, process your ice cream using the ice cream function. If it looks a bit balled up after the first spin, spin it again.
- Serve alone, with mix ins or with a dessert of your choice. Place the lid on leftovers and process again when you need more vanilla ice cream. The Ninja Creami machine will successfully spin a half tub.
Notes
- Use 150g sweetened condensed milk for a less sweet version and 200g for a sweeter version.
- Evaporated milk or anything that is not sweetened condensed milk will not work here. The condensed milk is the only sweetener added to this ice cream, so you cannot omit it.
- If you want to make vanilla ice cream with sugar instead of sweetened condensed milk, use the vanilla base of my cookies and cream Ninja Creami recipe.
- This recipe also works with light dairy products.
- For a lactose free/low FODMAP version, see the notes in the body of the post.
- You could add a tiny pinch of salt for flavour, if you like.
- This recipe is designed for a 470ml Ninja Creami tub. If you have a larger machine, you should be able to double the recipe. However, I recommend using a total of 250-300g sweetened condensed milk. Too much sugar can prevent your ice cream from freezing properly. If you’d prefer to make the recipe as specified but in a larger tub, that should work too. Ninja Creami machines can process smaller volumes than the tub allows for.

I have found this recipe to give me the best tasting, best consistency ice cream so far. I appreciate the ingredients listed as weight, rather than volume. I find it gives me the greatest ability to control changes. I prefer less sweet, so I added 125g sweetened condensed milk (recipe calls for 150-200g). For comparison, this results in approx. 12.3g sugar per 88g serving. Breyer’s vanilla ice cream is 14g sugar per 88g serving (2/3 cp). I also added 1/8 tsp salt, and 1 tsp Wild Vanilla Powder (Wild Foods). Again, wonderful recipe, and I plan to try your others!
So glad you enjoyed it Steve! And great to know that you customised it with ease, I love to hear that.
Thanks for sharing your edits too, I’m sure people will find them very helpful in the pursuit of their own perfect ice cream 🙂
We love this recipe! It is our go to for vanilla.
So glad you like it Krystin 🙂
I’ve made this several times over now. I always use the lesser amount of sweetened condensed milk. It is such a simple recipe and quick recipe to put together and it tastes amazing. I have now learned to let it sit to soften up a bit before putting it in the ice cream maker as it hardens up extra well and defrosting it a bit makes it fluff up better. Thanks for a great recipe.
This was the first recipe I used to make Vanilla Ice Cream in my Ninja Creami. It came out perfectly. I will never buy ice cream in the grocery store again. It was so delicious. Thank you so much for this recipe!
I have a bag of Vanilla soft serve mix from Frostline frozen treats and would like to no if and how I can use this powder to make ice cream in my Ninja Creami 501 Deluxe, can you please advise me
Hello!
I have no experience with Frostline (I live in Australia, not sure where you are based) so I can’t offer much advice here unfortunately.
I would suggest reaching out to the brand because I assume they would be able to offer suggestions.
It is also worth googling Frostline Ninja Creami as I had a quick look and there are some Facebook posts and links you can read for advice 🙂
Best tasting vanilla ice cream. I added protein powder to make a little healthy but hands down one of the best. I made it vegan and used less condensed milk as well…still great! Thank you
I just tried this recipe…wow…it’s the best vanilla I have made and up there with the best store bought vanillas! I am in the uk and used semi-skimmed milk and Whipping Cream as I had previously found (with other recipes) that double cream left a fatty taste. I also made a sour cherry version using powdered sour cherry – principally because I needed to use the rest of the condensed milk (comes in a 397g tin here) – just as good as the vanilla. Will definitely be trying your other recipes! Thank you!
Oh wow sour cherry sounds incredible!! I haven’t seen powdered sour cherry before but I’ll keep to keep an eye out because that sounds incredible.
So glad to hear you enjoyed the recipe 🙂
This is definitely the best Ninja Creami vanilla ice cream recipe! I followed the recipe to a T and left it in the freezer for about 18 hours, it came out perfect. I decided to add some Oreos and put it through on the Mix-In setting. So good!!
My husband also used this recipe but substituted the vanilla bean paste for mint to make mint chocolate chip ice cream.
I am so glad you enjoyed it McKenna! Amazing to know that it works nicely with mint as well 🙂
I just got the Ninja Creami Deluxe and it came with 2 XL cups and ordered 4 more cups with it. Now with a family of 5 I can have ice cream made up for everyone’s liking. I honestly have to say this one thing. I just made the vanilla ice cream mix, I don’t have to wait til tomorrow to say WOW!!! I made a little mix in my measuring cup just for a tiny taste test. Amazing, my mix in for one of them will be mini chocolate chip and the second one ( yes made 2 Creami cups) mix in will be banana with mini chocolate chips on top of scooped cream in a bowl.
Haha I am so glad to hear that Diana! Hopefully the frozen result gets the tick of approval as well 🙂
Hello, lovely recipe thank you. I hav made this recipe twice and duplicated it using the caramel version of condensed sweetened milk. It was a little challenging to blend so I used the emulsion blender…came out beautifully. My thighs will carry the quality of this lovely recipe. Thank you
Honestly… this is THE PERFECT recipe. It was my first attempt at using the creami and I’m not bothering experimenting with any other vanilla recipes. This is it for me forever! Thank you Georgia, you never go wrong.
I am SO glad you enjoyed it Jess! What an honour to be your first Ninja Creami recipe 🙂
Finally a non protein recipe that works and tastes amazing!! I want to make a pumpkin pie inspired one… do you think I could just add the puree I think is enough to the ratios you already have and it’ll be fine?
Hi Ashlee! Thrilled you loved the recipe 🙂
I can’t say whether or not that will work but I am going to be working on a pumpkin pie Ninja Creami recipe so I will try and have it up ASAP 🙂
I have the bigger ninja so I had to quarter up the sizes. It worked well and me and my husband absolutely loved it. Didn’t have to respin either. Super easy and better than store bought.
So glad you enjoyed it Annie and great to know it works with the bigger tub! 🙂
Flavor was amazing and mixing the ingredients takes no time at all. I used my Ninja and did the re-spin. It came out very soft so I saved half and put in the freezer. But hands down best flavor just need to figure out why mine was runny.
Hi Craig! This is a borderline high sugar recipe for a Creami and sugar prevents ice cream from firmly setting.
Ideally it should be the right consistency after the first spin because re-spinning tends to soften it further.
Personally, I like the sweetness as is so if I find it a little soft after processing, I just return it to the freezer for 10-20 minutes.
If you’d like to process it twice and eat it straight away, I would recommend experimenting with 125g sweetened condensed milk to see if that helps!