For those aghast to see onion on this website: stress not. The inspiration for this recipe actually came from my low FODMAP onion ring recipe, which uses pickled onions instead of regular onions. I figured that people who can tolerate onion would also like a recipe, hence this recipe for gluten free onion rings.
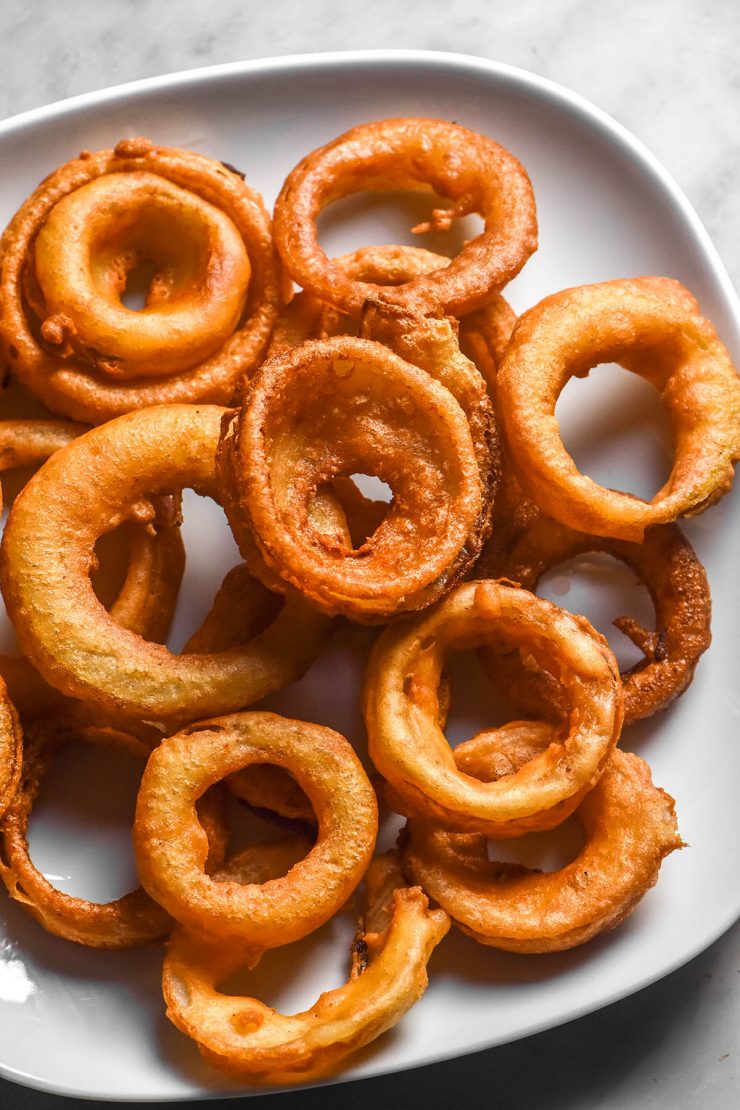
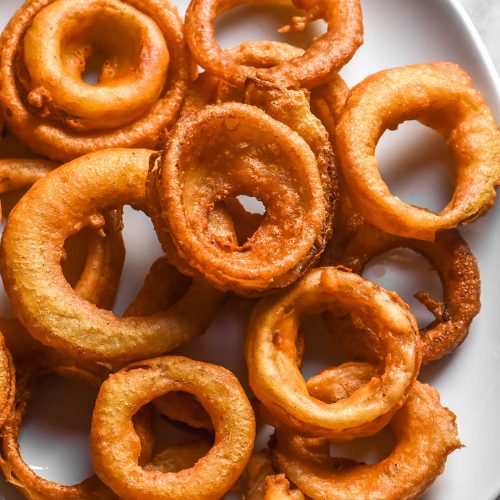
Gluten free onion rings (egg free, vegan option)
This recipe uses yellow/brown or white onions as the onion of choice. The onions are dipped in a simple mix of white rice flour and corn starch or potato starch along with salt, baking soda, milk and vinegar. There are plenty of substitute options, which we will go into below.
These gluten free onion rings are of the crispy variety as opposed to the herbed and breaded variety. The latter are not super common in Australia (as far as I am aware) but the crispy sort are, which is why I am making them in this style. I also find that store bought gluten free bread crumbs are always substandard, so the crispy version are just better and quicker.
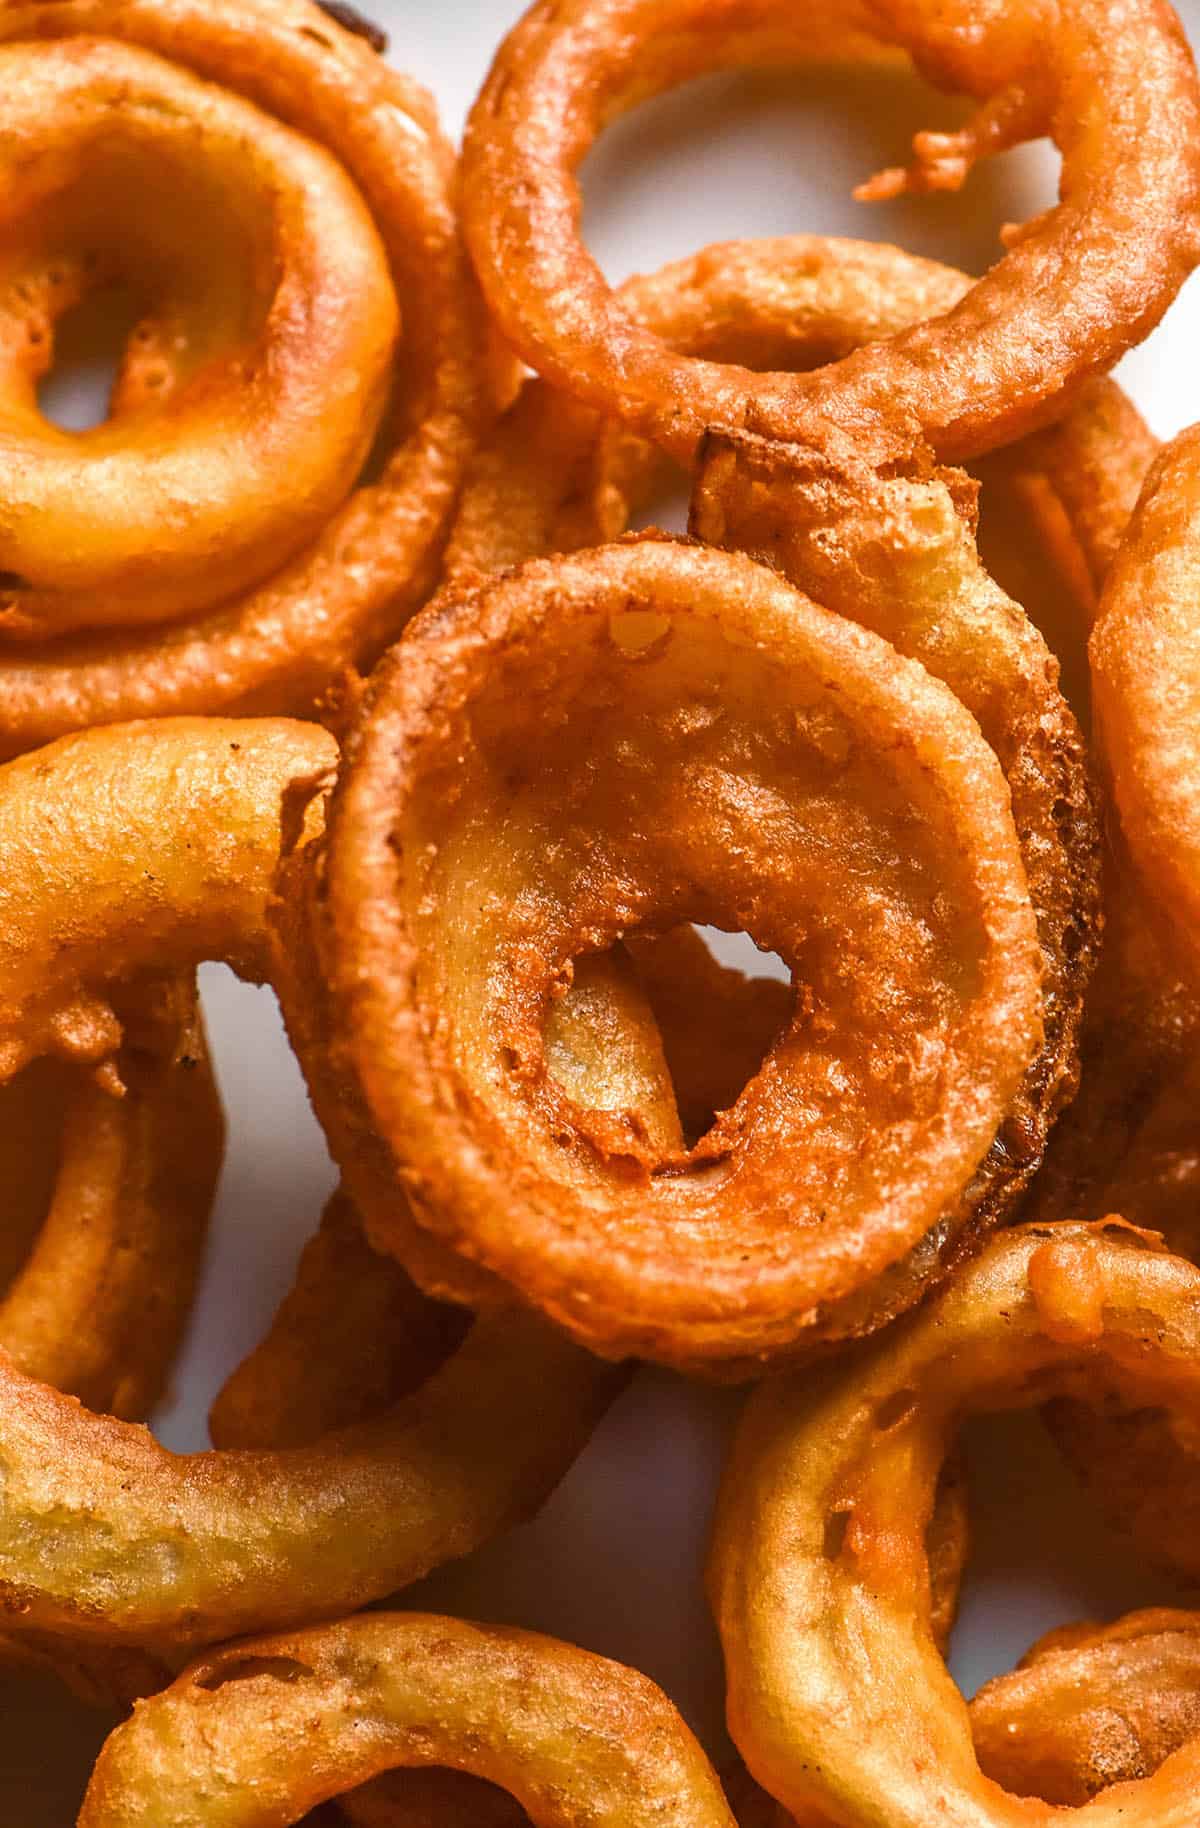
The onions are fried until beautiful and crispy in a small pot of hot oil. And that’s it! Super easy, super simple and super delicious.
These gluten free onion rings are xanthan gum free, egg free, nut free and easily made vegan.
My testing notes
I thought it might be helpful to outline what I tested in developing this recipe in case you’re looking to make this recipe your own.
First, I tried using sparkling water (from my Aarke machine) as the liquid. This worked fine, but the milk version was more evenly browned and slightly more flavoursome. Some of the water versions I tested browned unevenly, so milk is fantastic for the visual result as well as flavour.
Next, I tried thinner batters and thicker batters. I found that thinner batters resulted in a more shatteringly thin crust but too thin resulted in an uneven coverage of the onion. Thicker batters resulted in a thick and full coverage of the onion, but a firmer and less crisp crust.
I tried frying onion, dipping it in the batter a second time and re-frying it. I found that this resulted in doughy onion rings that sometimes had uncooked flour in the centres.
Next, I tried using baking powder instead of baking soda. In the water-based version (as opposed to the milk-based version), I found that the baking powder resulted in uneven browning and that it took ages for the rings to brown. Baking soda is known for aiding in browning, which is why I settled on baking soda.
Things I haven’t tried:
- Using bread crumbs or making a breaded version
- Using a wholegrain flour other than rice flour
- Pan frying or shallow frying the onion rings
- Baking the onion rings or air frying the onion rings
Dietary and FODMAP notes
This is not a low FODMAP recipe – simply a gluten free recipe. If you want to make low FODMAP onion rings (which are also gluten free) see my recipe here.
Corn starch is the best starch for creating super crispy fried foods, in my opinion. If you can’t have corn, my next recommendation is potato starch. I find that tapioca starch tends to be quite chewy, which I don’t love in a fried context. However, you can use it in a pinch. I am yet to try glutinous rice flour. However, I find it tends to taste quite ‘ricey’ when combined with white rice flour.
Unfortunately, I have no substitute for rice flour at the moment. I have been tinkering with substitutes generally, but nothing has measured up yet. In this recipe specifically, rice flour creates a beautiful crispy crust. Rice flour is known for its crisping abilities, which is part of why I use it here.
This recipe is naturally egg free and xanthan gum free. Although it contains milk, you can easily use a dairy free milk in place of regular milk. I have tested full fat dairy milk, full fat lactose free milk and soy milk. I haven’t tested any other milk varieties.
Tips for your gluten free onion rings
If you plan to deep fry regularly, I highly recommend getting a Thermapen. They’re not the cheapest, but they are super accurate and handy. I also use mine for gluten free sourdough baking, caramel making, etc. The ideal oil temperature for deep frying is around 170-190C or 340-375F. I generally found 180C/356F was my sweet spot.
This can be a little hard to gauge without a thermometer, but not impossible. If you dip an onion ring into the hot oil, the batter should start to bubble immediately. If it doesn’t, your oil temperature is too low. Starting cooking your onion rings when the oil is too cold will result in oily, greasy onion rings. Stop and wait until the batter bubbles as soon as it hits the oil.
I found each ring need around 30 seconds to 1 minute per side. Personally, I like to deep fry in a small pot which is a bit time inefficient but needs less oil and feels a bit less scary. In my small pot, I made a maximum of 4 onion rings at a time. If you use a larger pot, you will be able to get away with more. You will also need more oil, though.
There are a few things to keep in mind when it comes to making multiple onion rings at a time. First, adding room temperature onion rings and batter to the oil lowers the oil temperature. If you intend to cook multiple rings at a time, make sure the oil is slightly hotter (190C-375F) to account for the drop in temperature that will come with each ring being added.
Secondly, don’t add multiple rings at exactly the same time. They will get stuck together if all the rings are added when the batter is still wet. For best results, allow the first ring to cook for 10 or so seconds before adding the next one. This will prevent them sticking together.
Ideal consistency for your batter
In my testing, I found that different combinations required differing amounts of milk. The corn starch versions needed less milk than the potato starch versions, and the soy milk versions needed more than the cow milk versions.
Your ideal batter consistency drips off the spoon in thin ribbons, but isn’t so thin that it struggles to hold onto the onion ring. It should coat each ring quite generously, while still dripping off the ring in ribbons. I have found that thinner batters tend to be crispier while thicker ones tend to end up quite pasty, so getting the liquid content just right is somewhat of an art.
When adding the milk, you’ll notice that the batter may start as chalky or as having a solid lump of starch at the bottom of the bowl. This is to be expected given the starch content of the batter. Add the vinegar, then add more milk 4 teaspoons (20ml) at a time.
Continue adding milk and mixing until you reach the consistency described above. If you fry off a few rings and your batter has thickened, add more milk (or water, if you have run out) to return to the original consistency.
If you find your batter is too thin, add 10-20g more rice flour and stir to combine.
More gluten free, egg free recipes without xanthan gum
- Gluten free steamed buns
- Gluten free dumpling wrappers
- Gluten free arancini
- Low FODMAP gluten free falafel
- Gluten free bagels
Gluten free onion rings
Ingredients
- 175 g fine white rice flour use divided
- 50 g corn starch or potato starch see notes
- 8-10 g fine salt
- 2 g (baking soda)
- 300-400 g yellow/brown onion sliced into rings (about 2 medium onions)
- 125-180 ml full cream milk see notes for alternatives
- 10 ml white vinegar
- Generous neutral oil for frying (I used sunflower seed oil)
Instructions
- Place 25g white rice flour in a small bowl and set aside.
- Add the remaining 150g white rice flour, corn starch or potato starch, salt and baking soda to a medium mixing bowl and whisk to combine.
- Peel and slice your onions into rings. You can slice them as thin or thick as you like. Some people like to slice the very ends off each onion to get a maximum amount of rings, but I generally don’t bother.
- Push the centre of each coin of onion to release the rings. You can separate them into individual rings or leave them 2 rings thick, depending on how much onion you like in a ring.
- Add 125ml milk to your flour mix along with the vinegar. Whisk to combine, then leave it for 10-15 seconds. When adding the milk, you'll notice that the batter may start off as chalky or as having a solid lump of starch at the bottom of the bowl. This is to be expected given the starch content of the batter. Add the vinegar, then add more milk, 4 teaspoons (20ml) at a time. Your ideal batter consistency drips off the spoon in thin but solid ribbons. It should easily coat an onion ring without struggling to cling to the ring, but it shouldn’t be so thick that it falls off in clumps or coats the onion rings unevenly. It should be closer in consistency to a crepe batter than a pancake batter – never dry or chunky.
- Thoroughly preheat your oil in a small – medium pot (see notes below recipe). The oil should be about 4-5cm (1.5-2 inch) high. The ideal temperature for deep frying is 170-190C (340-375F). It helps enormously to have a thermometer (I have a Thermapen) but see notes in the tips section of the body of the post if you don’t.
- Briefly toss your separated onion rings in the bowl of rice flour. This will just help the batter grip the onion a little better.
- Depending on the size of your oil pot, coat 4+ onion rings in the liquid batter at a time. Allow each ring to drip off excess batter, then transfer to the hot oil. Wait about 10 seconds between adding each onion ring to ensure they don’t get stuck together.
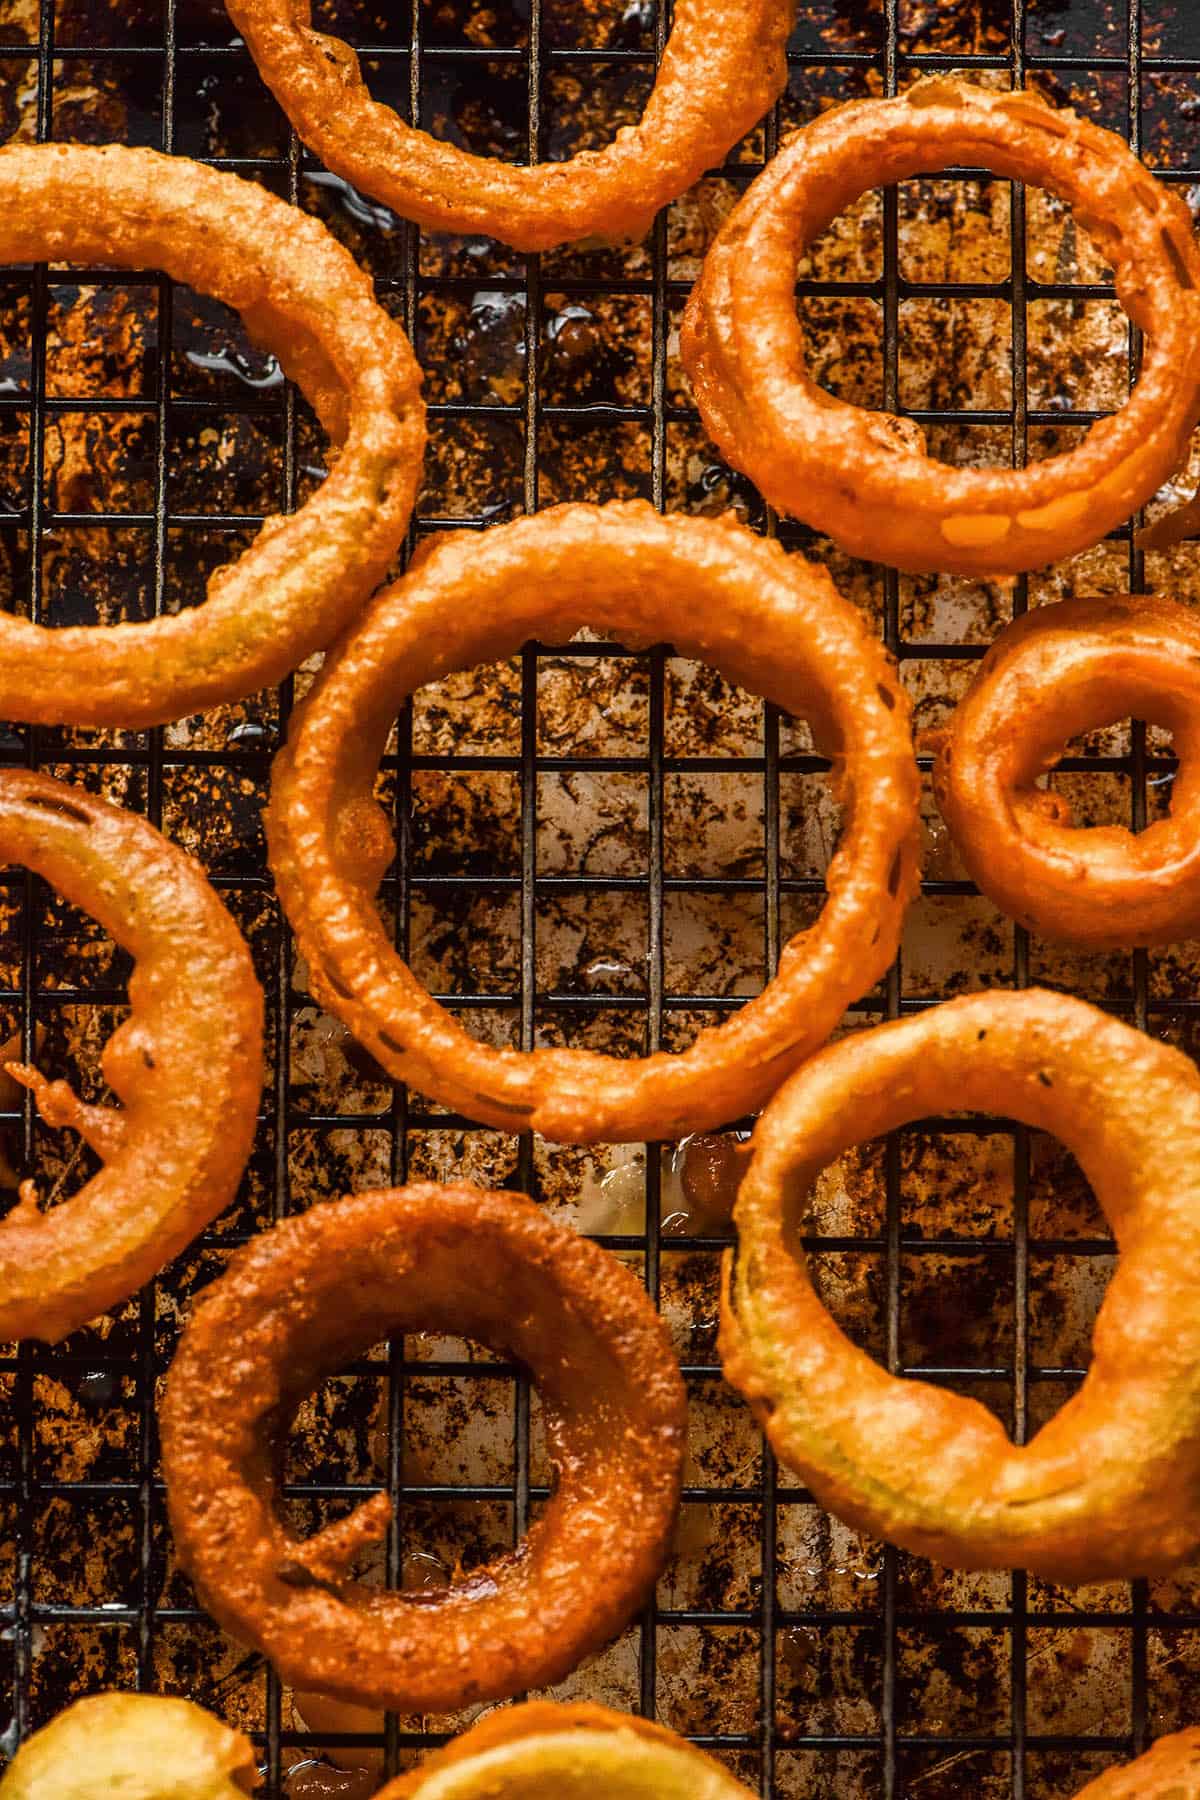
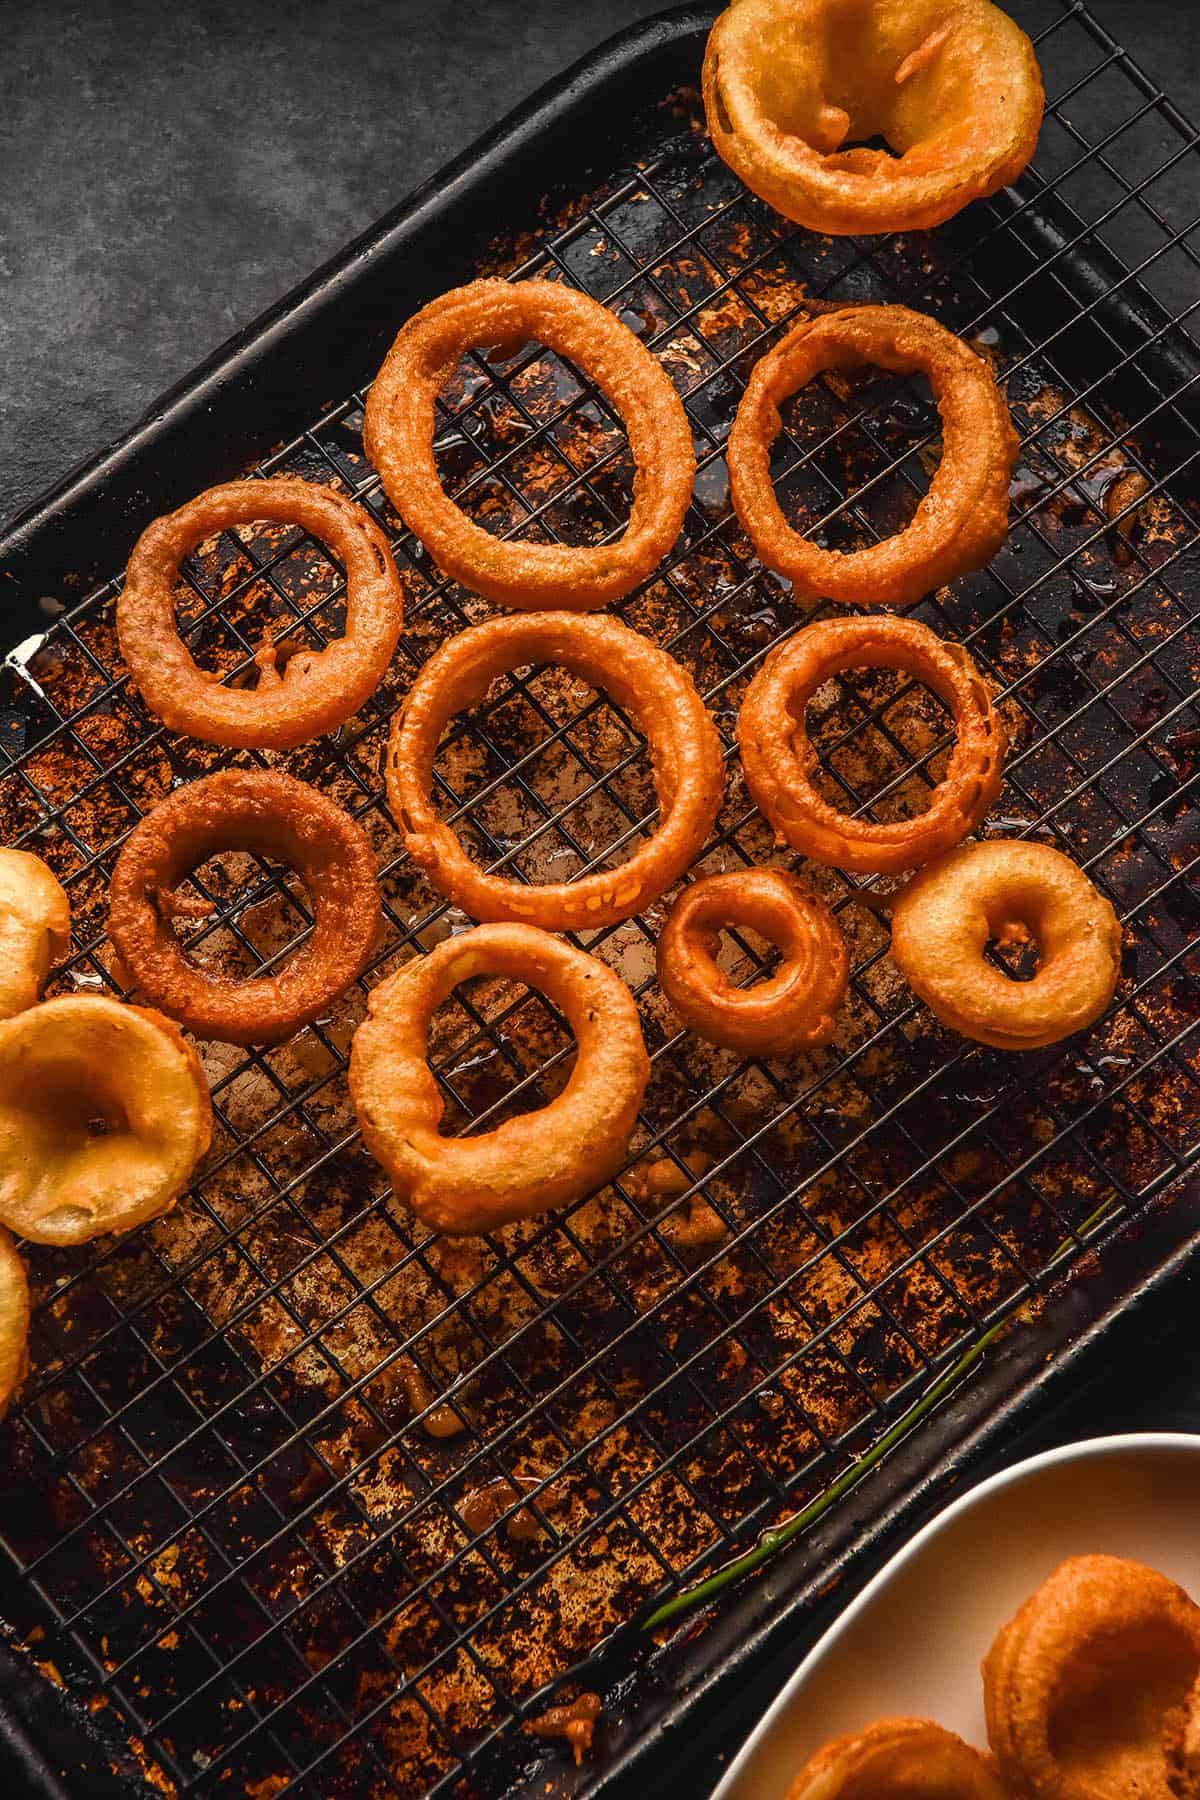
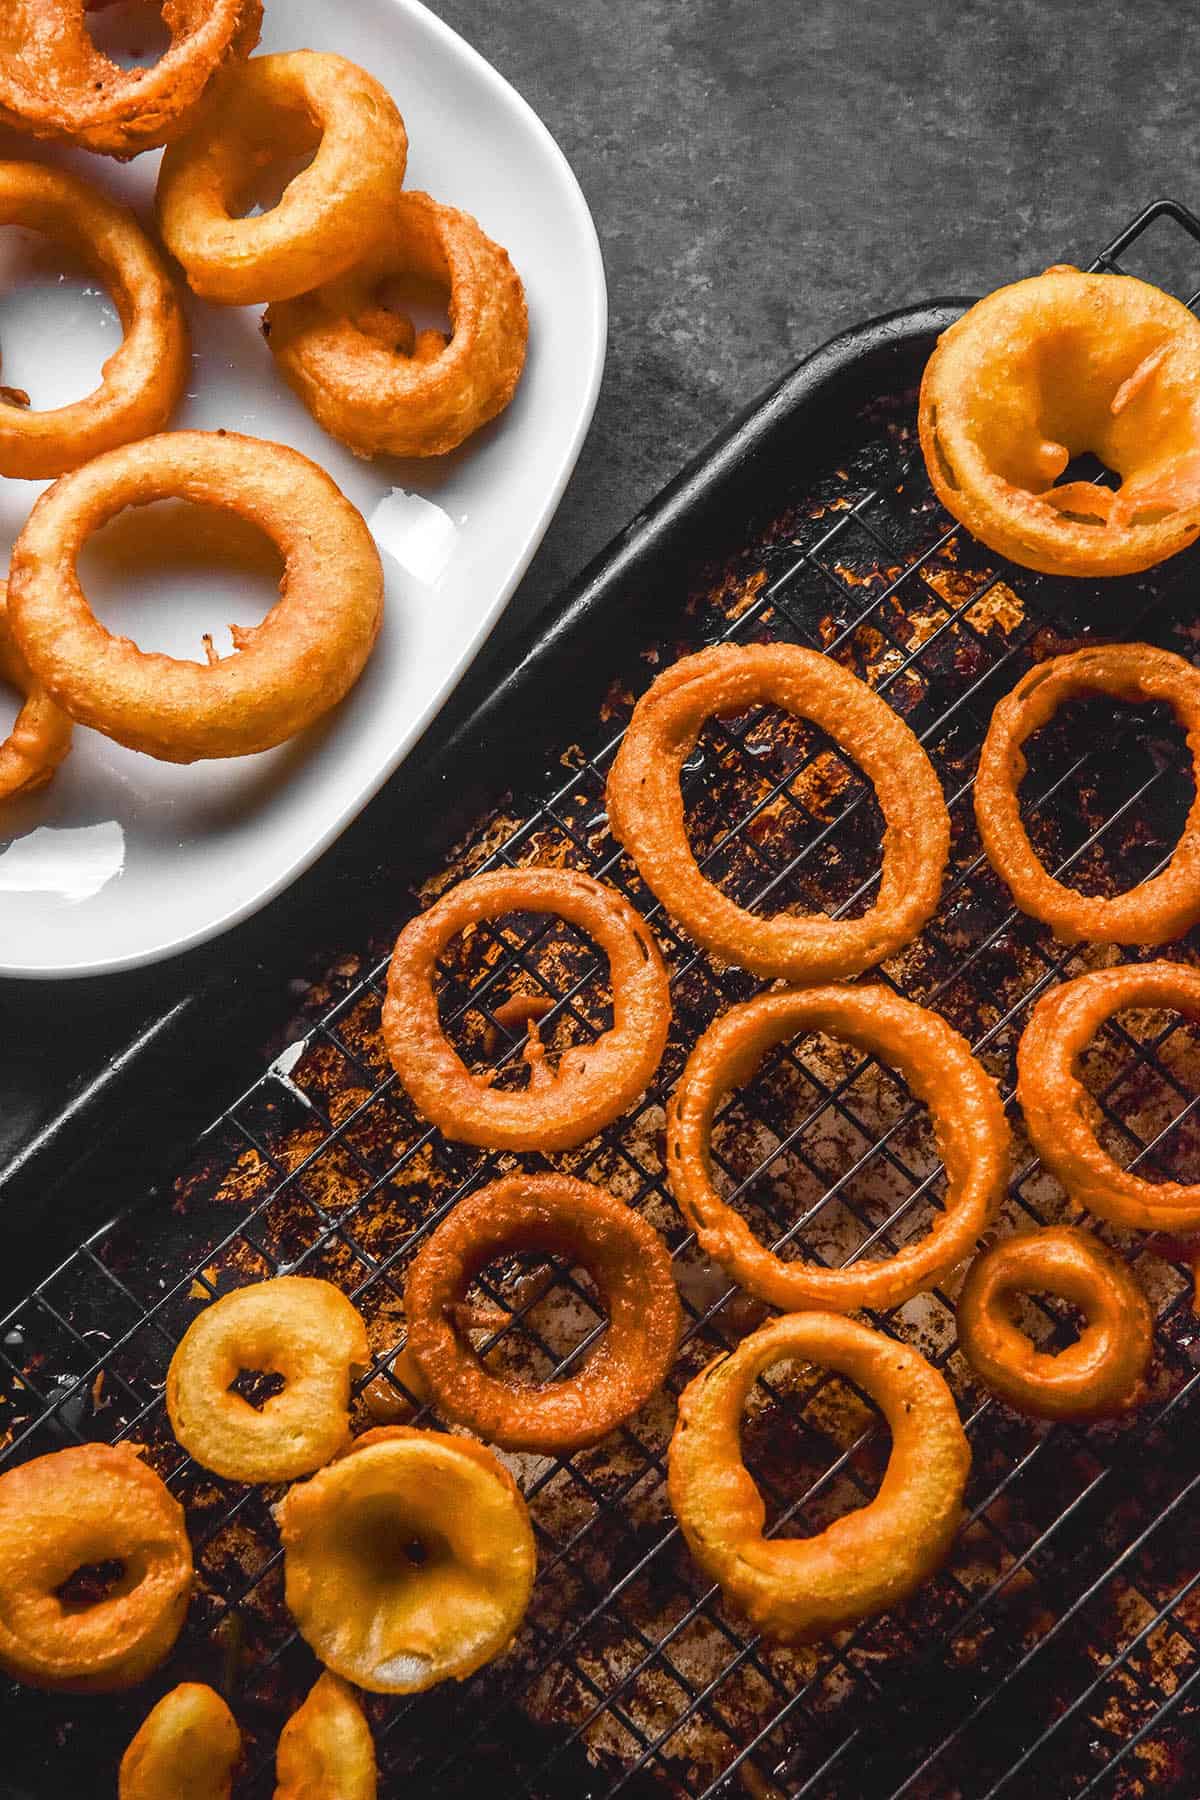
- Cook the rings for about 30-60 seconds per side or until they are a light golden brown. Flip with tongs and repeat, then transfer the cooked rings to a cooling rack.
- Repeat with the remaining onion rings. Onion rings are best served fresh and hot from the oil. See notes in the body of the post on re-crisping leftovers.
Notes
- As always, Australians, never use the cheap white rice flour in a box at the supermarket. It’s super thick and gritty and generally rancid. I buy my white rice flour at the bulk food store.
- In my testing, corn starch needed less milk than potato starch. I have not tested tapioca flour.
- I found full cream milk to be superior for frying onions. It has a delicate shattering crust that other versions didn’t quite match up to. You can use lactose free full fat milk or soy milk instead and they will still be delicious.
- If you need a low FODMAP version, see my recipe here.
- The larger your pot, the more oil you will need. I like to fry in a small pot so I can use less oil, but this means it takes longer to fry all the onion rings. I recommend having at least 500ml oil on hand for frying in a small to medium pot.
No Comments