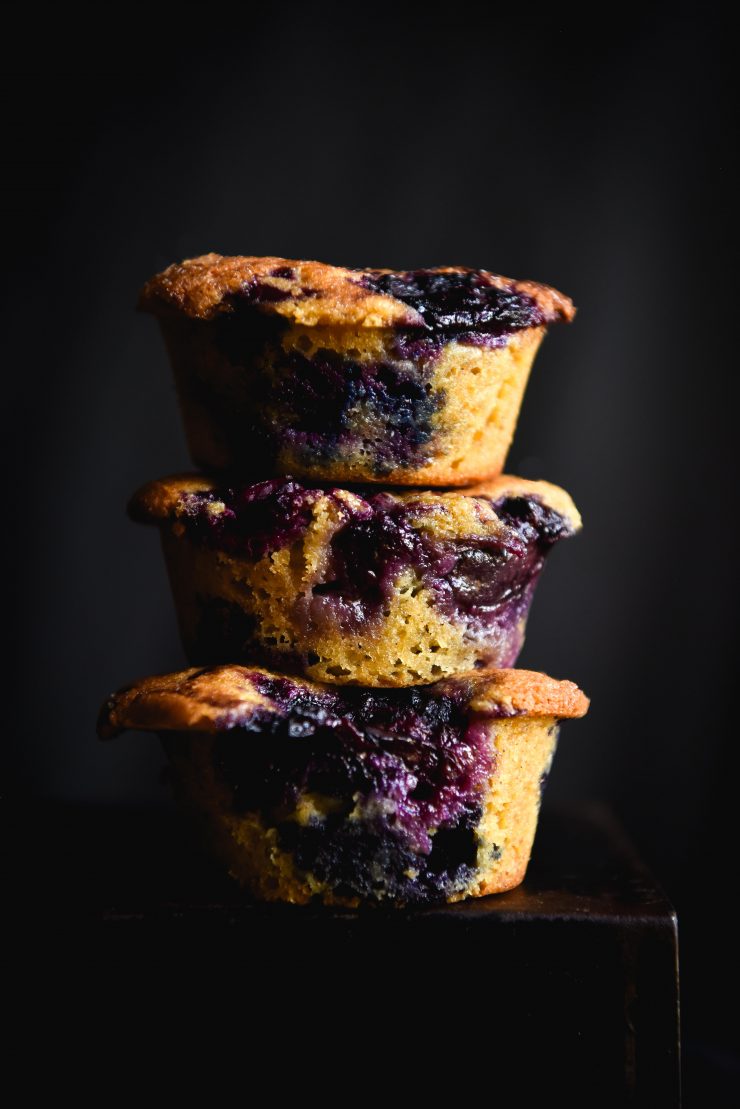
If you asked me to choose the muffin variety I’d eat forever, it would be the blueberry muffin. There’s something about the flavour of a vanilla based batter infused with gooey blueberries that really speaks to me. Needless to say, gluten-free blueberry muffins have been sorely missing from my recipe collection thus far. Today is the day that changes!
Gluten free blueberry muffins
Firstly, these muffins are made in the traditional way. They’re not refined sugar free or low fat – they use butter and a considerable amount of sugar. Whipped together, these ingredients create an airy light, gluten free muffin. So, to head this off at the pass: no, I don’t have a refined sugar free substitute. In fact, I don’t have any ingredient substitutions for this recipe. The ingredients have been purpose chosen, and I’ll go into this below.
Secondly, the muffins are CLASSIC. No lemon, no cinnamon, none of that. I want the sweet, unadulterated flavour of vanilla cake on berry. I won’t hear otherwise. There’s a time and a place for a lemon scented blueberry cake but it is absolutely not in a classic blueberry muffin.
If this criteria upsets you – I will have more blueberry muffin recipes up soon, so don’t sweat. I’m working on a breakfast version without refined sugar. I also have a vegan blueberry muffin recipe.
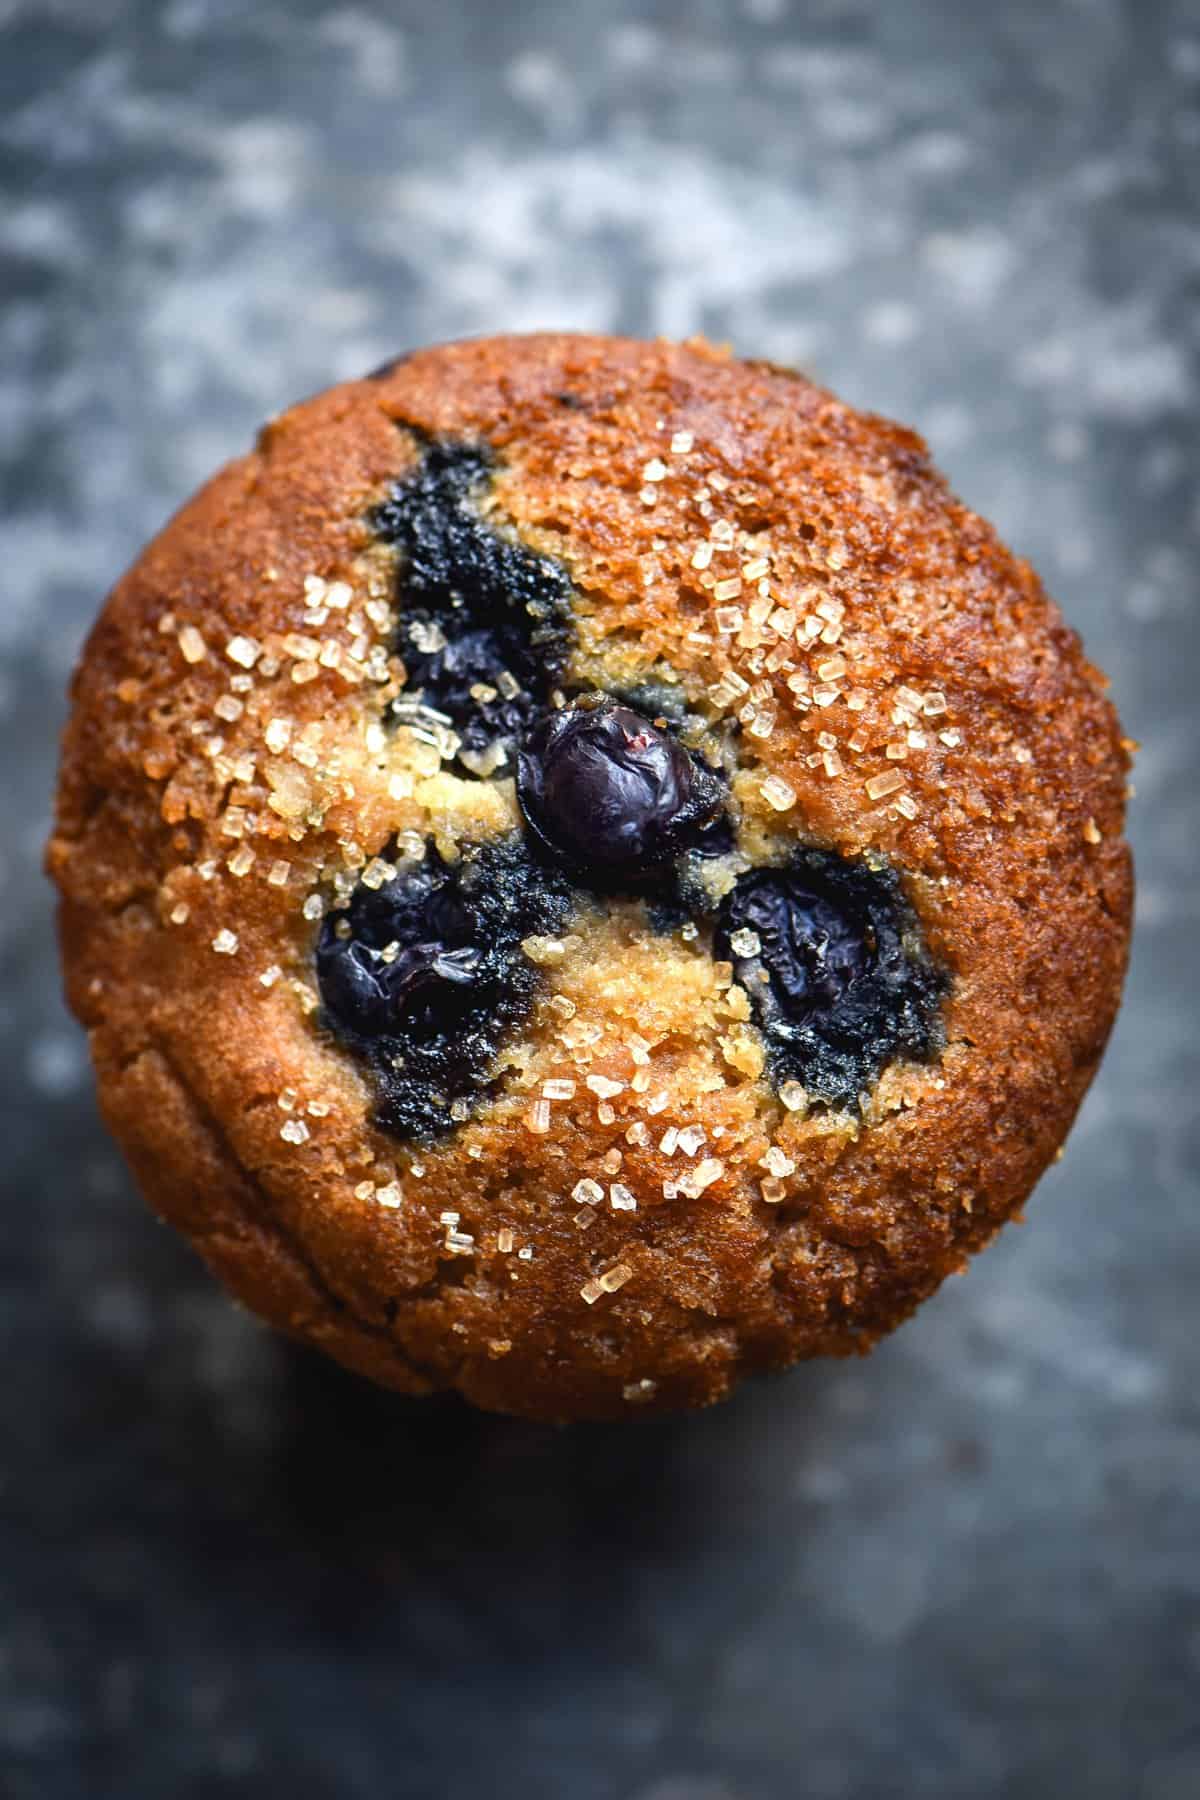
Ingredient notes for your gluten free blueberry muffins
I use a combination of light brown sugar and caster/superfine sugar. This is the best of both worlds – the structure and crispness of white sugar with the flavour of light brown sugar.
Almond meal adds a great textured crumb to gluten free baked goods. It also adds a delicate sweetness. I don’t have a nut free substitute at the moment.
Sorghum flour is the backbone of this recipe. It’s sweet, almost wheat-like in flavour but overall quite neutral which makes it the perfect flour for this purpose. It’s somewhat like rice flour in the sense that it is a good solid base for a baked good. However, it’s also got a decent nutritional profile, a pleasant flavour, and less of a tendency to produce gritty baked goods. A lot of people are also intolerant to rice flour. Personally I can’t tolerate too much of it.
The butter creamed with sugar is a critical component of this recipe. It creates richness, depth and airy light muffins. Without the creaming process, you would not have nearly enough air whipped into the batter to create a light muffin.
On that note, I haven’t tried this recipe with a butter substitute and I don’t have plans to. You can try if you like, but I don’t know what the result would be. Because the muffins really rely on the butter for flavour, I imagine they’d have a strong butter substitute taste. Again, I will be developing more gluten free blueberry muffin varieties very soon. Hang tight.
FODMAP notes for the gluten free blueberry muffins
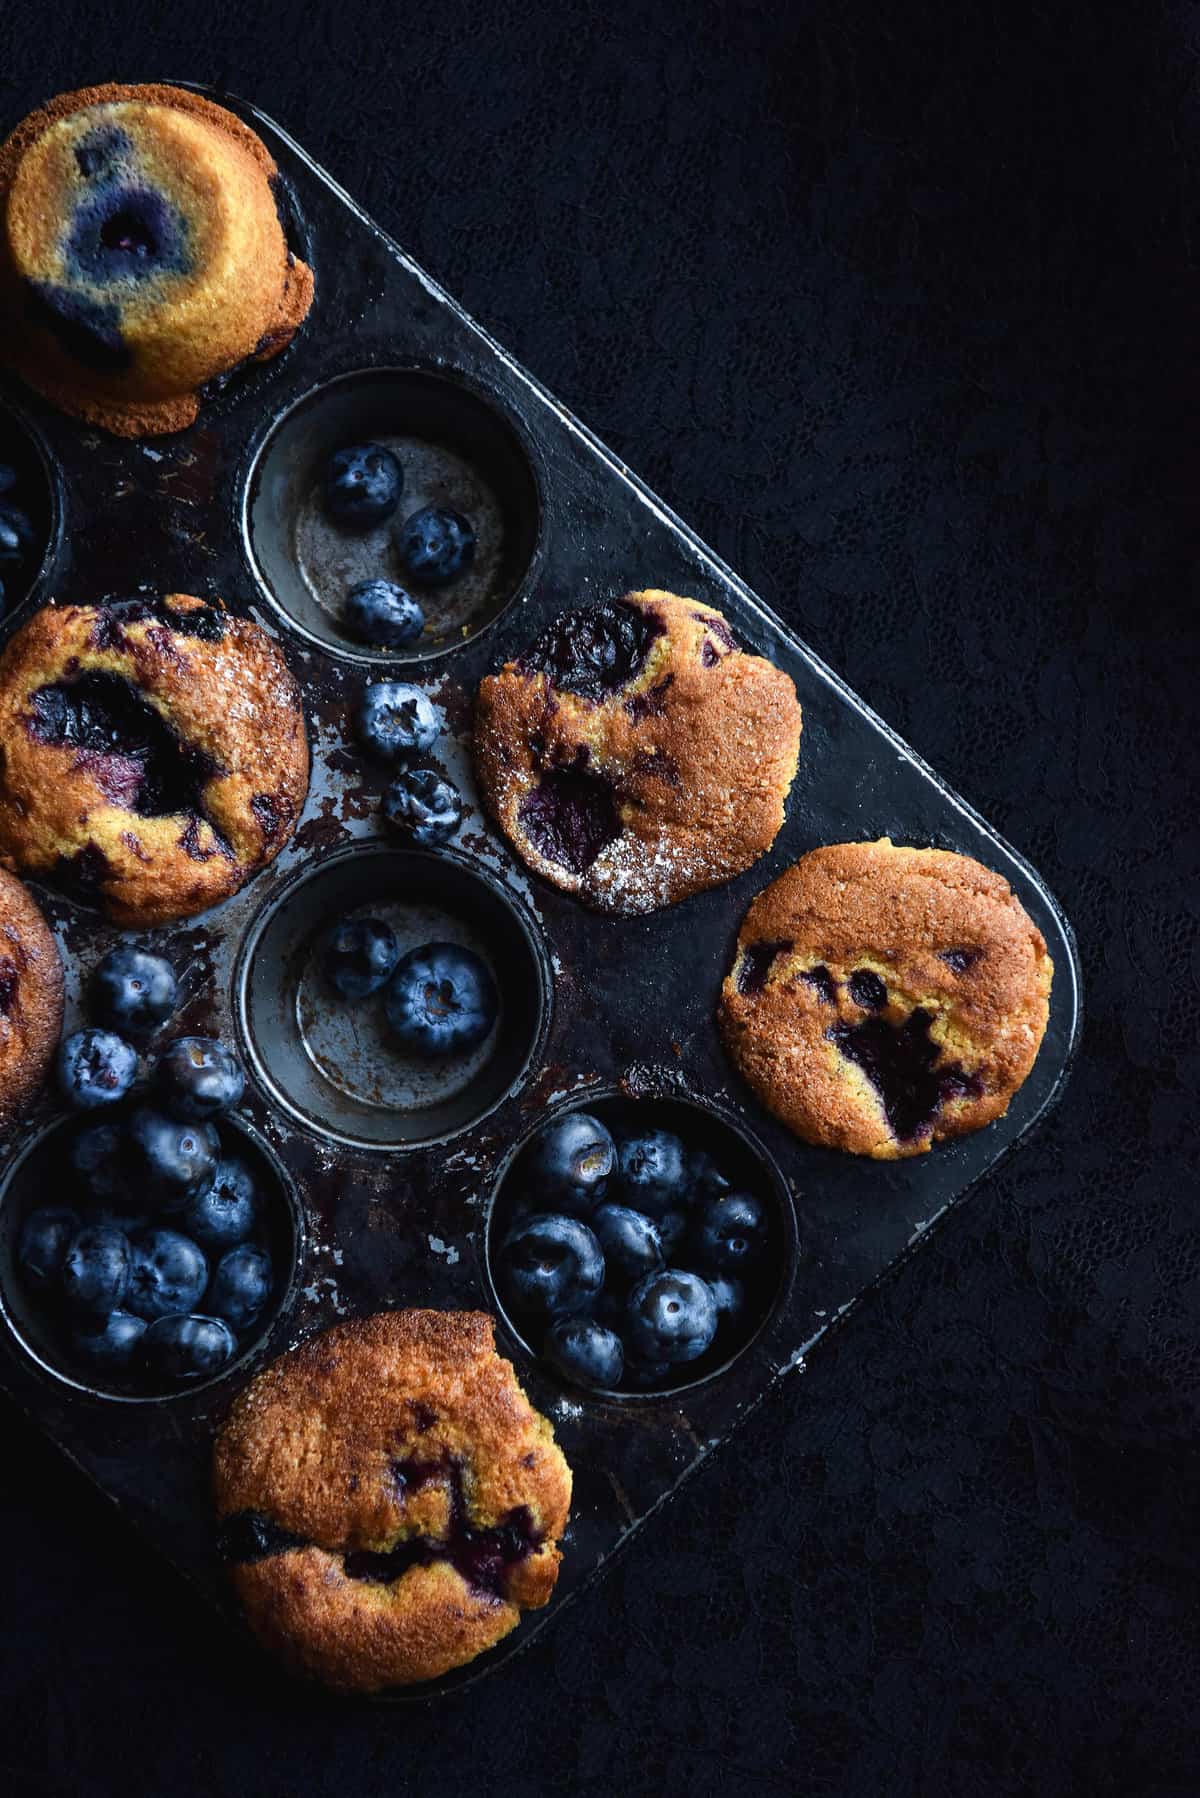
The only thing we really need to chat about is the blueberries. For the fructan adverse, blueberries are considered FODMAP friendly in 40g serves per person. This equates to a heaped 1/4 cup (Australian) of blueberries. So, if you or someone you’re baking for is intolerant, you can adjust the blueberry content as you see fit. That said, the recipe makes 10 muffins and takes up to 250g blueberries. That means that each muffin (if you’re strict about berry portioning) contains 25g of blueberries. Even if you’re not strict, there’s still a good margin for error here.
Butter is low lactose and does not present an issue unless you have a dairy allergy, not a lactose intolerance. It has a negligible lactose content.
You can use whatever style of milk fits in with your lifestyle – lactose free, regular, soy, almond or whatever else exists these days. All are fine.

Recipe tips and tricks
Creaming butter and sugar together is a step not to be rushed. It forms the backbone of the muffin, so if you cheat, you’re just cheating yourself. Spend the time and make sure it’s light and fluffy before you add the eggs. This means numerous stops to scrape down the bowl and a lot of patience. I daresay it might be quicker to use a hand beater in this instance, because you can get into all the nooks and crannies without stopping.
Don’t worry too much if your batter looks like it has split. It happens and it won’t affect the final muffin. It also often ‘repairs’ itself when you add the flour. By repair, I mean it no longer appears split, whether or not it actually is.
On the note of splitting, however – there are things you can do to minimise it. Namely: using all room temperature ingredients. Adding a cold egg or cold milk to creamed butter will often cause it to split, which is why it’s important to make sure all your ingredients are room temp before starting. How to do this? See more in the section below.
More tips and tricks for your gluten free blueberry muffins
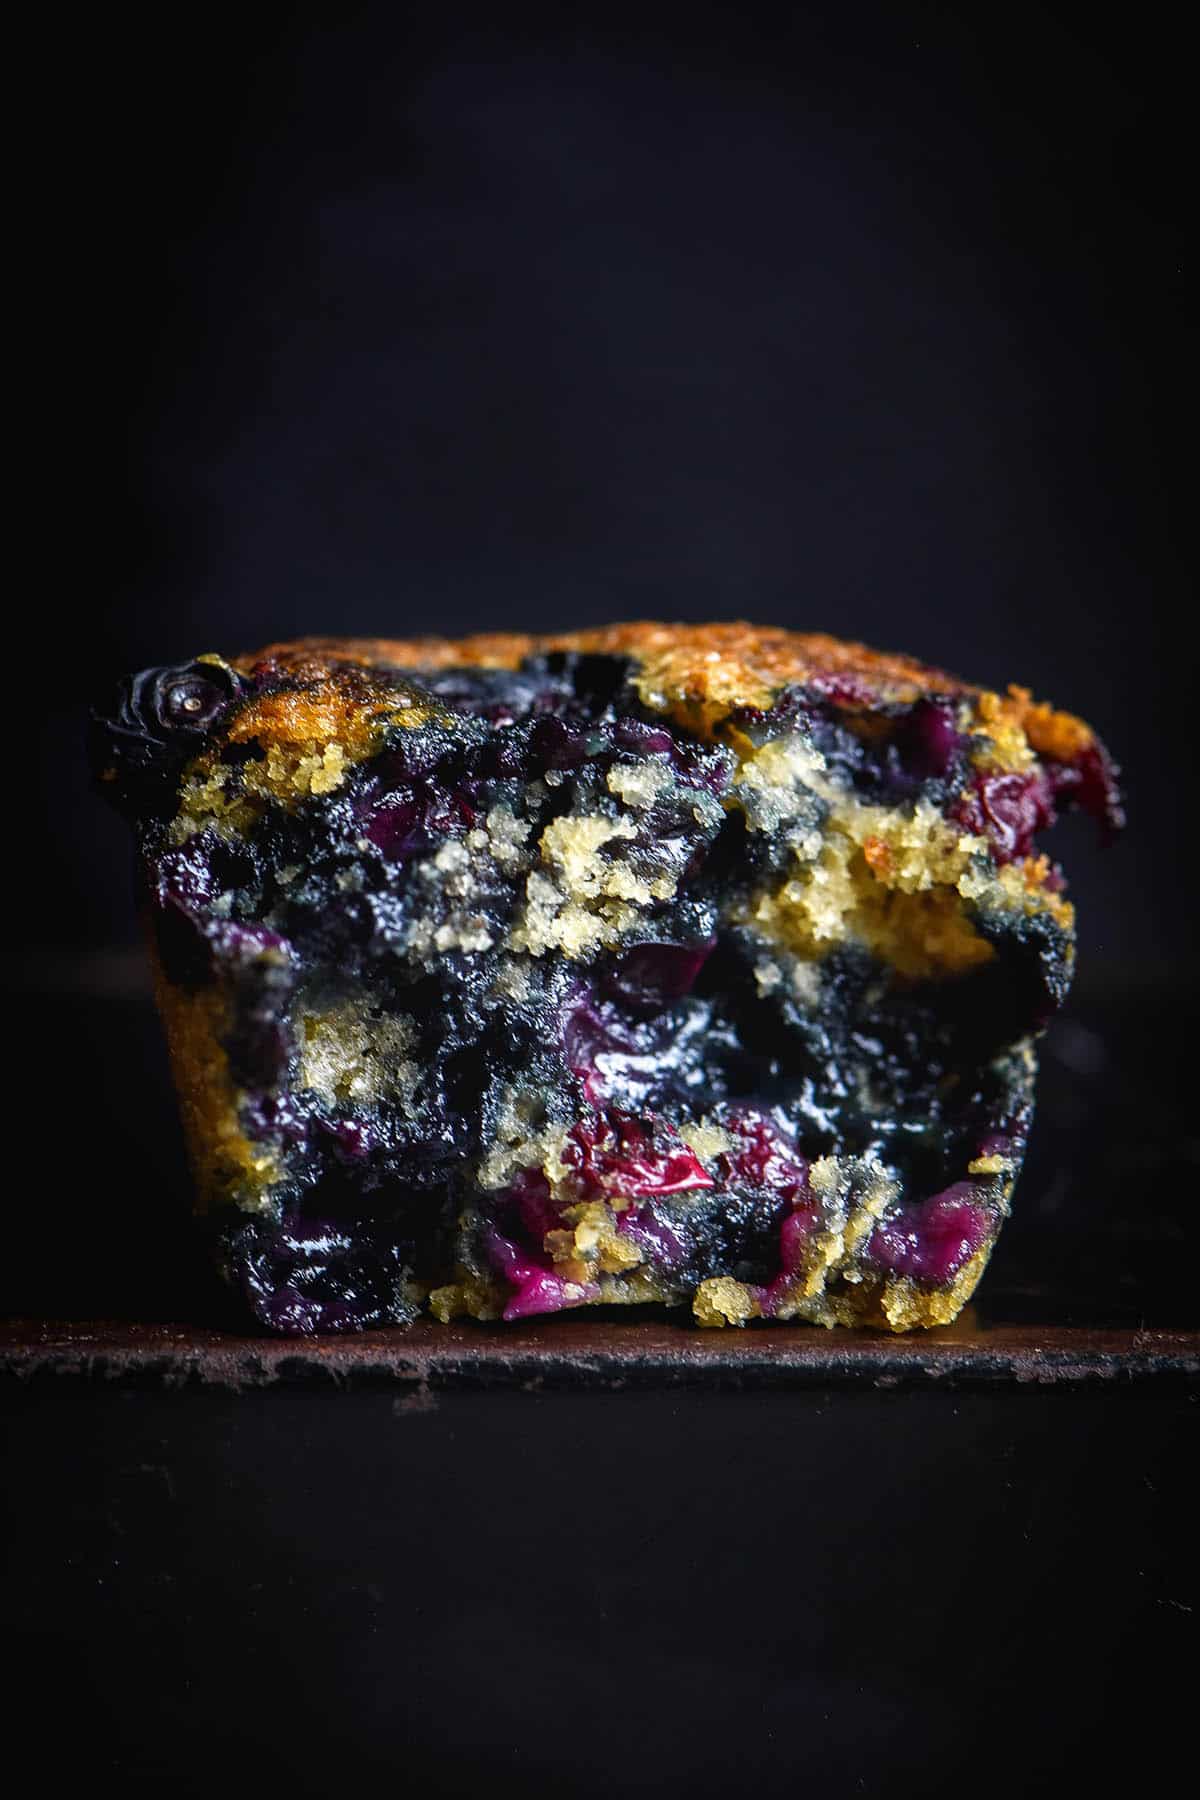
It is very important to grease your muffin holes incredibly well. I don’t believe in muffin liners for home use muffins, so I haven’t used them. I use silicon muffin tins, and the only way I have found to ensure the blueberries don’t stick to the bottom is to grease the tin with butter AND oil. Generously. Not a halfhearted last minute quick rub down, but a conscious and generous effort. It’s worth the time taken – you won’t lose any errant blueberries to the bottom of your muffin tray.
These muffins are cooked at 200C or 400F to help them develop that classic muffin top. Intense heat from the get go encourages them to do that. However, if your muffins are close to the heat source, they’re more likely to become overly brown on top. So! It’s important to put the oven rack at the furthest possible wrung away from the heat. If your oven’s heat comes from the top, place the muffins as low down as possible. If it comes from the bottom, do the opposite
Why do my ingredients need to be room temperature?
Room temperature ingredients play an important role in recipes. Room temperature butter is critical to the creaming the process – microwaving it just prior to use will not yield good results. Have a read of this article for everything you need to know about the ideal consistency of ‘room temperature’ butter.
Milk can easily be brought up to temperature with 10-20 seconds in the microwave or a quick heat in a pot. I like to do this at the start of the recipe so I can guarantee the milk won’t be too hot. Hot milk will melt that butter you’ve worked so hard to cream.
Onto the eggs! Personally, I keep my eggs at room temperature, but I’m not here to debate that. To bring them up to room temperature, simply pop them (shell still on) in some warm (not boiling!) water for 5-10 minutes.
Lastly, the blueberries. It’s important to make the compote first in this recipe so that the berries have time to cool. If you had hot berries to the creamed butter, it will melt.
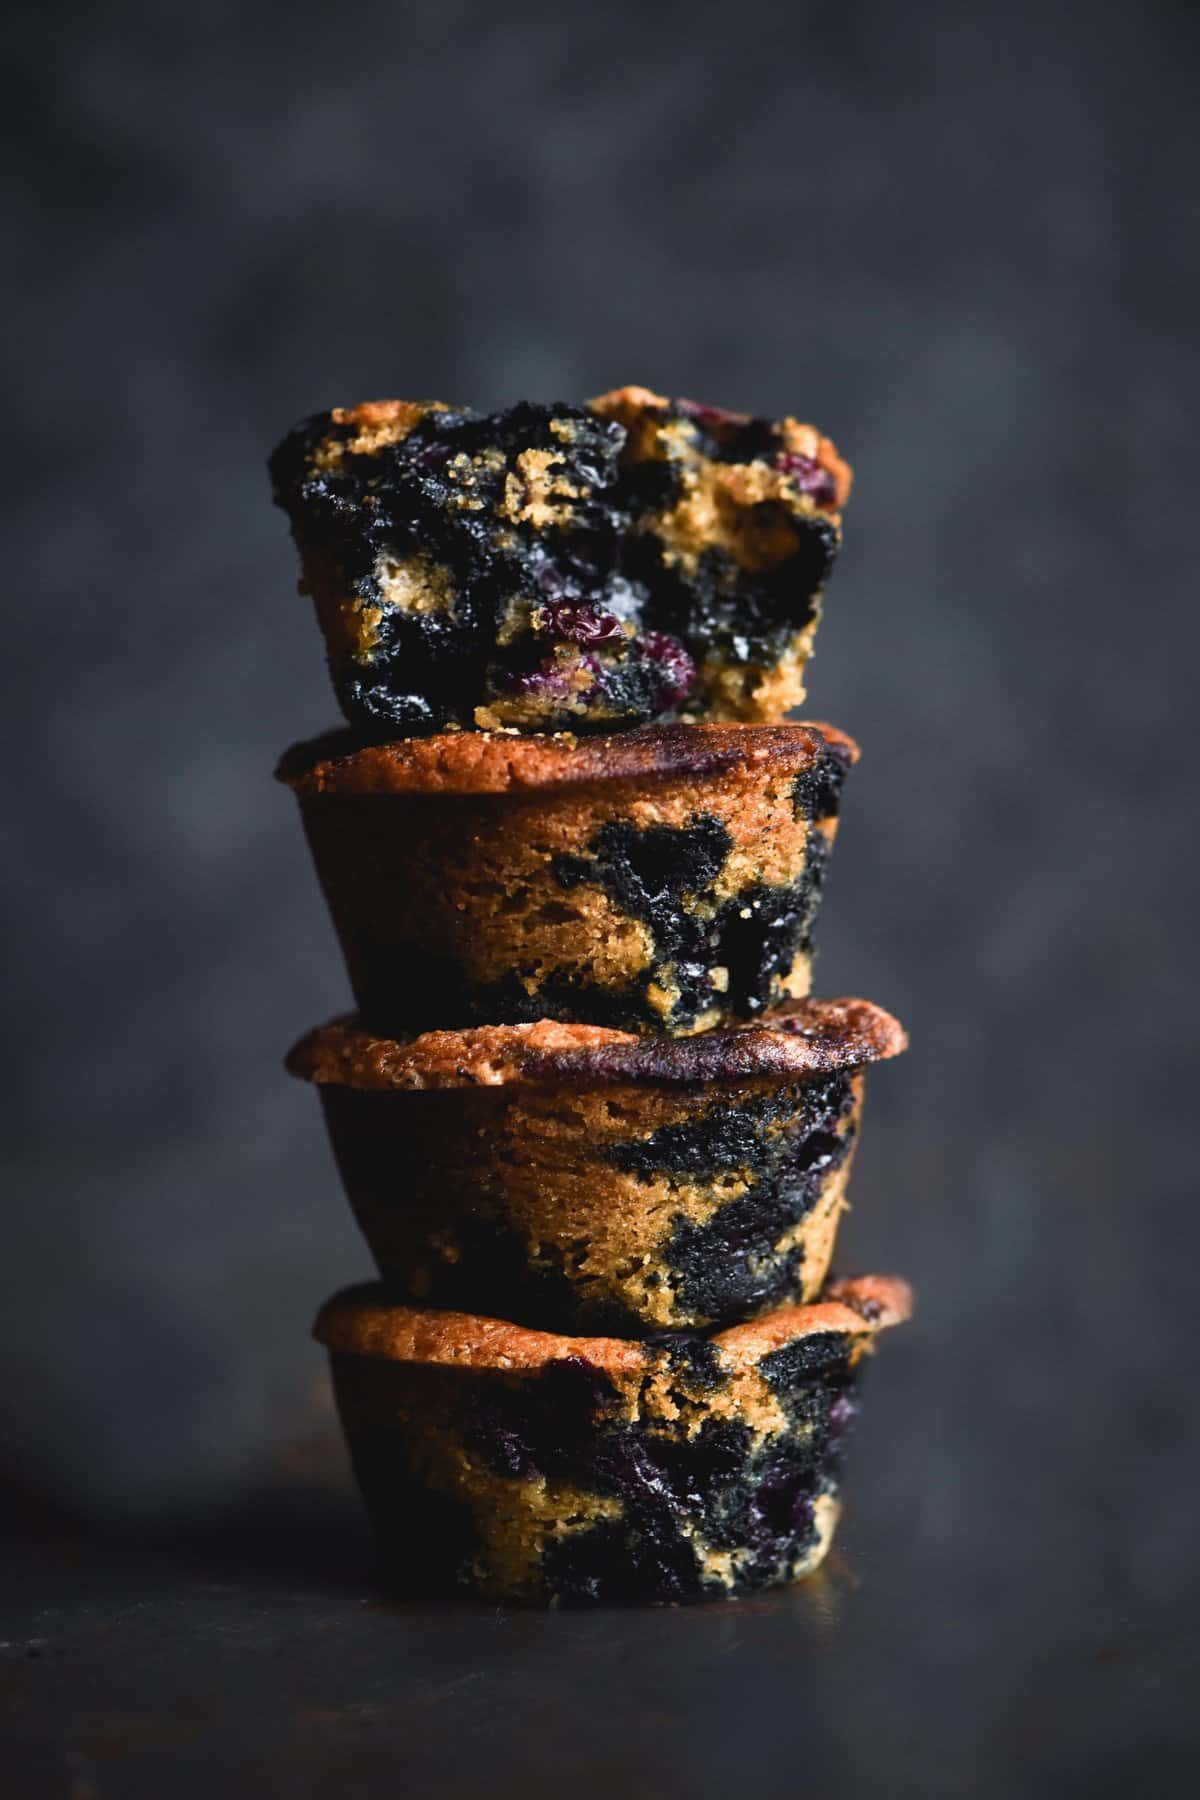
Gluten free muffin science and observations
While the xanthan gum is optional, I found that it helps suspend the berries in the batter. When I made the gluten free blueberry muffins without xanthan, the compote sank to the middle, and the berries to the bottom. Then, when I made the recipe with xanthan gum, some of the compote kind of stayed on top.
Another thing I noticed using xanthan gum? The muffin bottoms stayed totally in tact when I pulled them out of the tin.
However! Don’t be tempted to use more than specified. It results in a strangely sticky and odd muffin that somehow tastes less sweet. Trust me.
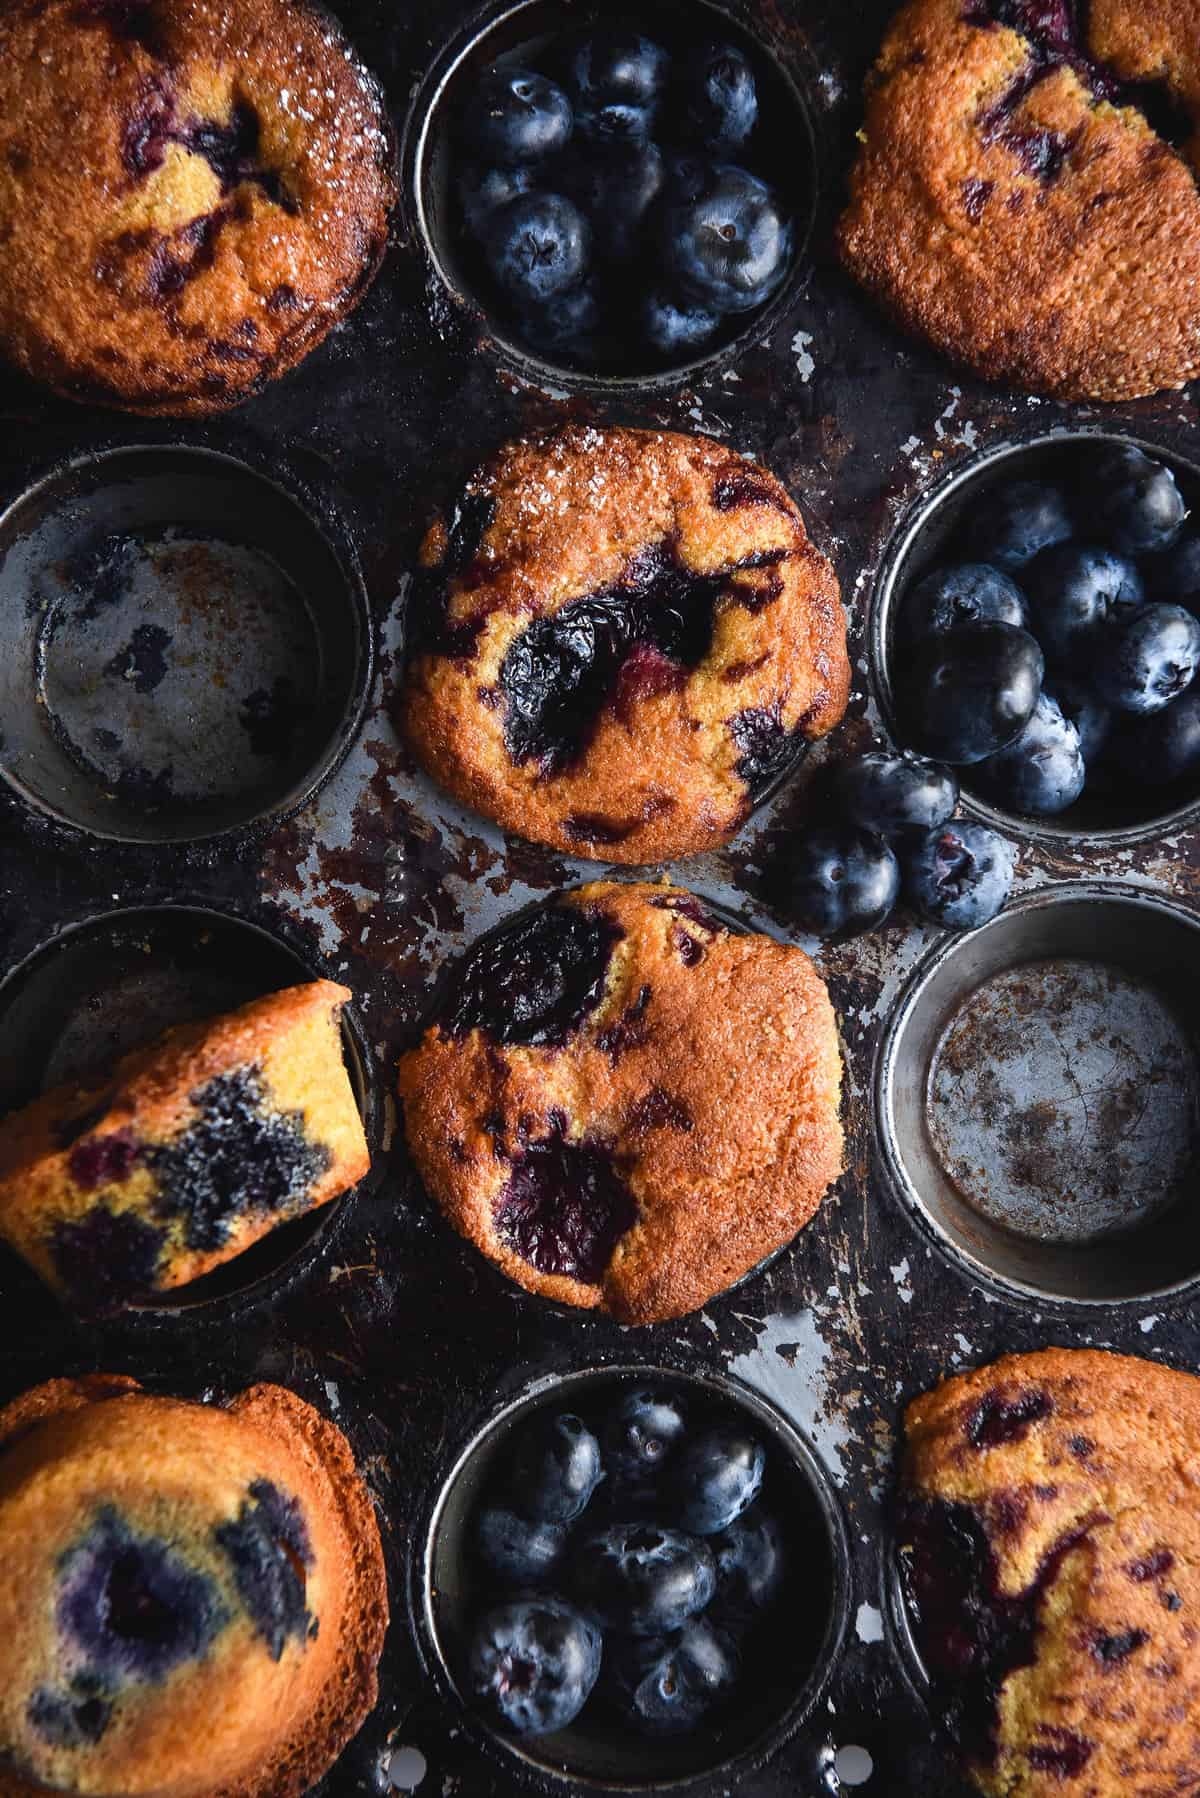
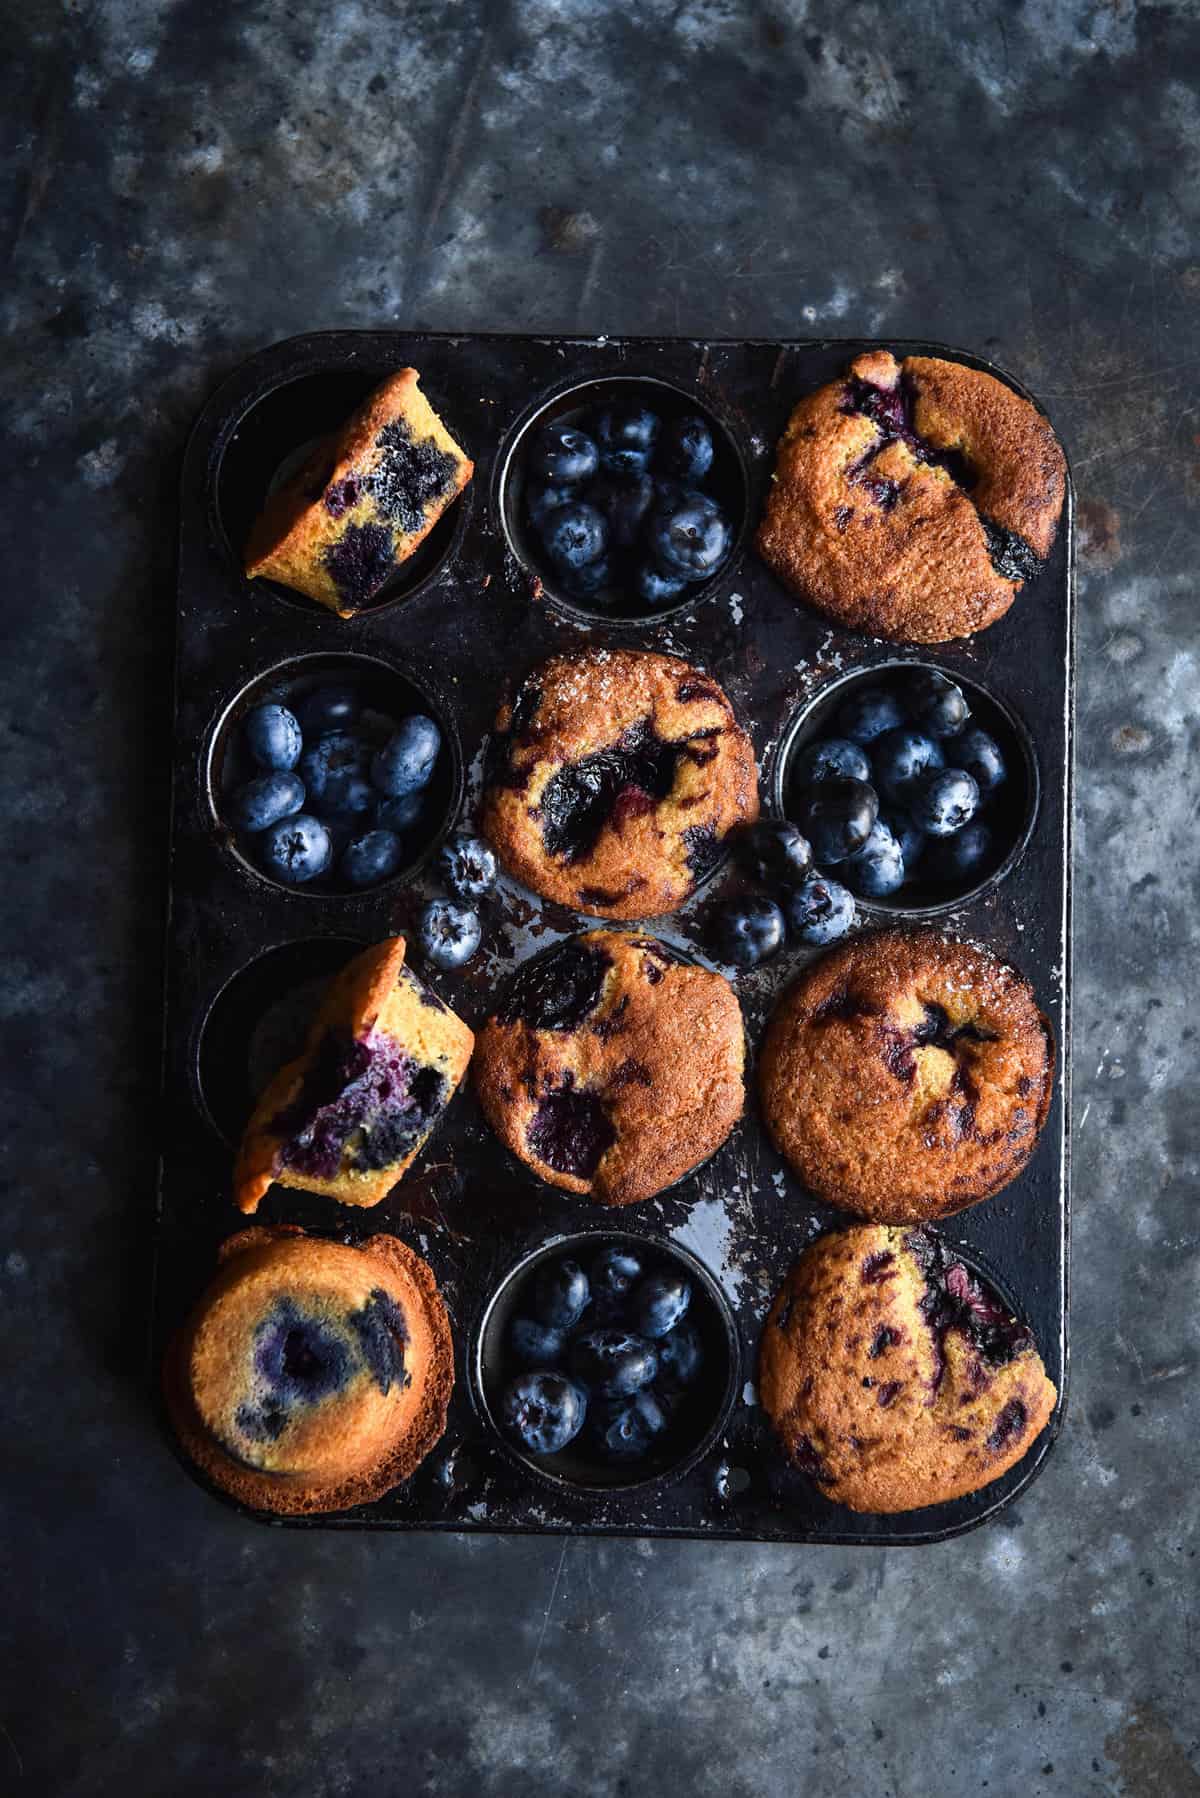
I read through Pancake Princess’s genius blueberry muffin bakeoff notes prior to making this recipe. In them, she specifies that Hummingbird High suggests using every other muffin hole, leaving space for them to develop muffin tops. I can confirm that they look better and develop better muffin tops when you do.
I also noticed a positive effect on the aesthetic of the muffin top when left to rest for 25 minutes. This was due to my oven being tiny and me having no choice. However, leaving them in the fridge for that 25 minute period seemed to impact their appearance positively. Totally optional, though.
Can I use frozen blueberries in these gluten free muffins?
Sadly for the world, fresh blueberries don’t exist on a year round basis. Luckily, frozen blueberries are here to save the day. With a few tweaks, you can easily use frozen blueberries for these muffins.
- Cap the blueberries at 200g if you’e using frozen.
- Cook the whole 200g of berries in the small saucepan as the recipe indicates for the compote. Once cooked and juicy, crush them with a fork. You want to drain most of the liquid accrued (and save it for a smoothie). This is particularly the case for those icy blueberries up the back of the freezer – adding all their liquid will result in waterlogged muffins.
More gluten free muffin recipes
- Gluten free chocolate muffins
- The vegan, gluten free blueberry muffins
- Vegan, gluten free sourdough chocolate muffins in my cookbook, Intolerance Friendly Kitchen
- Gluten free banana carrot muffins
- Gluten free white chocolate and raspberry muffins
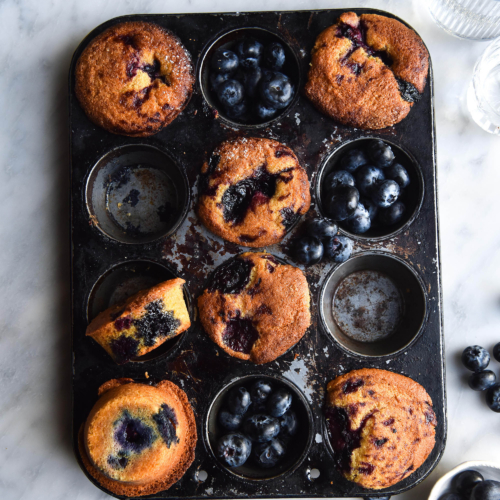
Gluten free classic blueberry muffins
Ingredients
For the blueberry compote:
- 200-250 g fresh blueberries use divided (see notes for frozen blueberry option)
- 1 teaspoon caster sugar
For the muffins:
- 125 g room temperature butter cubed (see notes)
- 110 g (1/2 cup) caster/superfine sugar
- 70 g (1/2 cup) reasonably packed light brown sugar
- 2 extra large eggs room temperature
- 150 g (1 1/4 cups) sorghum flour
- 30 g (1/3 cup) almond meal
- 65 g (1/2 cup + 1-2 teaspoons) tapioca flour
- 2 teaspoons baking powder
- 1/4 teaspoon xanthan gum optional, see notes
- 1/4 – 1/2 teaspoon fine salt
- 1/2 cup + 1 tablespoon (155ml) milk of choice I used soy at room temperature
Instructions
To make the compote:
- Place 100g of the blueberries in a small saucepan with the 1 teaspoon caster sugar. Reserve the remaining blueberries to add whole.
- Place the saucepan over a low heat and allow to cook until the blueberries begin omitting a bit of liquid. Tilt it to the side and use a fork to smash the blueberries. They should omit liquid as you smash, becoming a compote. Take off the heat and set aside to cool.
To make the muffins:
- Preheat the oven to 200C or 400F. Thoroughly grease your muffin tin with both butter and oil – this will ensure the blueberries don’t get stuck. As per the notes – you’ll get more aesthetically pleasing muffins if you leave every second muffin hole empty. It allows space for the muffin tops to develop.
- Use the paddle attachment on your kitchen mixer to begin creaming the butter. I find this takes a lot longer than people say on the internet. Once the butter has lost its cube form and is smooth, add the sugars and continue to beat, scraping down regularly, until the mixture is light and creamy. You will need to scrape very regularly. Don’t skimp on the creaming – it forms the backbone of the whole muffin. I have added a photo of what the mixture should look like – it takes me about 15-20 minutes of beating and scraping down the mixture.
- While you’re waiting for the mixture to cream, whisk together the remaining dry ingredients in a large bowl. If you haven’t already, ensure the eggs and milk are room temperature.
- Once the mixture is properly creamed, add one egg at a time. Scrape down thoroughly after each egg, and wait until the mixture becomes smooth again before adding the next one. It will look a little alien before it reaches the smooth stage, so don’t worry.
- Once the eggs are incorporated, add about 1/3 of the flour mixture with the mixer on a low speed (I use speed 1 one my Kitchenaid). Once incorporated, add 1/2 of the milk mixture and repeat. The batter might look split when you add the milk, but it should ‘repair’ when you add the next batch of flour. Repeat again, ending with the last 1/3 of flour.
- Scrape the batter down and add the vanilla bean paste or essence. Give it one last mix before removing the bowl from the stand and mixing in the fresh blueberries.
- Divide the mixture evenly amongst 9-10 muffin holes that have been well greased with both butter and oil. Trust me, you need both.
- Next, top each muffin with the blueberry compote. As an option, you can also sprinkle over some finishing sugar.
- Place the muffins in the oven on the lowest rack (see notes) for 25 minutes. I like to cover the muffins with foil once I notice the tops are perfectly browned – normally this is when there is about 10 minutes to go.
- Allow the muffins to cool in the tin before gently removing. If you’re not using silicon, I recommend gently twisting them in the tray to encourage them to come out cleanly.
- They keep well for a few days in an airtight container.

No Comments